
Quilted Jack-o-lantern Baskets
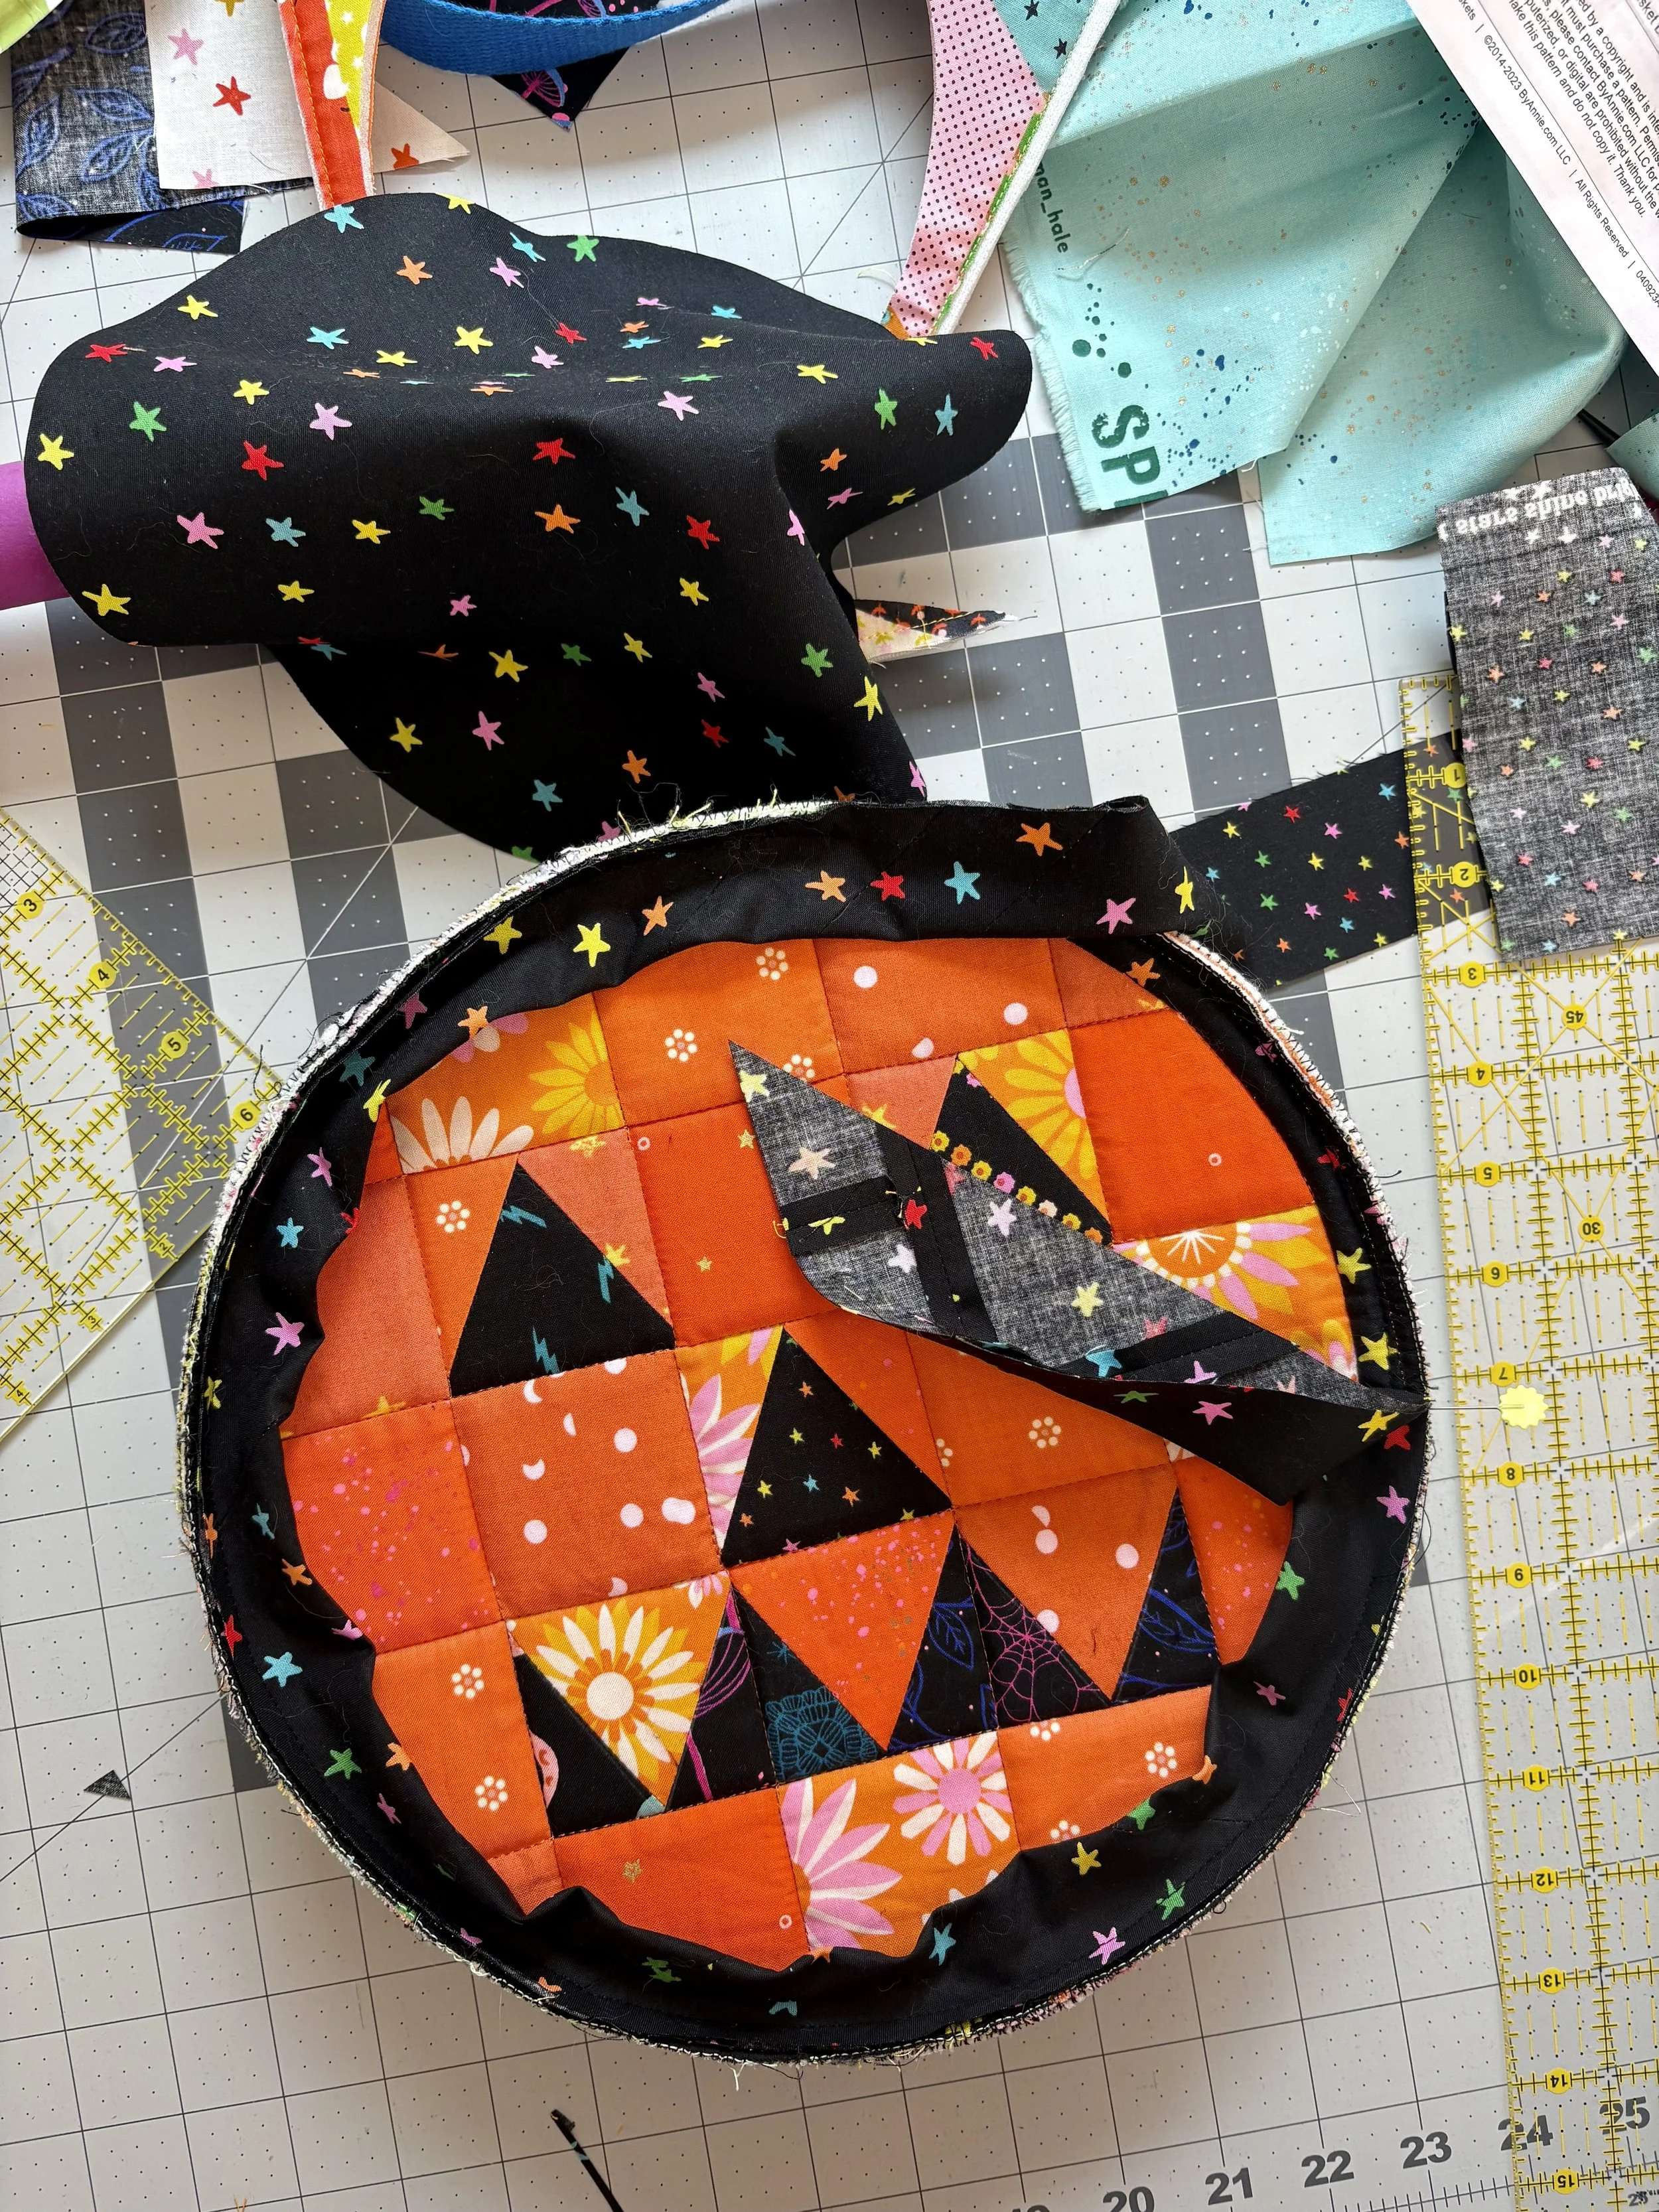
If you’re like me, you need a quick craft each holiday to kick off the season. I particularly love Halloween, so I screamed up these Halloween baskets. The spooky spirit of this project is perfect for handing out Halloween candy, collecting keys at the front door, or just leaving around the house to admire your stitching witchcraft! The basket is the Nesting Basket pattern from ByAnnie, and I added my Pump Queen quilt block to the lid.
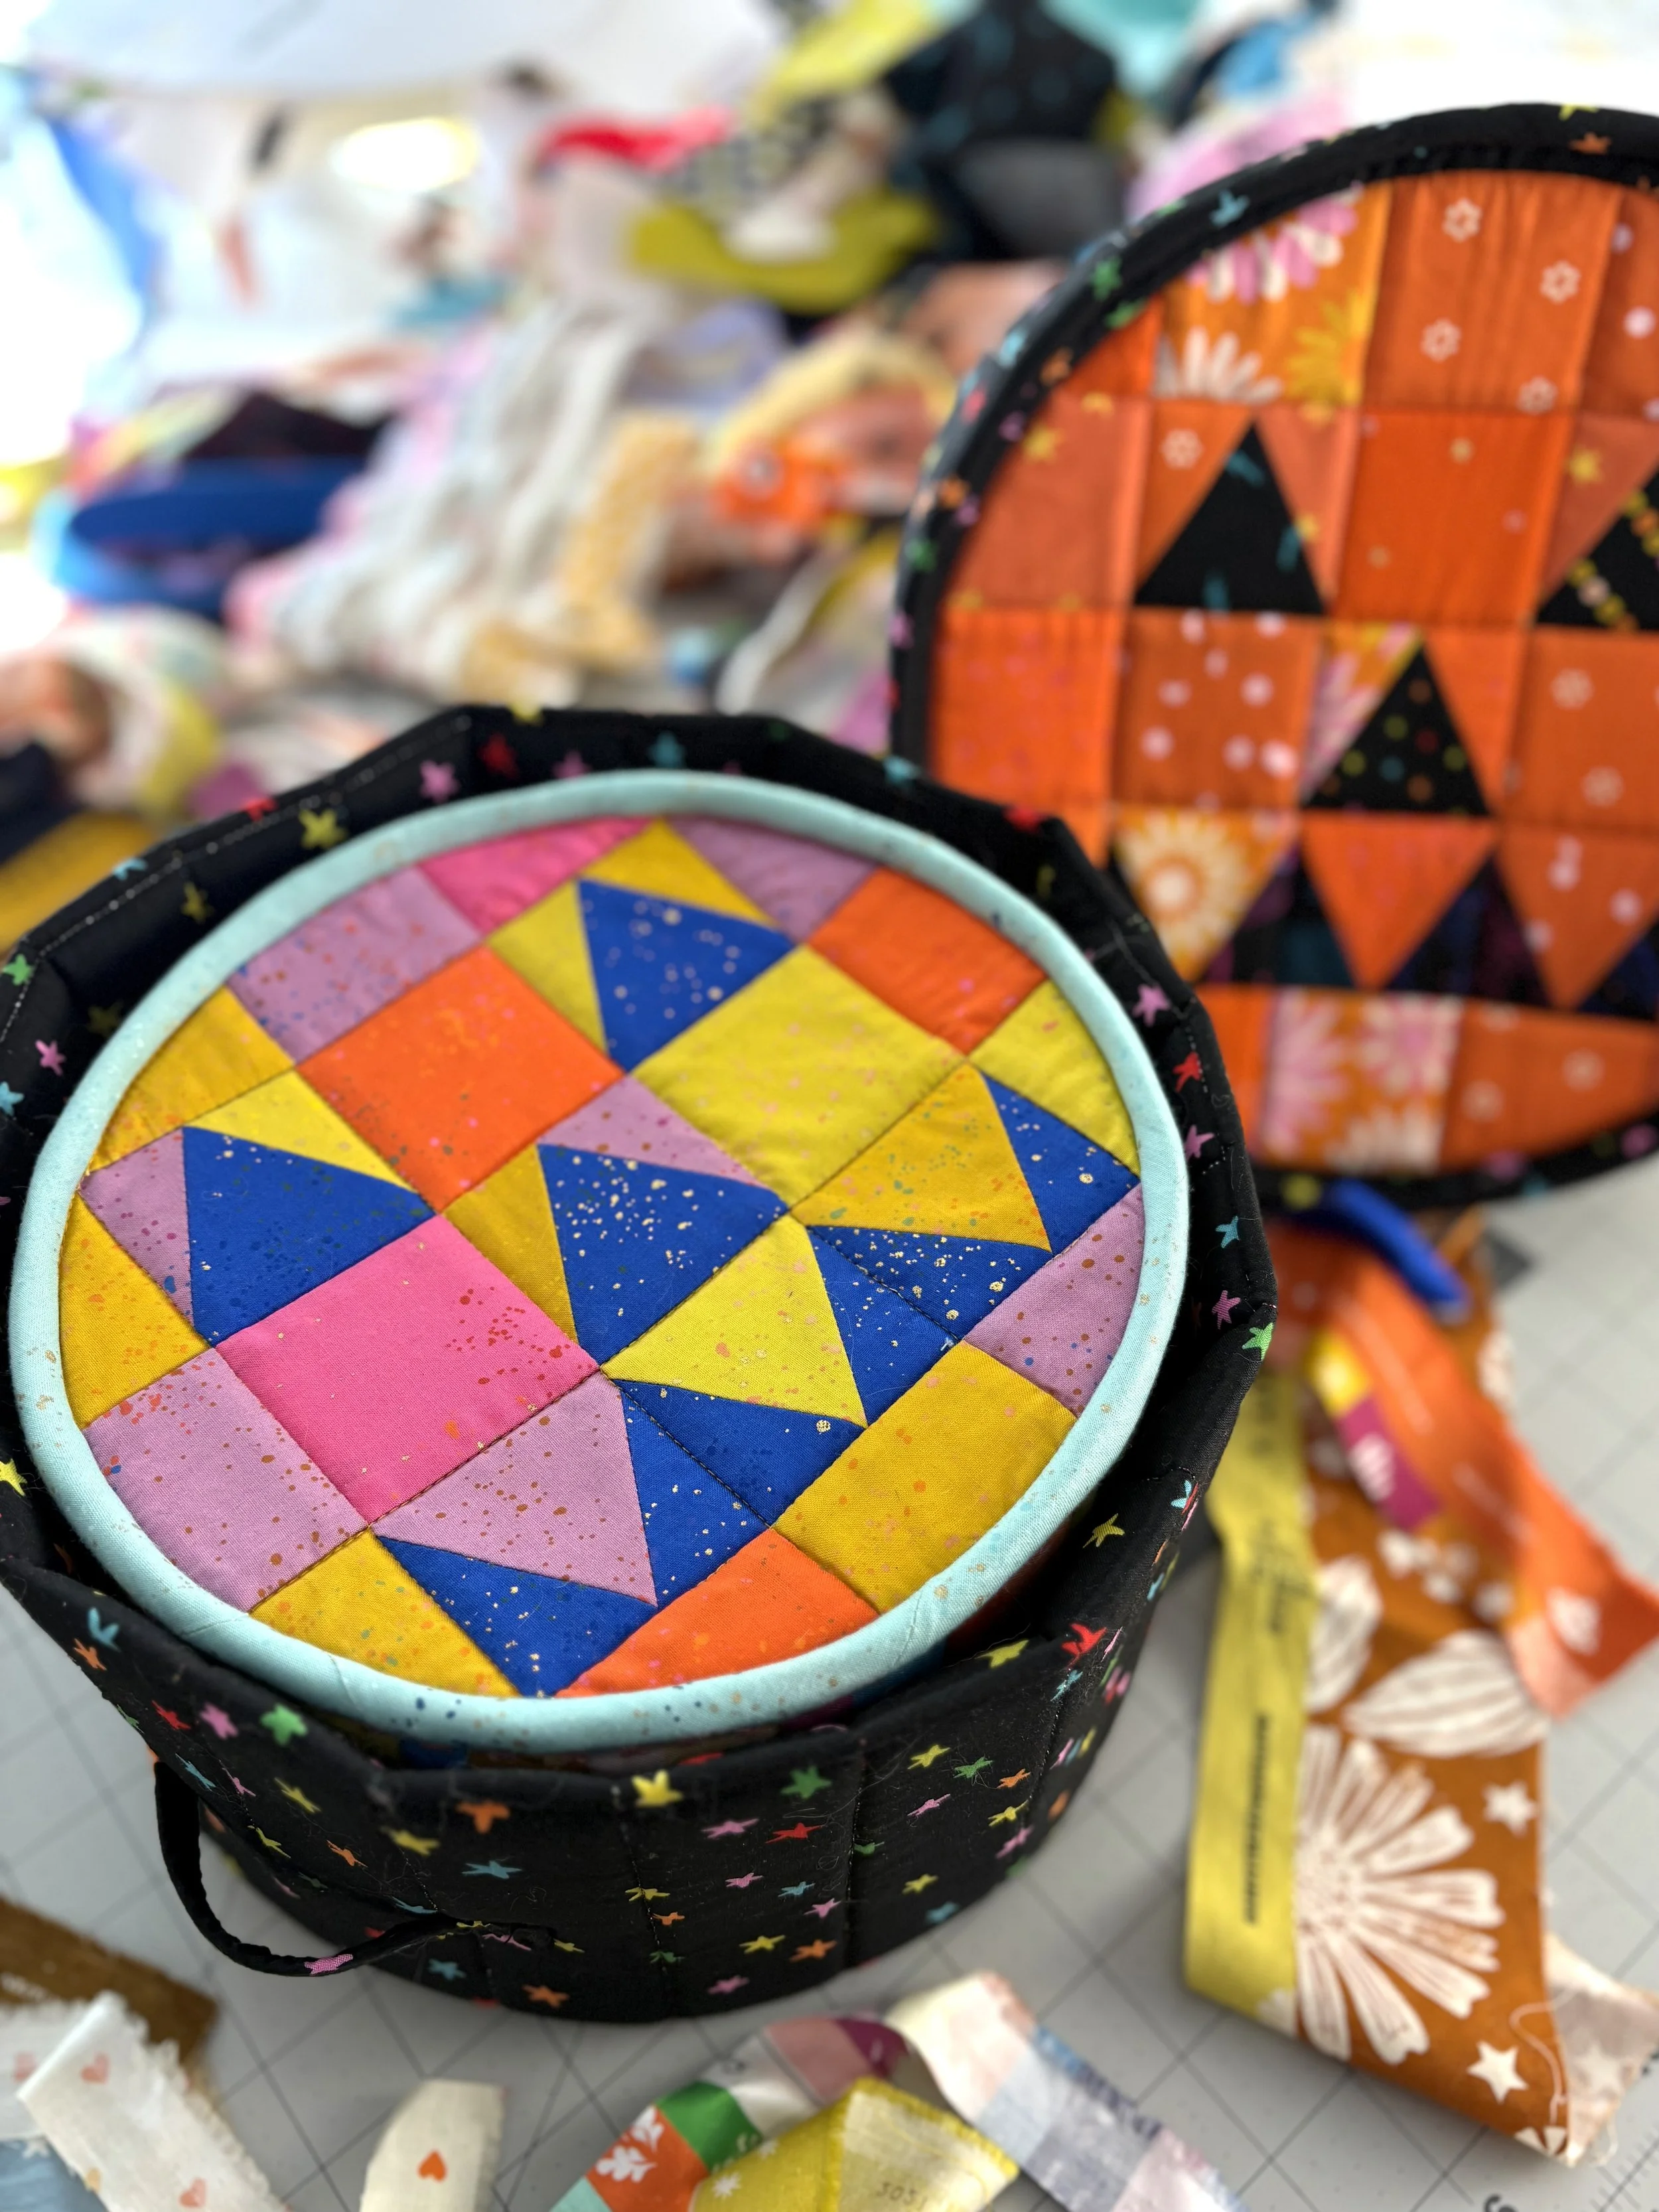
I made a few changes to the pattern including making it reversible (so I can use the baskets year round), and adding my favorite hand stitching details. The pattern doesn’t call for quilting, but I couldn’t resist quilting it. Just a couple straight lines on the body pieces and stitching-in-the-ditch on the patchwork lids. Make sure to grab your Nesting Basket pattern and the Pump Queen block pattern, and clear your calendar this weekend because you won’t be able to resist cooking this up in your cauldron!
Adding the Pump Queen
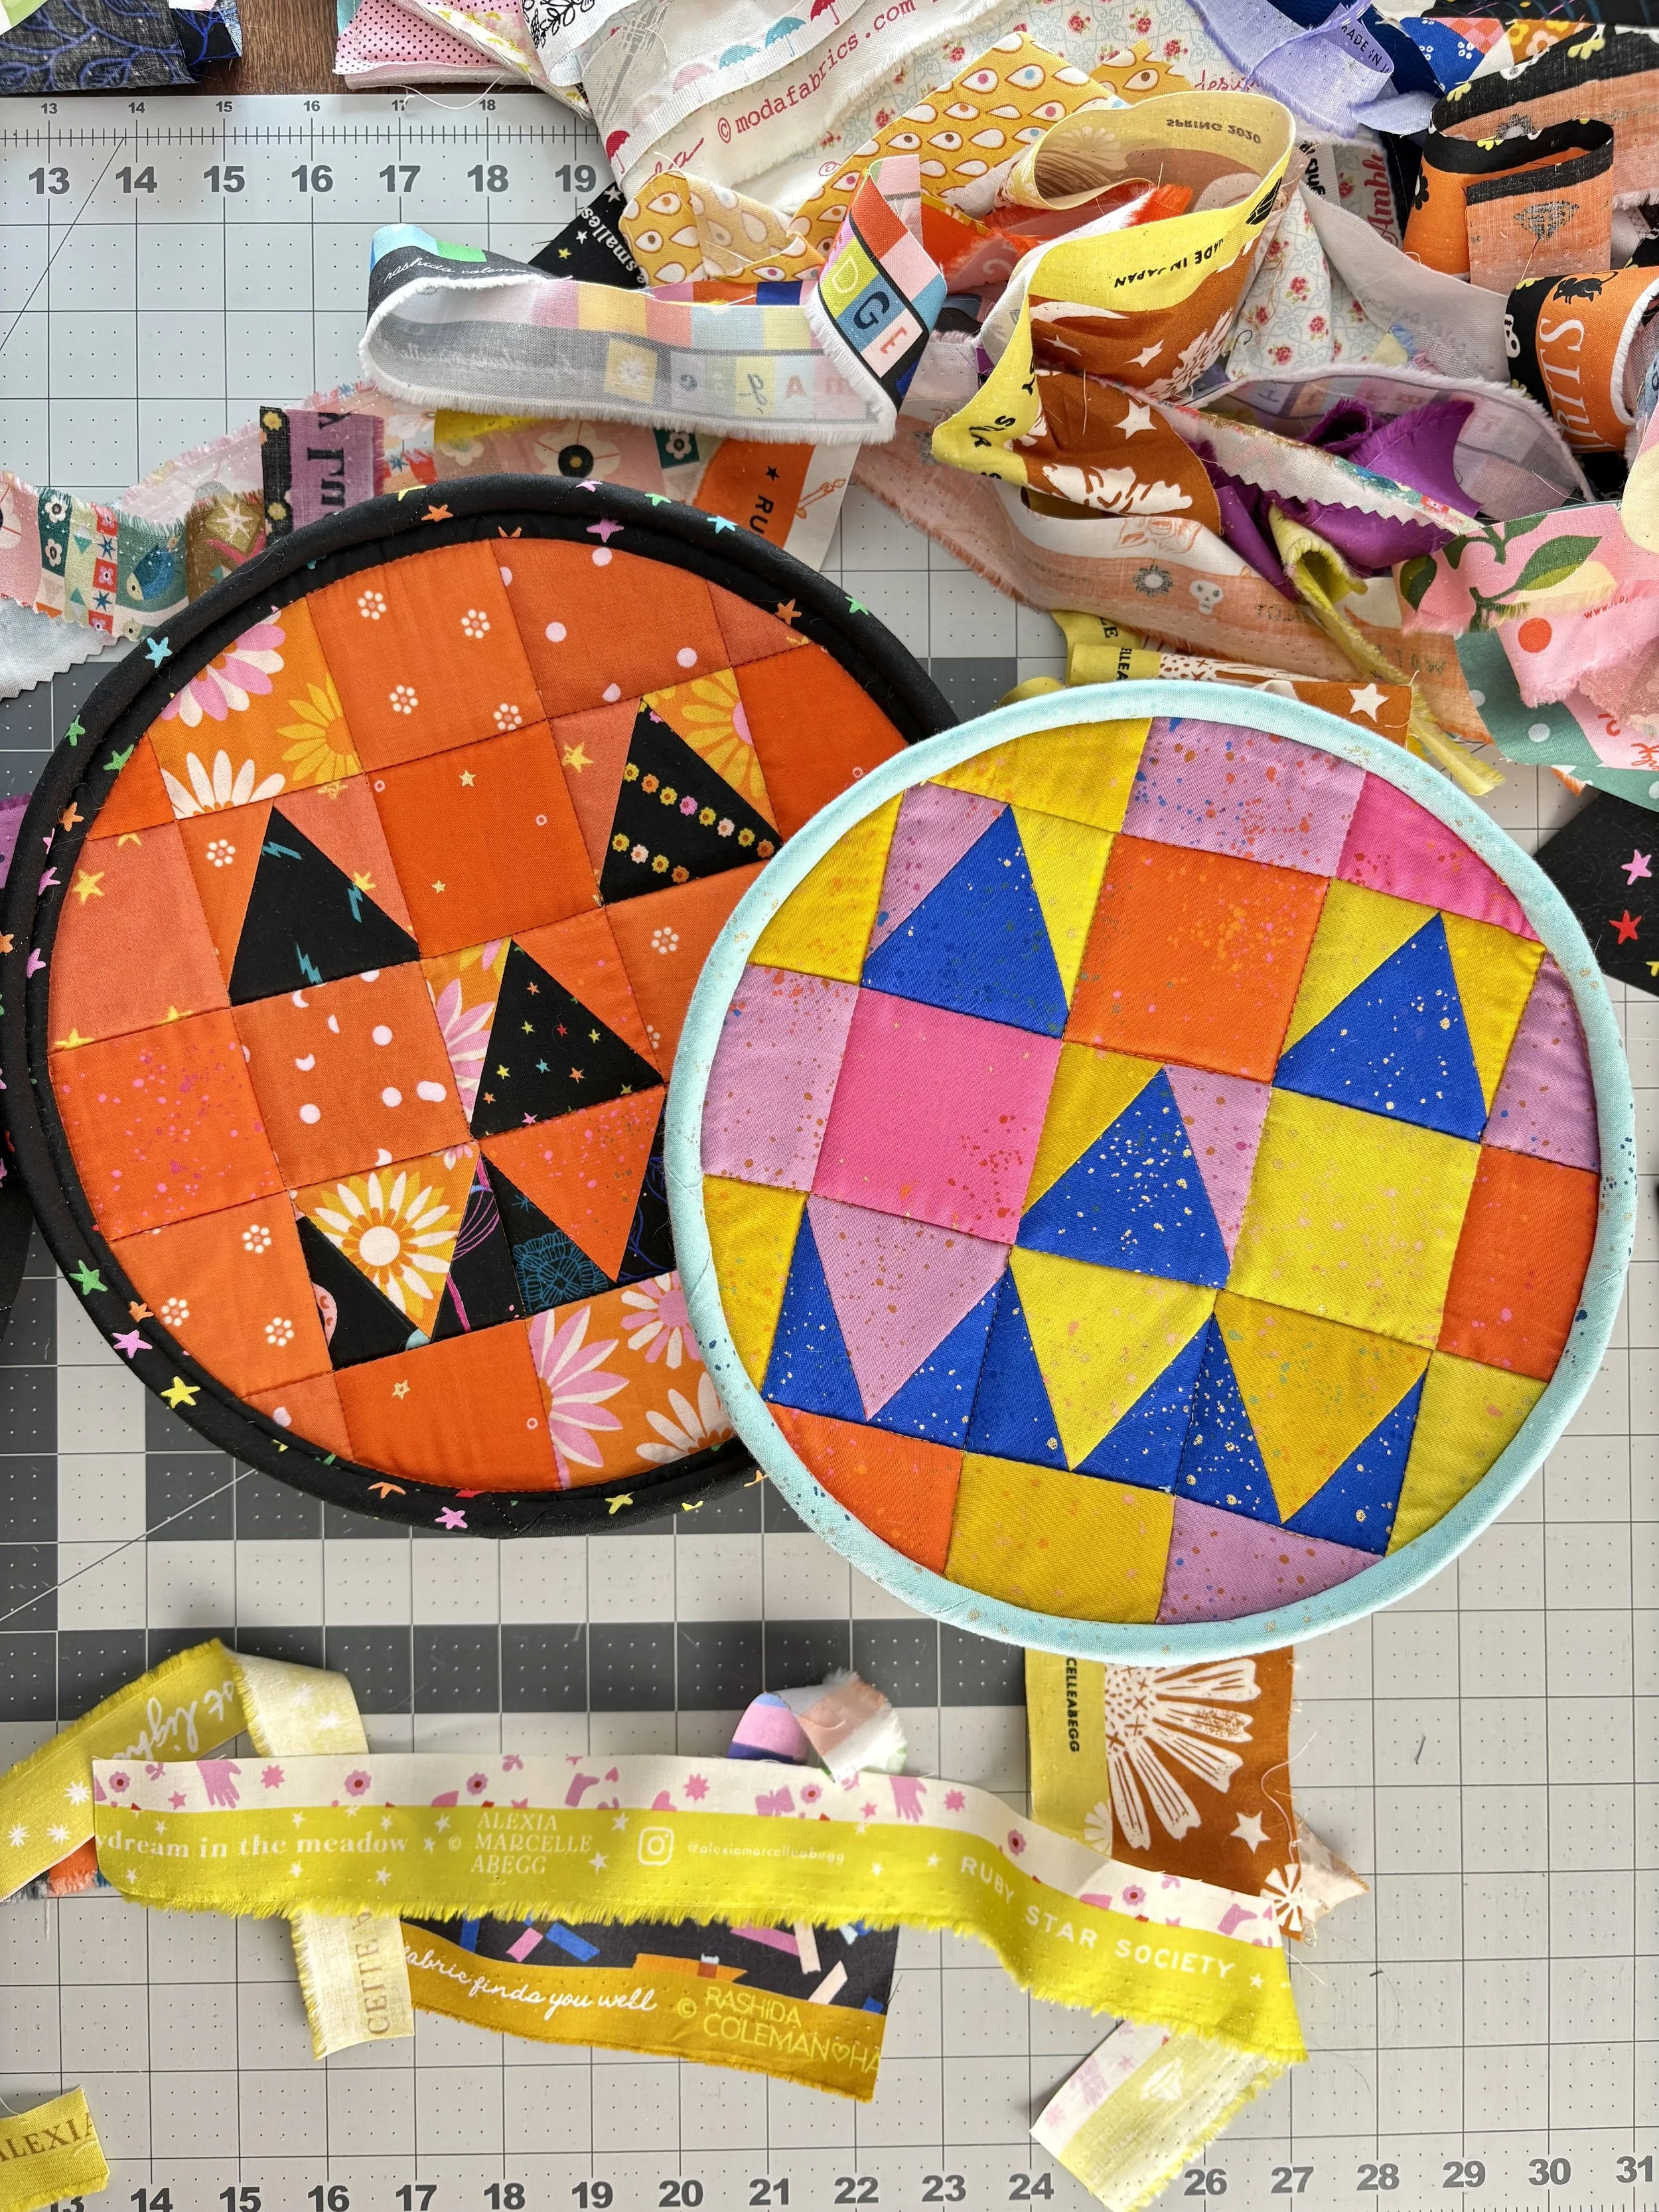
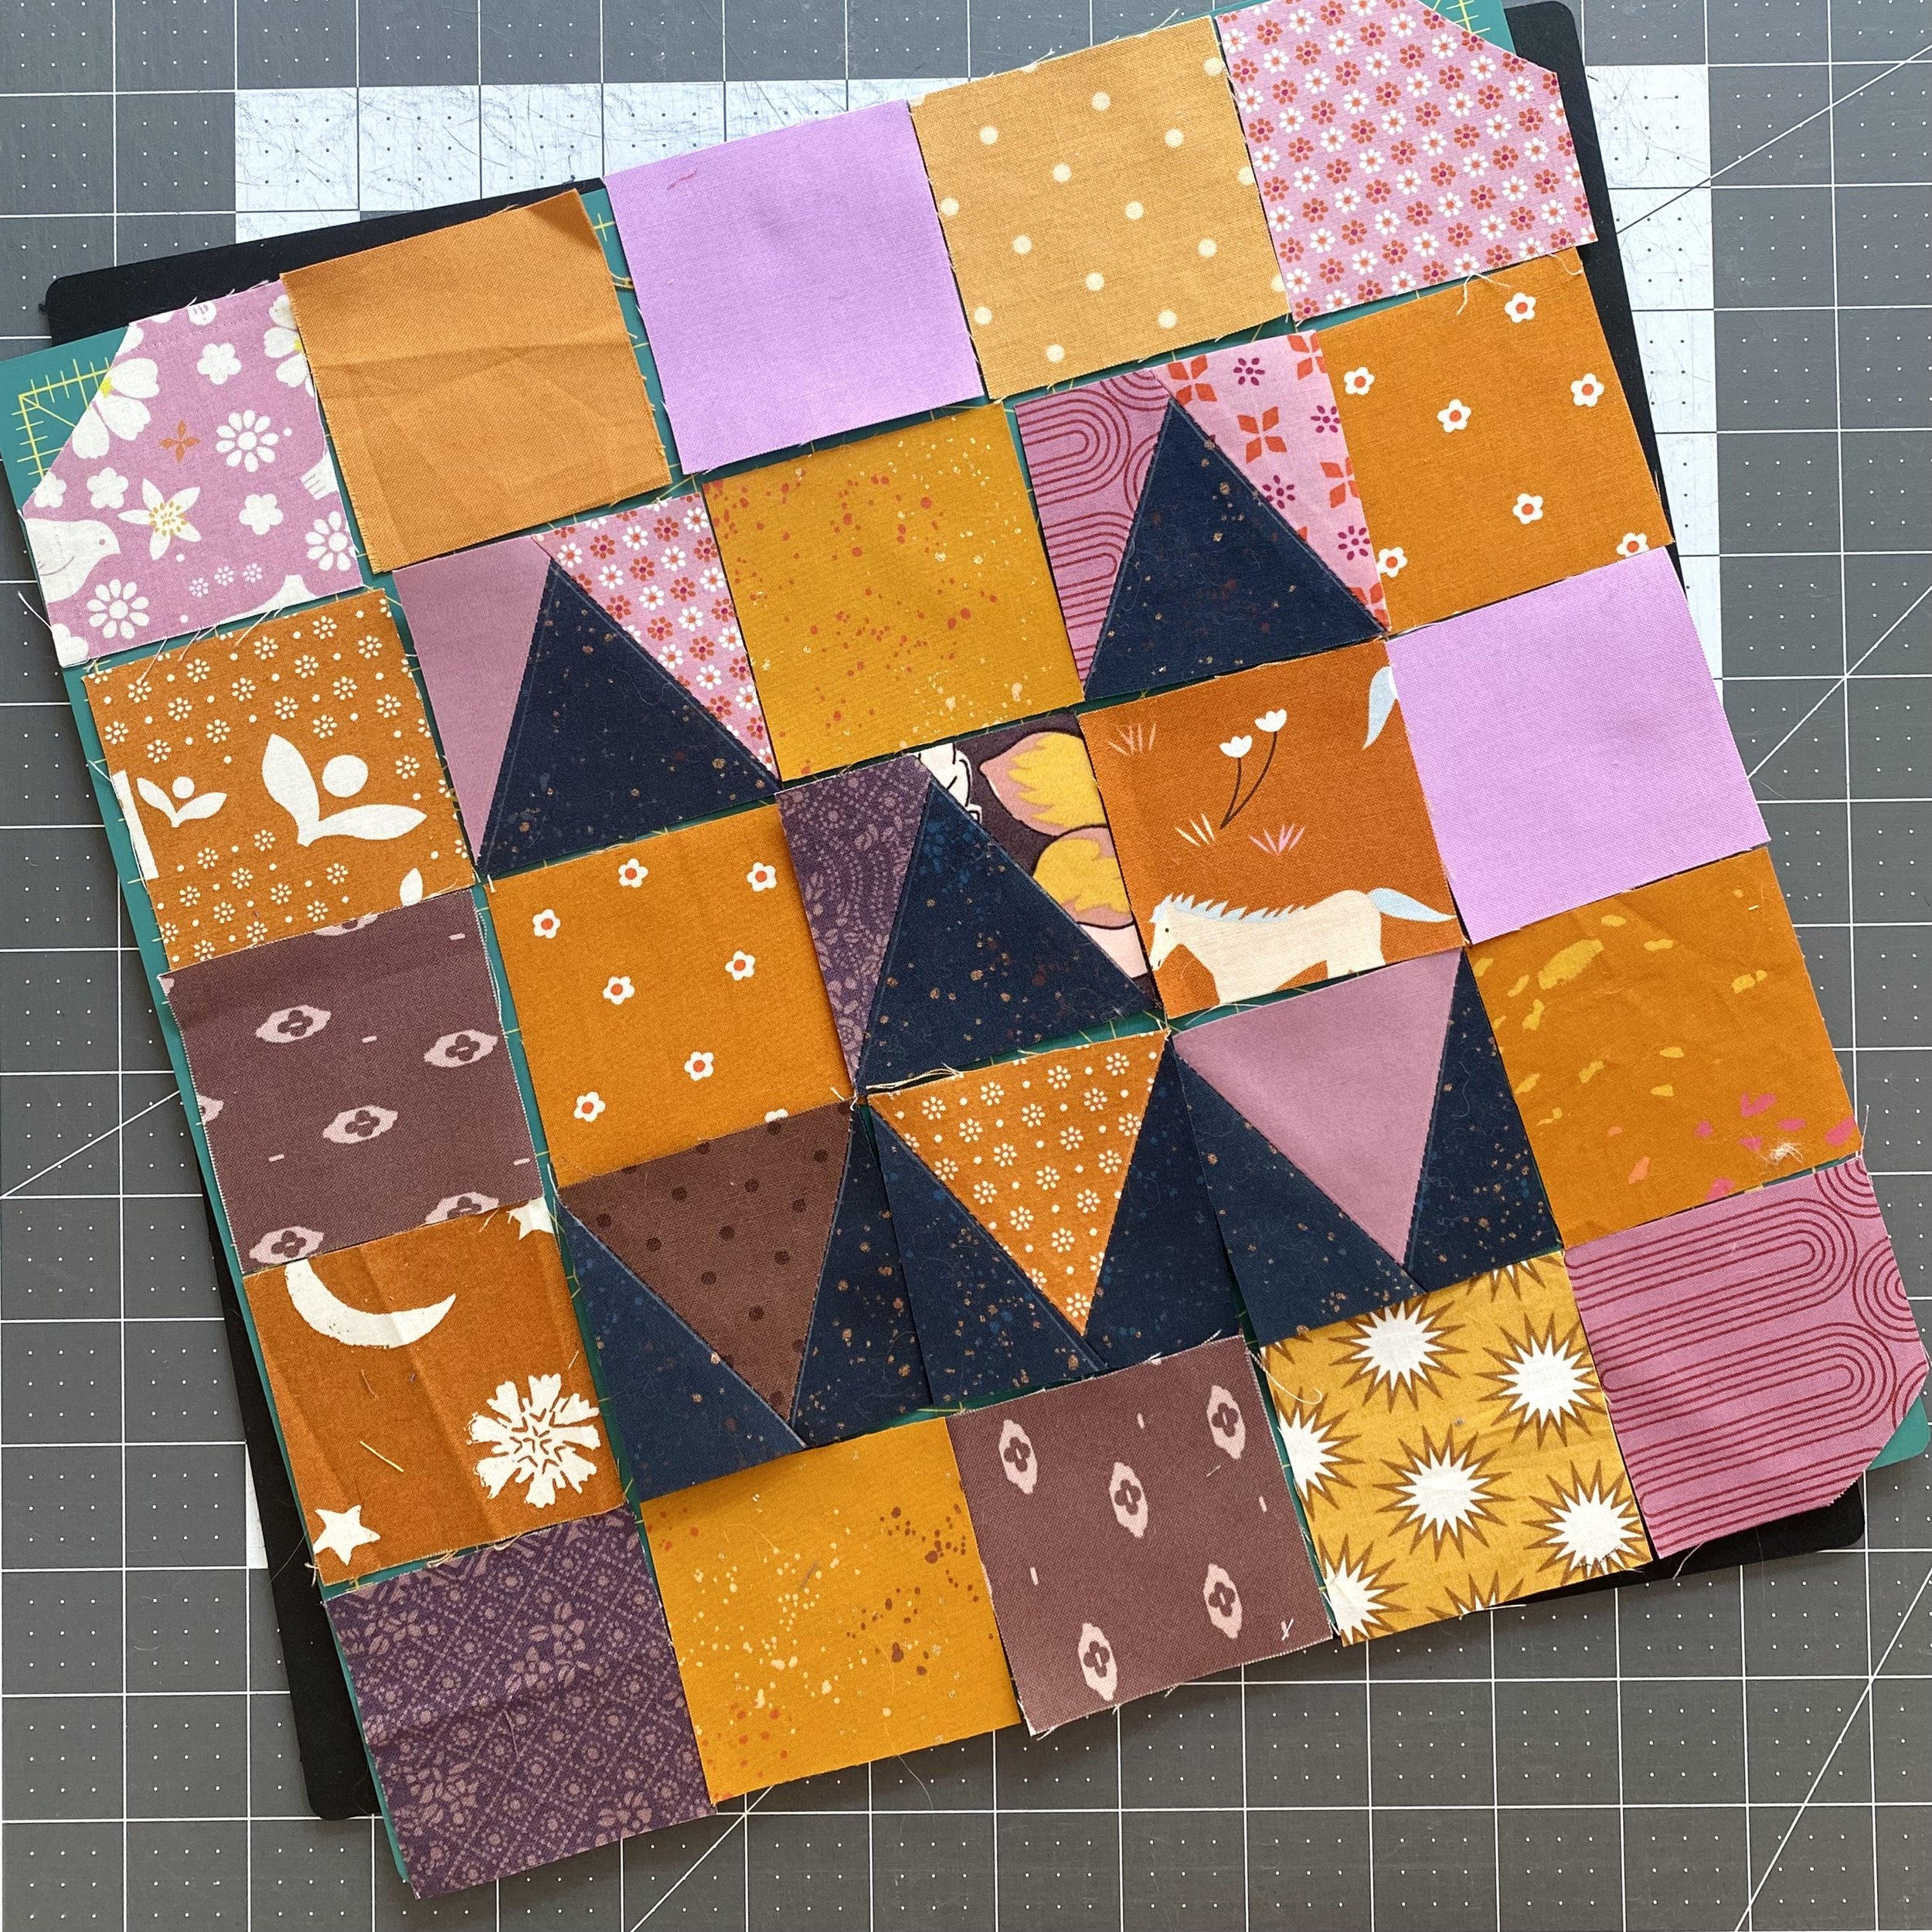
I made the large and medium size baskets. The center round of the Pump Queen pattern is the perfect size for the medium size basket - you don’t have to add any of the background fabric or sew any curves for the quilt block. Just sew up all the A1 pieces and use the ByAnnie template to trim the Pump Queen block to the size of the medium lid.
For the large basket, the center round of the Pump Queen is just too small for the lid. I added the background curve unit because I didn’t yet know how much background fabric would show. But you could skip this step entirely by adding more A1 squares around the exterior. I believe you will need 24 additional A1 squares. Now that I say that, you could probably skip the four A1 squares at the corners, as those would be entirely trimmed off by the basket lid template. I haven’t tested this, so I encourage you to double check before trimming away.
I have an entire series of blog posts to teach you how to make the Pump Queen quilt block - check them out for the step-by-step instructions, including how to pick fabrics, tackling the triangles, and web-piecing methods.
Making It Reversible
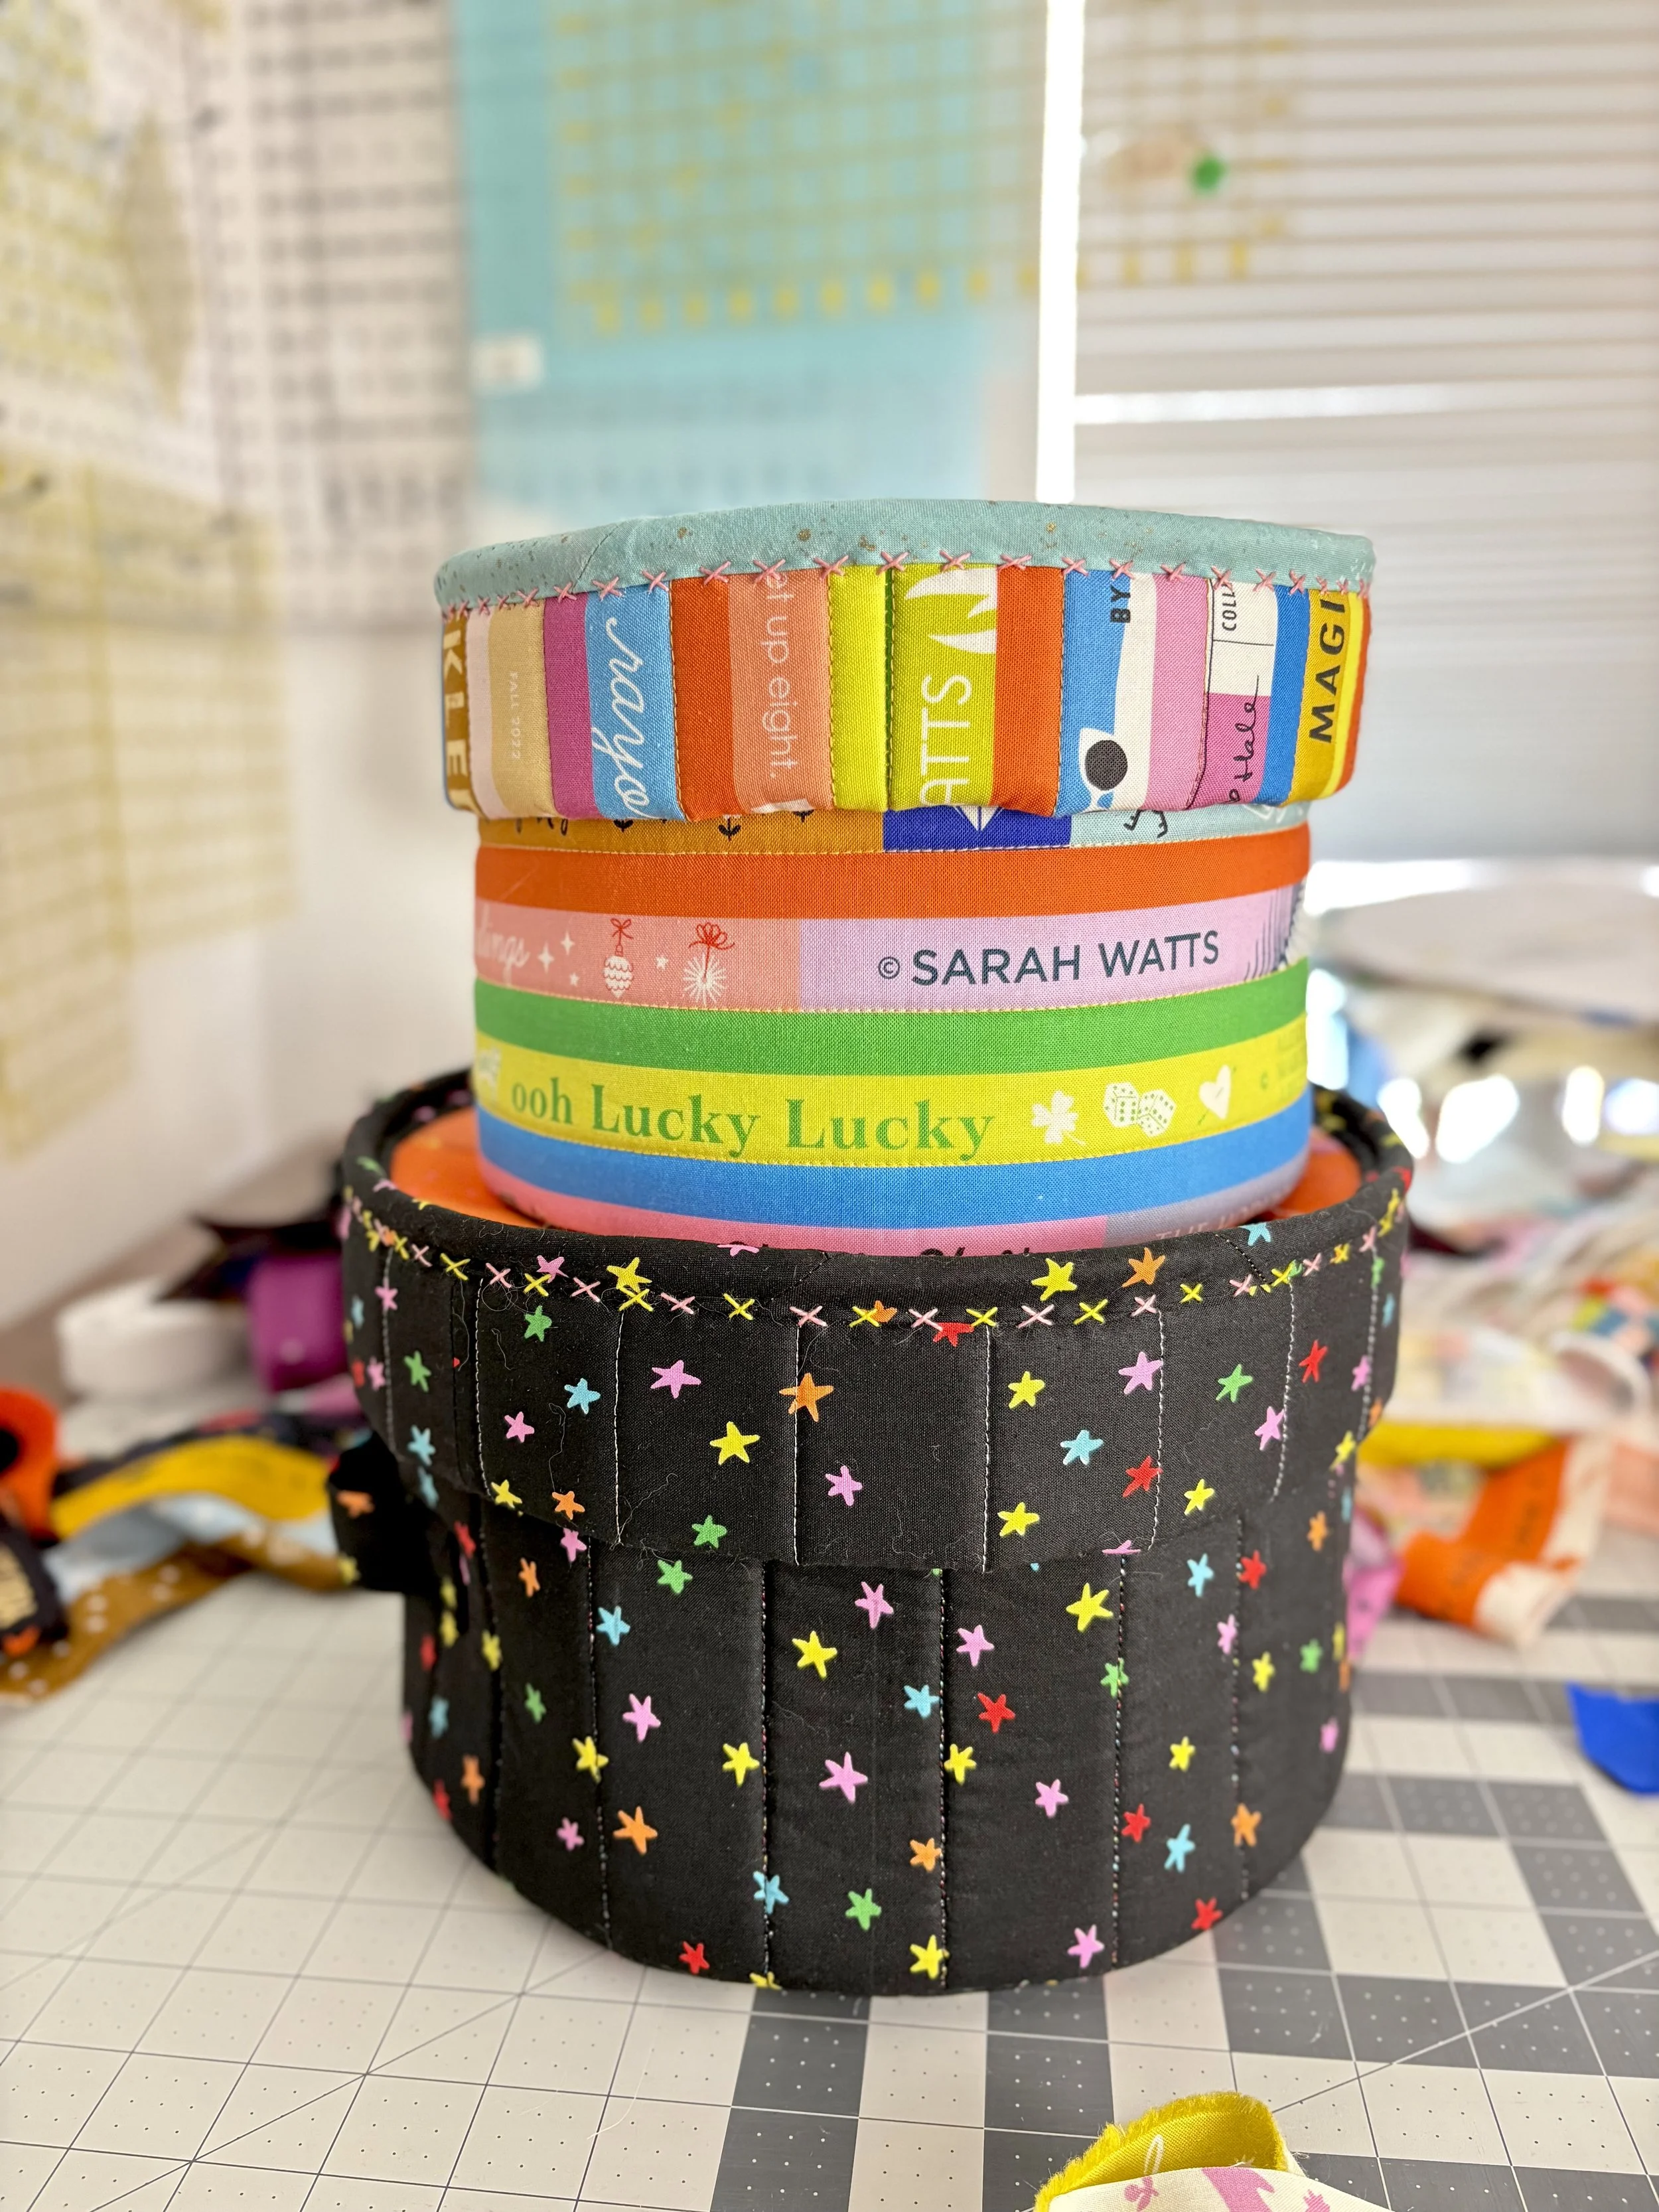
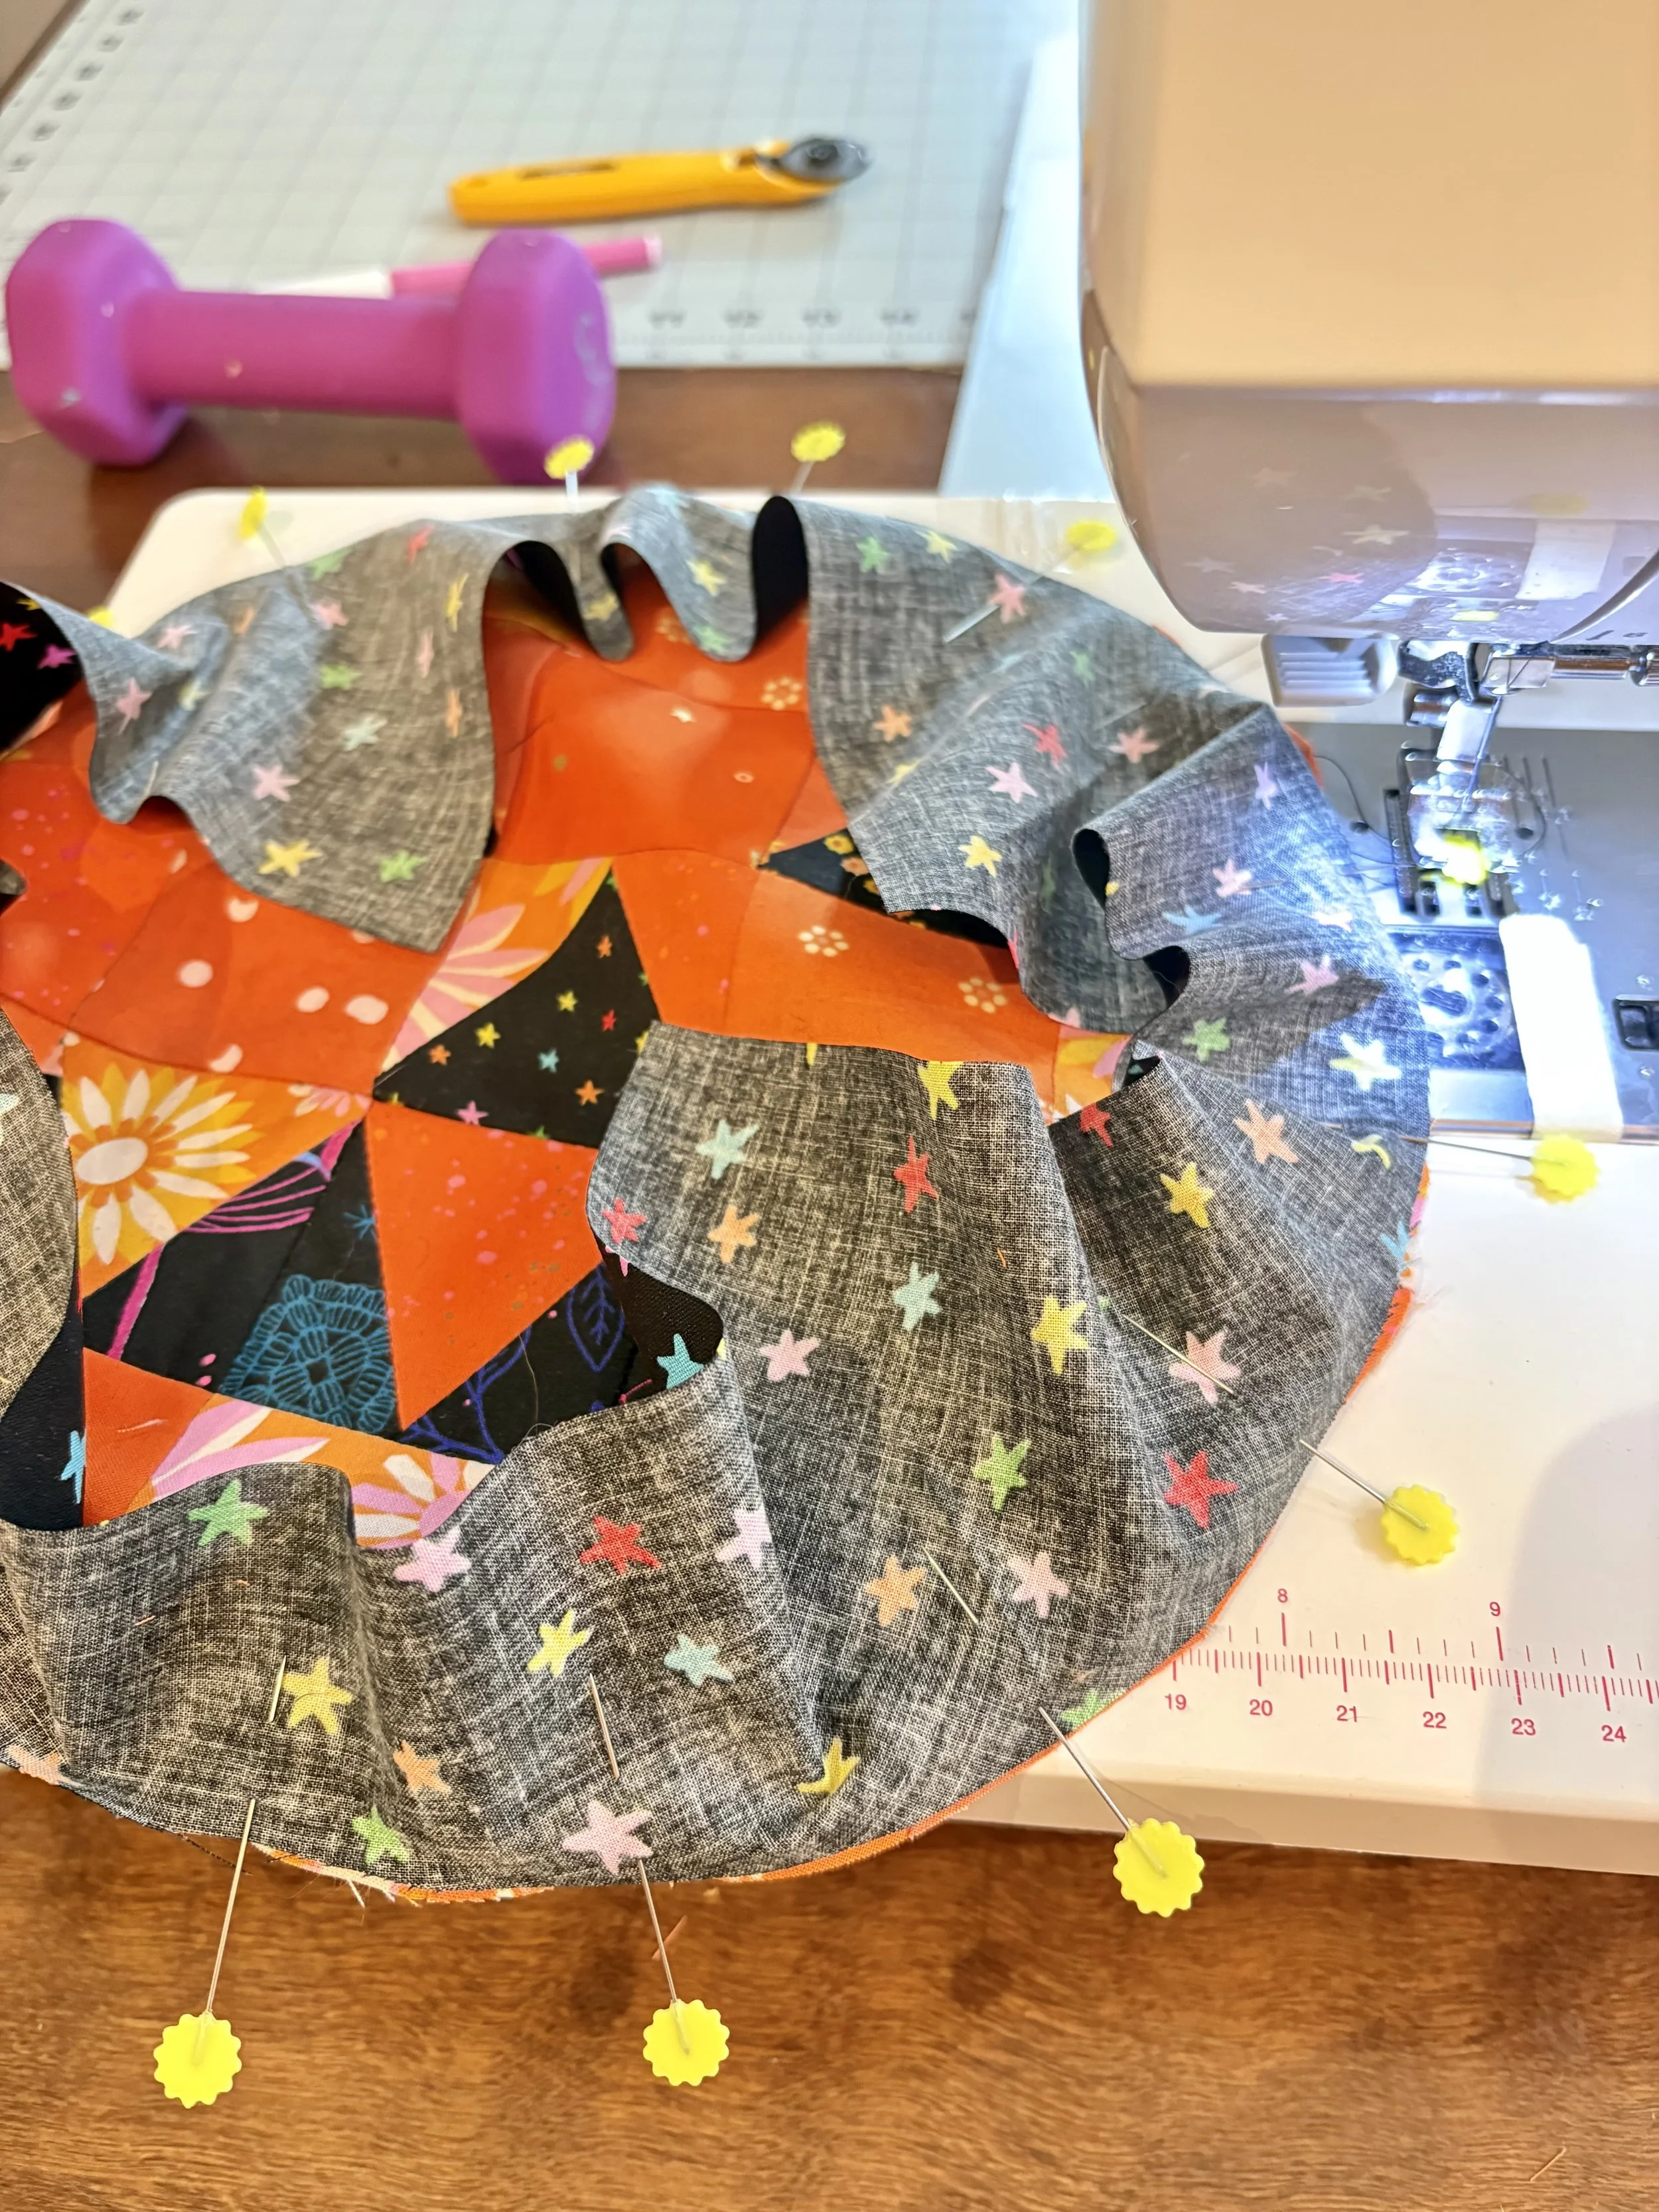
I originally sewed the pattern as written, serging the edges and assembling the lids so that the serged edges are hidden on the inside. After sitting with that for a bit, I seam ripped it and re-sewed it so that I could add binding to the Pump Queen side. I followed this tutorial to make bias binding and used a 12" square for each basket.
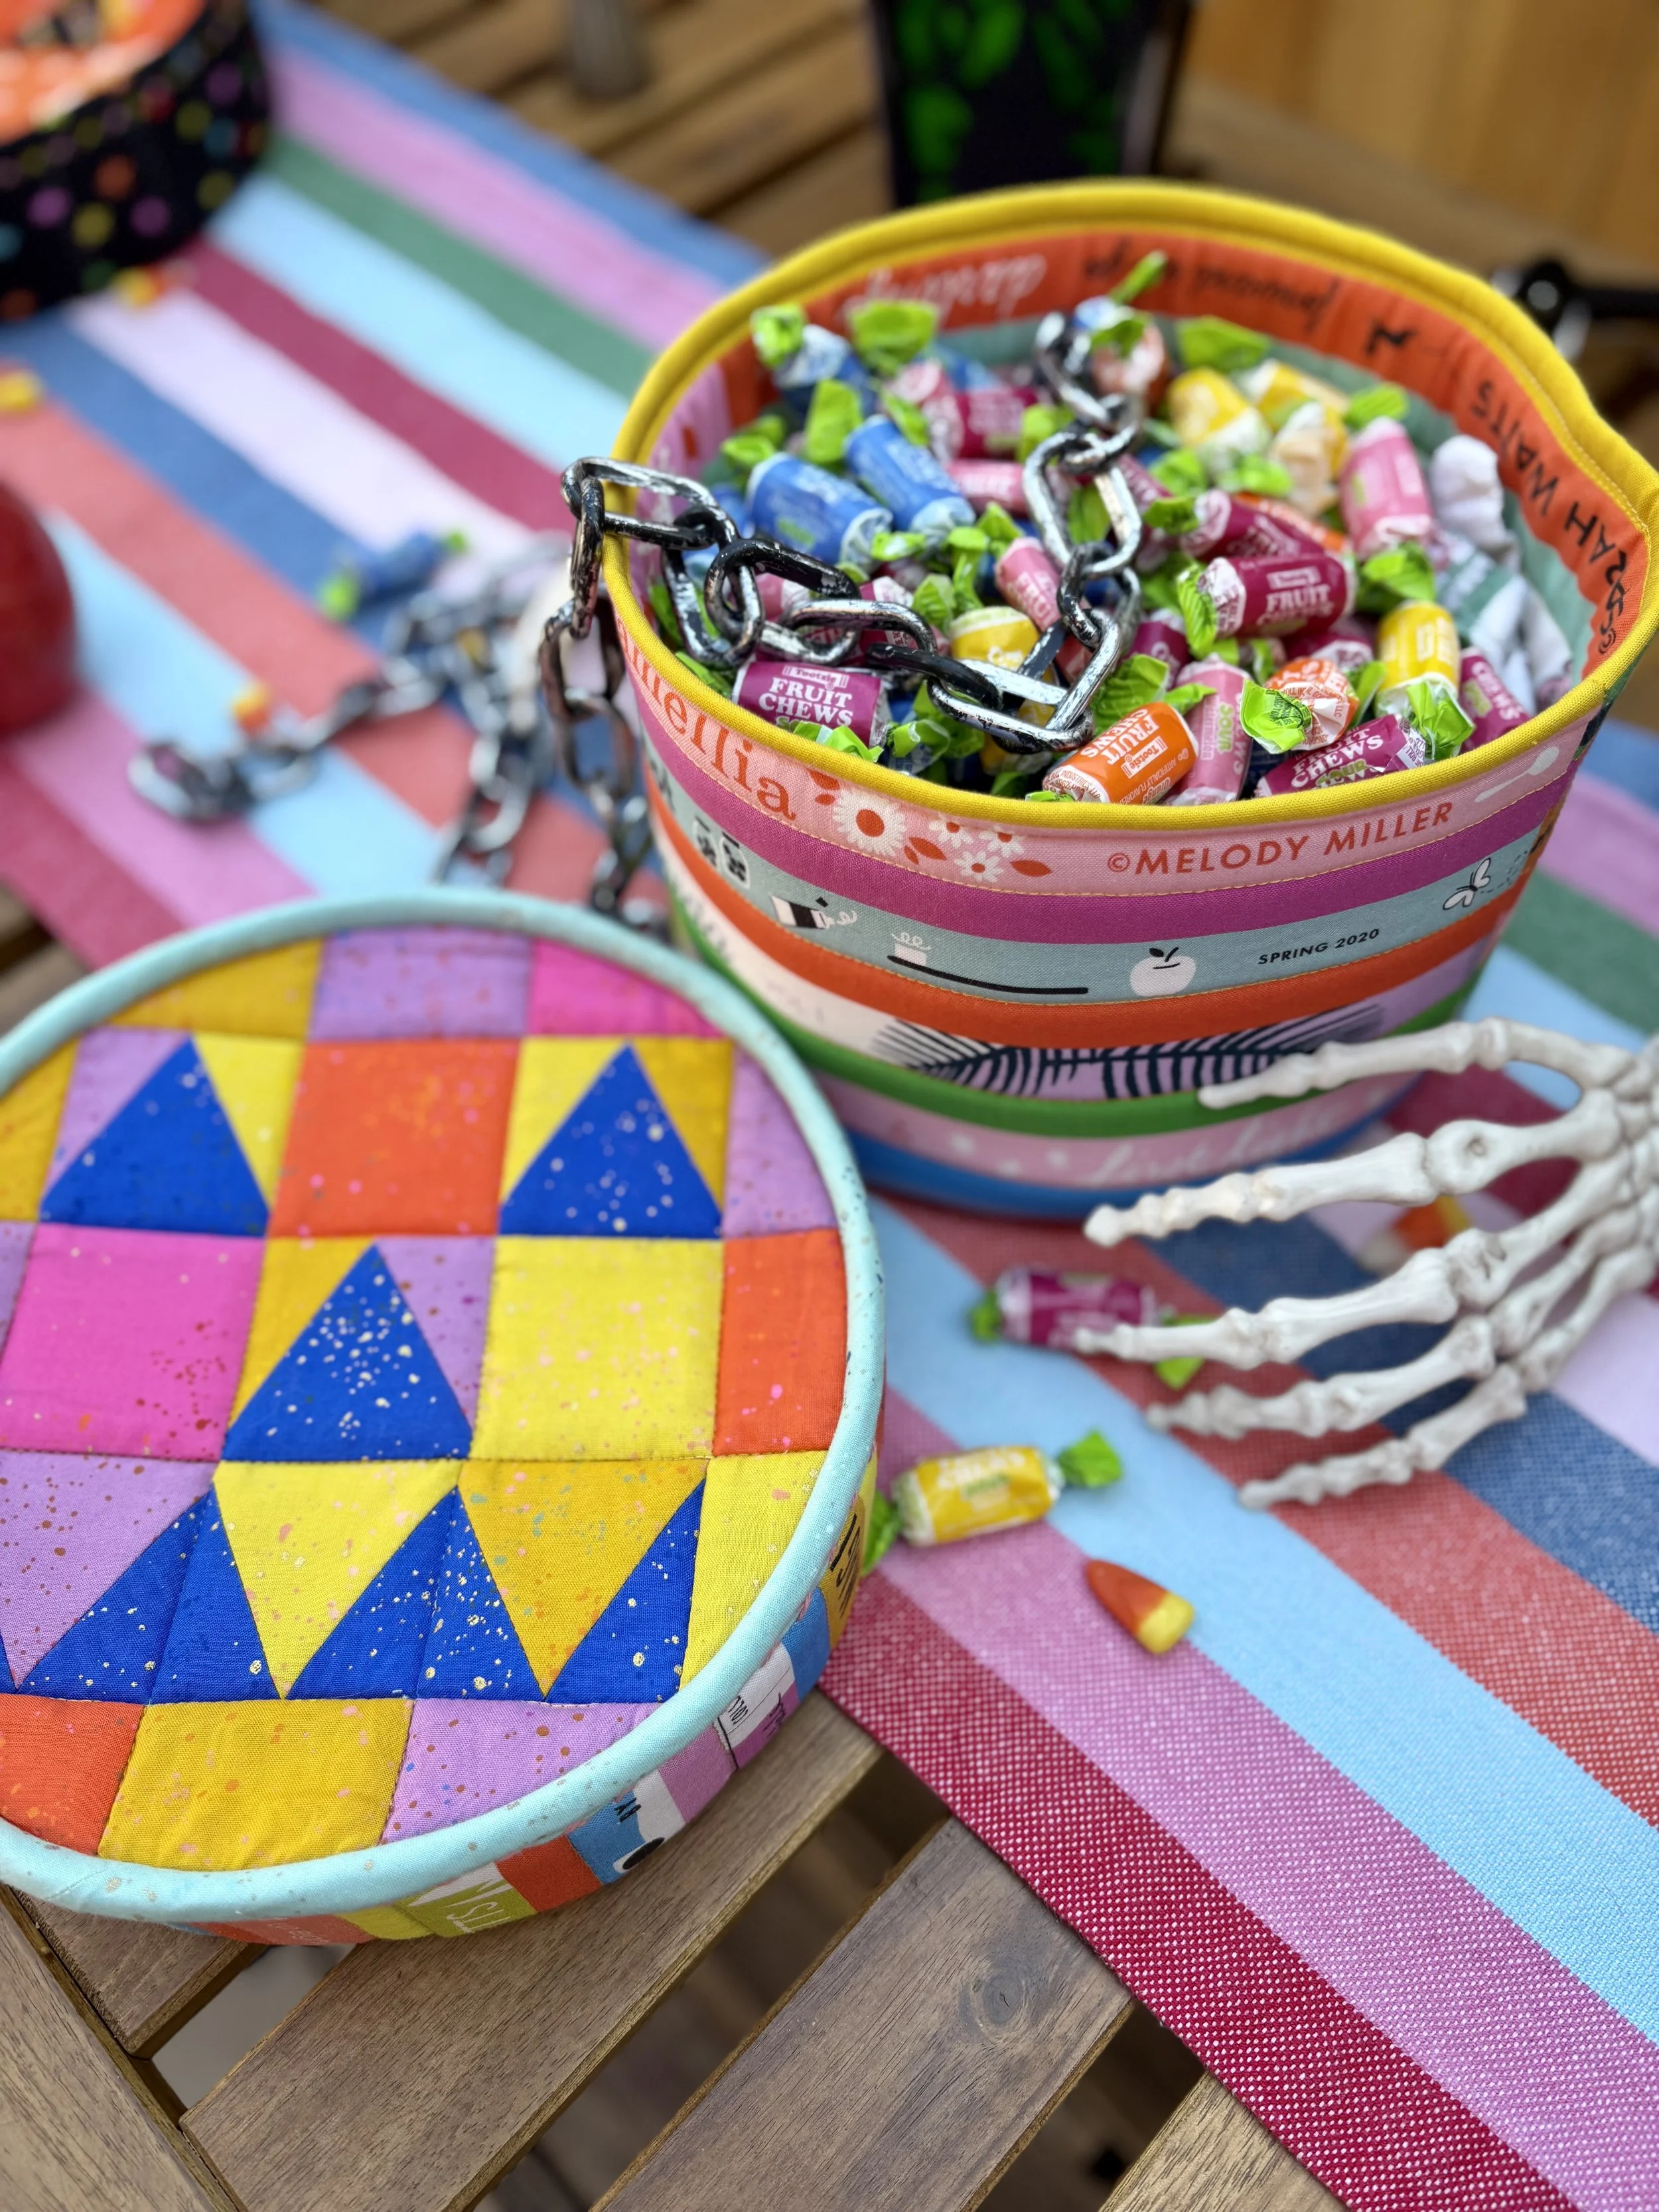
Here is the medium basket, showing what the patchwork outside and solid fabric reversed inside look like. I really can’t think of a better fabric for this project than Ruby Star Society’s selvedge magic. By now, you must know that I am obsessed with making quilted goods with this fabric.
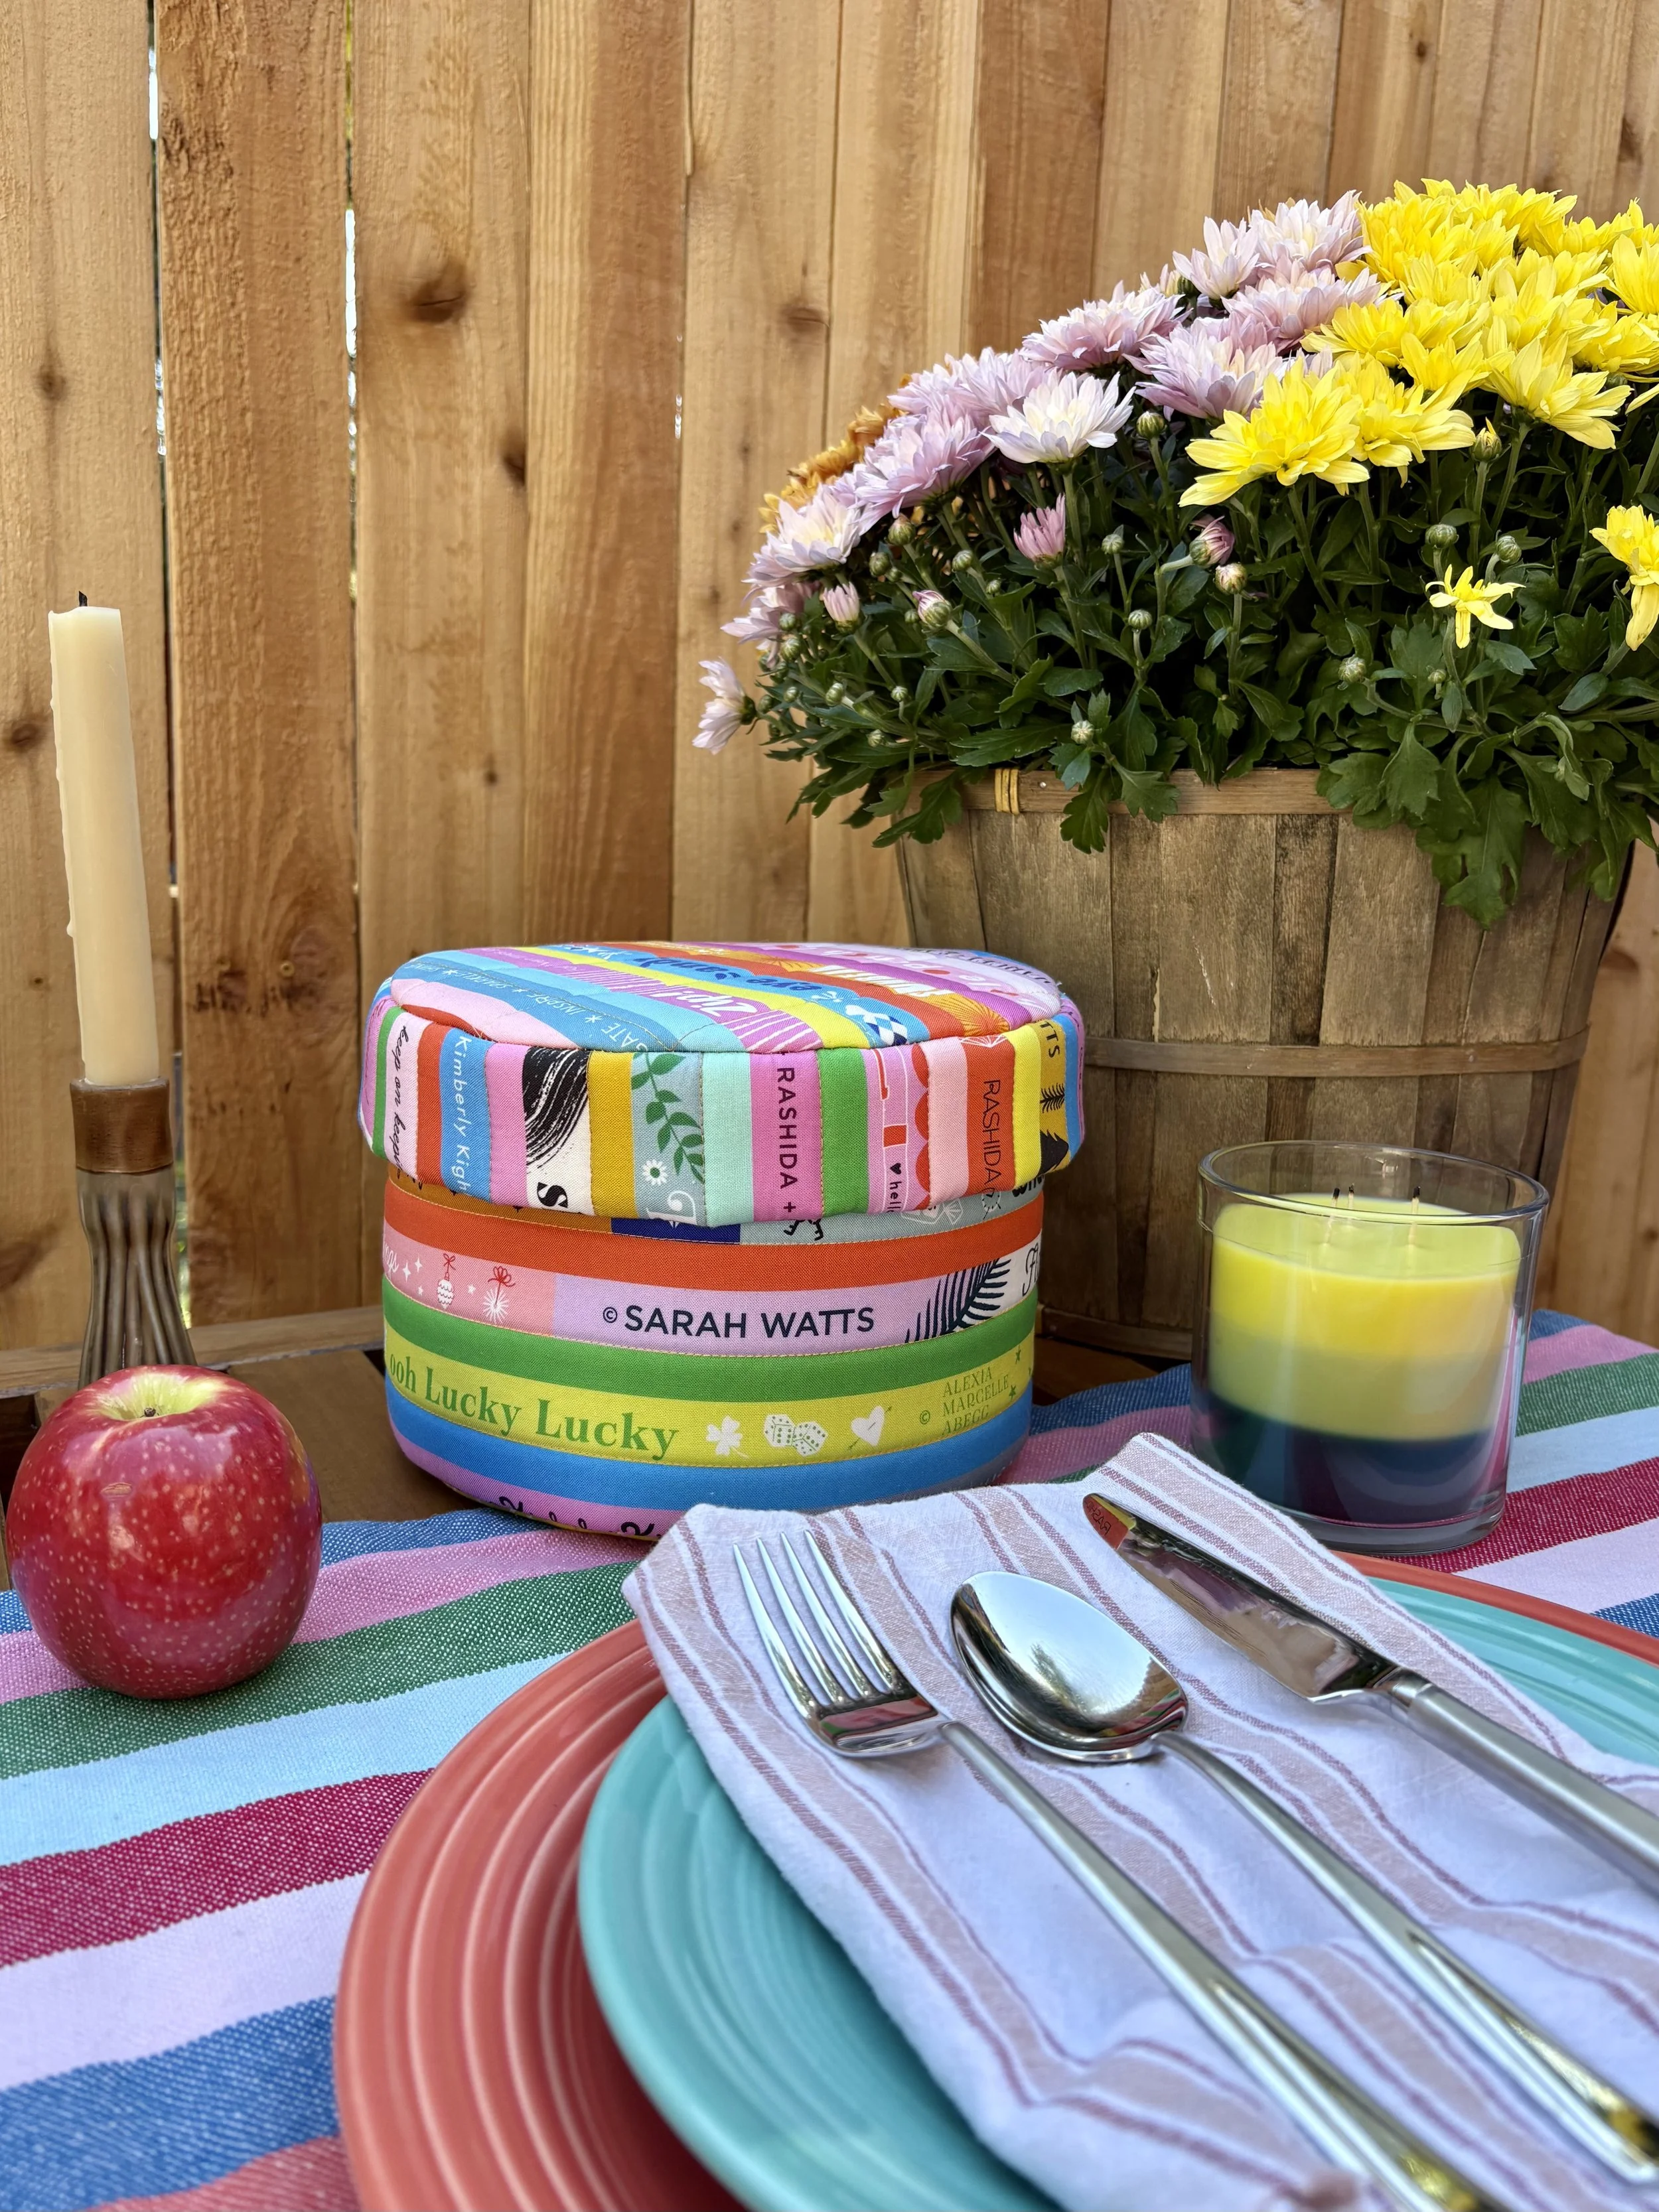
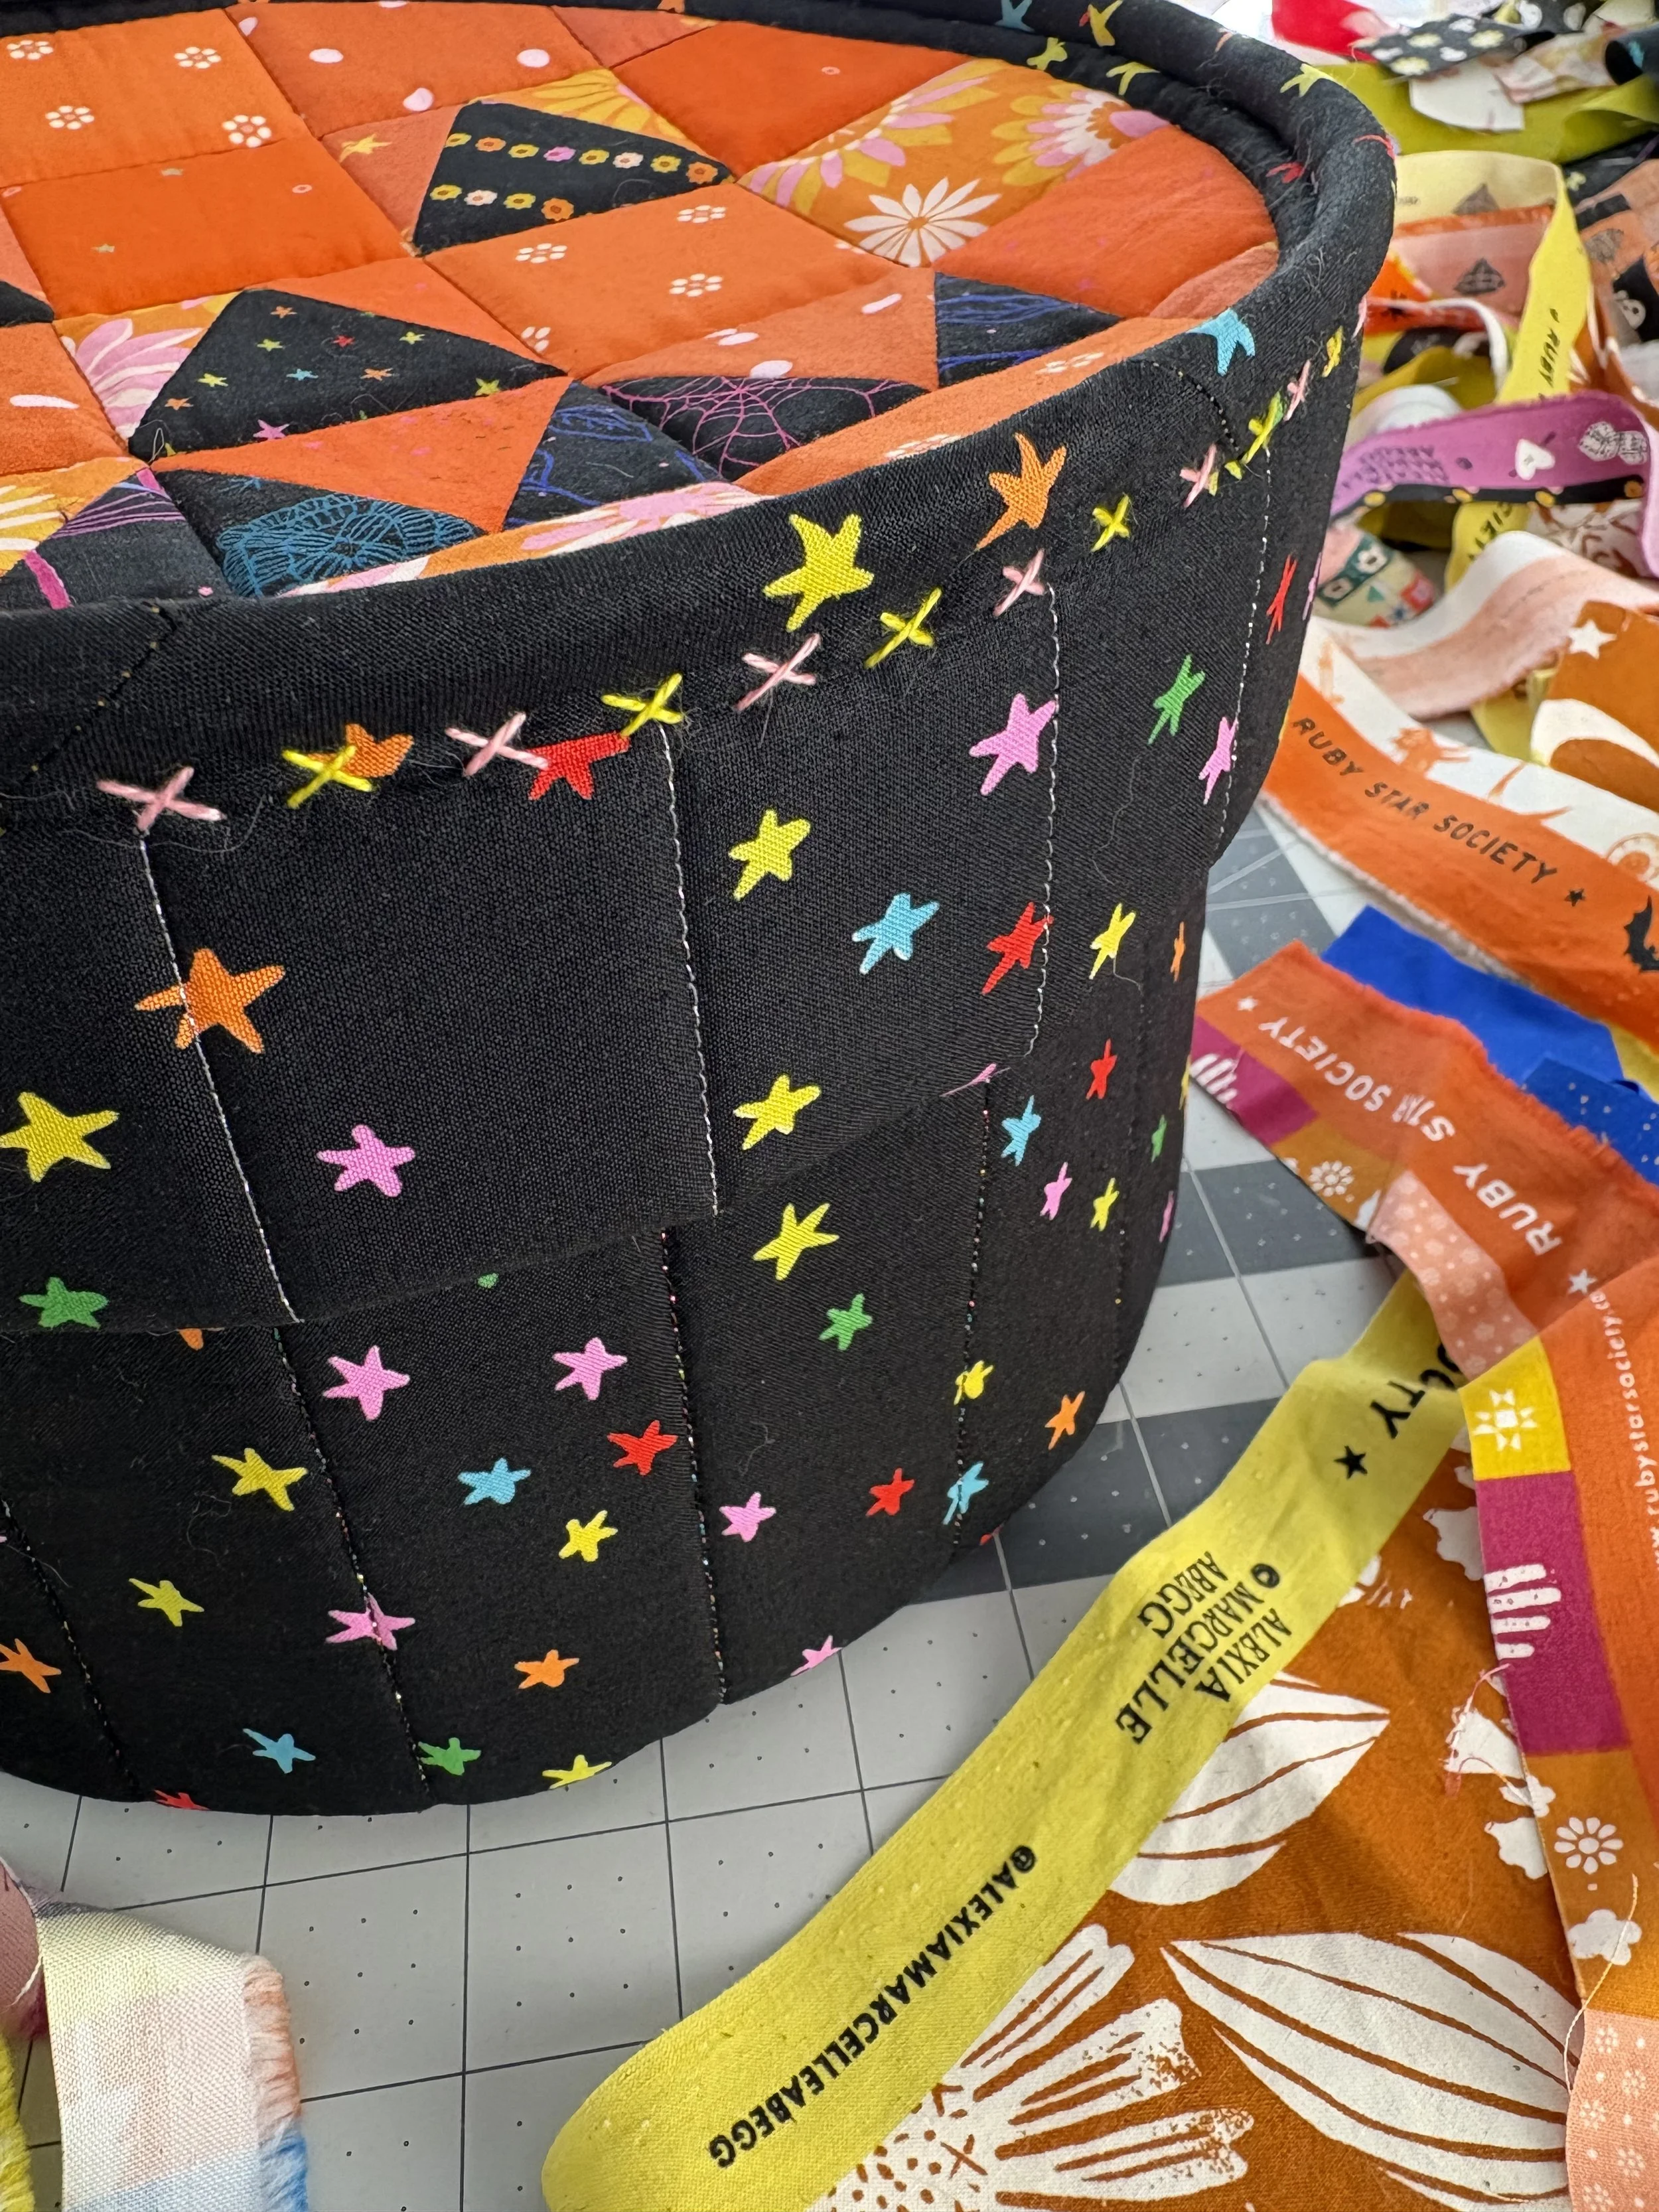
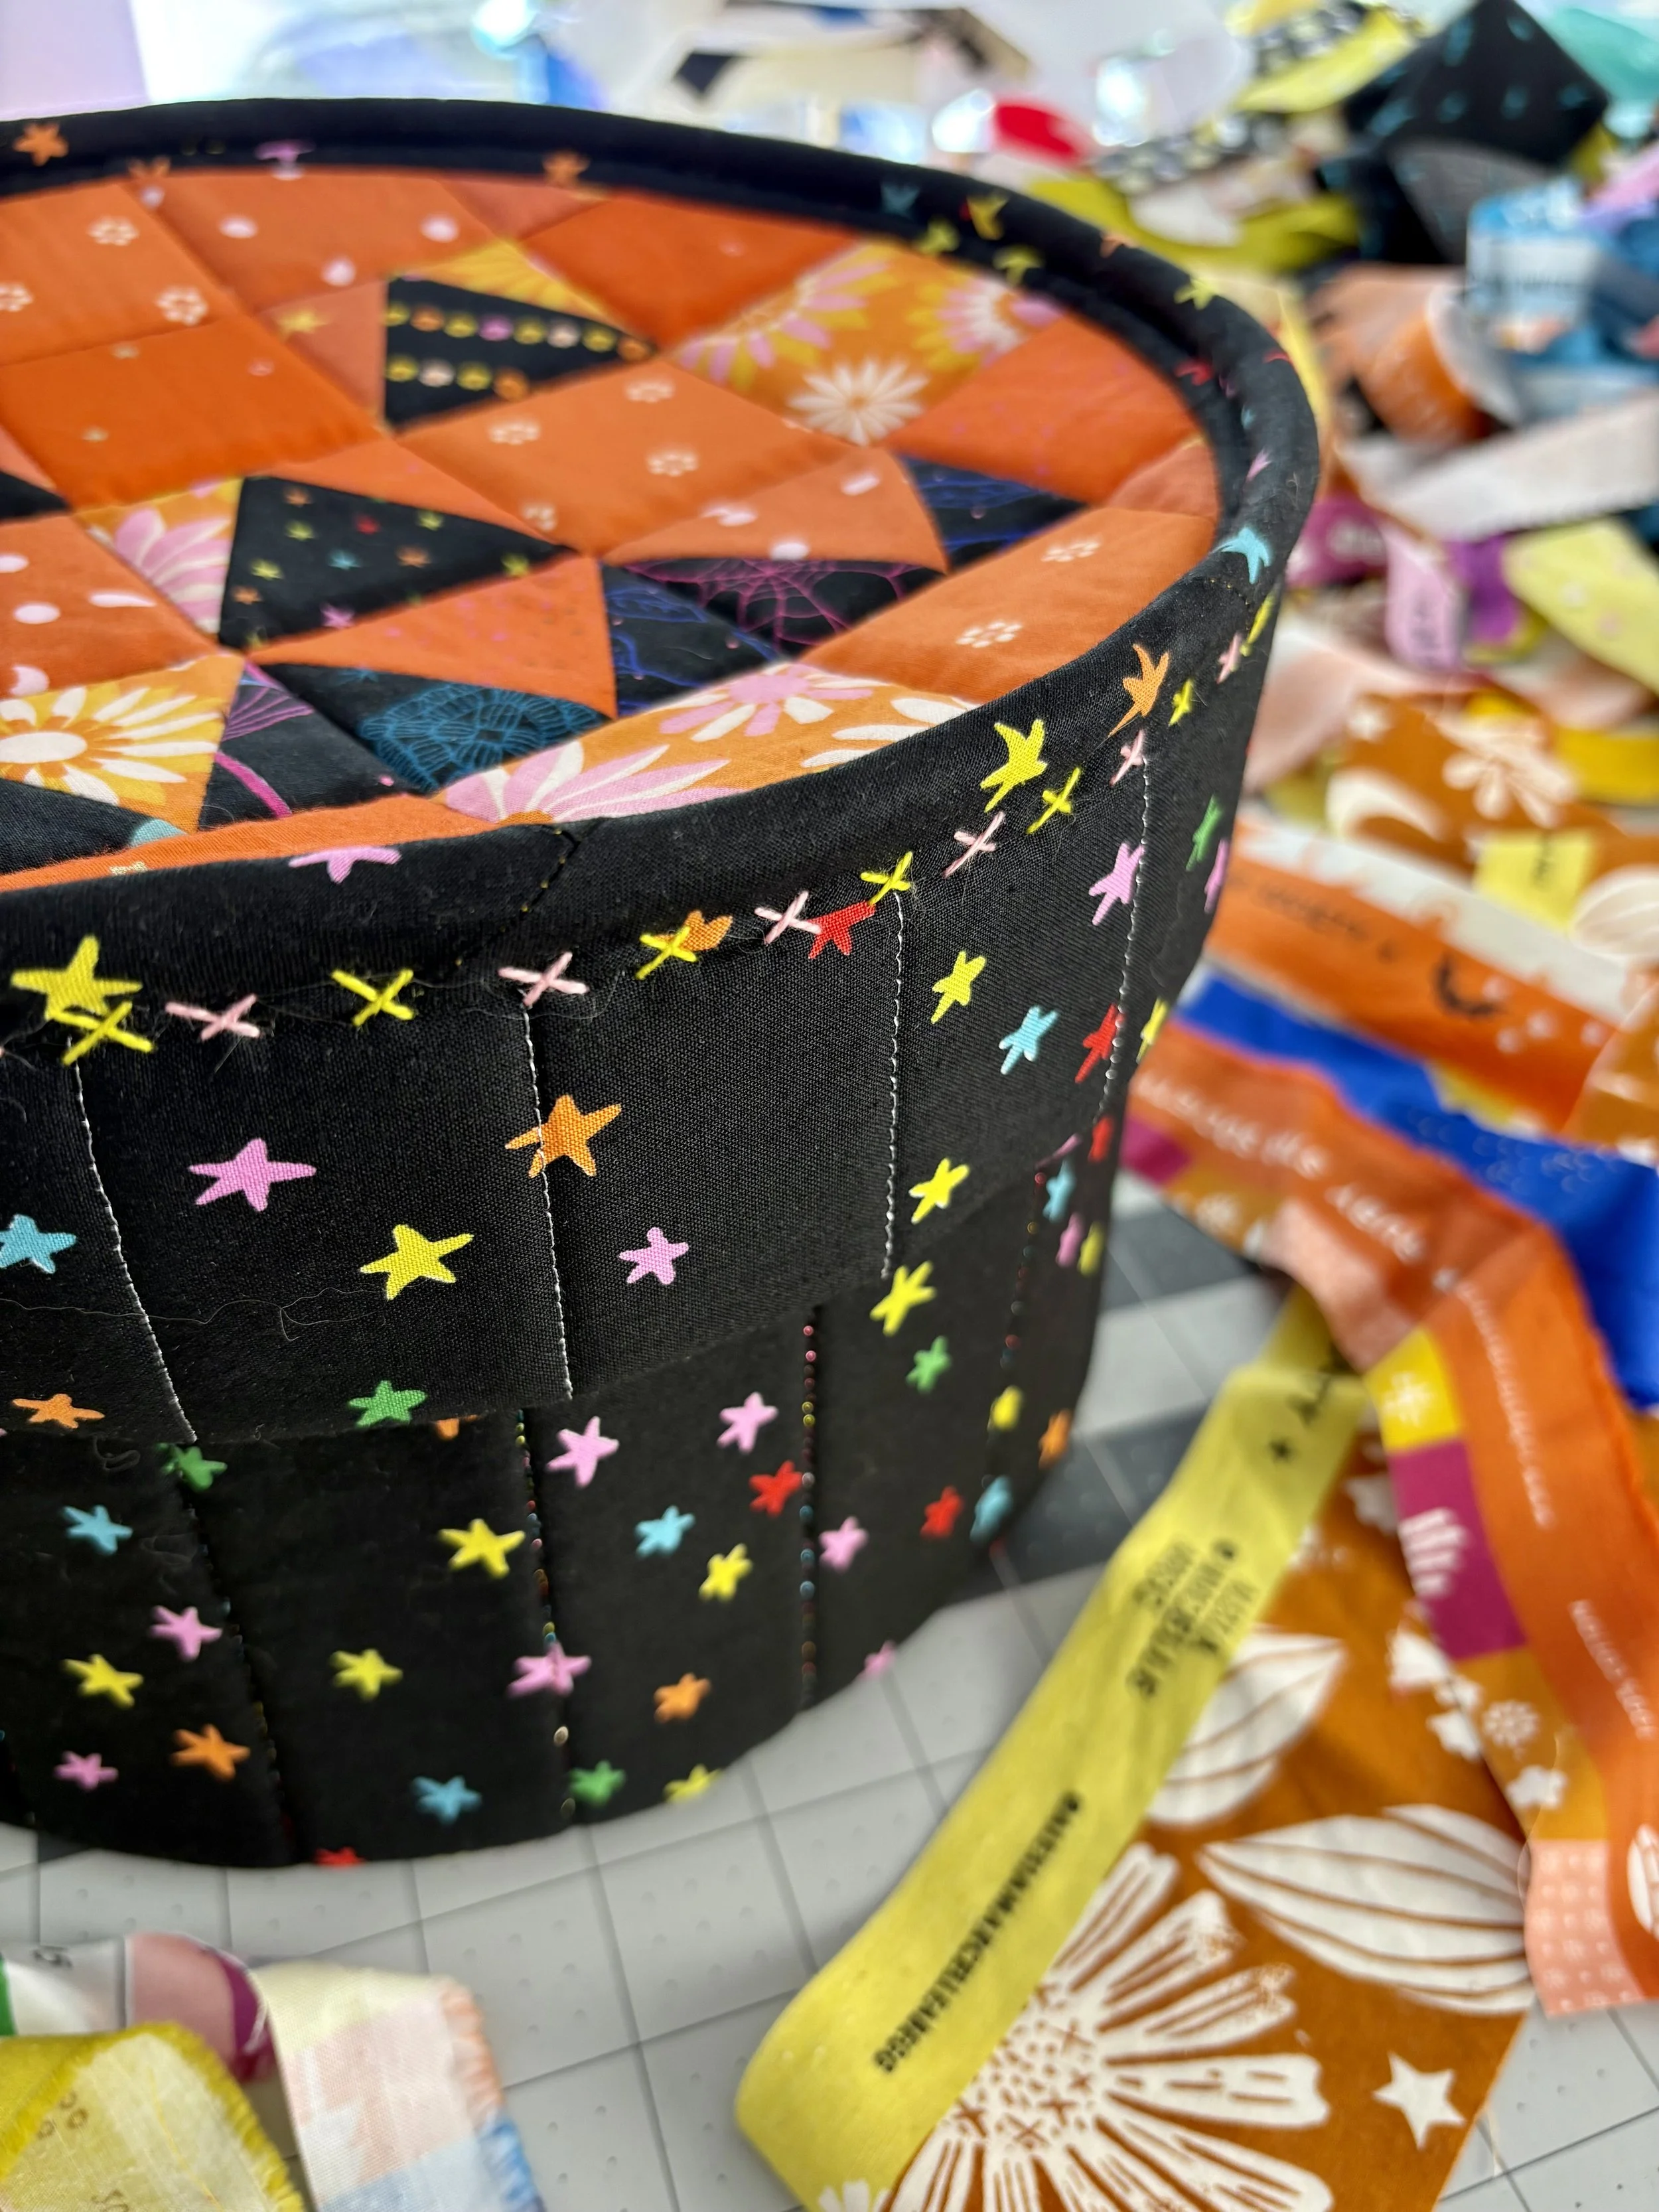
By adding binding, not only are these lids fully reversible, I could add my new, favorite hand-finishing accents. I simply cannot resist finishing binding by hand and using my favorite big stitches. Just make sure you machine stitch the binding to the lid side, not the basket side.
I was really outdid myself on this project - I used two colors of #8 WonderFil Perle Cotton thread to add to the Halloween candy colors of the Starry fabric.
Now I’ve got the cutest basket to hand out Halloween sweet treats. Until then, I’ll be using these around my house as part of my Halloween decorations! Make sure you grab your Pump Queen pattern, and read through the blog posts so you’re set up for successful stitching this weekend!

Perfect for spooky season sewing, the Pump Queen quilt block uses equilateral triangles and inset circles. Make just one quilt block to add to your growing collection of creepy quilt blocks, or make enough to fill an entire pumpkin patch. You'll need a ruler with a 60 degree line to make this block. Make the block scrappy by diving into your fabric stash or use your favorite pre-cut charm pack for the patchwork. The pattern assumes some familiarity with sewing curves. The block finishes at 12” x 12”.
Skill level: confident beginner
Instant download PDF
Includes printable templates