

Get ready to channel Monet because this month, we’re diving into Lillette. Inspired by his Water Lily series, I wanted to bring together art history and quilting.
This was a difficult pattern to write - the pattern instructions you have is my third version. I was very picky about the proportion of flower to lily pad, which meant that I had to introduce ⅛ measurements. I also wanted to leave as little left over fabric as possible, so I had to figure out how to best use leftover fabric to cut out the background fabric units. I hope it’s all paid off and that you have a blast making this block!
The fabrics I’m using are Bee Cross Stitch, designed by Lori Holt for Riley Blake Designs. Fabrics were provided by Riley Blake Designs.
Denim
Cottage
Soldier
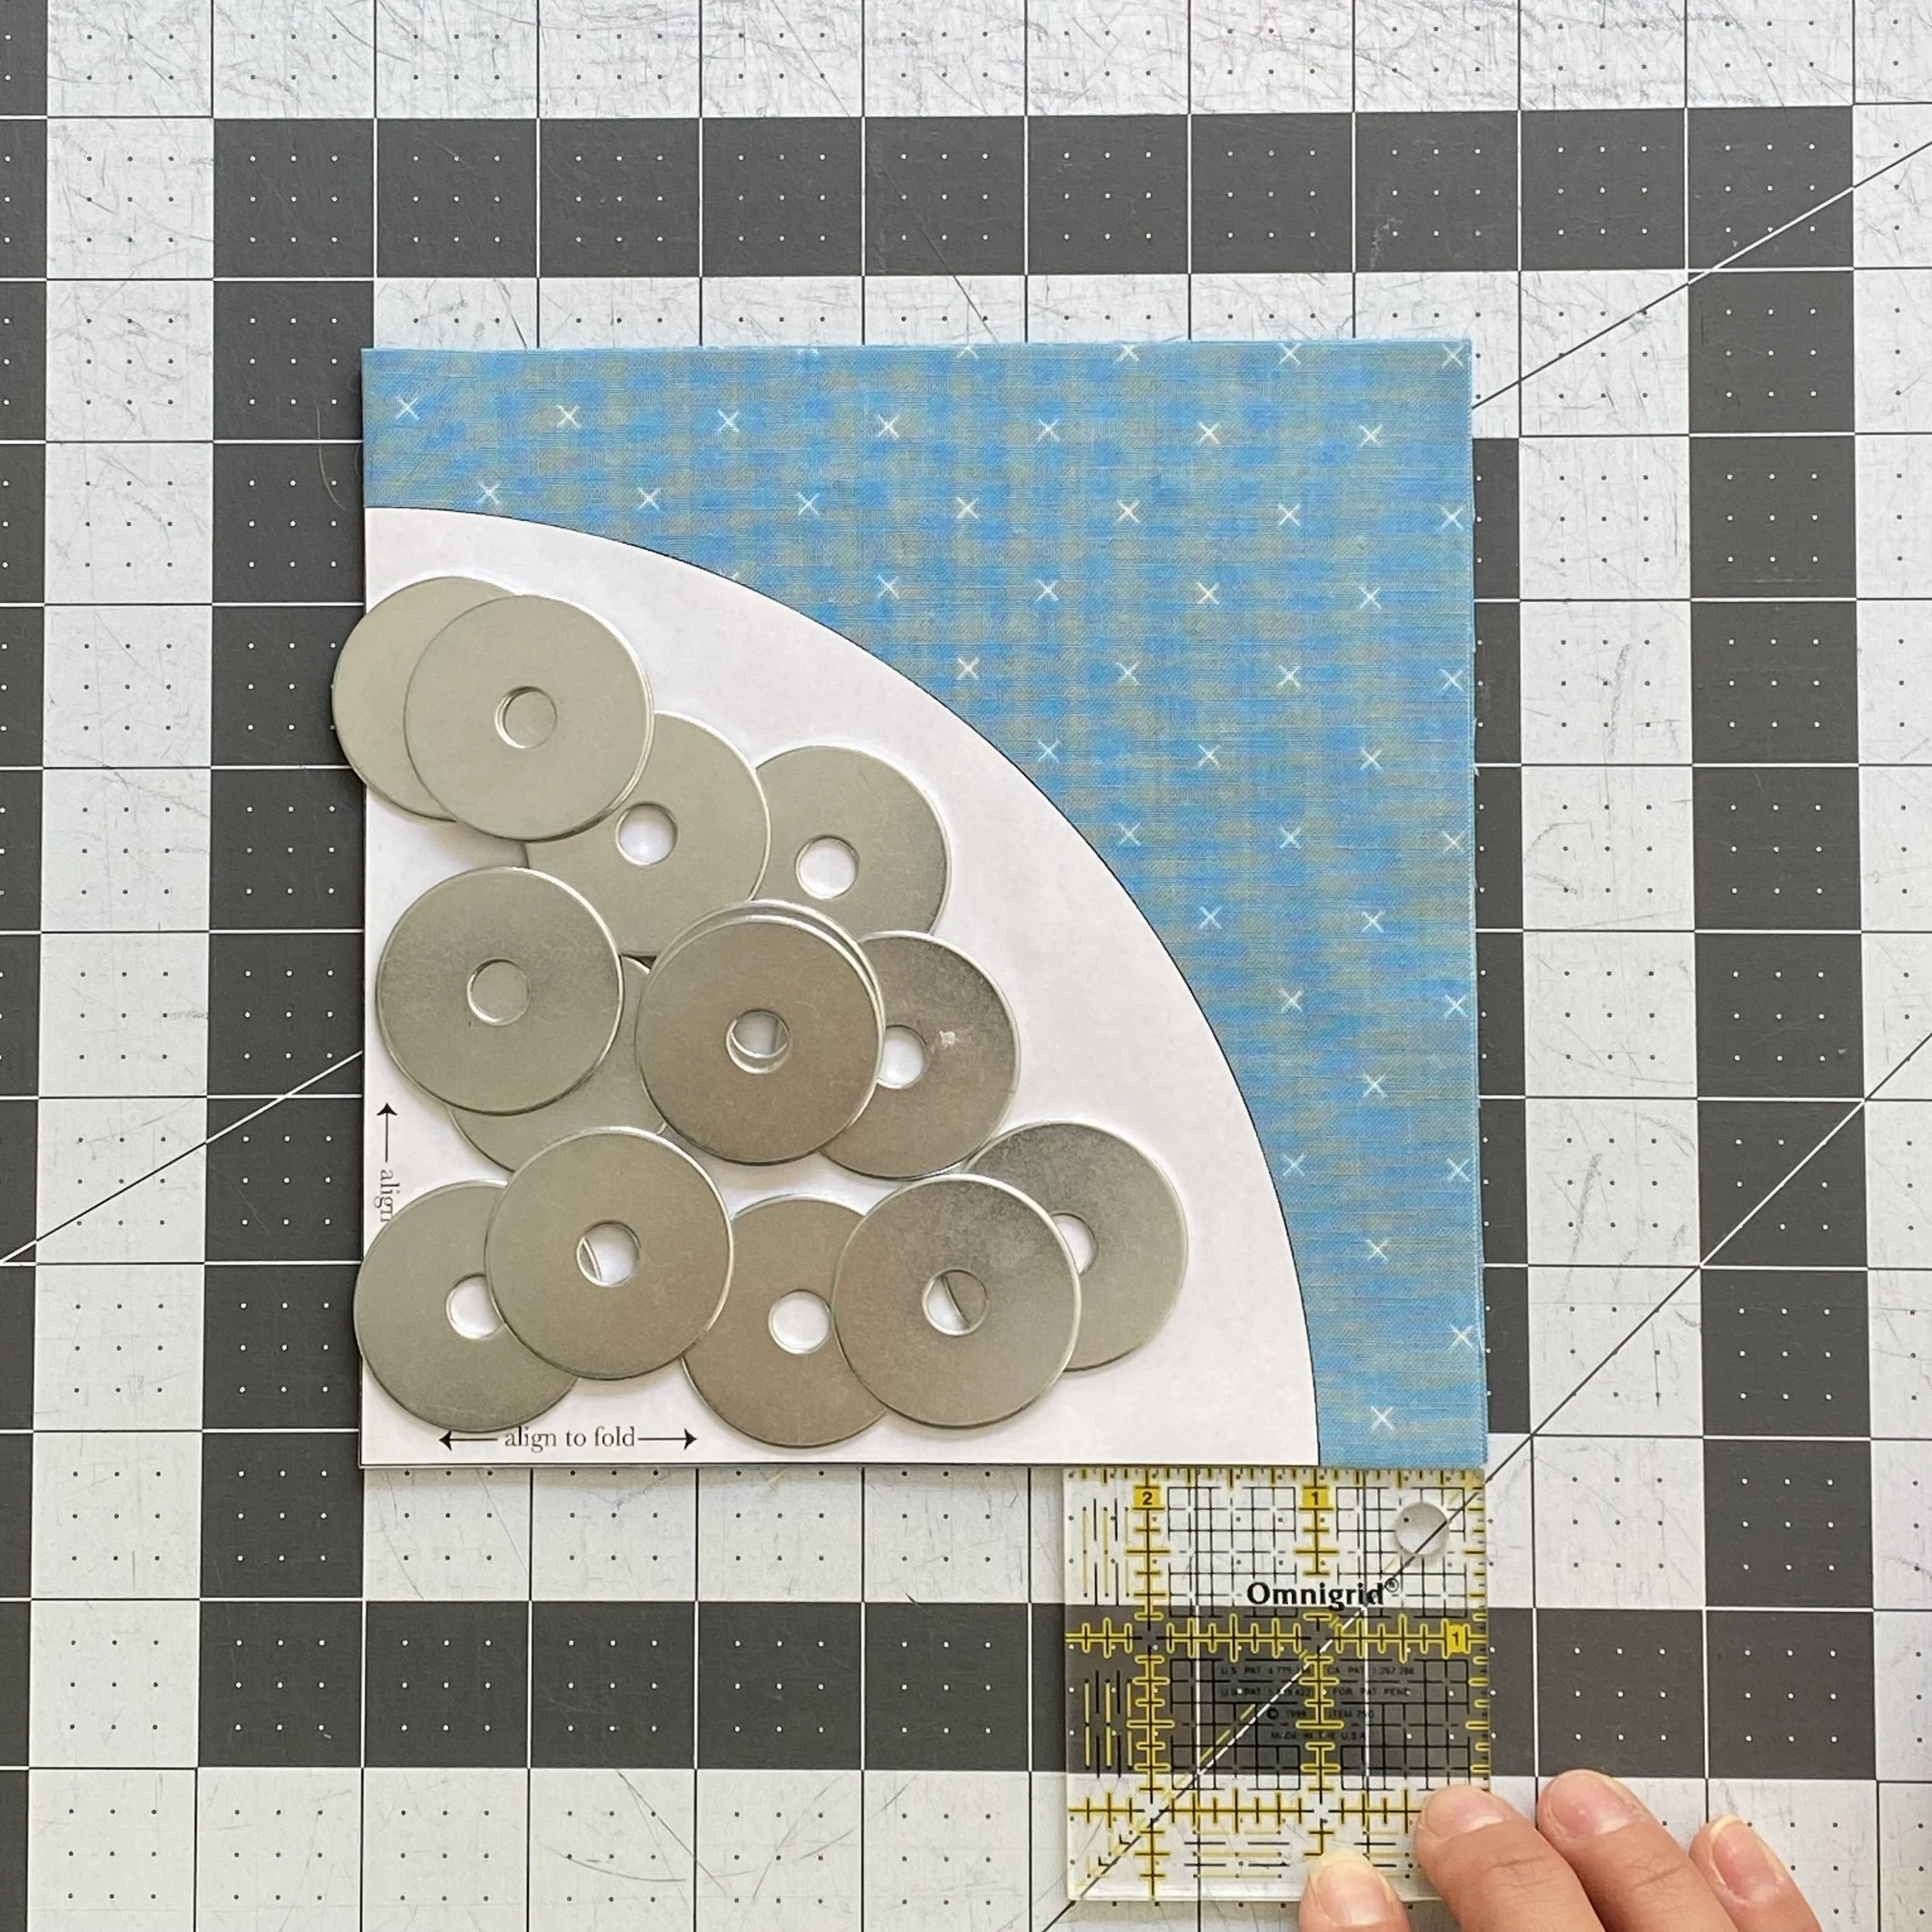
Not only are we sewing curves for the first time, we’re using a new kind of template. For the first time, we’re cutting out a curve with the template aligned to the folds of the fabric, rather than the raw edge. This kind of template is most often used for large circles.
When you' have everything folded and Template 3 is aligned to the folds, you should have one inch of fabric at the edges of the template, as pictured here. Don’t throw away the interior circle - the cutting instructions tell you how to get all the remaining background units from this piece.
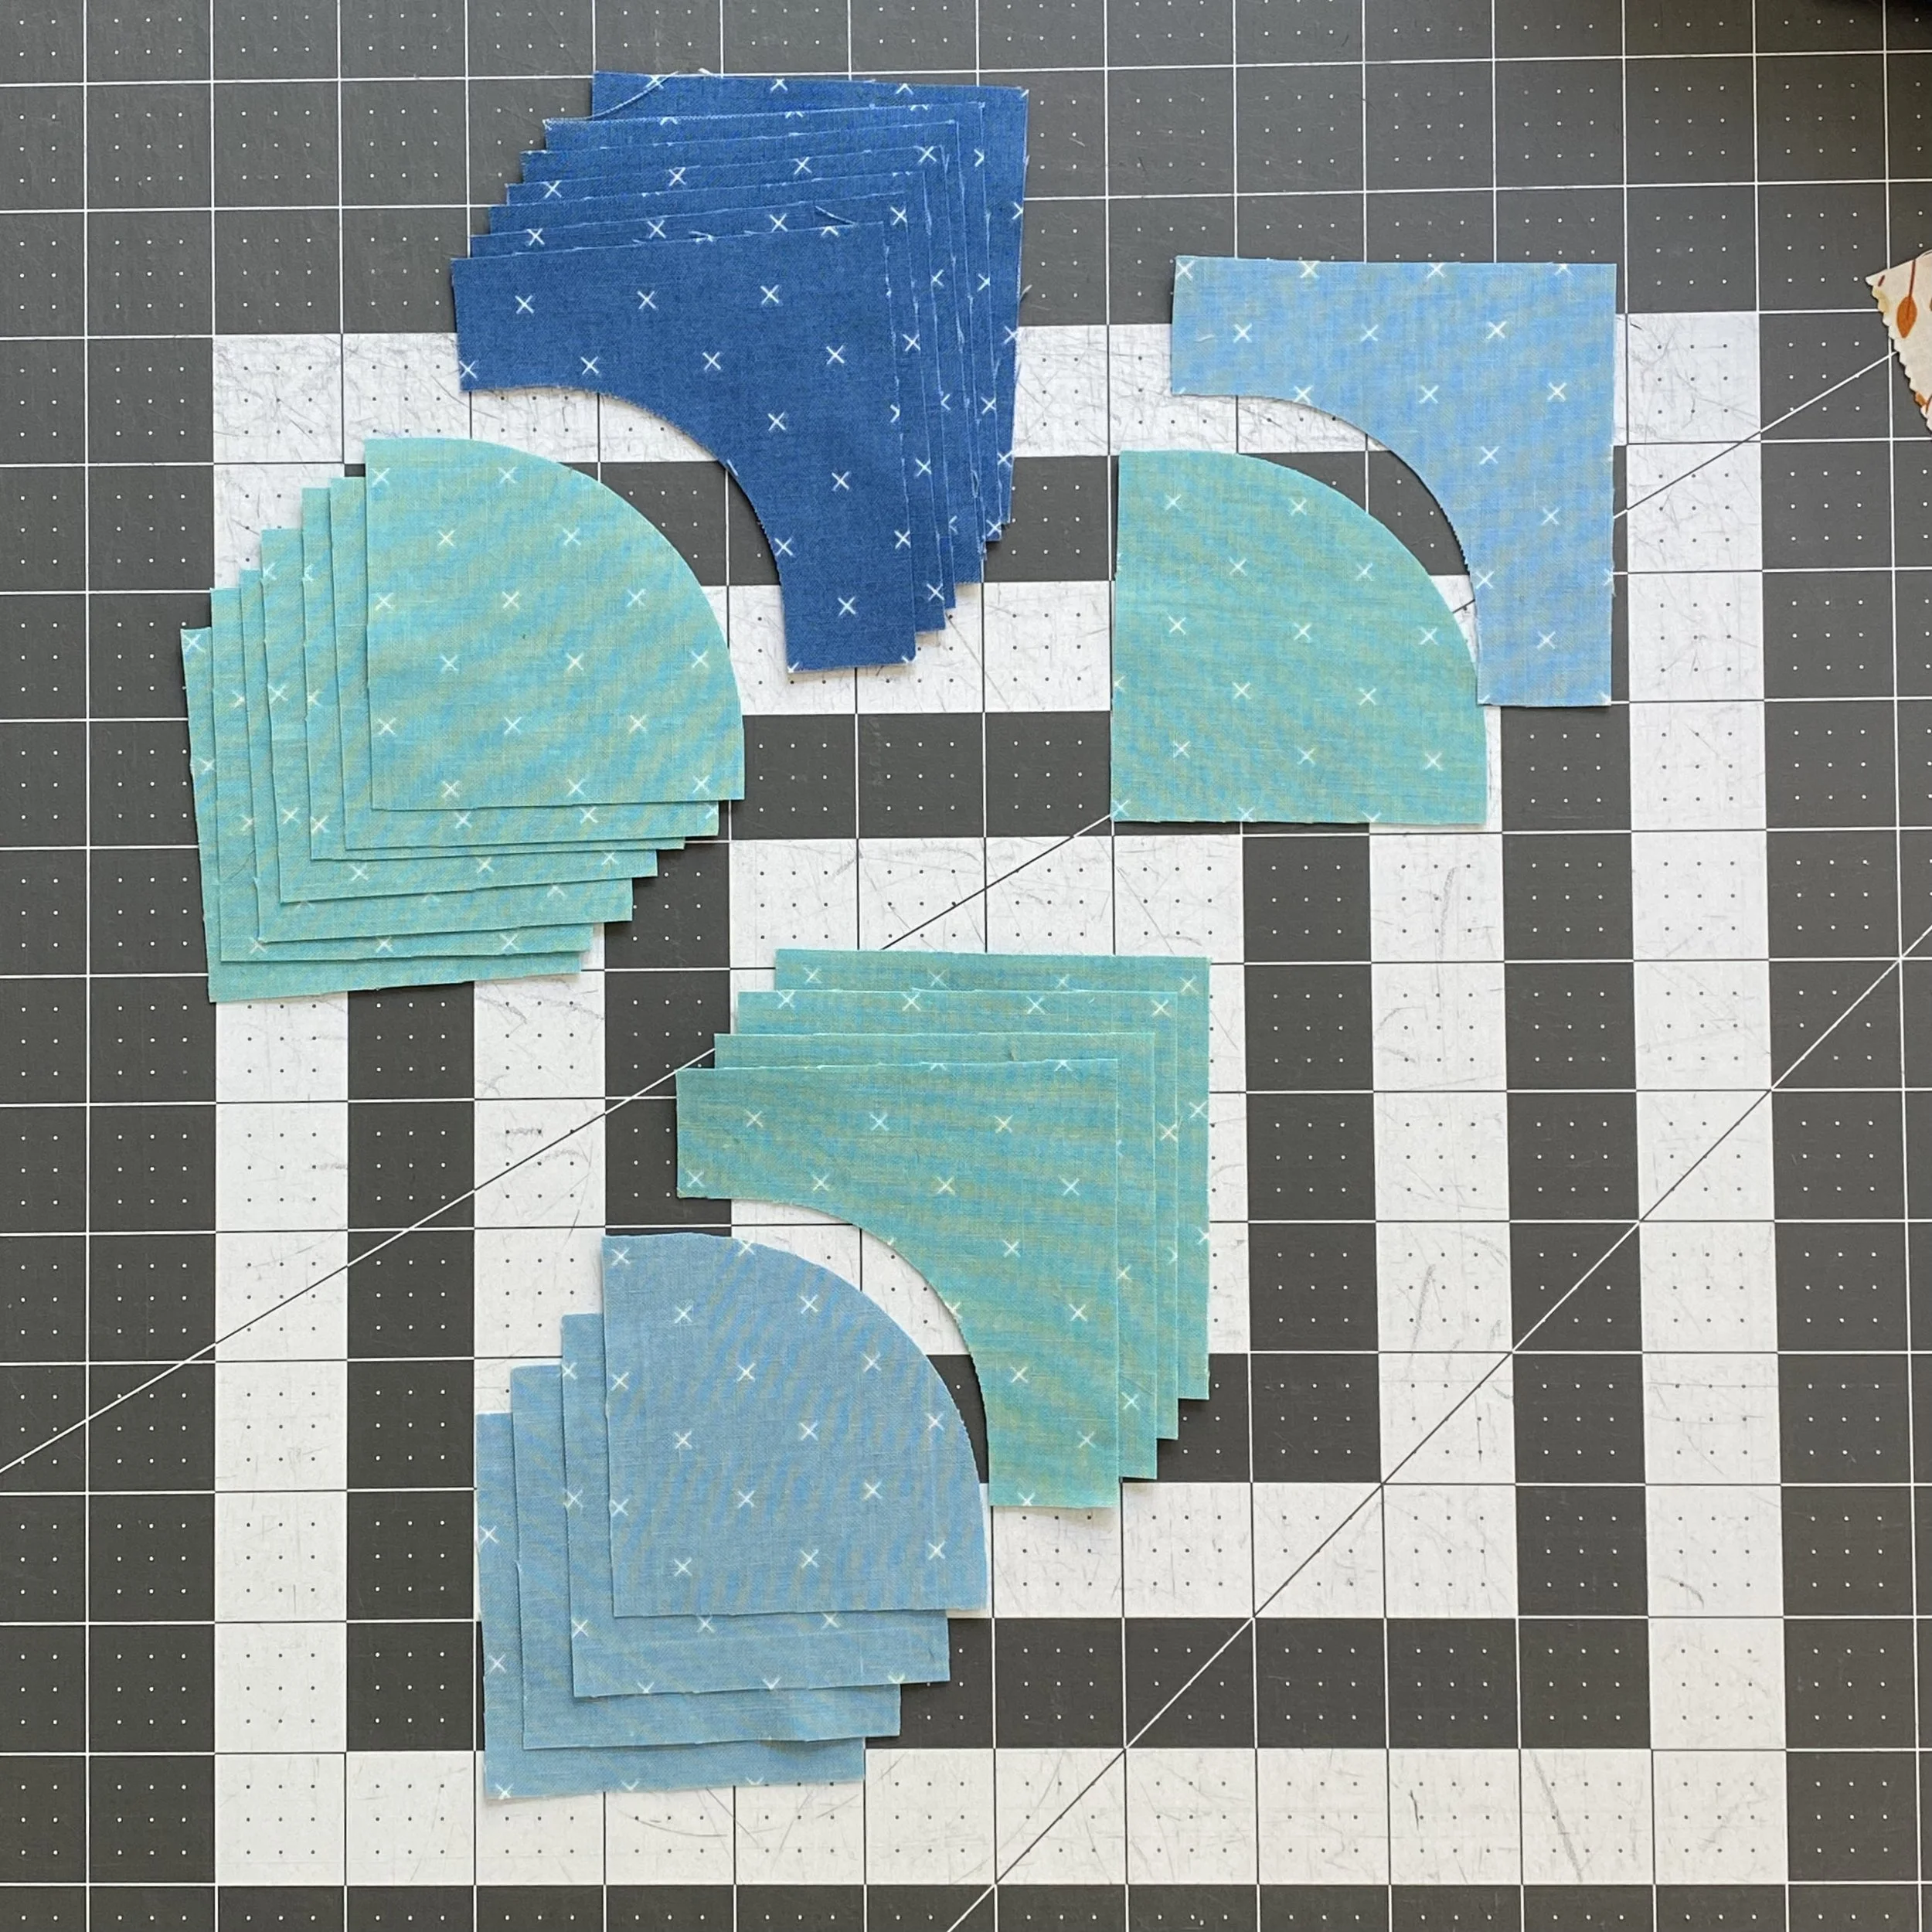
Next, we move on to the quarter circle blocks. We’re making several, in three different combinations of fabric. I recommend sorting your units into piles first. This way it’s easy to keep straight which convex curves go with which concave curves.
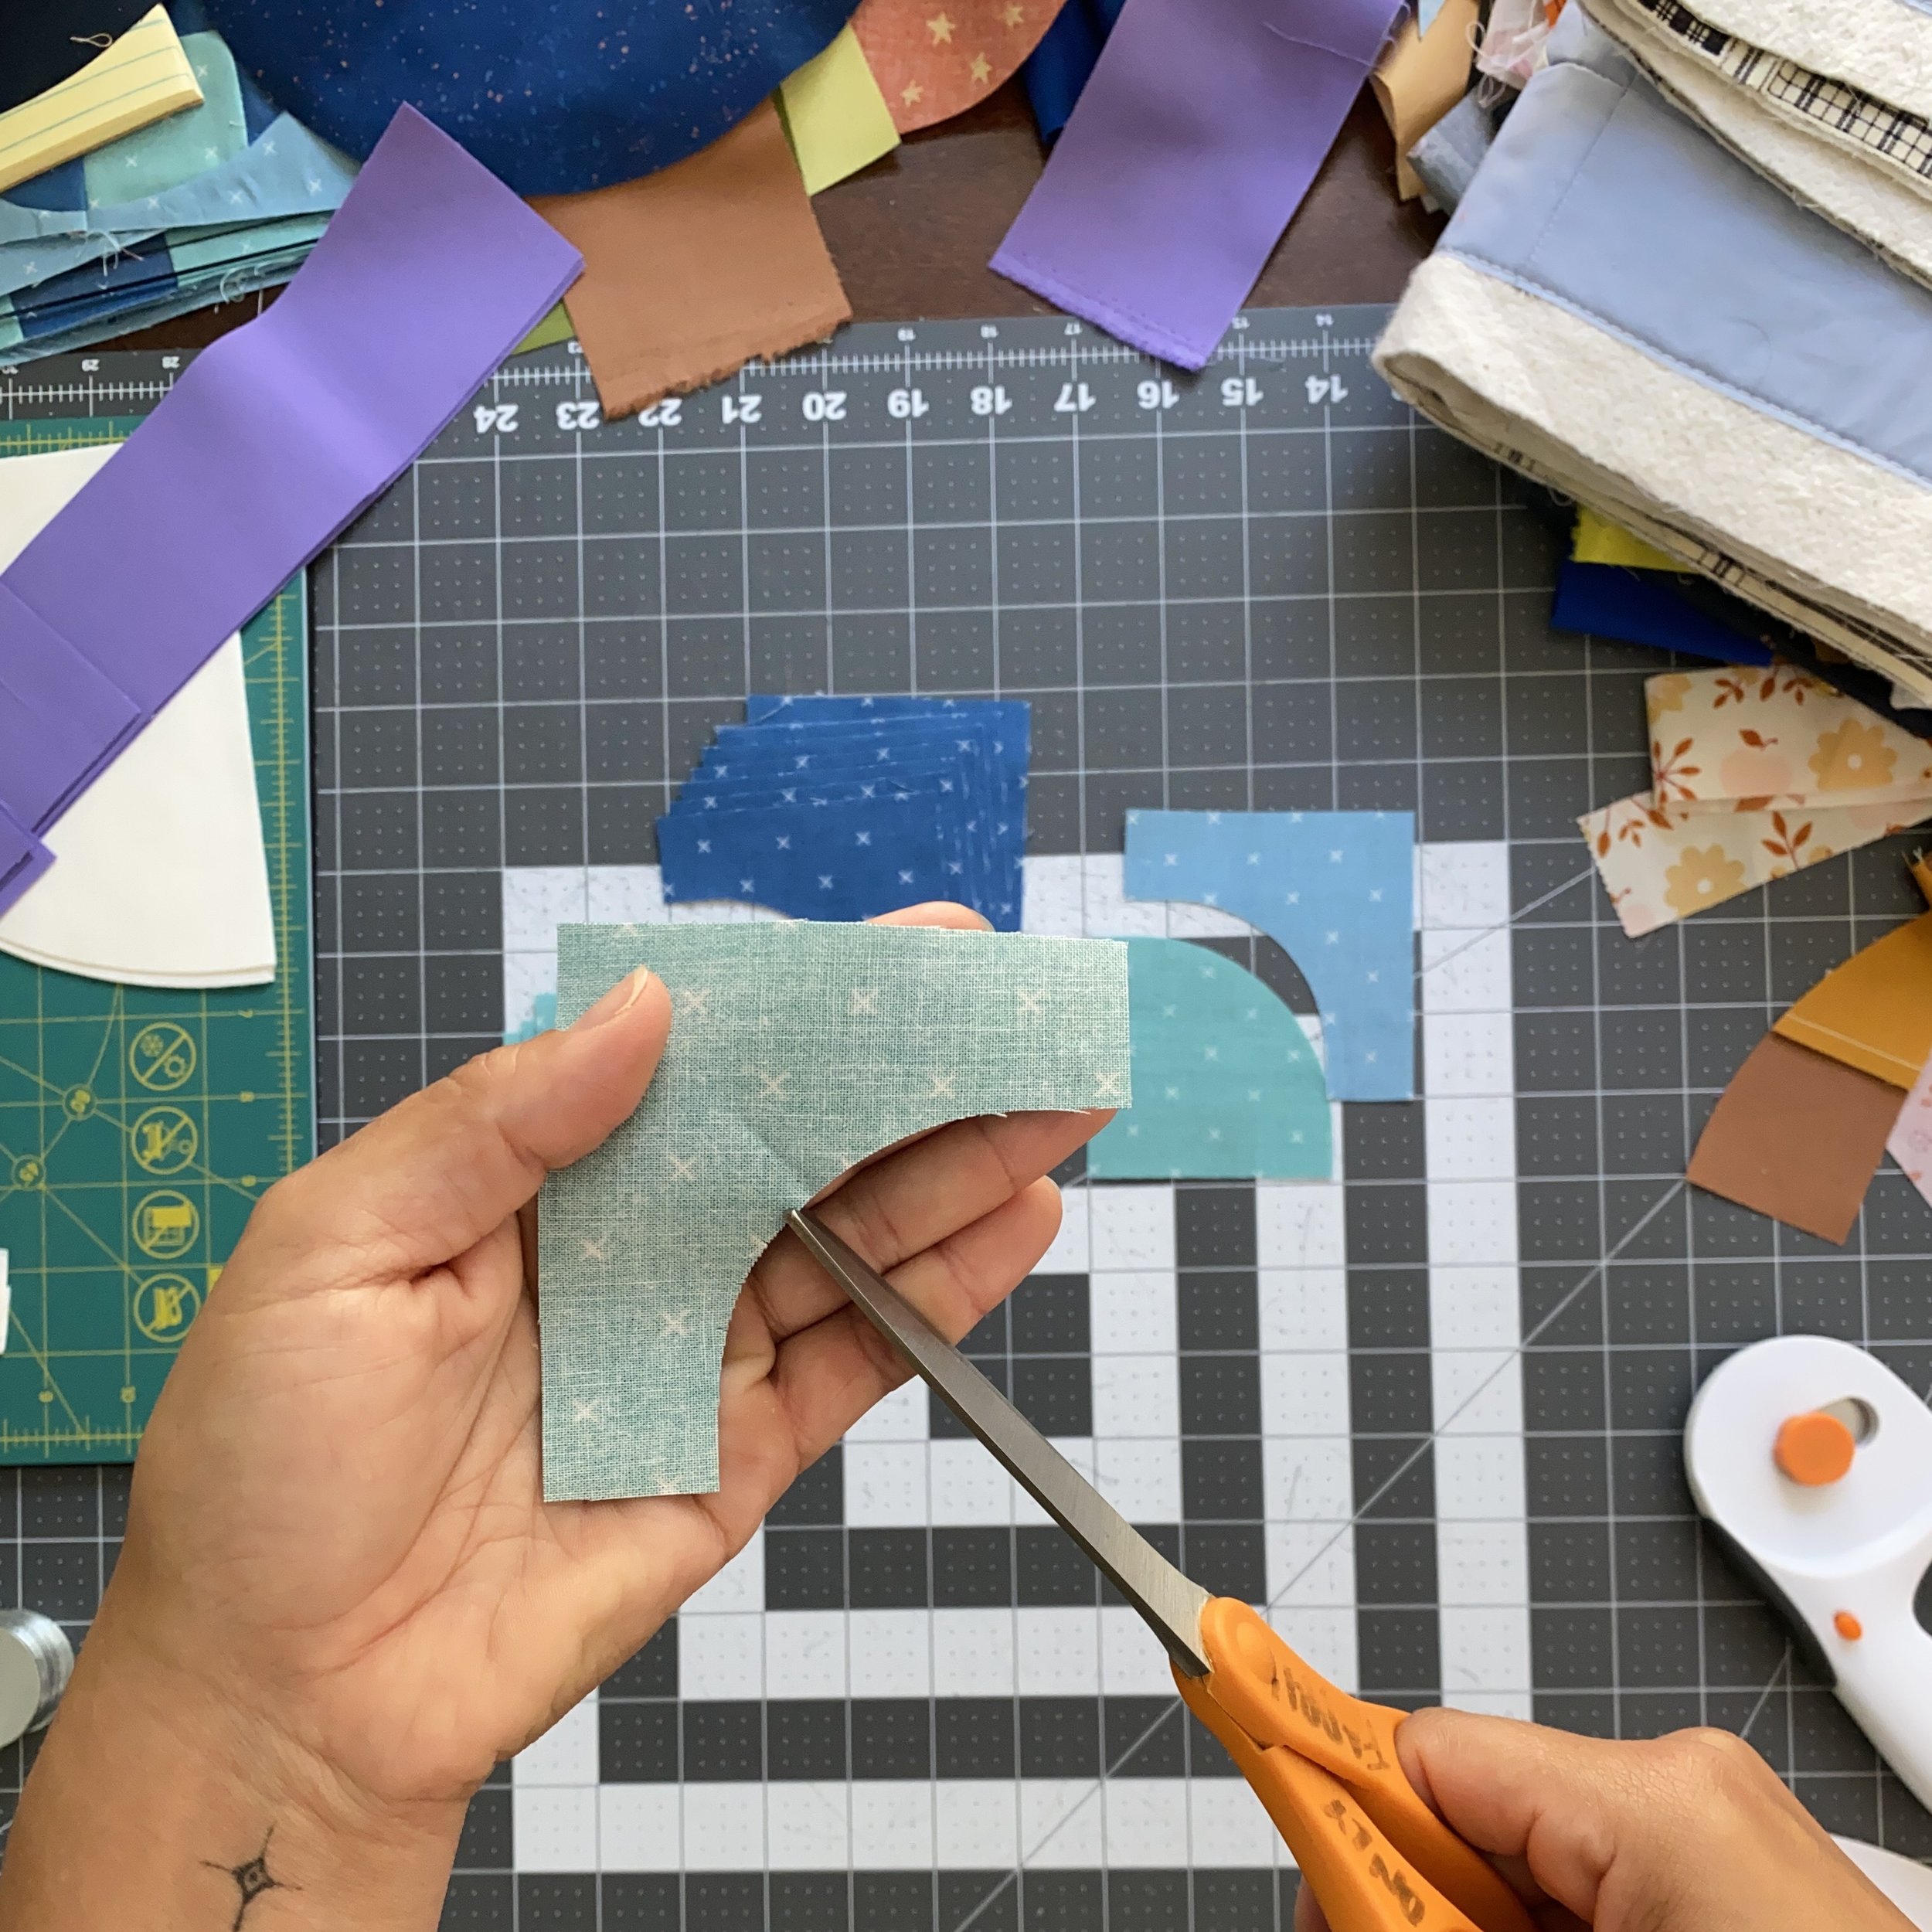
These aren’t the smallest quarter circle blocks we’ve made. The Bear Bloom quarter circles were smaller by ⅛". If you found a good method for sewing curves in that block, I recommend you follow whatever steps you used previously.
This time around, I wanted to try glue basting my curves. I knew that I wanted to press my seams to the side, so glue basting wouldn’t be an issue. If you want to press open, I don’t recommend glue. Whether you’re using glue or not, I recommend prepping the blocks by making small cuts around the seam allowance.
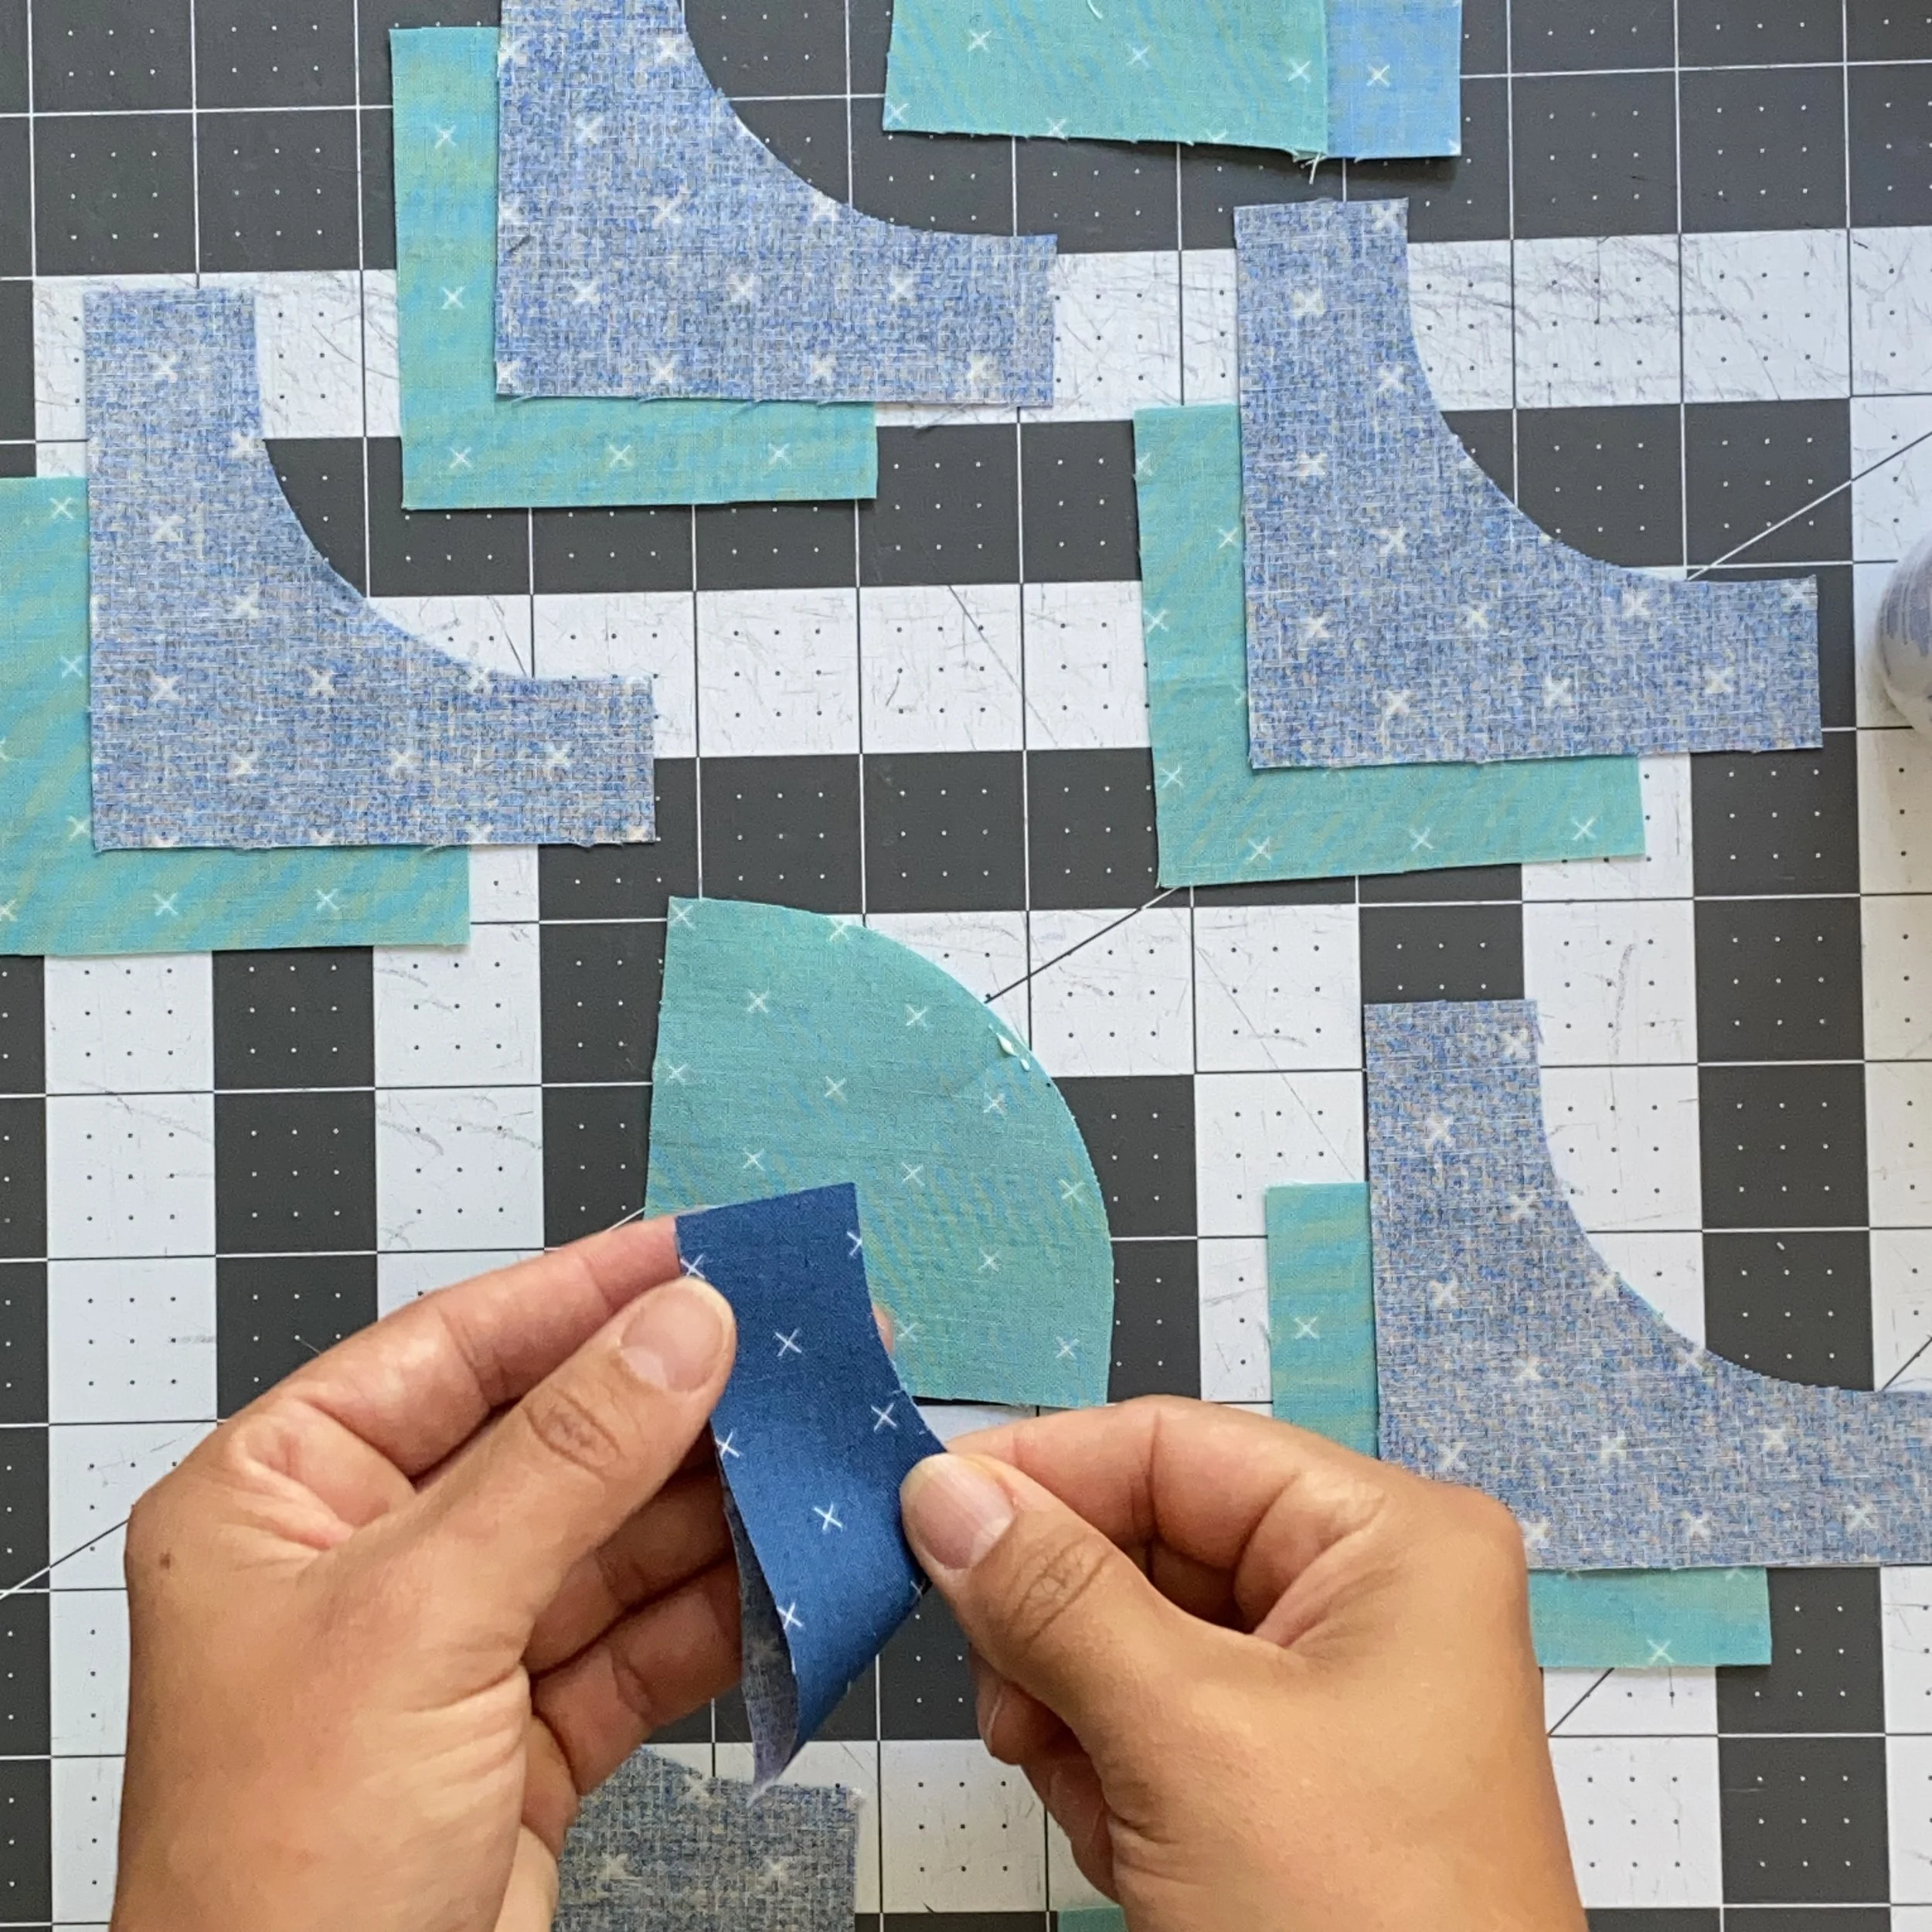
As always, I crease my pieces by folding the convex piece RST and the concave piece wrong sides together.
To glue baste my curves, I found it easiest to work in an assembly line fashion. I wanted to glue at the center crease and both ends of the unit - if I tried to do one unit all at once, the glue was always too wet and the pieces slipped around on me.
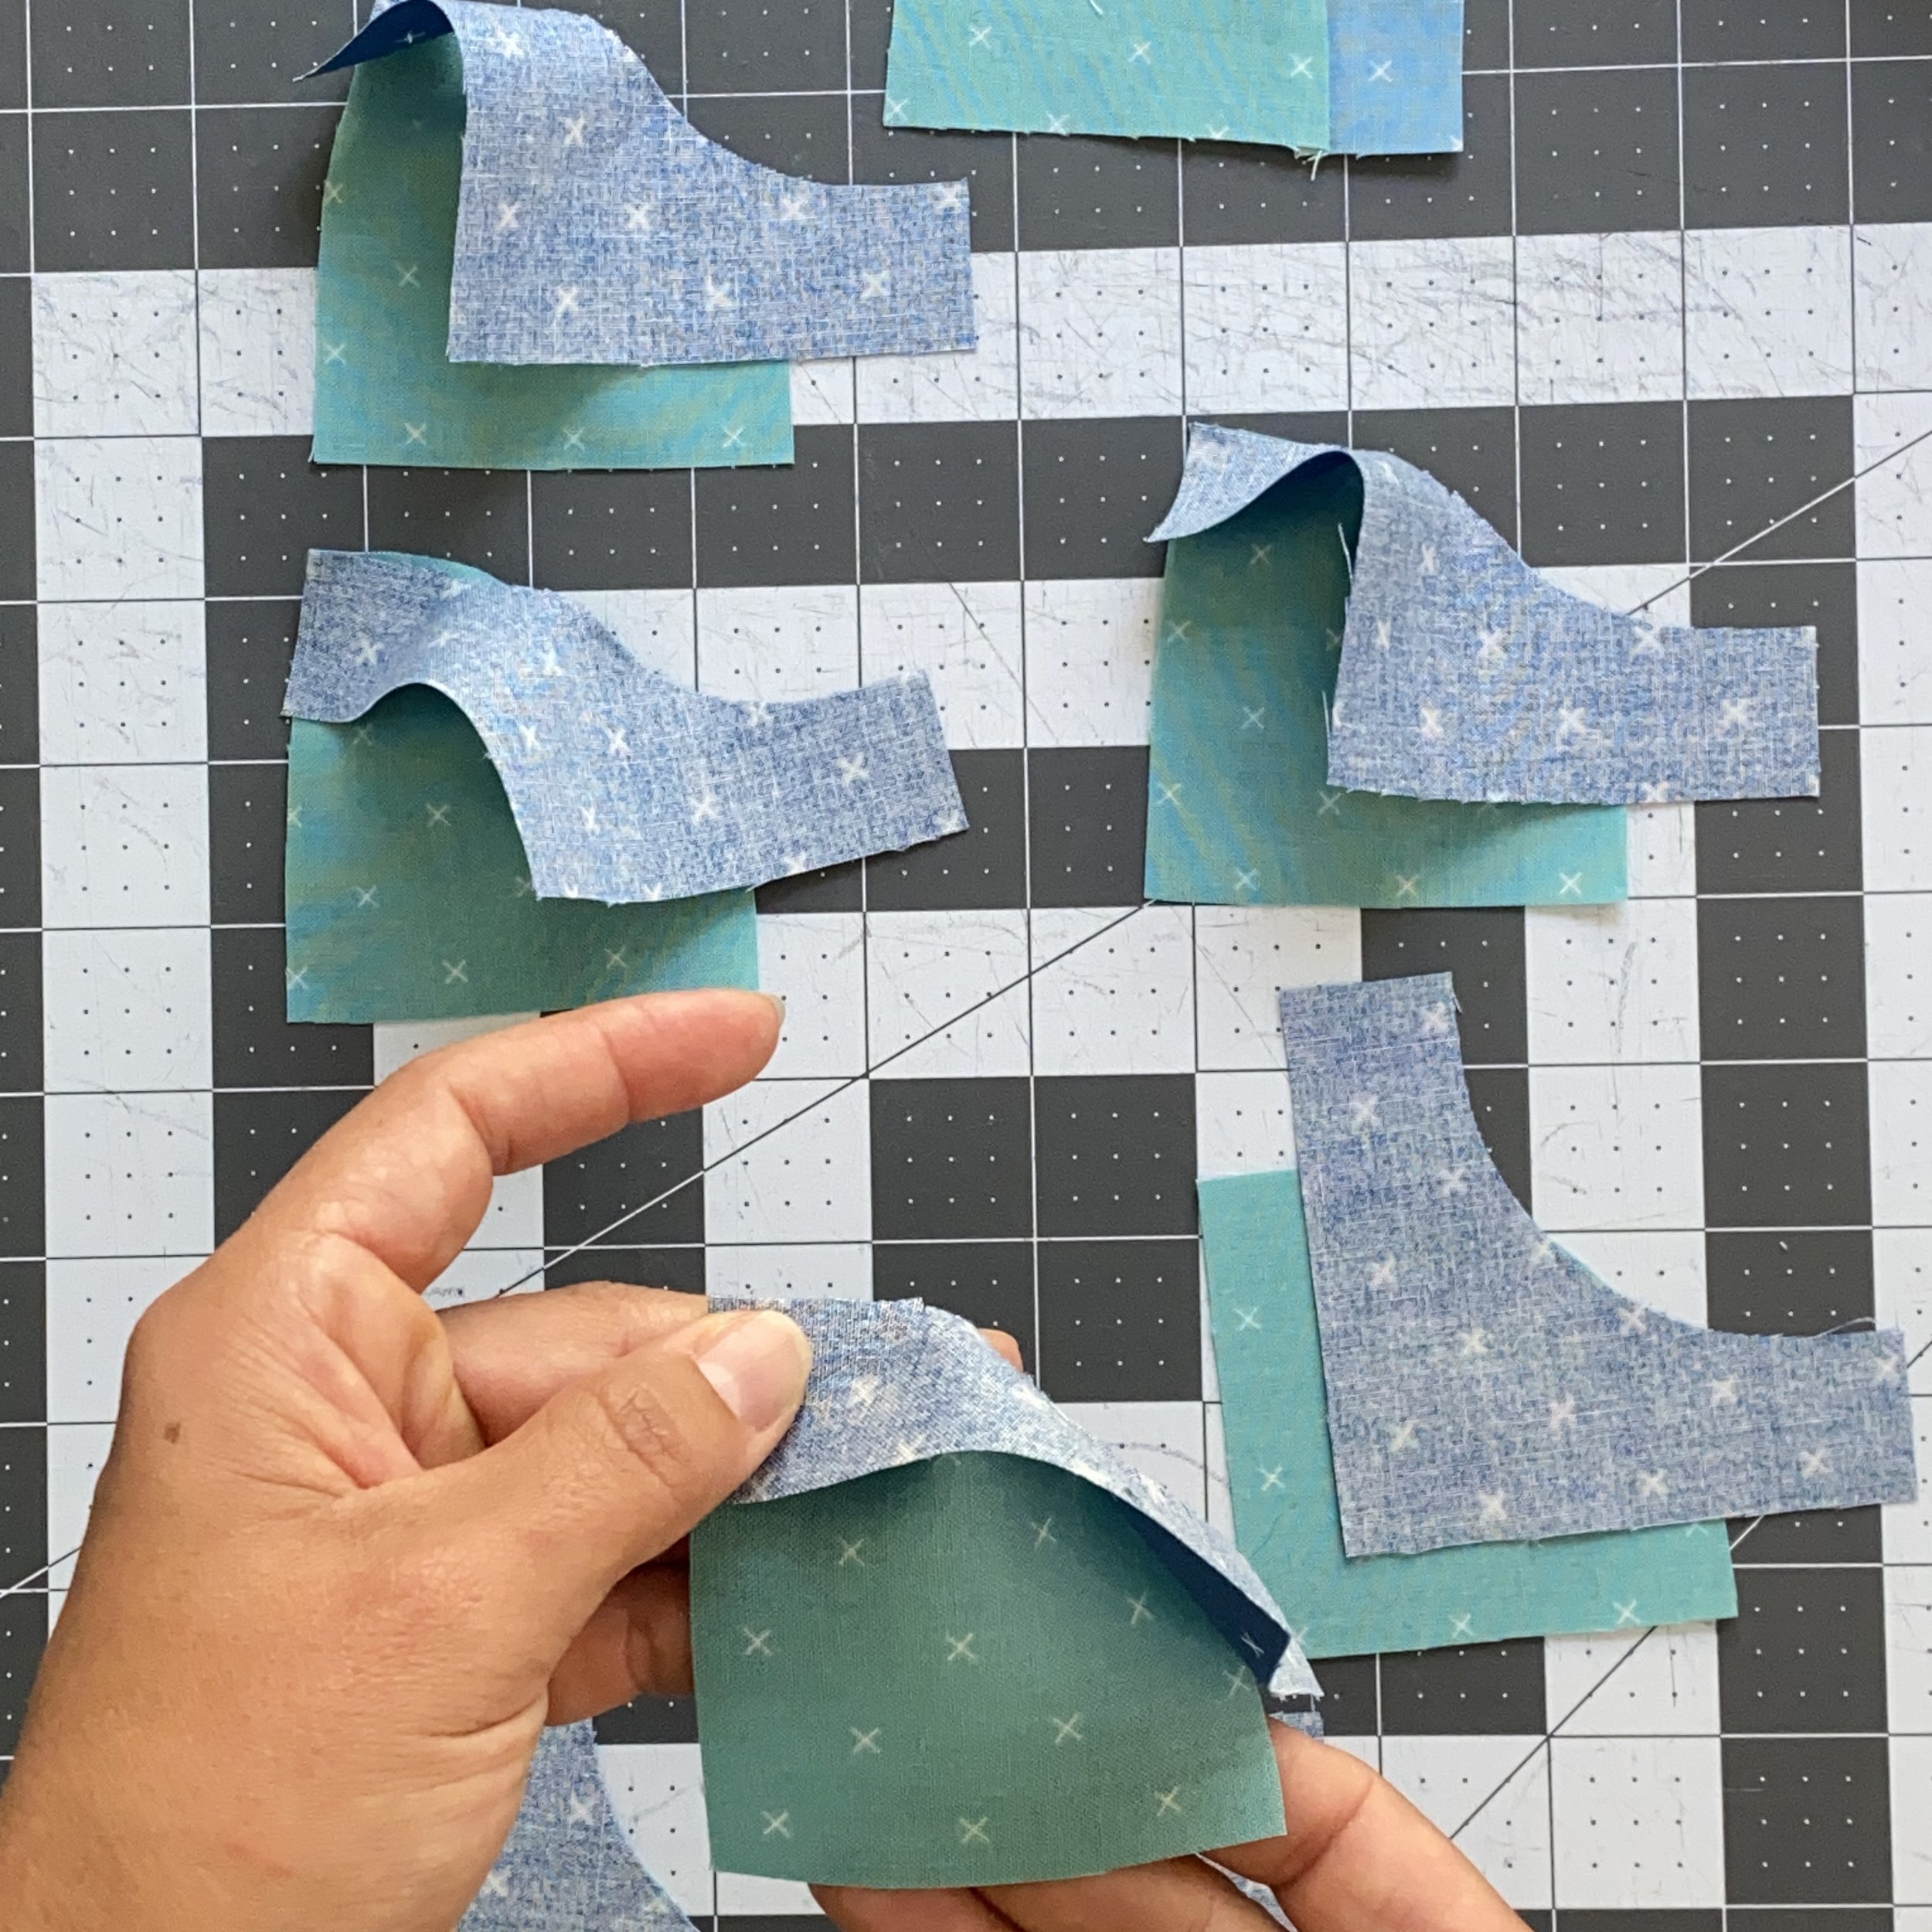
I started by gluing all the units at the creased center. By the time I was done with the last unit, the first unit was dry enough to manipulate the curves so could glue one of the two ends.
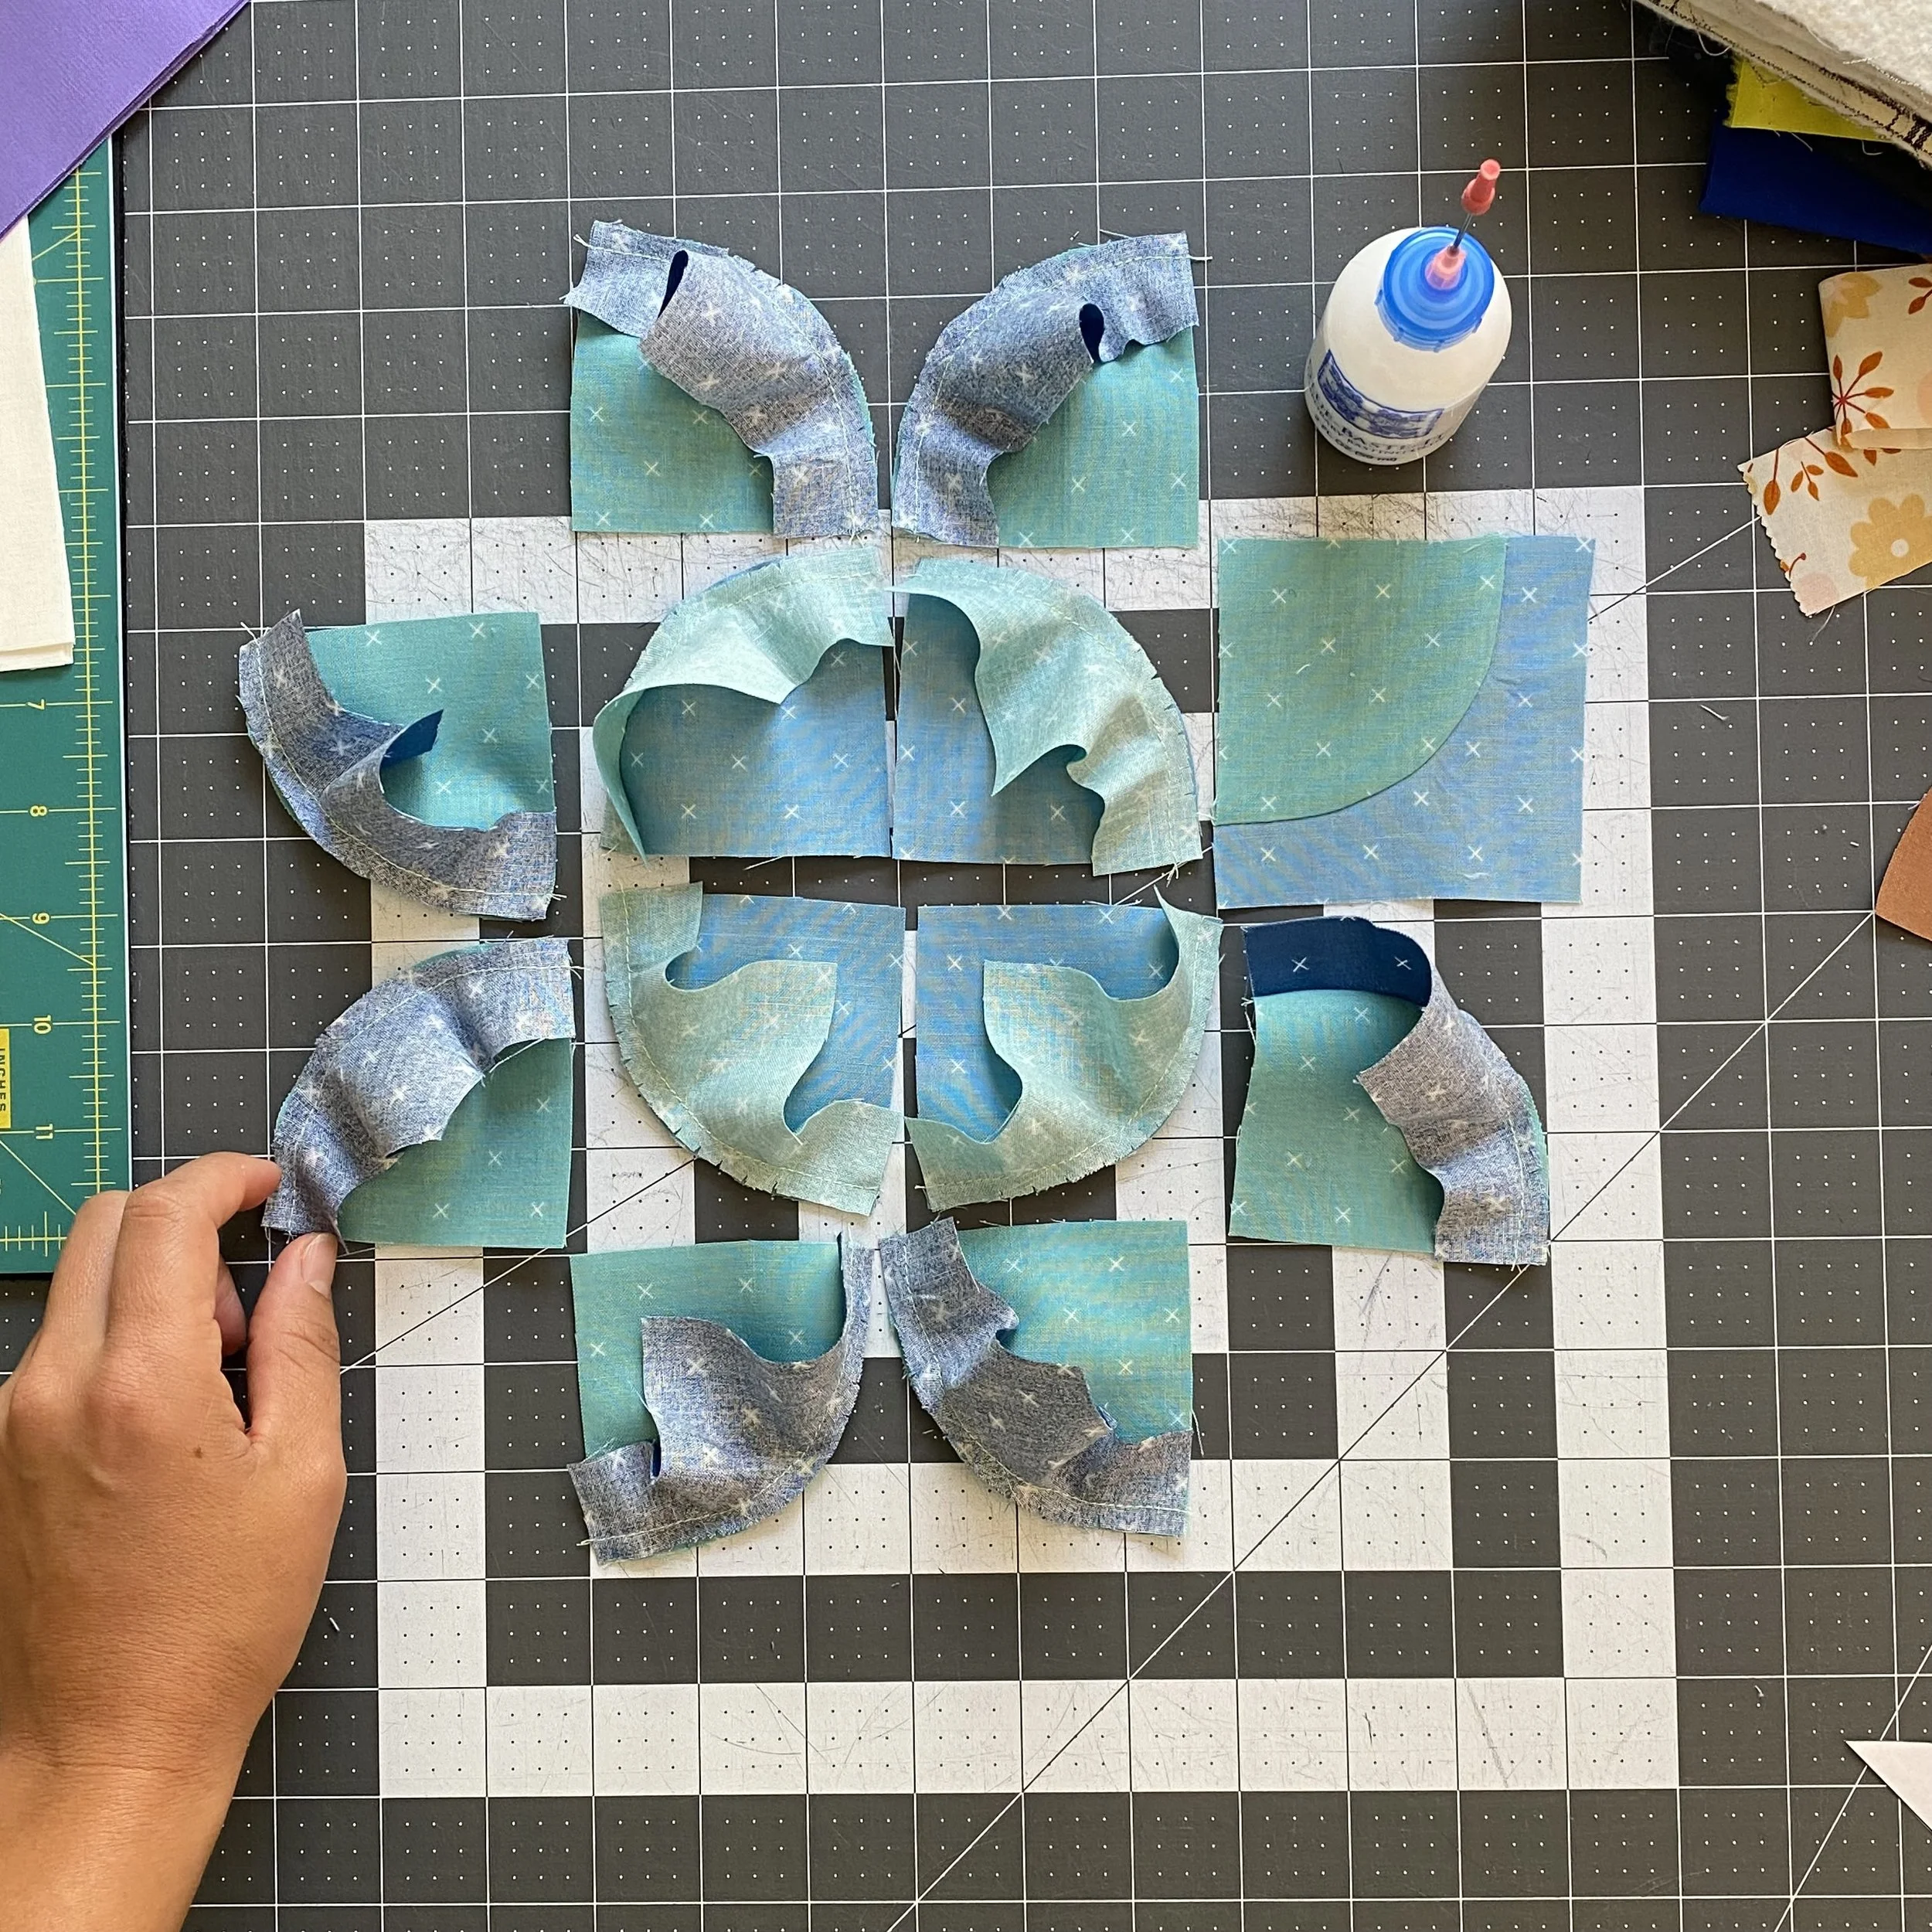
If you plan to press the seams open, you don’t need to do much planning. I love a nested seam so I took an extra minute to lay out my curves and figure out which curves I would press inwards, and which would get pressed outwards.
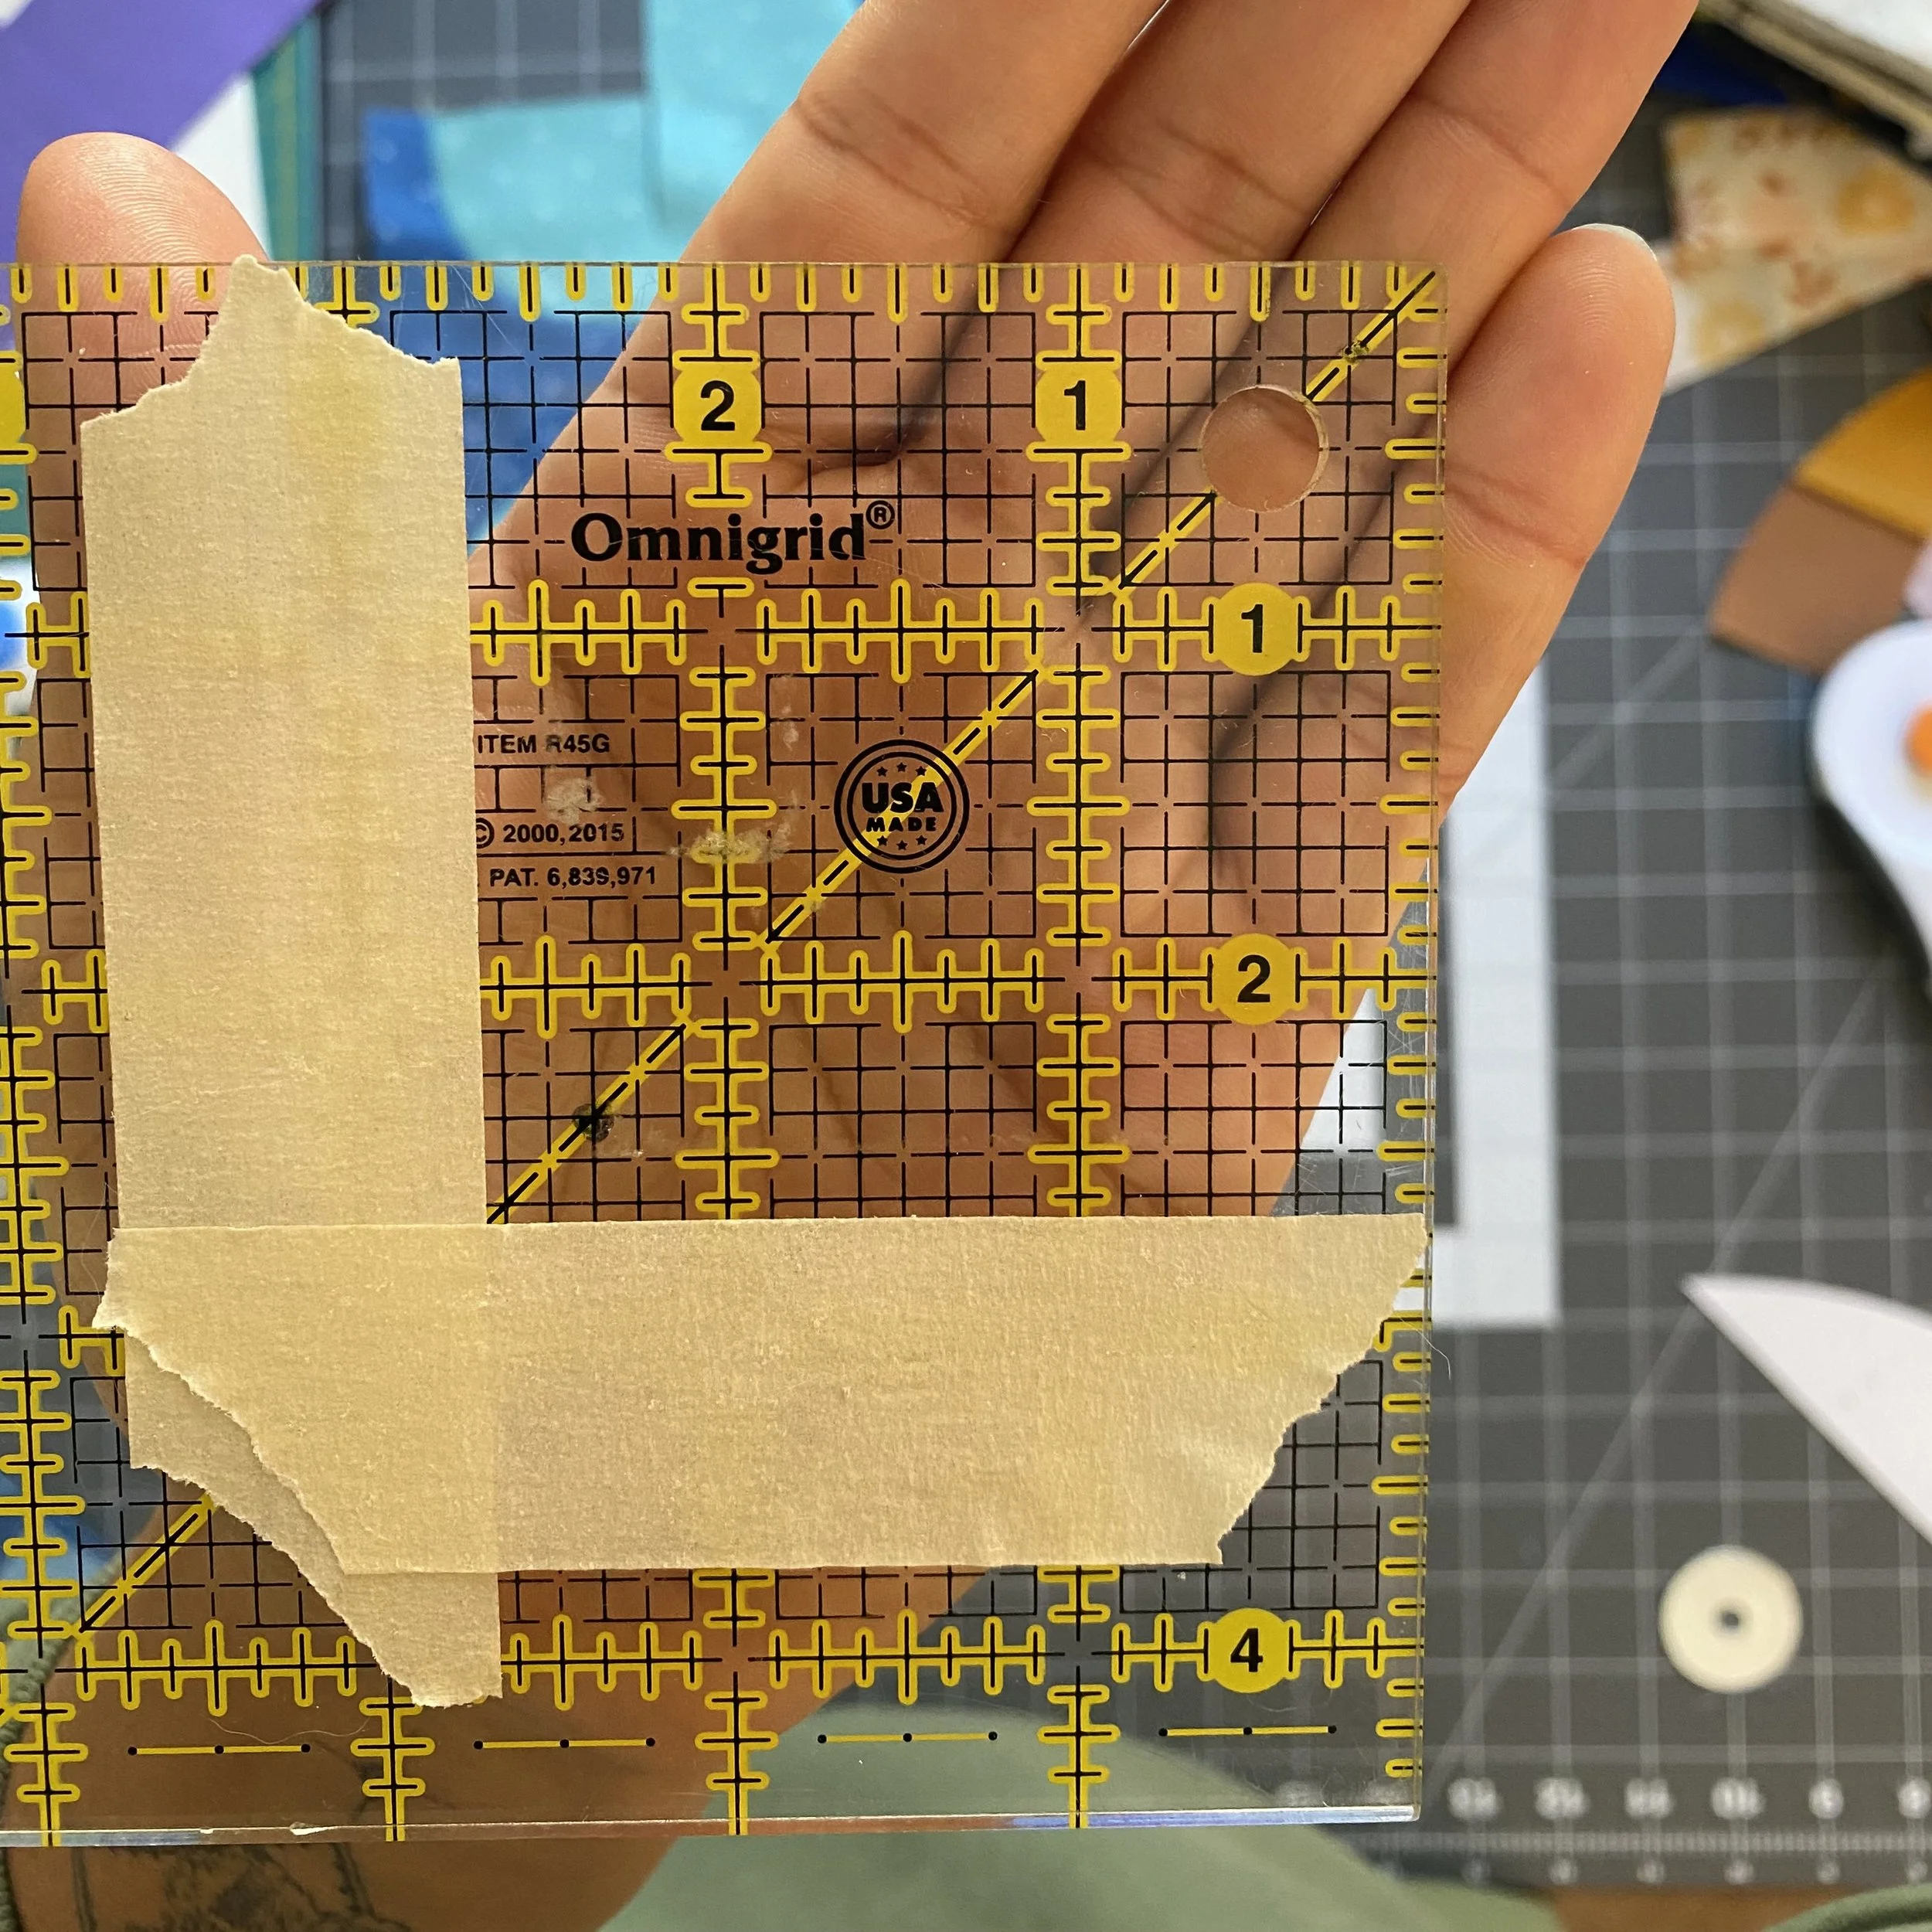
When it comes time to trim the quarter circle units, I recommend using a 4½" x 4½" ruler, adding tape guidelines to the 2⅝" x 2⅝" lines, and marking where the 2⅜" lines converge. This way, you never have to think about the ⅛" measurements while trimming.
When I add tape guidelines to my ruler, I like to leave the tiniest bit of room between the line I’m marking and my tape. You can see my tape doesn’t quite reach the 2⅝" line - this small gap just helps me align my pieces that much better.
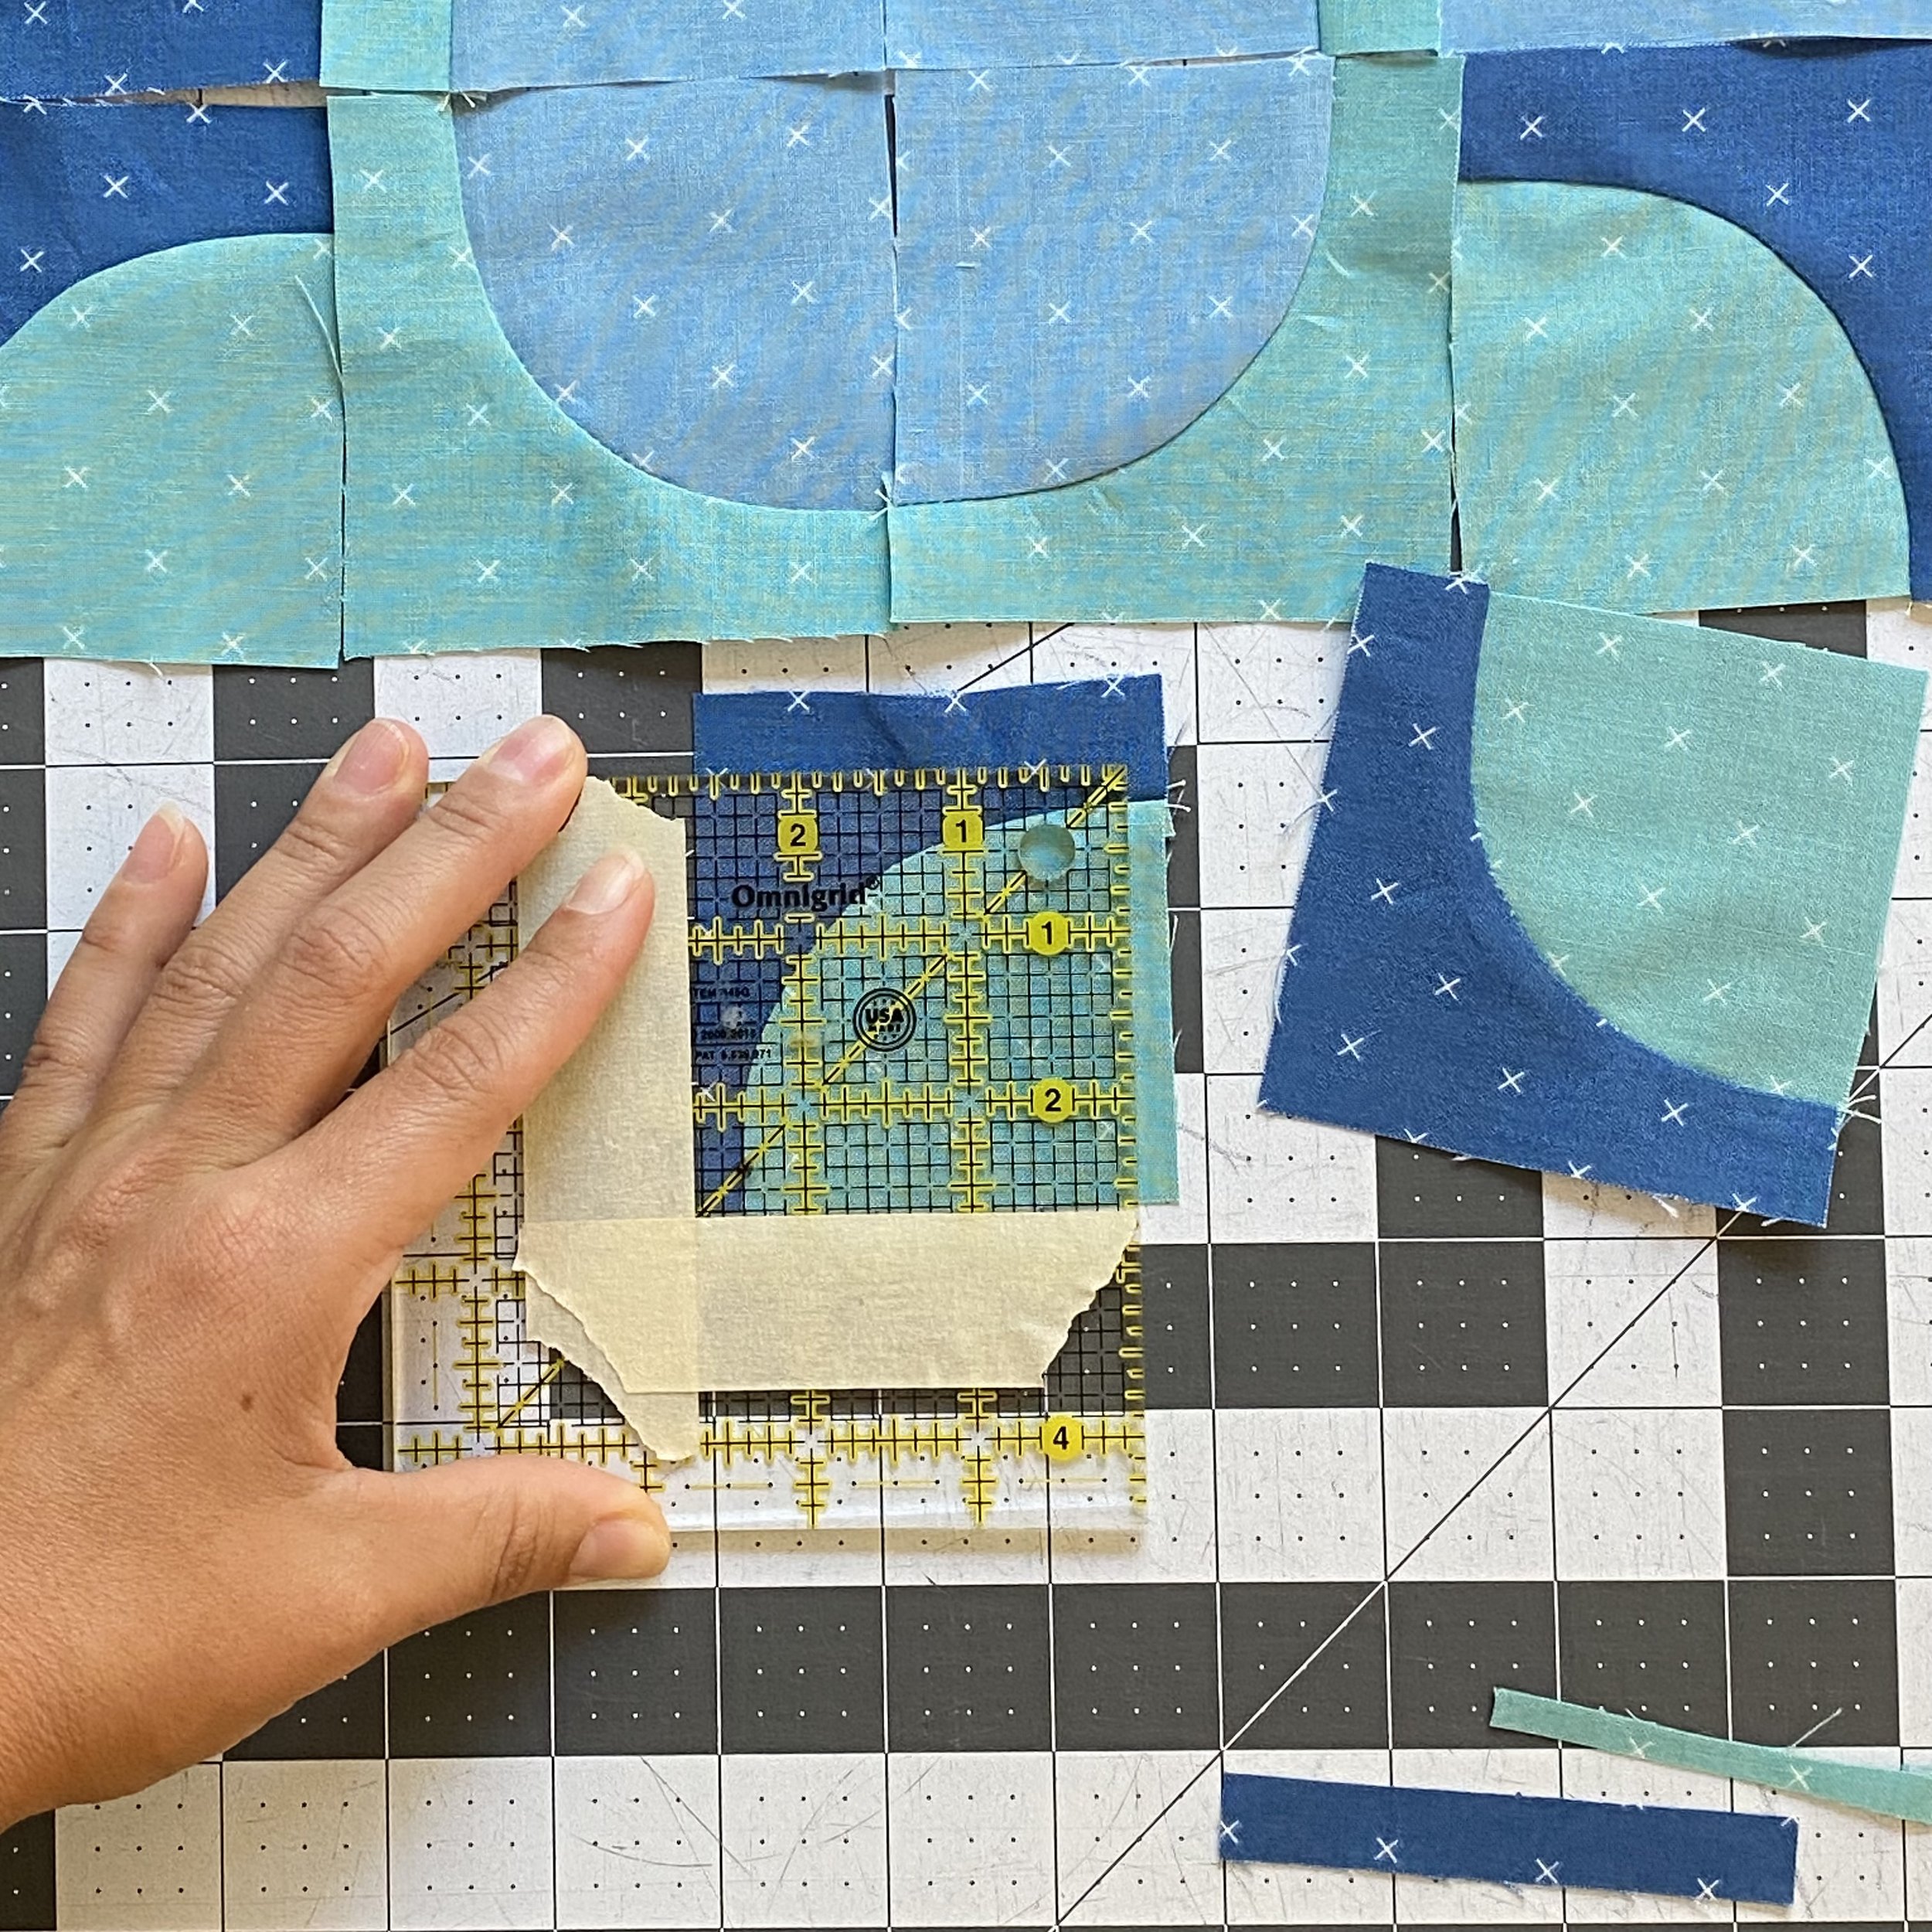
In this picture, I’ve already trimmed two sides of the quarter circle block. The two trimmed sides are now aligned with the taped 2⅝" lines on my ruler, and the seam hits the marked 2⅜" point exactly.
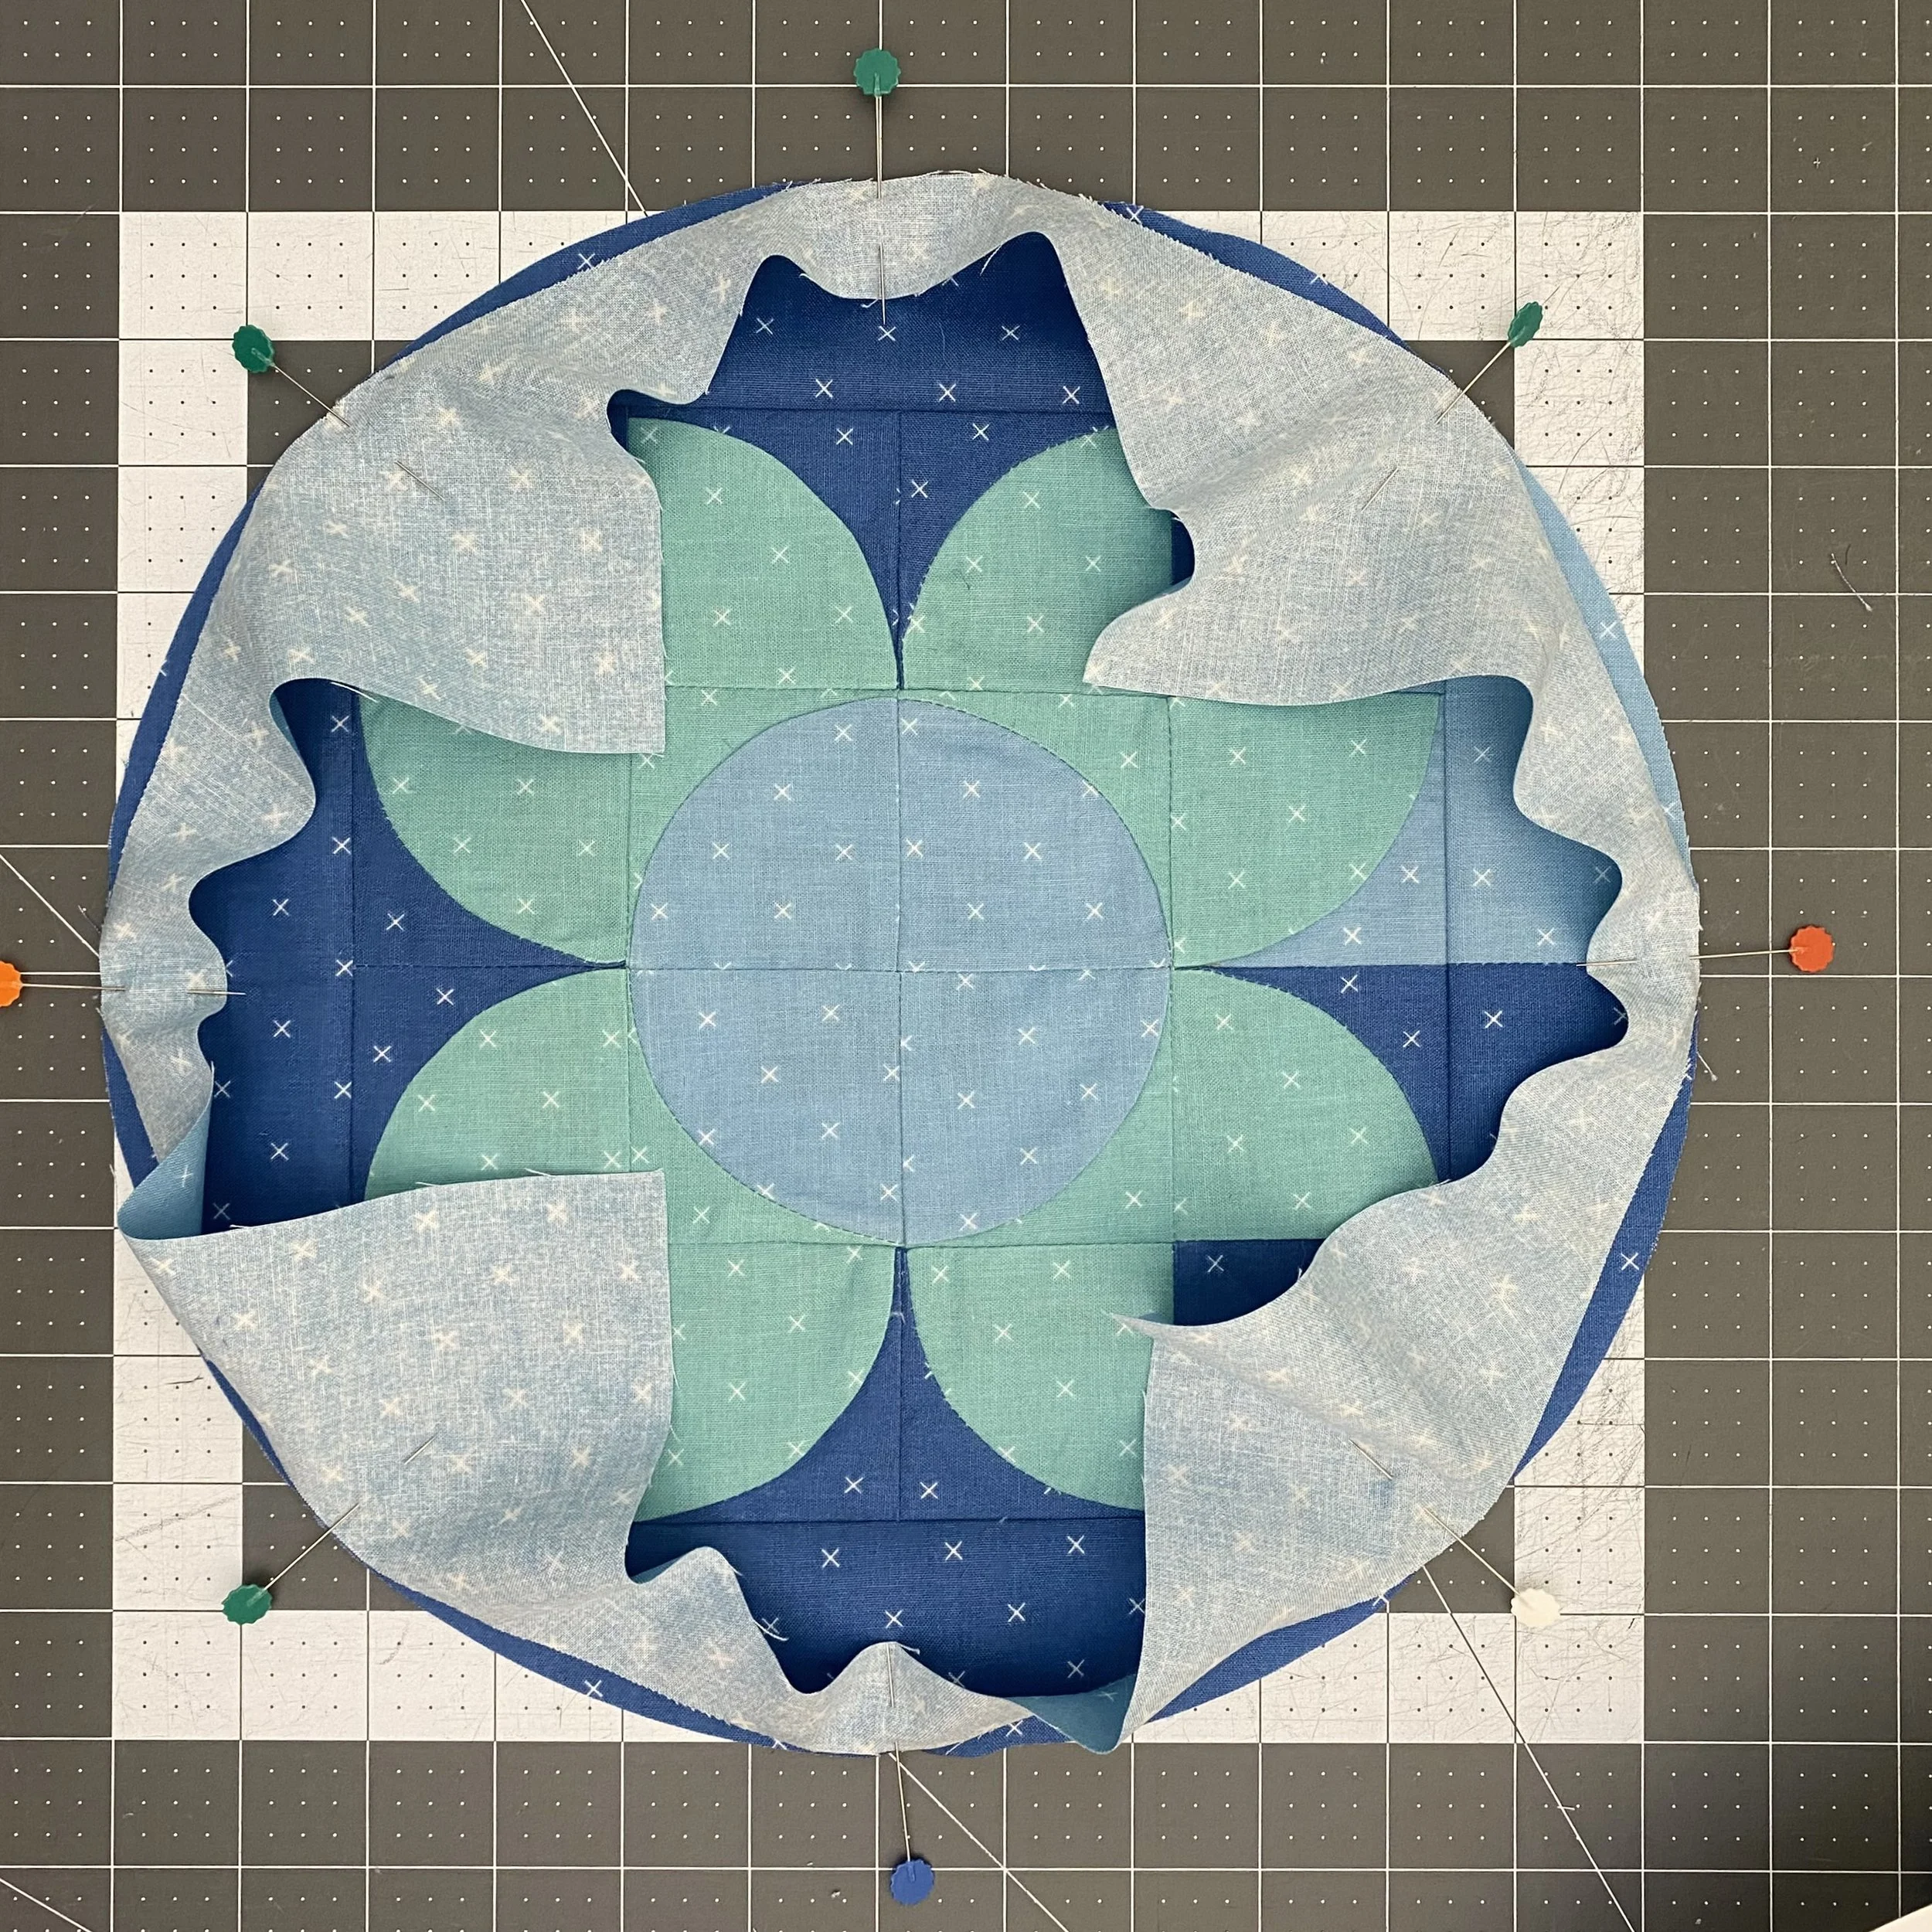
Once the pieces are trimmed, assembling and cutting out the center flower unit is relatively straightforward. Again, I recommend leaving the center 9" square under a heavy book for some time. There are lots of seams in that square, and a flat block is easier to work with.
For all my insight into sewing an inset circle, check out this separate blog post. I have so much to share that it can’t be contained in one place! Once you’ve read through that, make sure to let me know how our first inset circle went! Send me an email, or share your progress on Instagram with #learningcurvesbom and #lilletteblock.