How to Sew an Inset Circle
Sewing inset circles can be a breeze if we take our time and move through each step intentionally. To make sure you’re confident with this full circle sewing method, I’m going to share my favorite tips that make circles stress and wrinkle free! I’ve found that the more I rush through these steps, the less I like the resulting block. So, take a deep breath, turn on your iron and let’s get stitching!
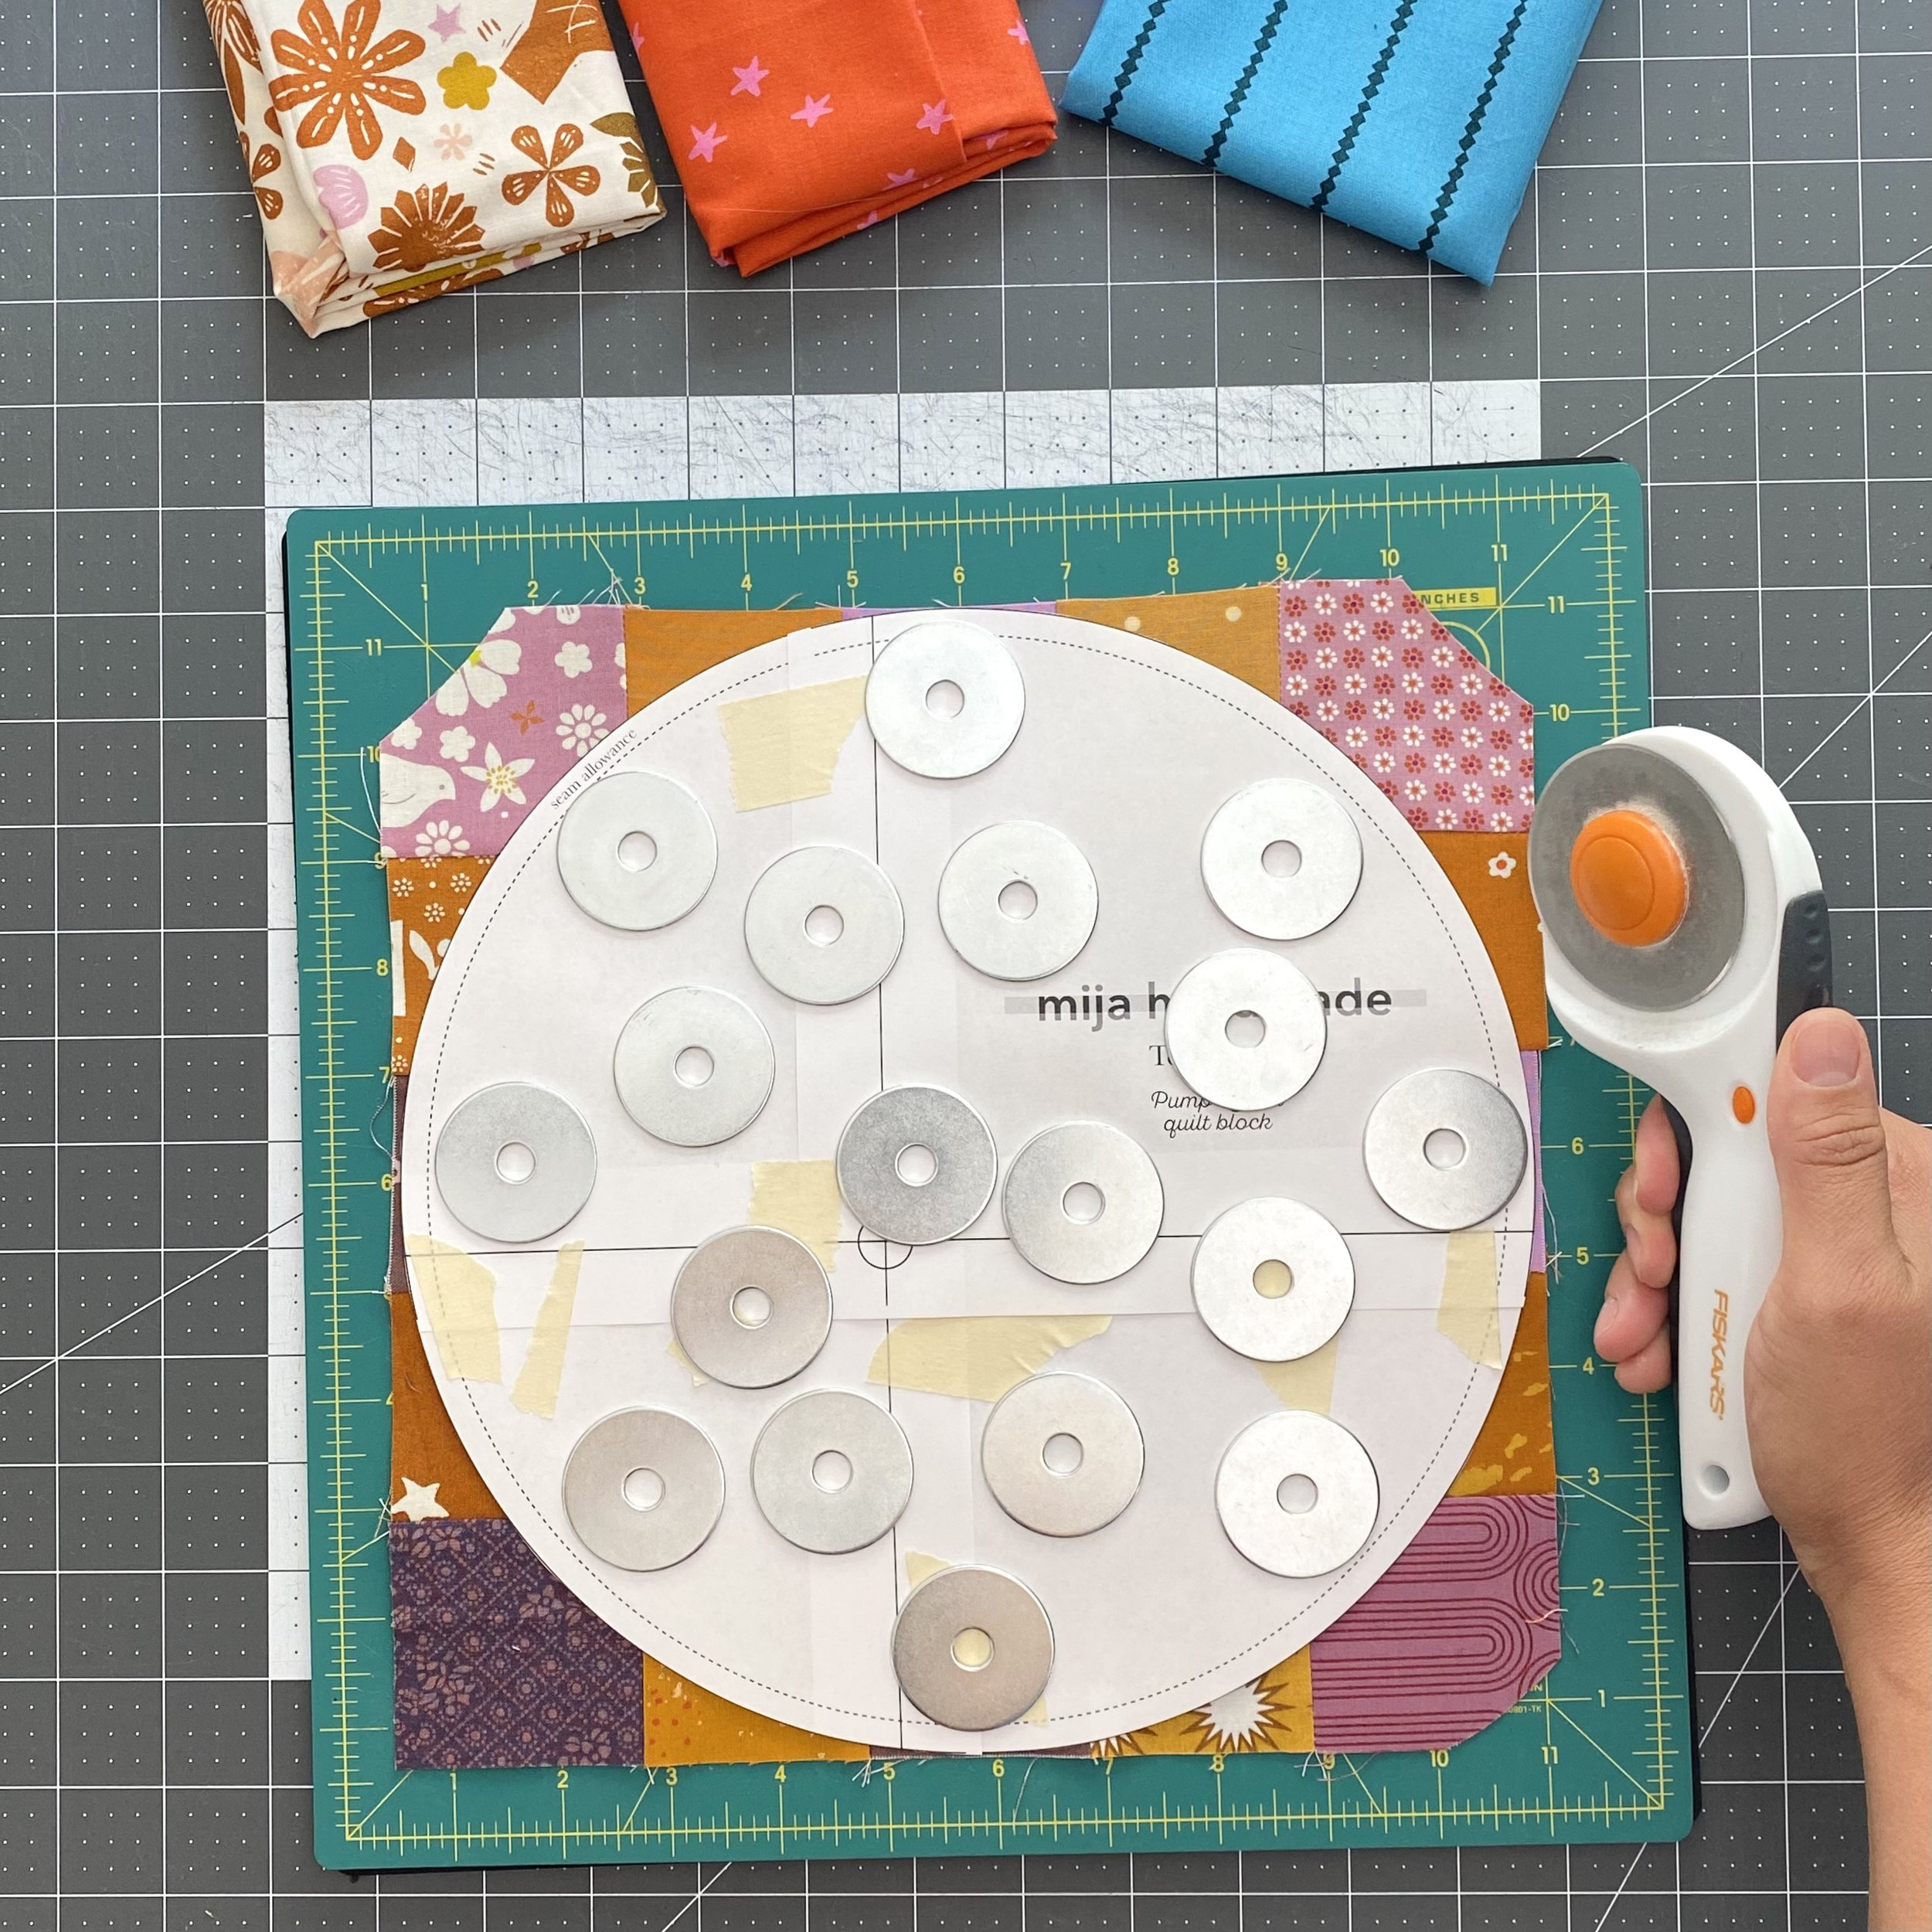
For this example, I’m using the Pump Queen block, but the steps outlined here are relevant to any pattern with an inset circle. To start, I like to use weights to hold down my curve templates. I bought these washers from my local home improvement store. I also like to cut out circles on my rotating cutting mat. This helps ensure that I don’t have to contort into weird positions to cut all the way around the circle.
Many of my patterns, including the Pump Queen block, instructs you to fold the units into eighths and crease the folds to mark them. To do this, I fold the unit in half several times; once horizontally, once vertically, and once on each diagonal, and lightly drag my nail along the fold.
Once your pieces are cut and the creases are marked, lay the exterior circle unit on top of circle unit. Both units should be right side up. I like to take a minute to visually check how well my crease marks are aligned.
Specific to the Pump Queen block: if you want a wonky look, rotate the inner circle one crease mark left or right. This will result in a Pump Queen face that leans slightly to one side.
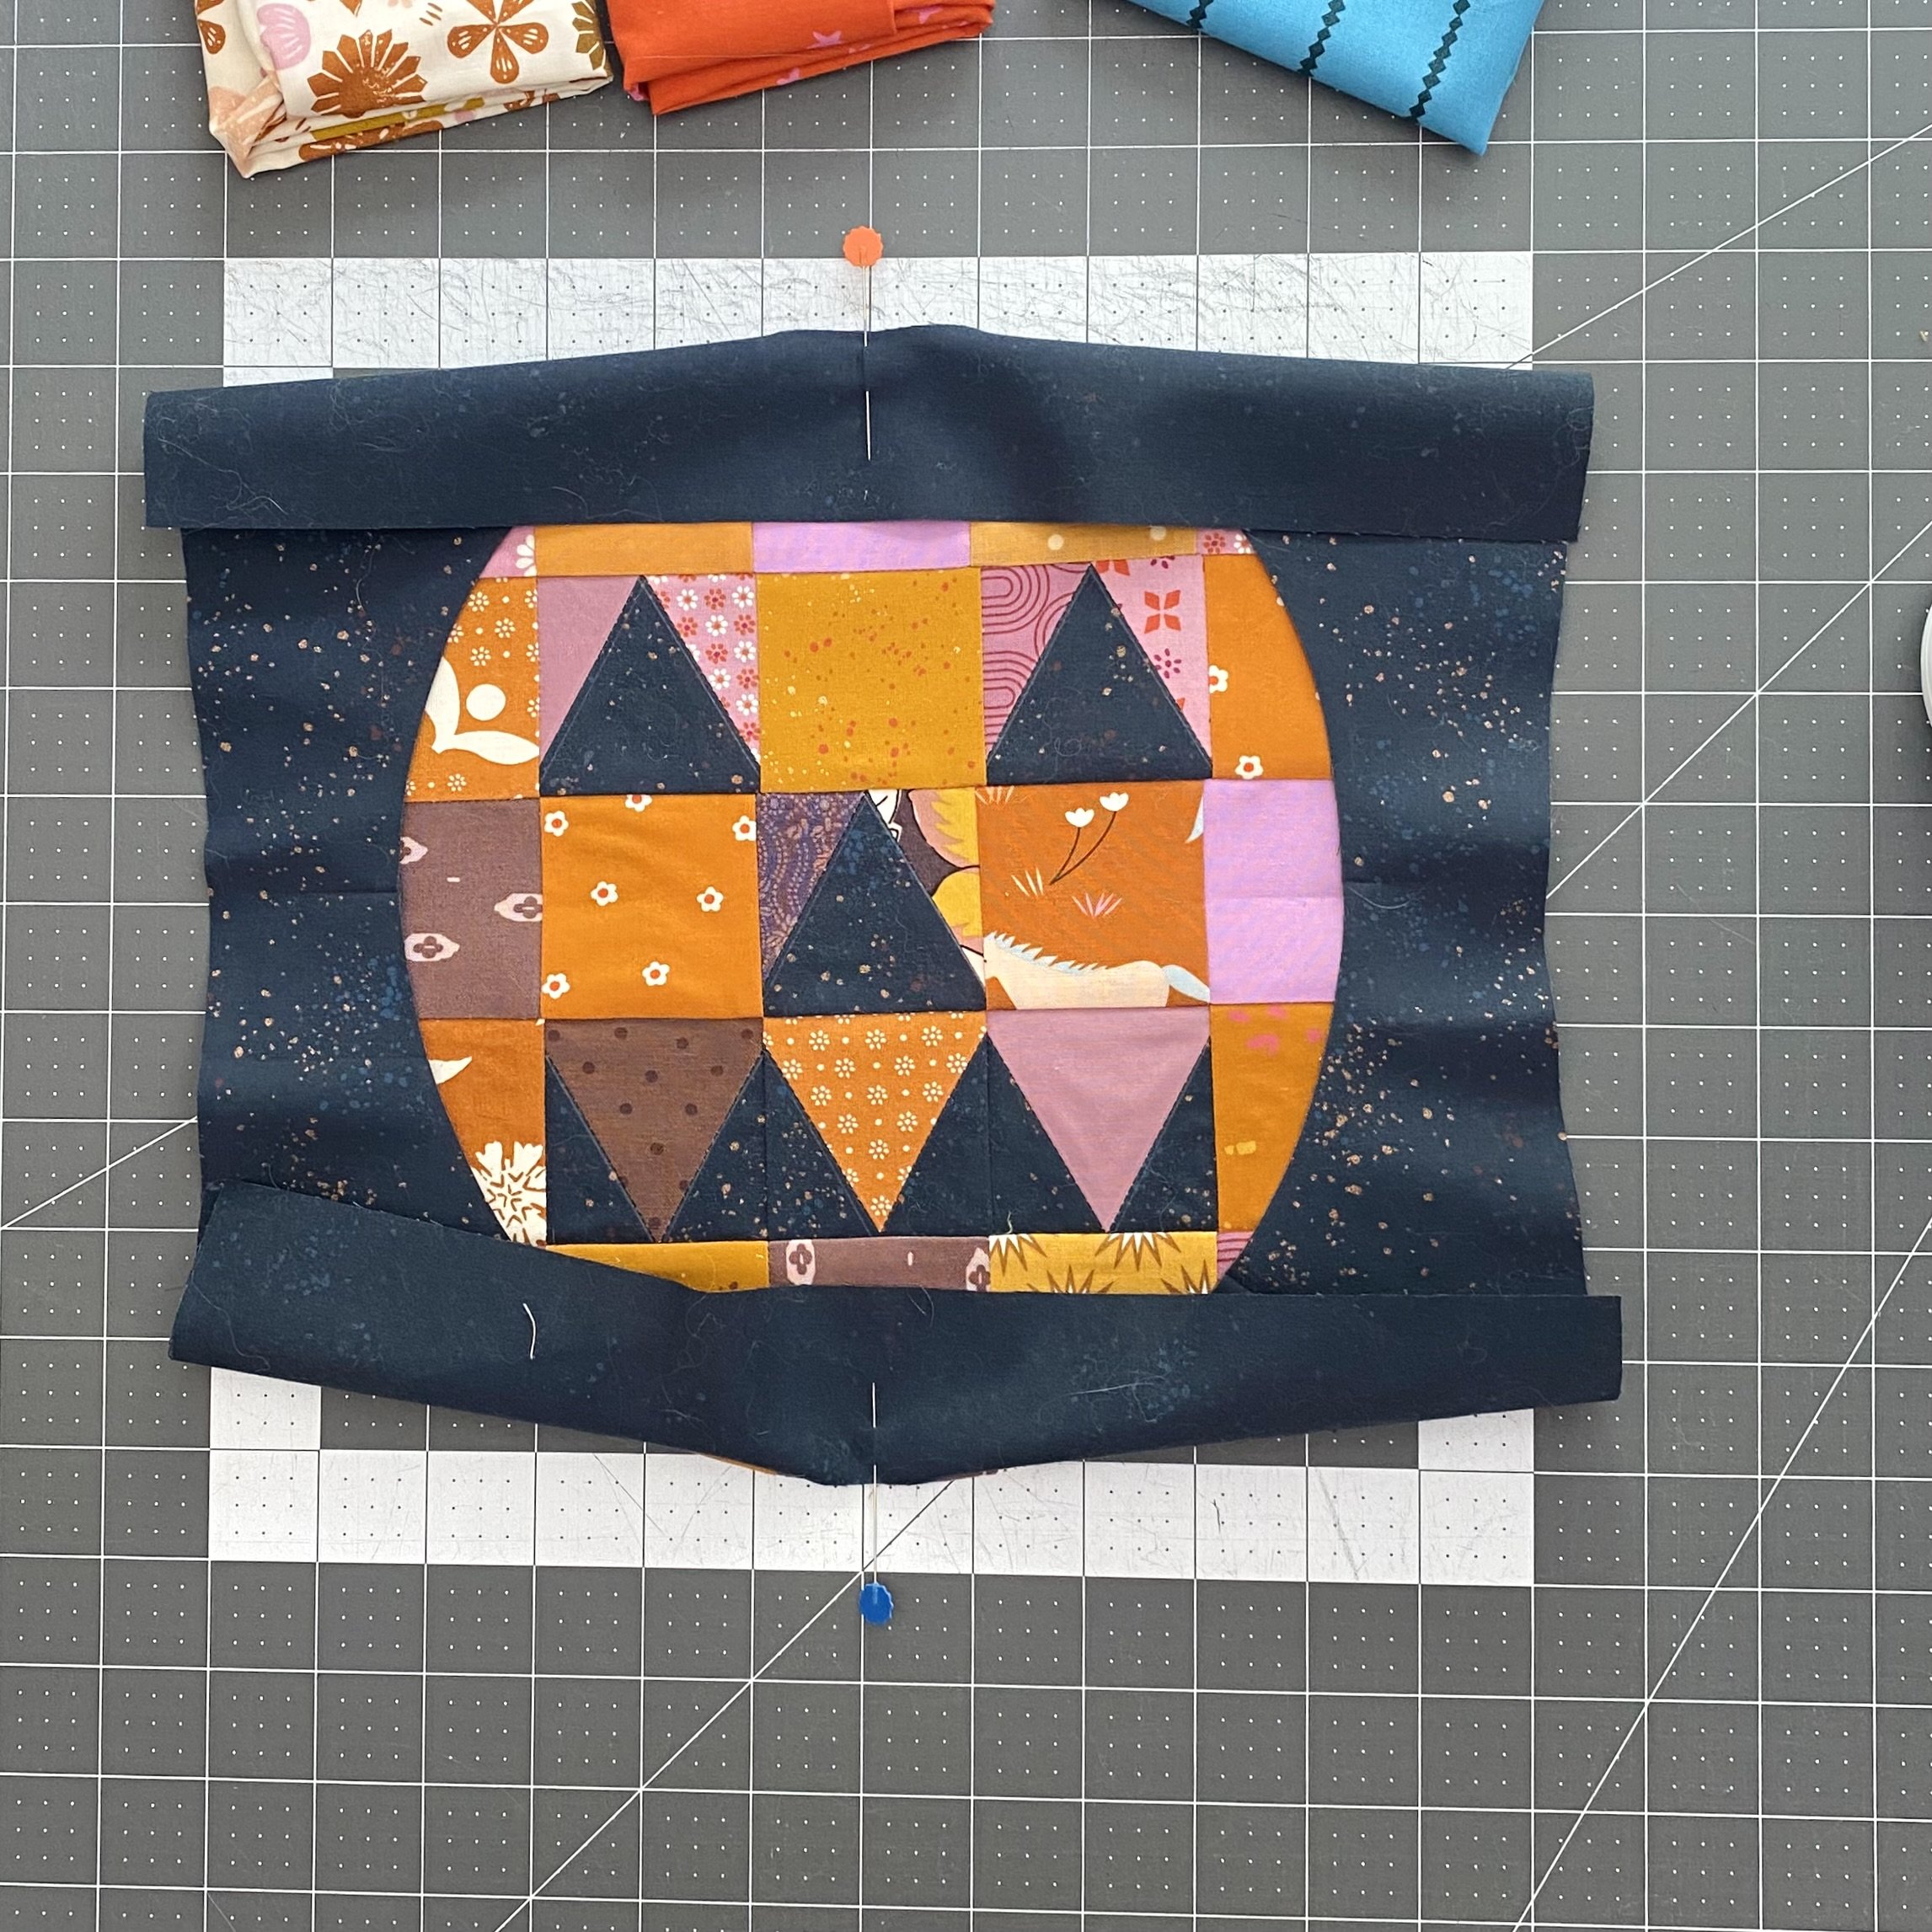
Flip the top of the exterior circle unit over so the edge of the cut out circle meets the edge of the circle unit. Keep the crease marks matched and pin at the crease.
Repeat with the bottom side. Keep the crease marks aligned and pin in place.
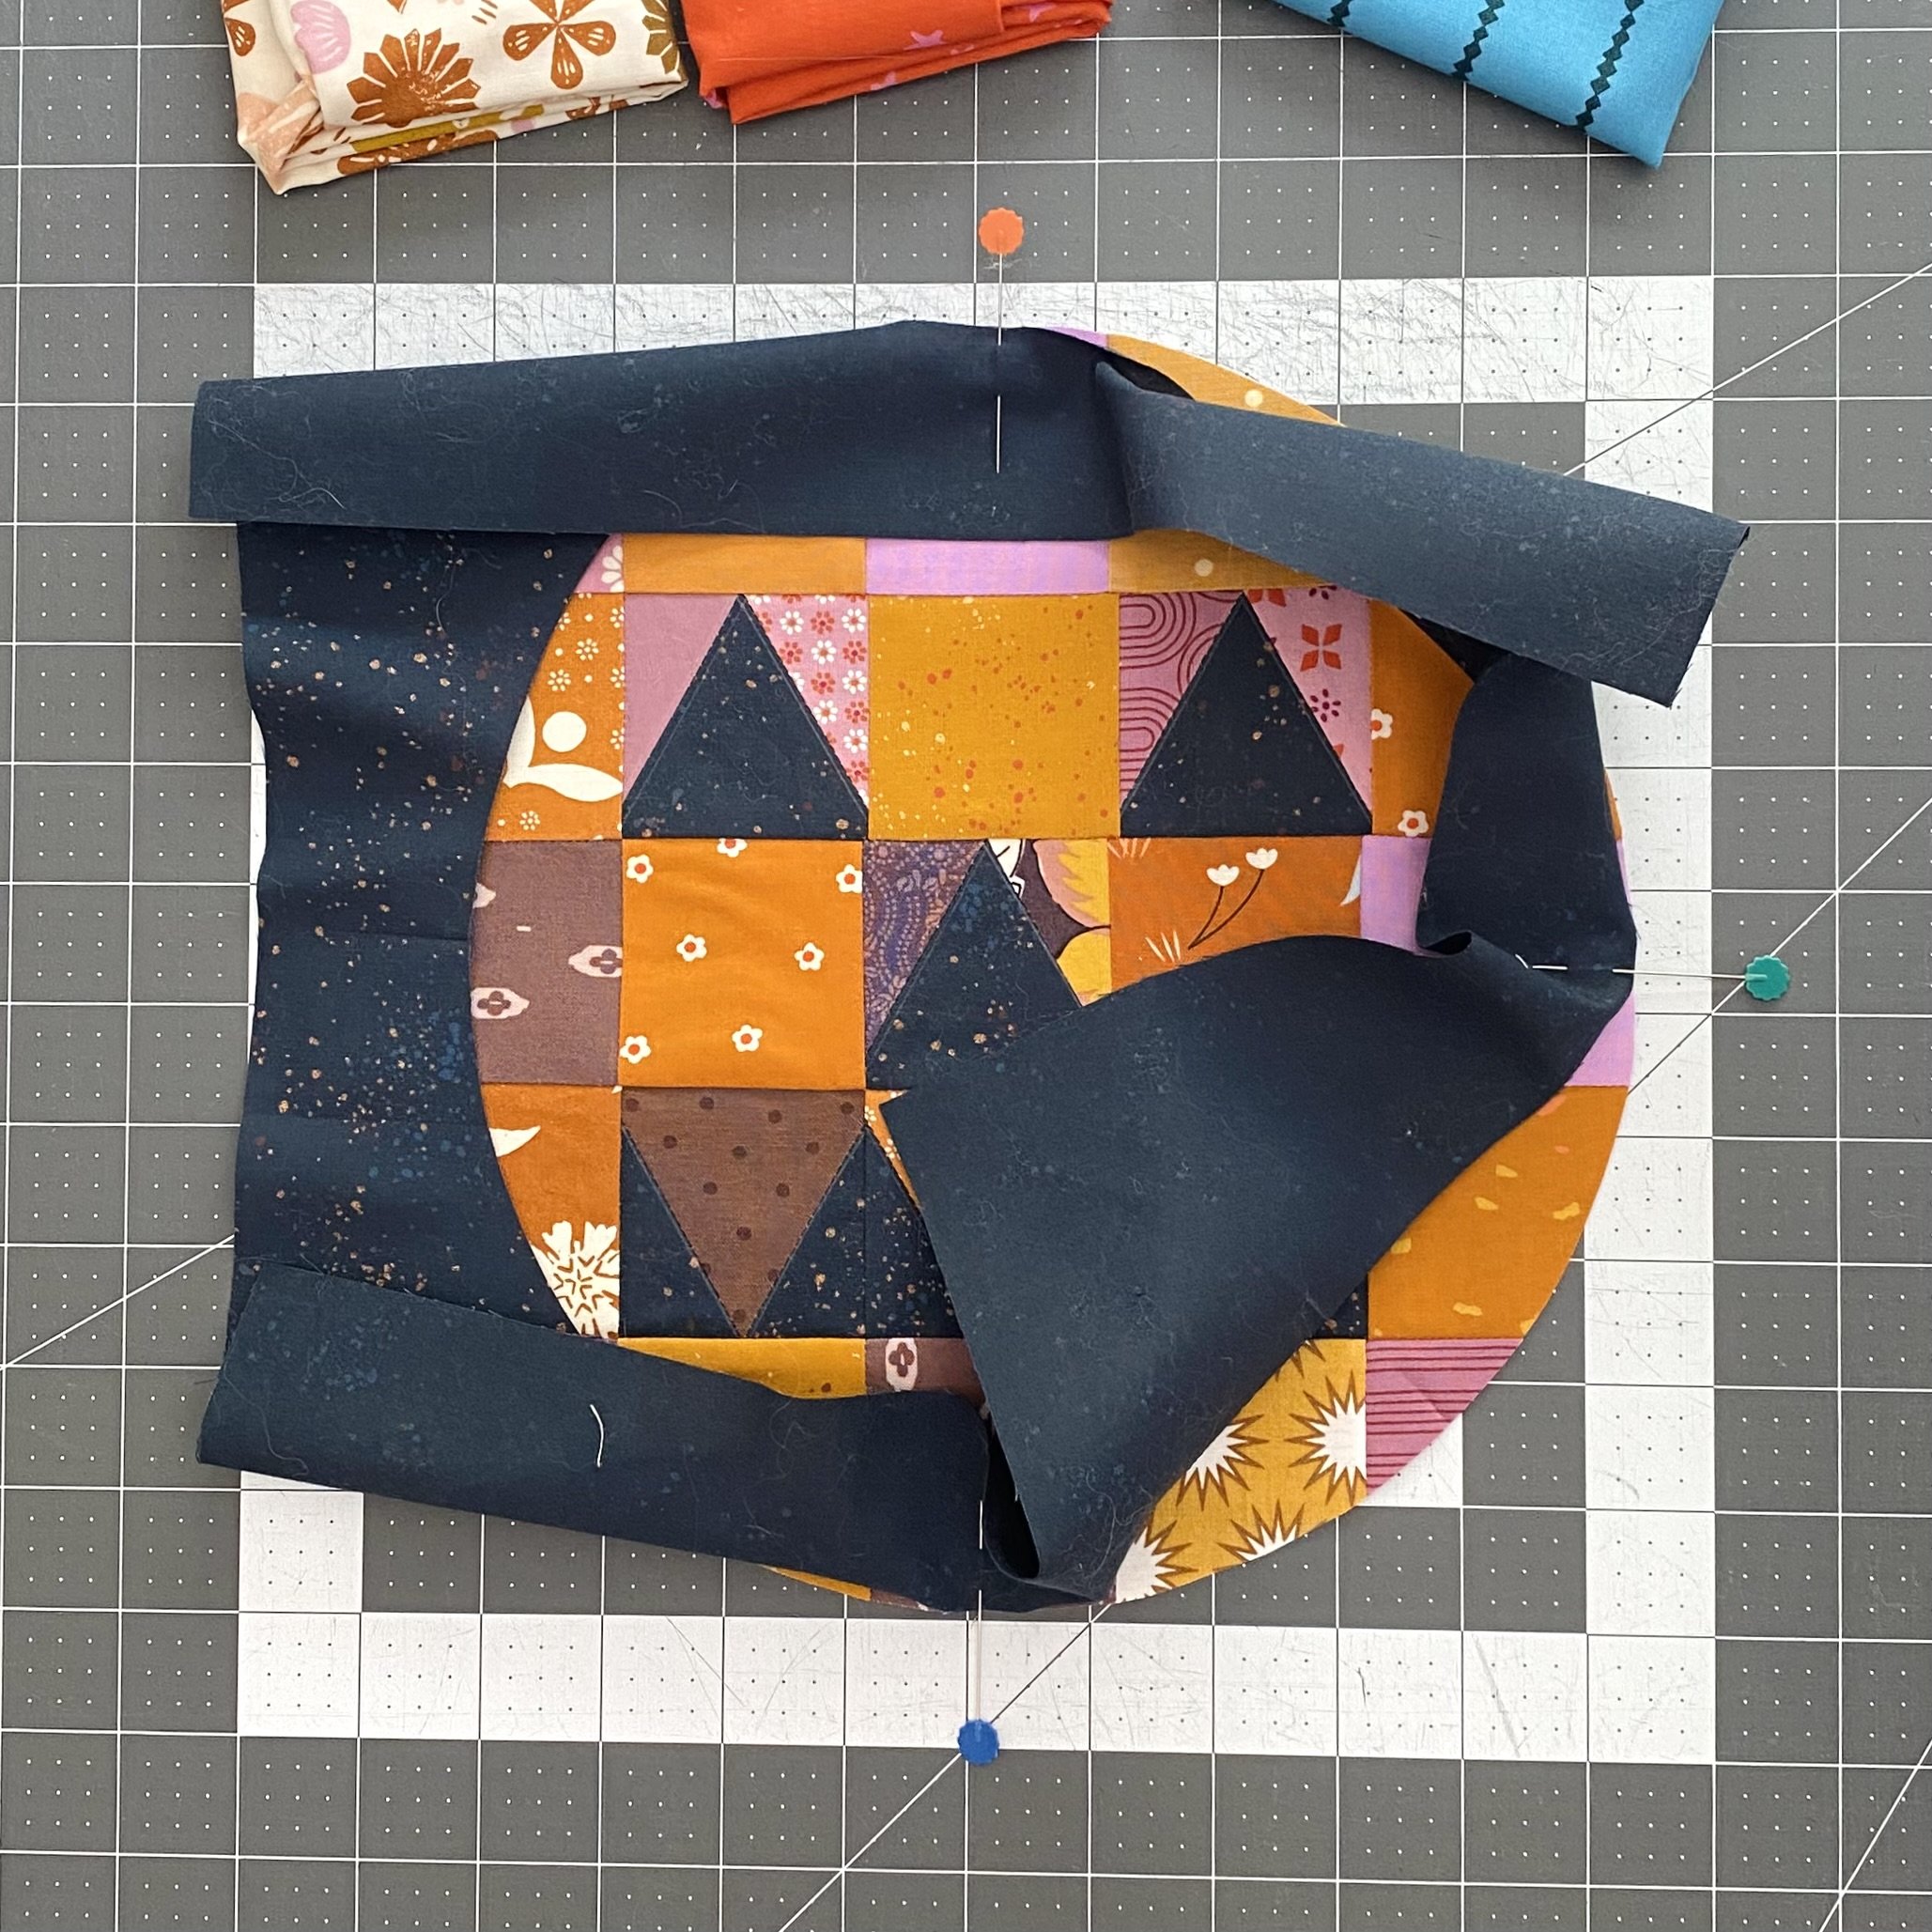
Repeat with the right side of the unit.
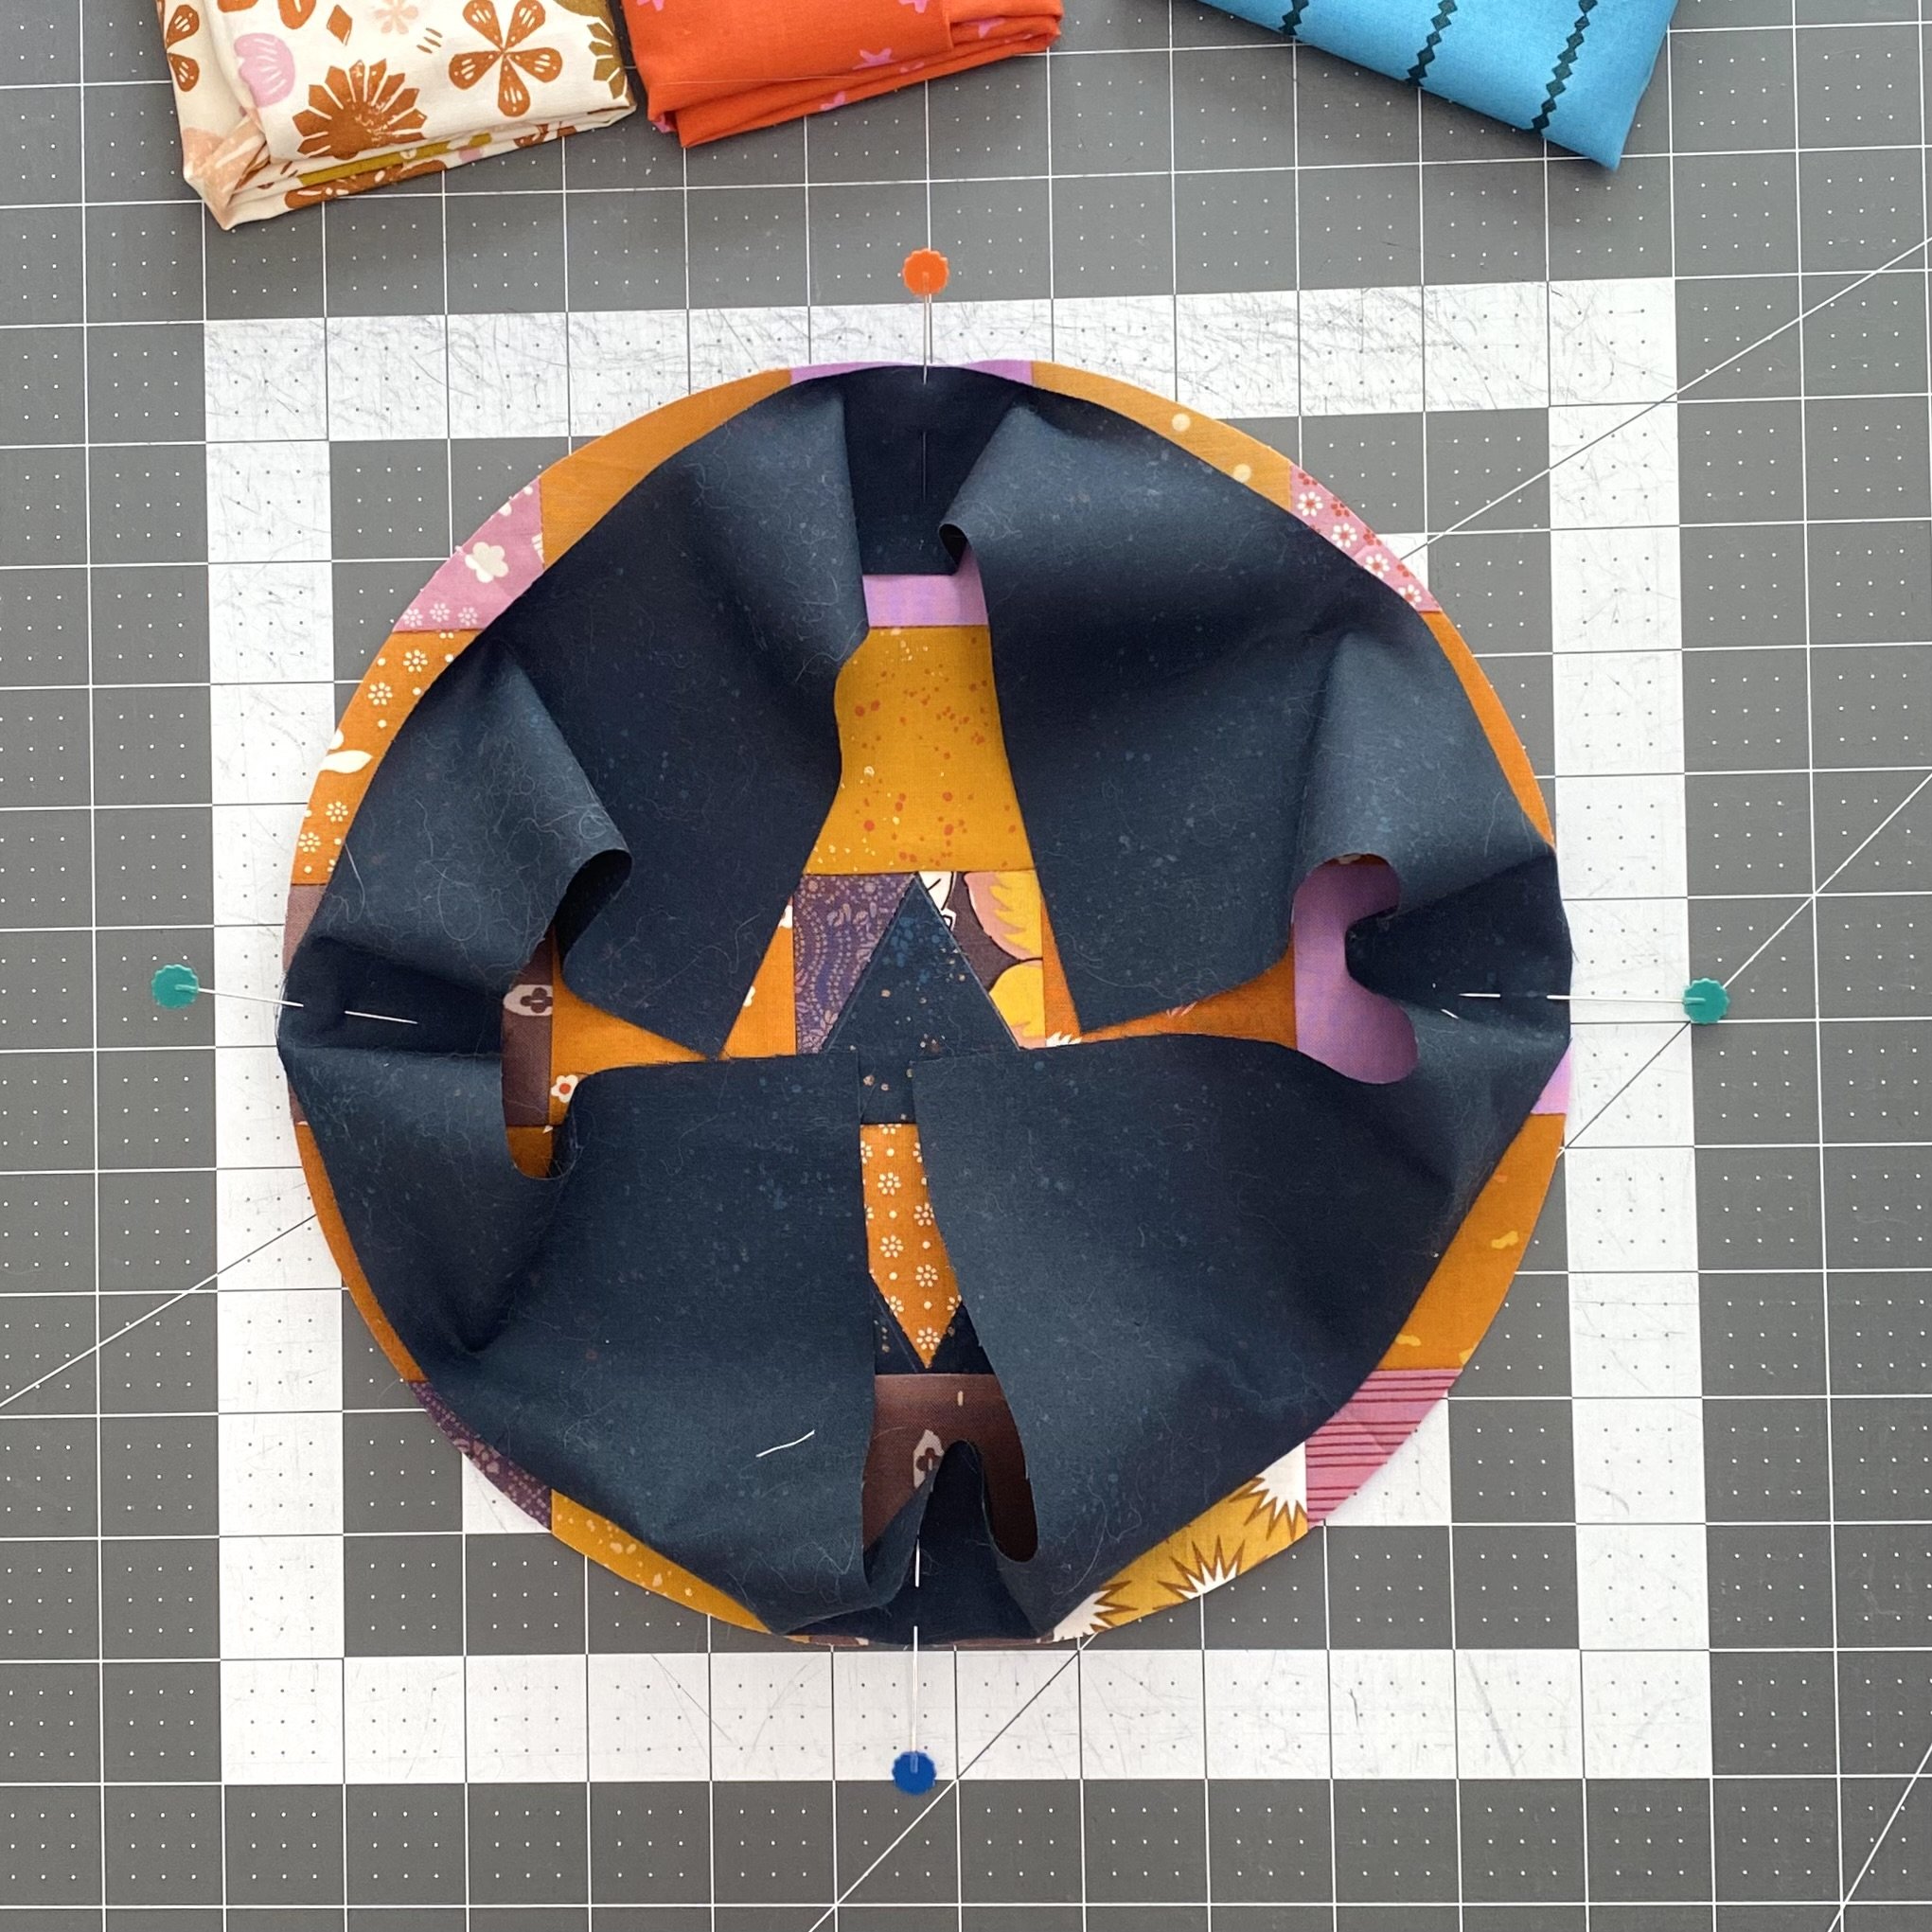
Repeat with the right side. If you’ve never sewn an inset circle before, the unit does feel strange at this point.
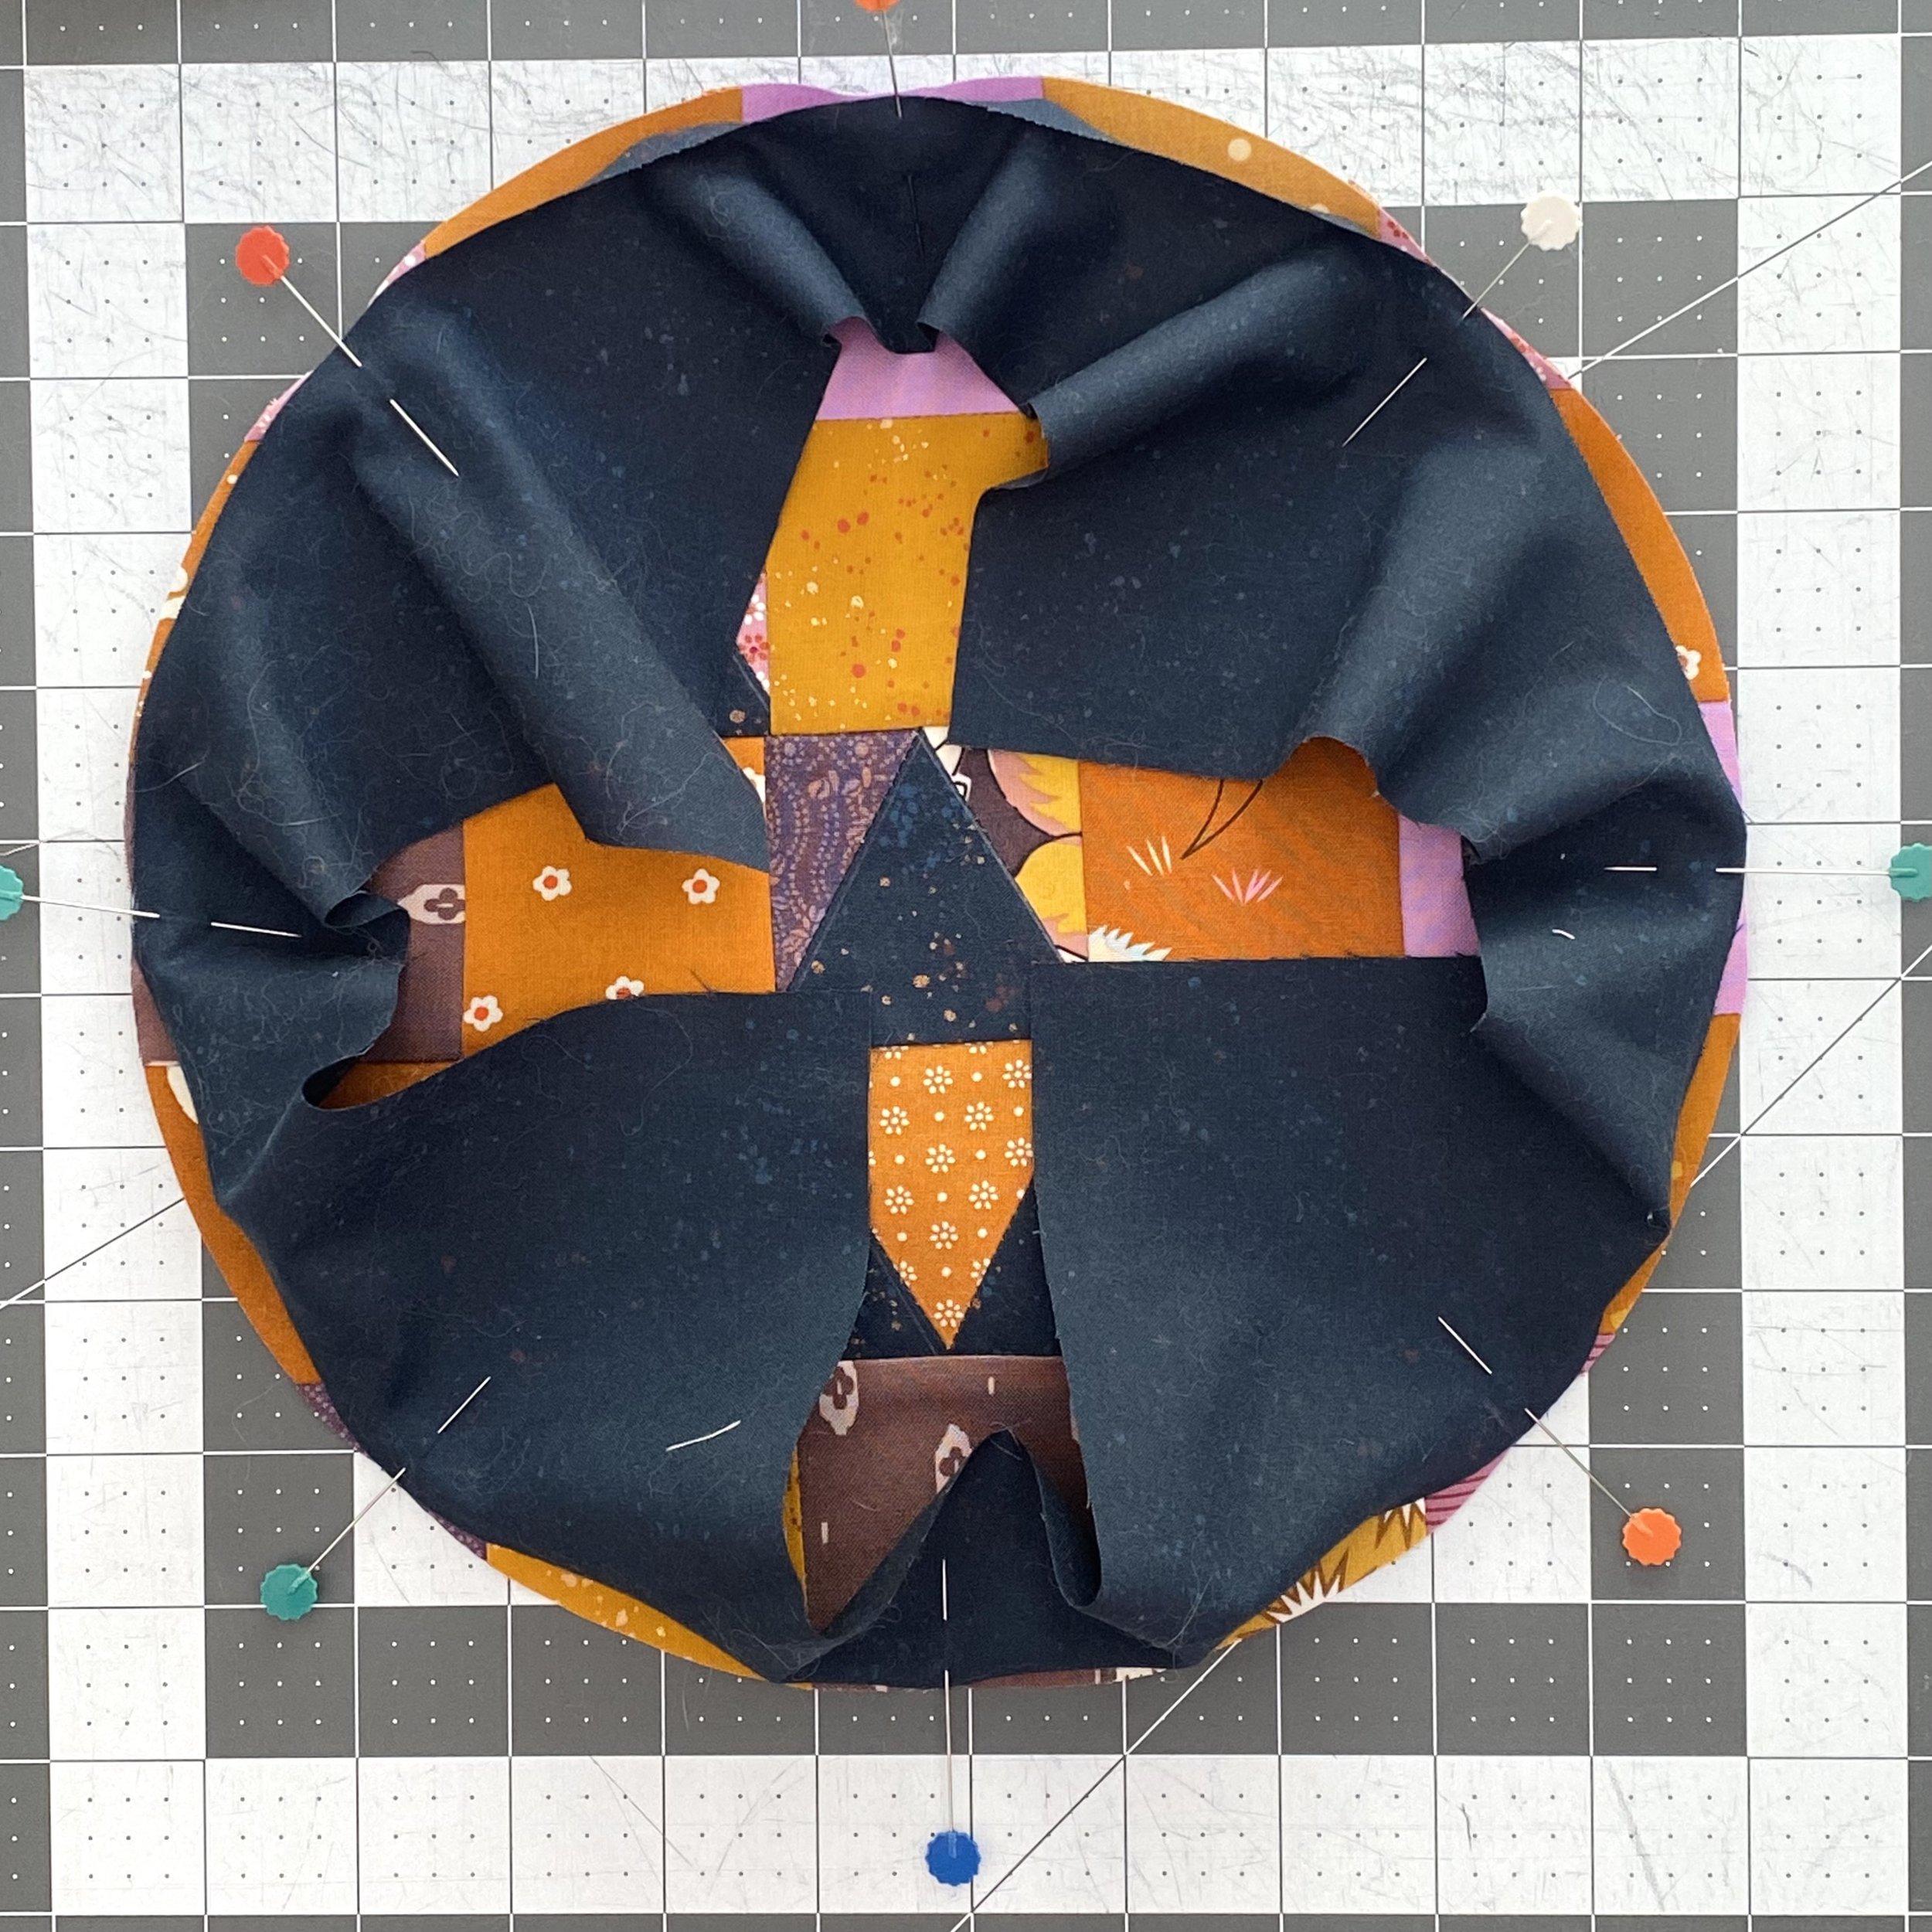
From here, you can add as many pins as you like. I’m comfortable adding four more pins at the diagonal crease marks. When I first started sewing curves, I would use 16 total pins, eight more than are pictured here.
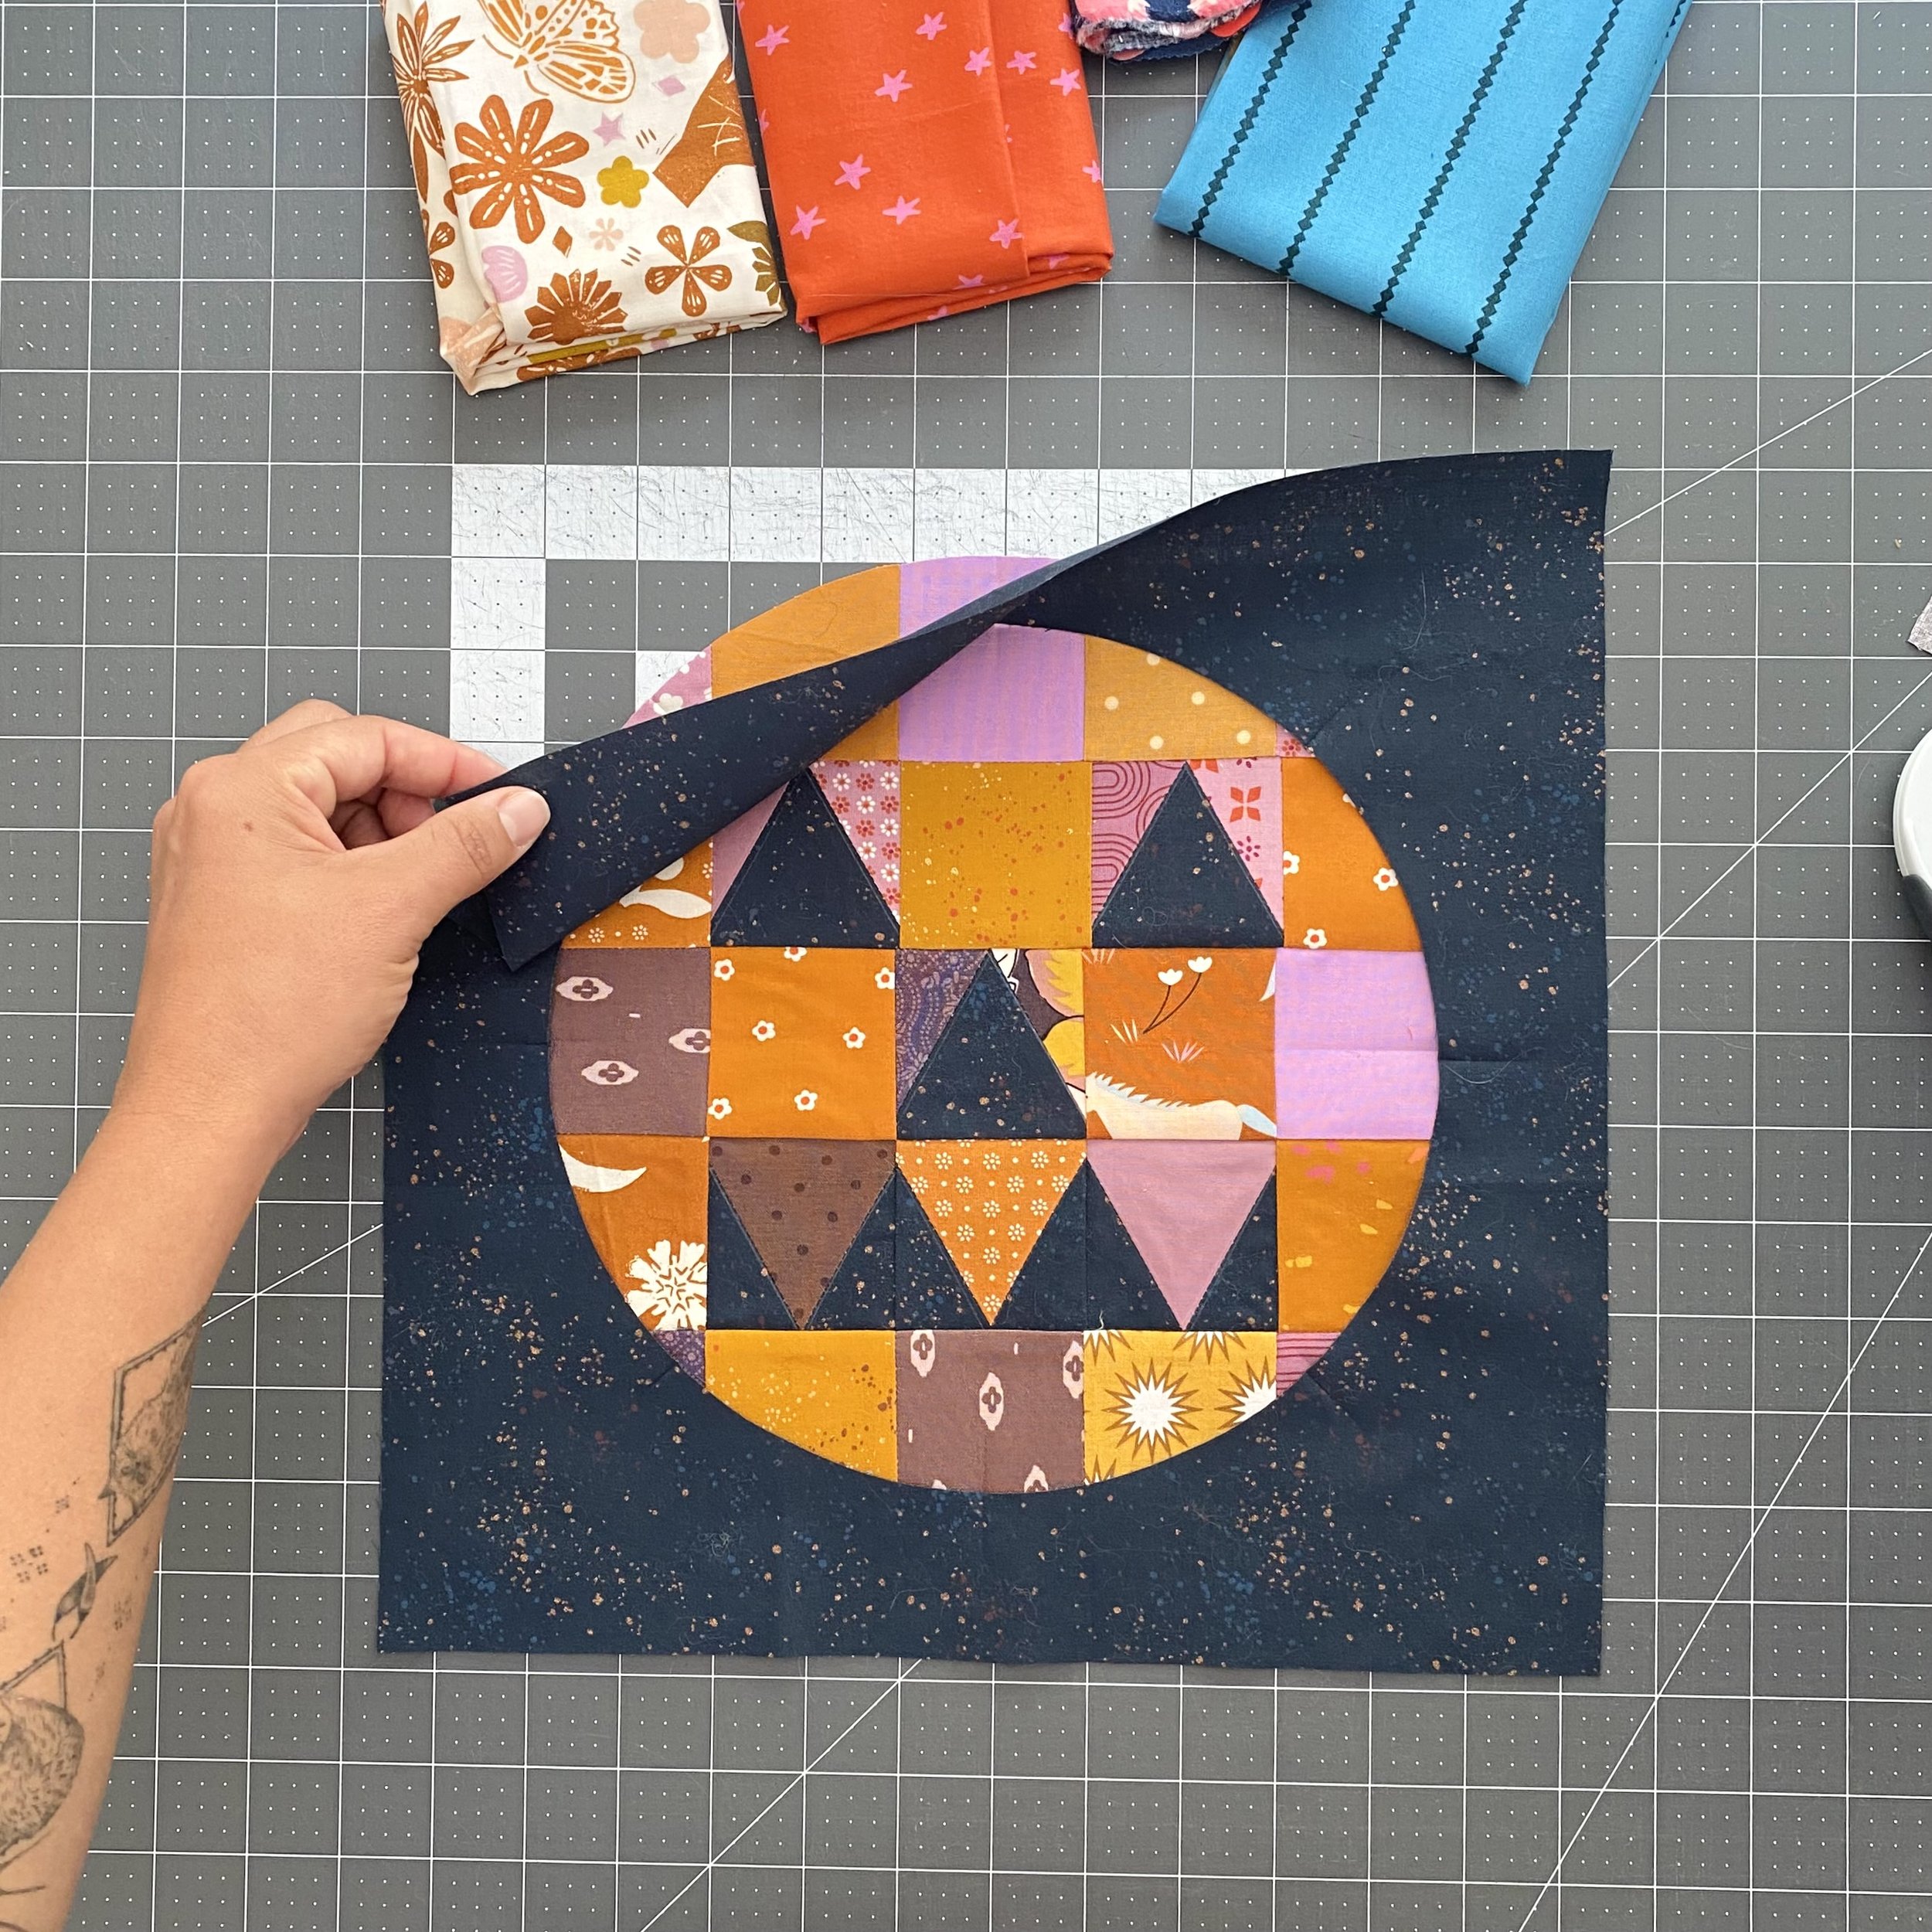
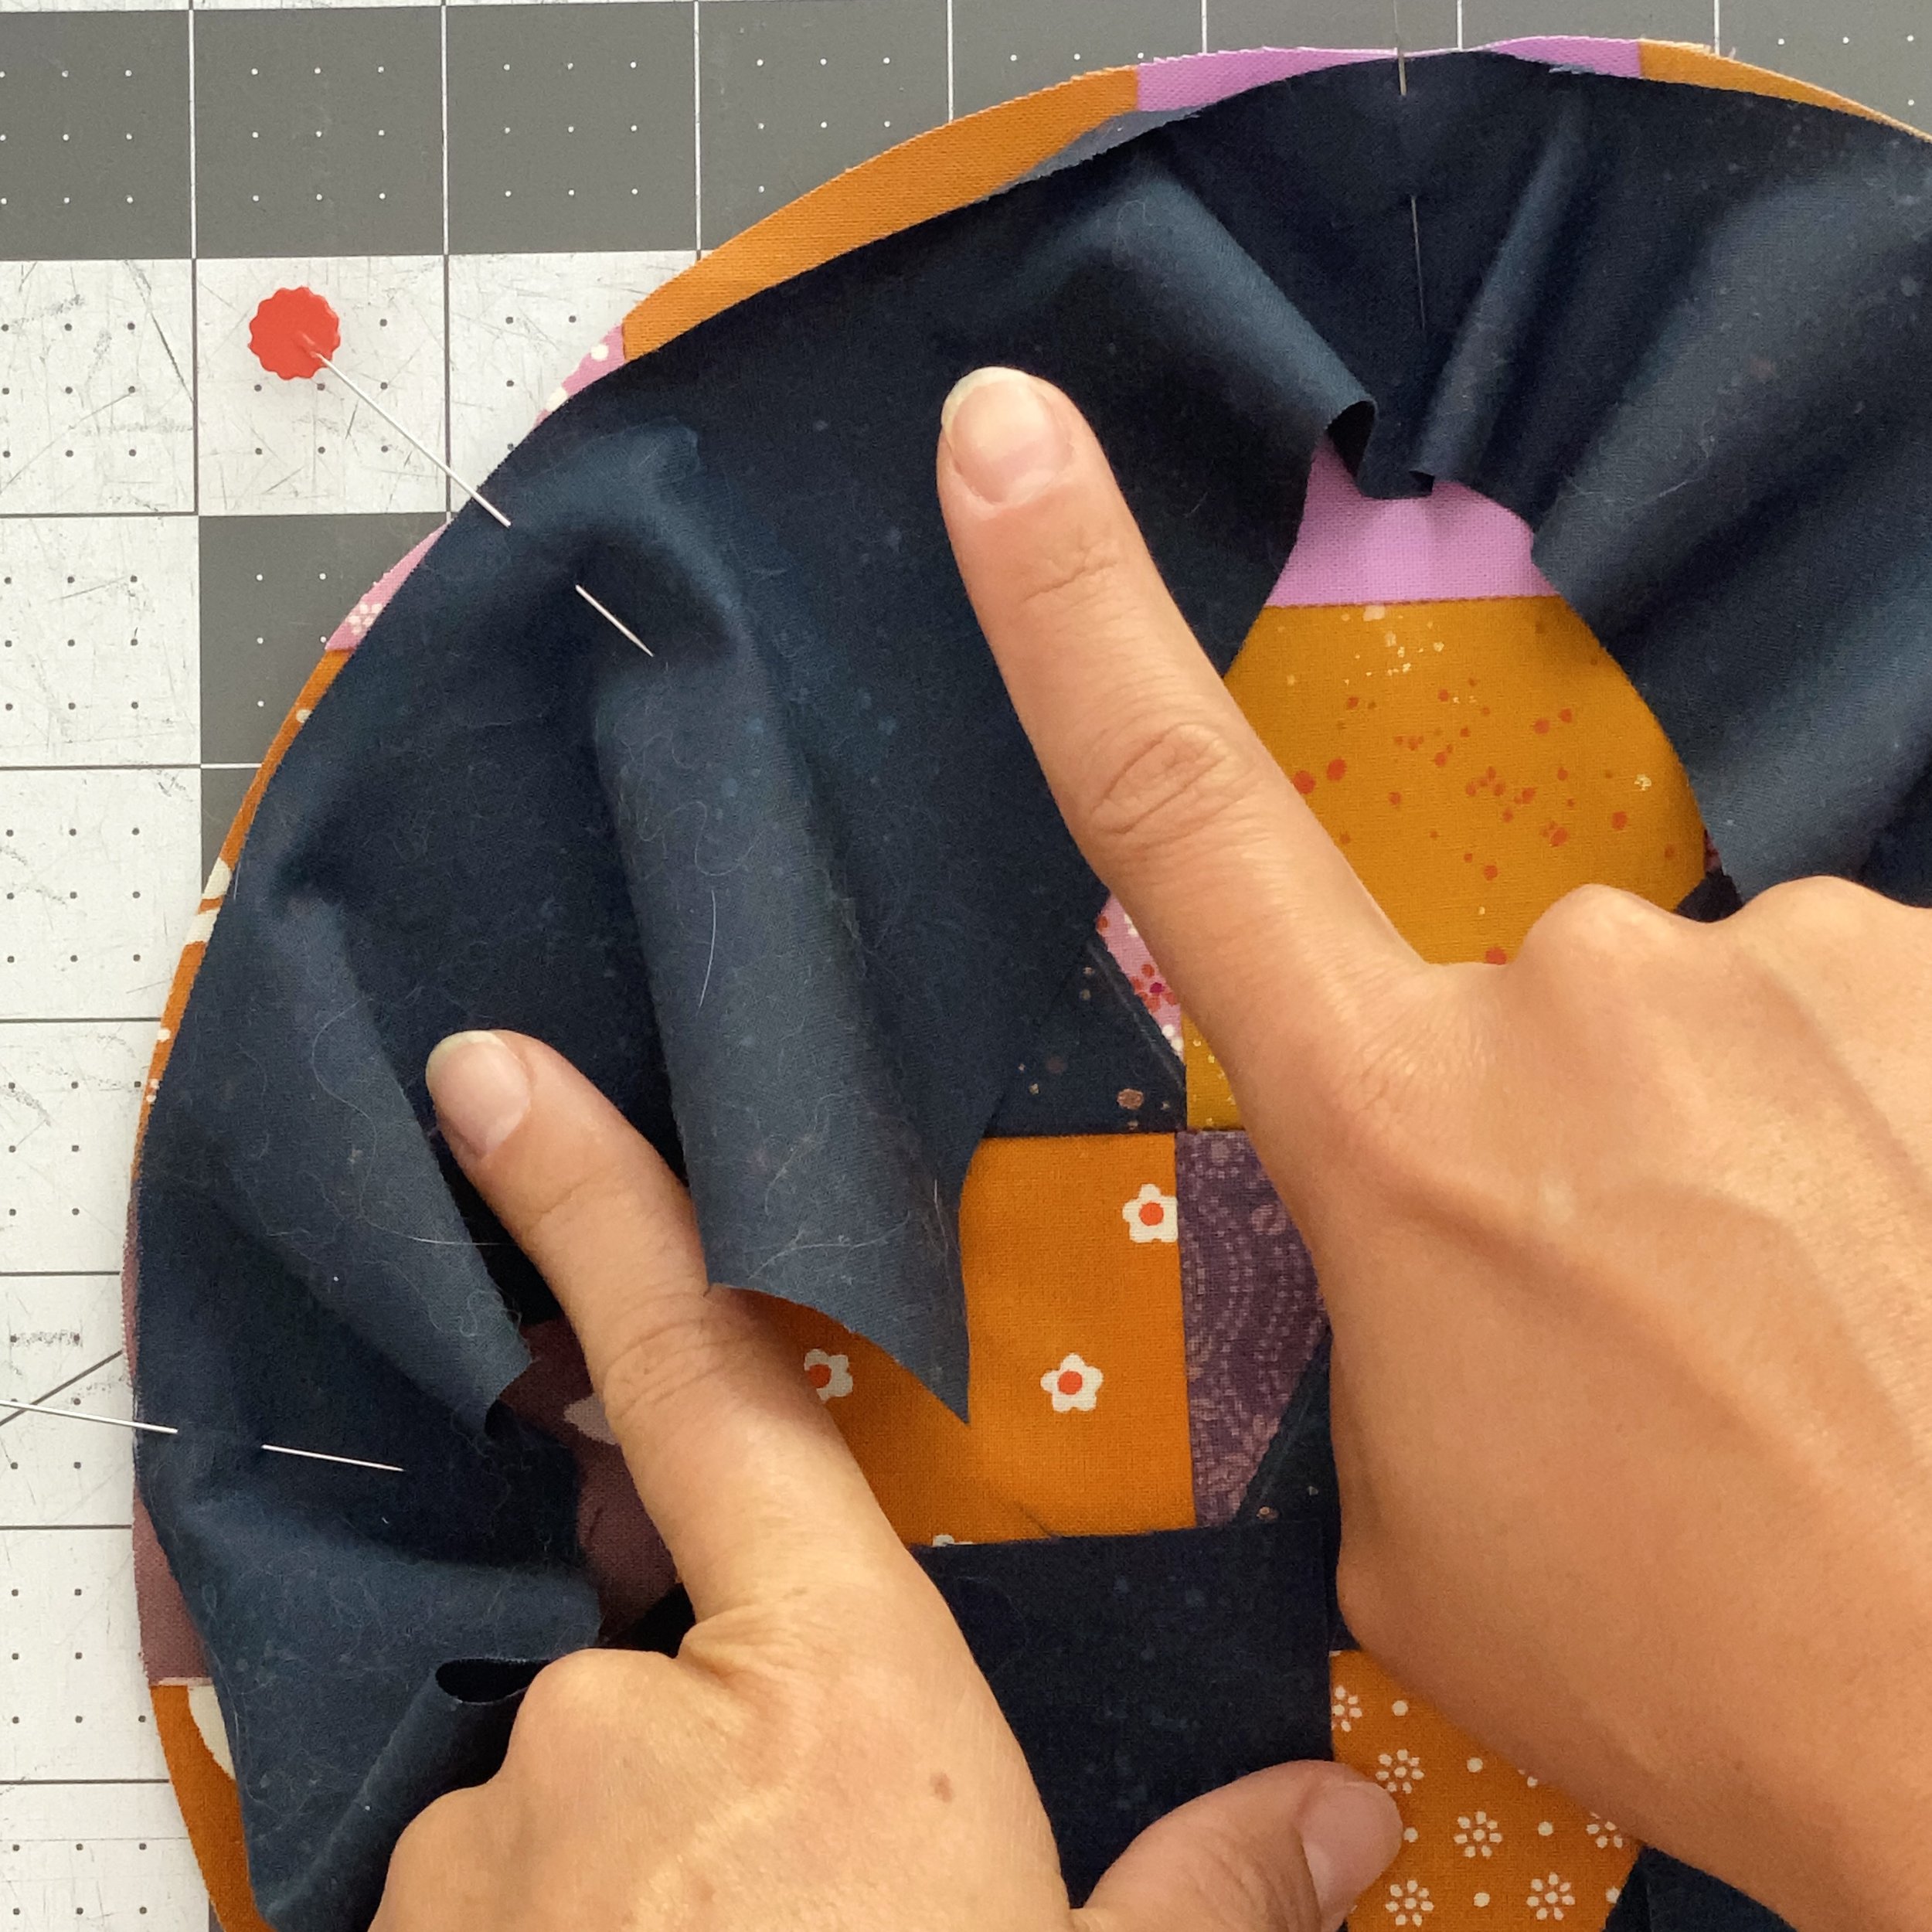
Don’t head to your machine just yet. To ensure that the exterior fabric is evenly distributed around the circle, I like to test how much slack there is in the fabric on each side of the pins. In this picture, there is slightly more slack on the left side of the pin than on the right. There are two ways I can tell this. 1) I can feel that tension with my fingers. 2) The fabric on the right side of the pin is flipped up slightly.
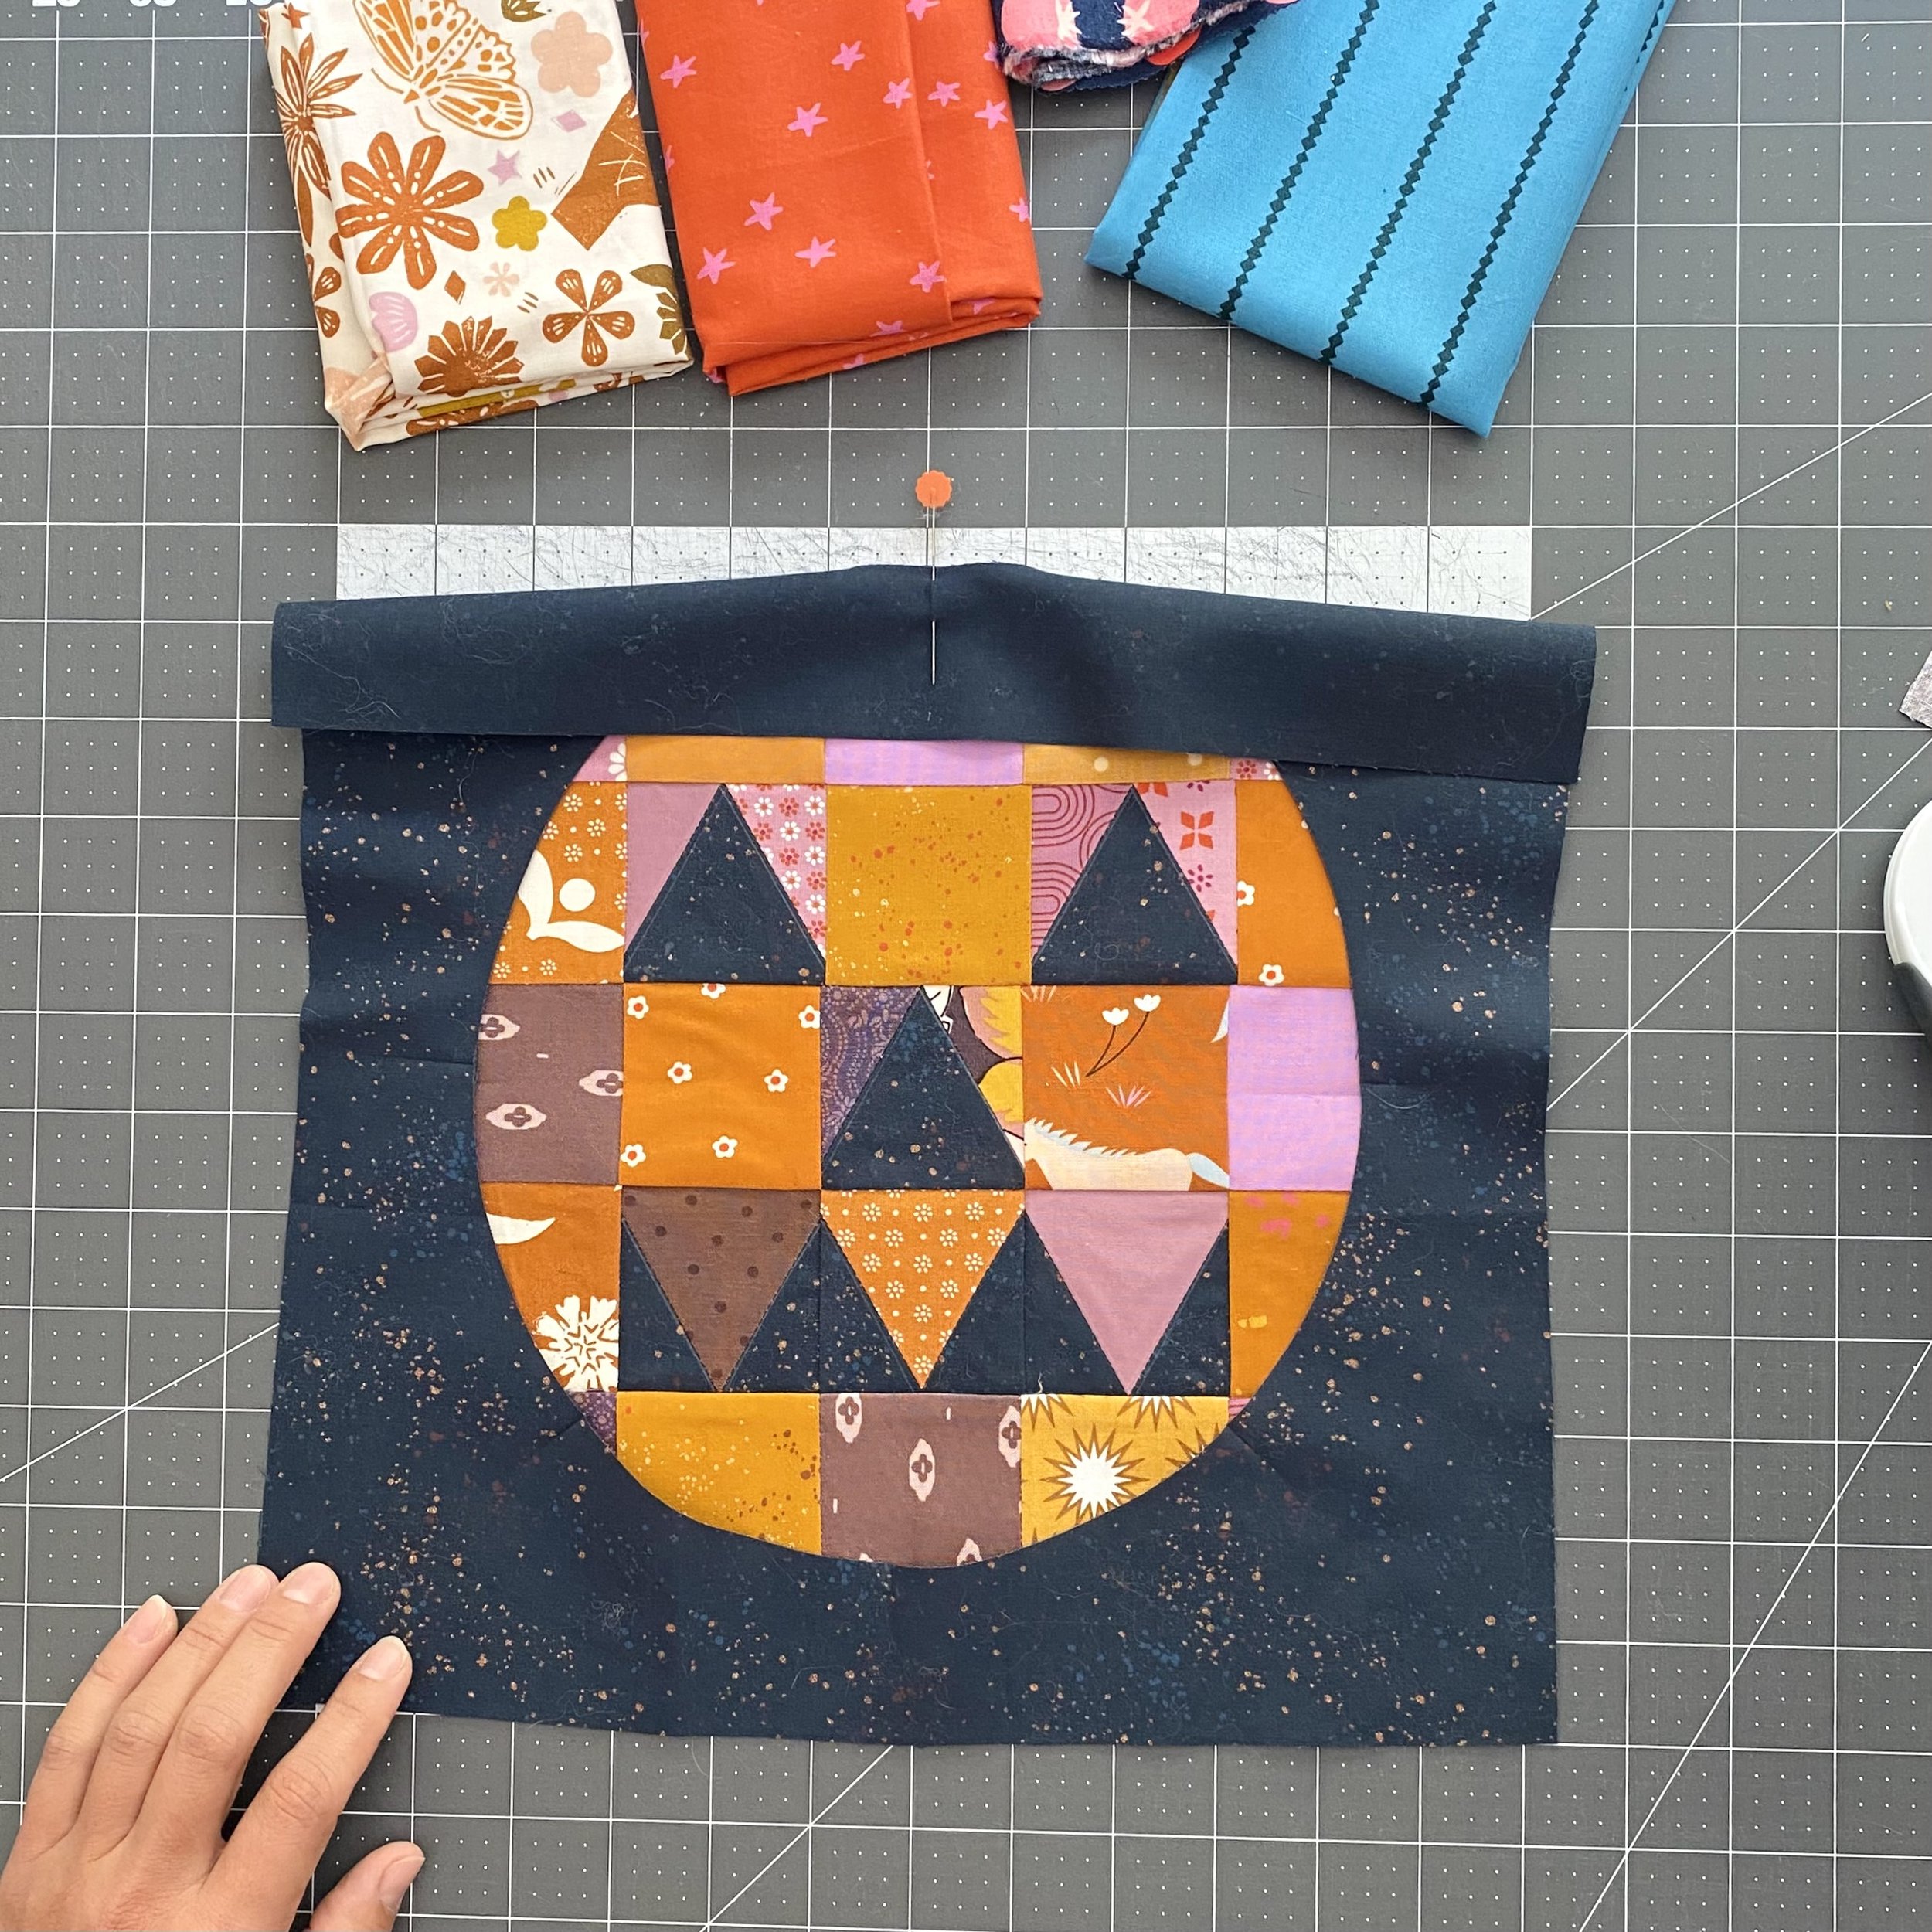
To correct this, I remove the red pin and adjust the fabric to evenly distribute the fabric between the pins at 12 and 9 o’clock on the block.
In this picture, I’ve adjusted the fabric. You can see that the fabric on both sides of the pin wants to lay flat - that’s what I look for as I continue my visual and physical inspection of the block. I repeat this process around all eight pins before I move to my sewing machine.
On smaller circles, you may want to make small snips in the exterior circle unit to encourage the edge to lay flat (keep the snips inside the seam allowance - the spacing of the snips varies depending on the diameter of the circle). The Pump Queen circle is big enough that I don’t think it’s necessary, but you can absolutely add those snips if you’re new to sewing curves.
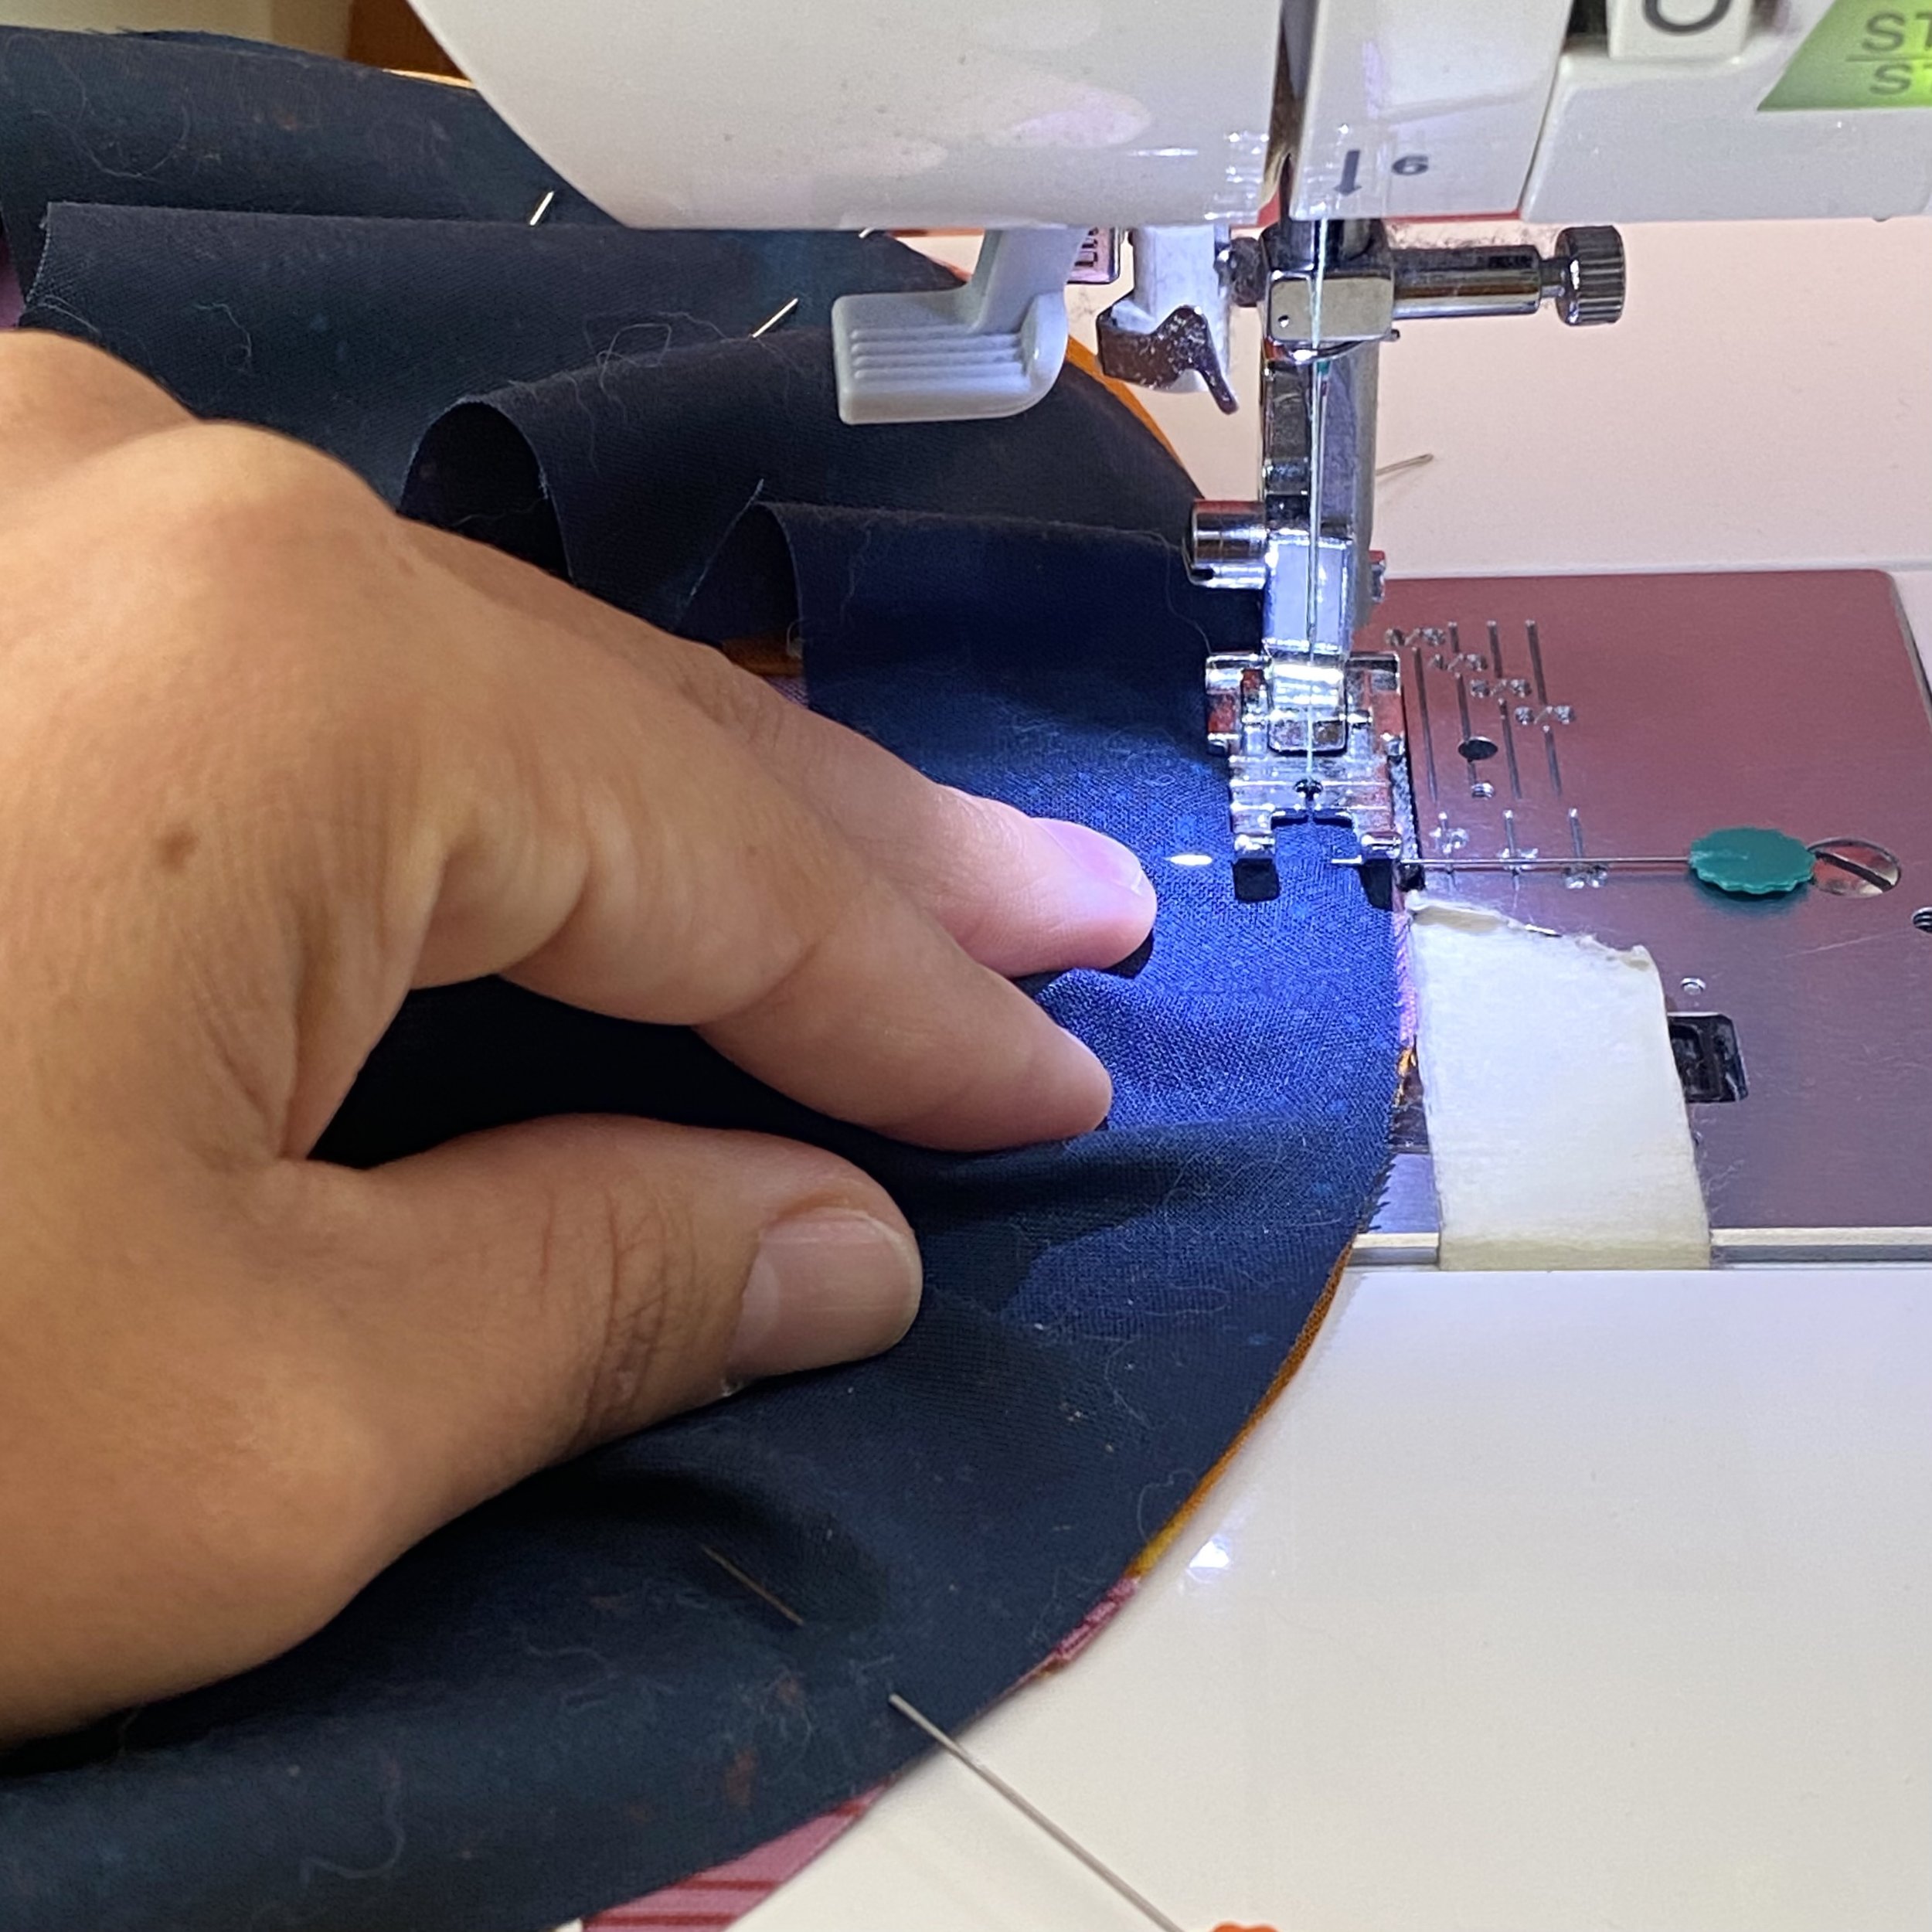
Once we’re at the machine, I like to focus on three things. First, keep the edges of the fabric aligned. It’s very easy to let the edge of the exterior circle to creep away from the edge of the circle unit. This messes with the seam allowance, and can lead to a block with lots of fullness. Stitch slowly and lift the presser foot as necessary to adjust the fabric and keep the edges aligned.
Second, I like to manage the bulk of the exterior piece by gathering it in my left hand. I use my right hand to keep the edges aligned and my left to collect the excess fabric to the left of the seam. With my left hand, I’m also encouraging the exterior circle unit to lay flat at the seam allowance by keeping tension on the unit.
Third, as I sew, I do not let excess fabric collect in front of the machine foot. If, as you approach a pin, lots of fabric is getting bunched up between the foot and the pin, I’d recommend breaking thread and seam ripping. The block will not turn out well if you just remove the pin and continue sewing. This is why we say stitch slowly. The faster you sew around the circle, the more likely it is that you’ll shift fibers and ruin all the work we did to align the creases and distribute the fabric around the circle. The more slowly you sew, the more often you adjust the bulky fabric in your left hand, the more often you lift your presser foot to to smooth out fabric directly in front of the needle, the better your block will turn out.
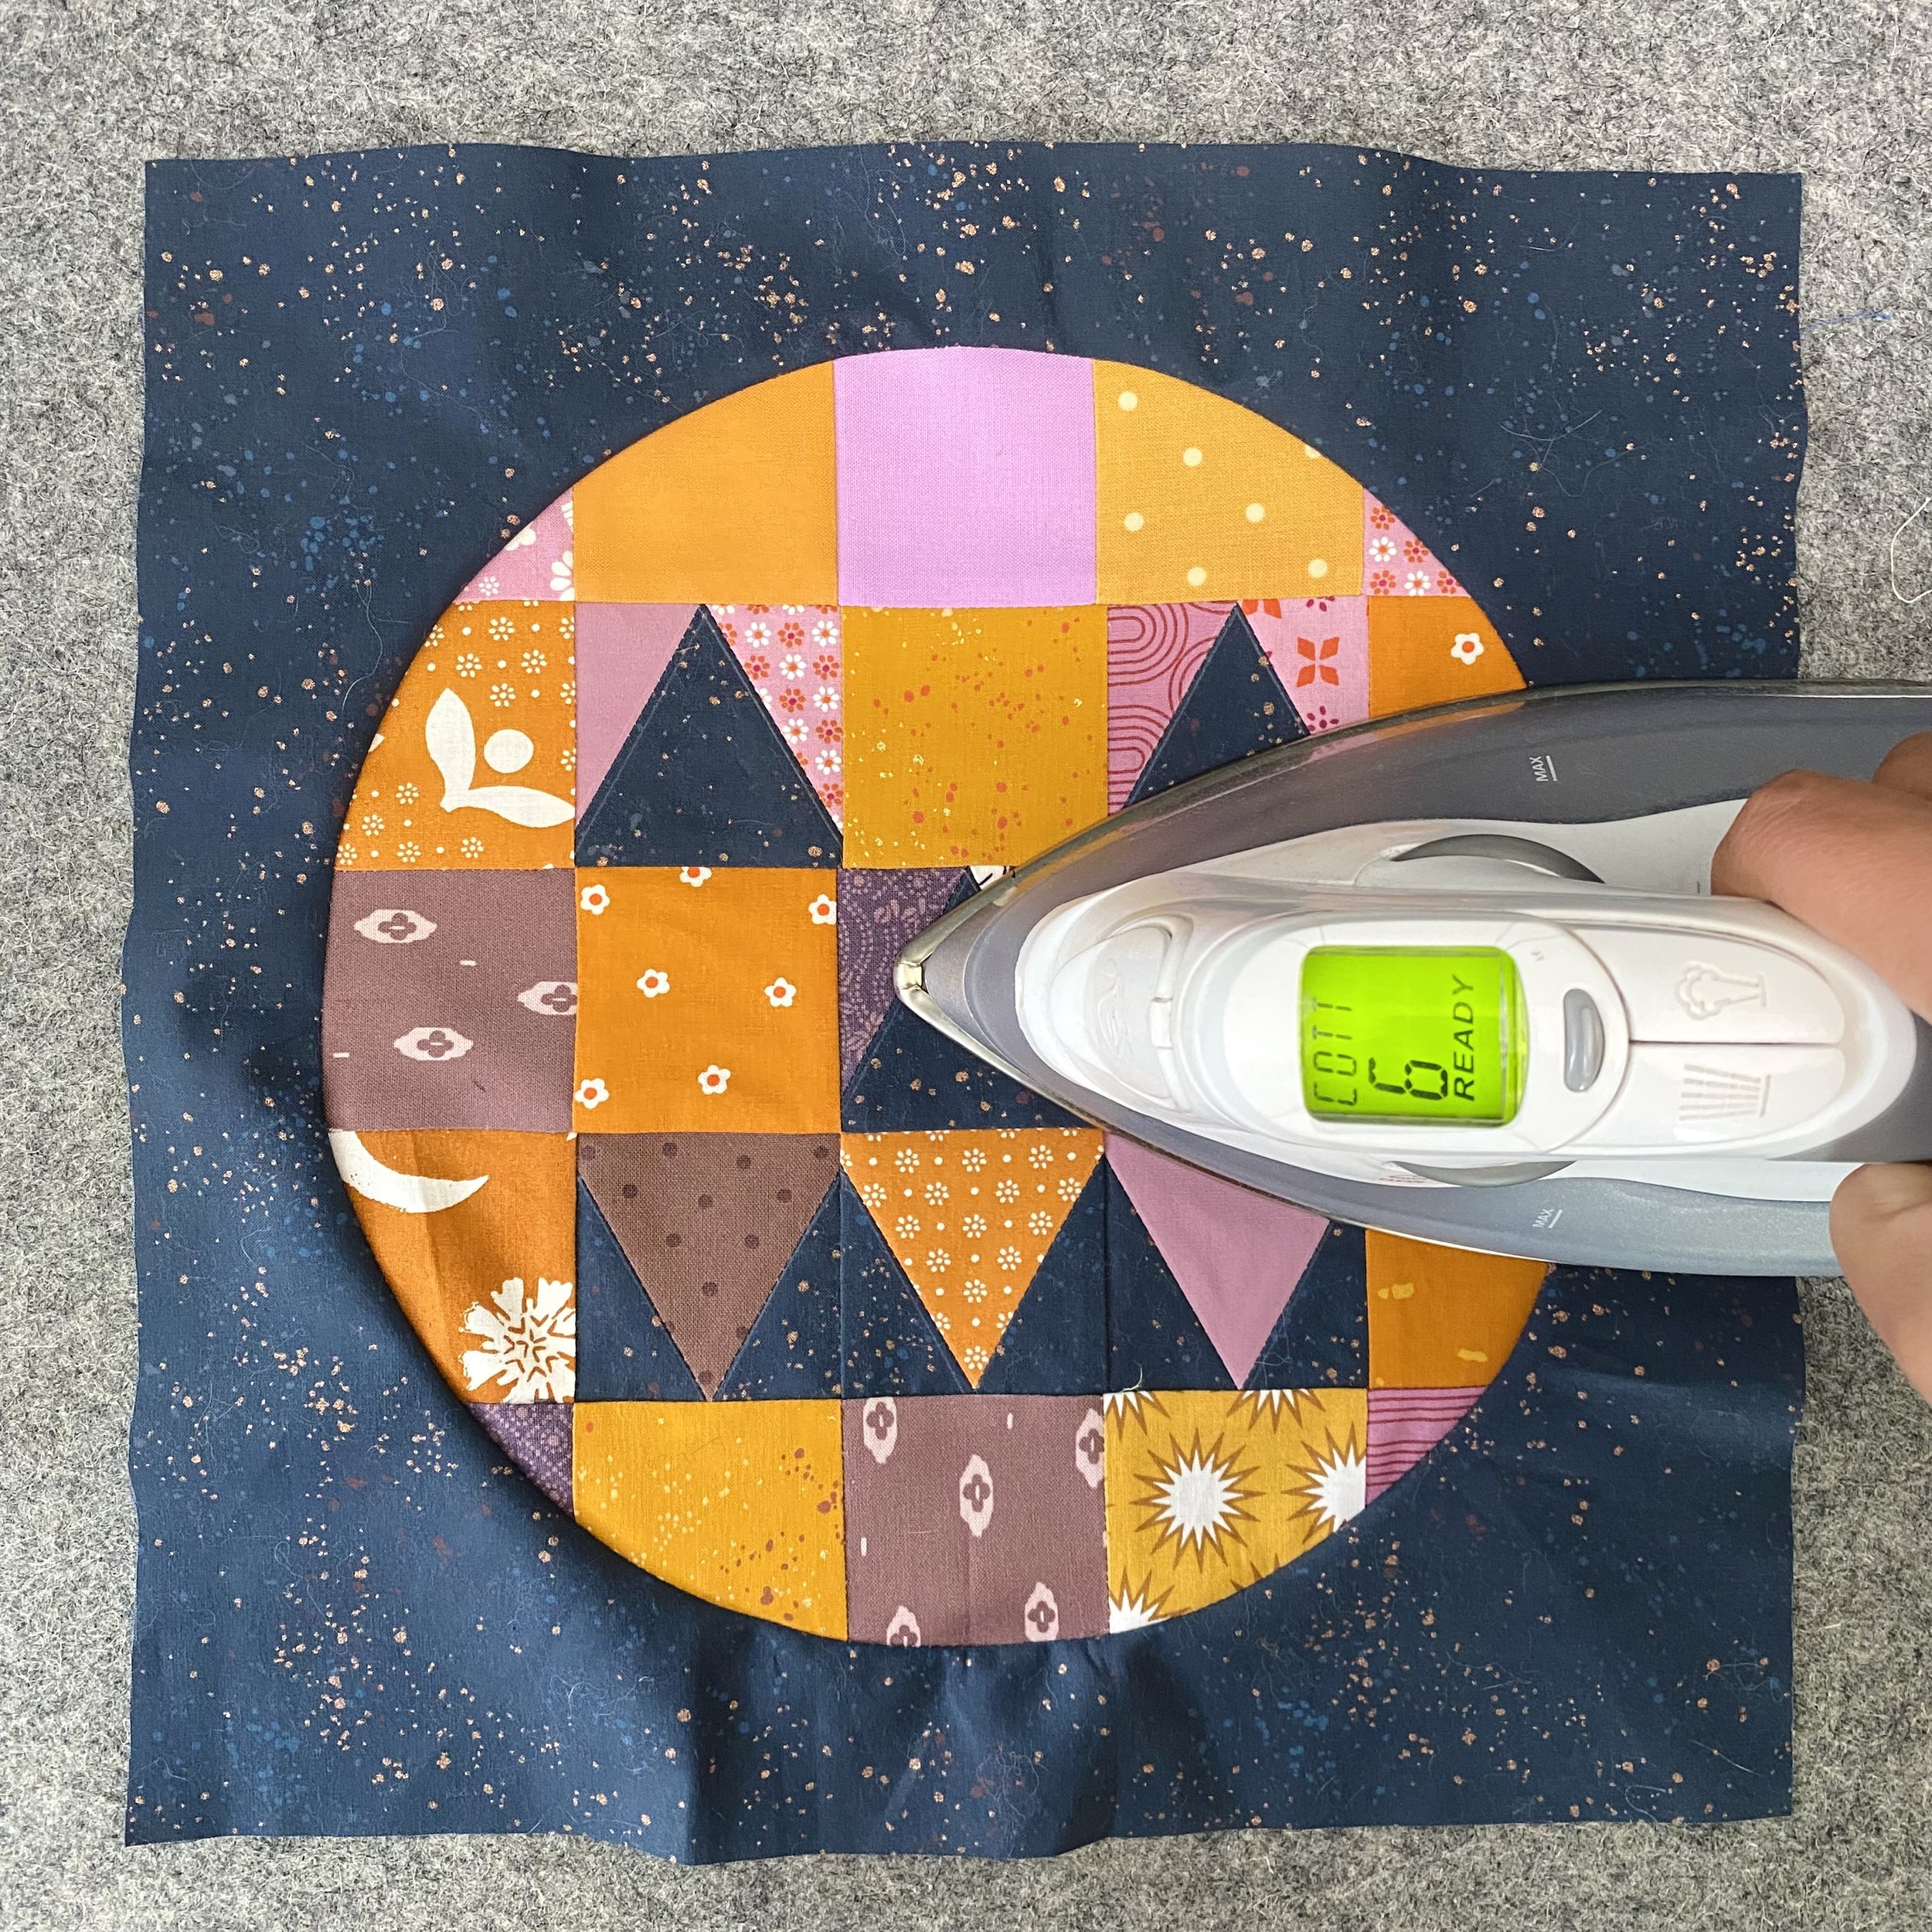
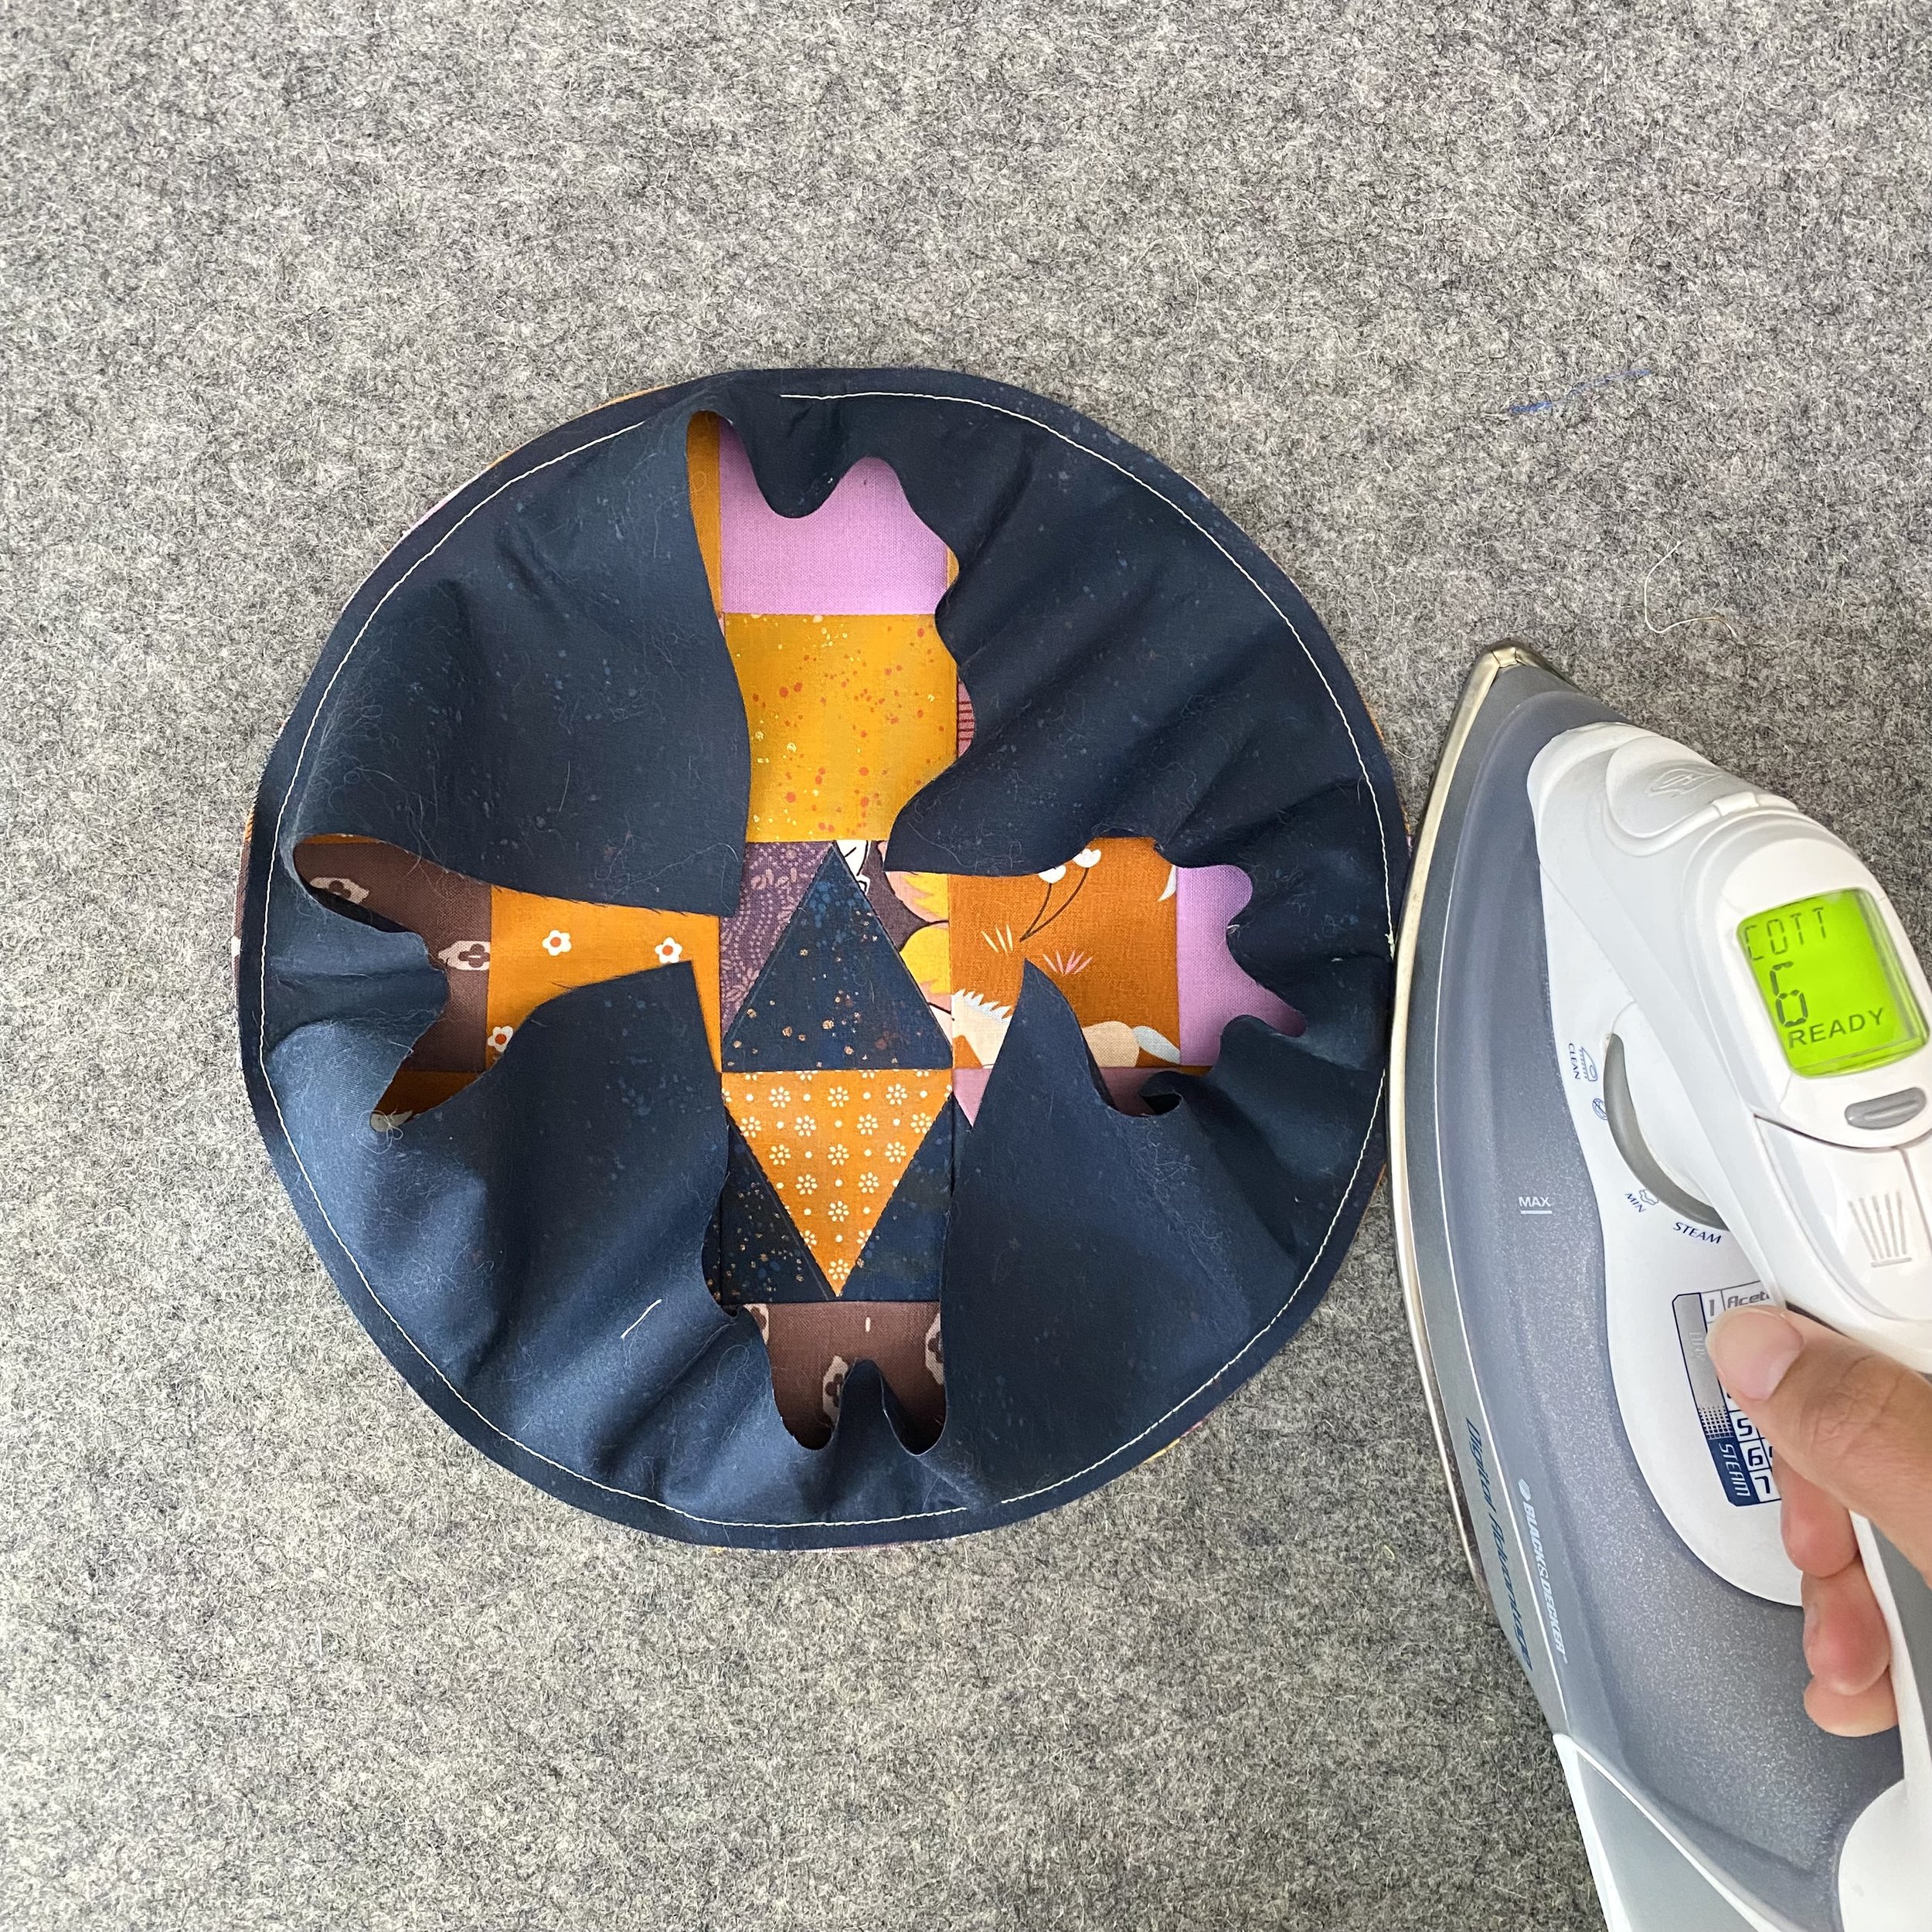
Once you’ve sewn around the circle, I recommend setting the seam with the iron, then gently finger pressing the seam. Pressing outwards is the most common option for inset circles, but always check your specific pattern.
I like to press the iron at 3, 6, 9 and 12 o’clock on the block first. It’s very important to remember to press, not iron. Once the horizontal and vertical sides are set, I press at 2, 4, 8 and 10 o’clock on the block.
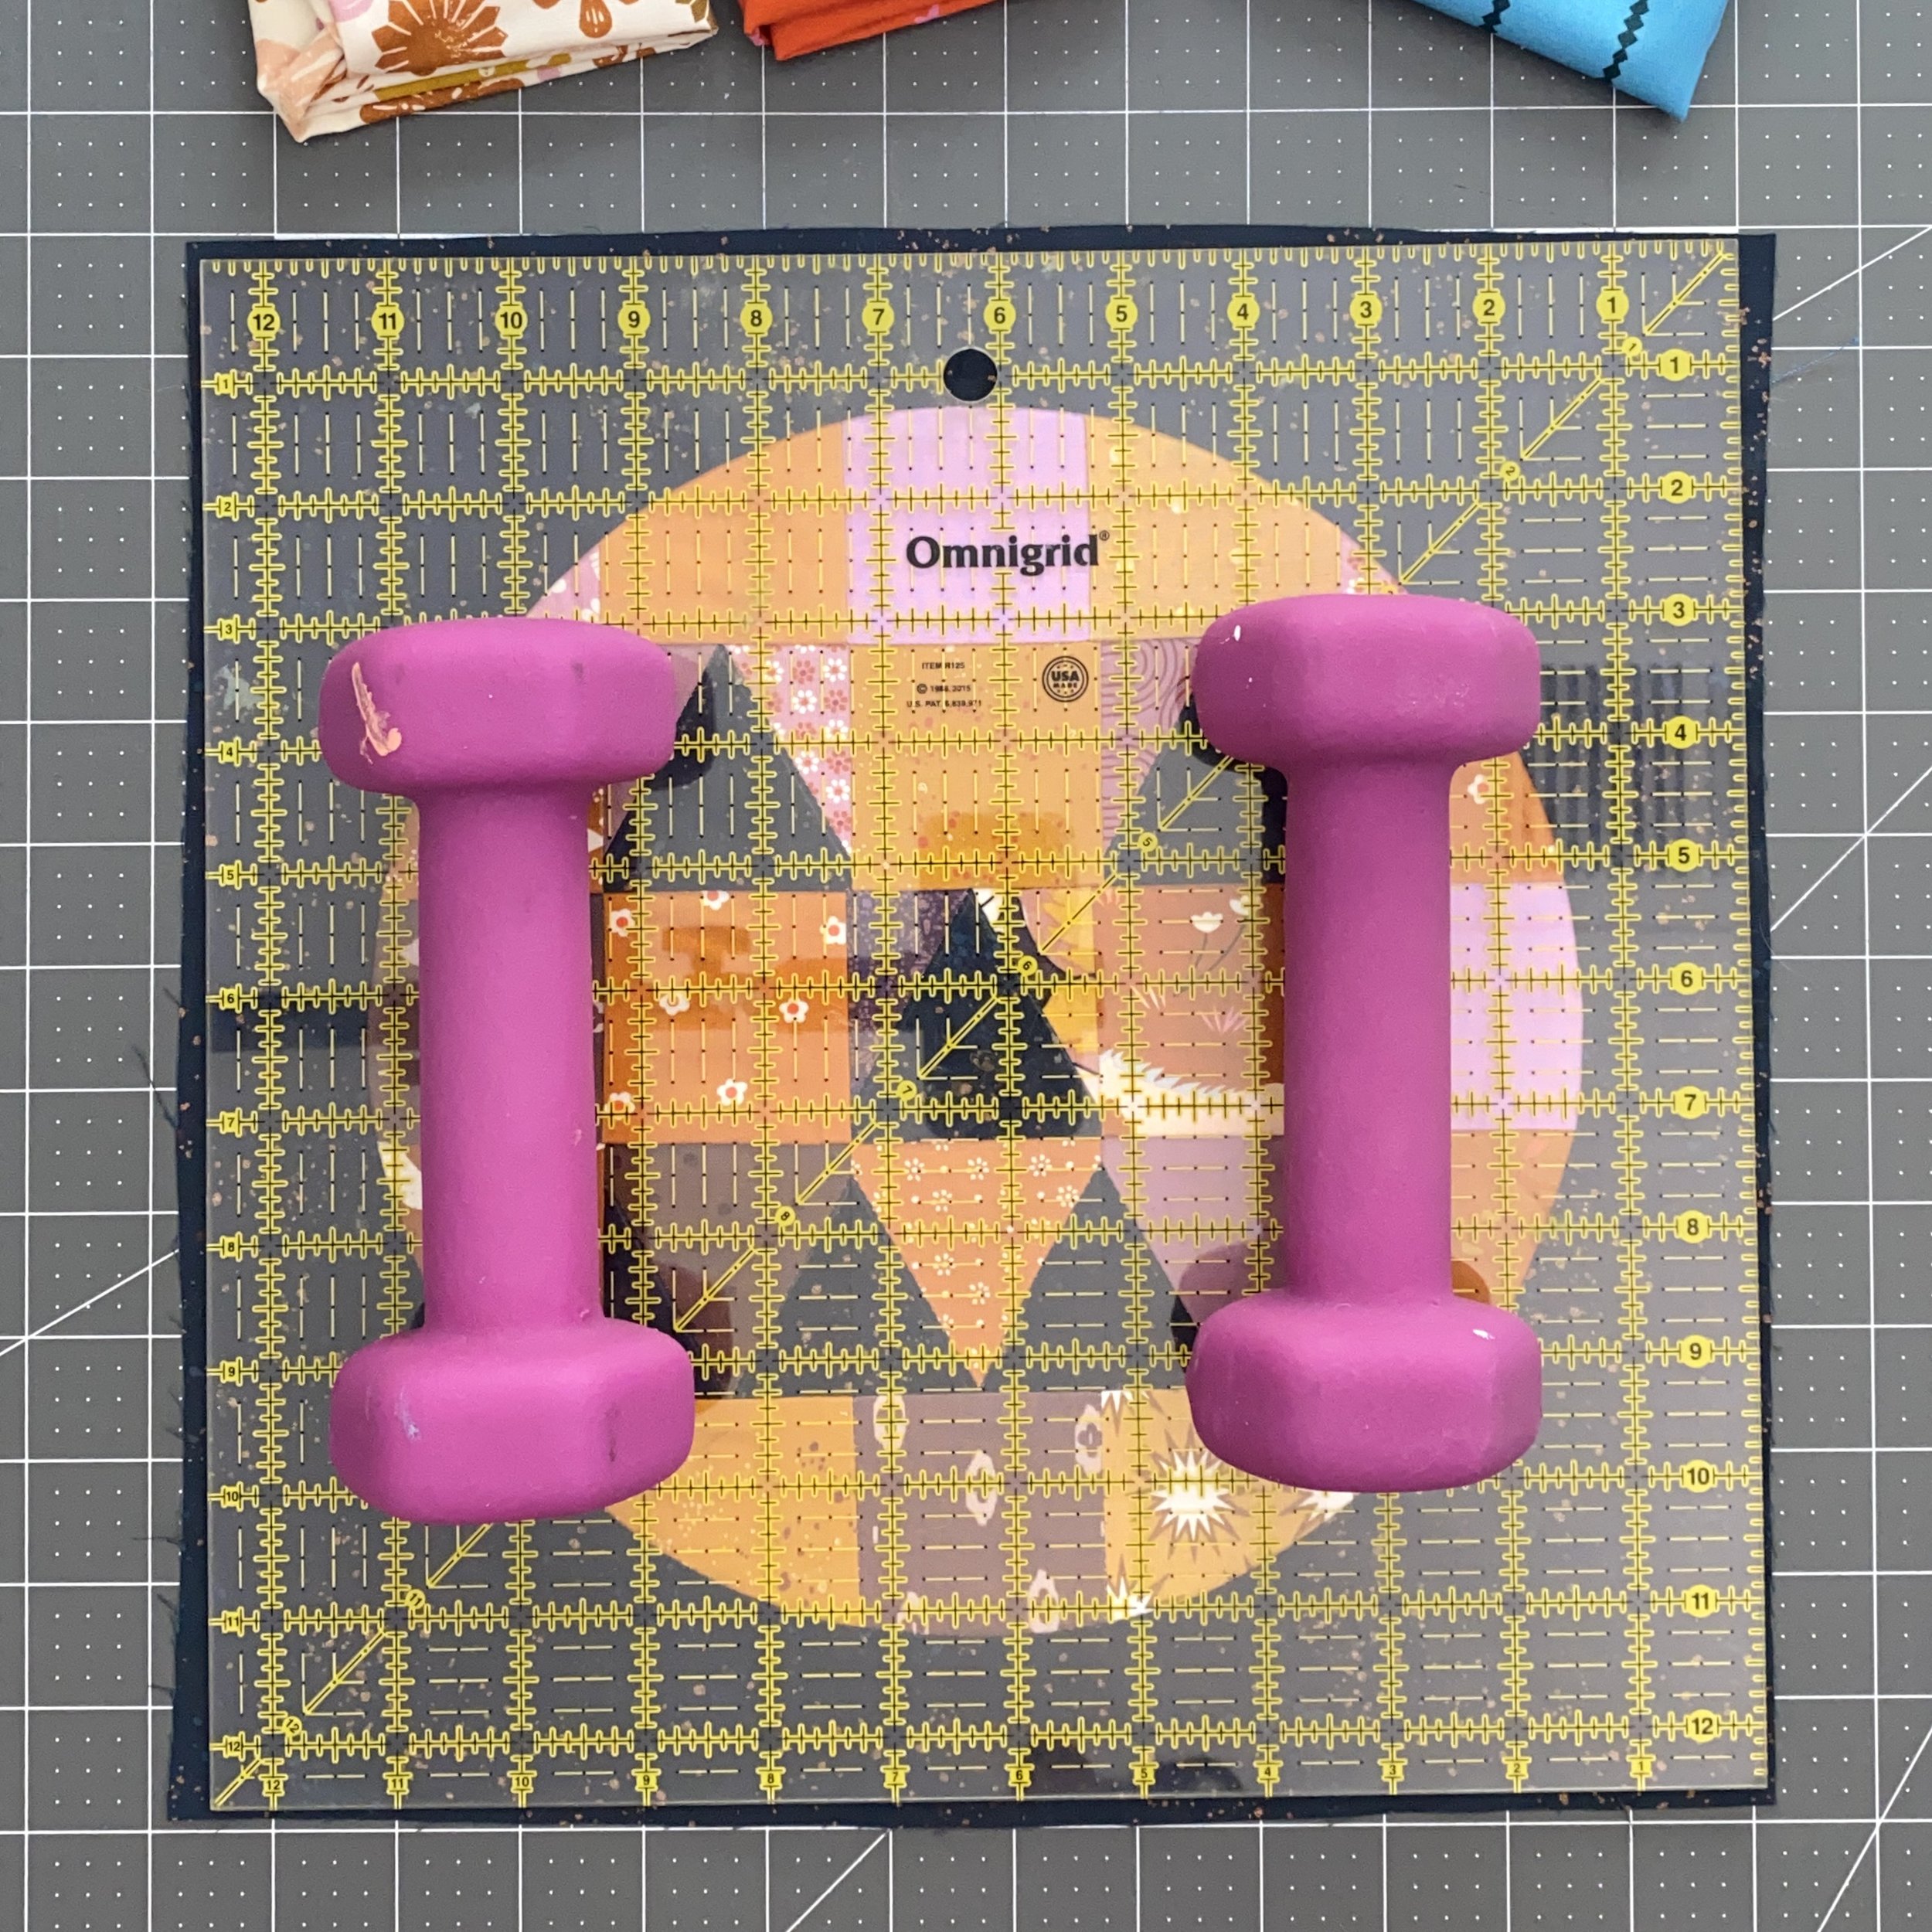
The Pump Queen block is designed to be trimmed to size. My rotating cutting mat isn’t big enough for this step, but if yours is, I recommend using it. I keep two light dumbbells on my cutting table to weigh down large rulers and prevent them from moving around on me.
With this block, just make sure that the vertical/horizontal lines on the ruler run along the patchwork seams. If you’ve opted for the wonky alignment, this won’t be true.
Congratulations! You’ve just sewed a perfect inset circle! Now you can tackle anything.

