

When I designed this block, I was playing a lot of video games, specifically Tears of the Kingdom. I think I was heavily influenced by the glowing runes and stone temples in the game.
Of all the blocks we’ve sewn so far, this one is the most experimental. We’re using partial curve units with lots of bias edges. Let’s plan to stitch slowly to help keep everything aligned perfectly.
The fabrics I’m using are Bee Cross Stitch, designed by Lori Holt for Riley Blake Designs. Fabrics were provided by Riley Blake Designs.
Denim
Cottage
Soldier
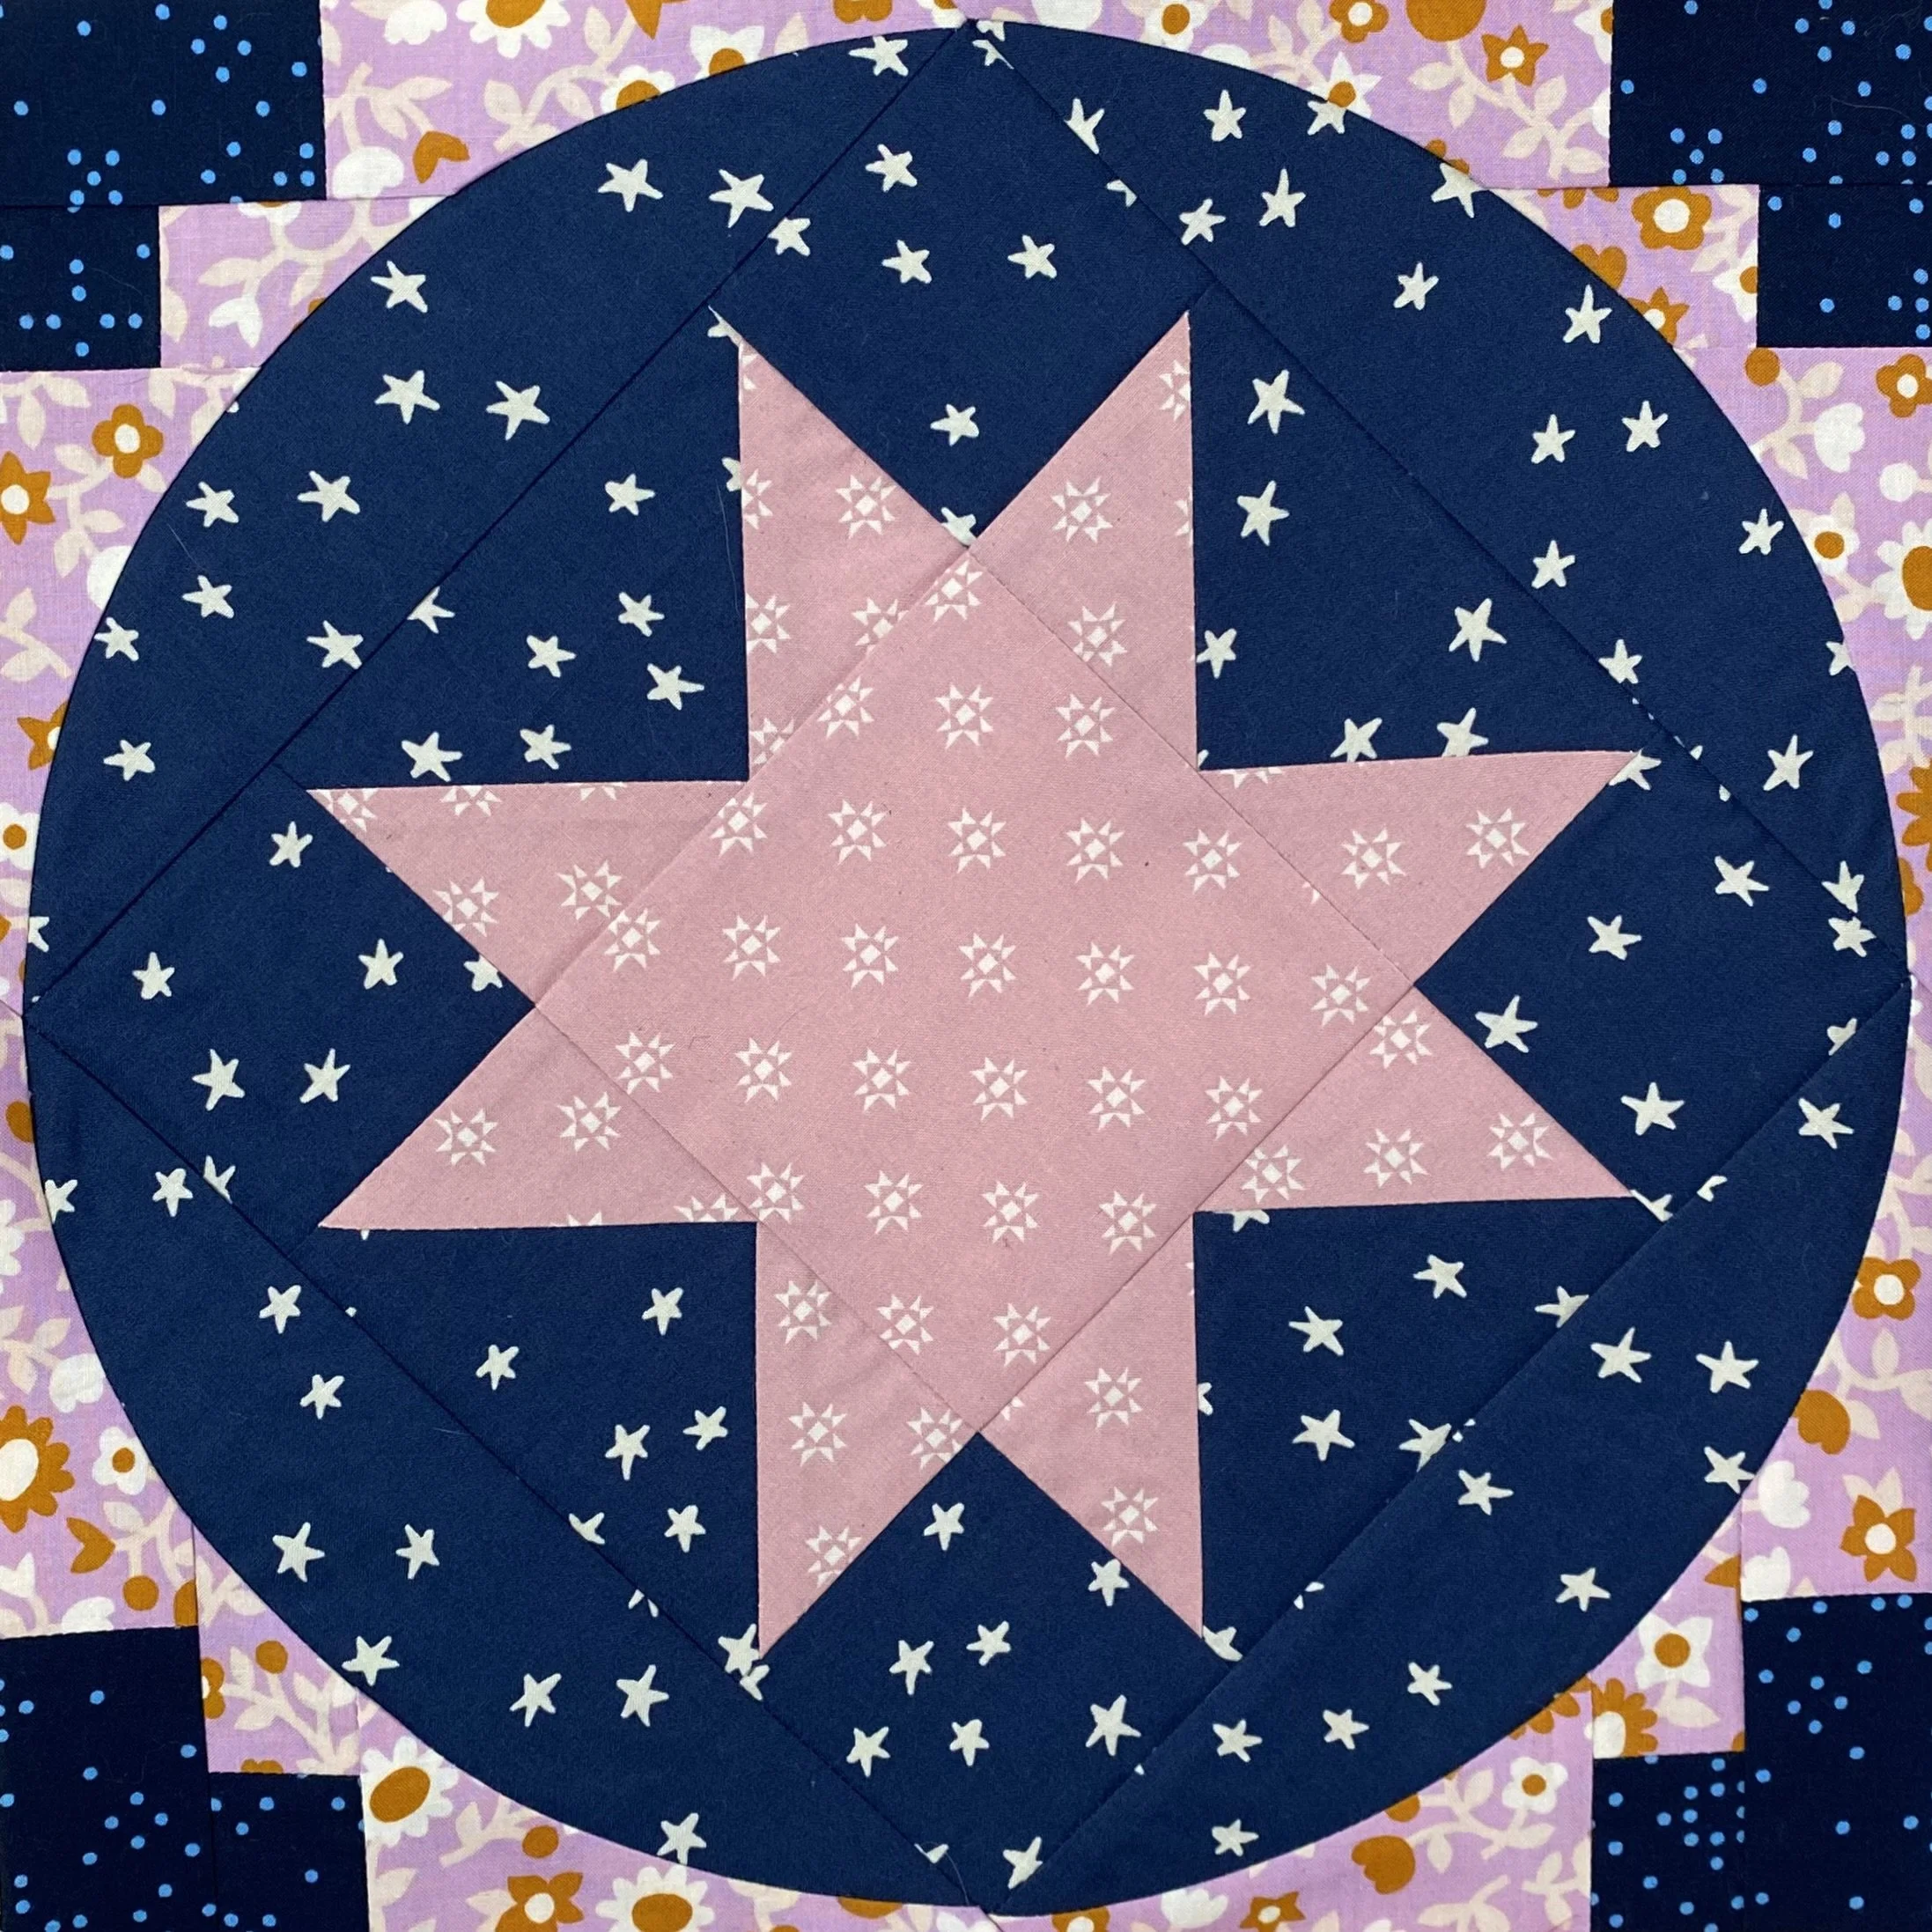
You may prefer a center star unit instead of the main design. The bonus sheet provides instructions on how to make this star. Follow those instructions and jump back into the pattern at part 5.
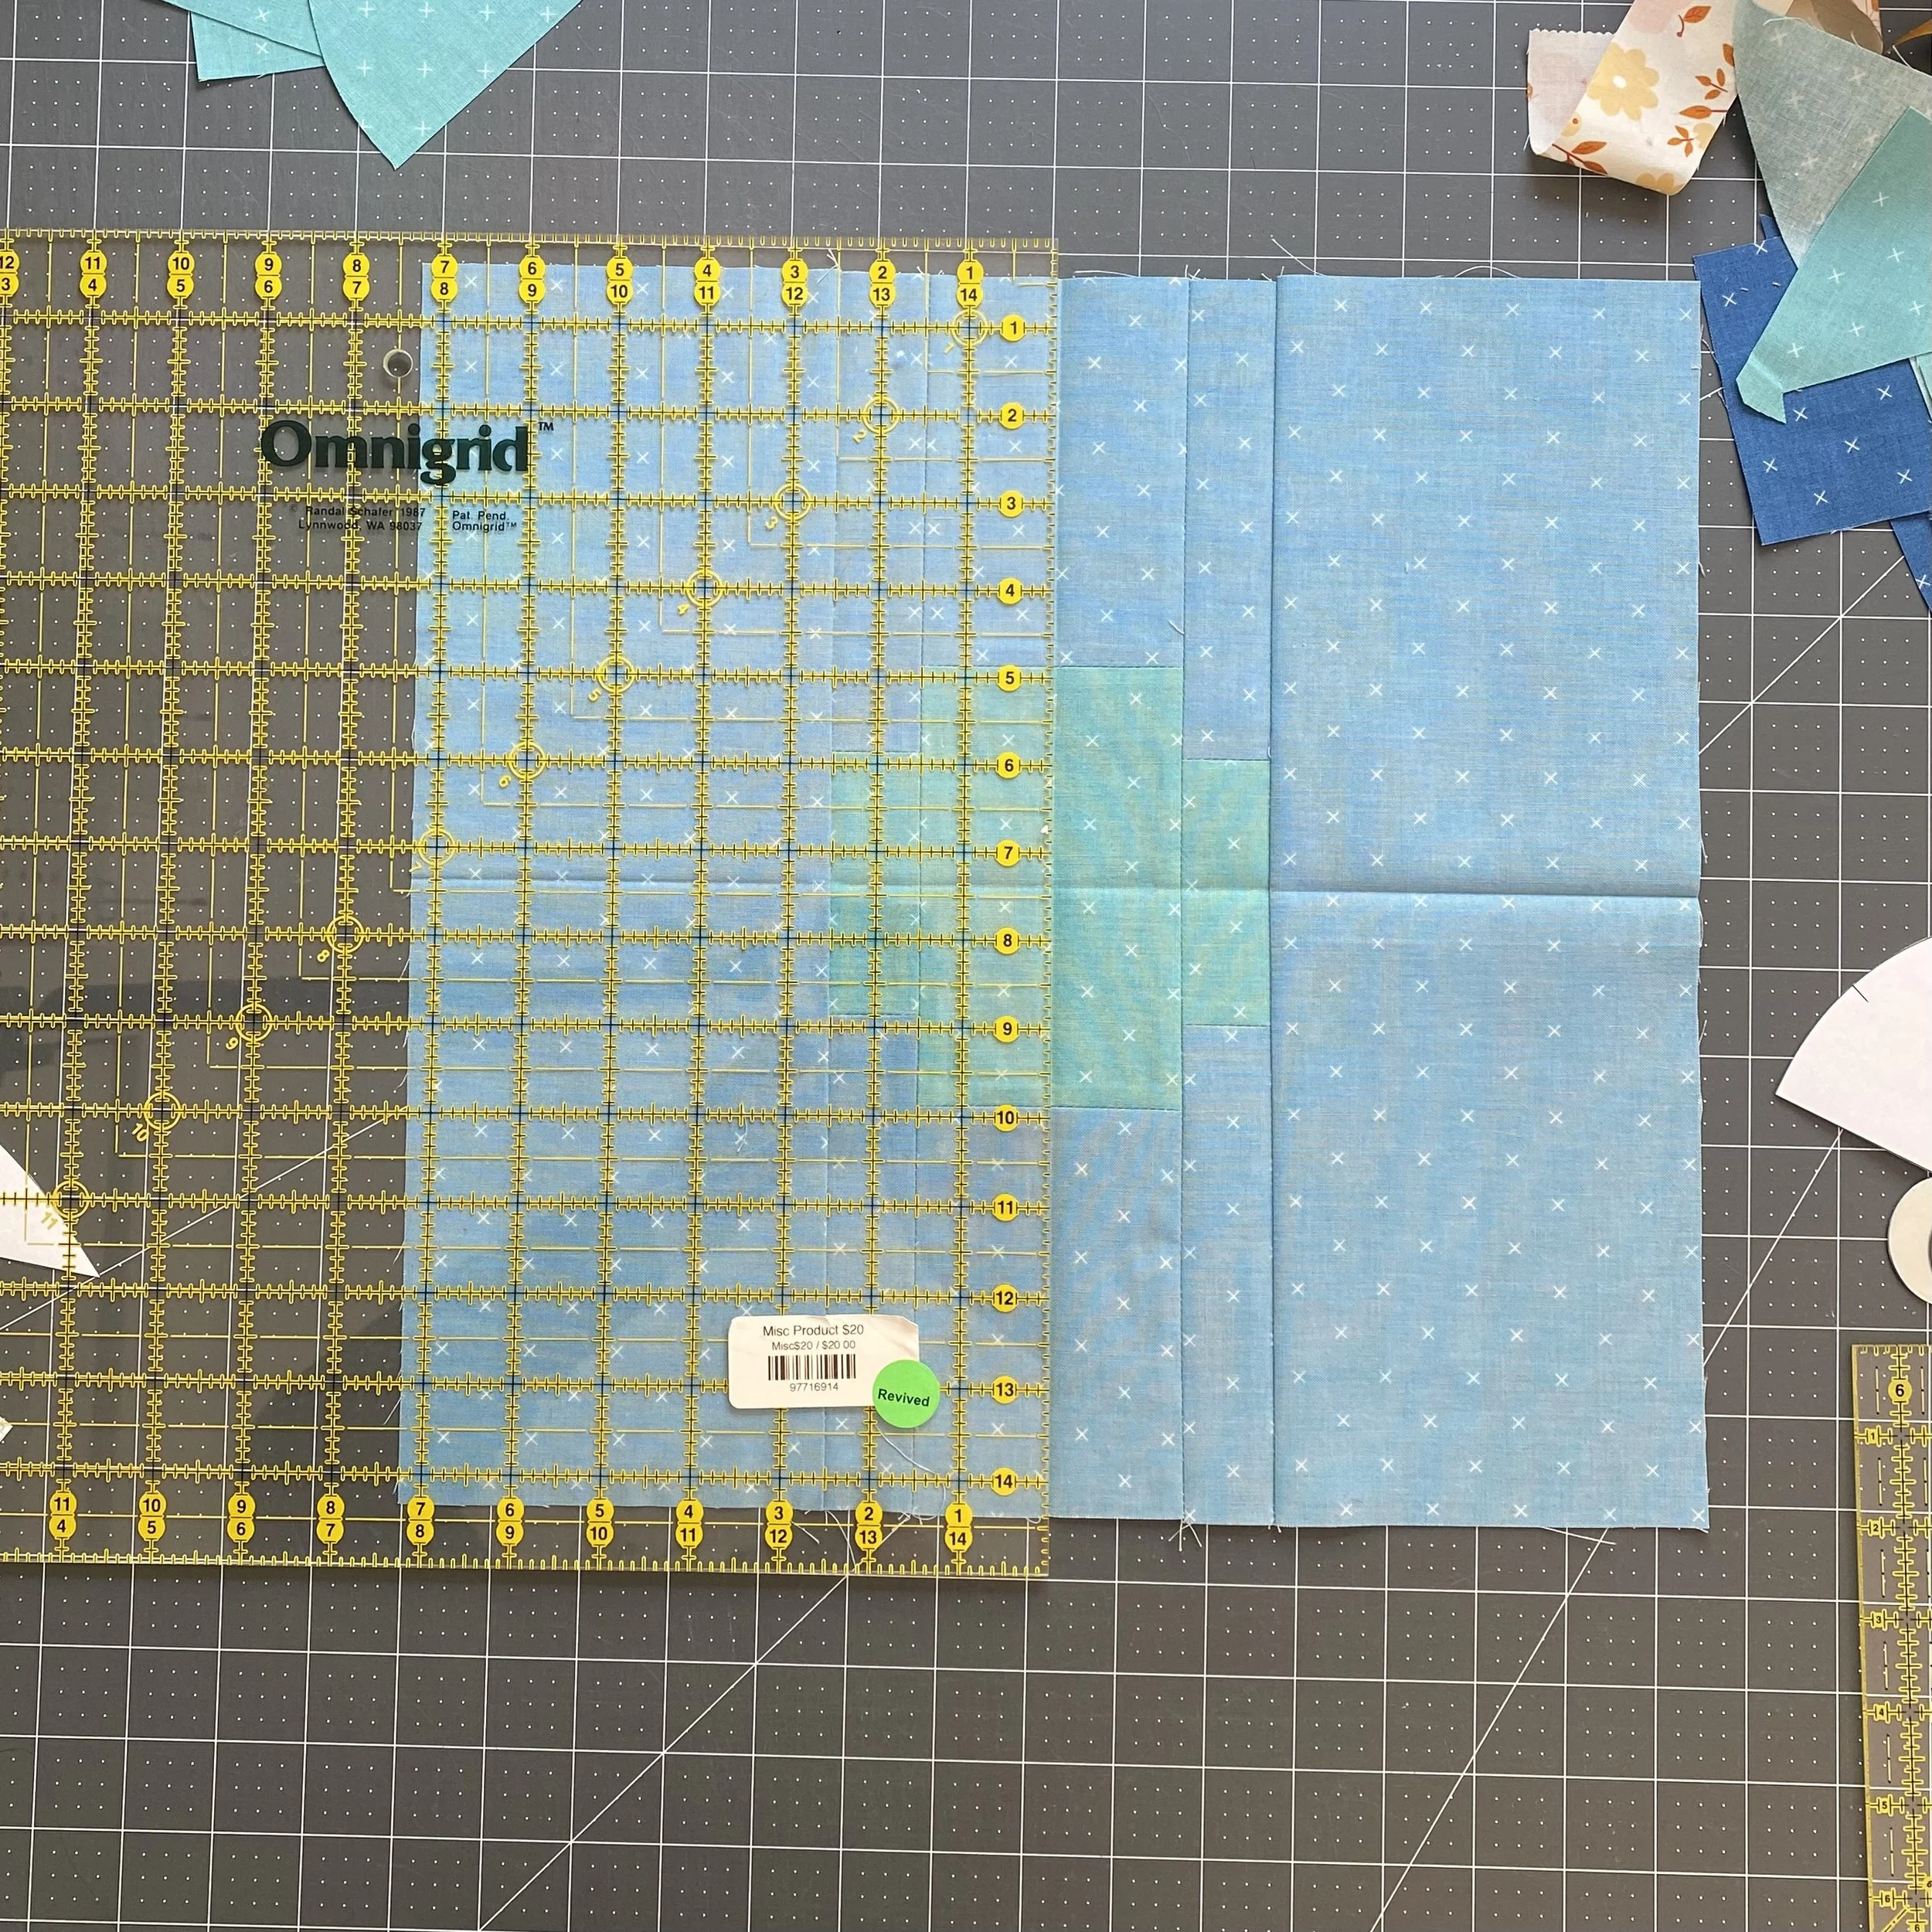
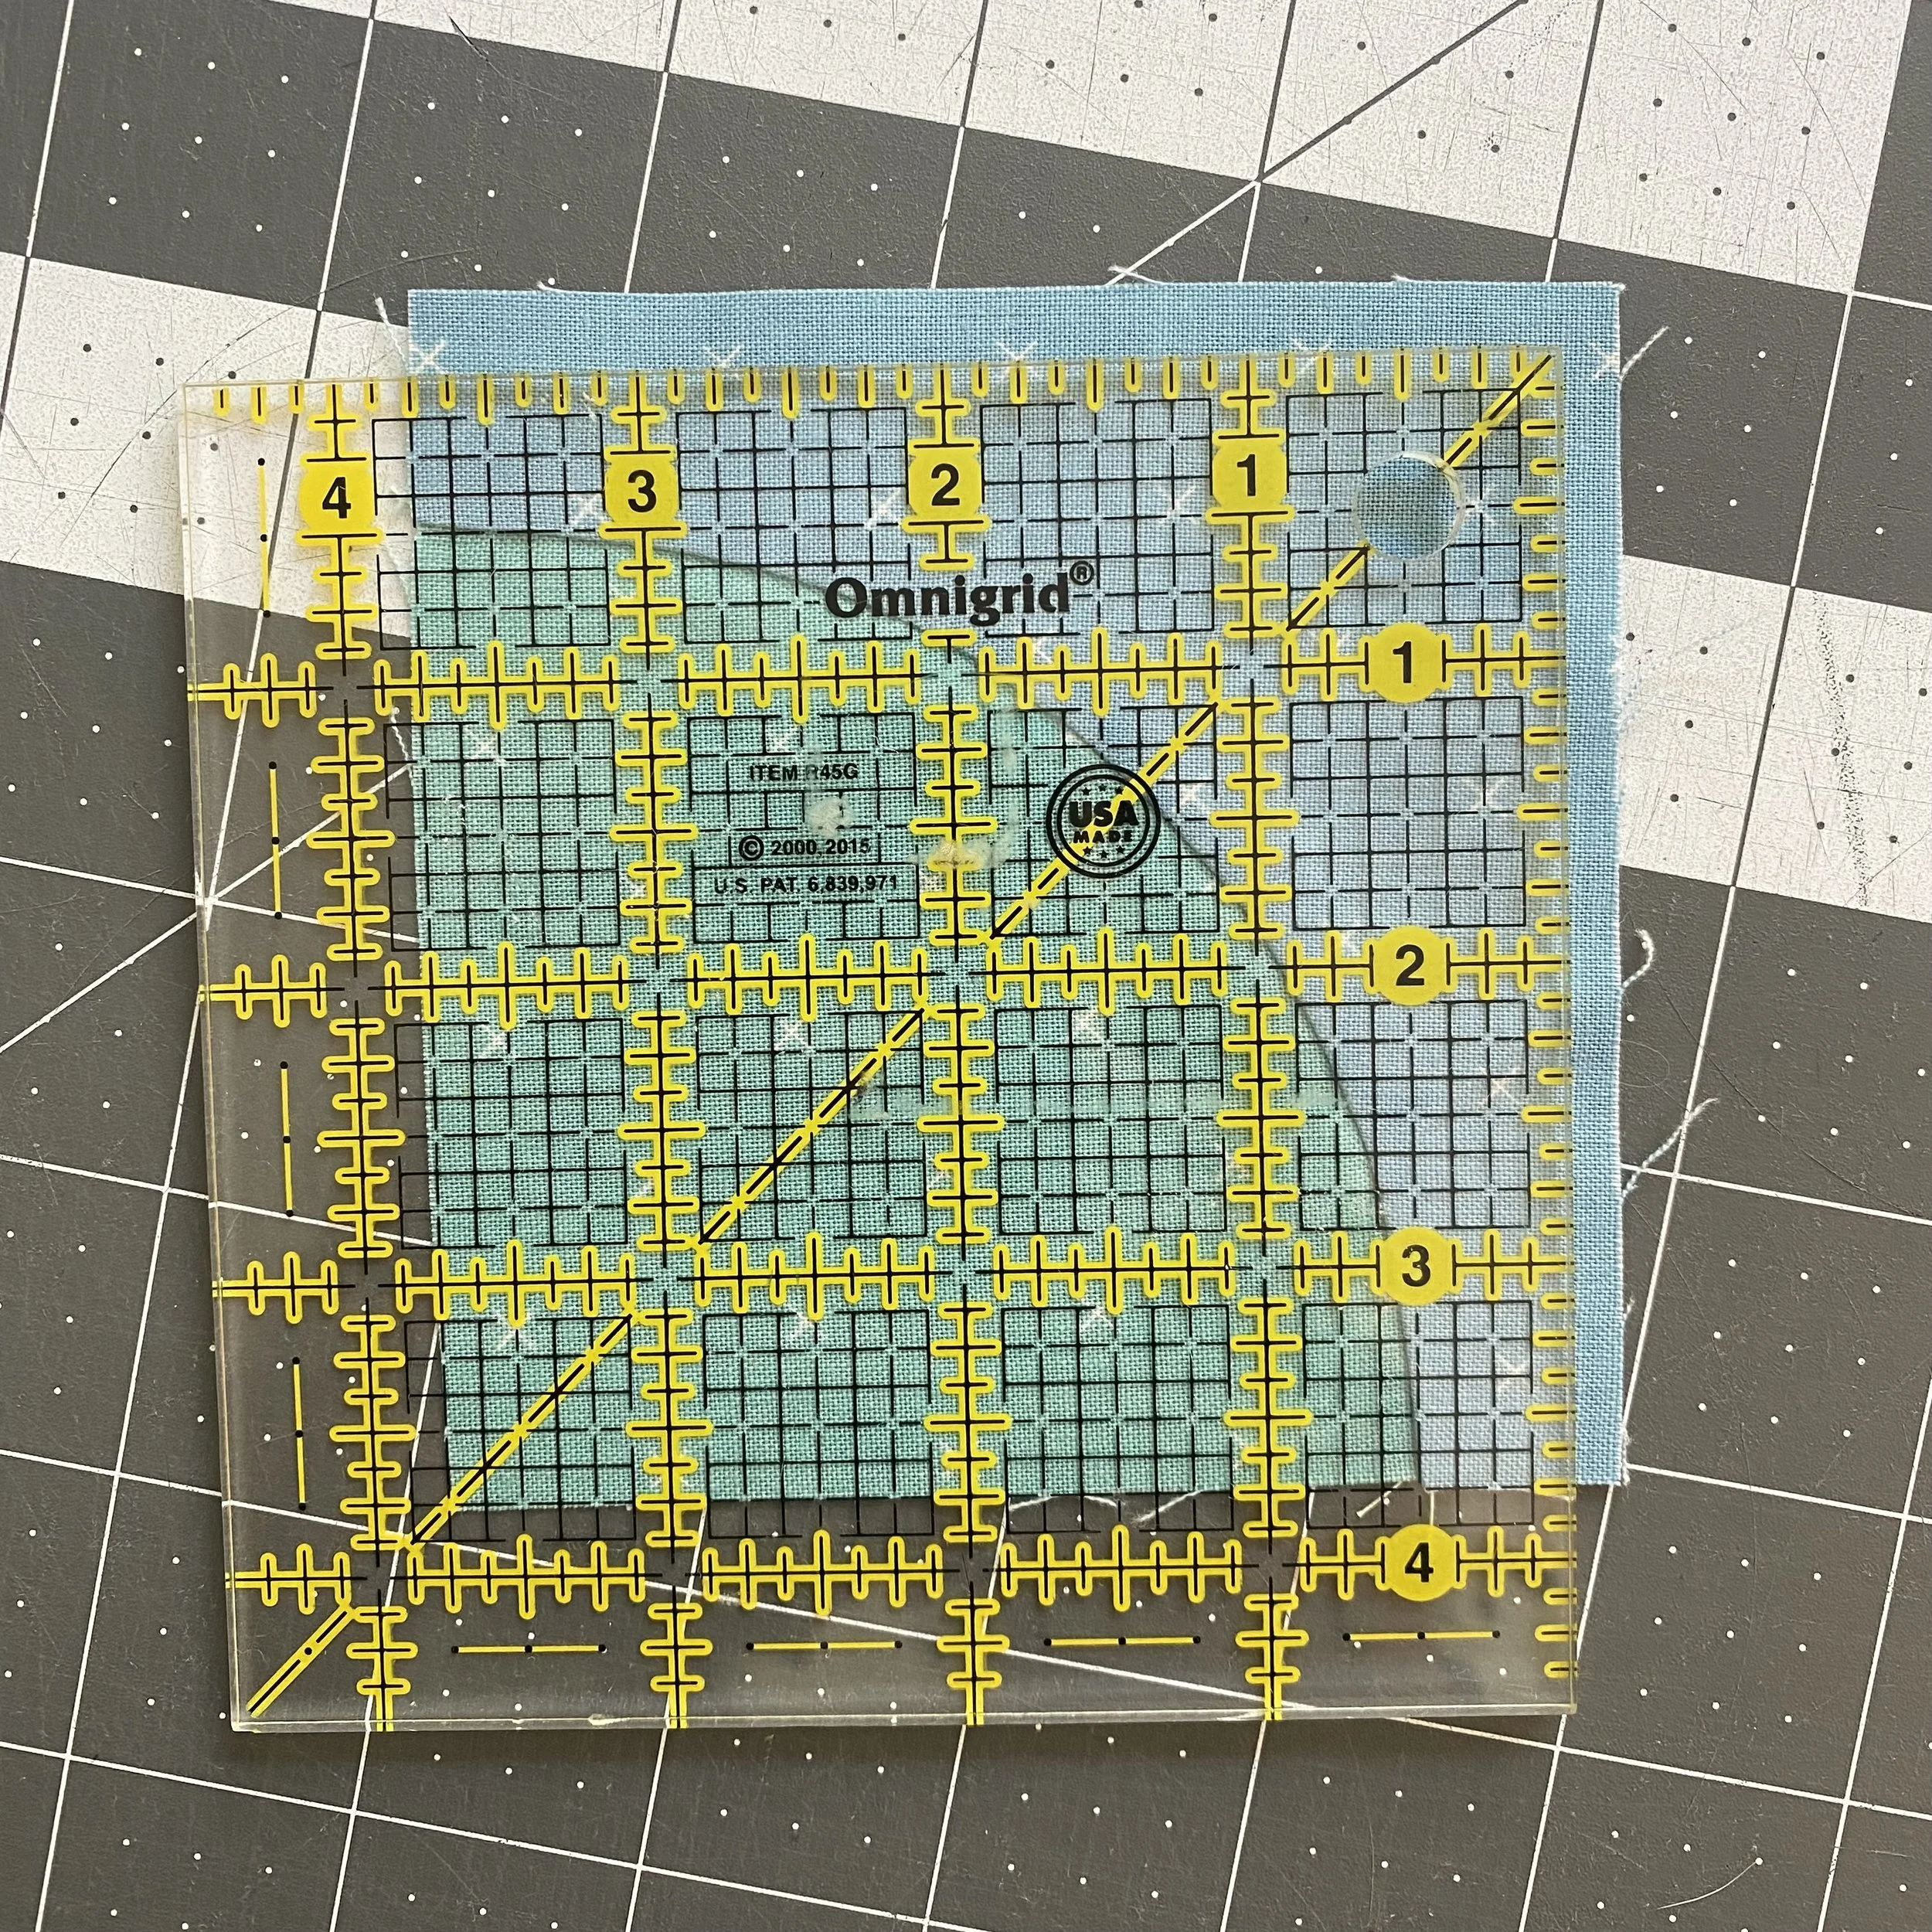
I’m going to cruise through the first parts of the pattern. This large unit gets cut up into lots of small units. I have a 14½" x 14½" ruler, which helps when cutting this into quarters.
As always, I recommend leaving the pieced units under something heavy to help flatten the seams. I moved pretty quickly through this block and I kind of regret it. There is just a little bit of extra fullness in the block that I attribute to not waiting for my seams to fall flat.
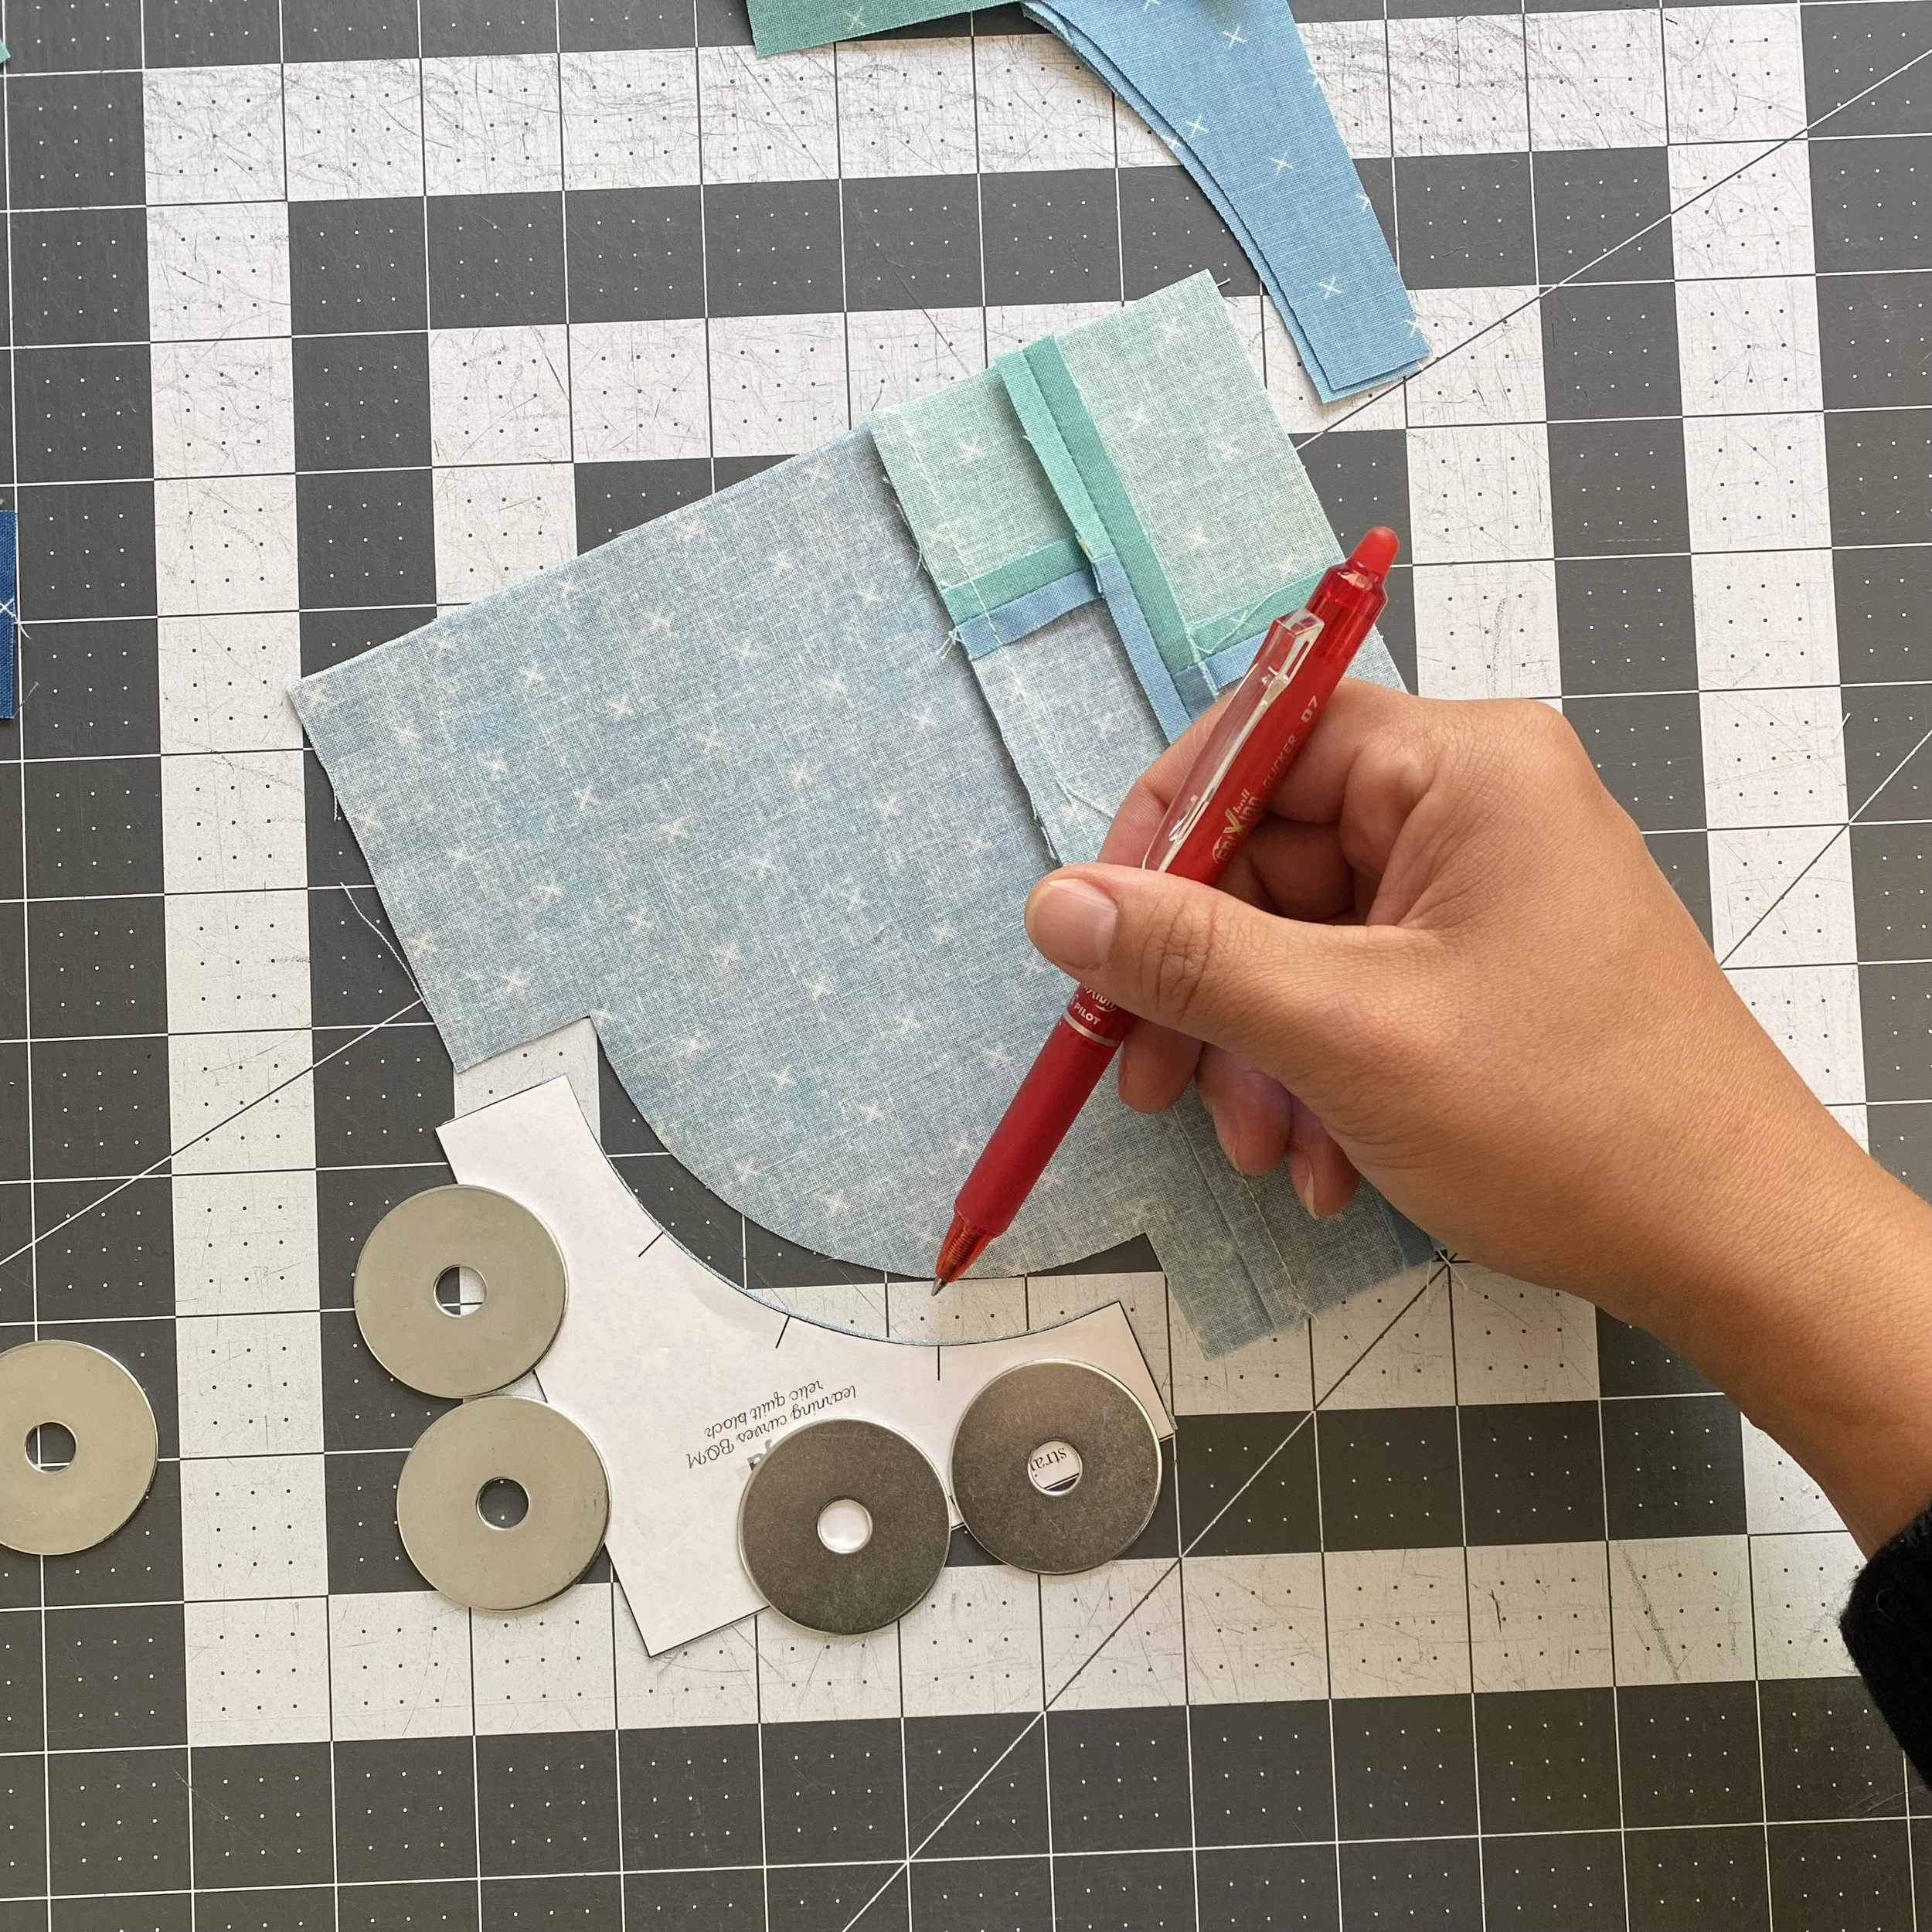
It’s slightly more efficient to to cut Template 2 with the unit wrong side up. This is because you can immediately transfer the registration marks to the wrong side of the unit.
Sewing the quarter circles is straightforward. I like to alternate the pressing directions so the curve seams nest. This also allows you to spin the center seam of the assembled circle.
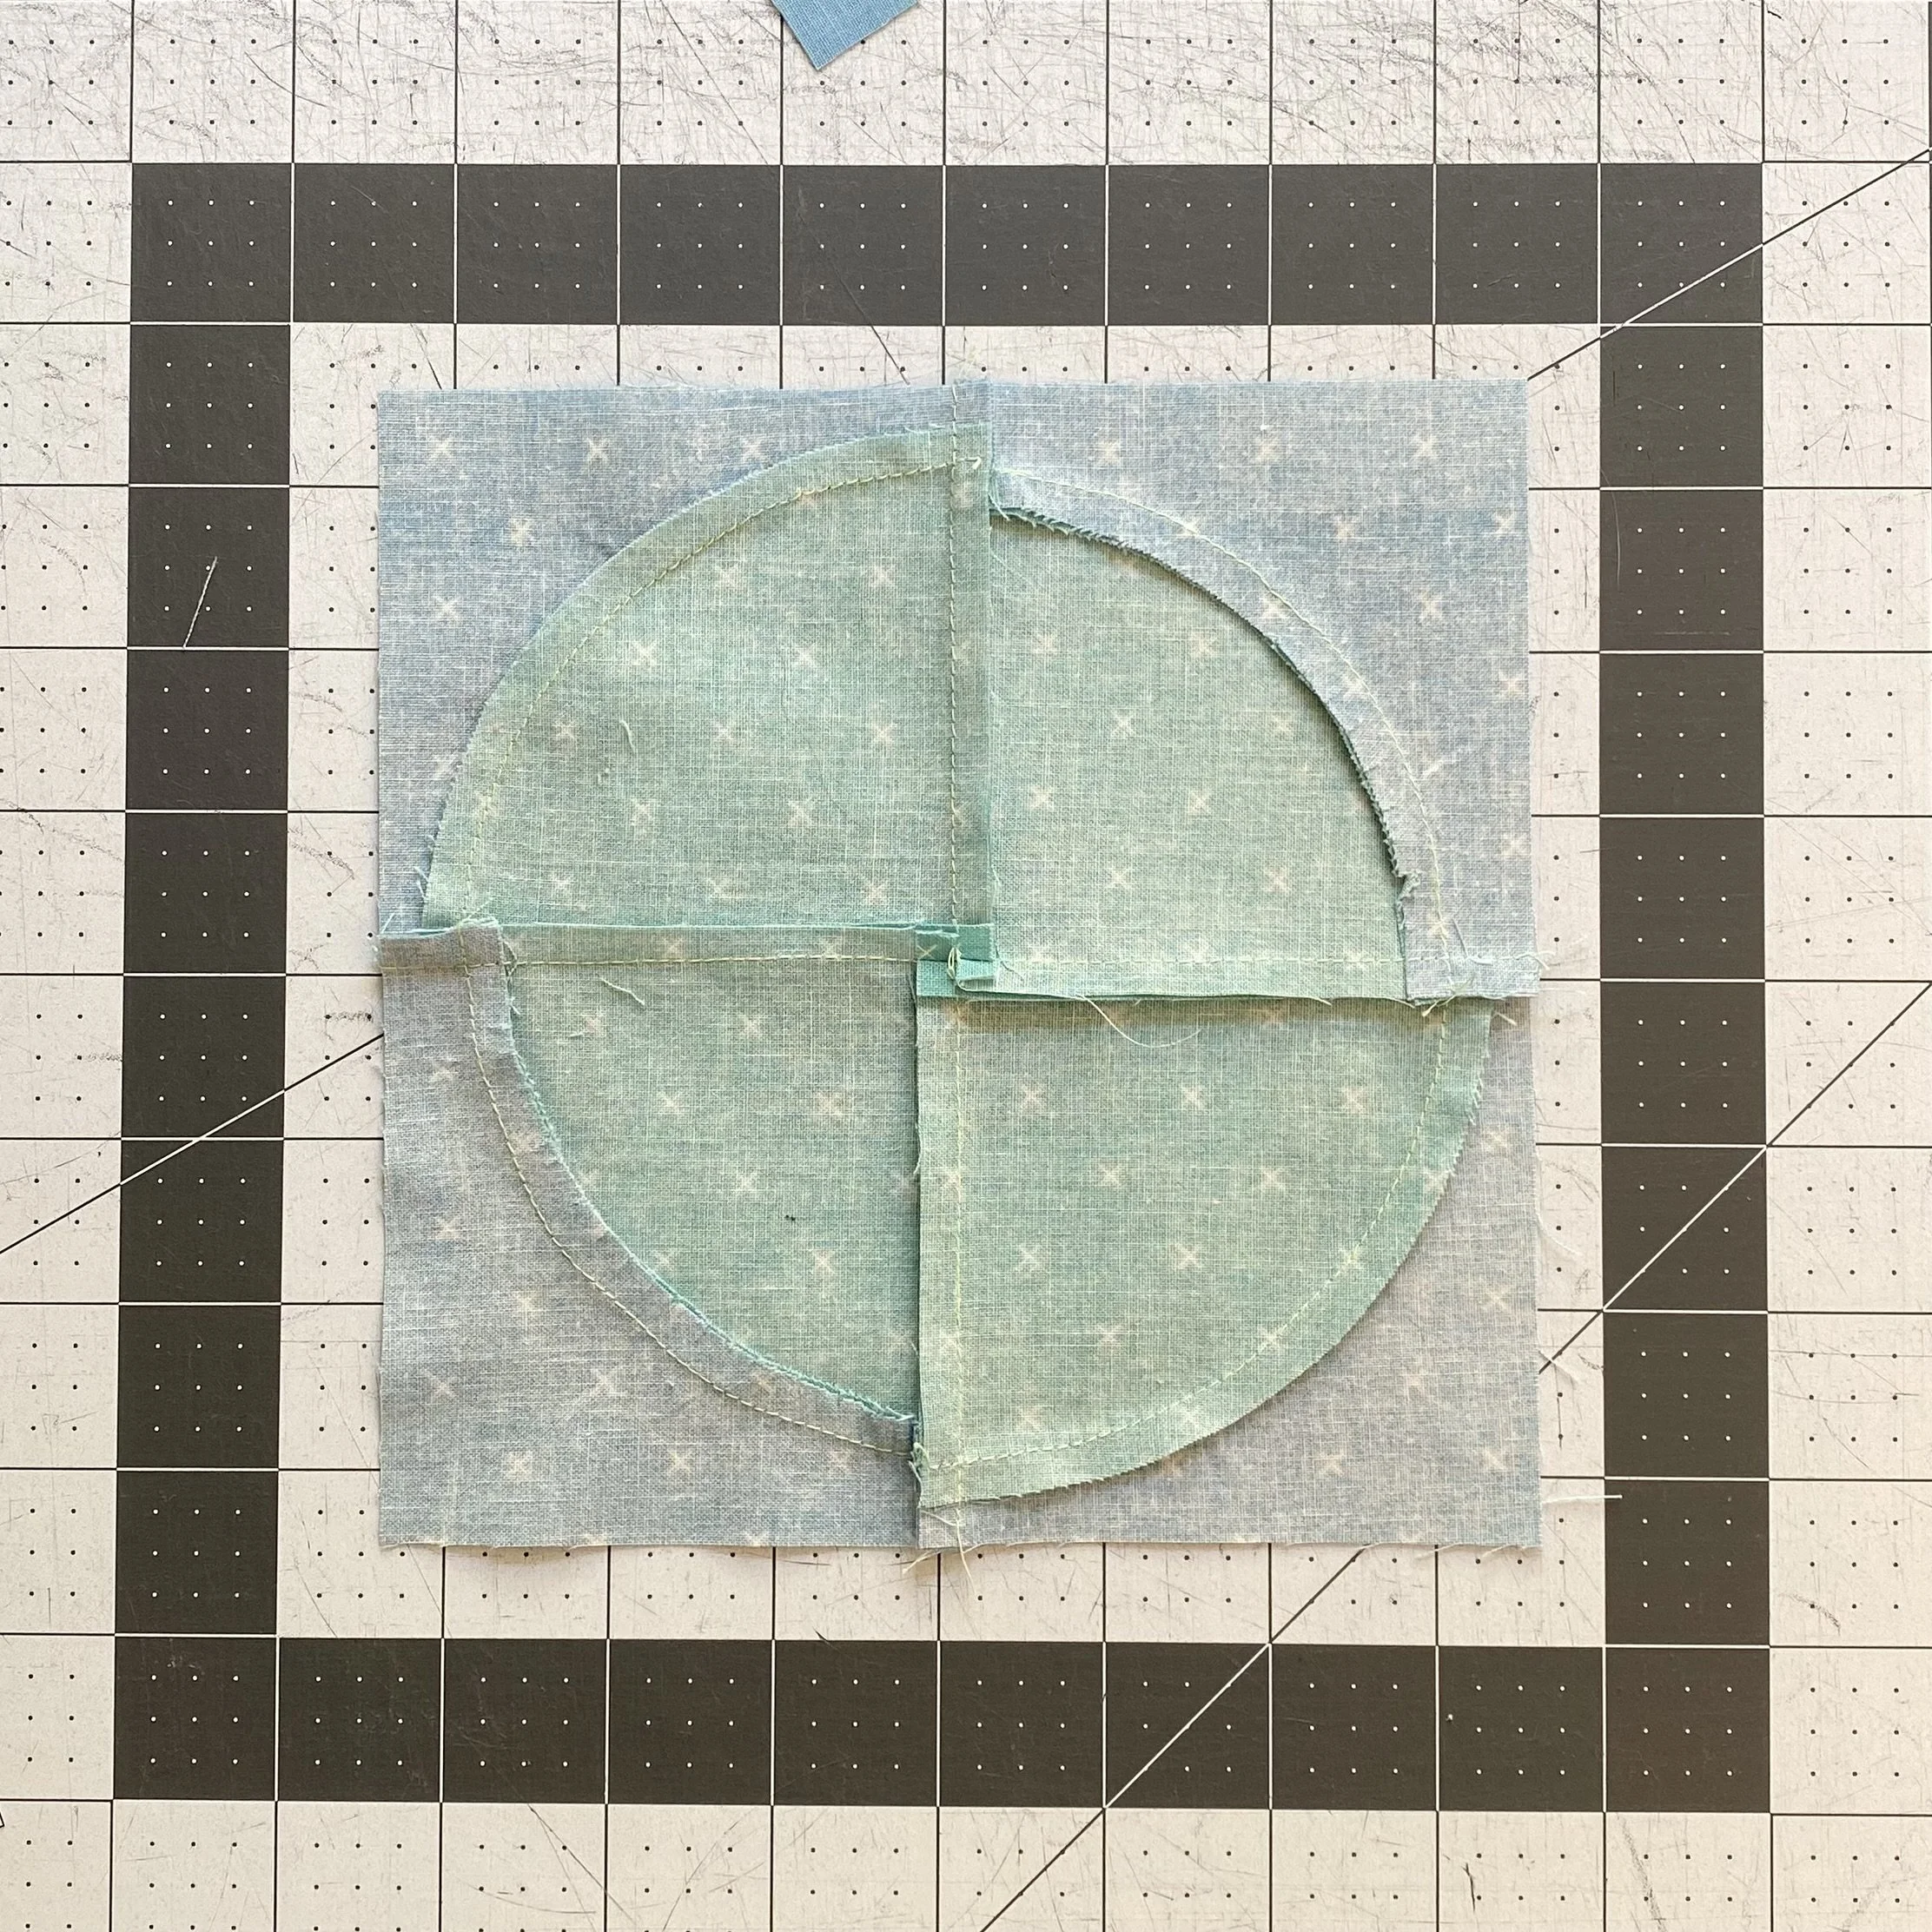
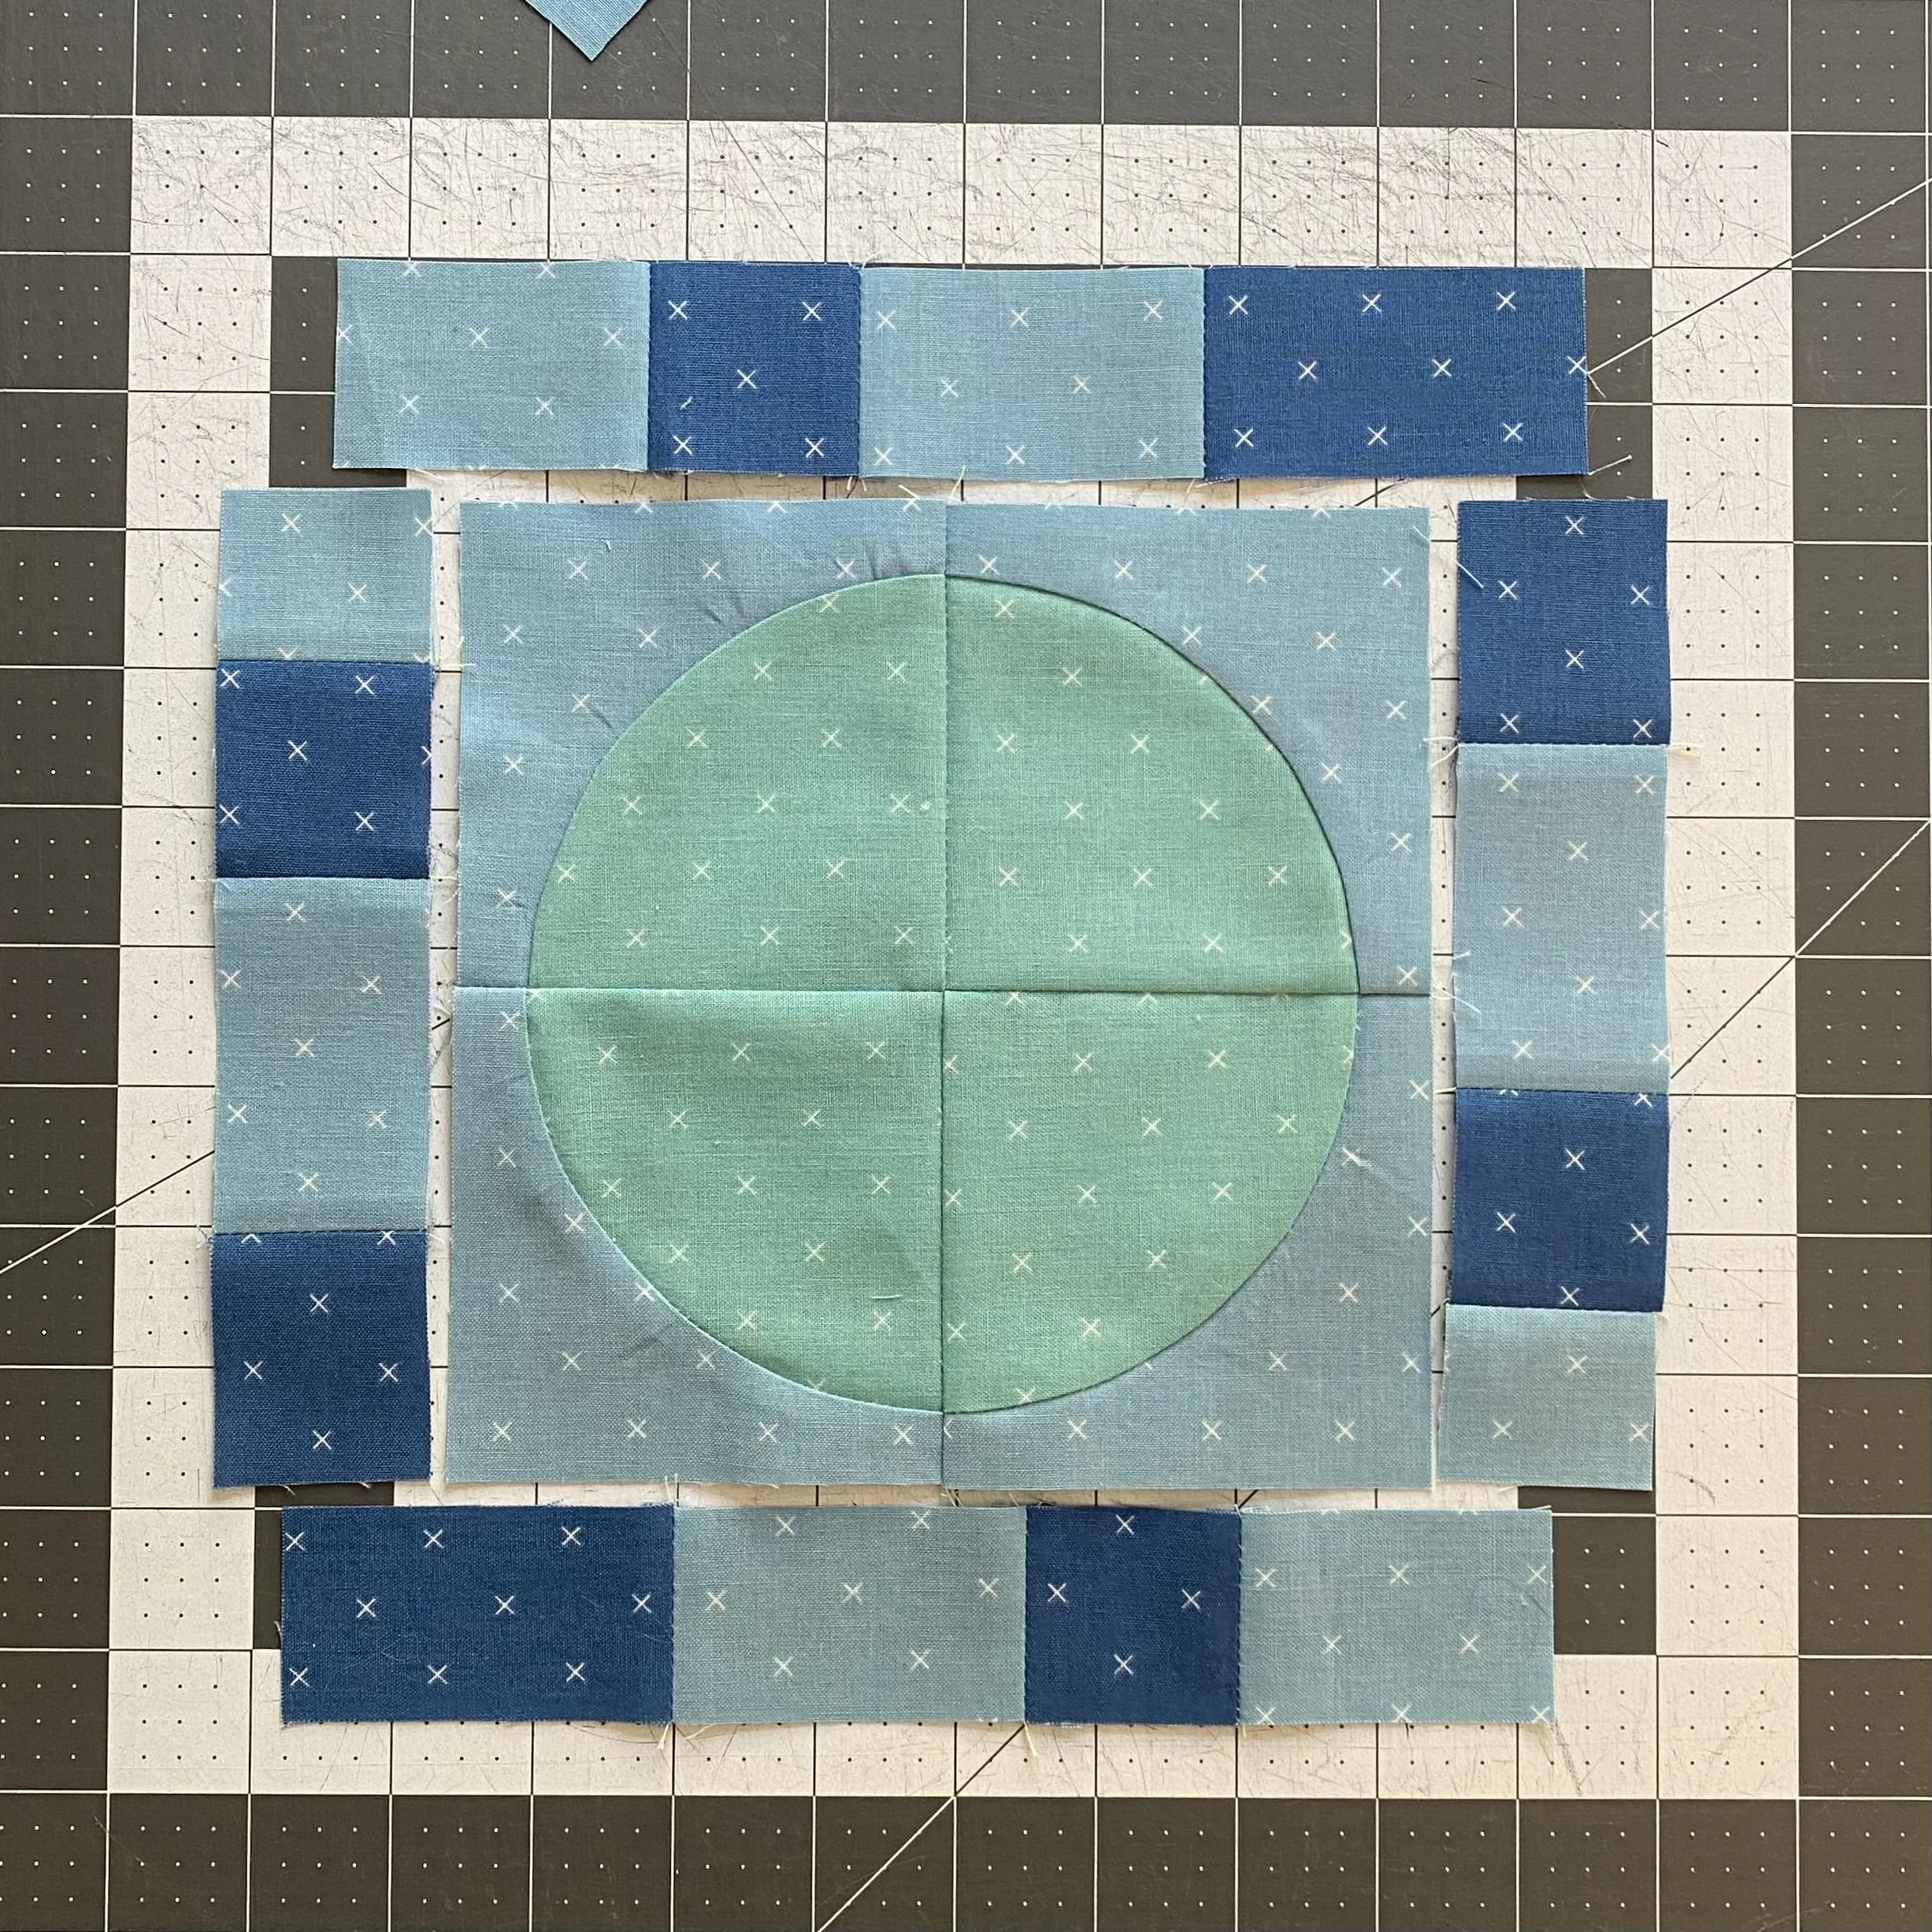
When assembling the center square, make sure to pay special attention to the orientation of the rectangular units. As long at the fabrics at each corner match, you should be good to go.
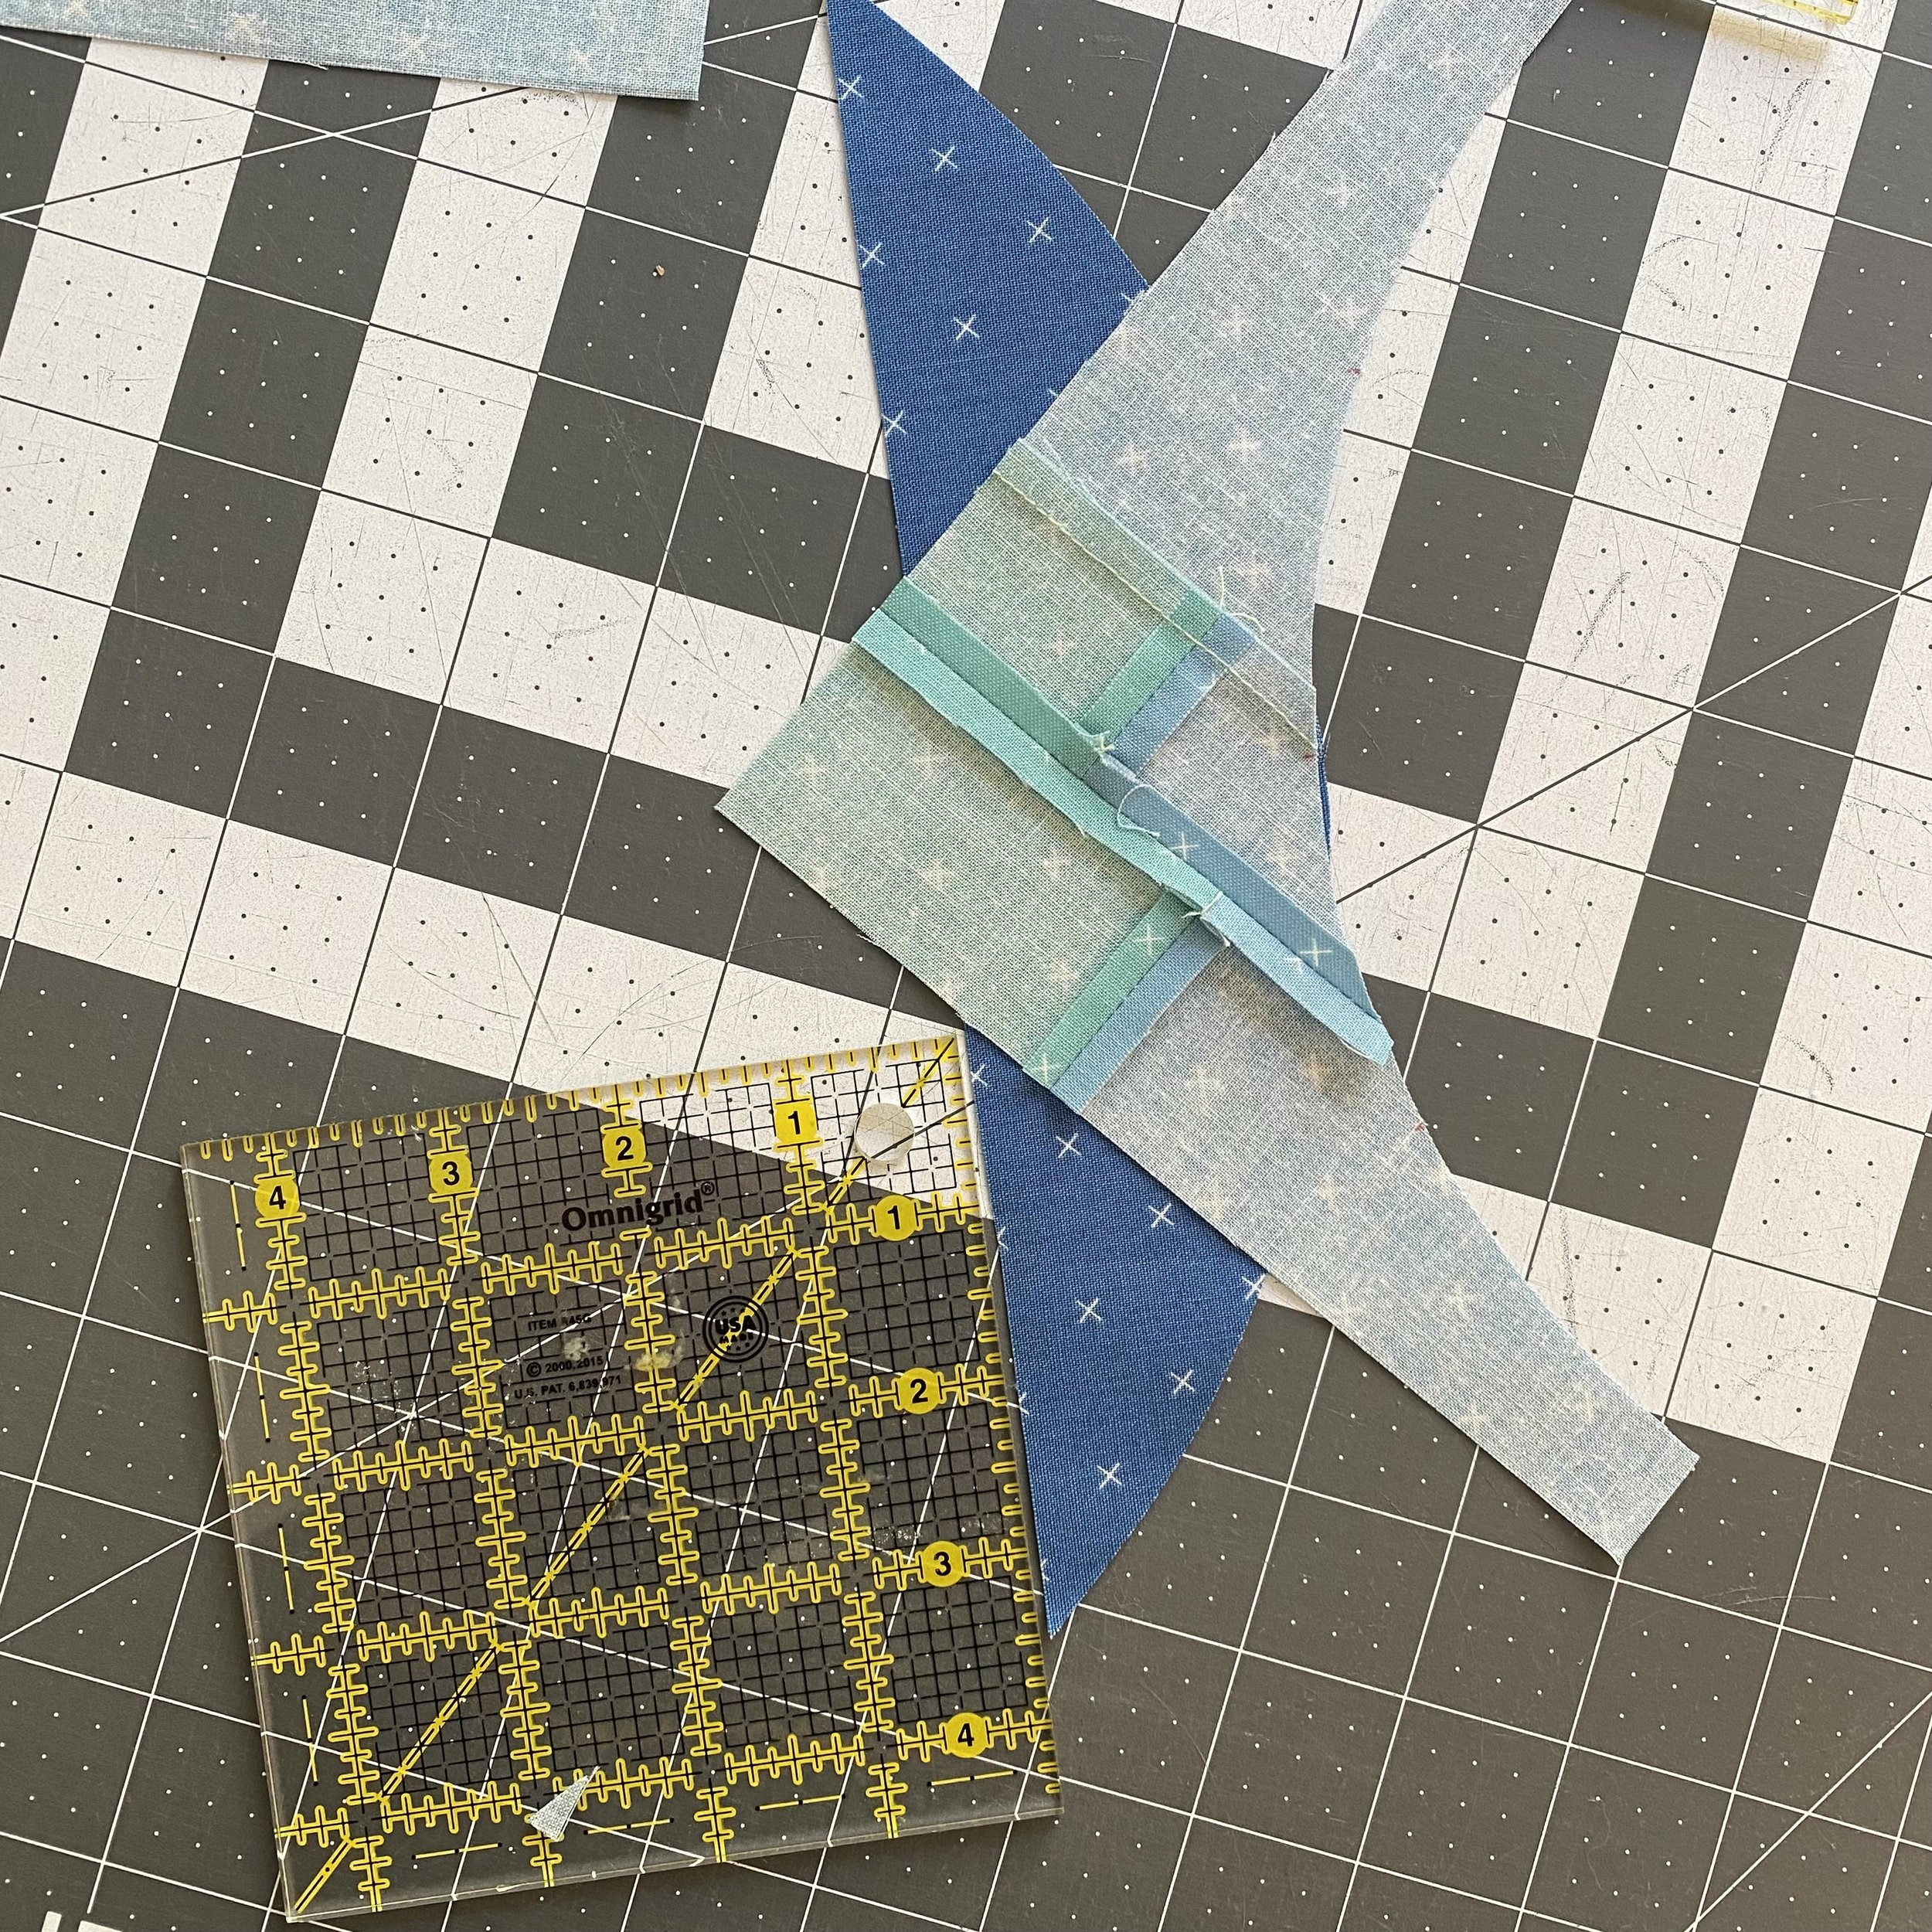
Here’s where we start to get experimental! These partial curve units are a little different but really fun when you get them just right! We’ve been practicing curves all year - I believe in you!
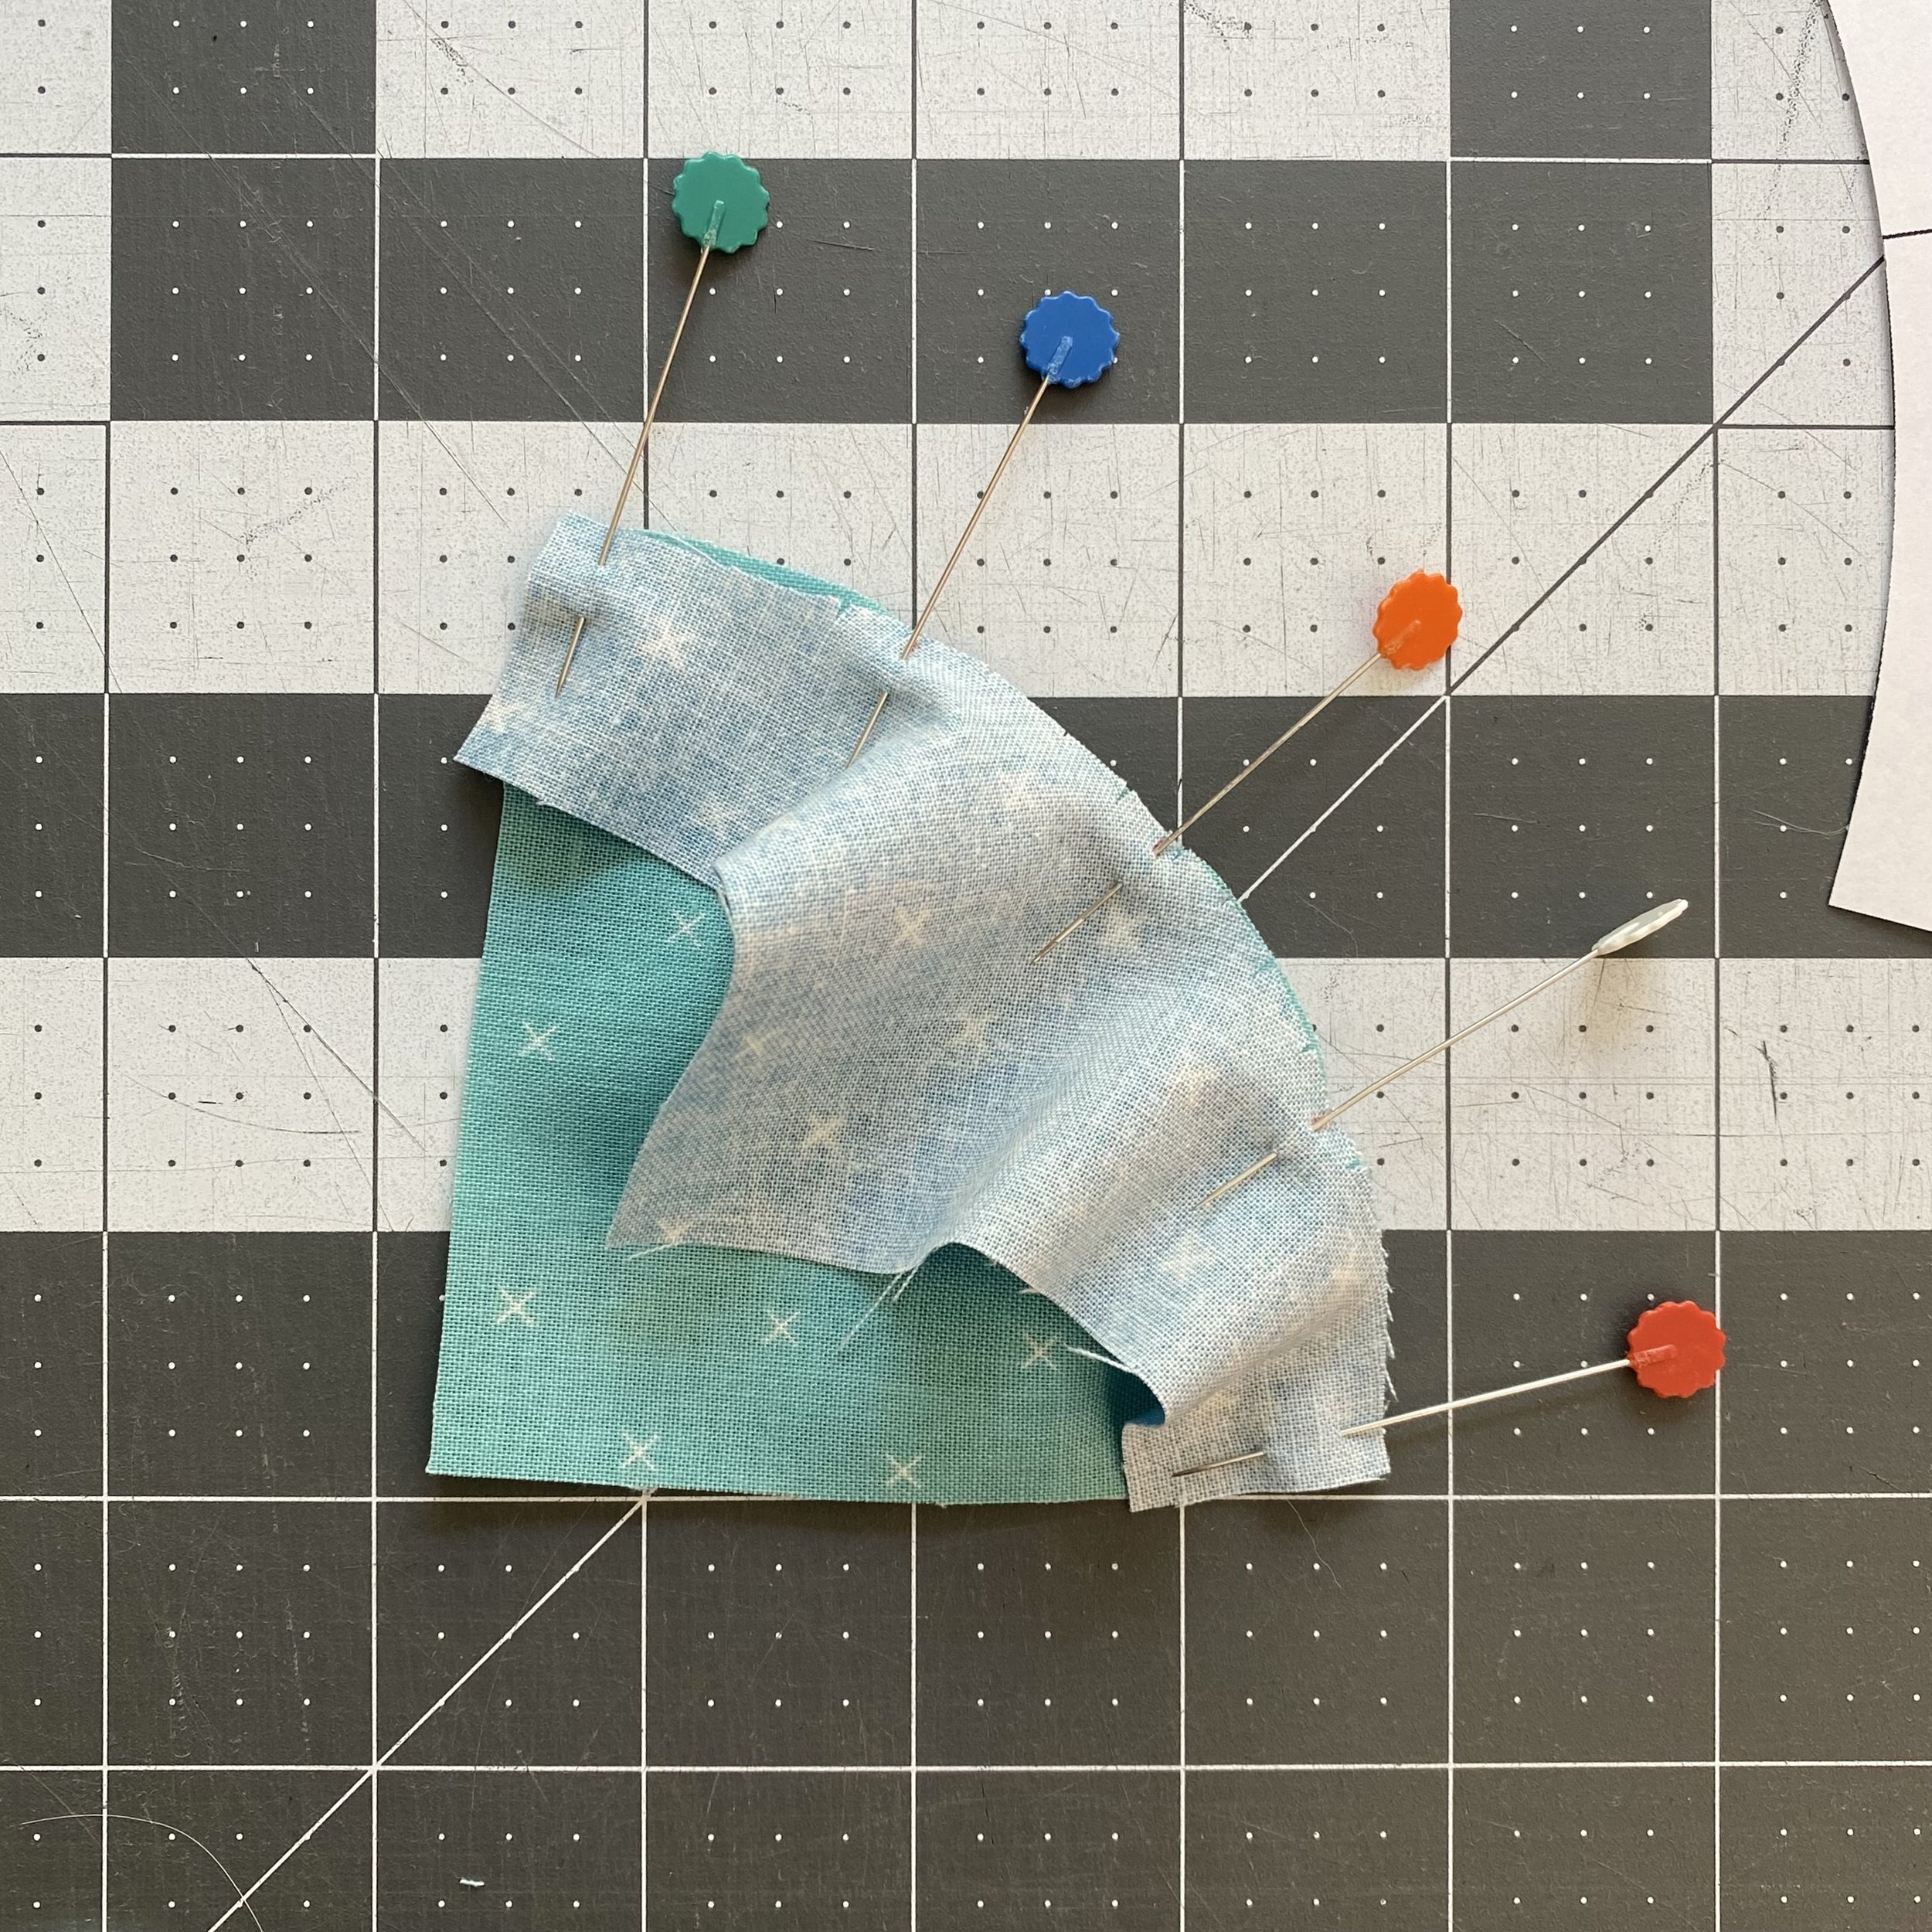
To start, when I match the center registration marks, I like to measure the end of the units at pictured here. You want to make sure you have an even amount of fabric on each end. You should have somewhere between 3½" and 3⅝" of fabric at each end. This measure will depend on the accuracy of your cutting.
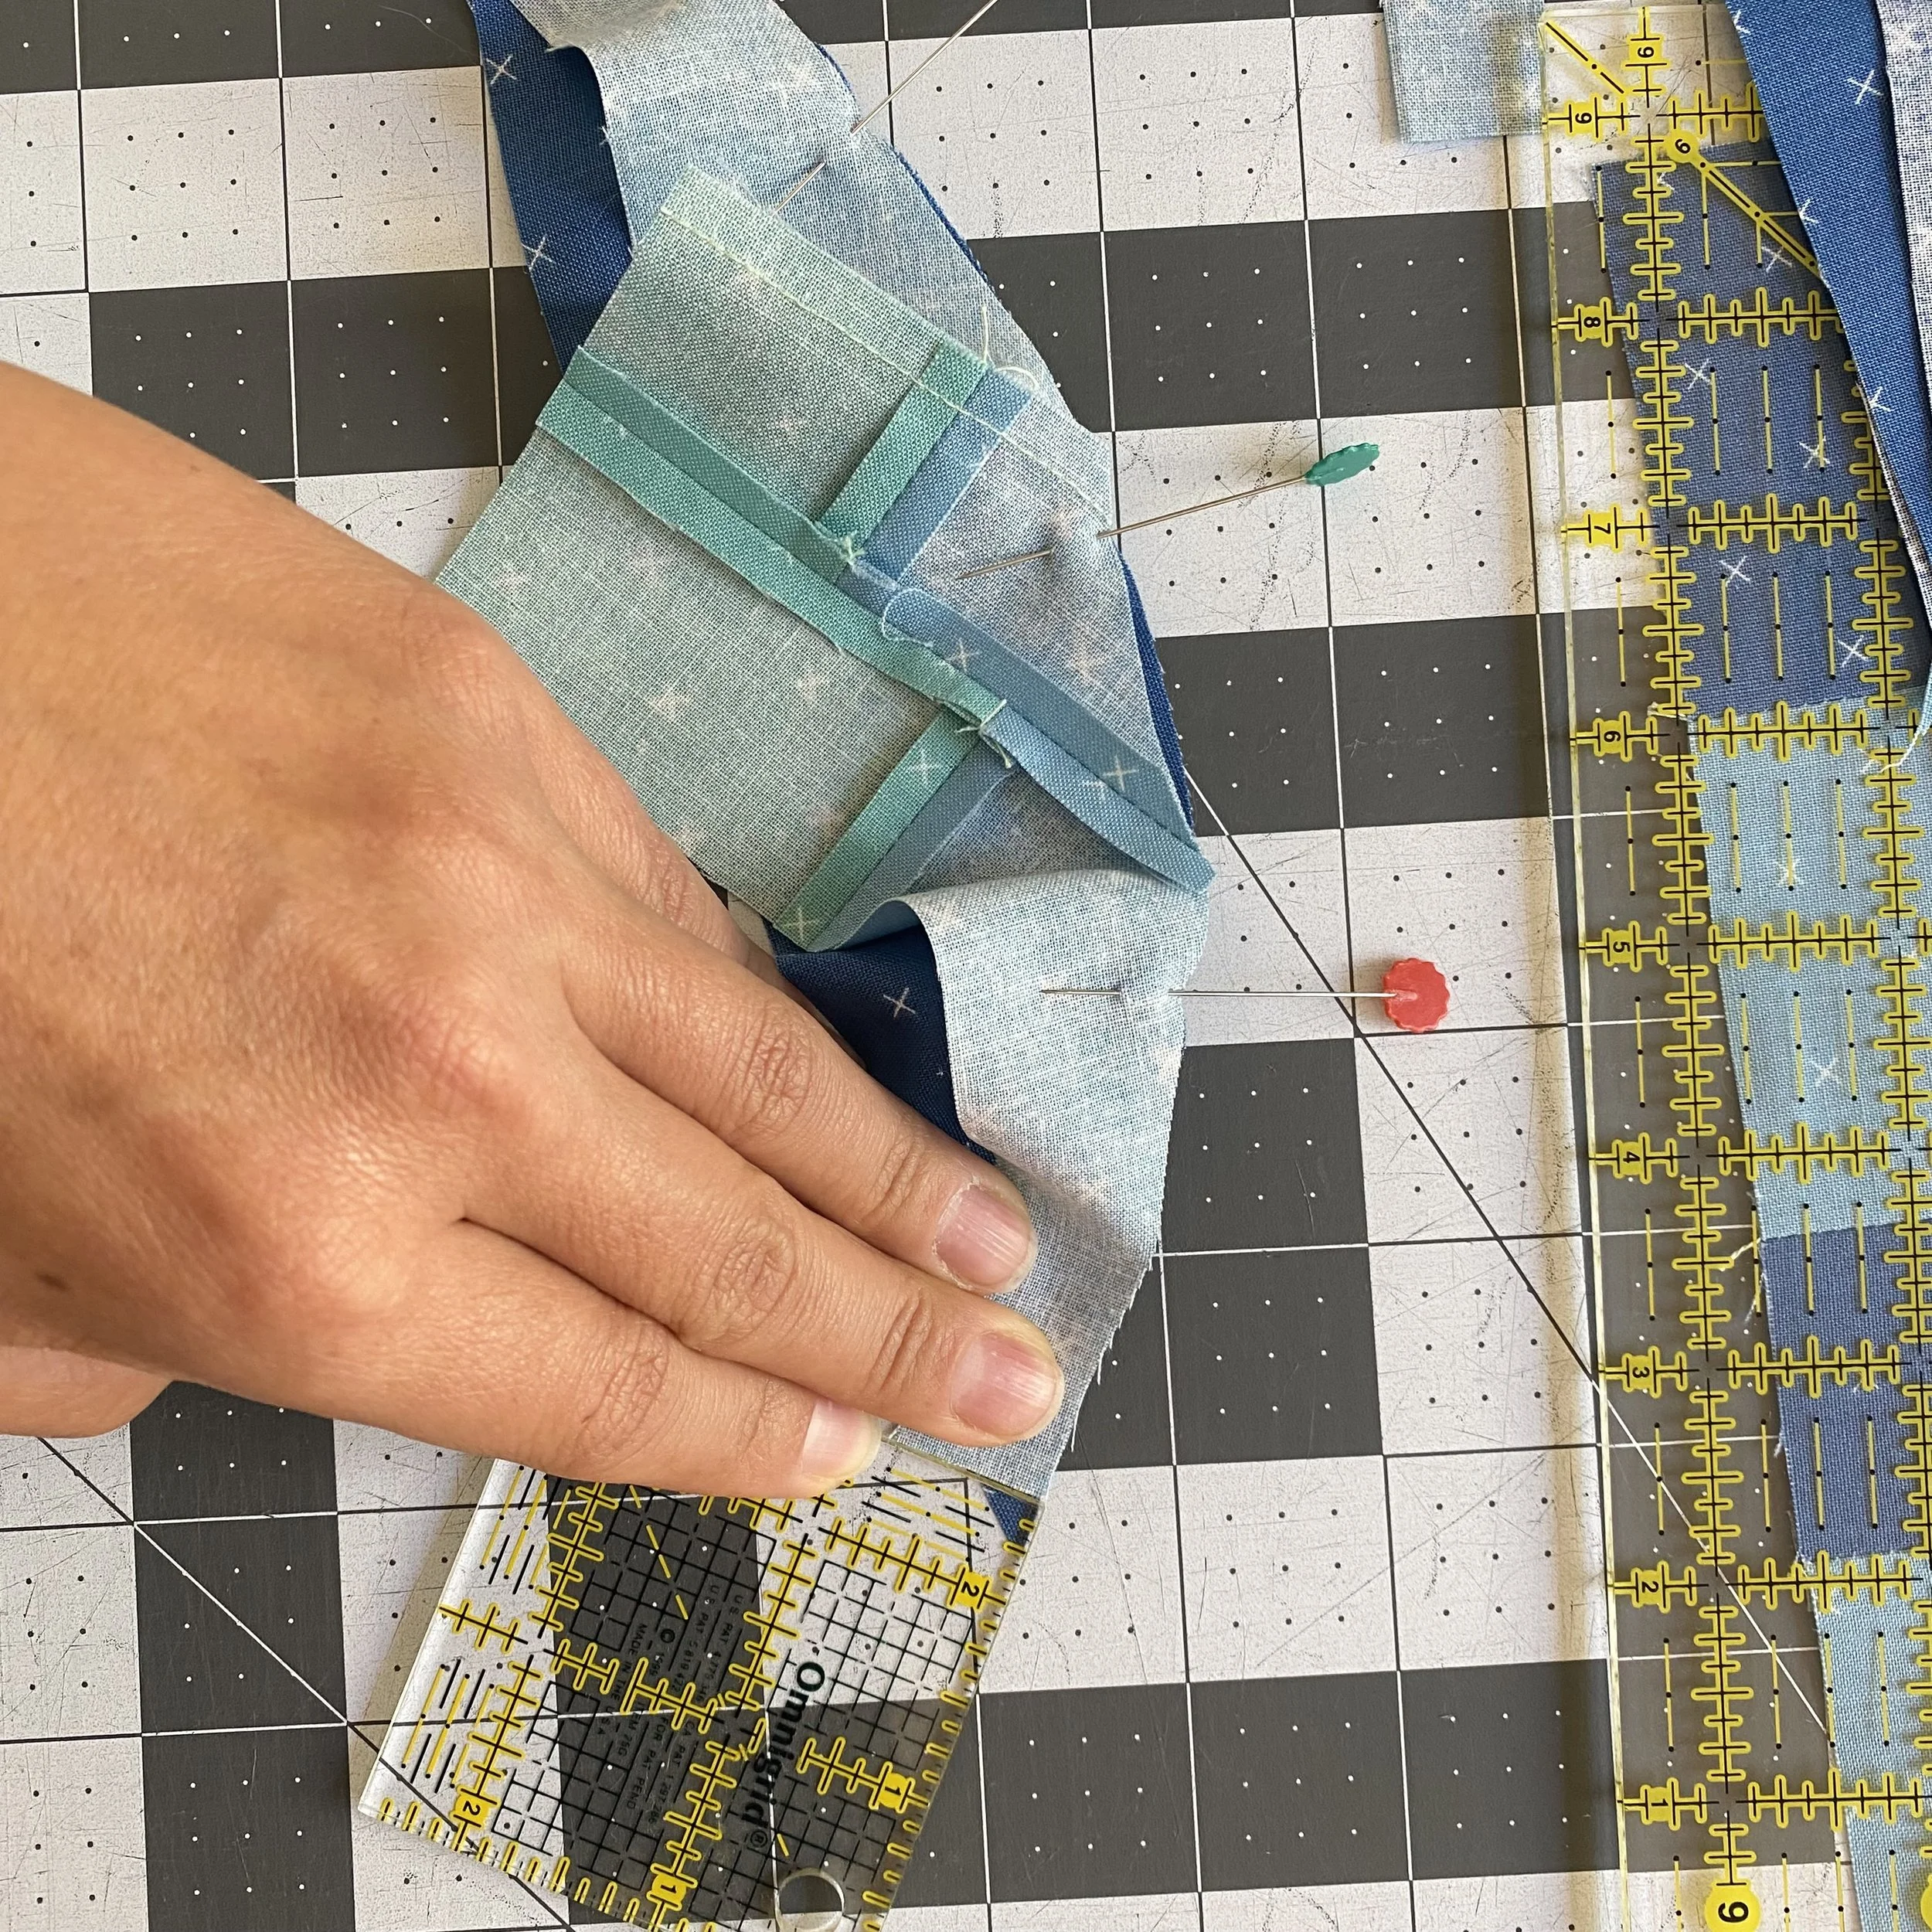
When everything is pinned, I like to double check the ¼" measurement at the end of the unit.
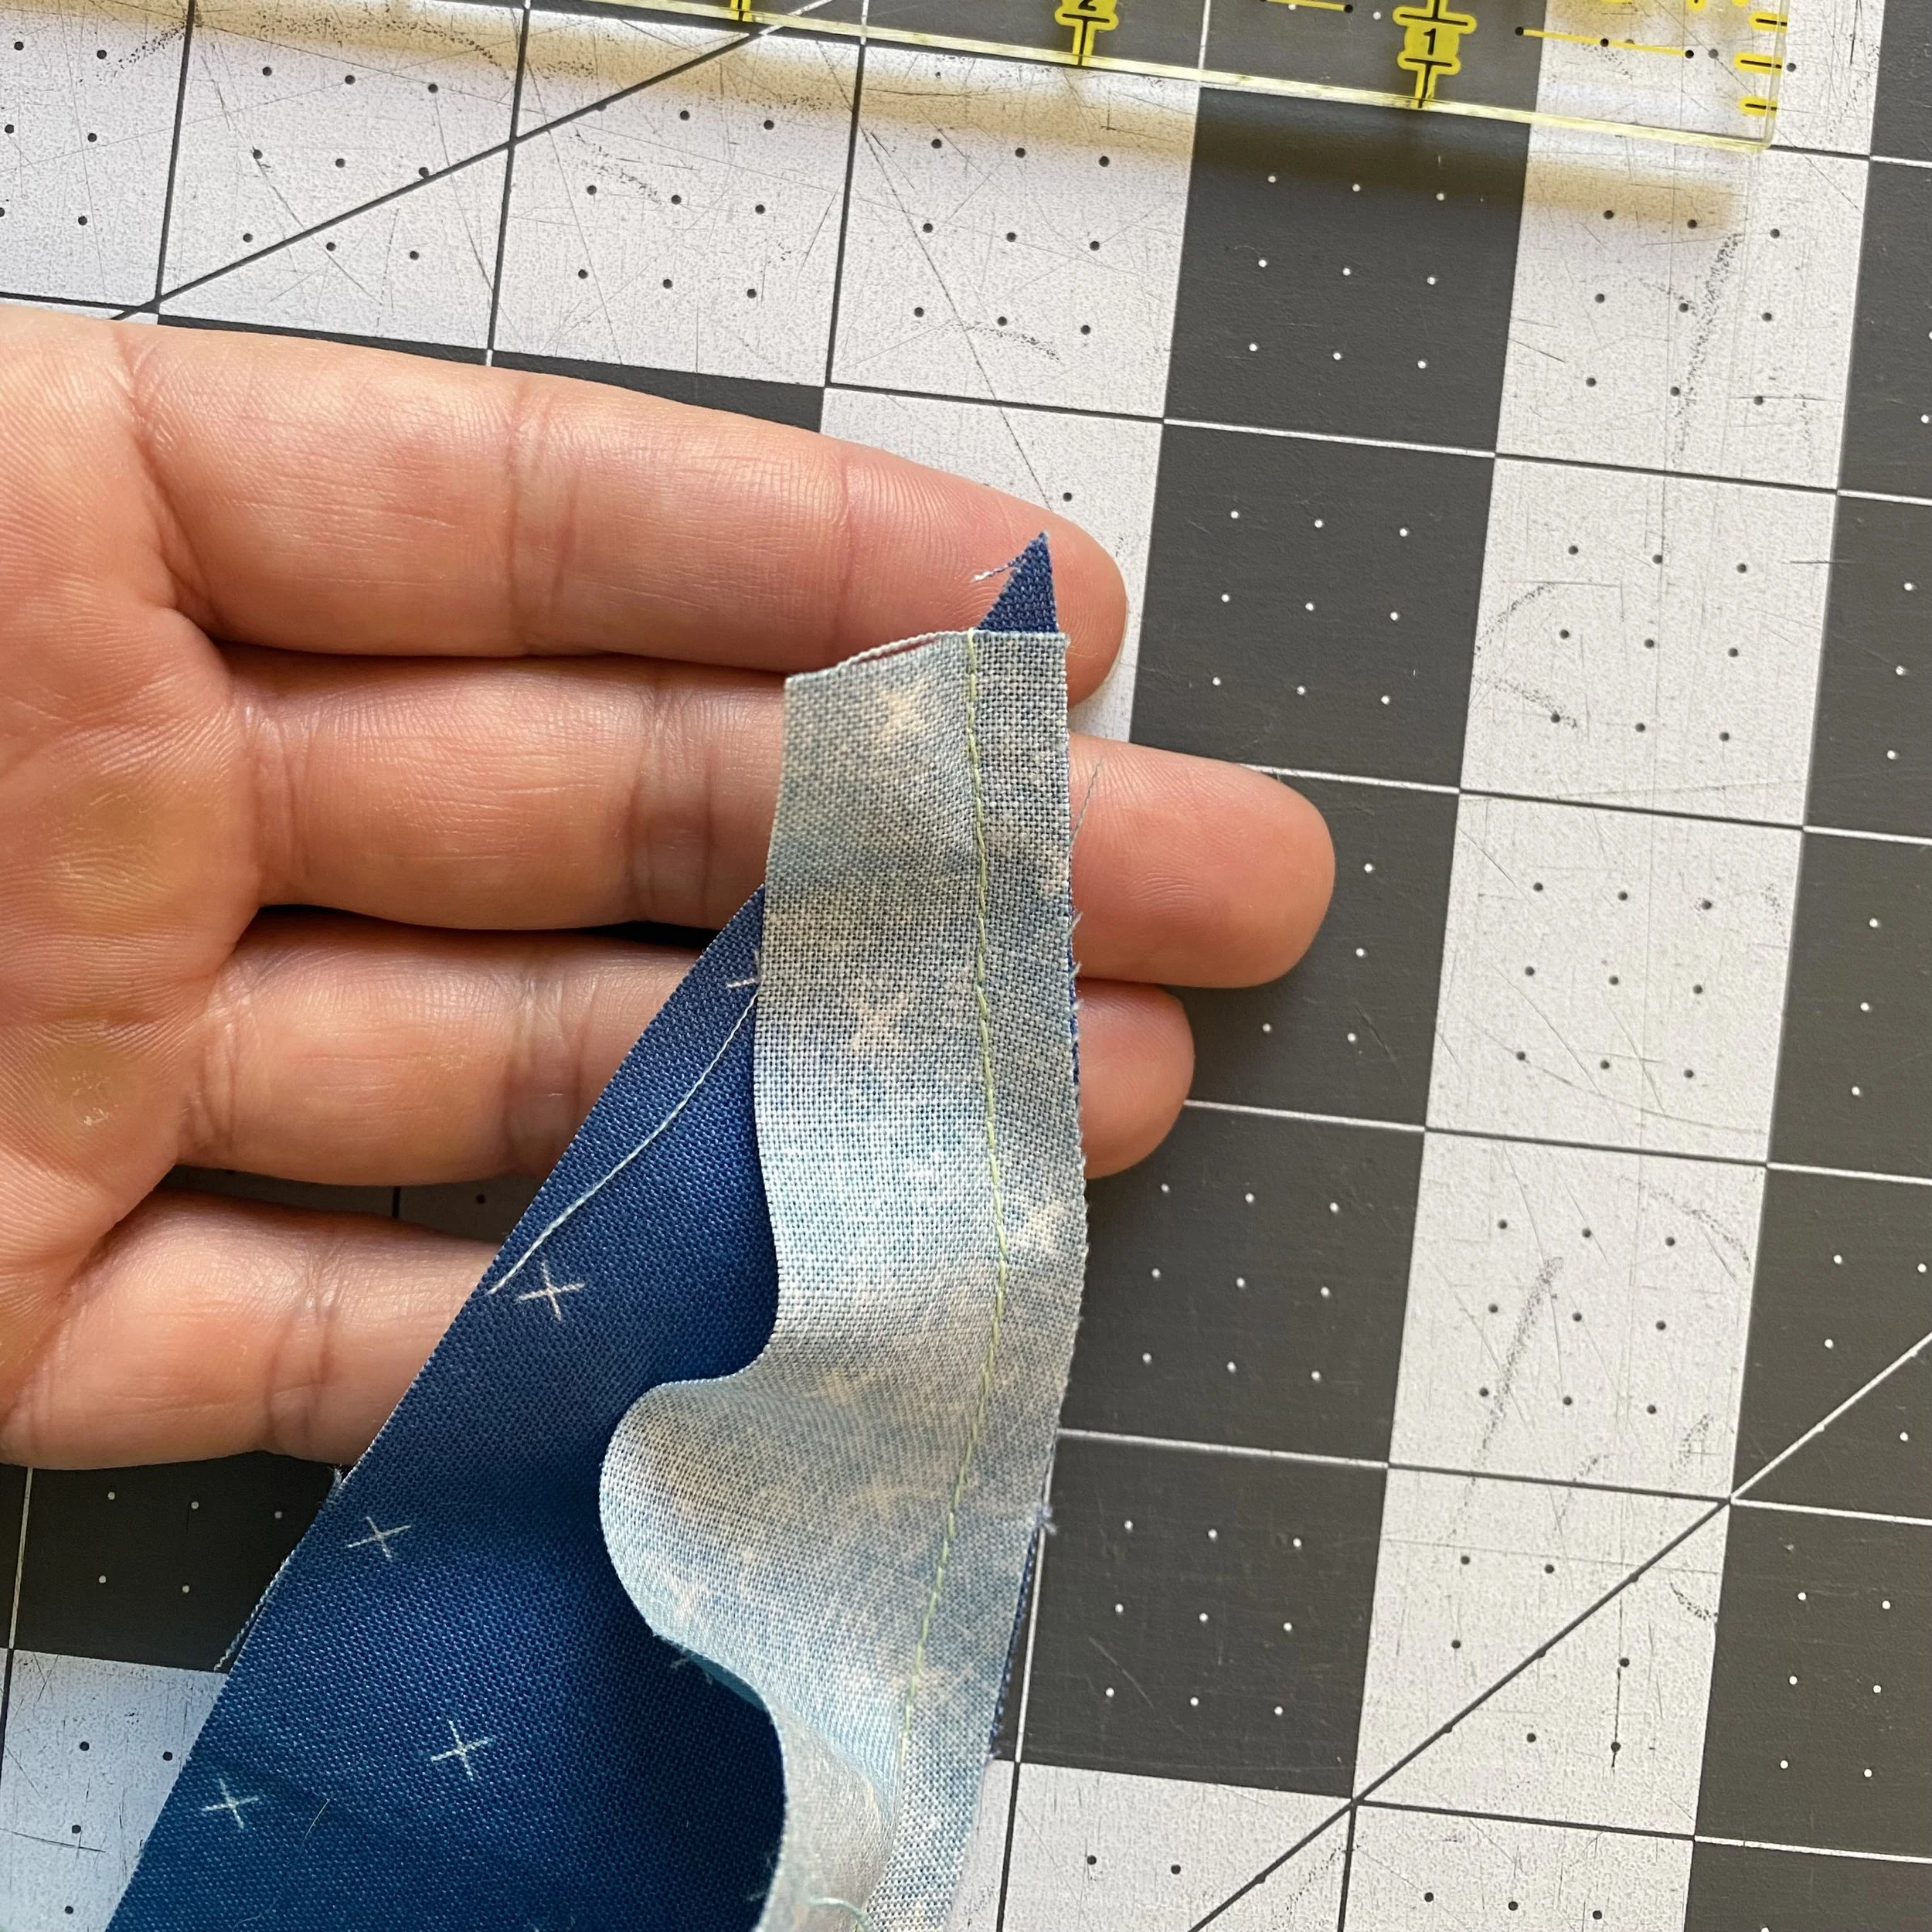
The stitching line should intersect these pieces exactly where the units meet.
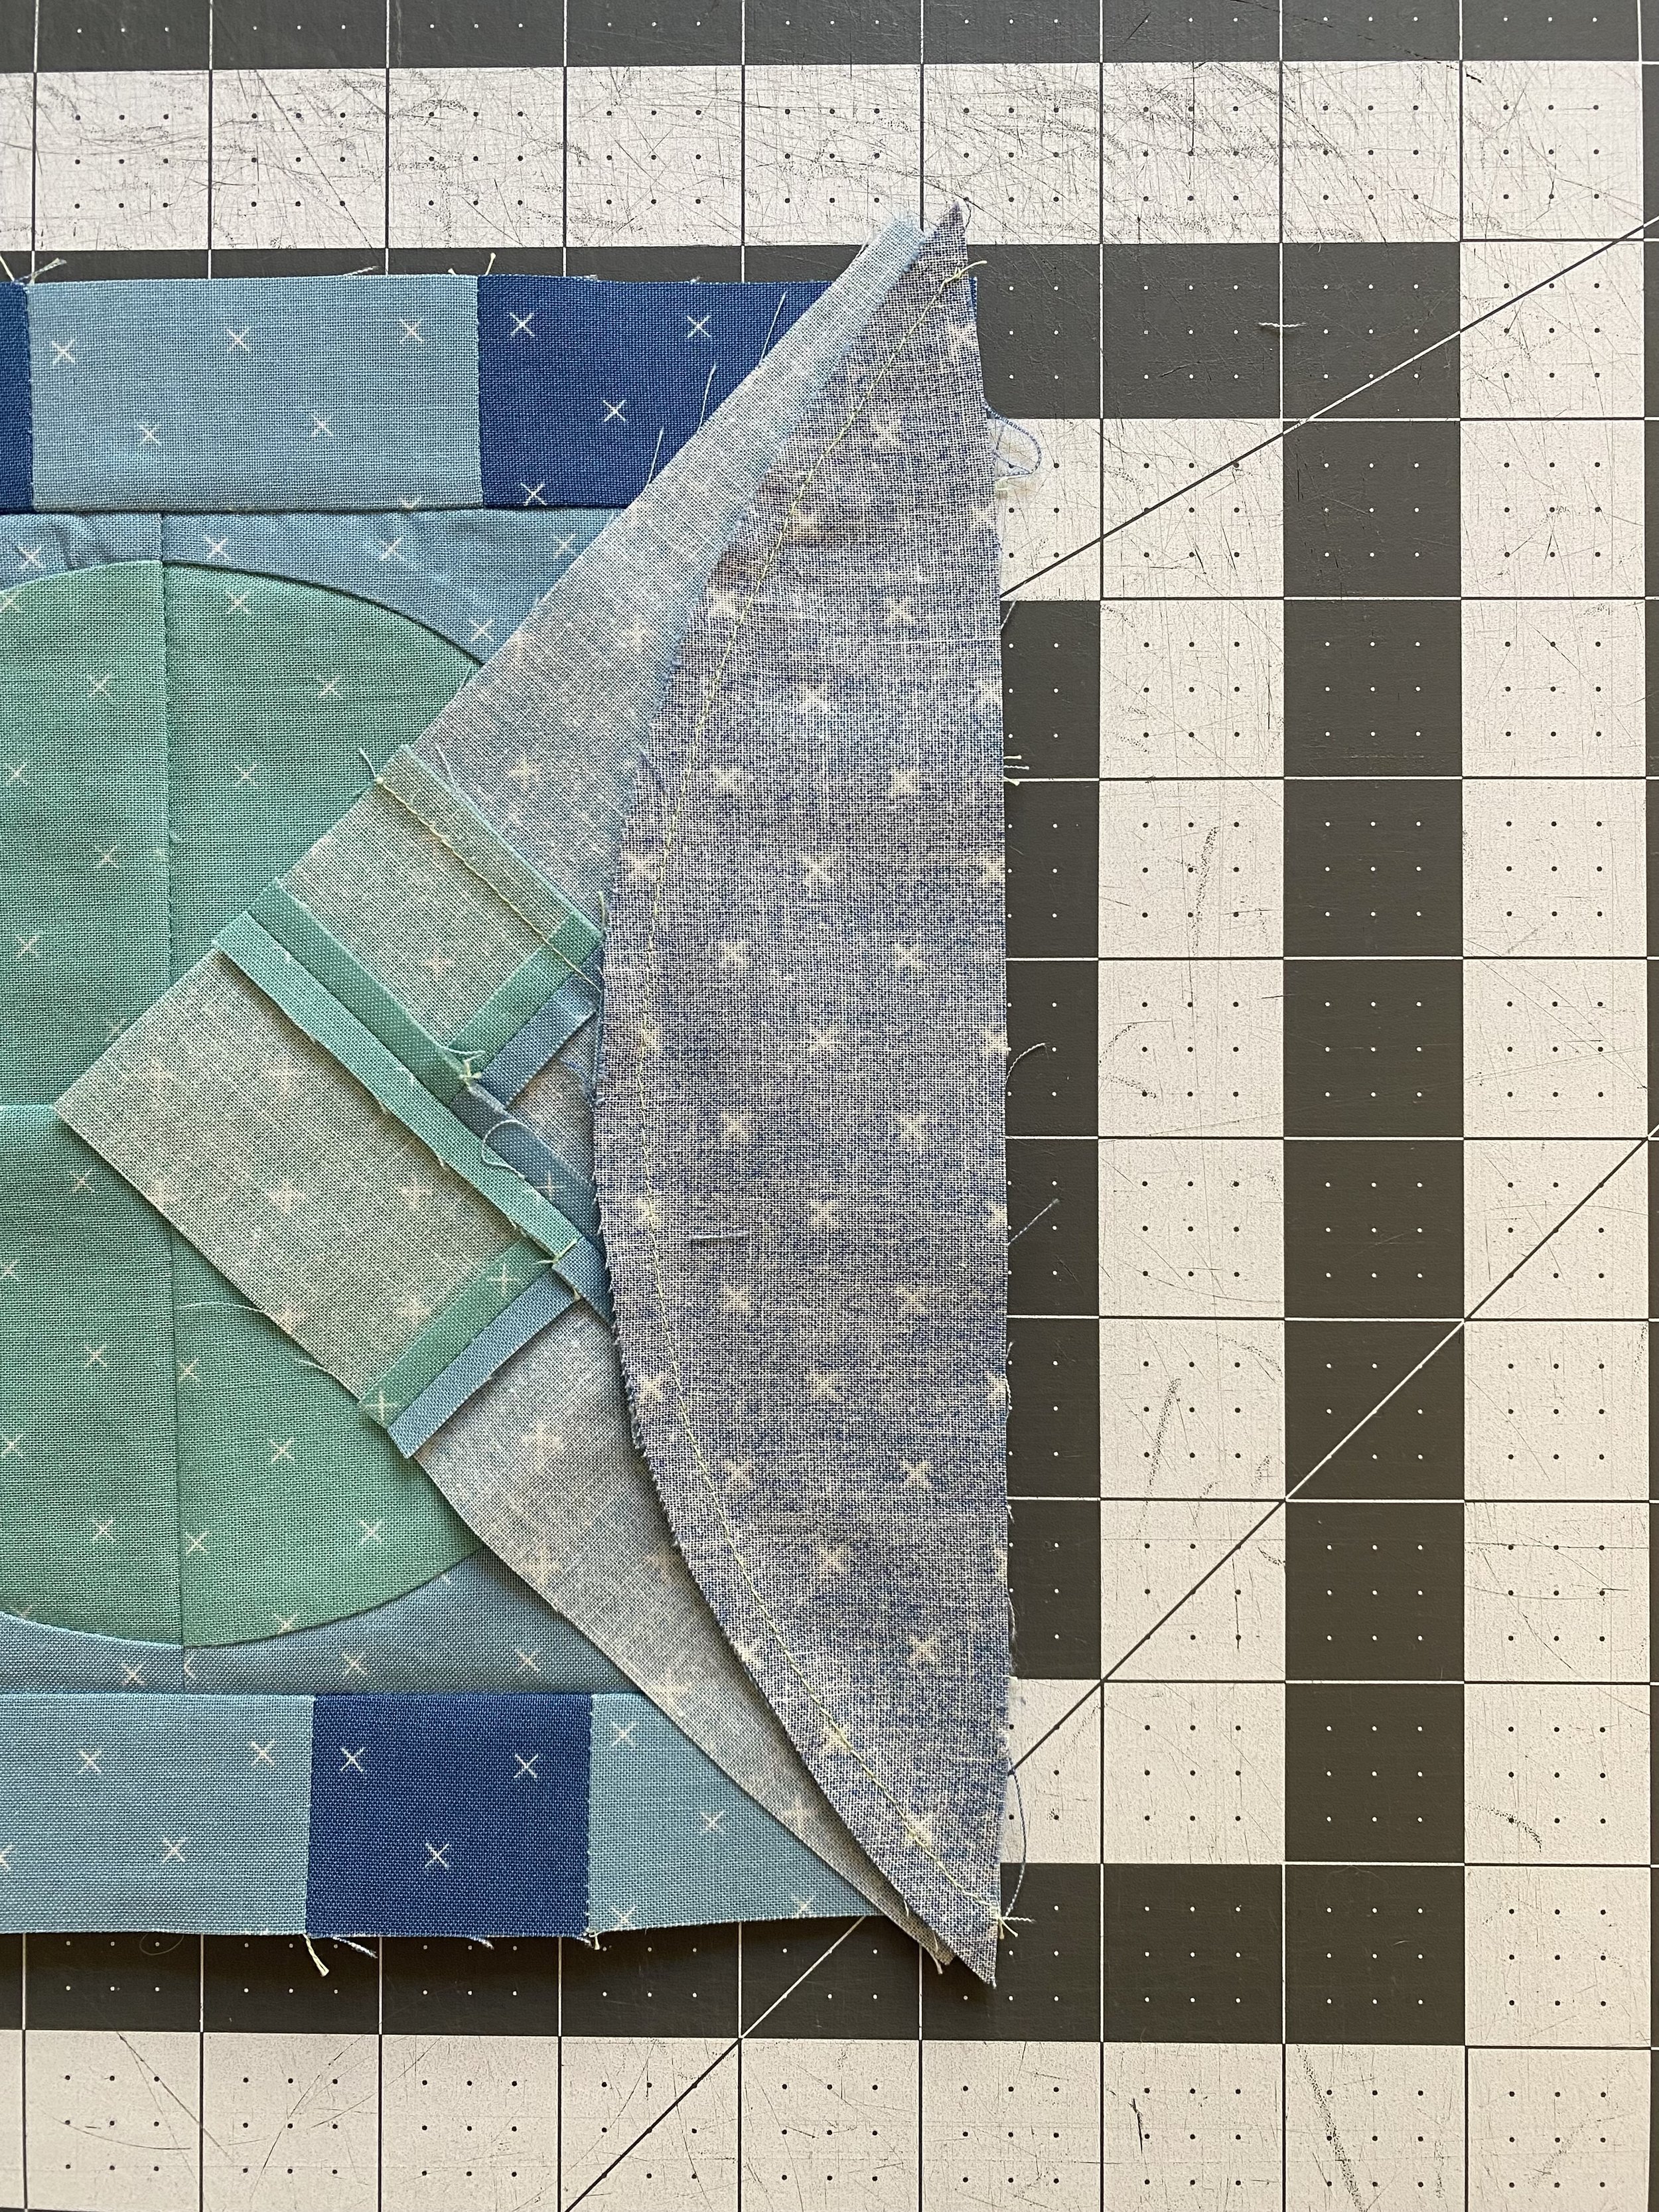
Once all the partial curve units are sewn up, it’s time to attached them to the center square. It doesn’t matter which side you start sewing along. Again, the accuracy of your piecing and the grain of your units will impact the accuracy here.
The first two units will extend past the edges of the center square.
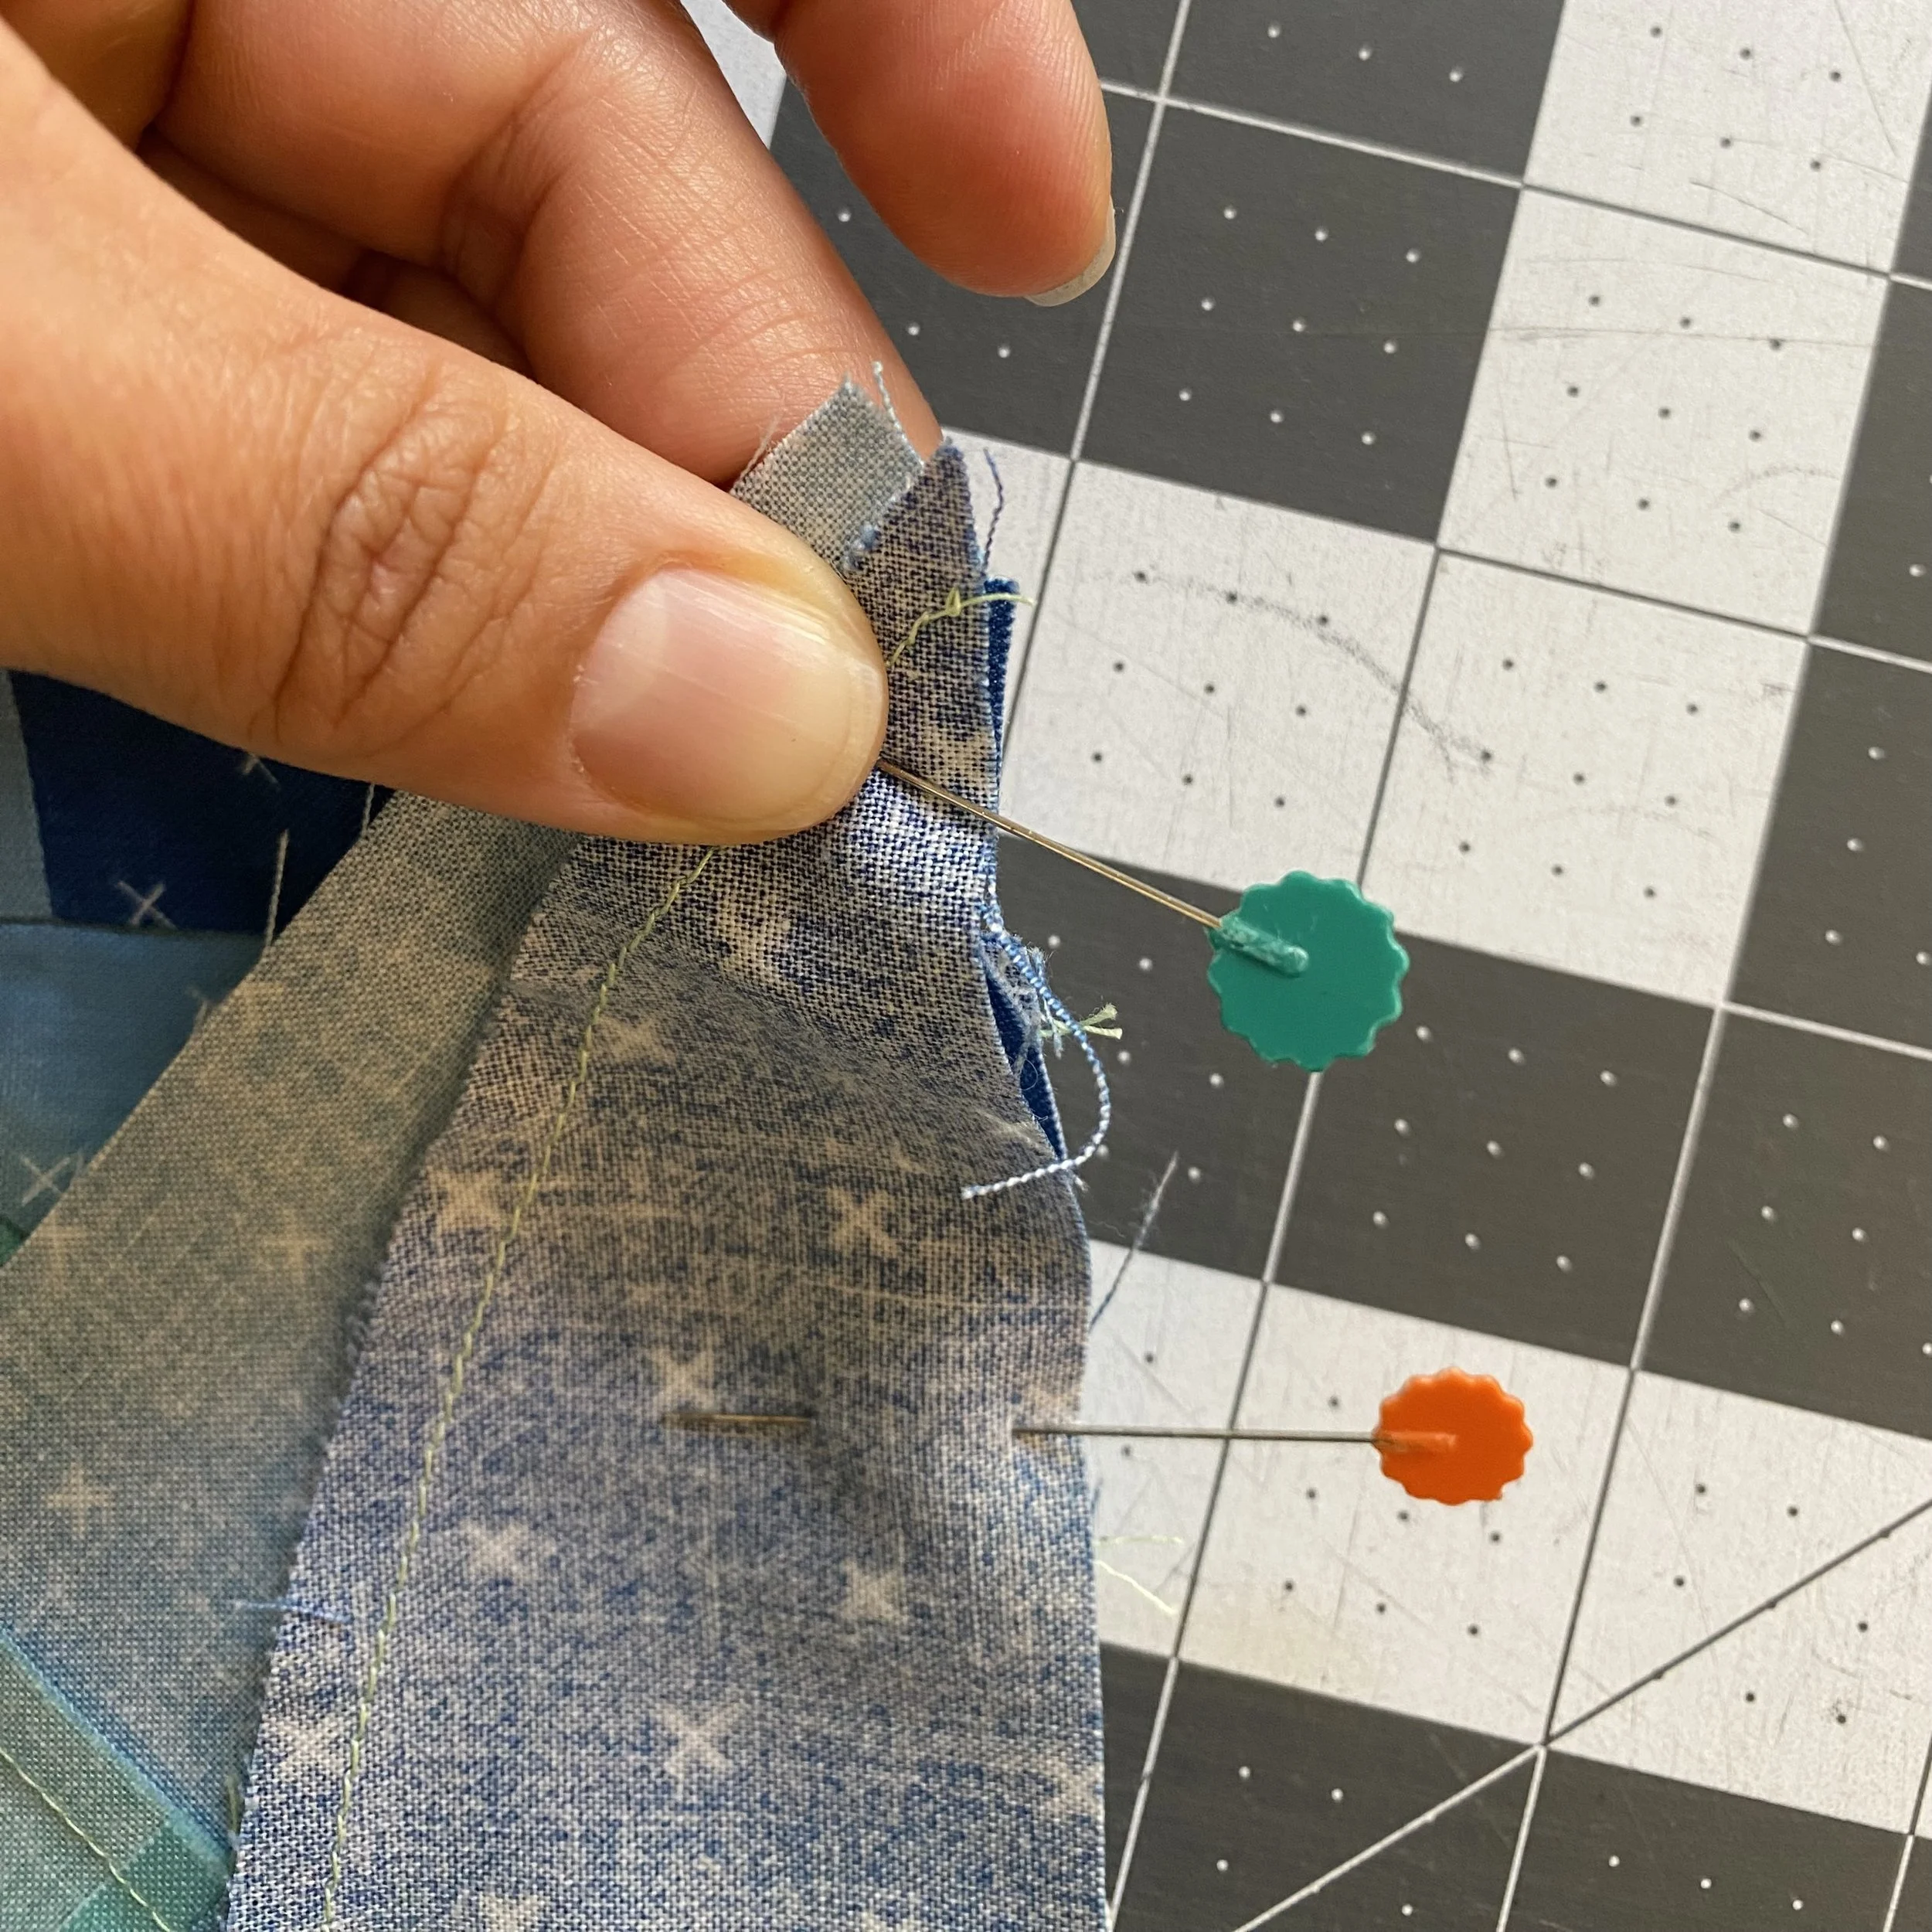
When I took this picture, I didn’t realize that my thumb was completely in the way! To keep everything aligned perfectly, I inserted a pin right at the stitching line, ¼" in from the right edge.
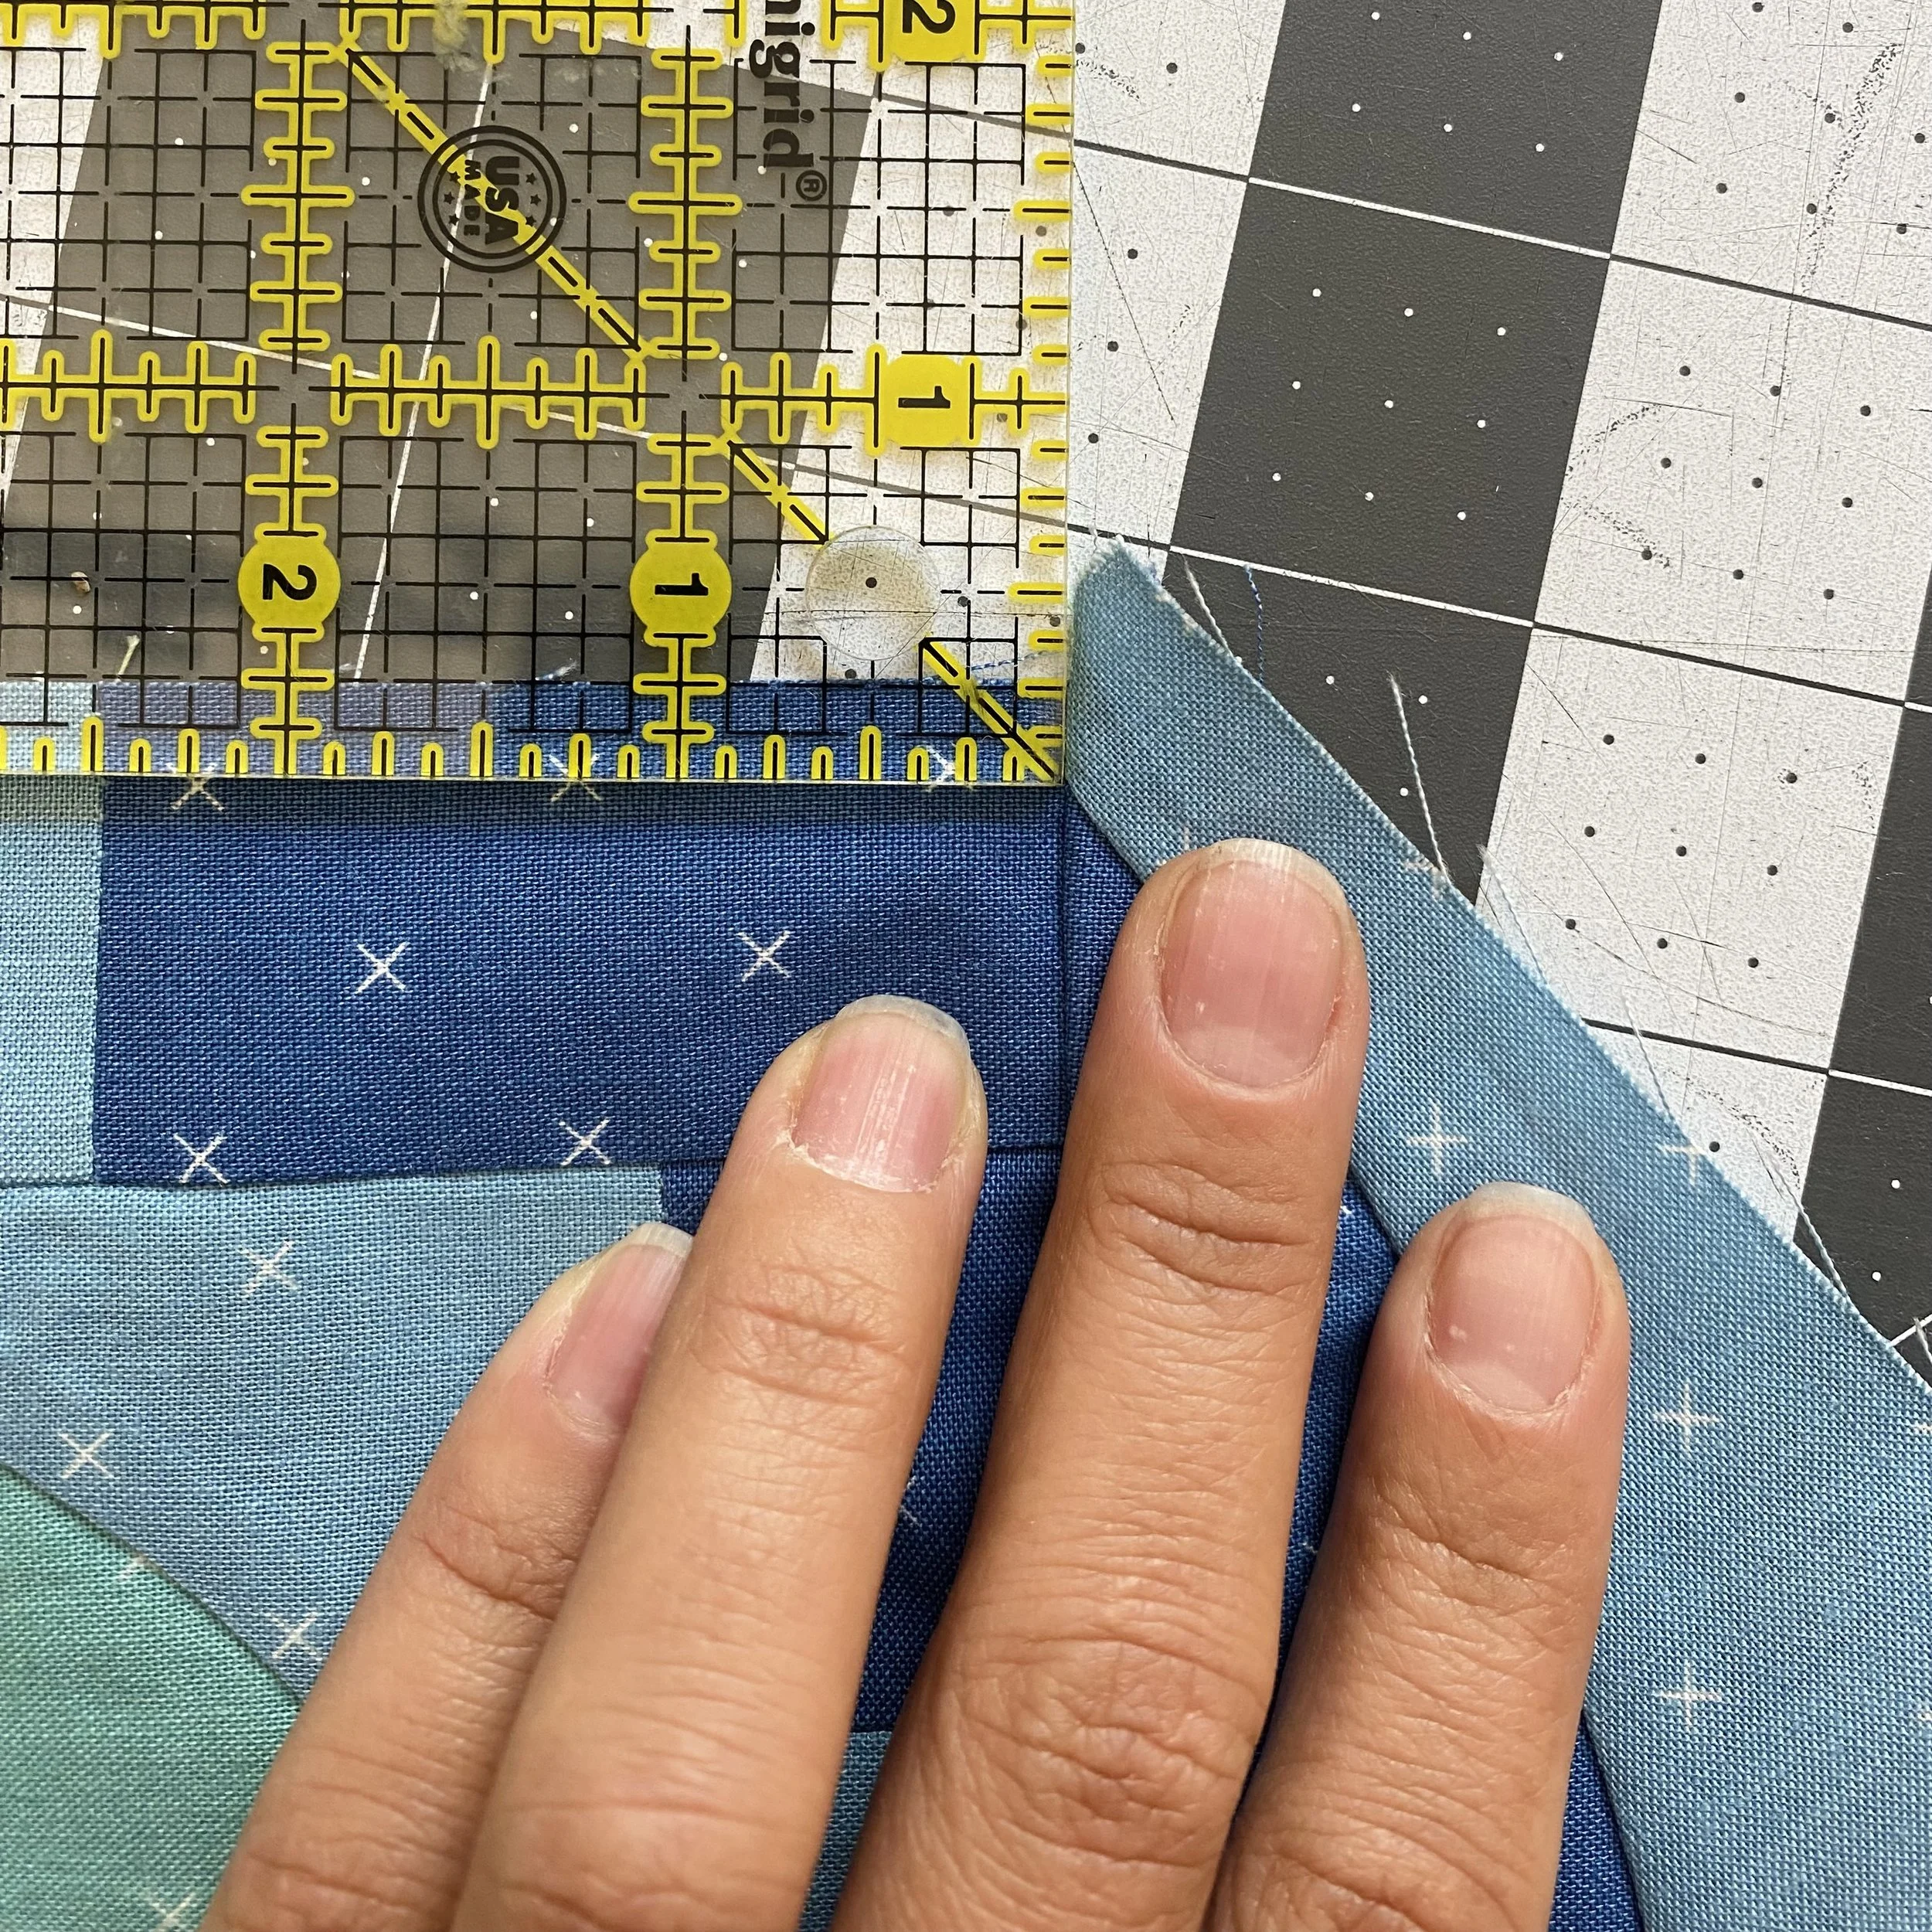
If you perfectly align the seam, you should open up the sewn units and the curve seam will start exactly ¼" in from the top edge.
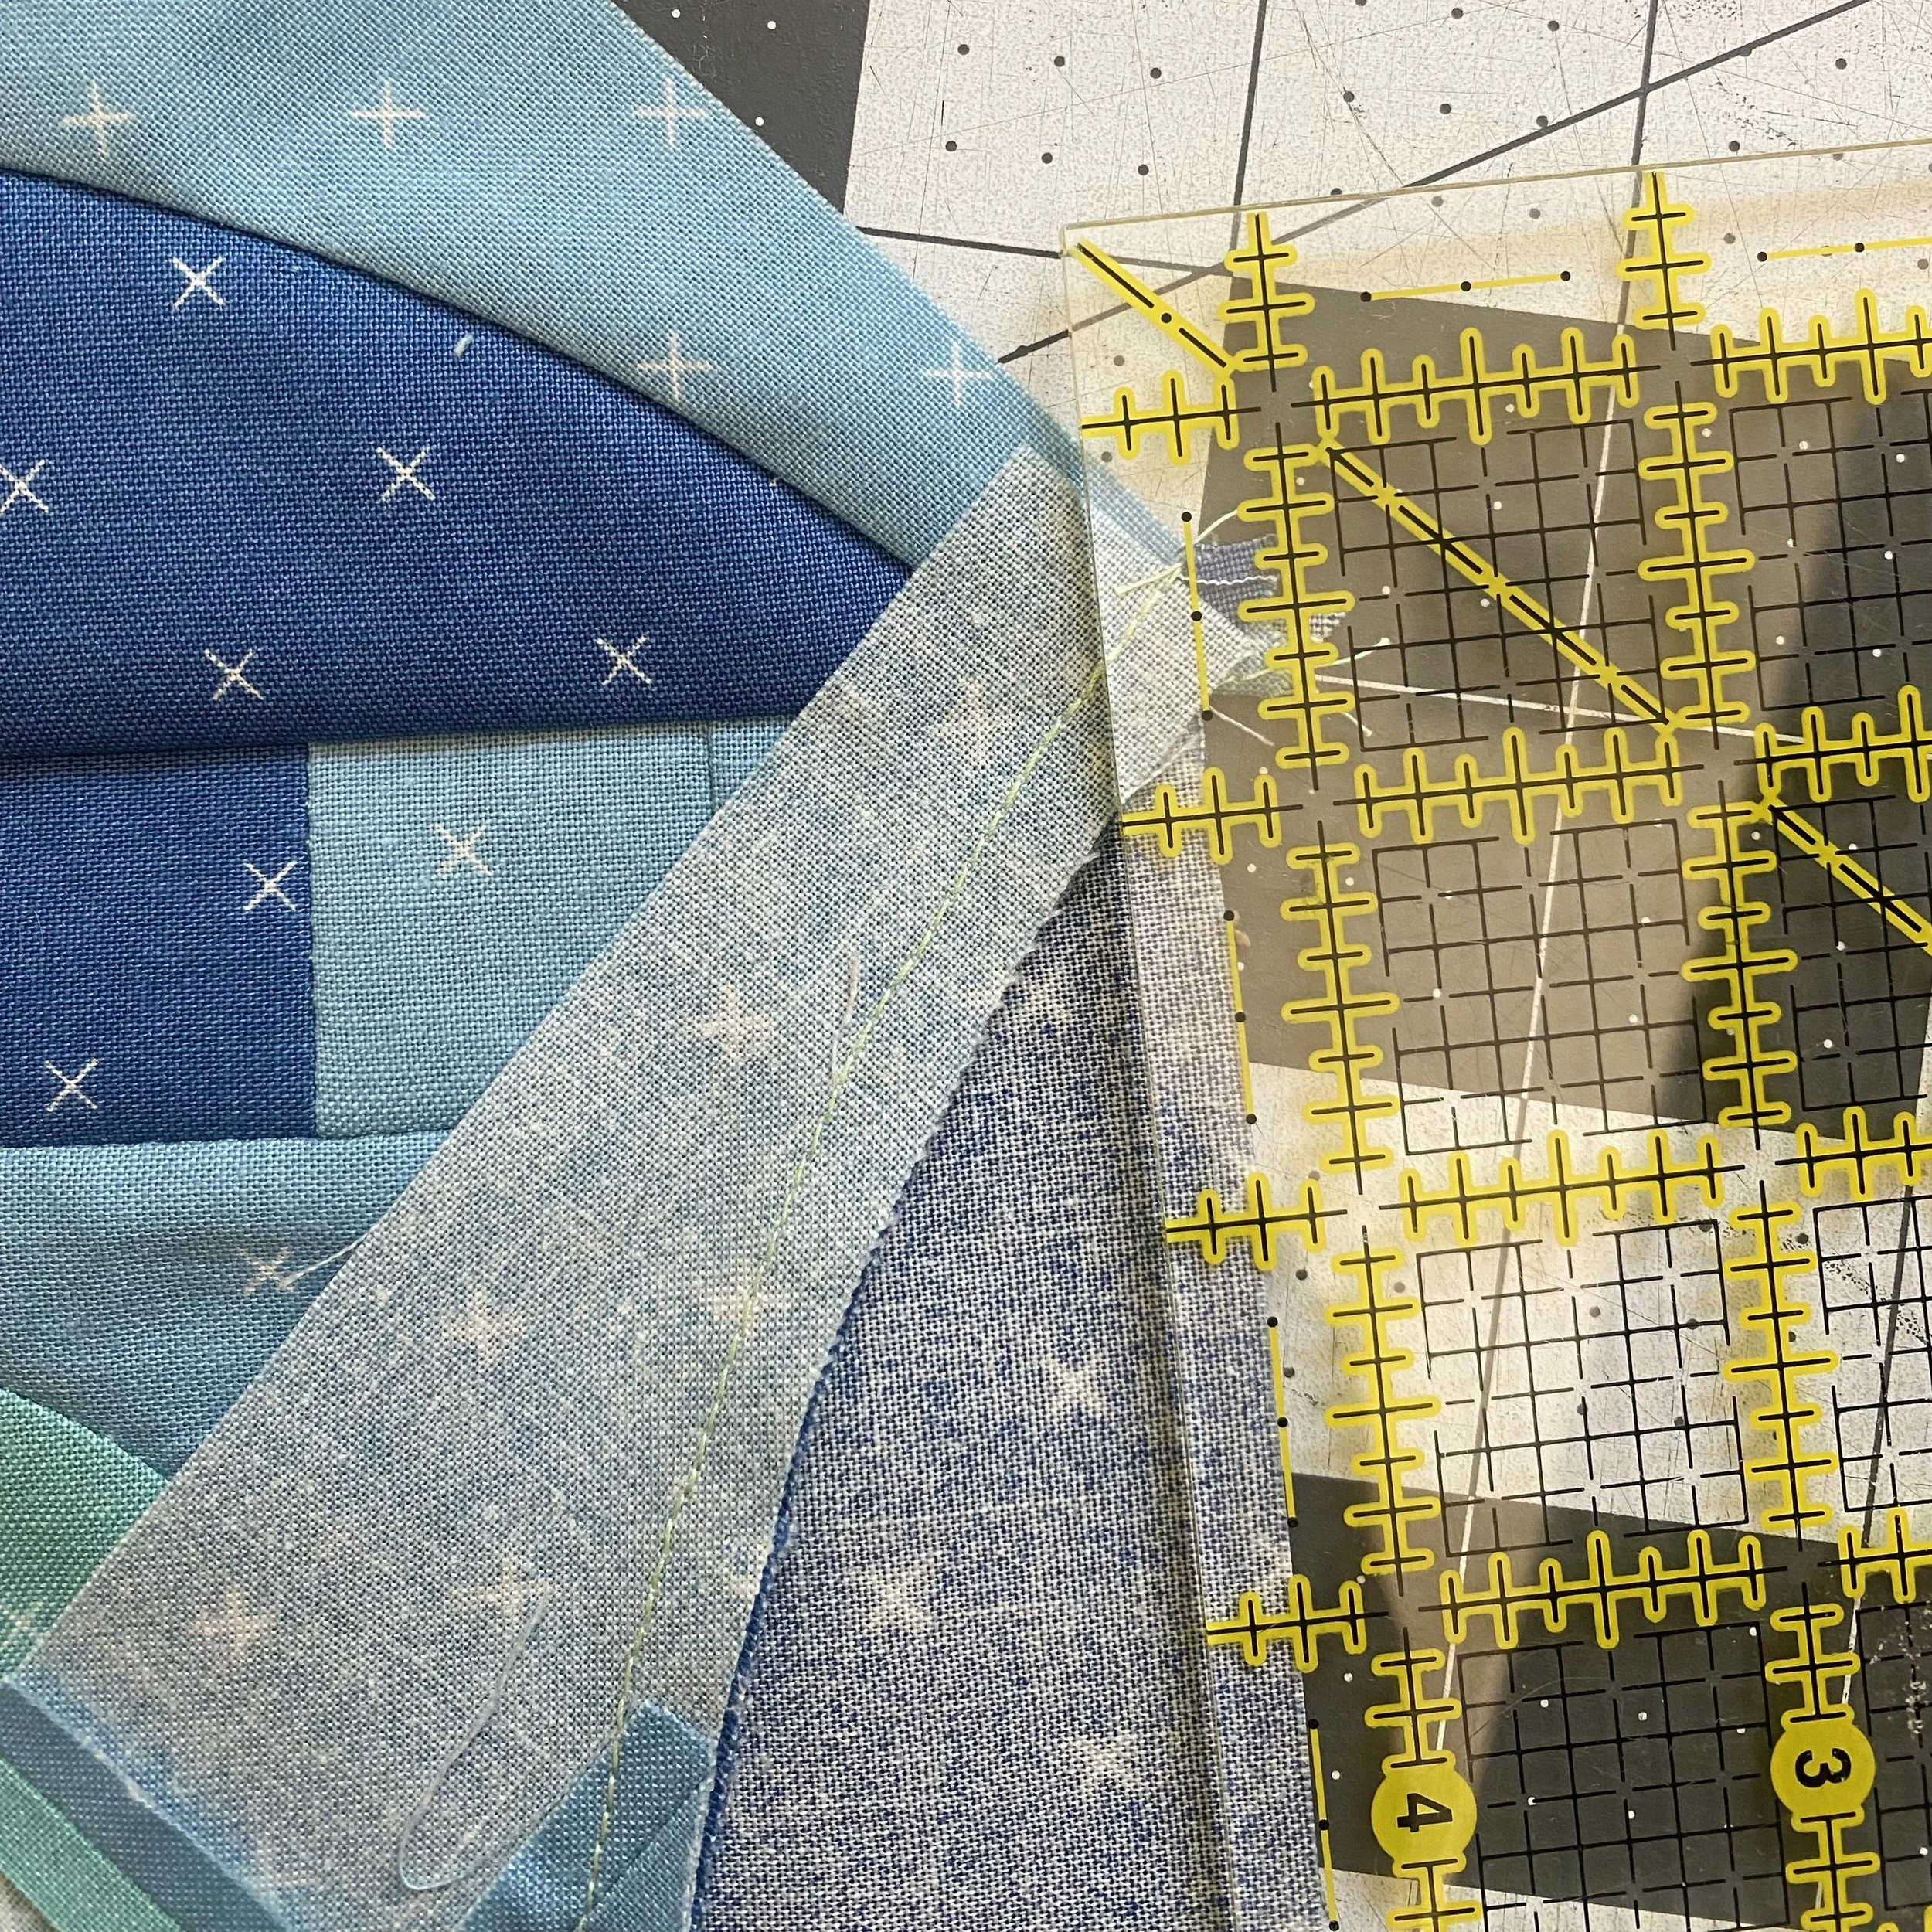
In this photo, I’m sewing the third partial curve to the unit. You’ll see that the unit doesn’t quite reach the edge of the larger unit.
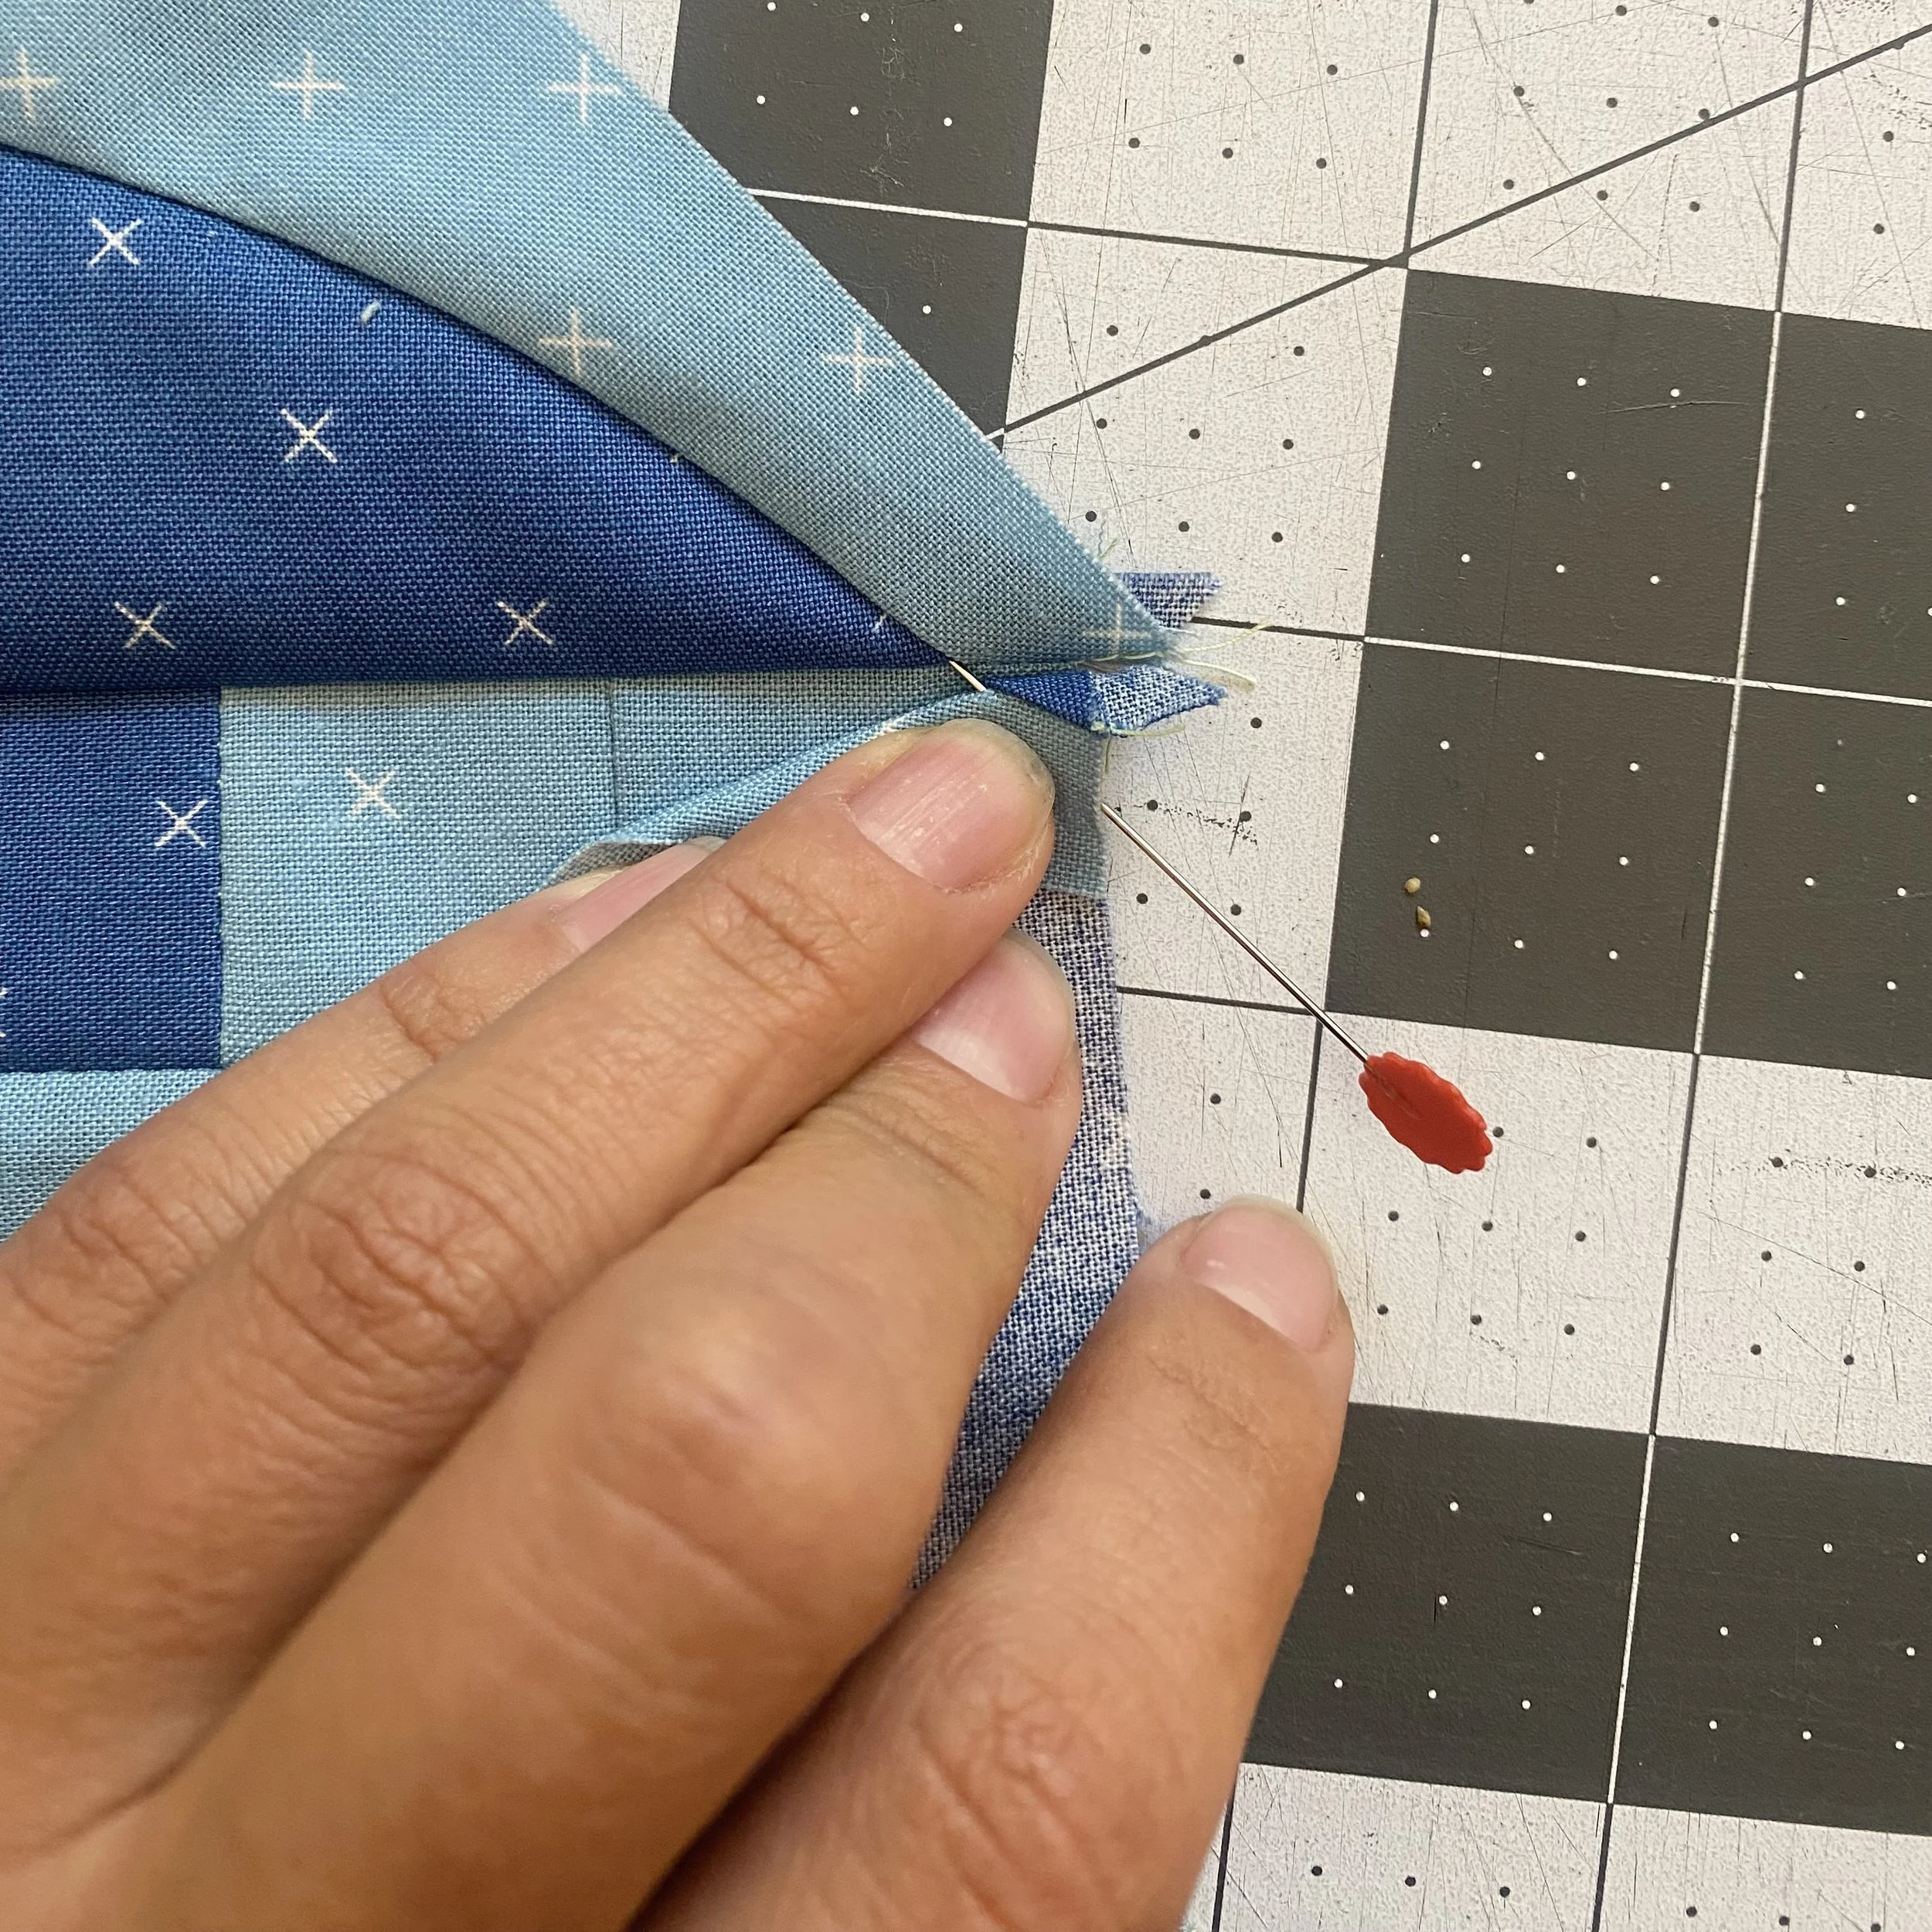
To ensure accuracy, insert a pin ¼" in from the right edge, along the curved seam of the partial curve unit. The pin should hit the bottom unit right where the curved seam disappears into the seam.
If you are having a difficult time aligning these points, I’d recommend prioritizing pinning in the perfect spot, even if this means you' have a skinny seam allowance.
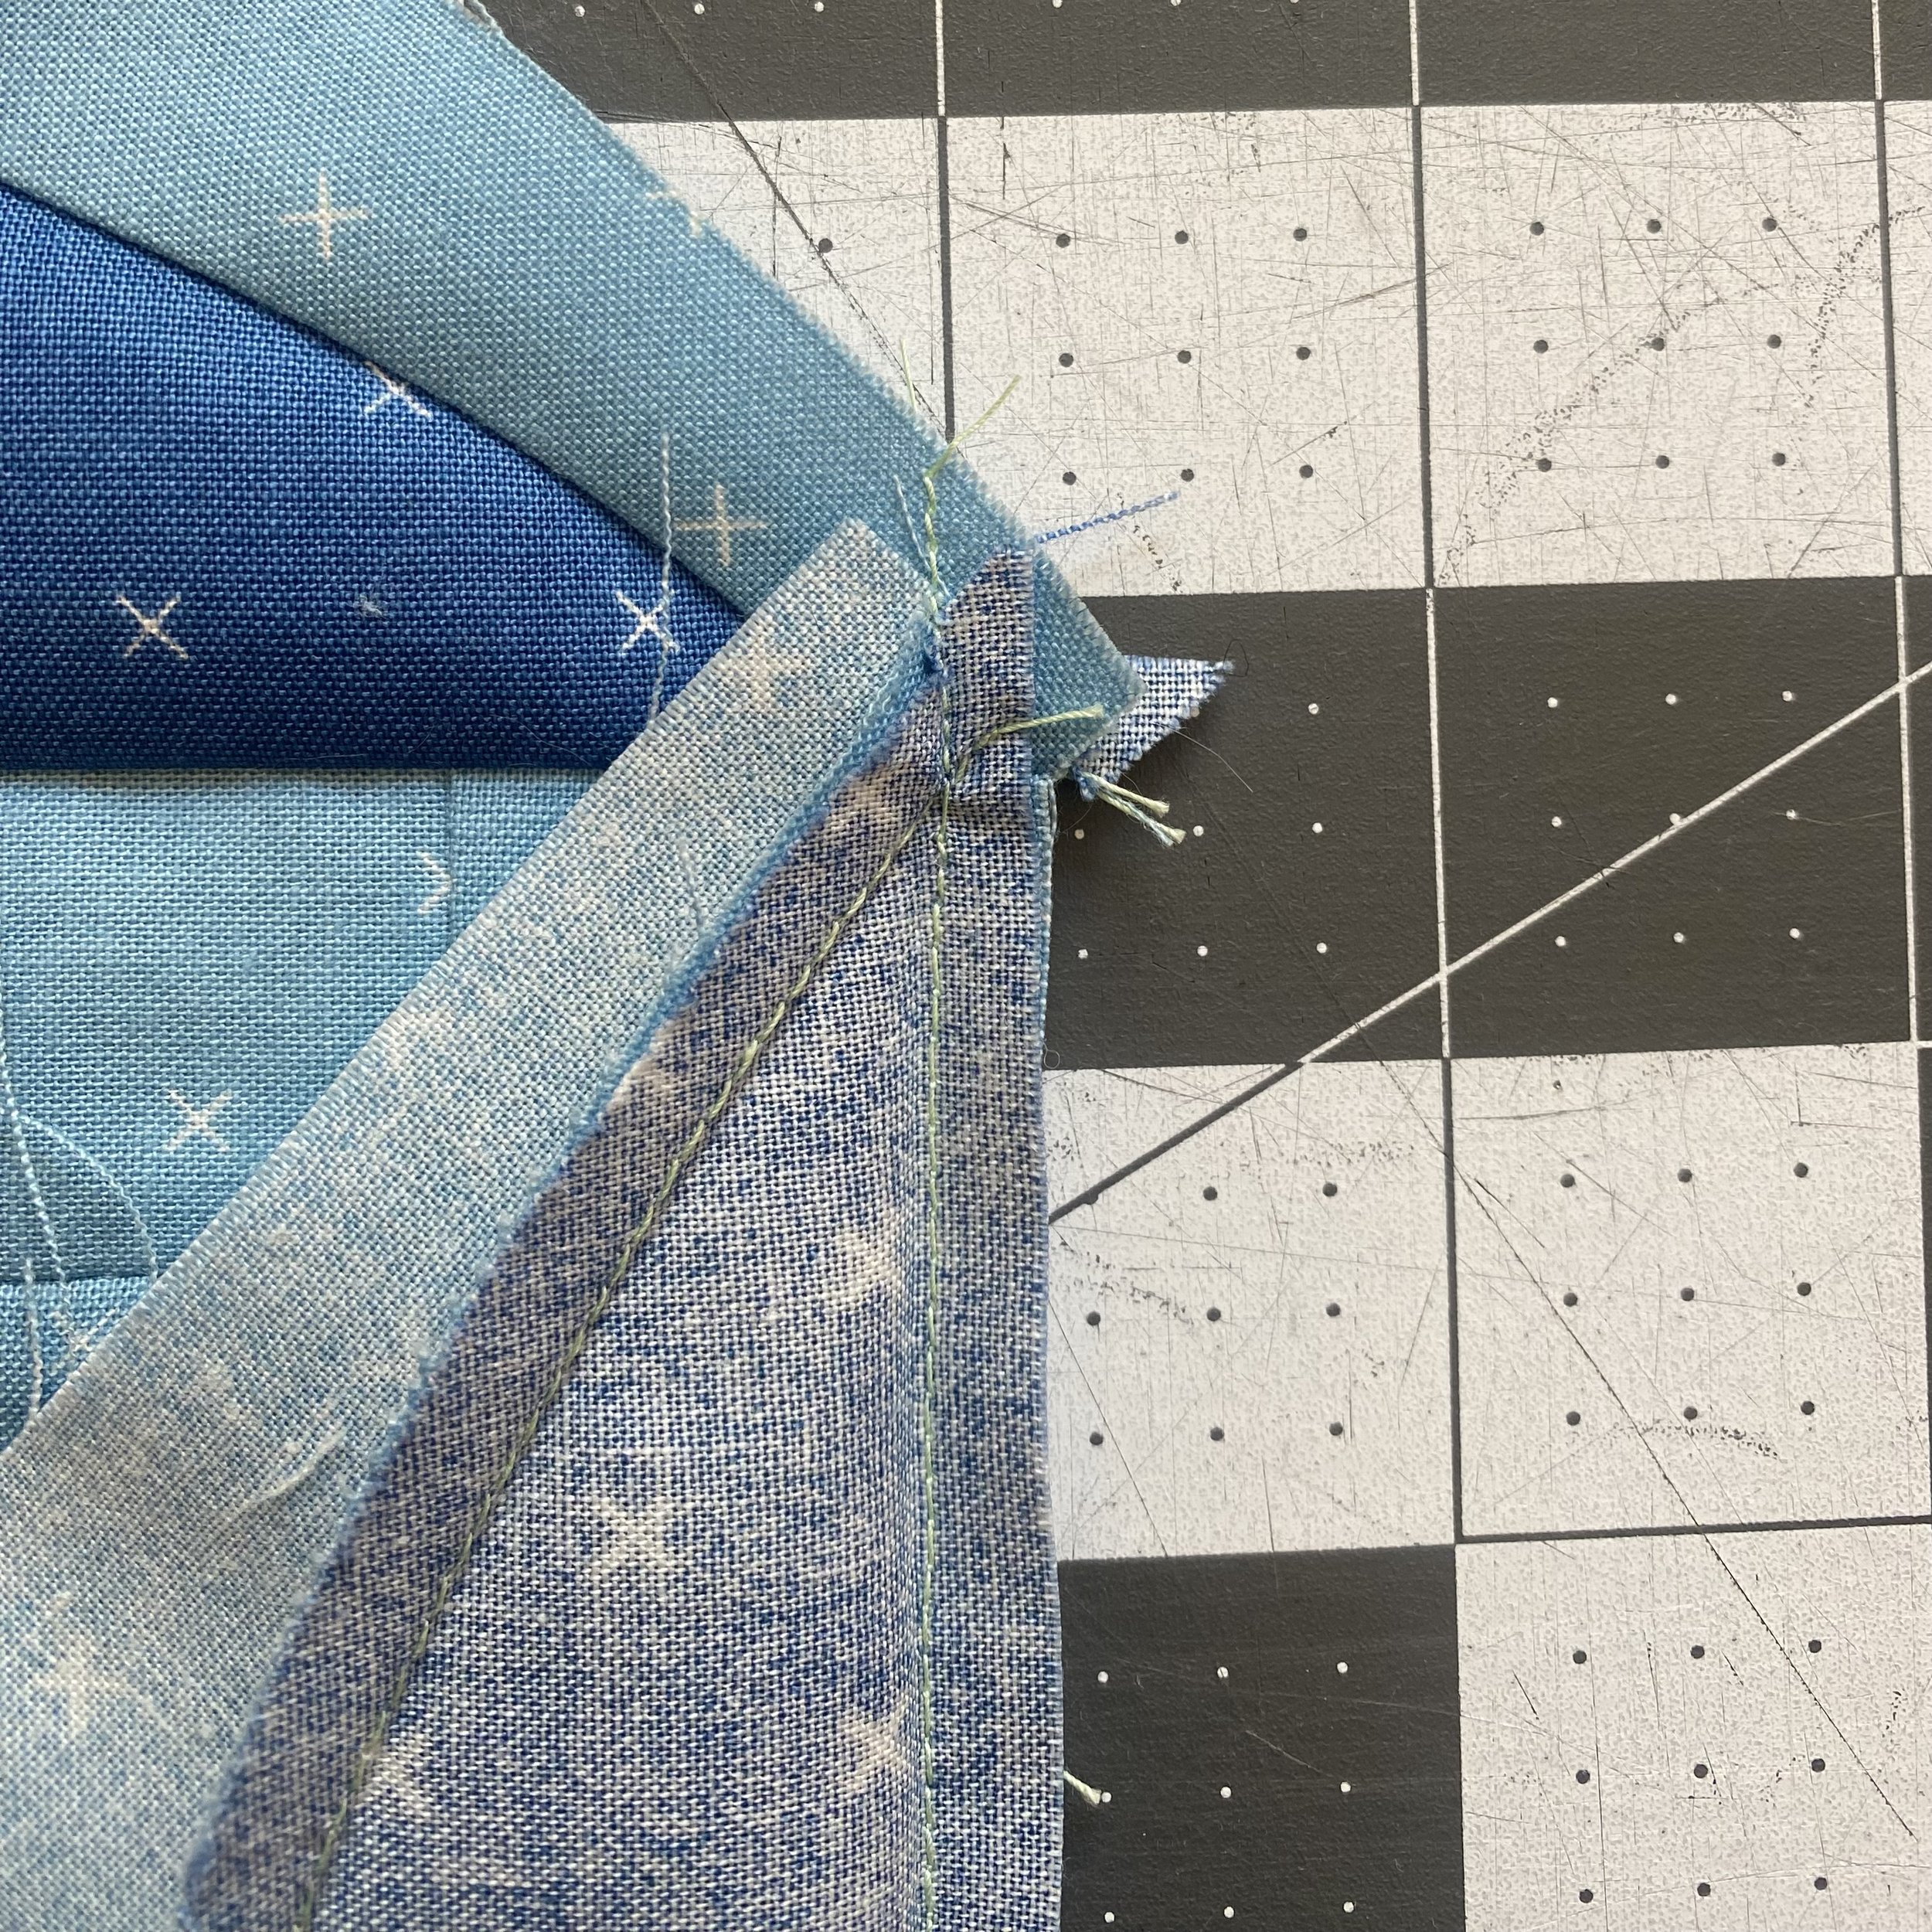
Notice how the stitching line intersects the corner of the partial curve unit.
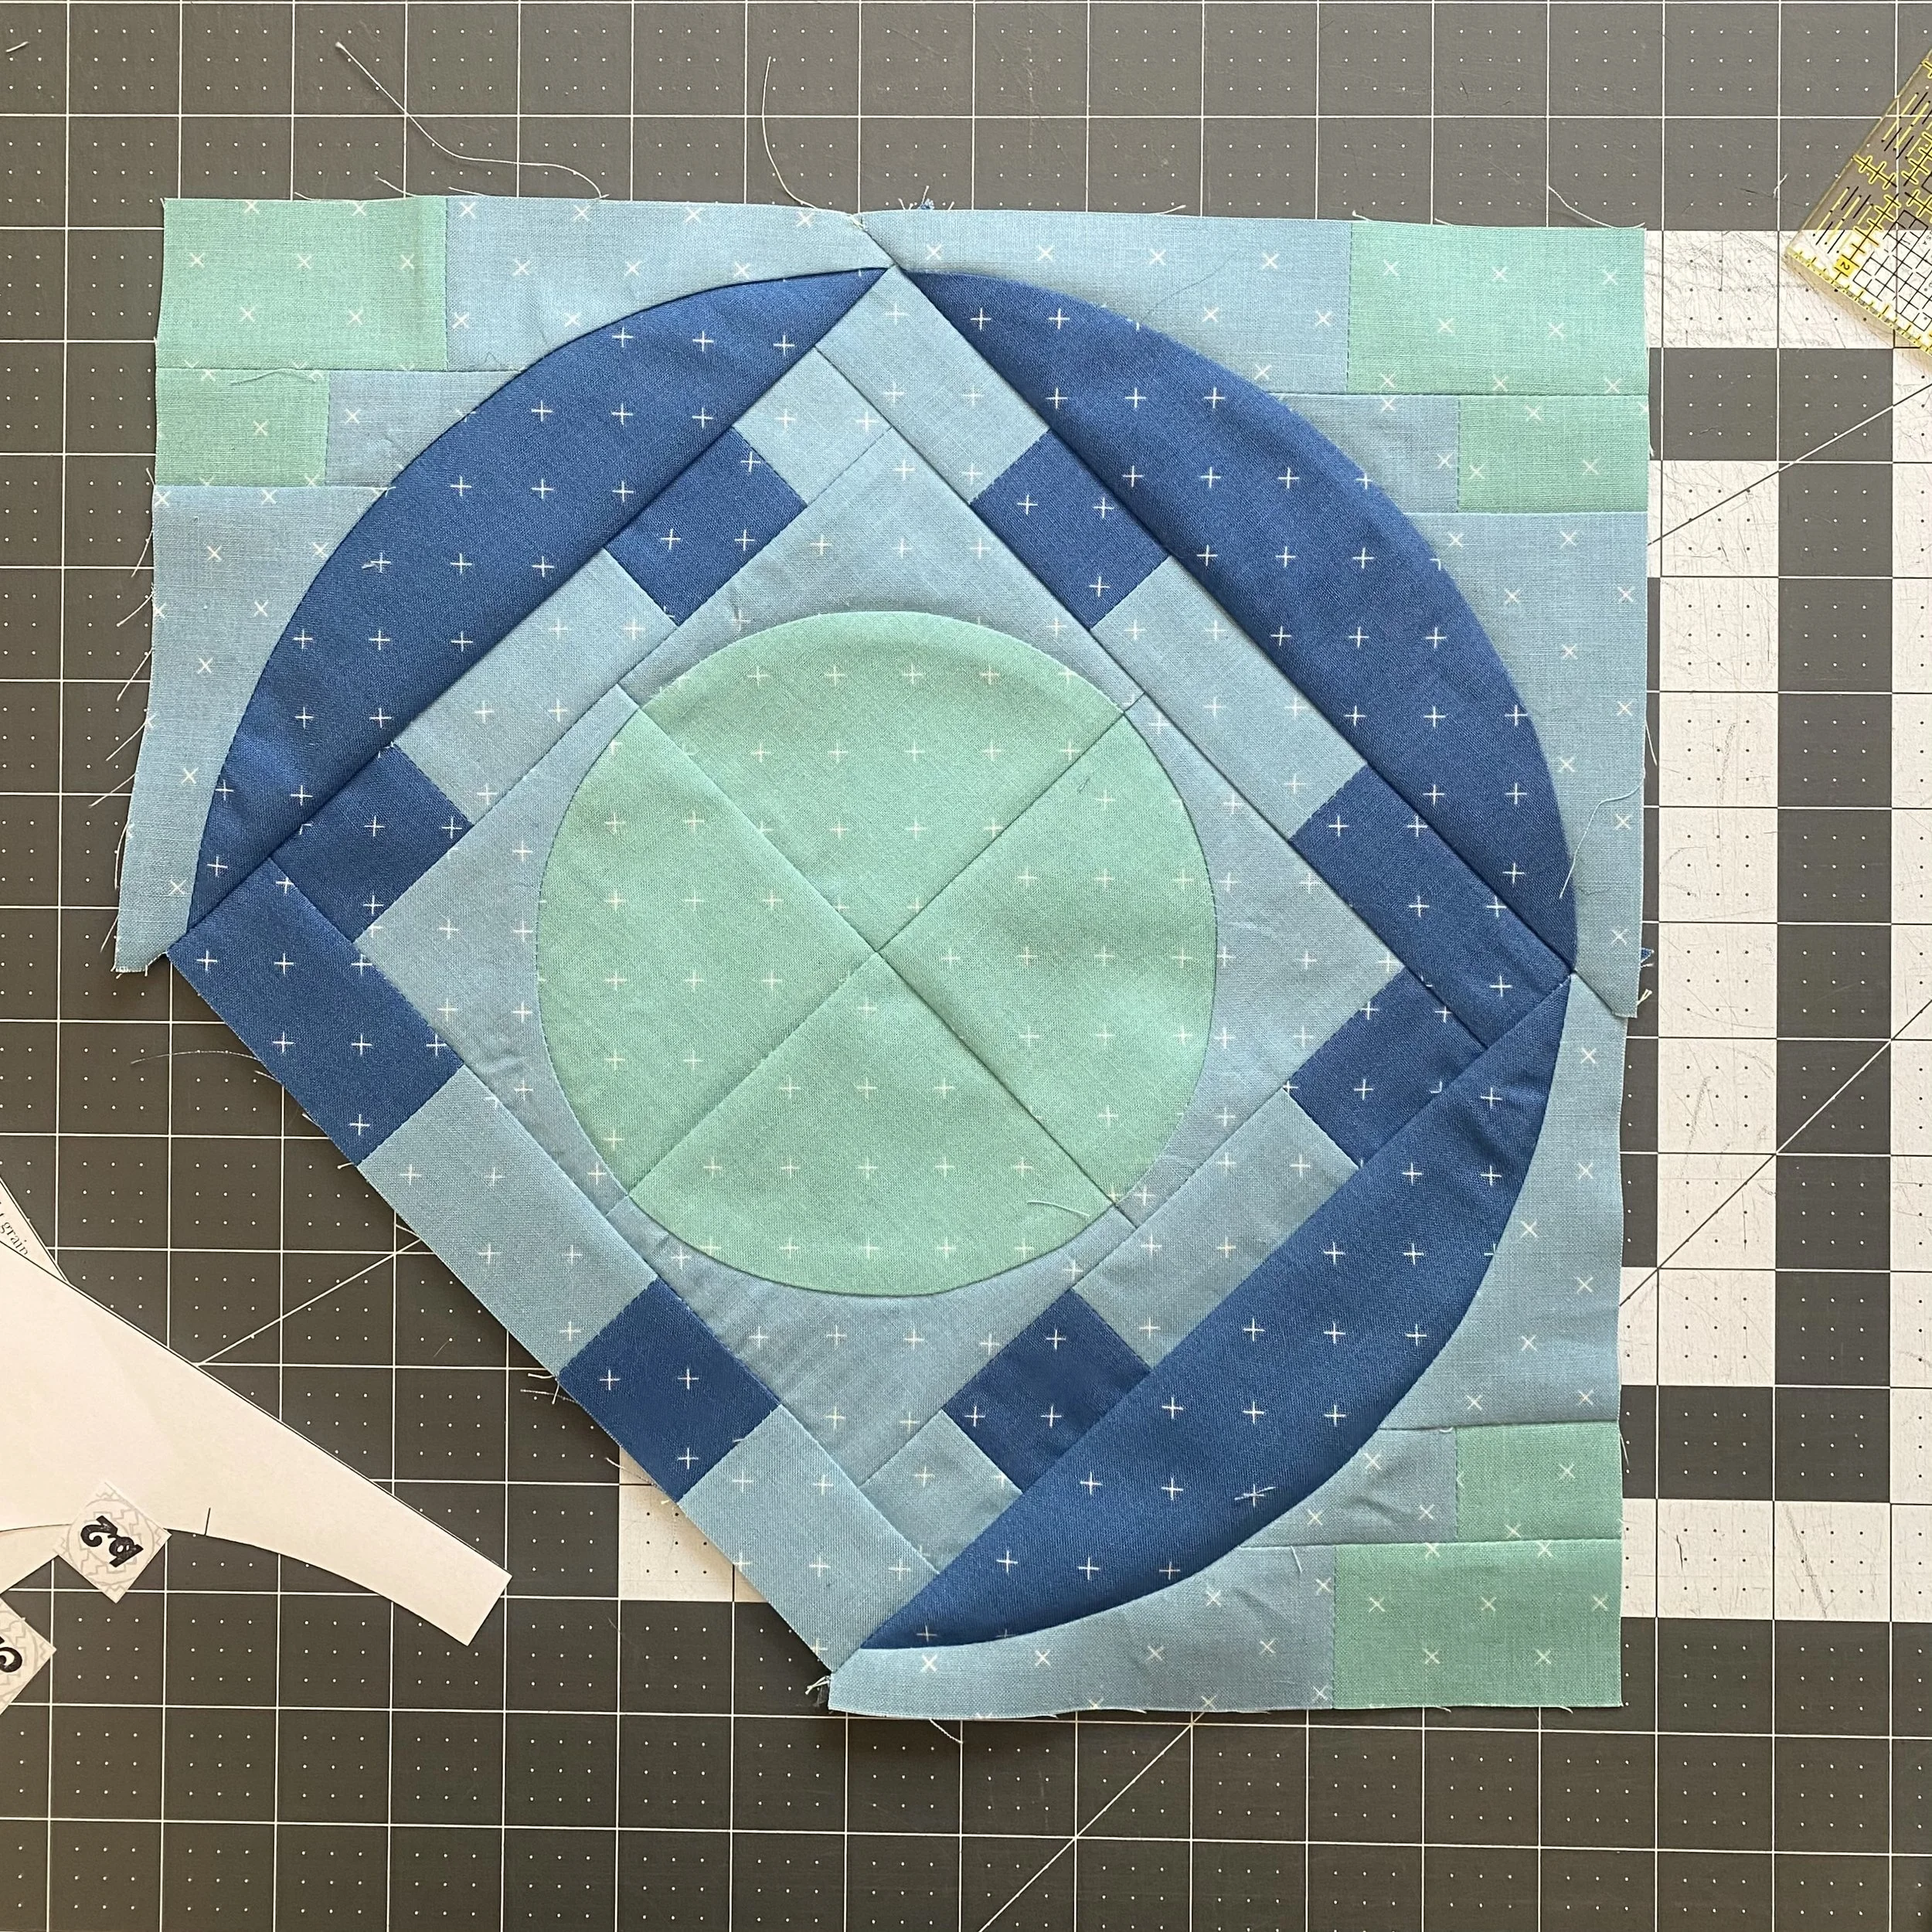
At this point, we have three units sewn to the center square. Sewing the fourth partial curve unit is the same as the third. Prioritizing pinning at the curve seam intersections help create this circle unit in the background of the block.
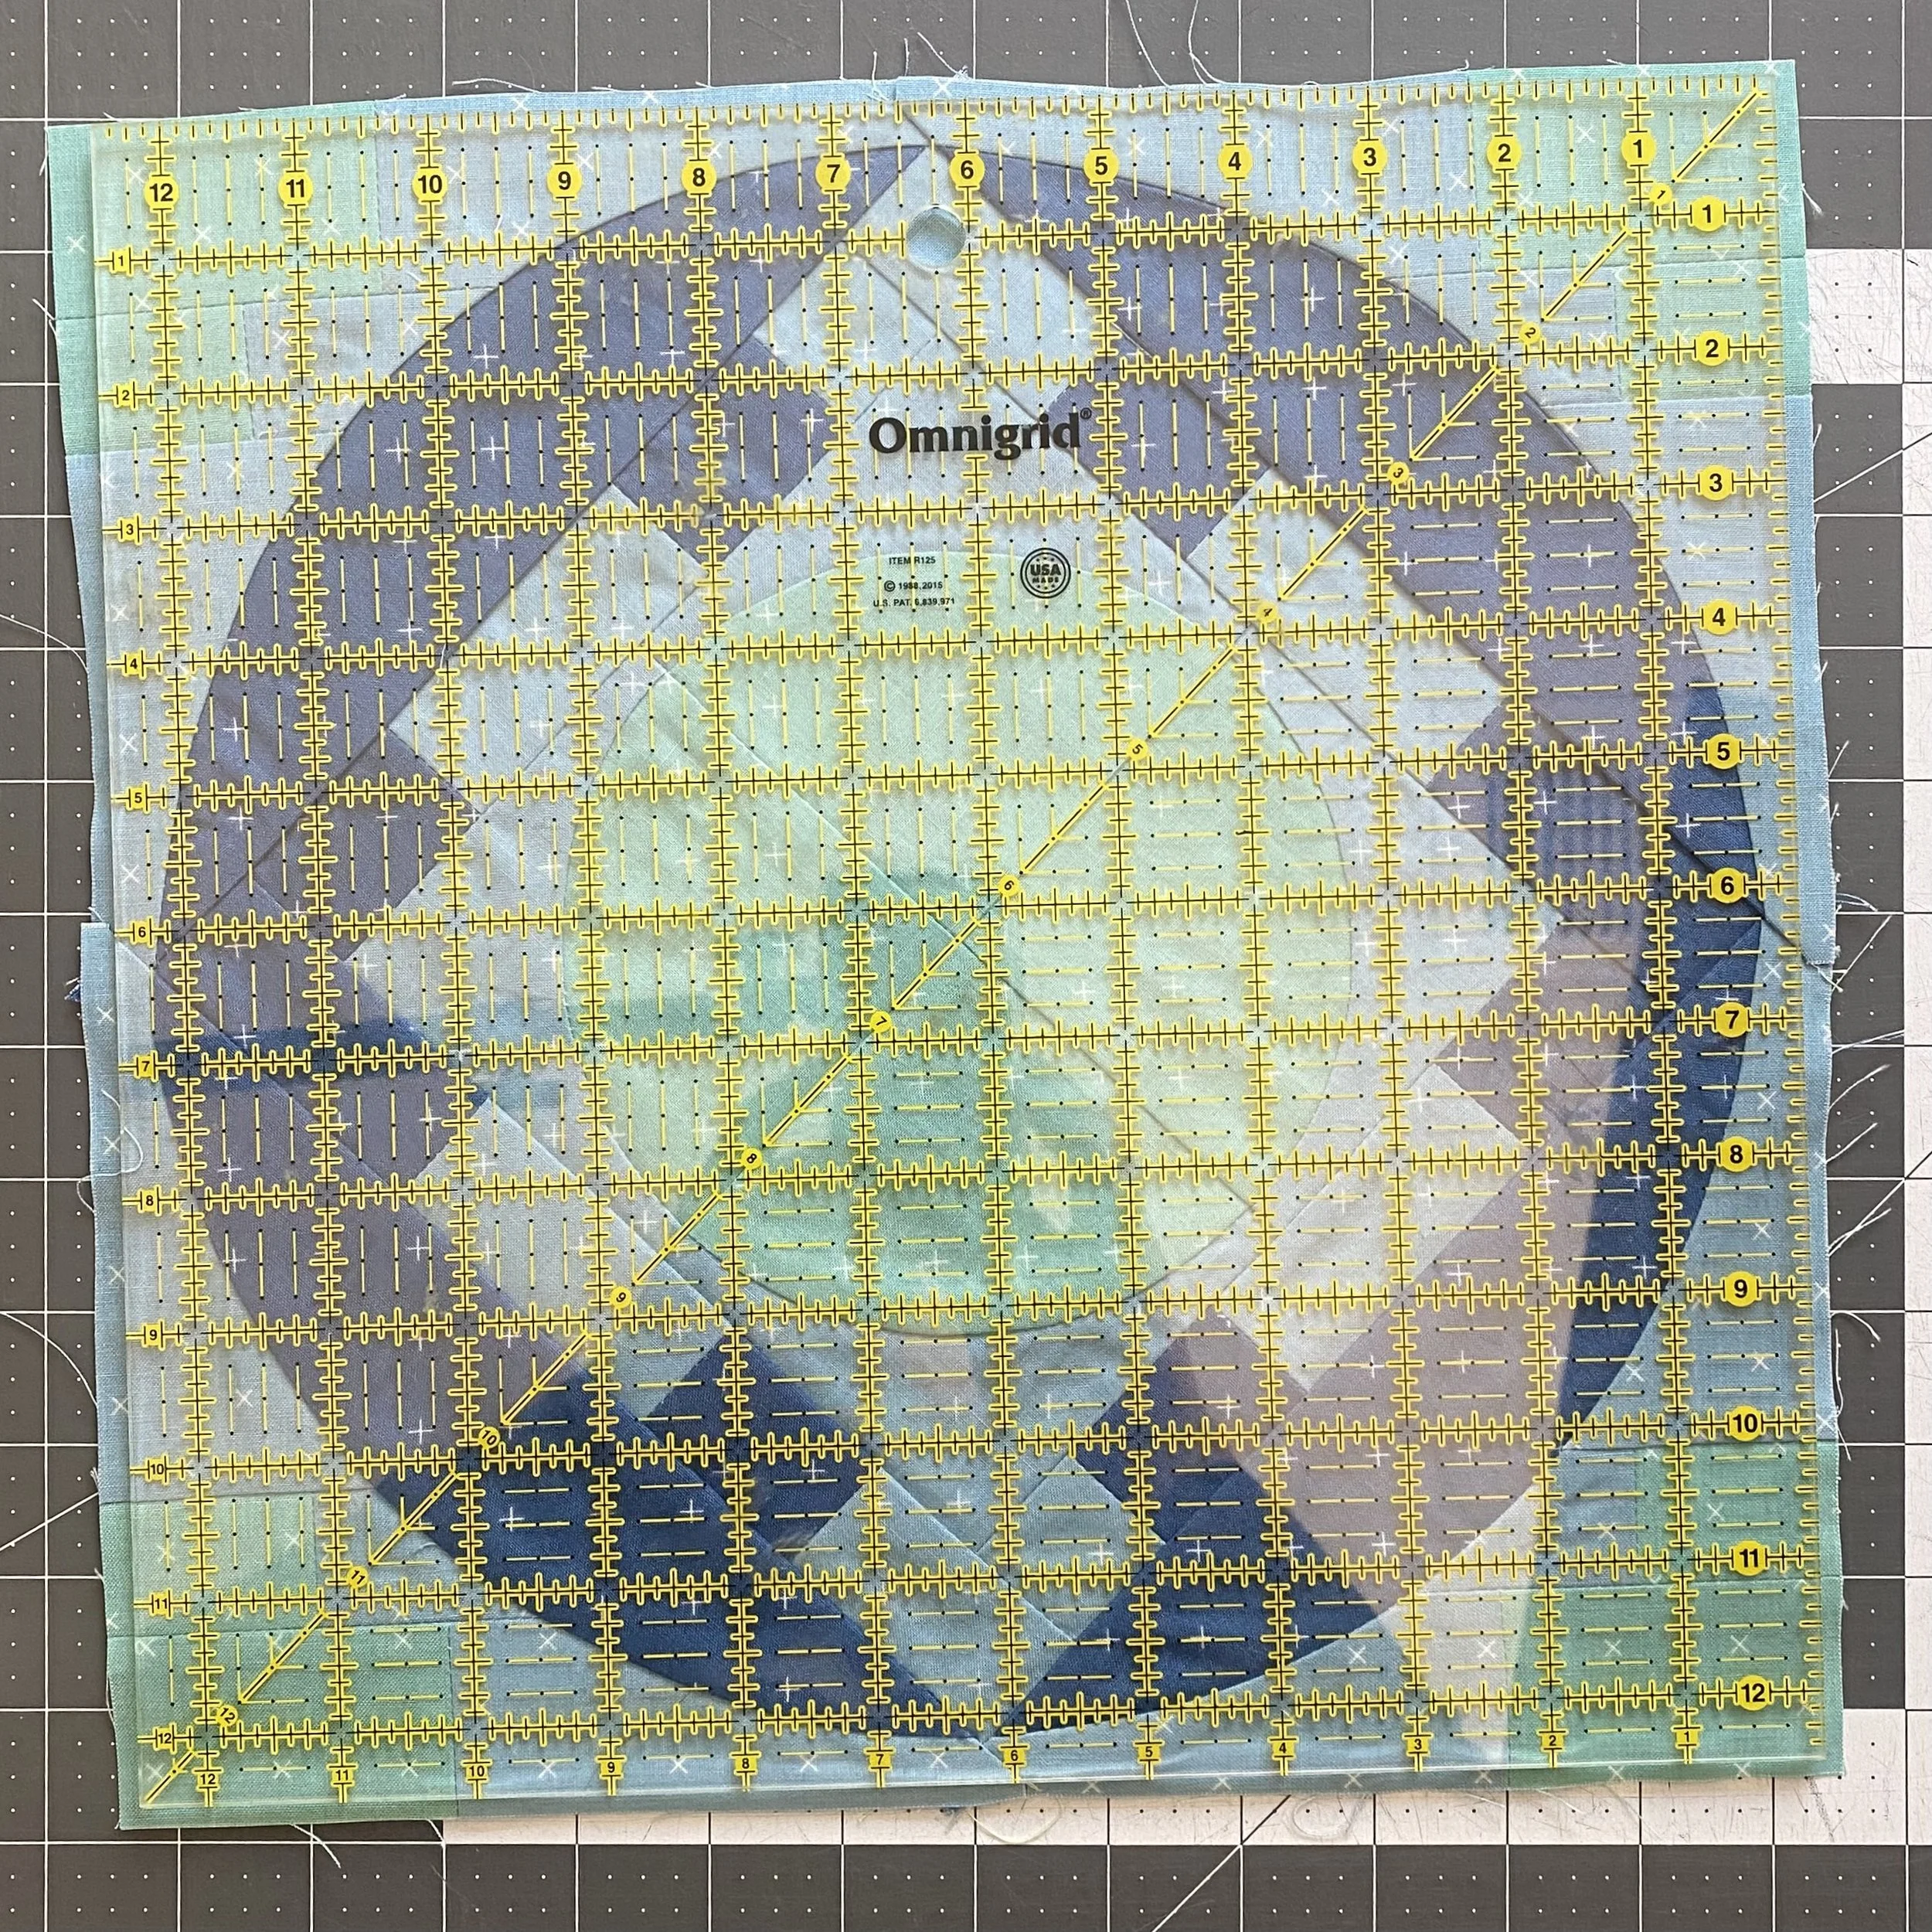
Once the fourth unit is stitched on, we can trim the unit. You can see I’ve got a pretty perfect ¼" seam allowance around the edges of the curve. Spending time getting the curve seams aligned perfectly really contributes to the overall success of the block. Again, I recommend leaving this under a heavy object before trimming.
What do you think of this experimental curve block? It’s a bit tricky, but I love the end result! I hope you do too! Once you get through this block, we’ve got just one more block in the Learning Curves BOM! I can’t believe how close we are to the end of the BOM - keep sharing your progress with me please! I love see all your blocks.