
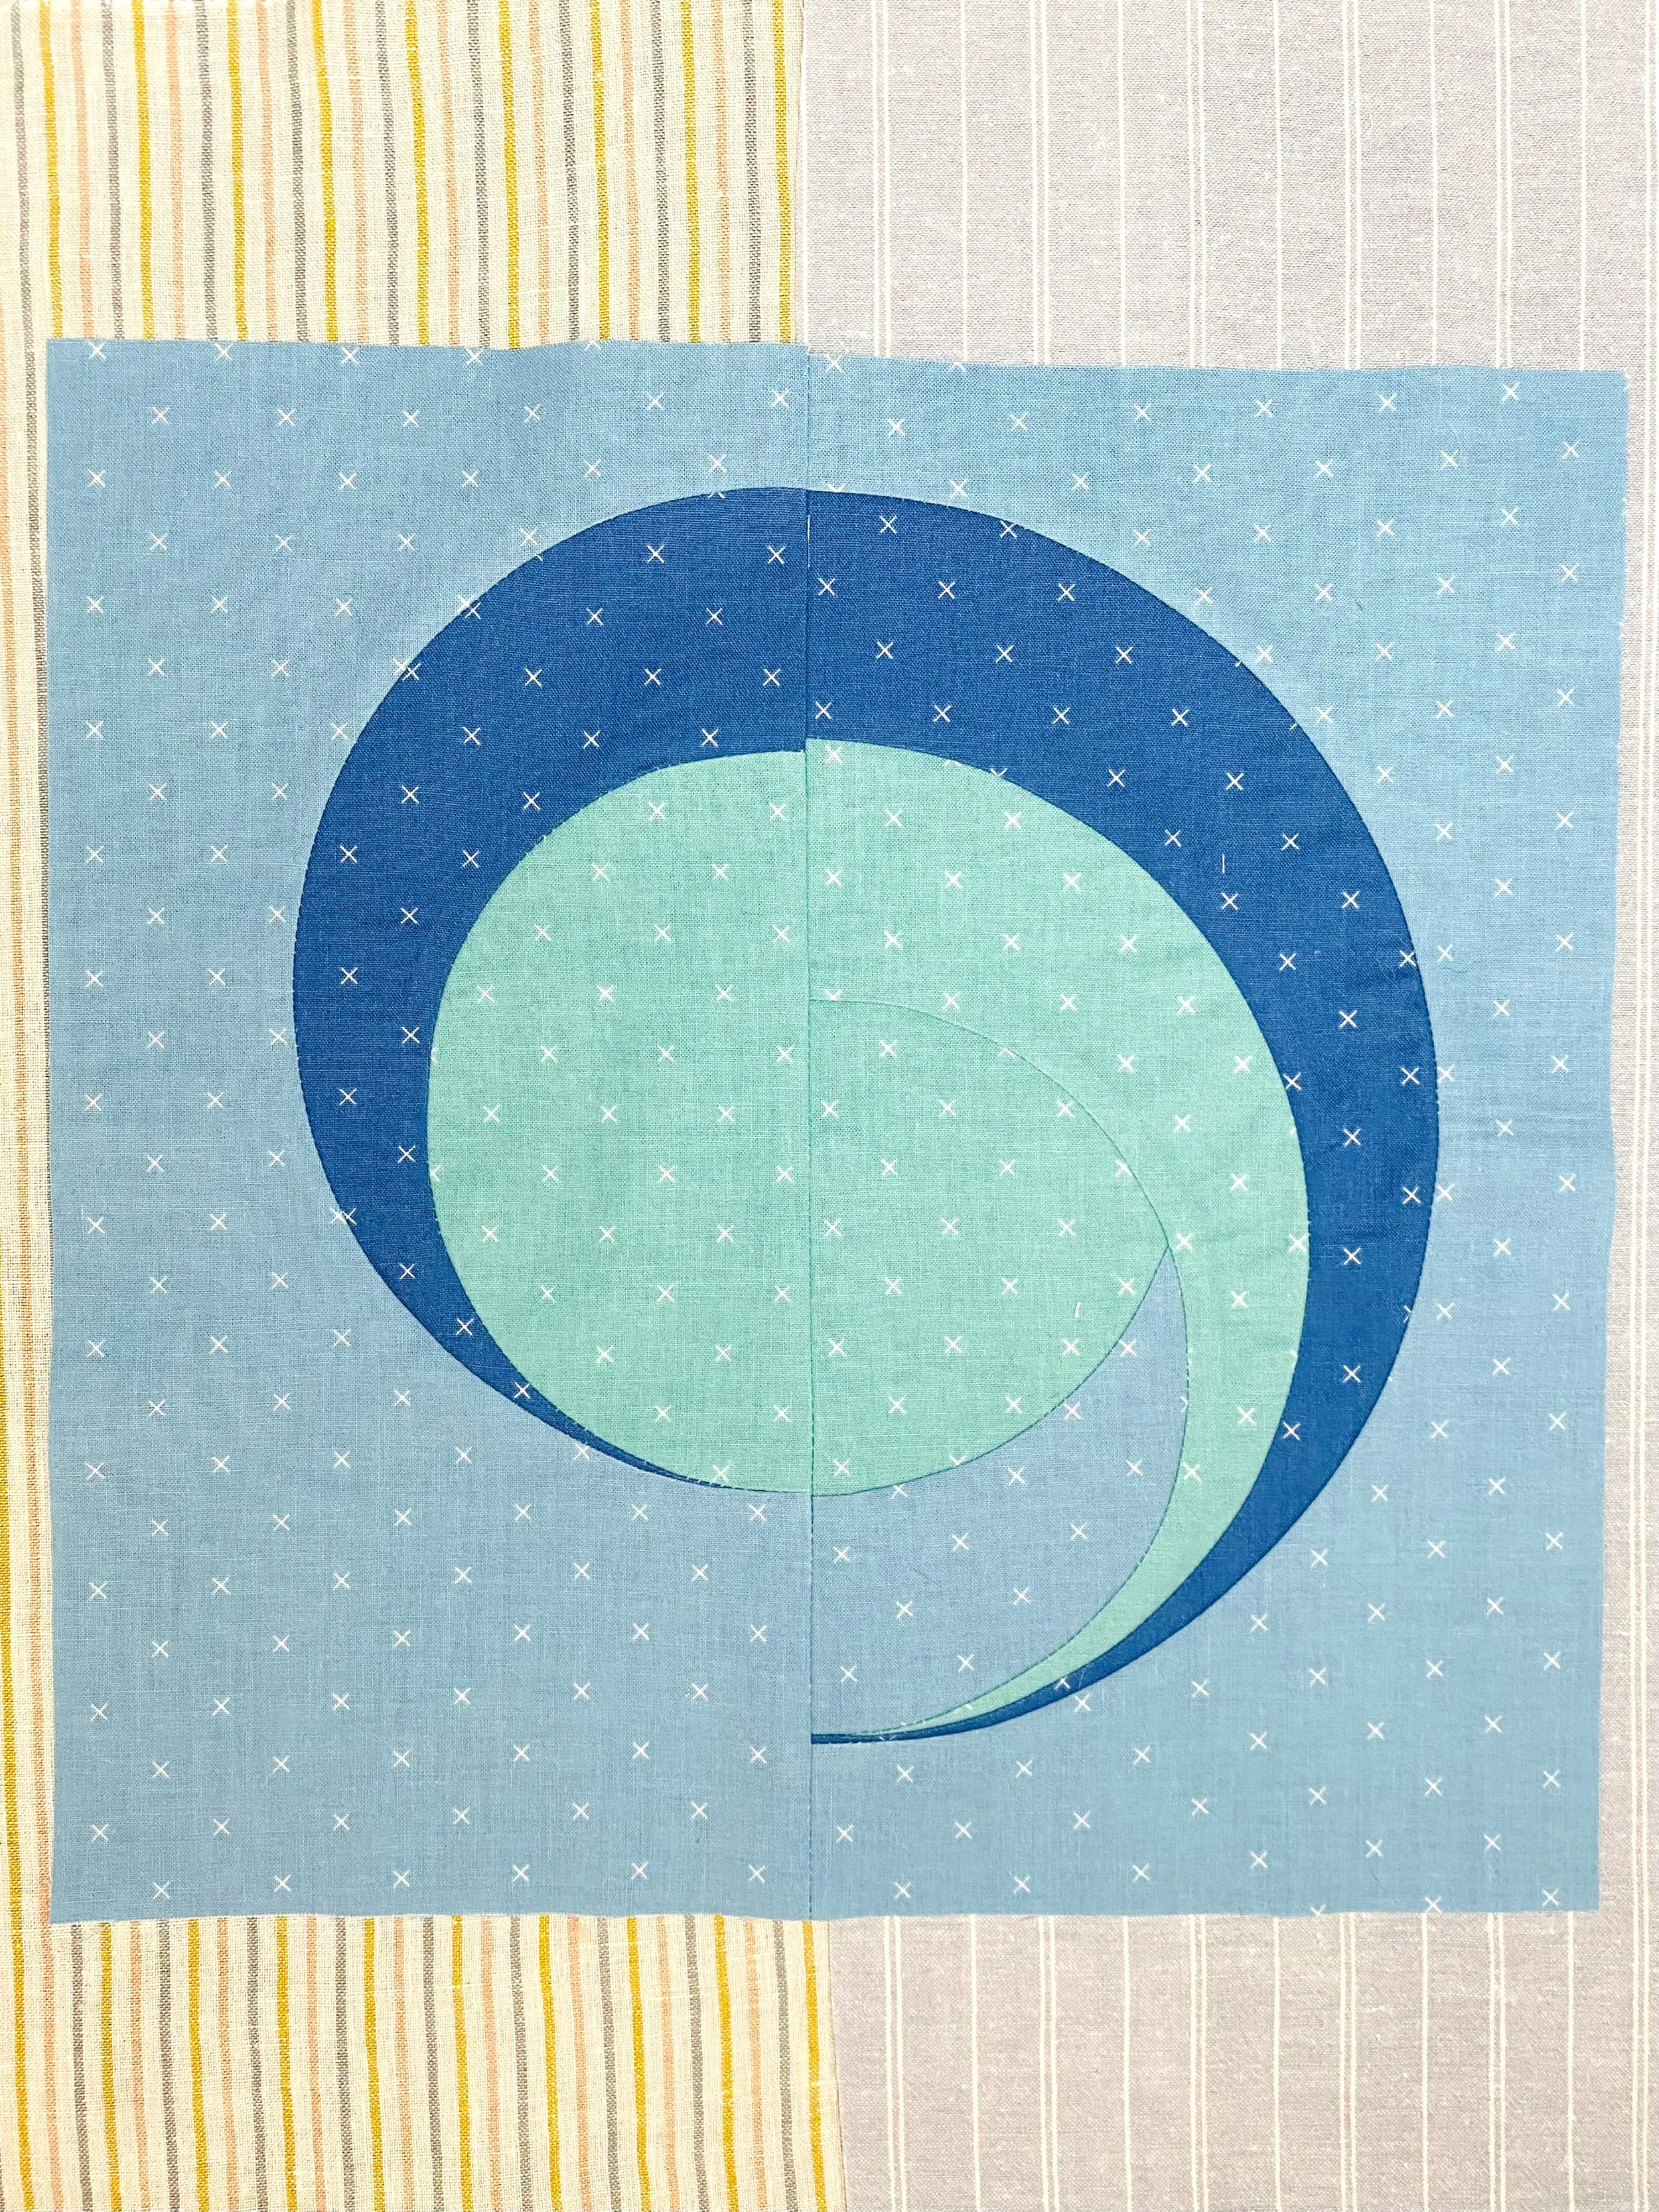
The Comma quilt block is the block that I have tested the most extensively. Each time I made a new block, I tweaked the templates or clarified the assembly instructions, or just plain learned something new about the block. You can see several of my test blocks below!
Before we get too deep into this month’s information, I want to take a moment to express how thankful I am that you have joined me on this Learning Curves journey! I’ve had so much fun hearing about your progress on these blocks and have met so many lovely quilters. I hope you have had as much fun as I have, and that you have some lovely winter holidays ahead of you!
A quick housekeeping note: I will leave the Learning Curve member site active through February 2025. Please make sure you download all the patterns and bonus sheets before then.
The fabrics I’m using are Bee Cross Stitch, designed by Lori Holt for Riley Blake Designs. Fabrics were provided by Riley Blake Designs.
Denim
Cottage
Soldier
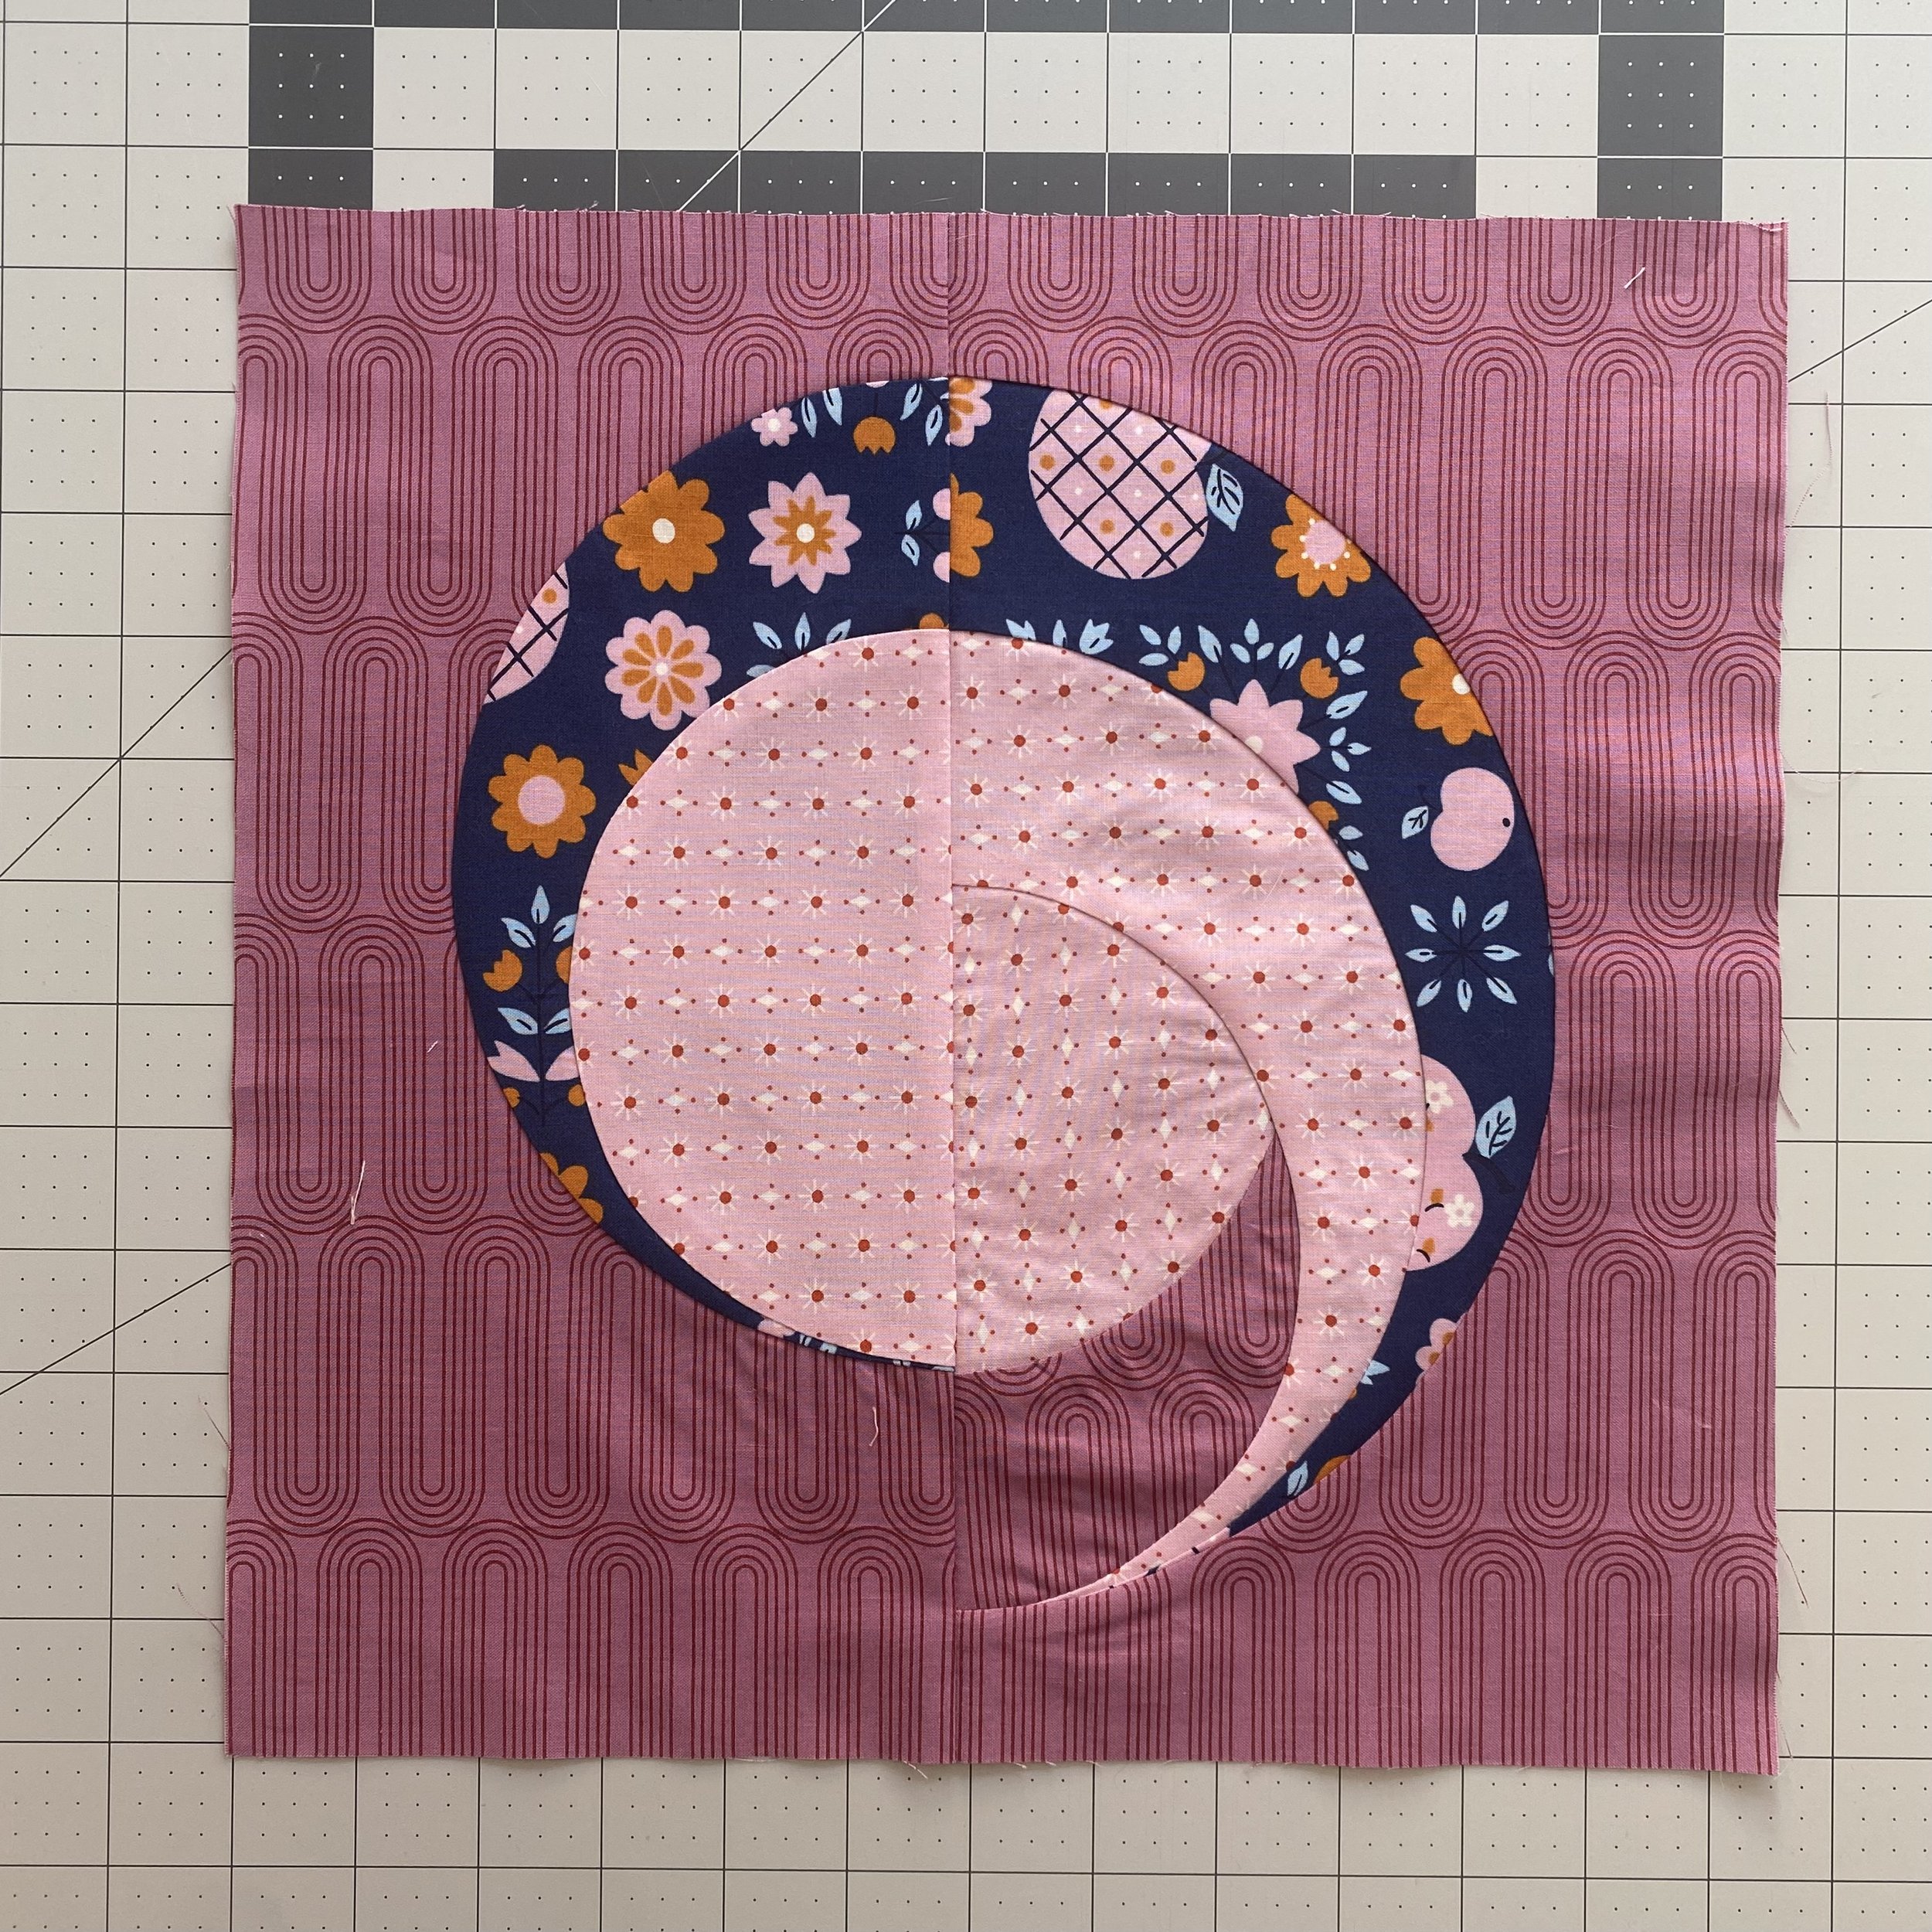
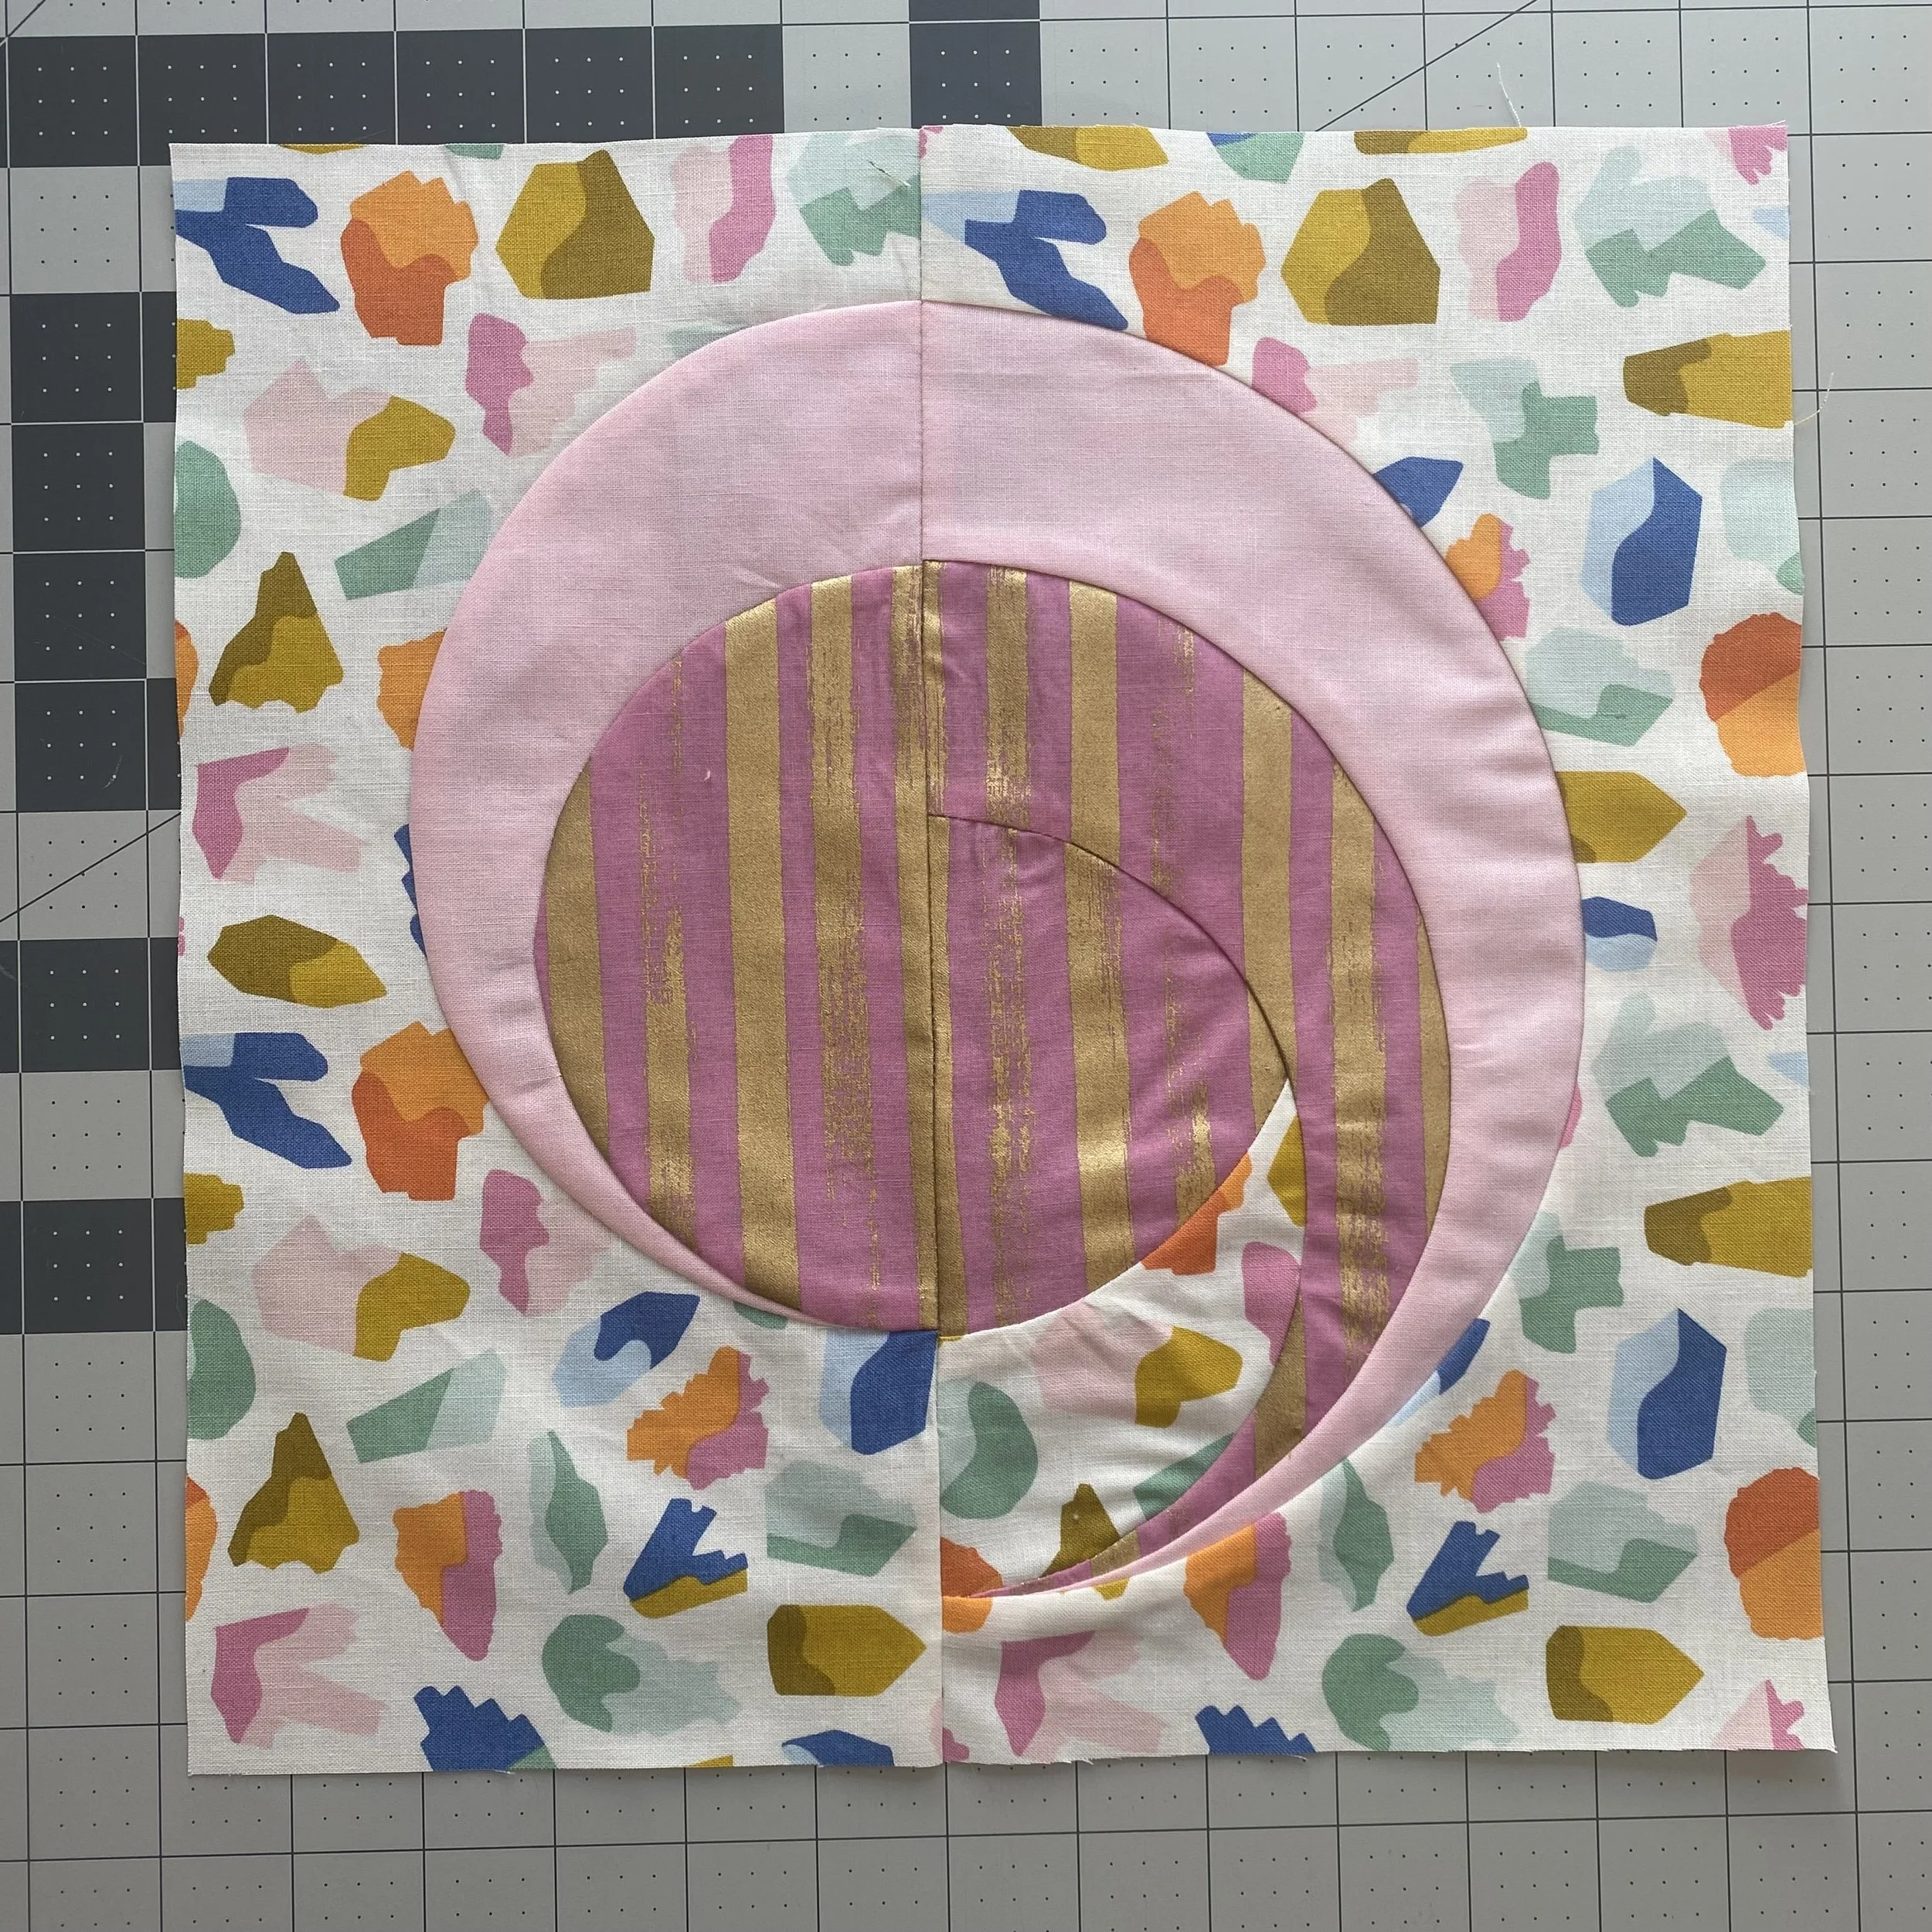
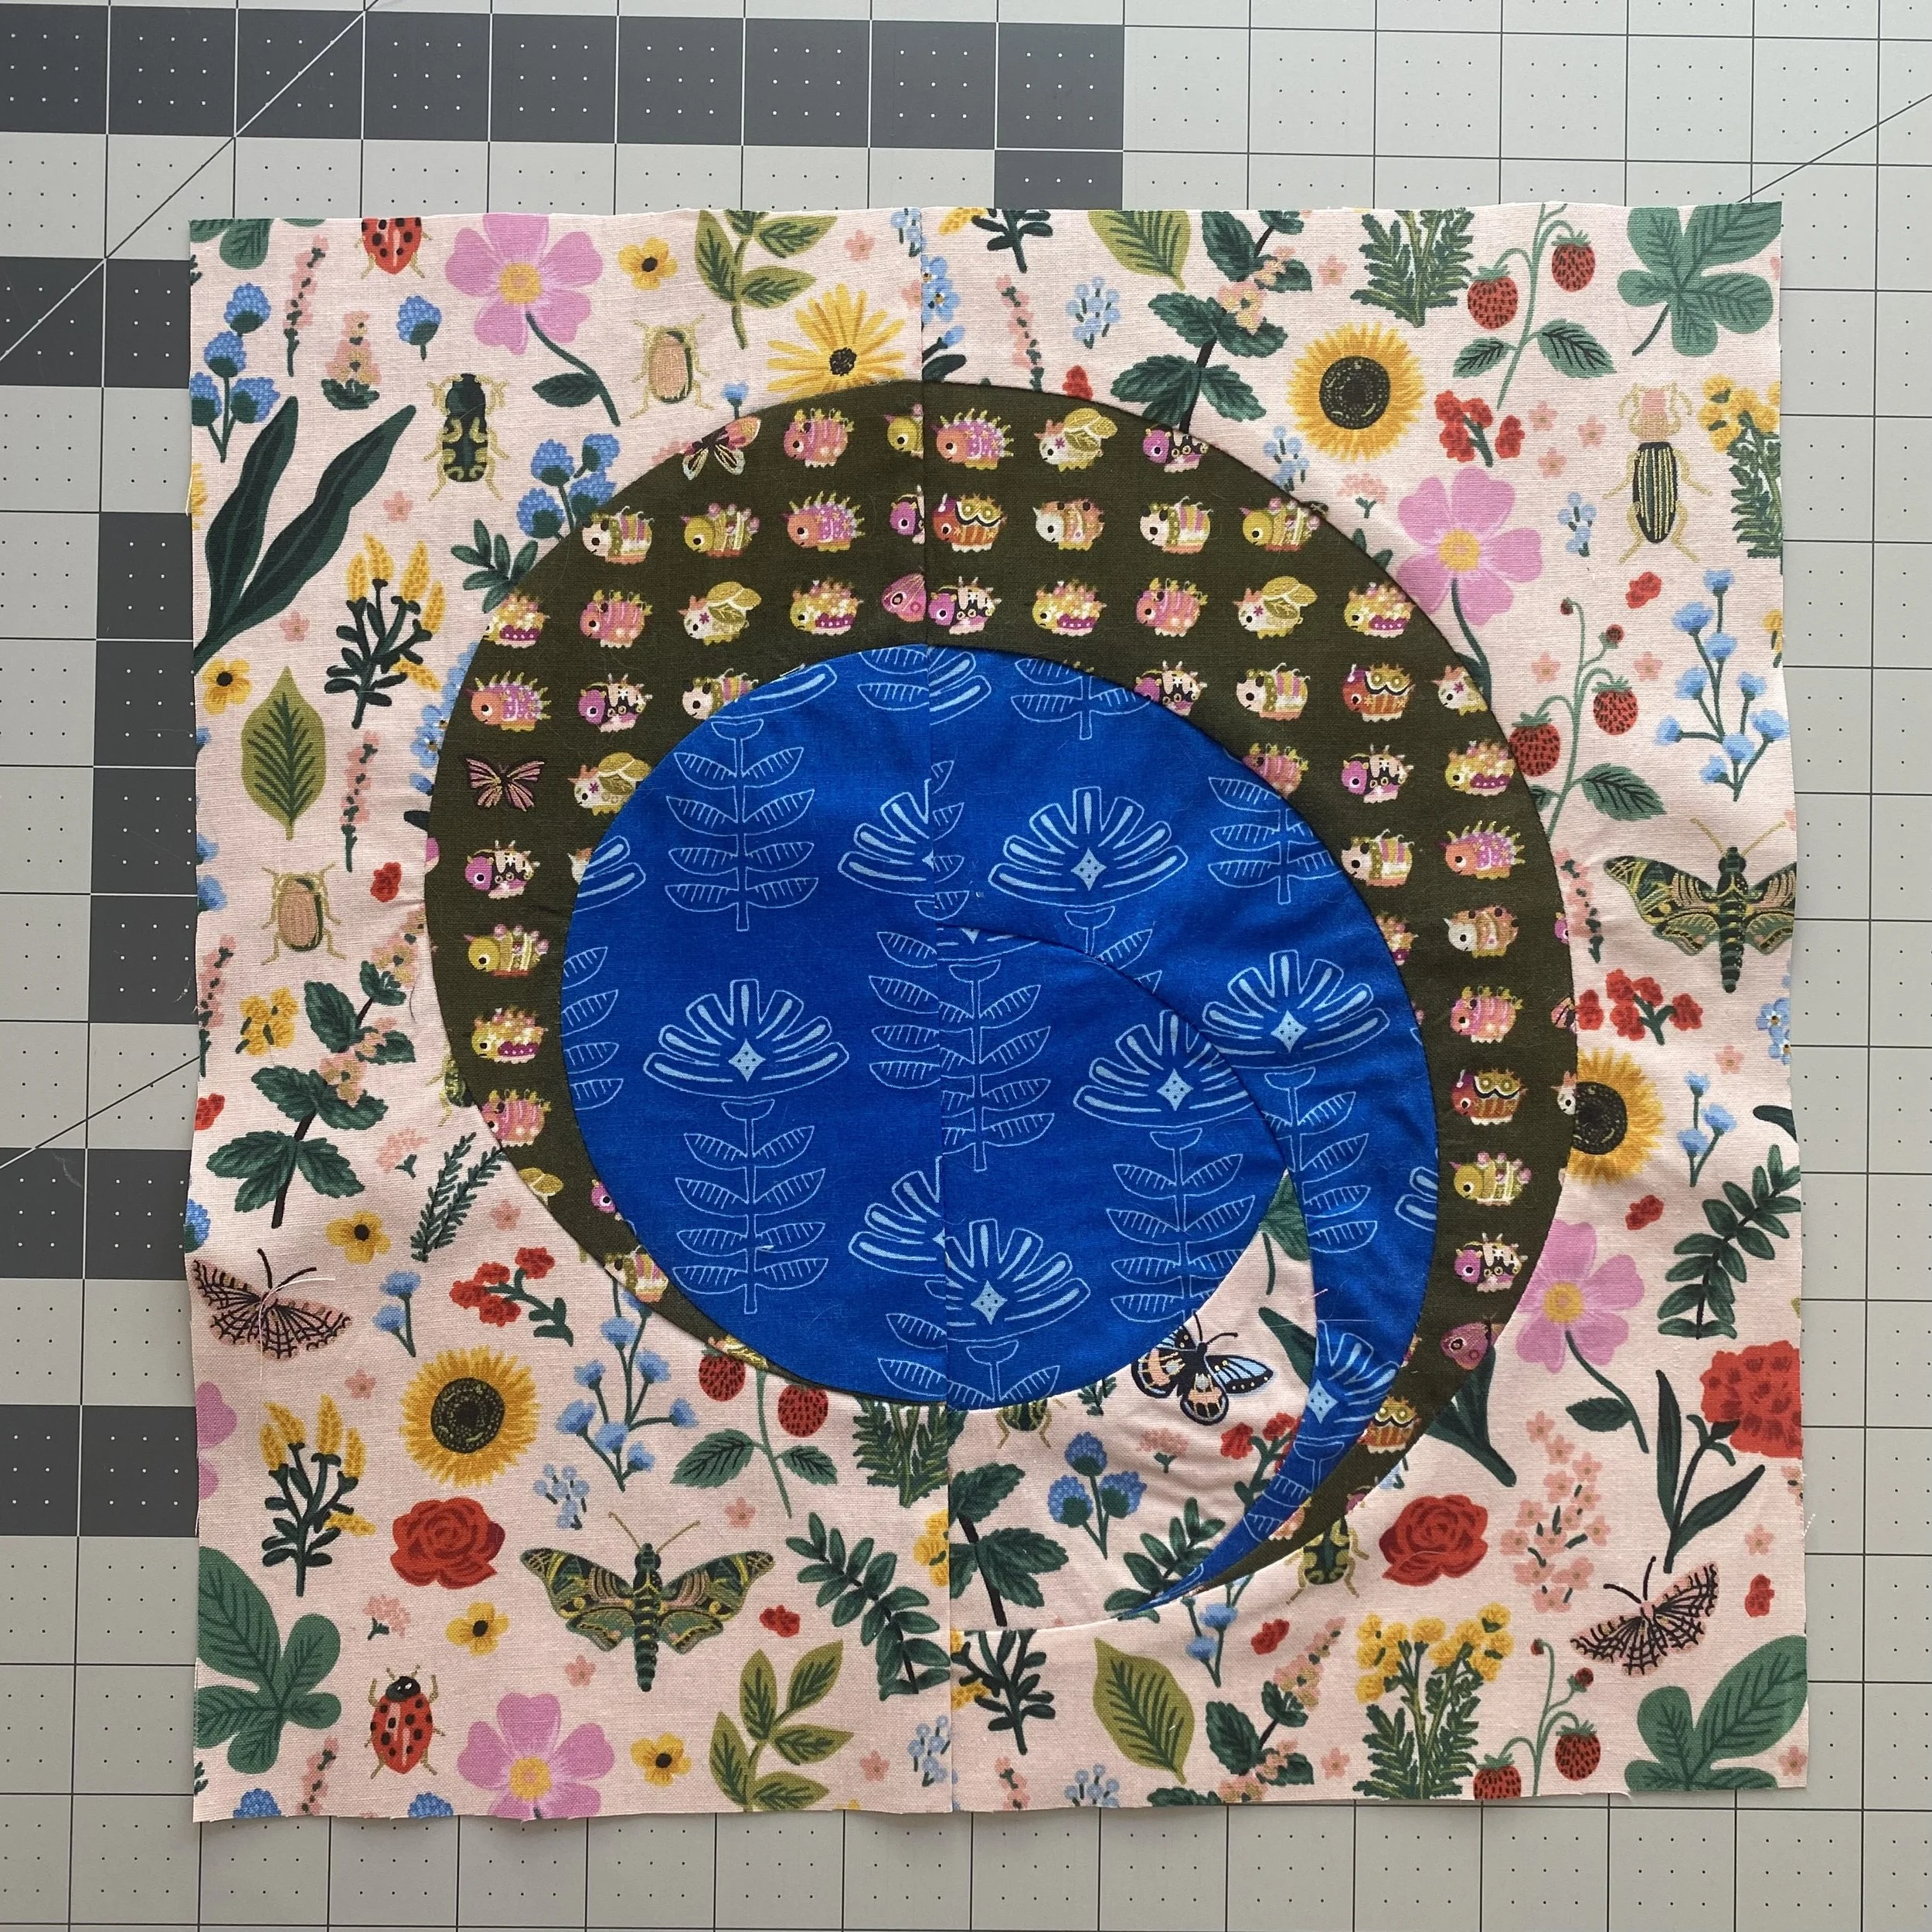
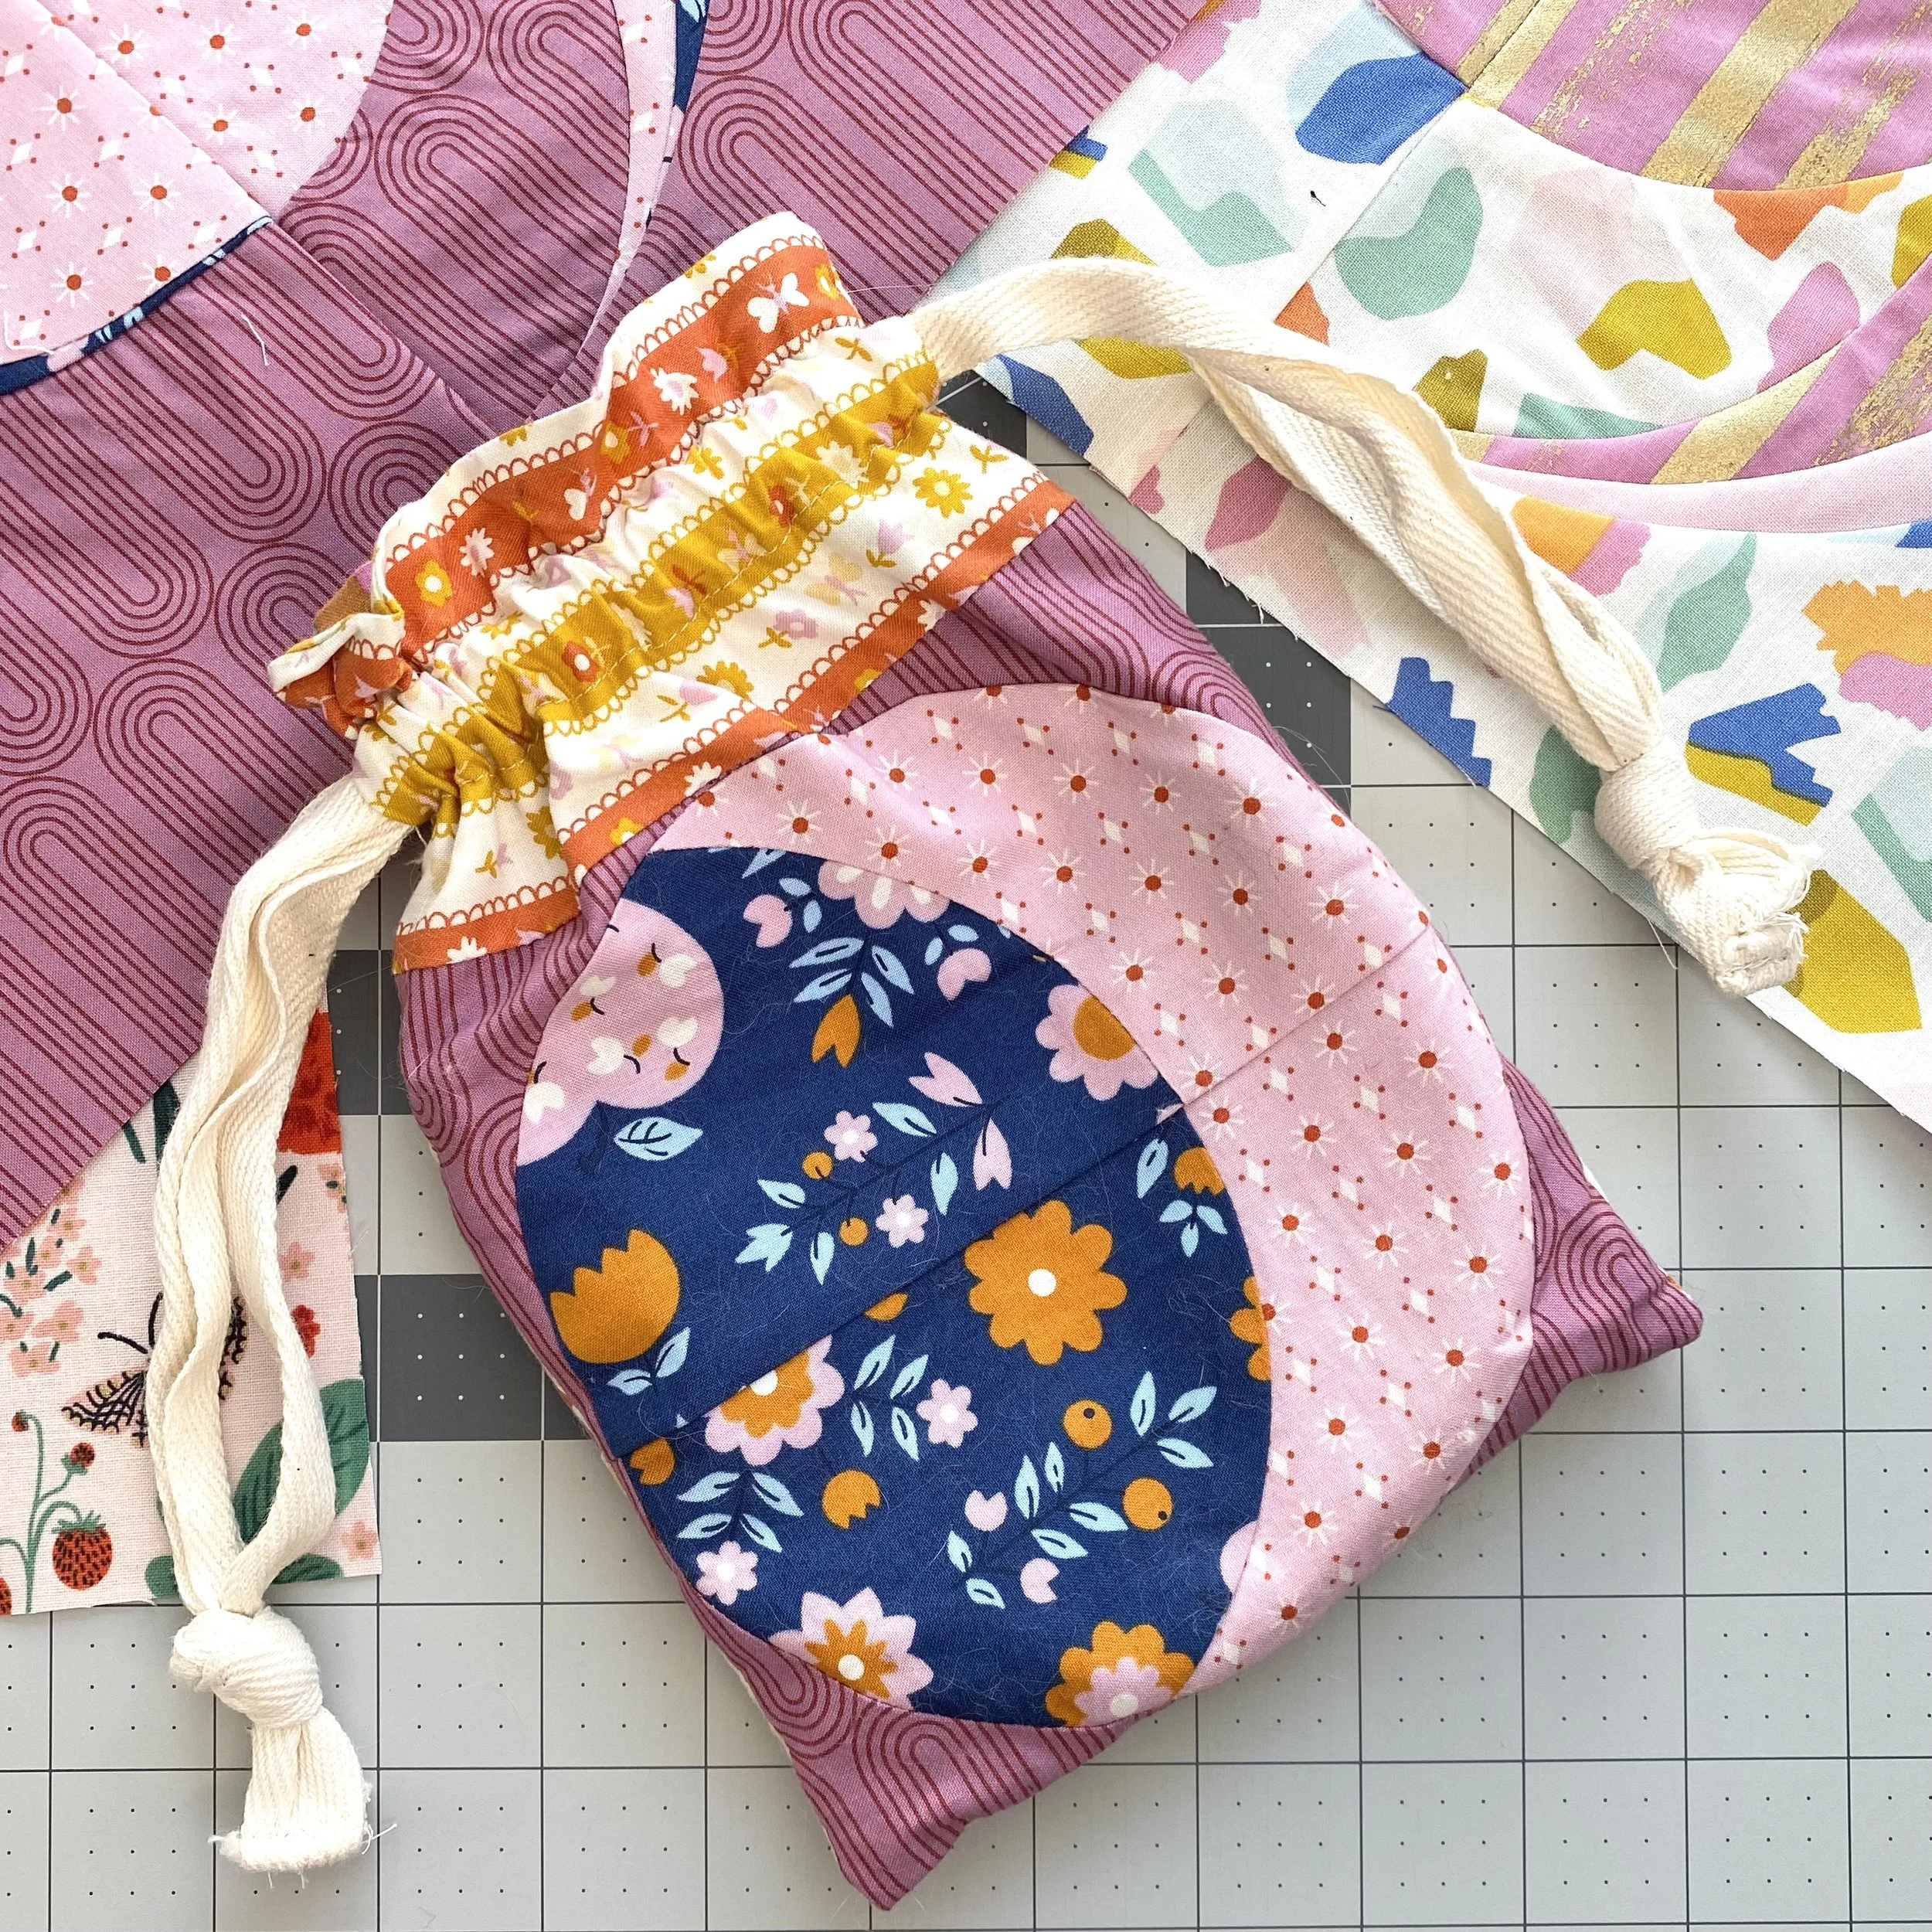
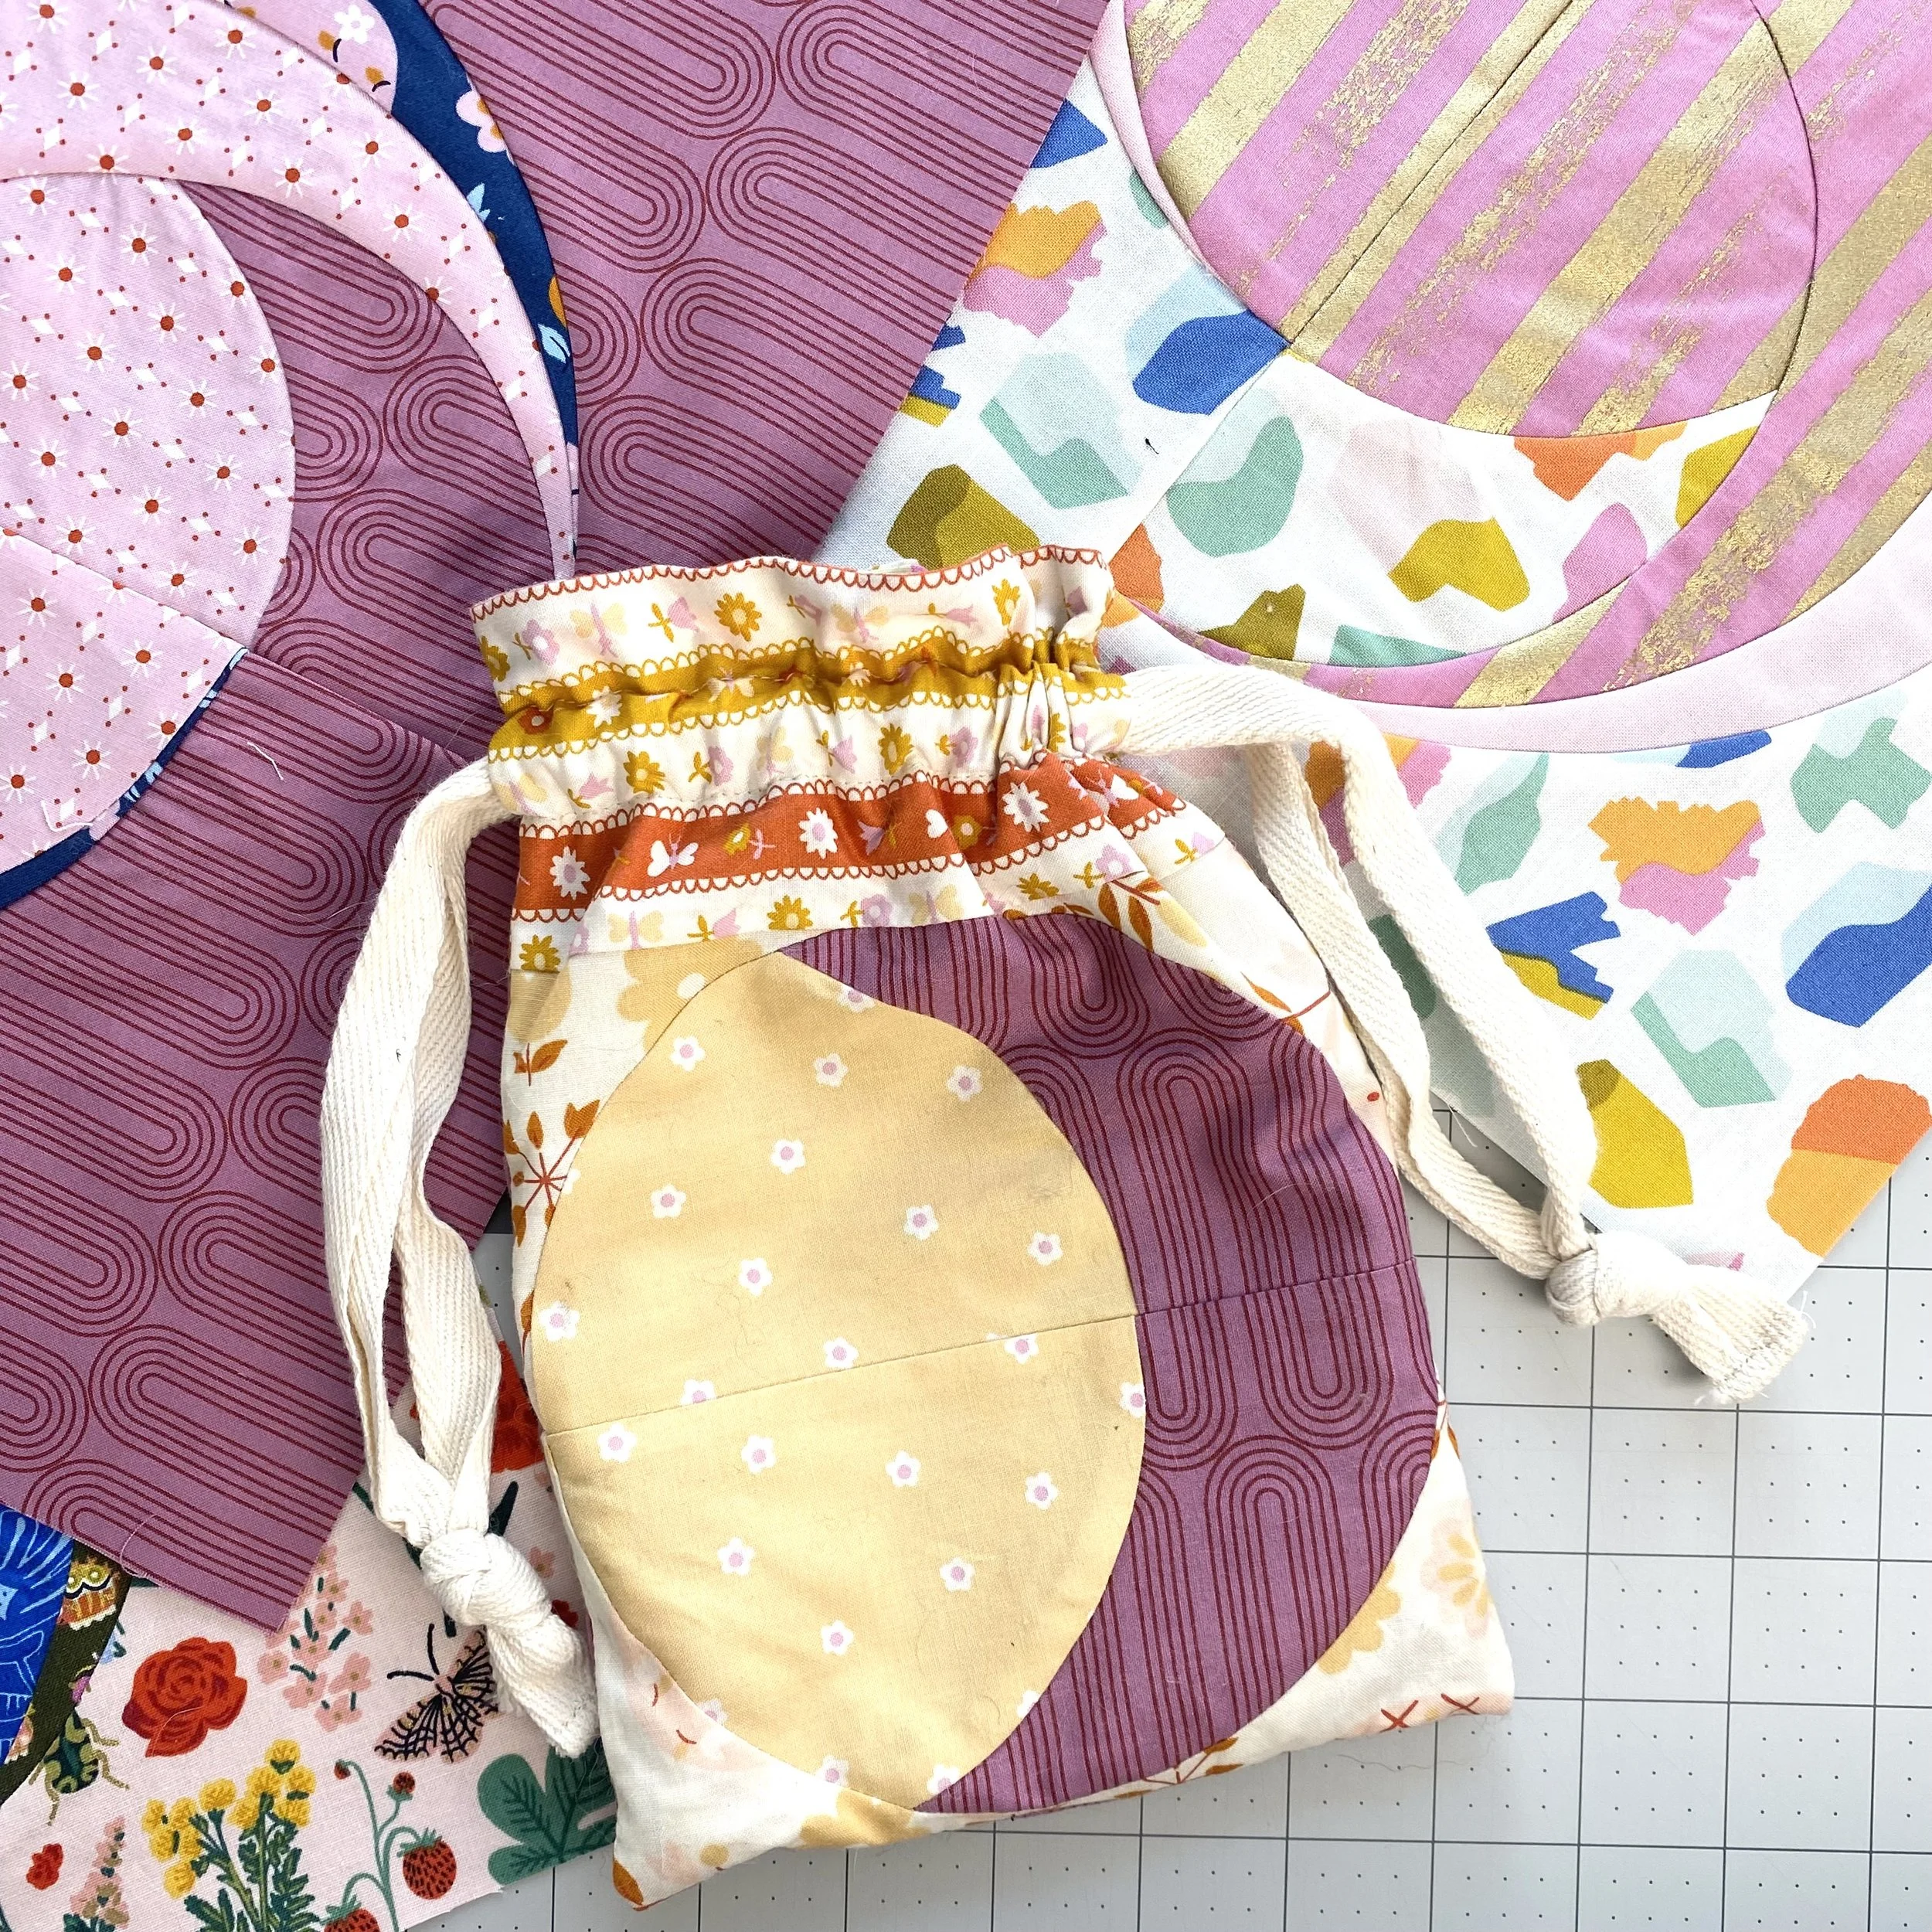
Let’s start with the templates. There are several! But by now, we’re practiced at cutting them out. Hopefully, you’ve been experimenting with a variety of methods and have found one that works for you. Once everything is cut out, we’re diving straight into another irregular curve unit. This month’s bonus sheet walks you through an option to practice sewing this curve. I did this and turned the resulting blocks into a drawstring bag!
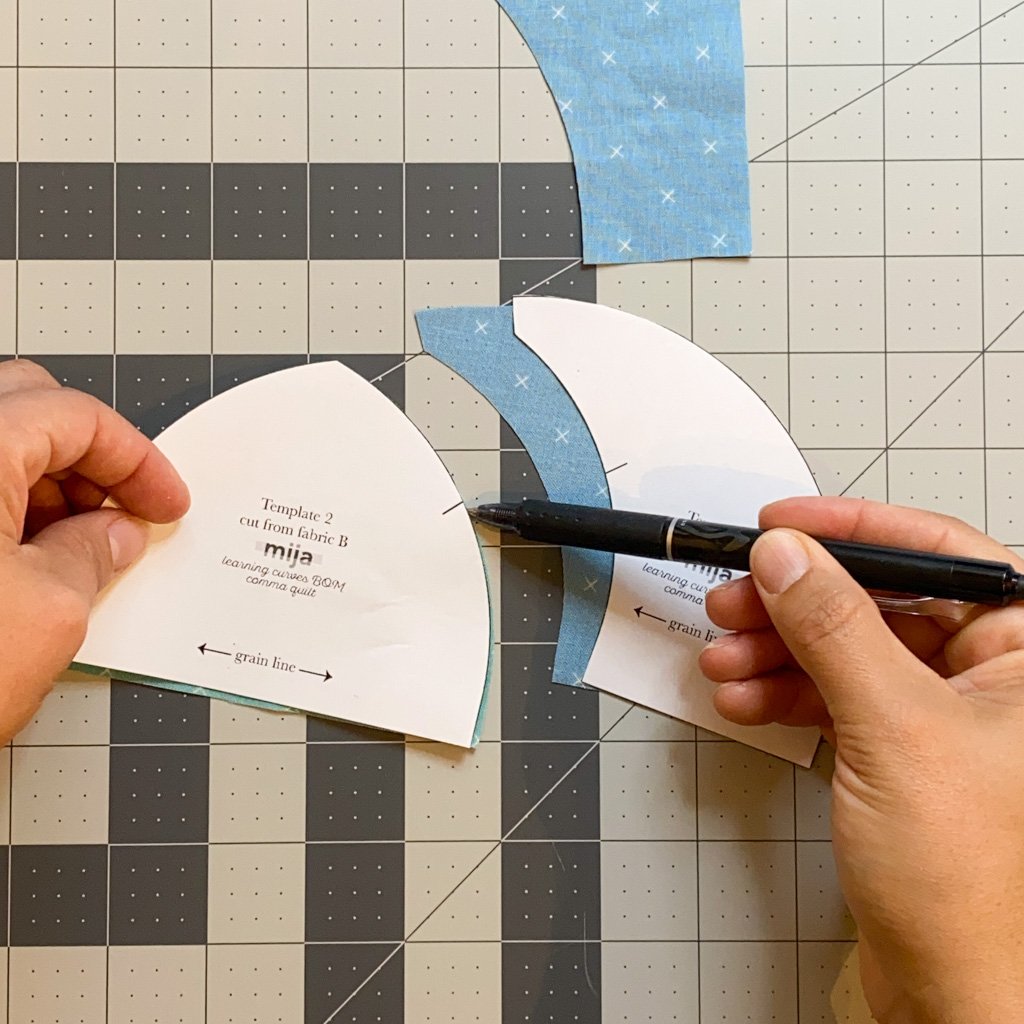
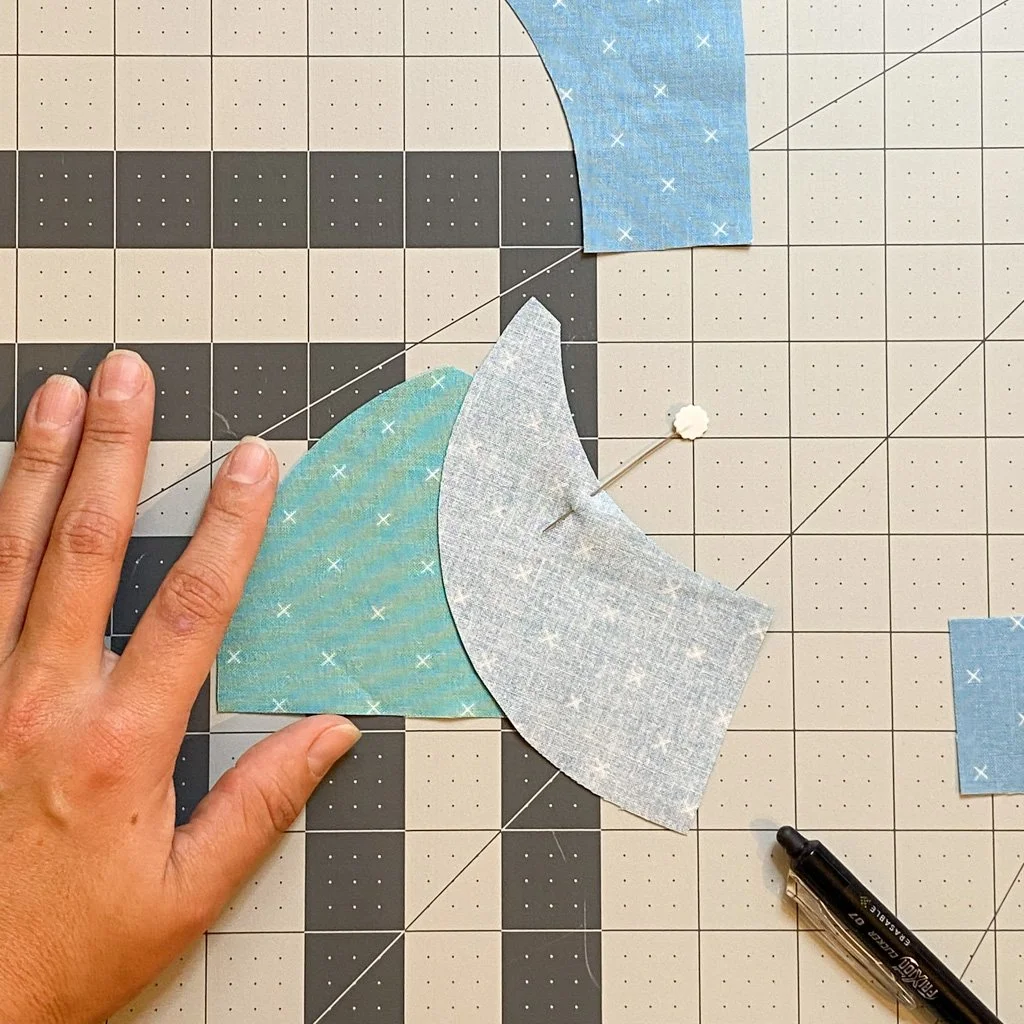
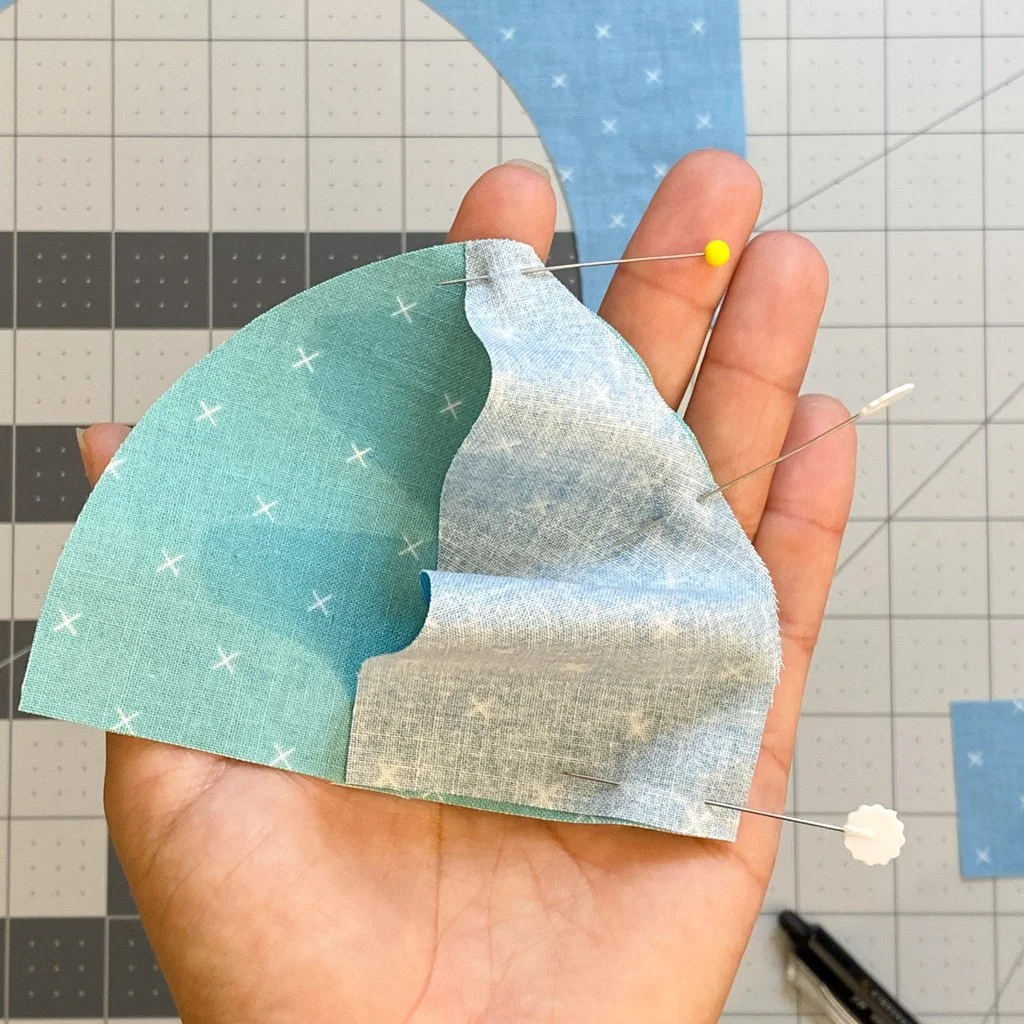
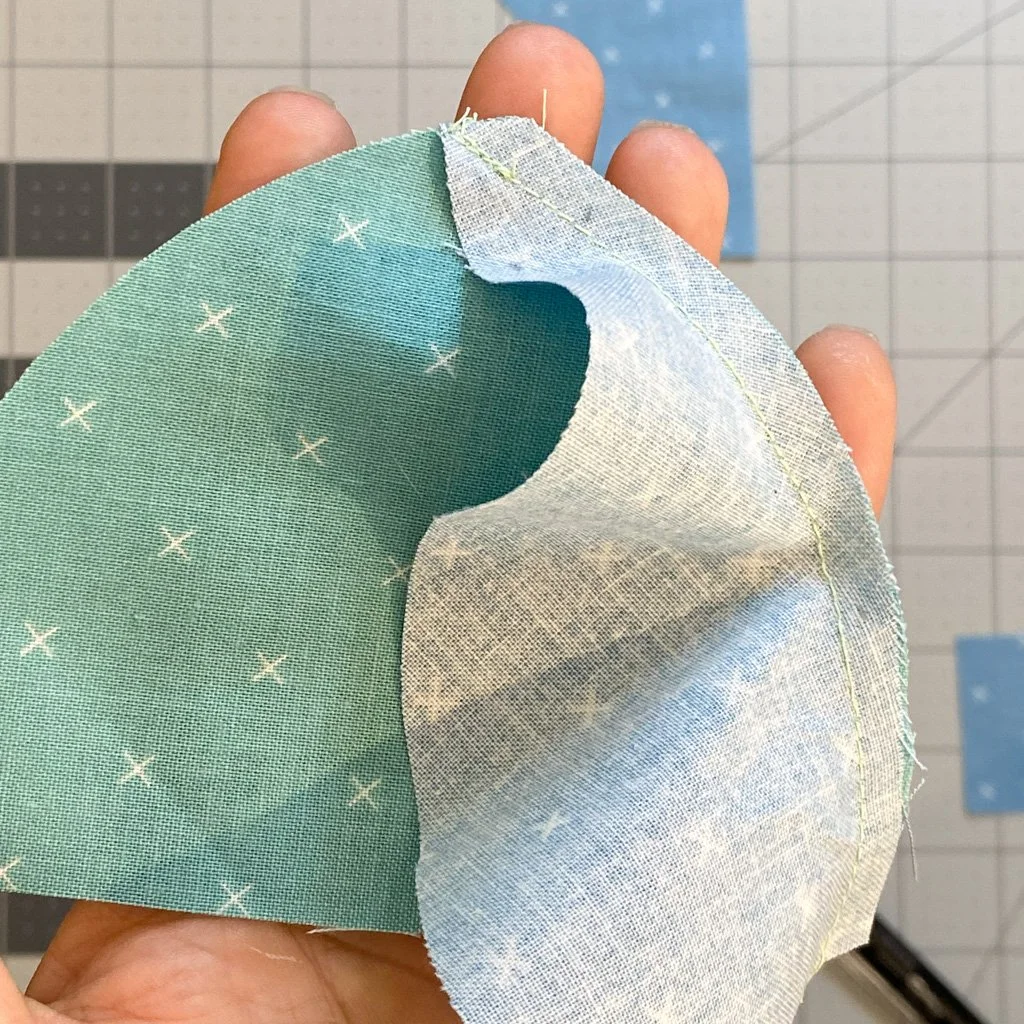
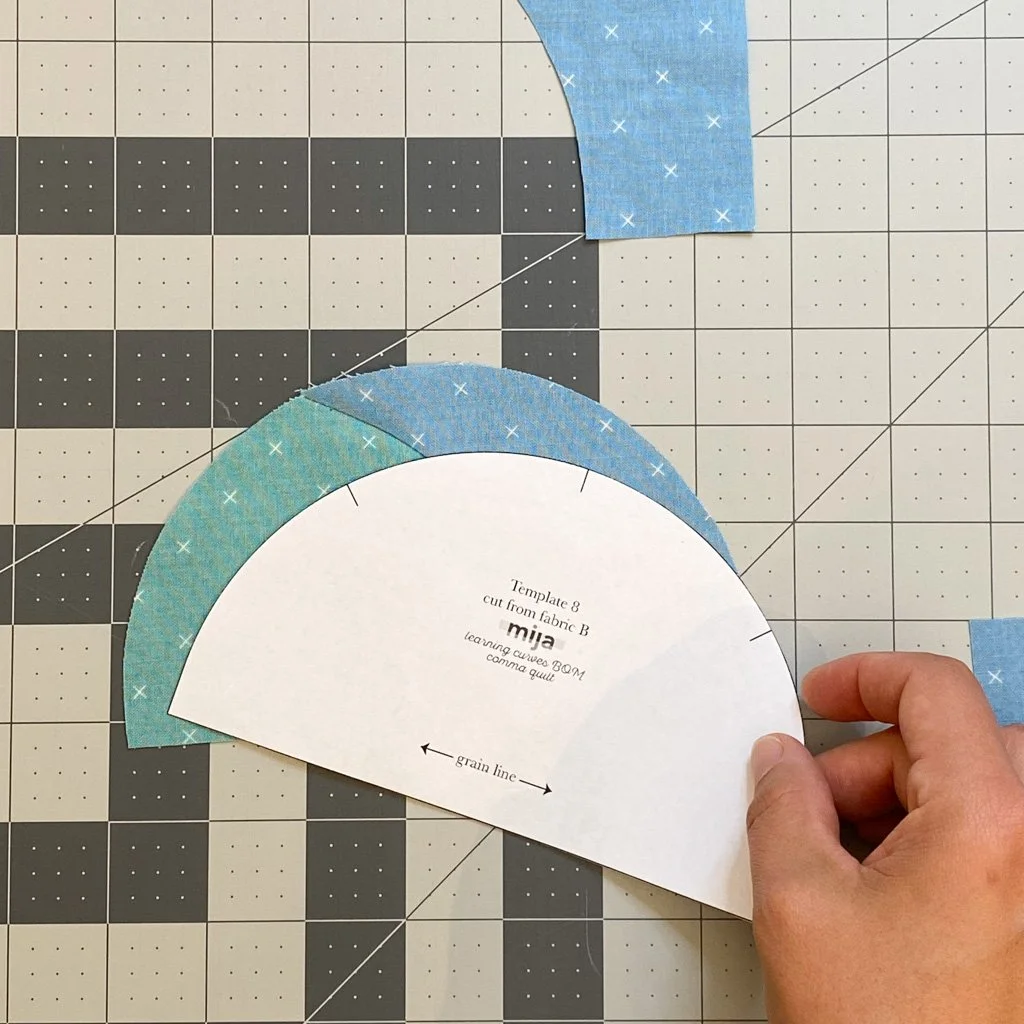
Double check that you’ve sewn these curves perfectly by measuring it against Template 8.
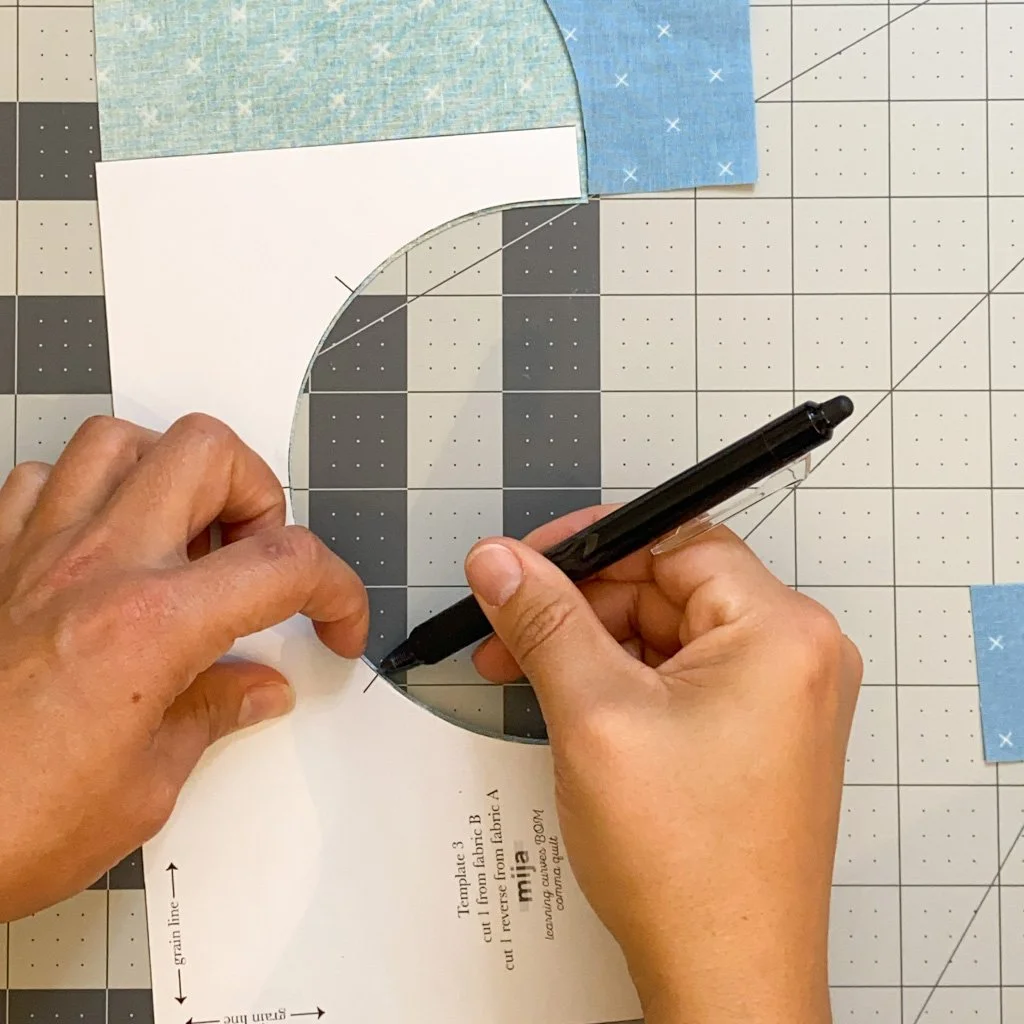
To transfer the concave curve registration marks to the wrong side of the fabric, I lay the template right side up on the wrong side of the fabric, and align the curves. The template itself isn’t identical, but the registration marks are symmetrical around the curve.
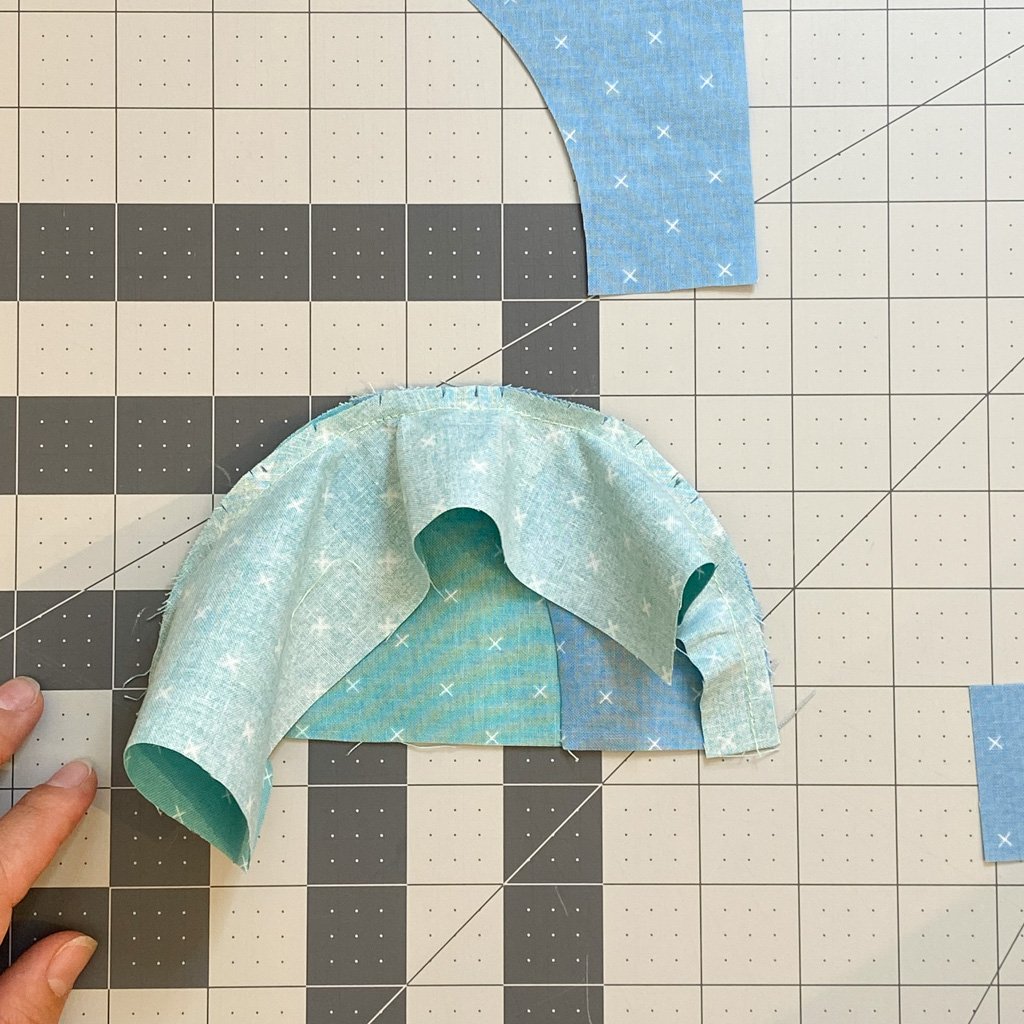
I did not clip the seam allowance on this curve while sewing (remember it is always an option!). But I did clip the seam allowance afterwards to help it lay flat when I pressed it.
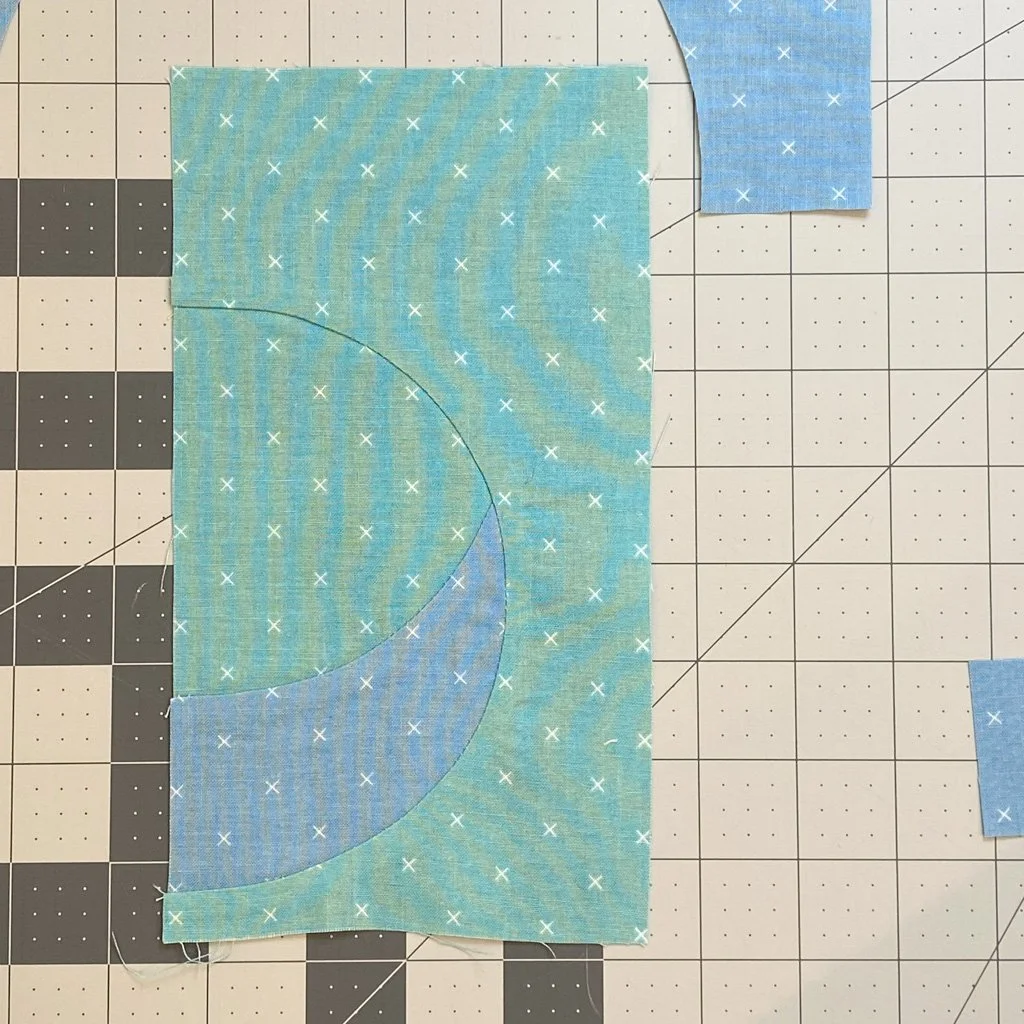
At this point, the piecing doesn’t look like much, but look at those curves!
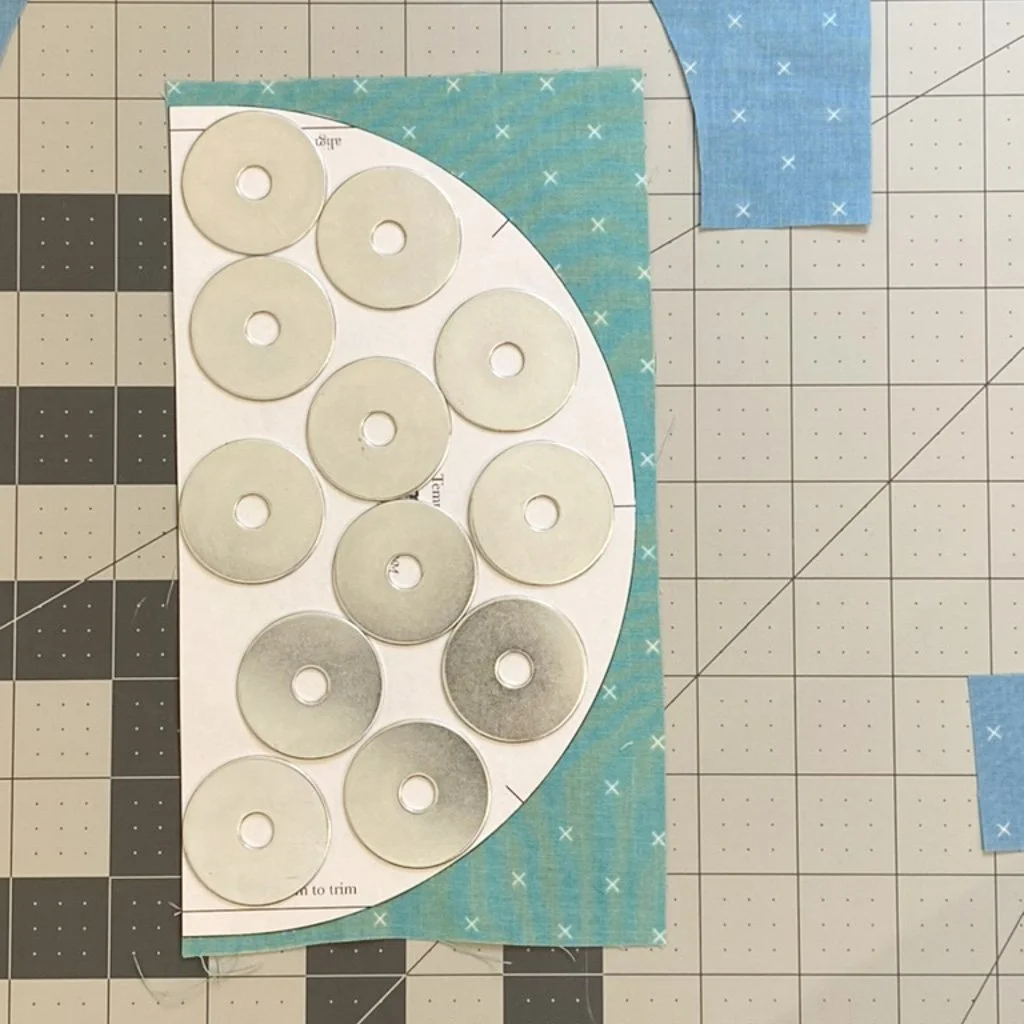
To trim the rectangle to a half circle, I like to use plenty of my washers to keep everything in place. Make sure you align the line on the template with the seam. In fact, you can even cheat the template down a thread or two - this will help ensure that you completely catch the seam allowance as you sew each subsequent template.
I’ll admit, catching the seam allowance perfectly is a tricky part of the pattern. I had about a 75% success rate each time I tested this.
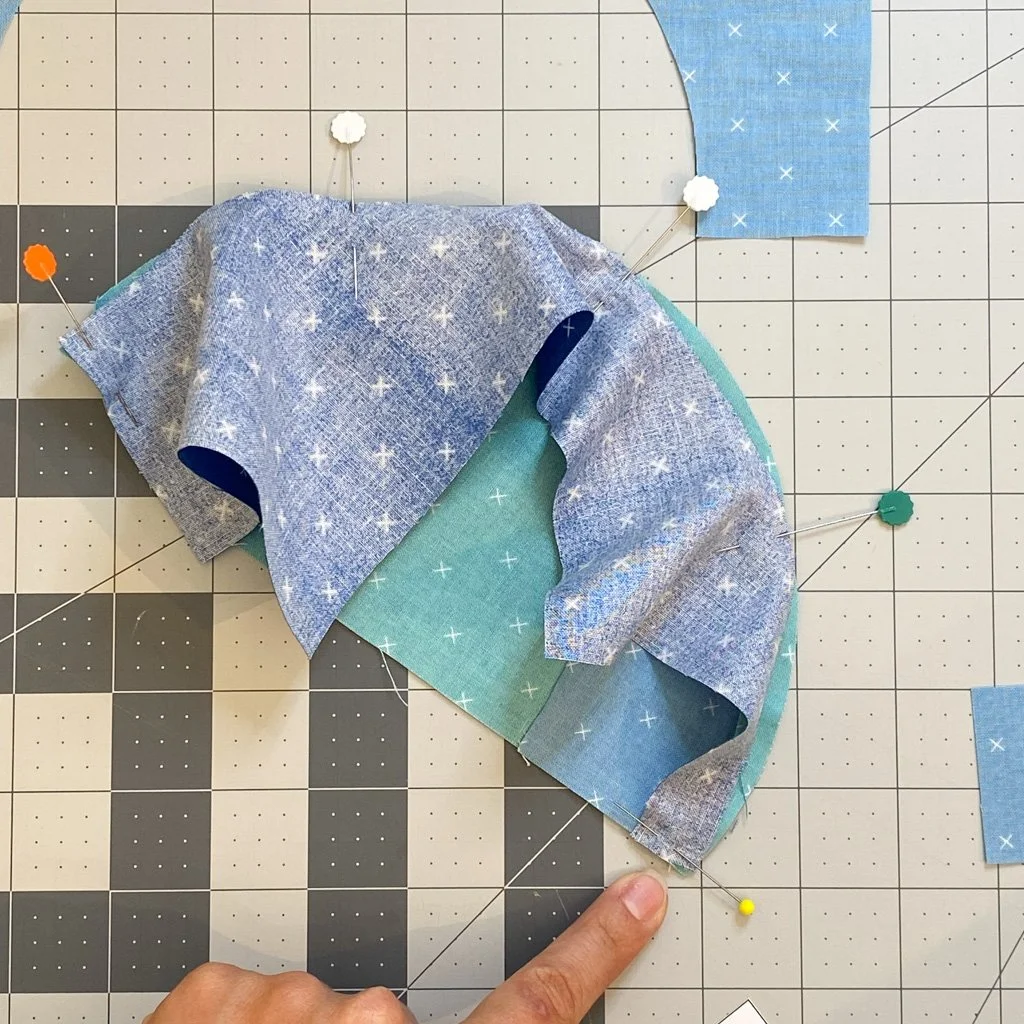
In this photo, I’m pointing to the seam allowance you want to make sure to catch in the upcoming seam.
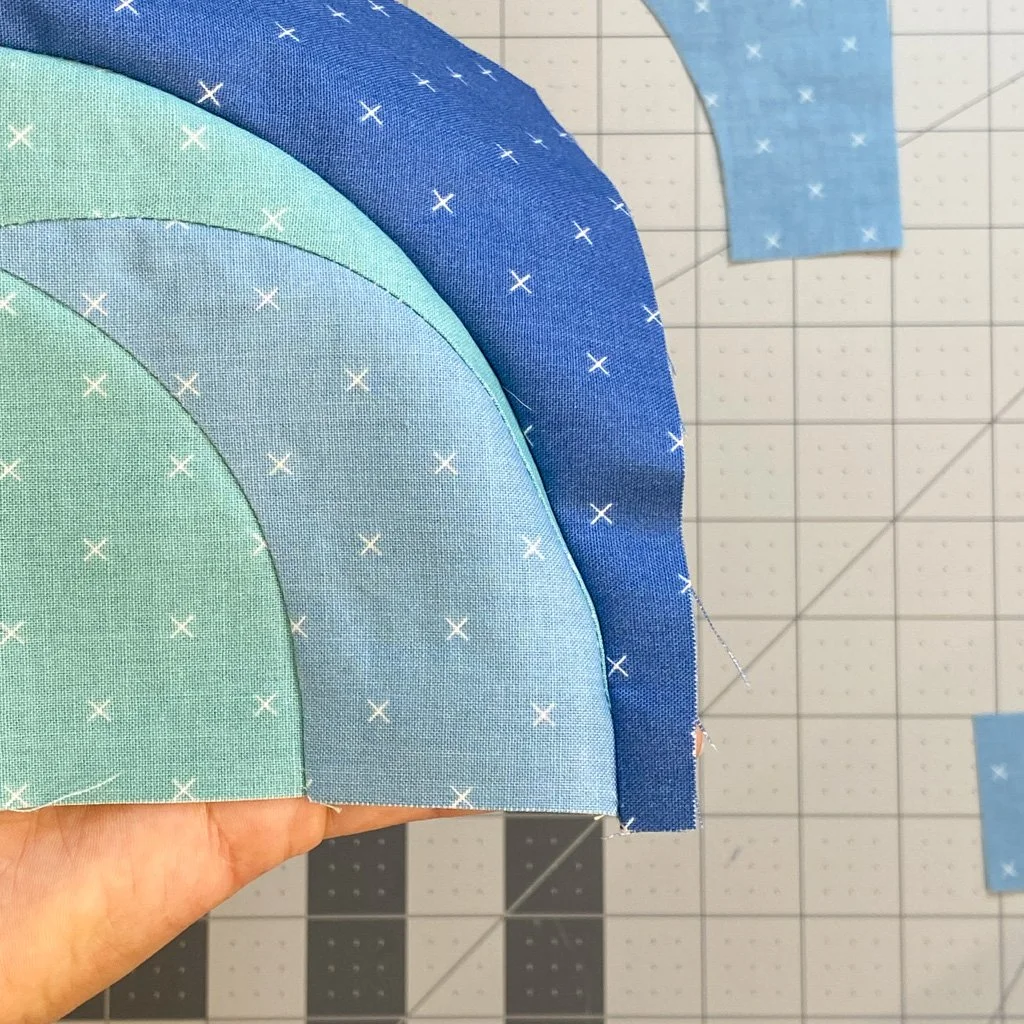
I made a few unforced errors in this block - by pointing them out to you, I hope you can avoid them. I added too much slack to the back half of this curve. This resulted in the ends of the units being imperfectly aligned, as you can see here. I should have seam ripped this and resewn the units, but I was losing light for photographs and decided to push forward.
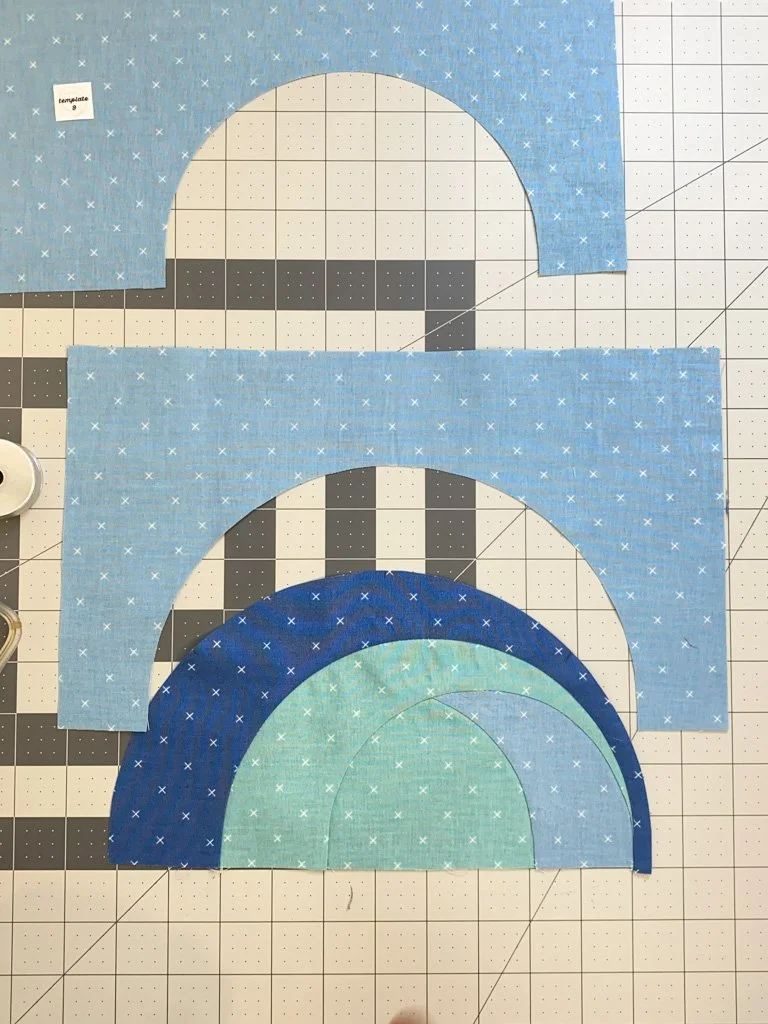
After trimming the rectangle to a half circle again, we have one more concave curve to sew to this side of the block.
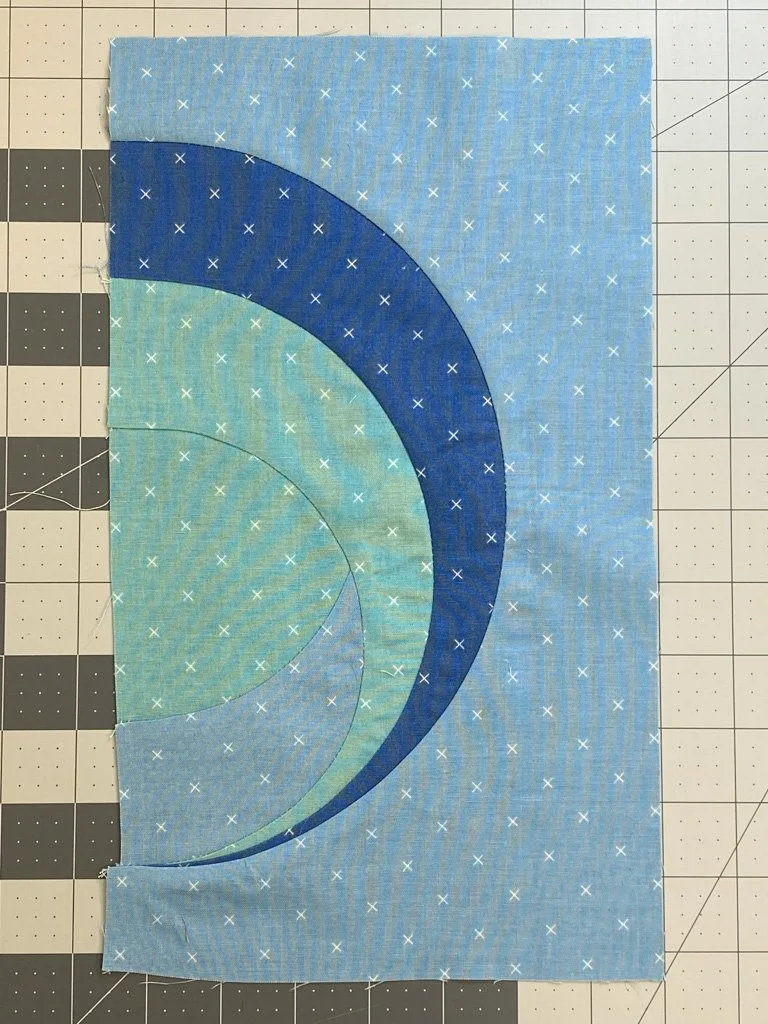
Nine tenths of this curve looks great. It’s the last little bit that I want to point out to you. I made two errors. 1) I didn’t catch the seam allowance early enough. Once I trim the block to size, the points aren’t going to beautifully disappear into the seam. They are going to make a hard stop. 2) I continued to put too much slack into the back half of the curve, so the left side of this block is pretty unsightly. Ultimately, it’s fine as we’re going to trim the edges straight, but I would have liked a bit more accuracy up front.
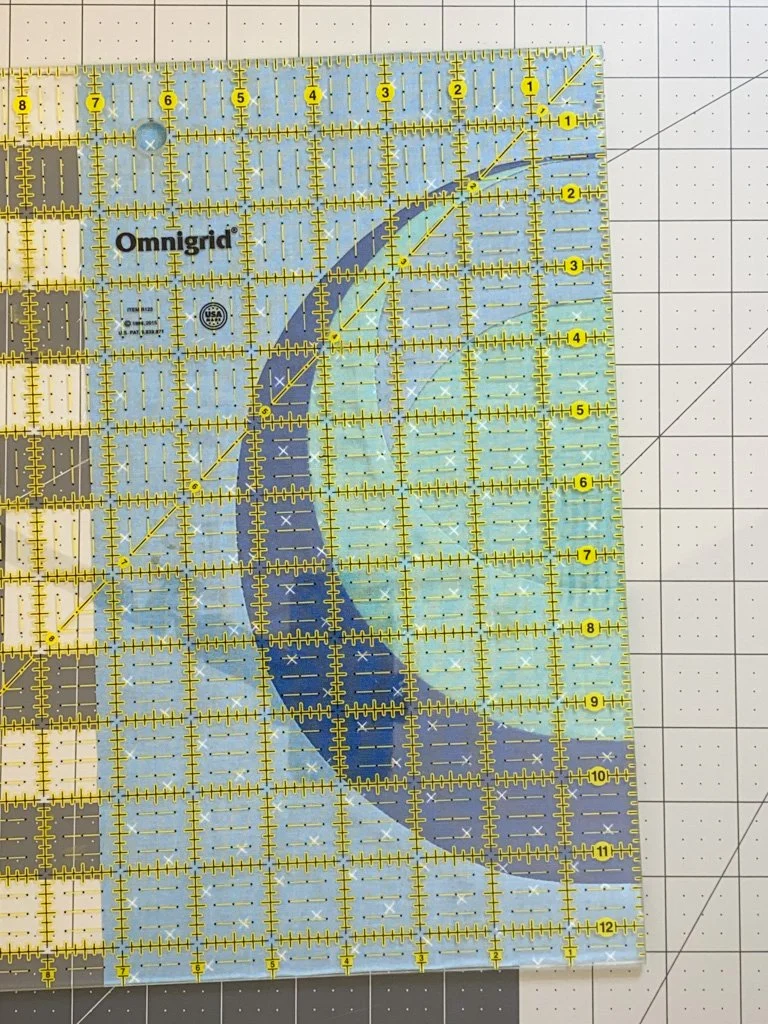
I must have been in a mood when I was sewing this block. I made yet another unforced error. When I trimmed this unit, I trimmed from too many sides. Don’t be like me. Trim from just the one side indicated in the pattern.
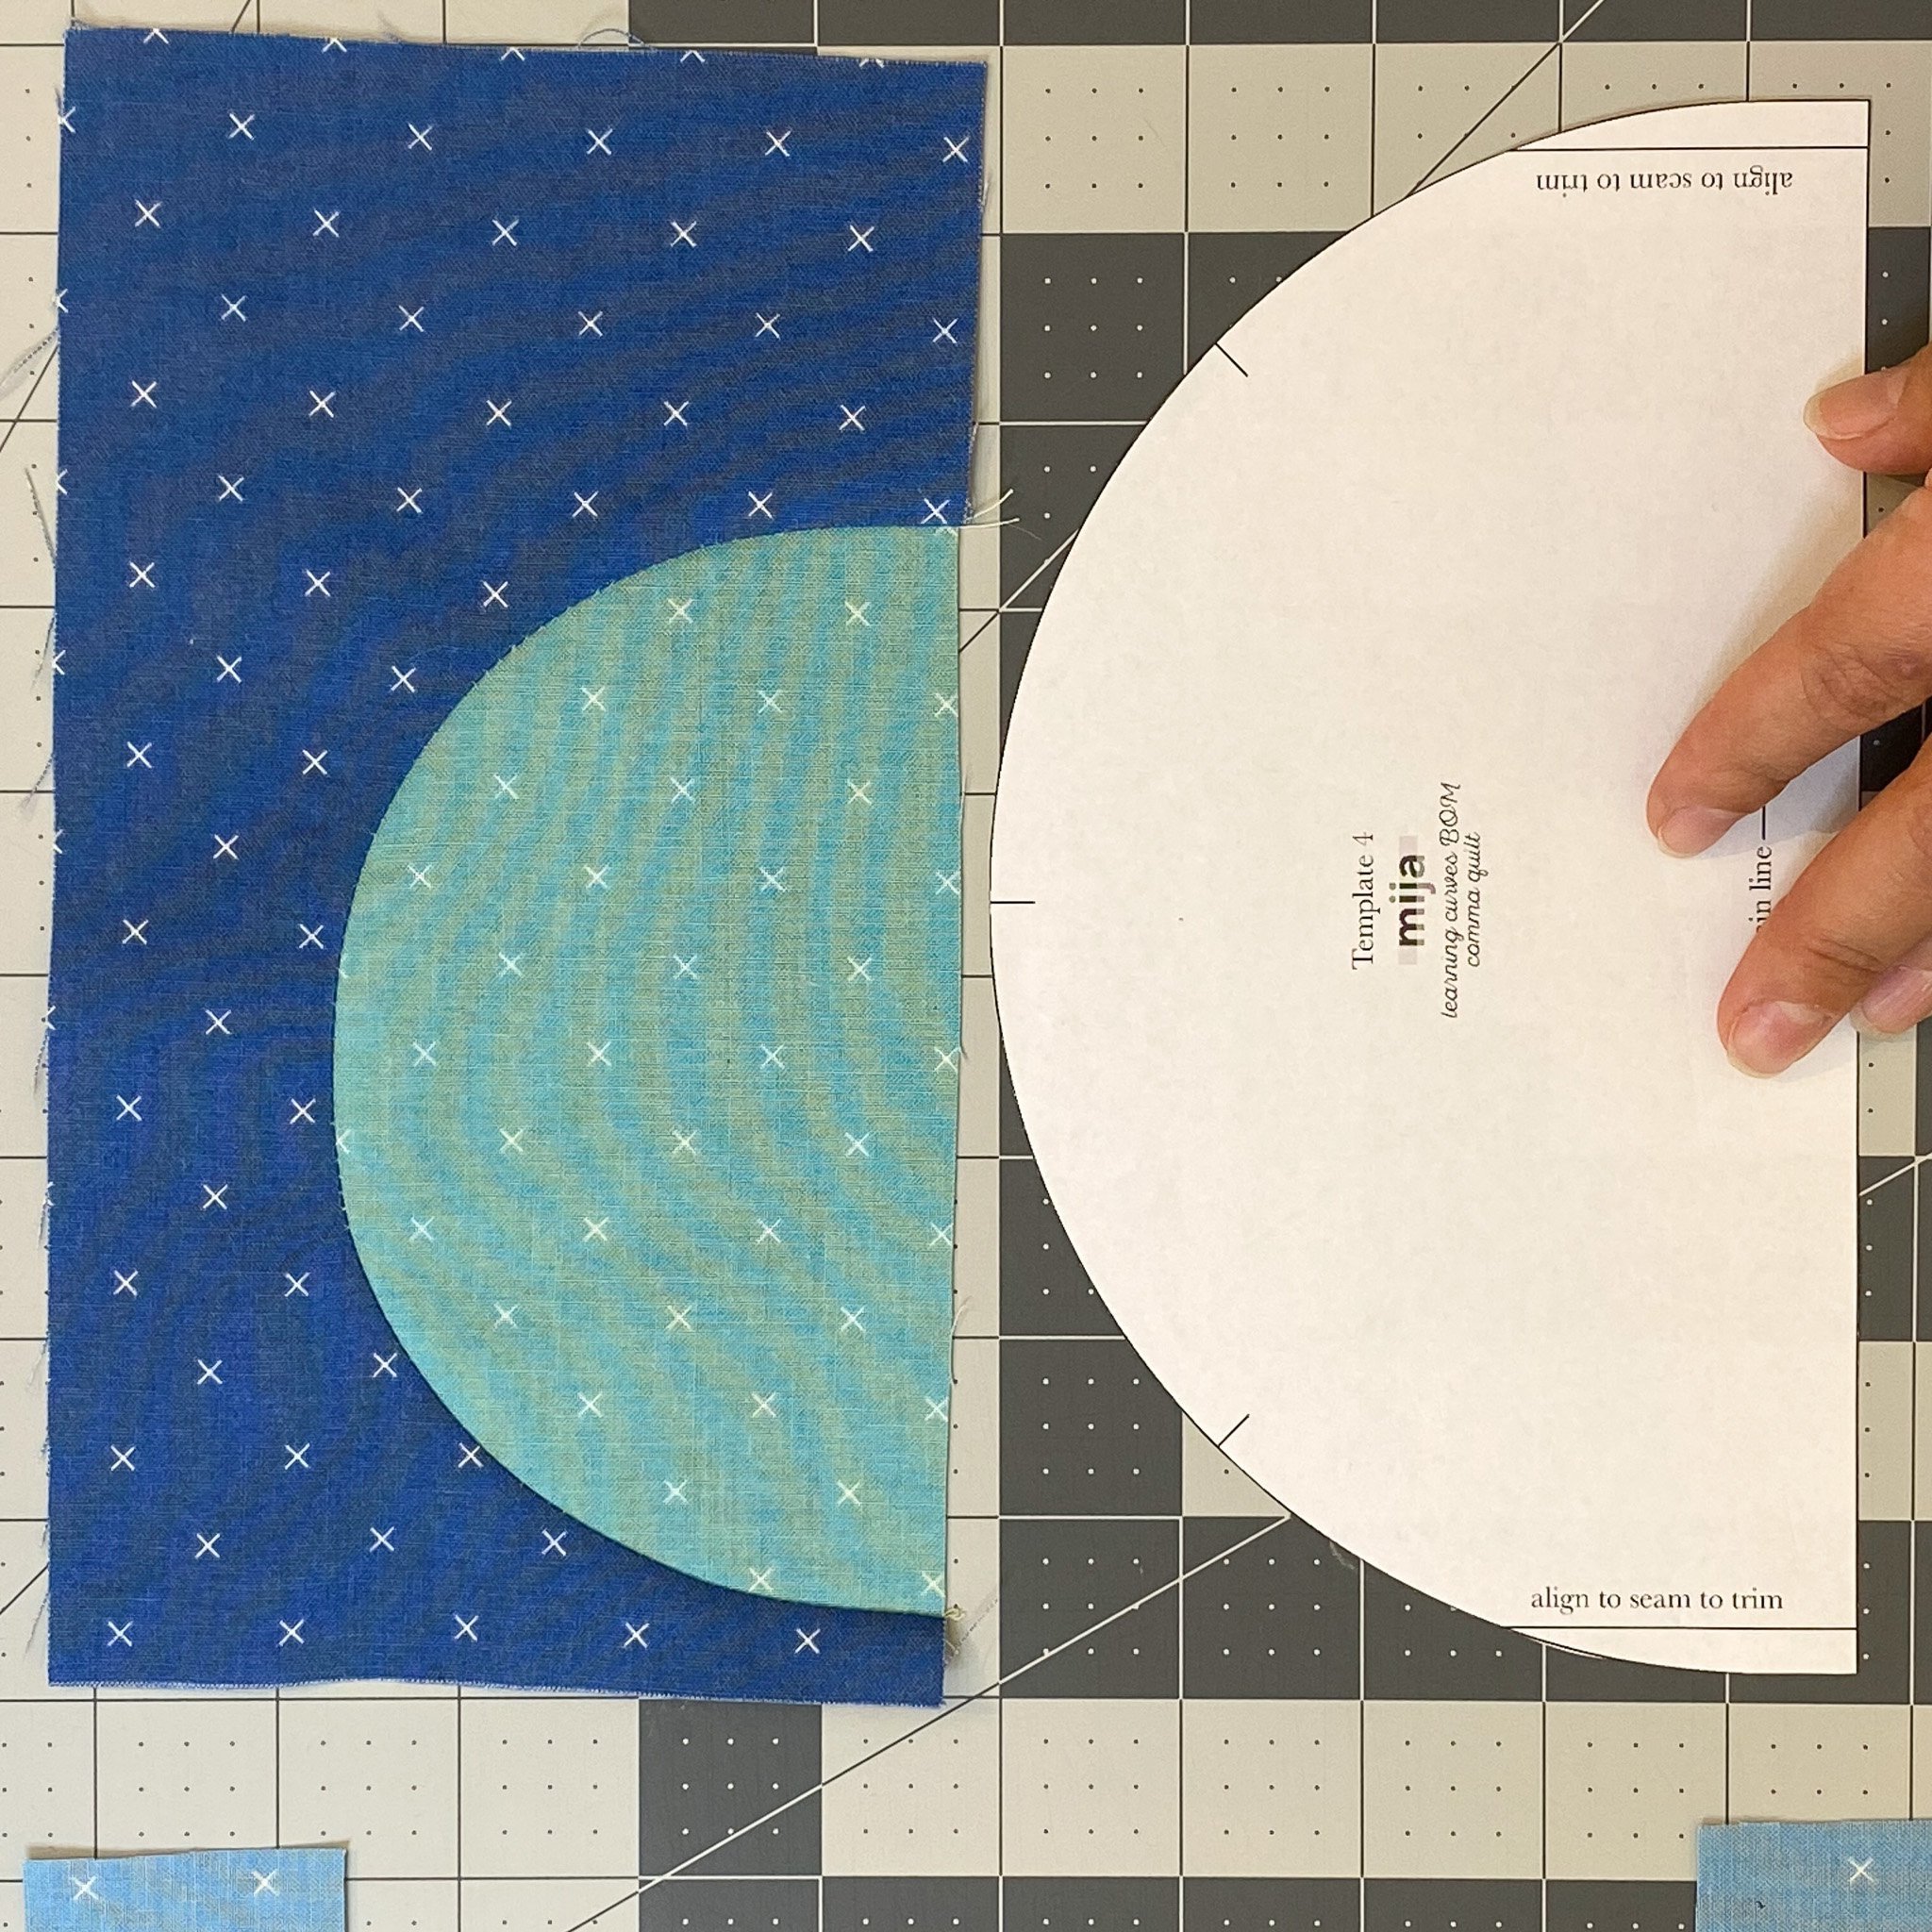
I’ll gloss over the second half of the unit quickly, as it’s the same exact steps as the first half, just with fewer unit. Remember to align the line on the template with the seam of the curve.
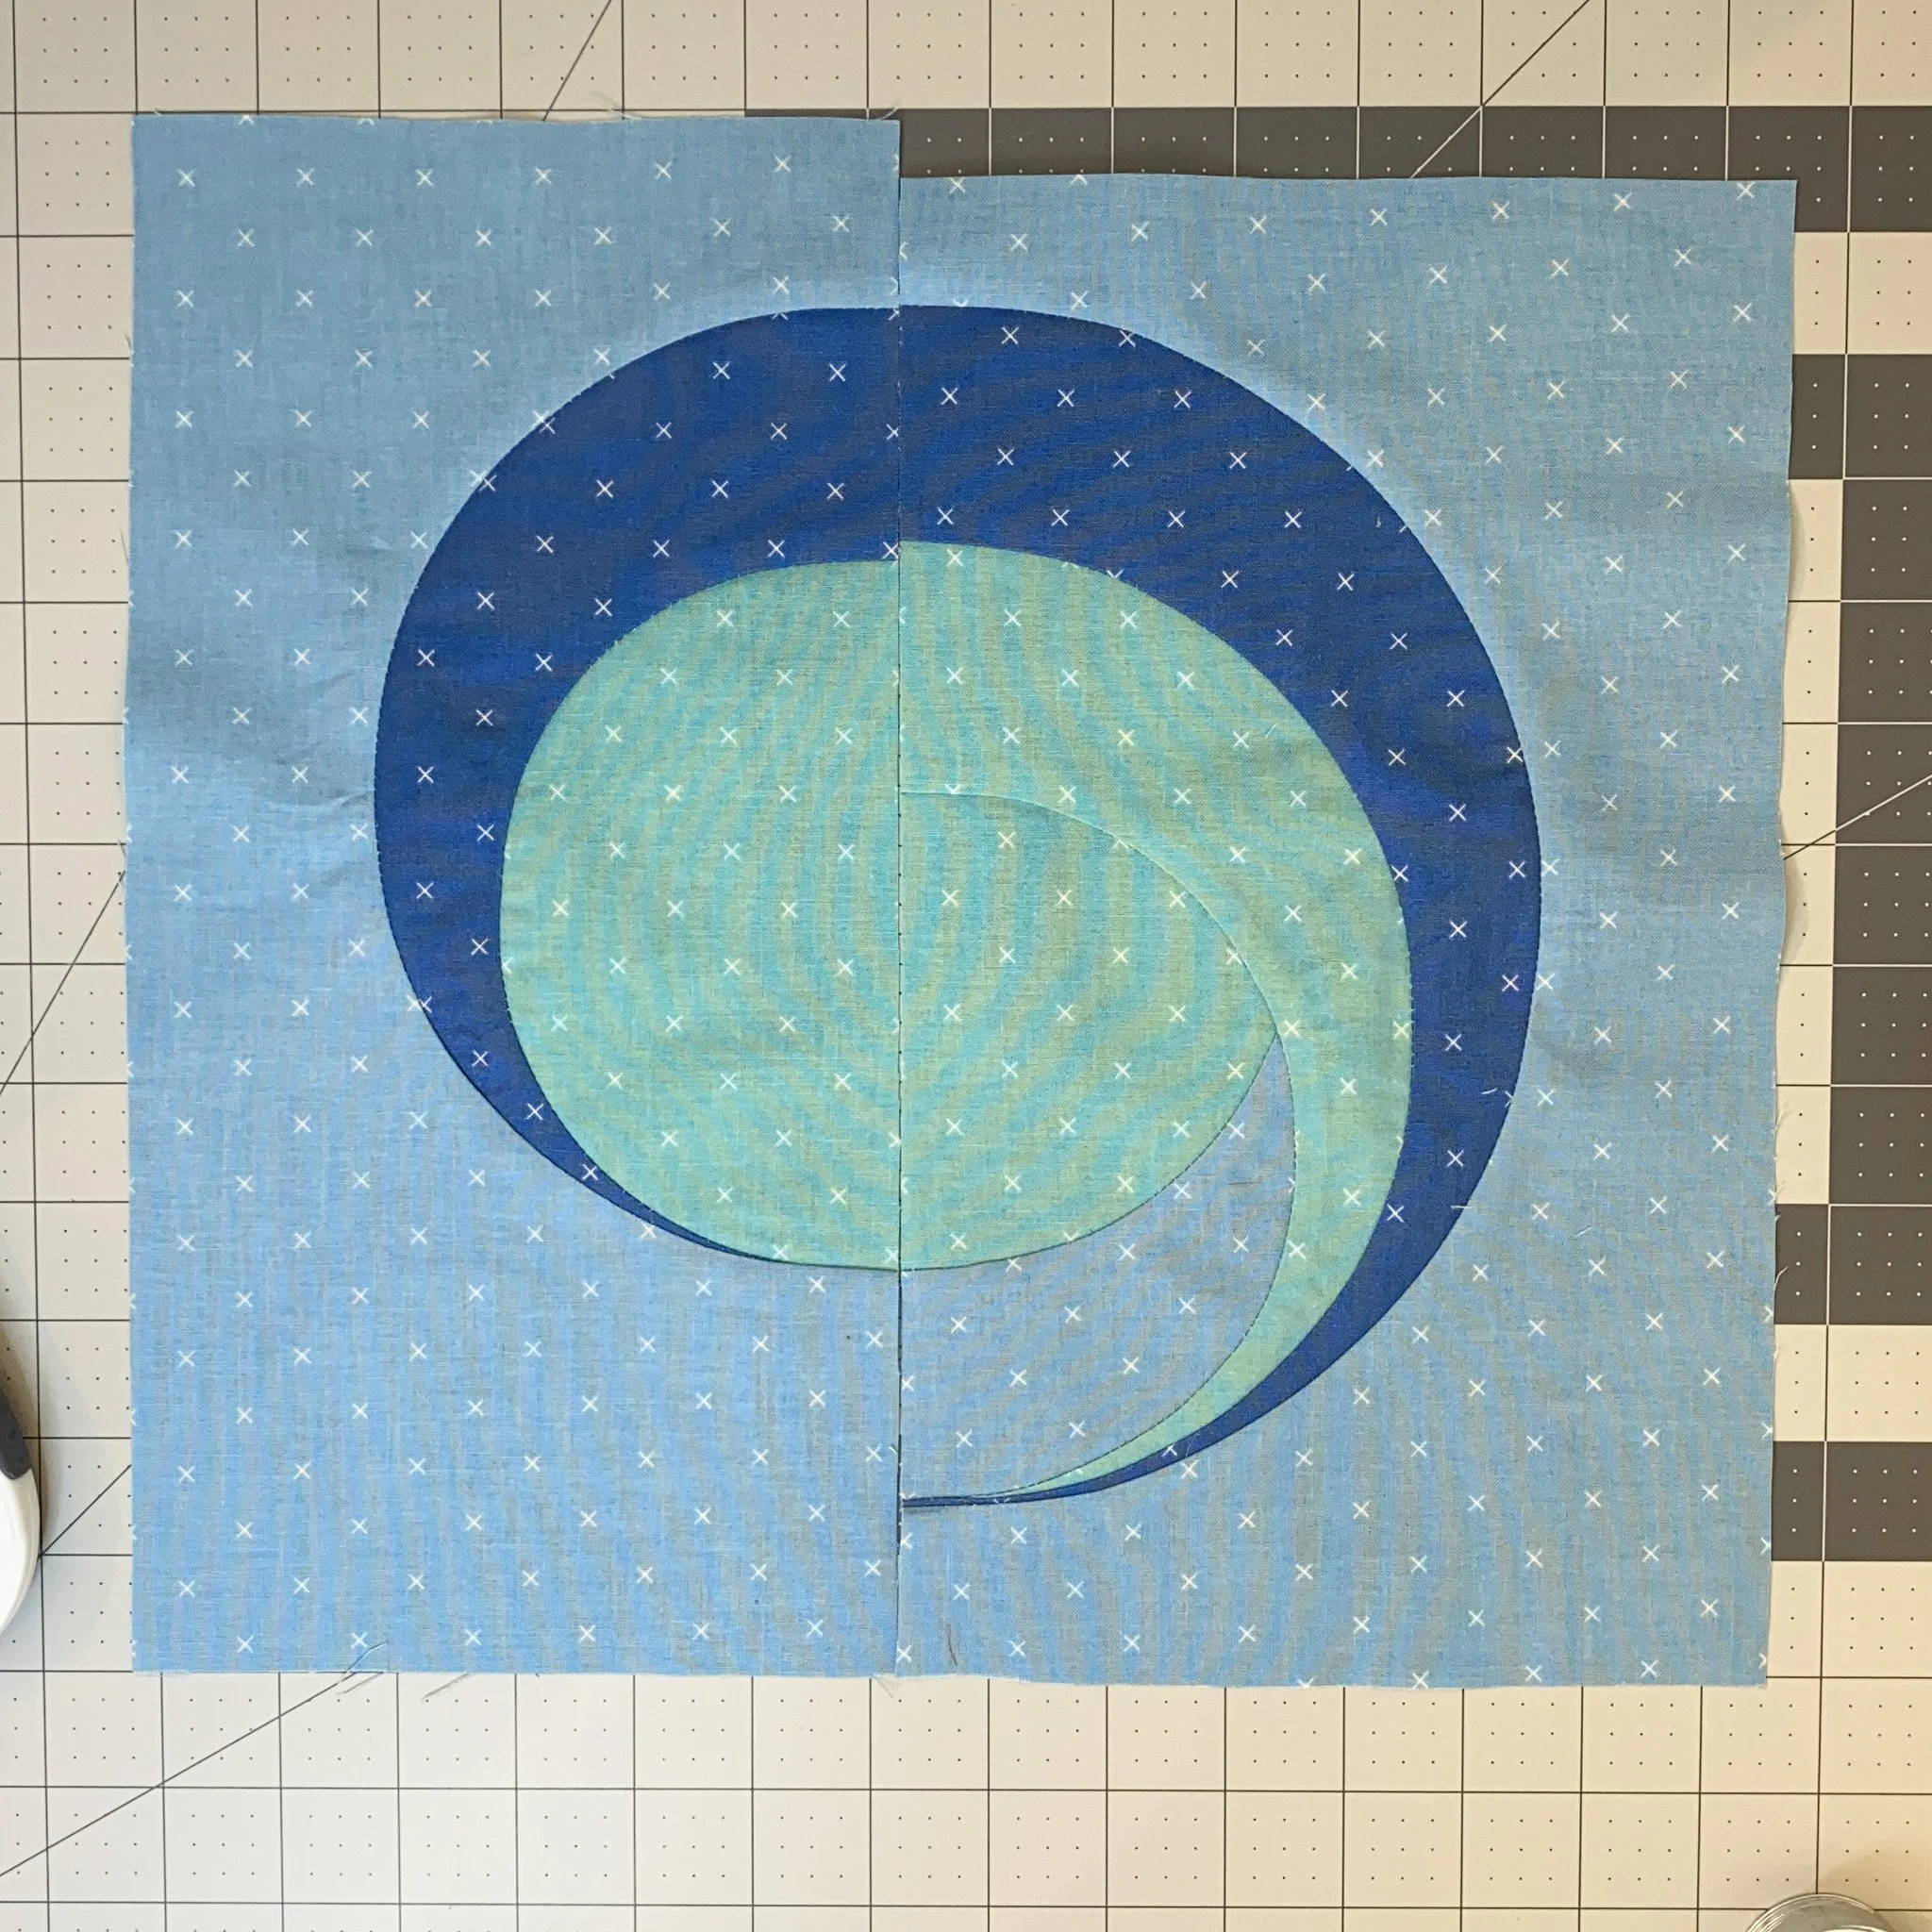
Here you can see why trimming the first half of the block too much, too early is an issue. Once the two halves are stitched up, the entire block is trimmed down to size. But I didn’t have the appropriate trimming room after my error. Don’t be like me. Follow the pattern directions.

And here is my complete Learning Curves BOM quilt top! I’ve added finishing directions to the member page, but it’s just a simple addition of some sashing!
I just want to thank you again for joining me this year. I’ve learned a ton and I hope you have too! And in case you haven’t seen, I’ll be launching my 2025 BOM soon - check out more details about the Broom Cupboard quilt!