
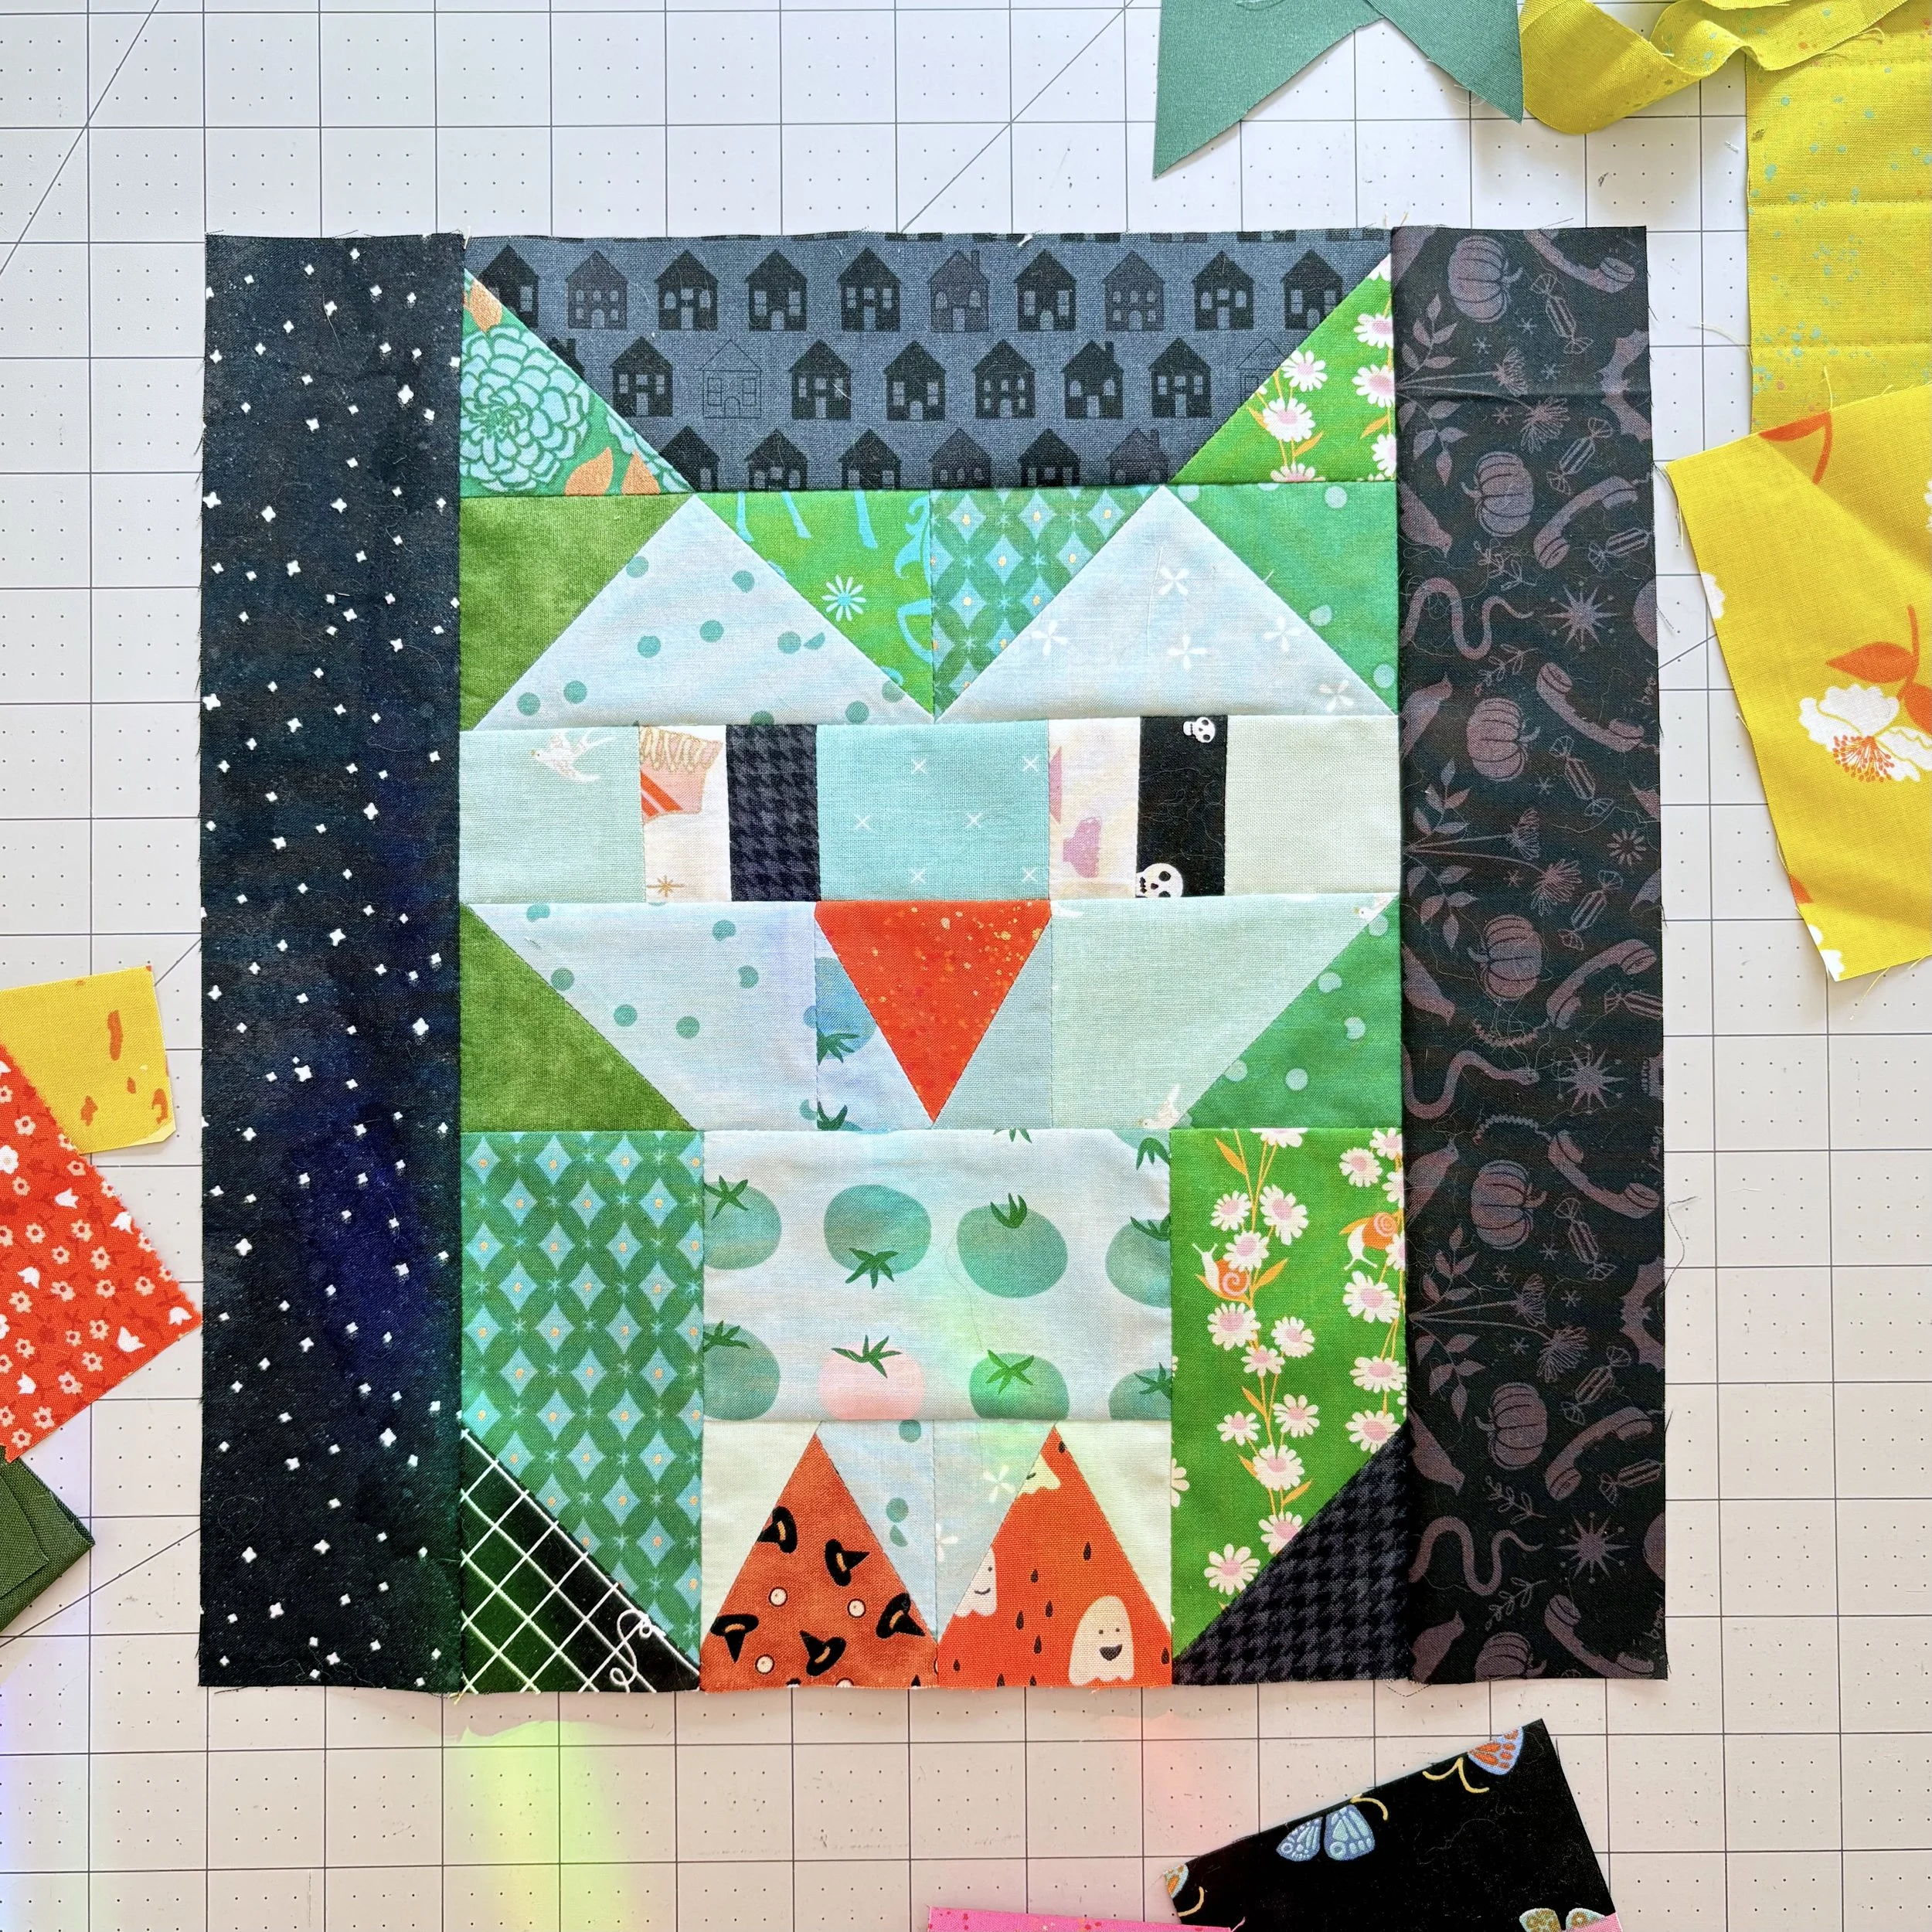
What? Who could believe these scrappy owls would turn out as cute as this? I was a little concerned the design would get swallowed by the various fabrics, but I made some smart decisions about the fabric colors to keep the design shining through.
Below, I walk you through some of the those decisions so you can replicate this scrappy version. Keep reading to download an updated cutting chart that will help you track your scrappy units.
Picking Fabrics
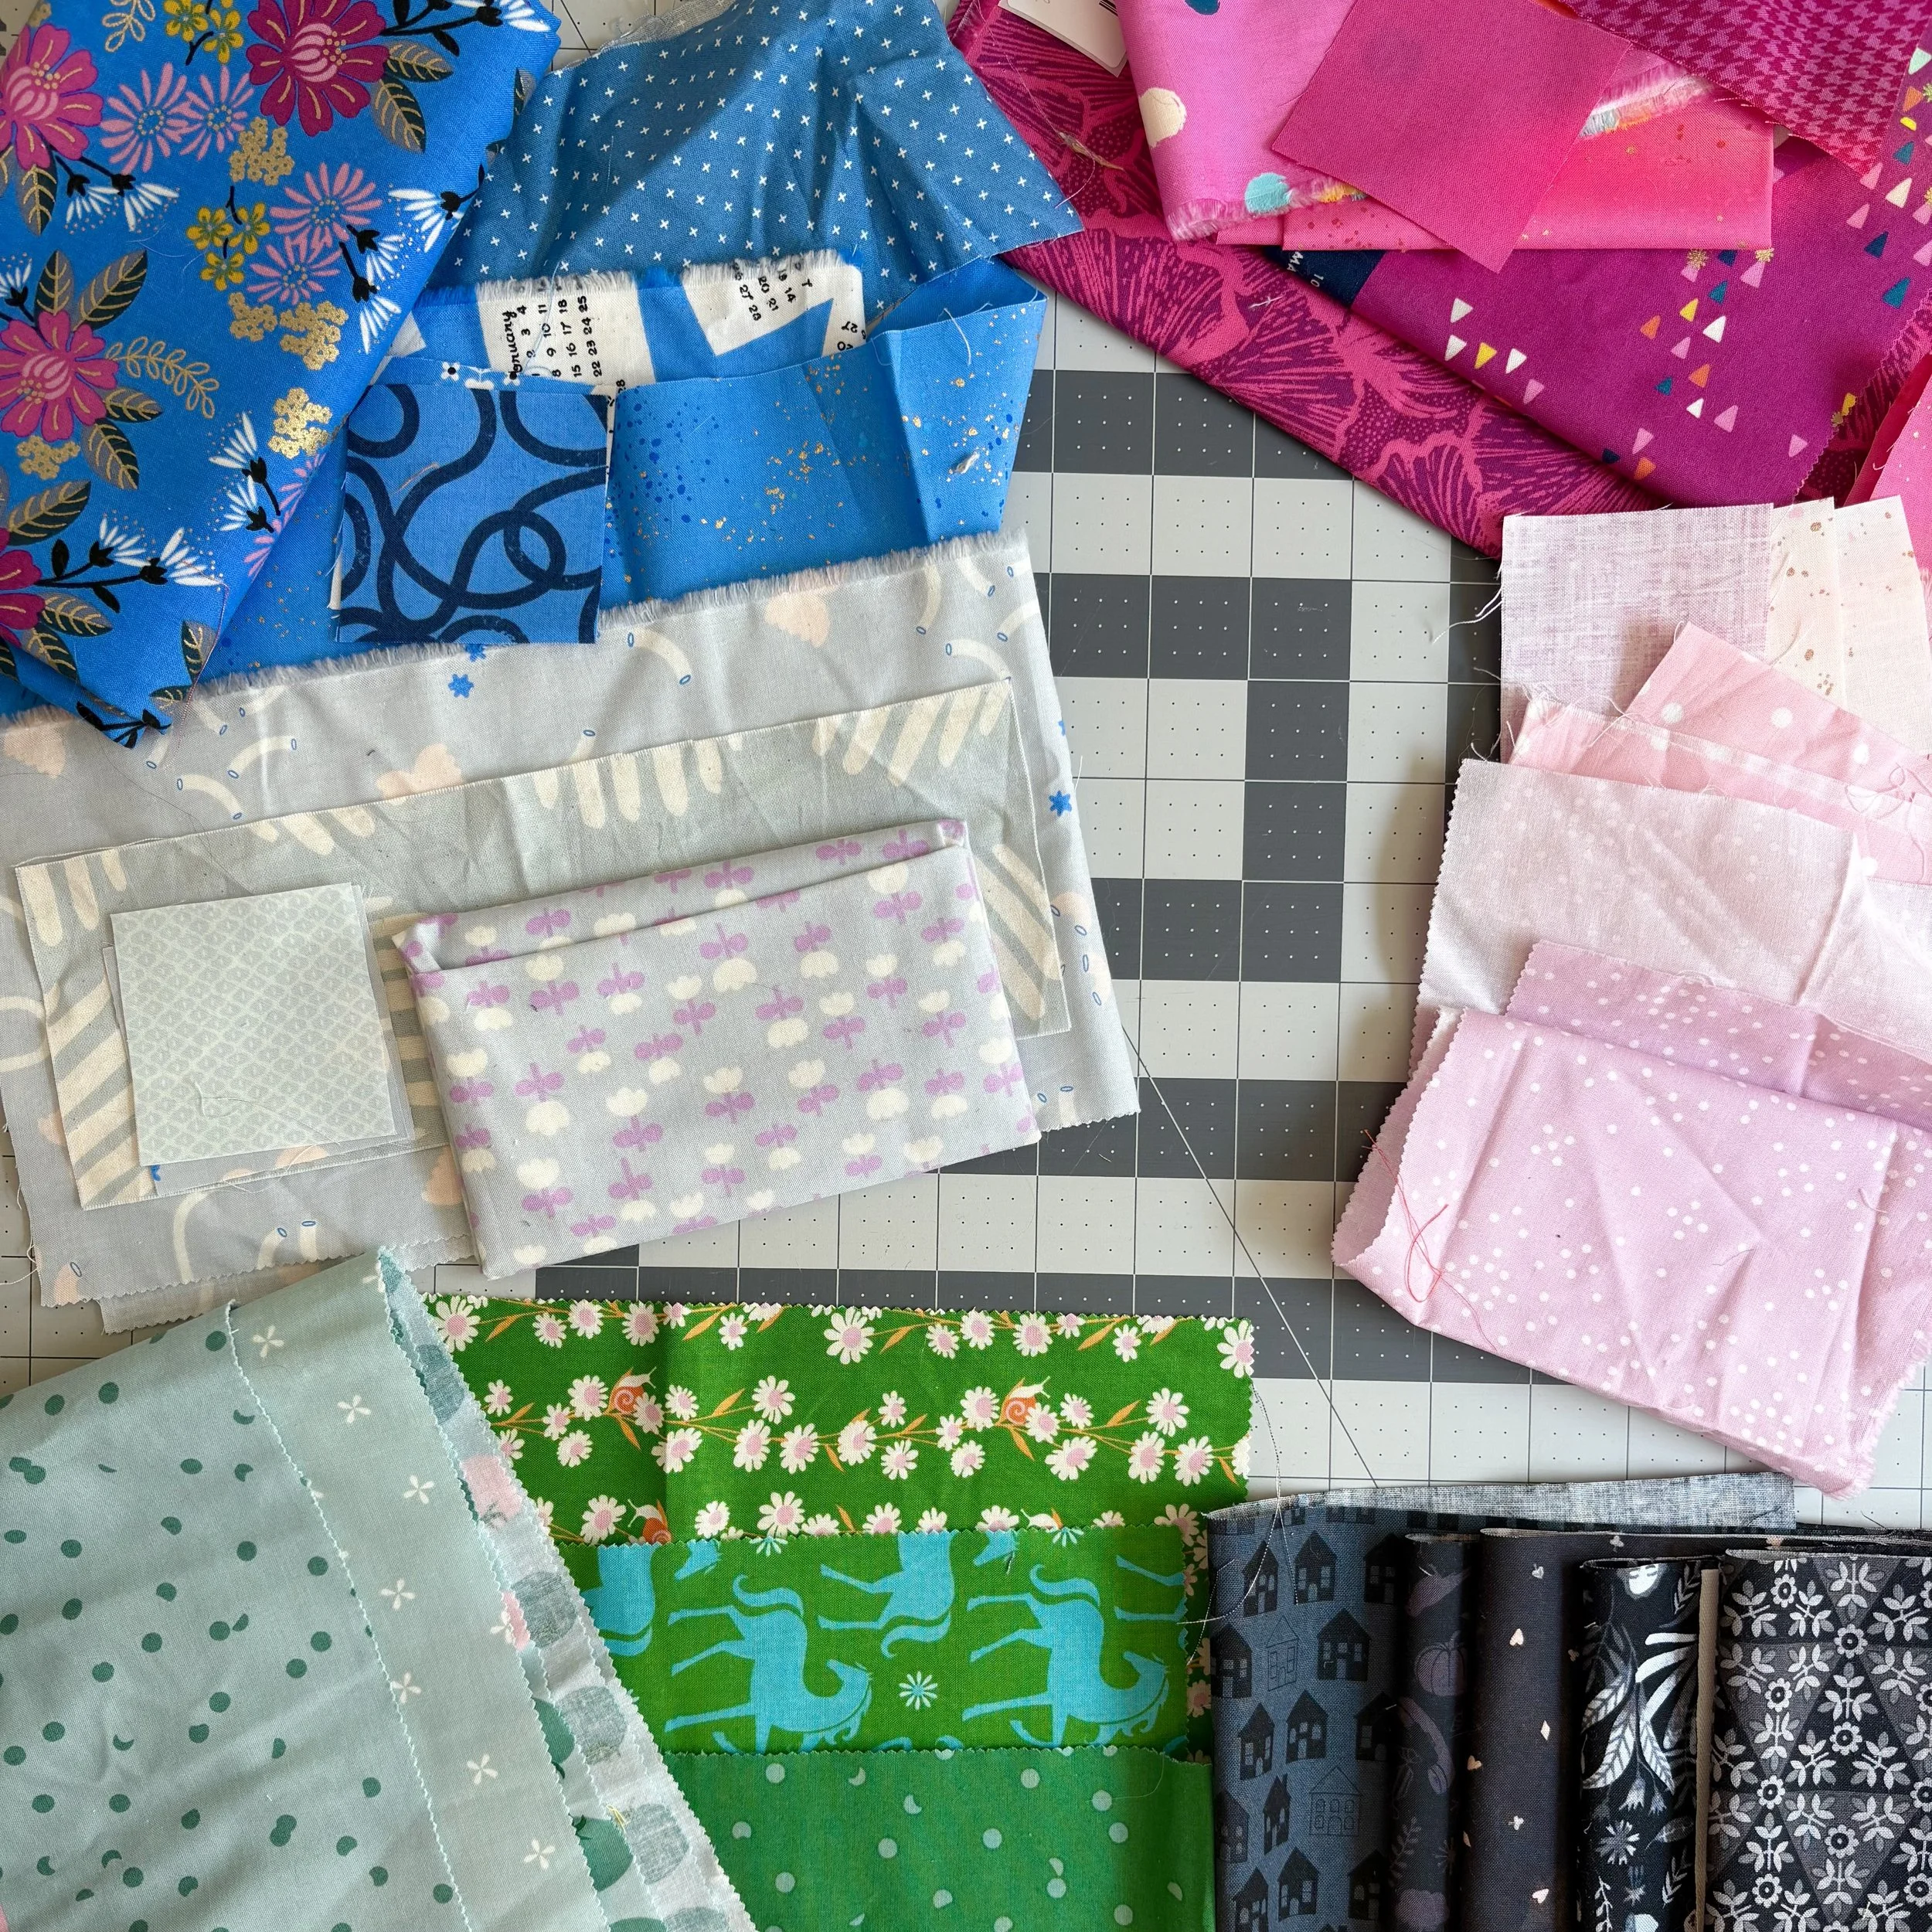
I wanted each of the three owls to have different color stories. One with a very saturated fuchsia for the crown and wings, and light pinks in the body. The second with bright blues in the crown and wings, with a light grey-blue in the body. And the third with spring greens in the crown and wings, and a muted blue-green for the body.
I recommend picking fabrics in the same color families, with lots of contrast in value (as opposed to lots of contrast in color). Picking fabrics with enough contrast in value will help make sure the owl design shines through.
Fabric Organization
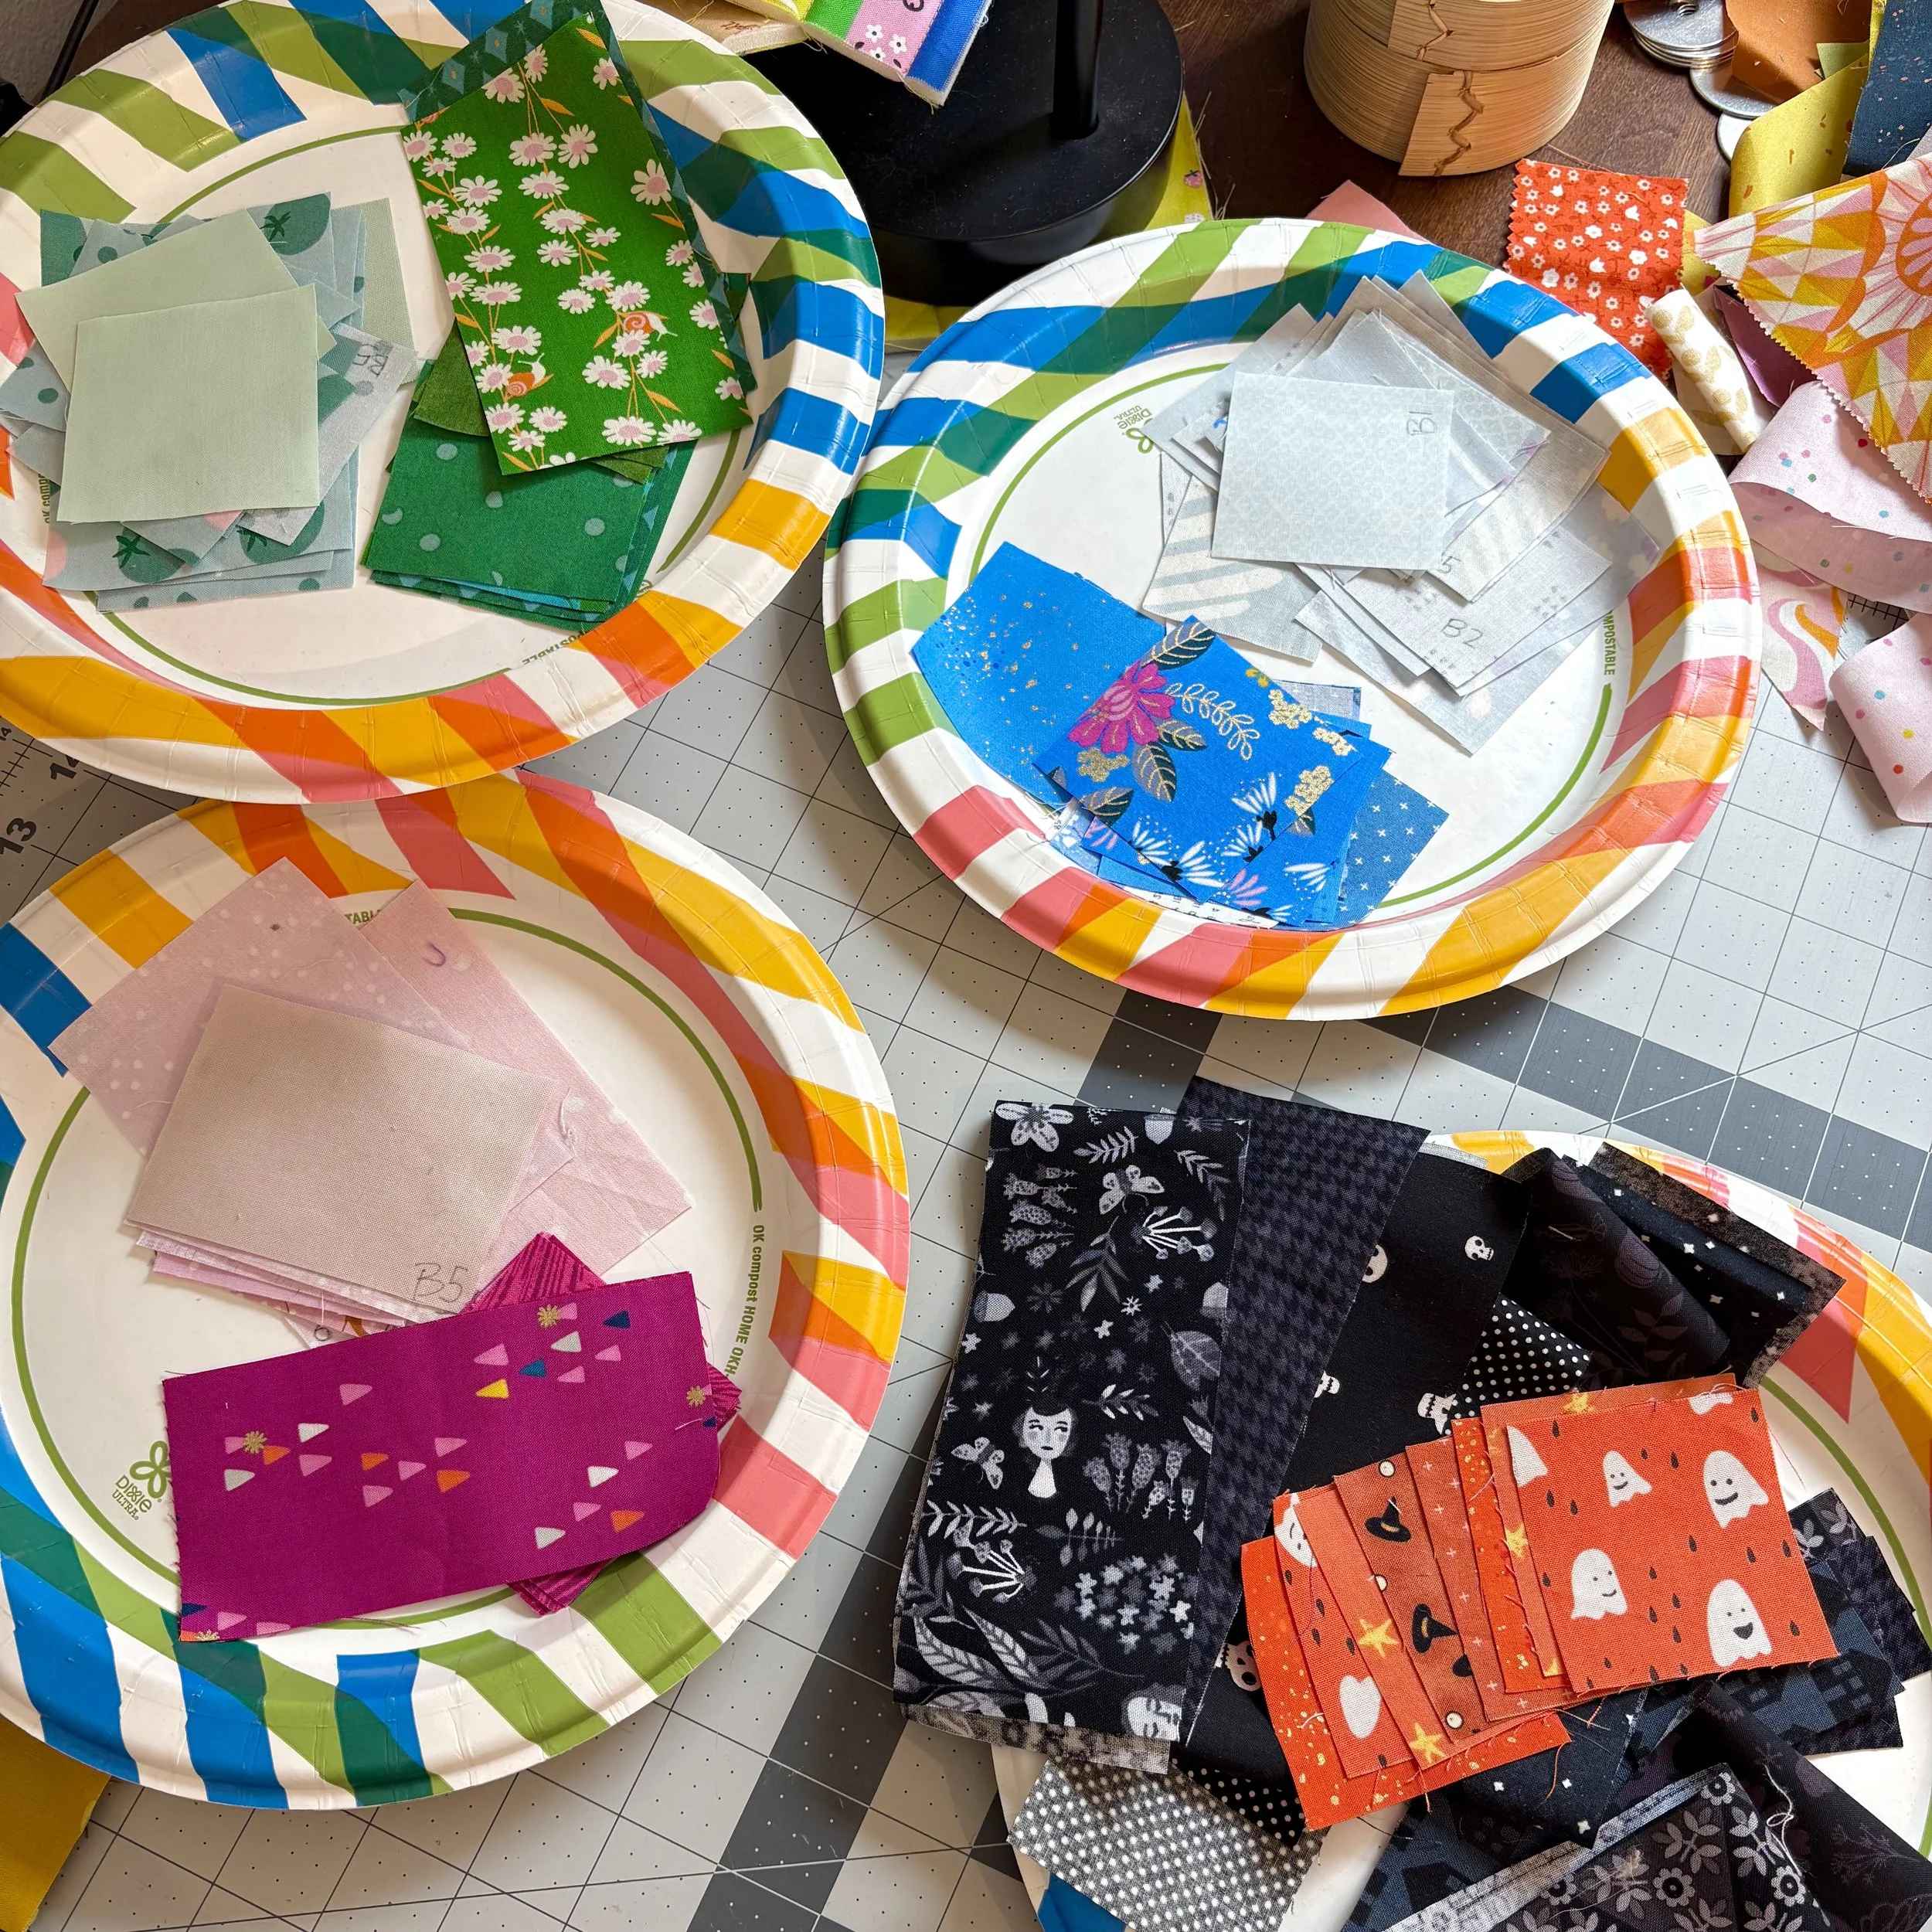
After I picked my fabrics, I cut all the units and organized them with my emotional support paper plates. To help you make your own scrappy version, I’ve created a new cutting guide, complete with new sizes to account for the different eye units (more on that below) and check boxes so you can mark off each unit as you cut it.
After cutting, I found it easiest to make one owl block at a time, rather than trying to make them all at once. This just helped me keep all my units and pieces straight in my mind.
Eye Units
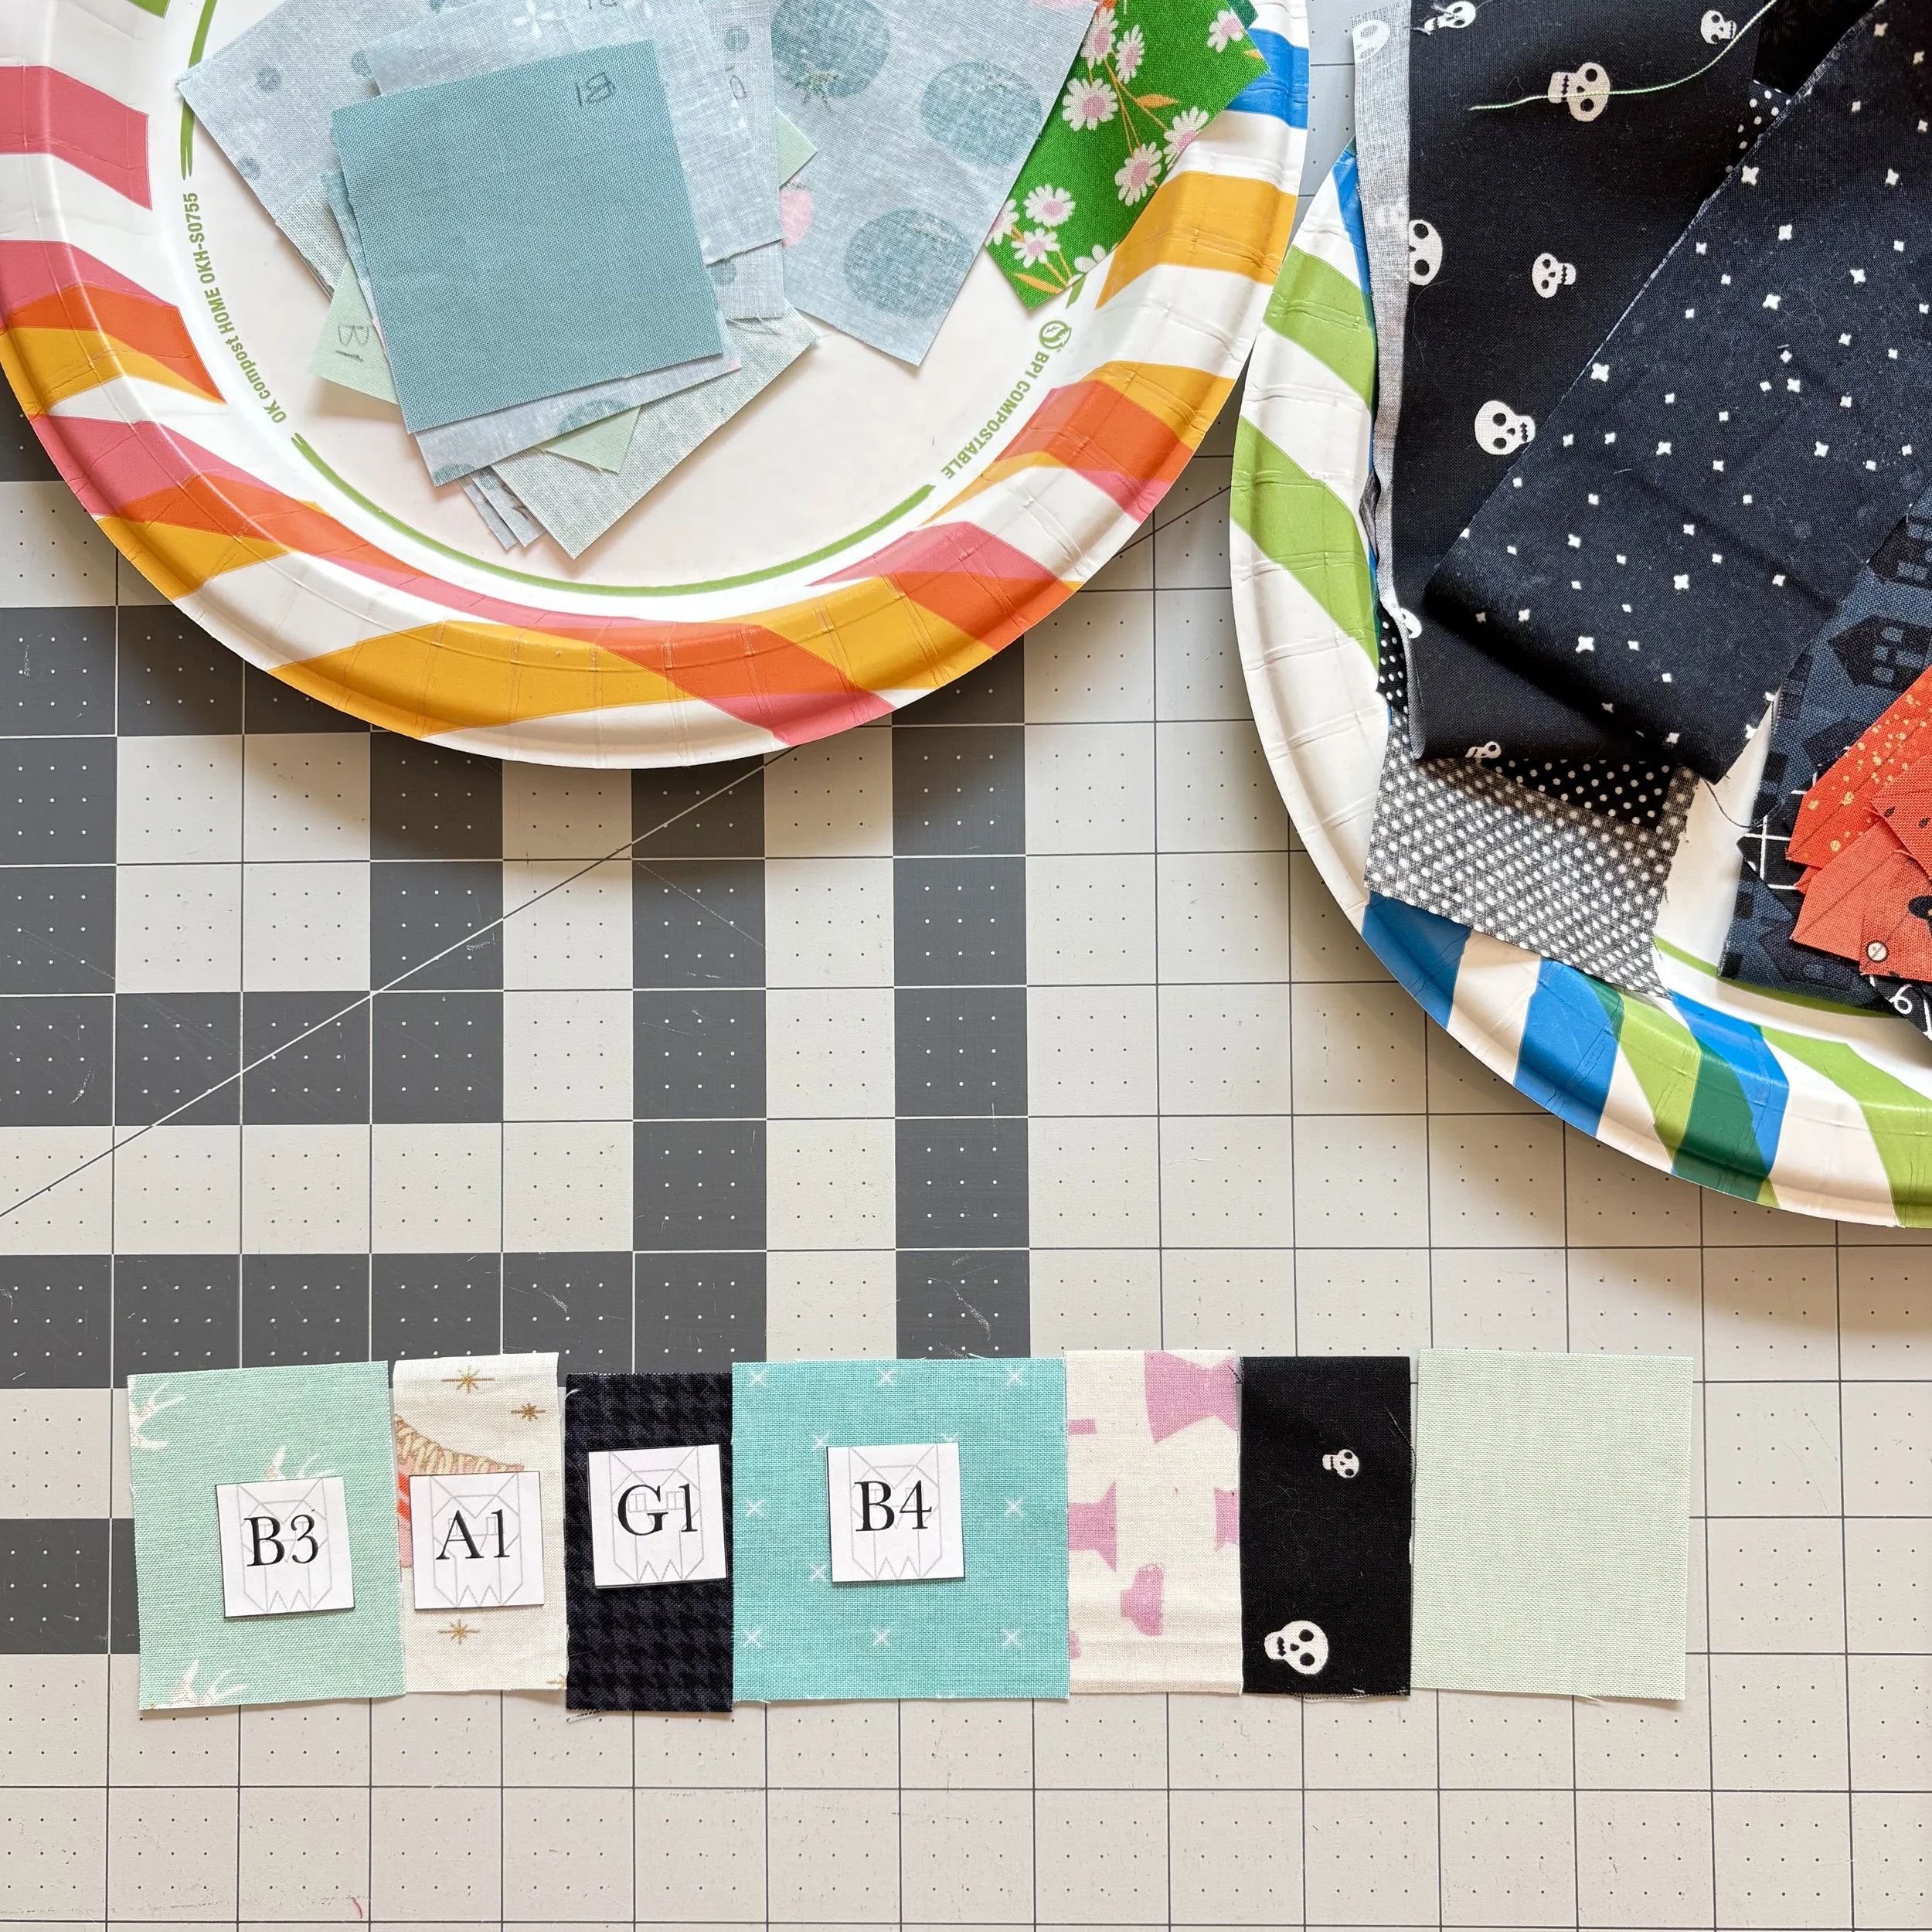
In the original pattern, all three eye units are subcut from one strip pieced unit. Because the scrappy owls have different fabrics in the body, I needed to make the eye units individually. I’ve updated the height dimensions of these units in the new, scrappy cutting chart so you can do the same.
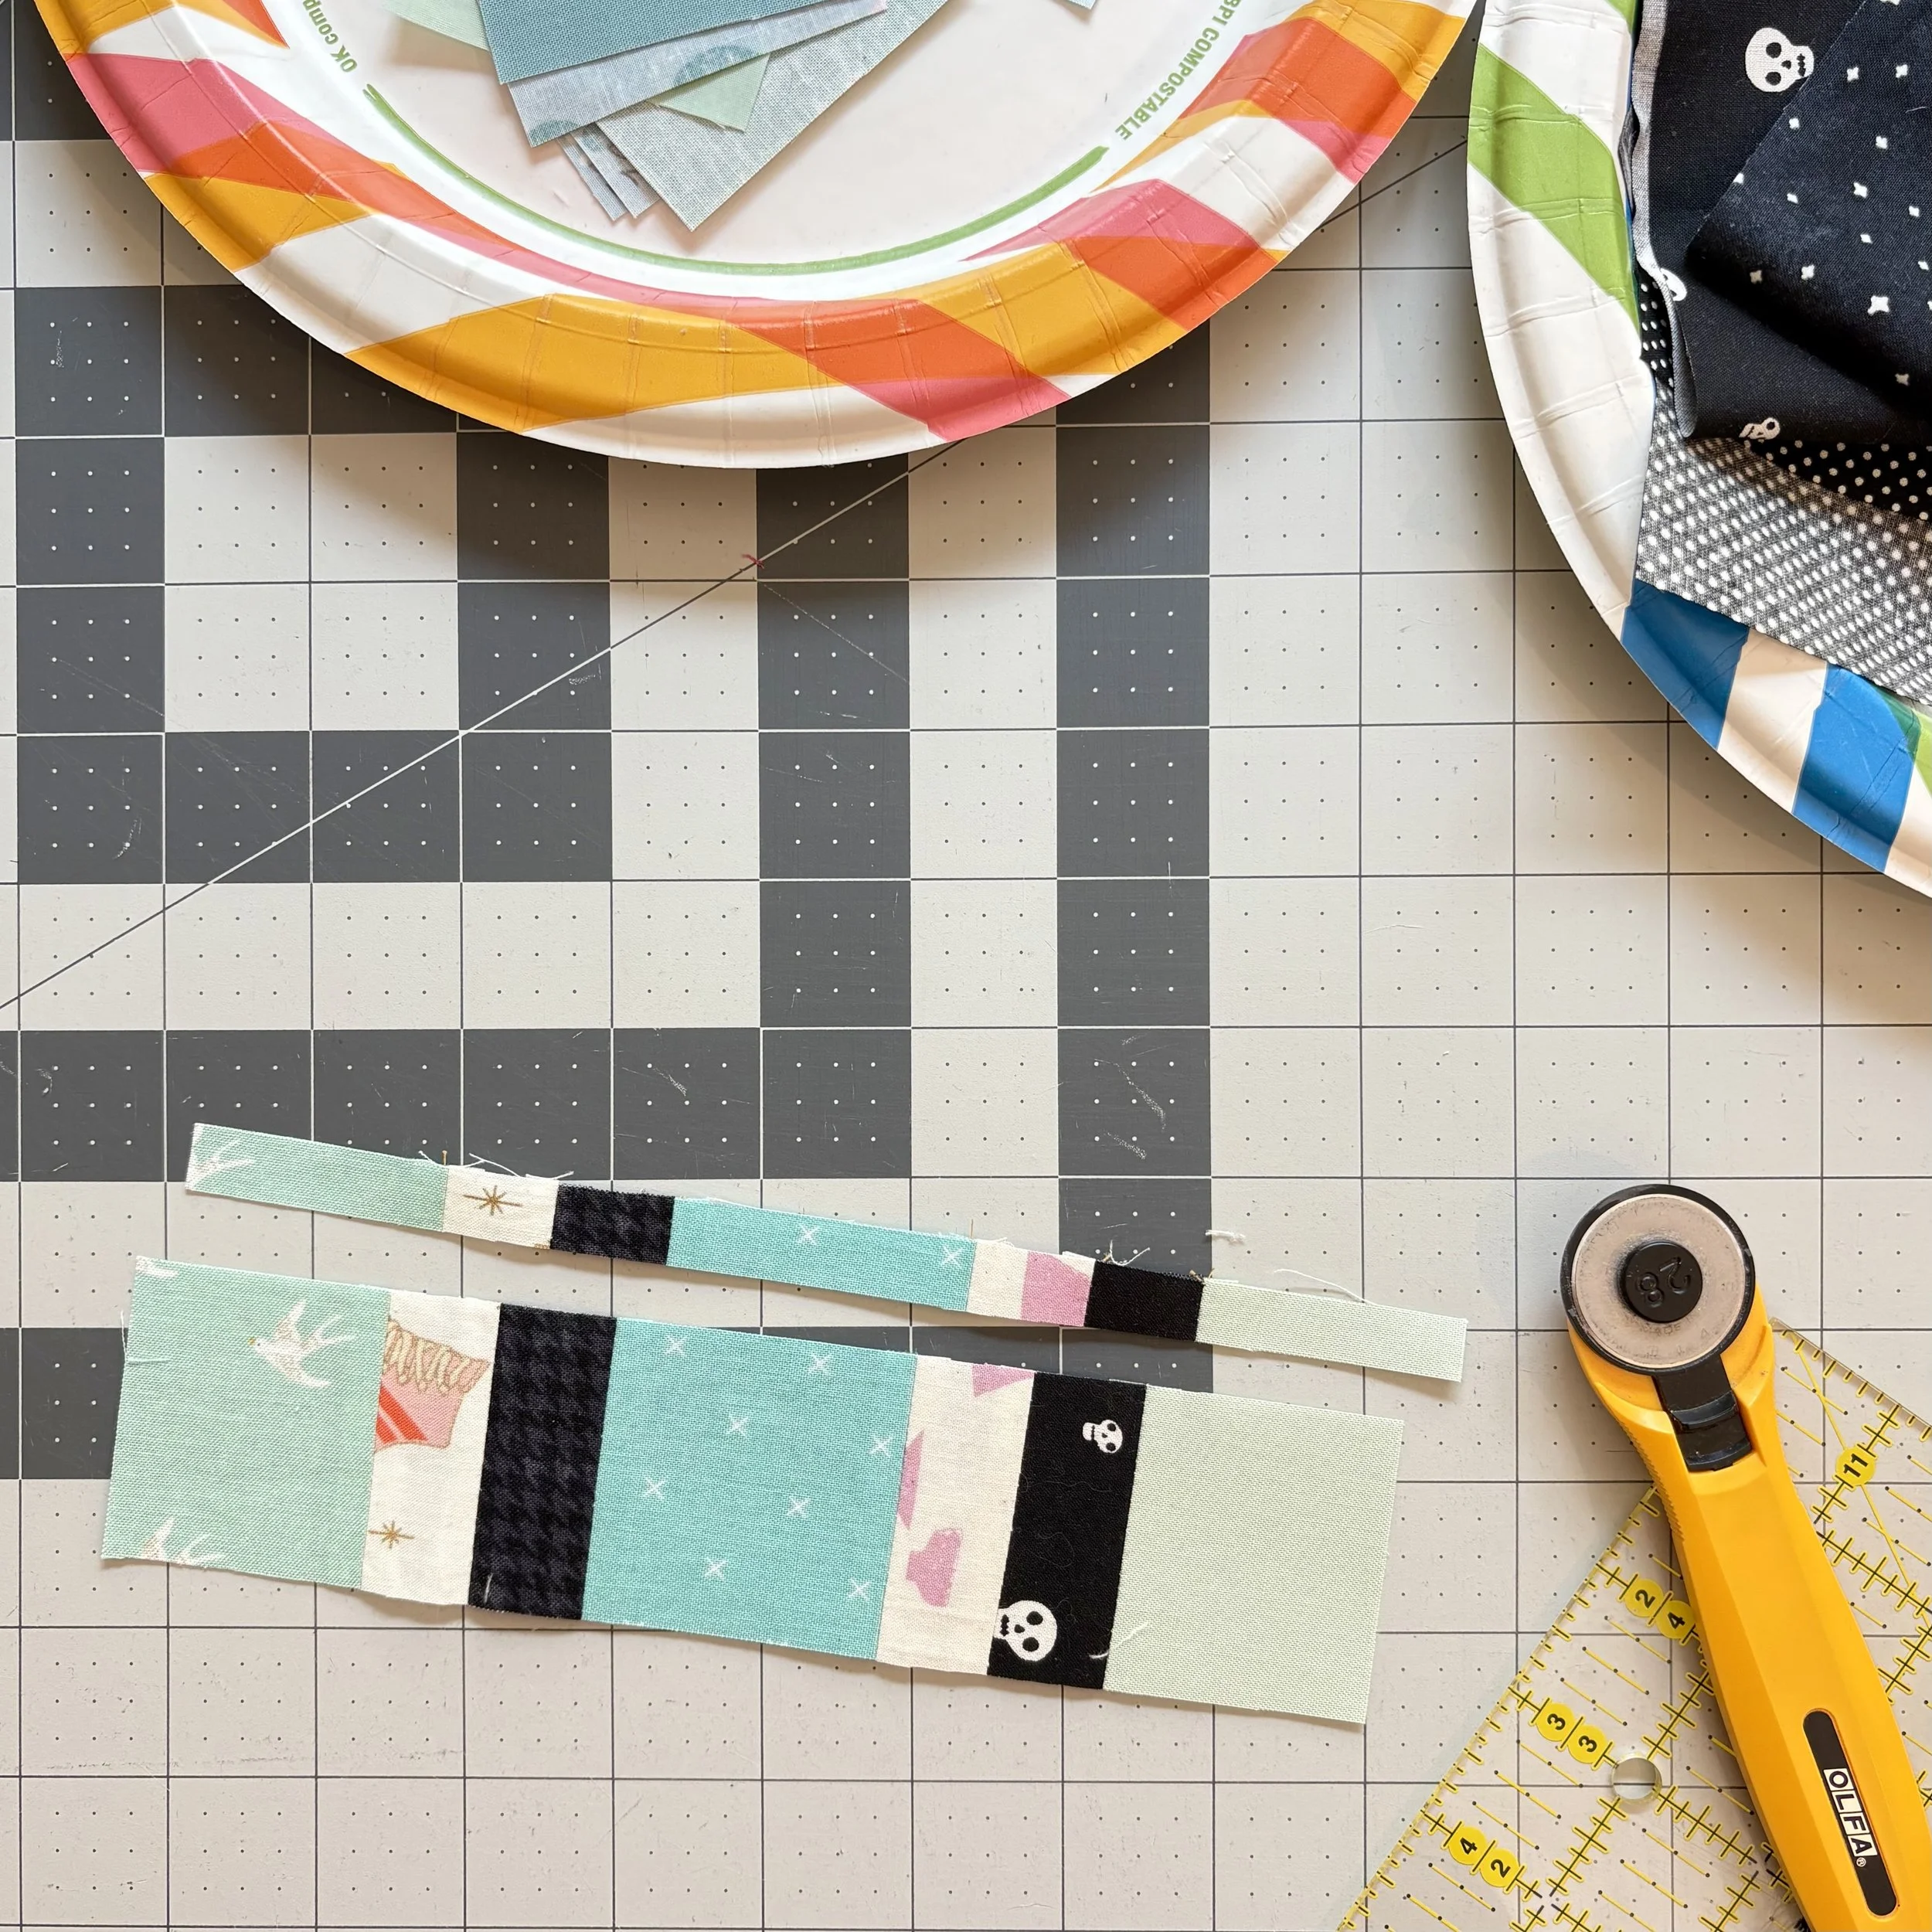
Trimming Eye Units
The updated dimensions still give you a tiny bit of trimming room. Don’t forget this step, or your units will be too tall for final block assembly.
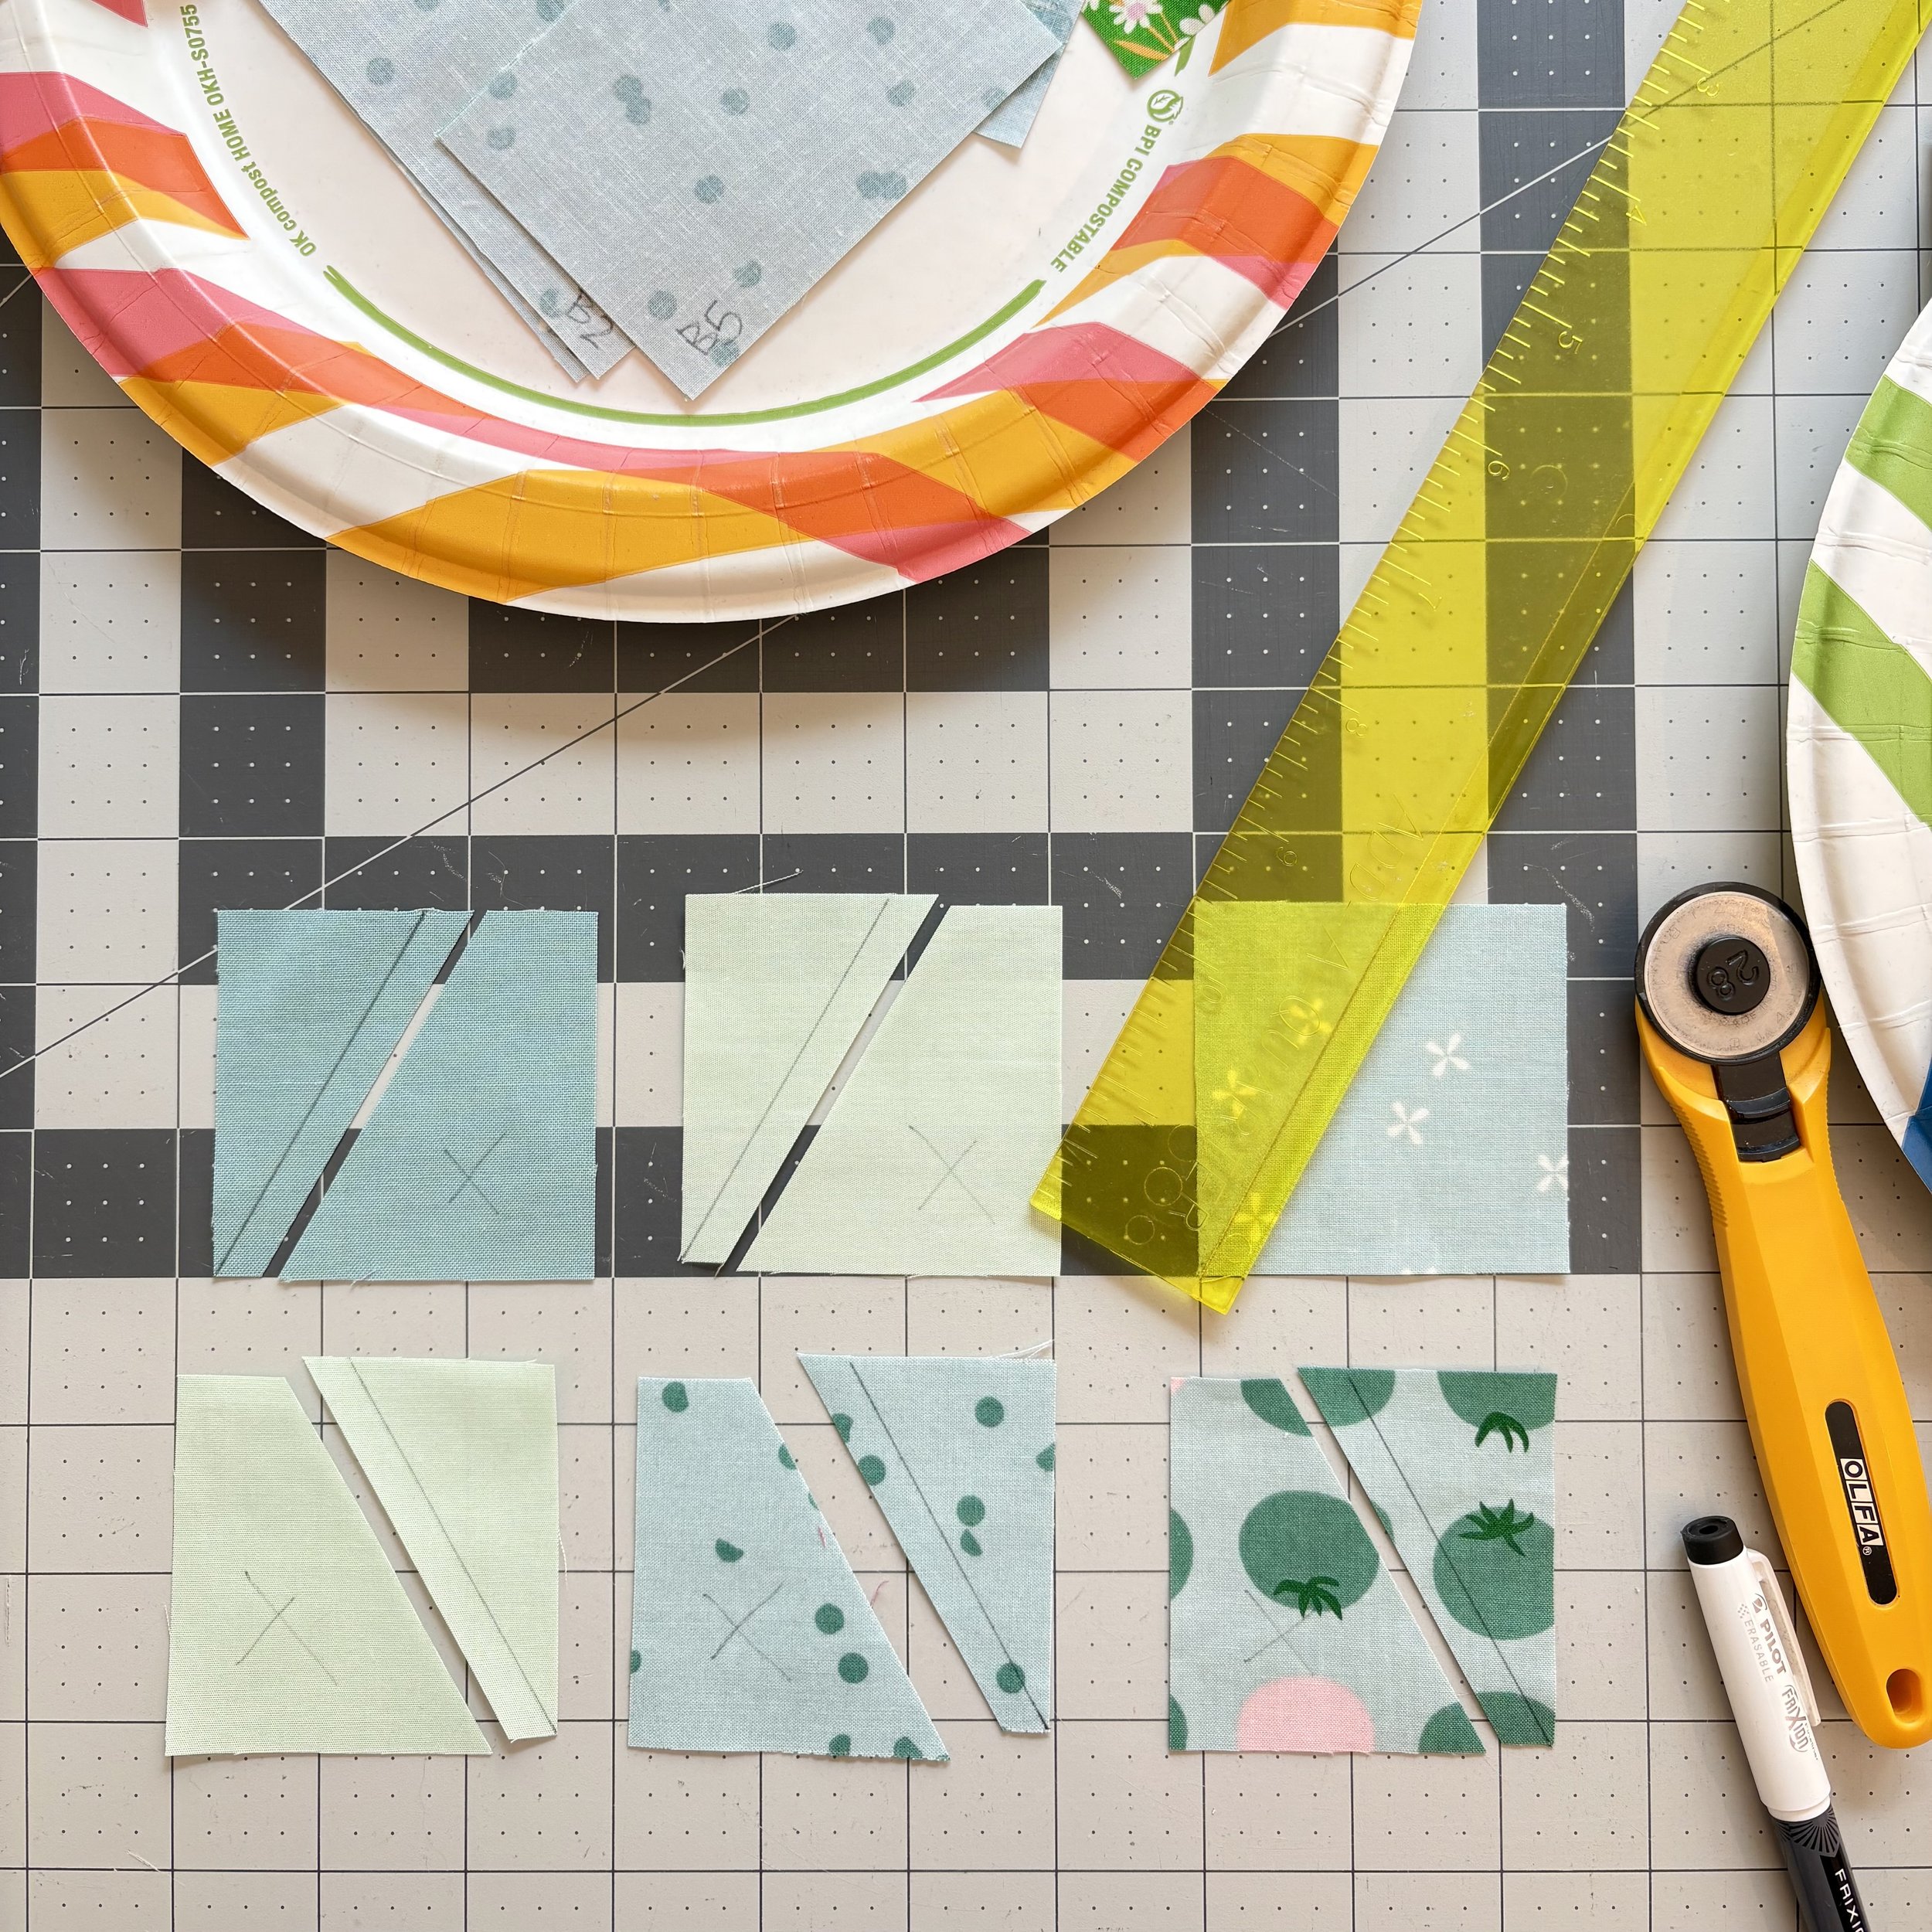
Equilateral Triangles
Part 2 of the pattern directs you to make a variety of units for the equilateral triangles. Follow steps 1, 2, and 3 as written.
In step 4, use three B1 squares from each light body fabric. (See the bottom row of units in this picture).
In step 5, use three B1 squares from each light body fabric as well. (See the top row of units in this picture).
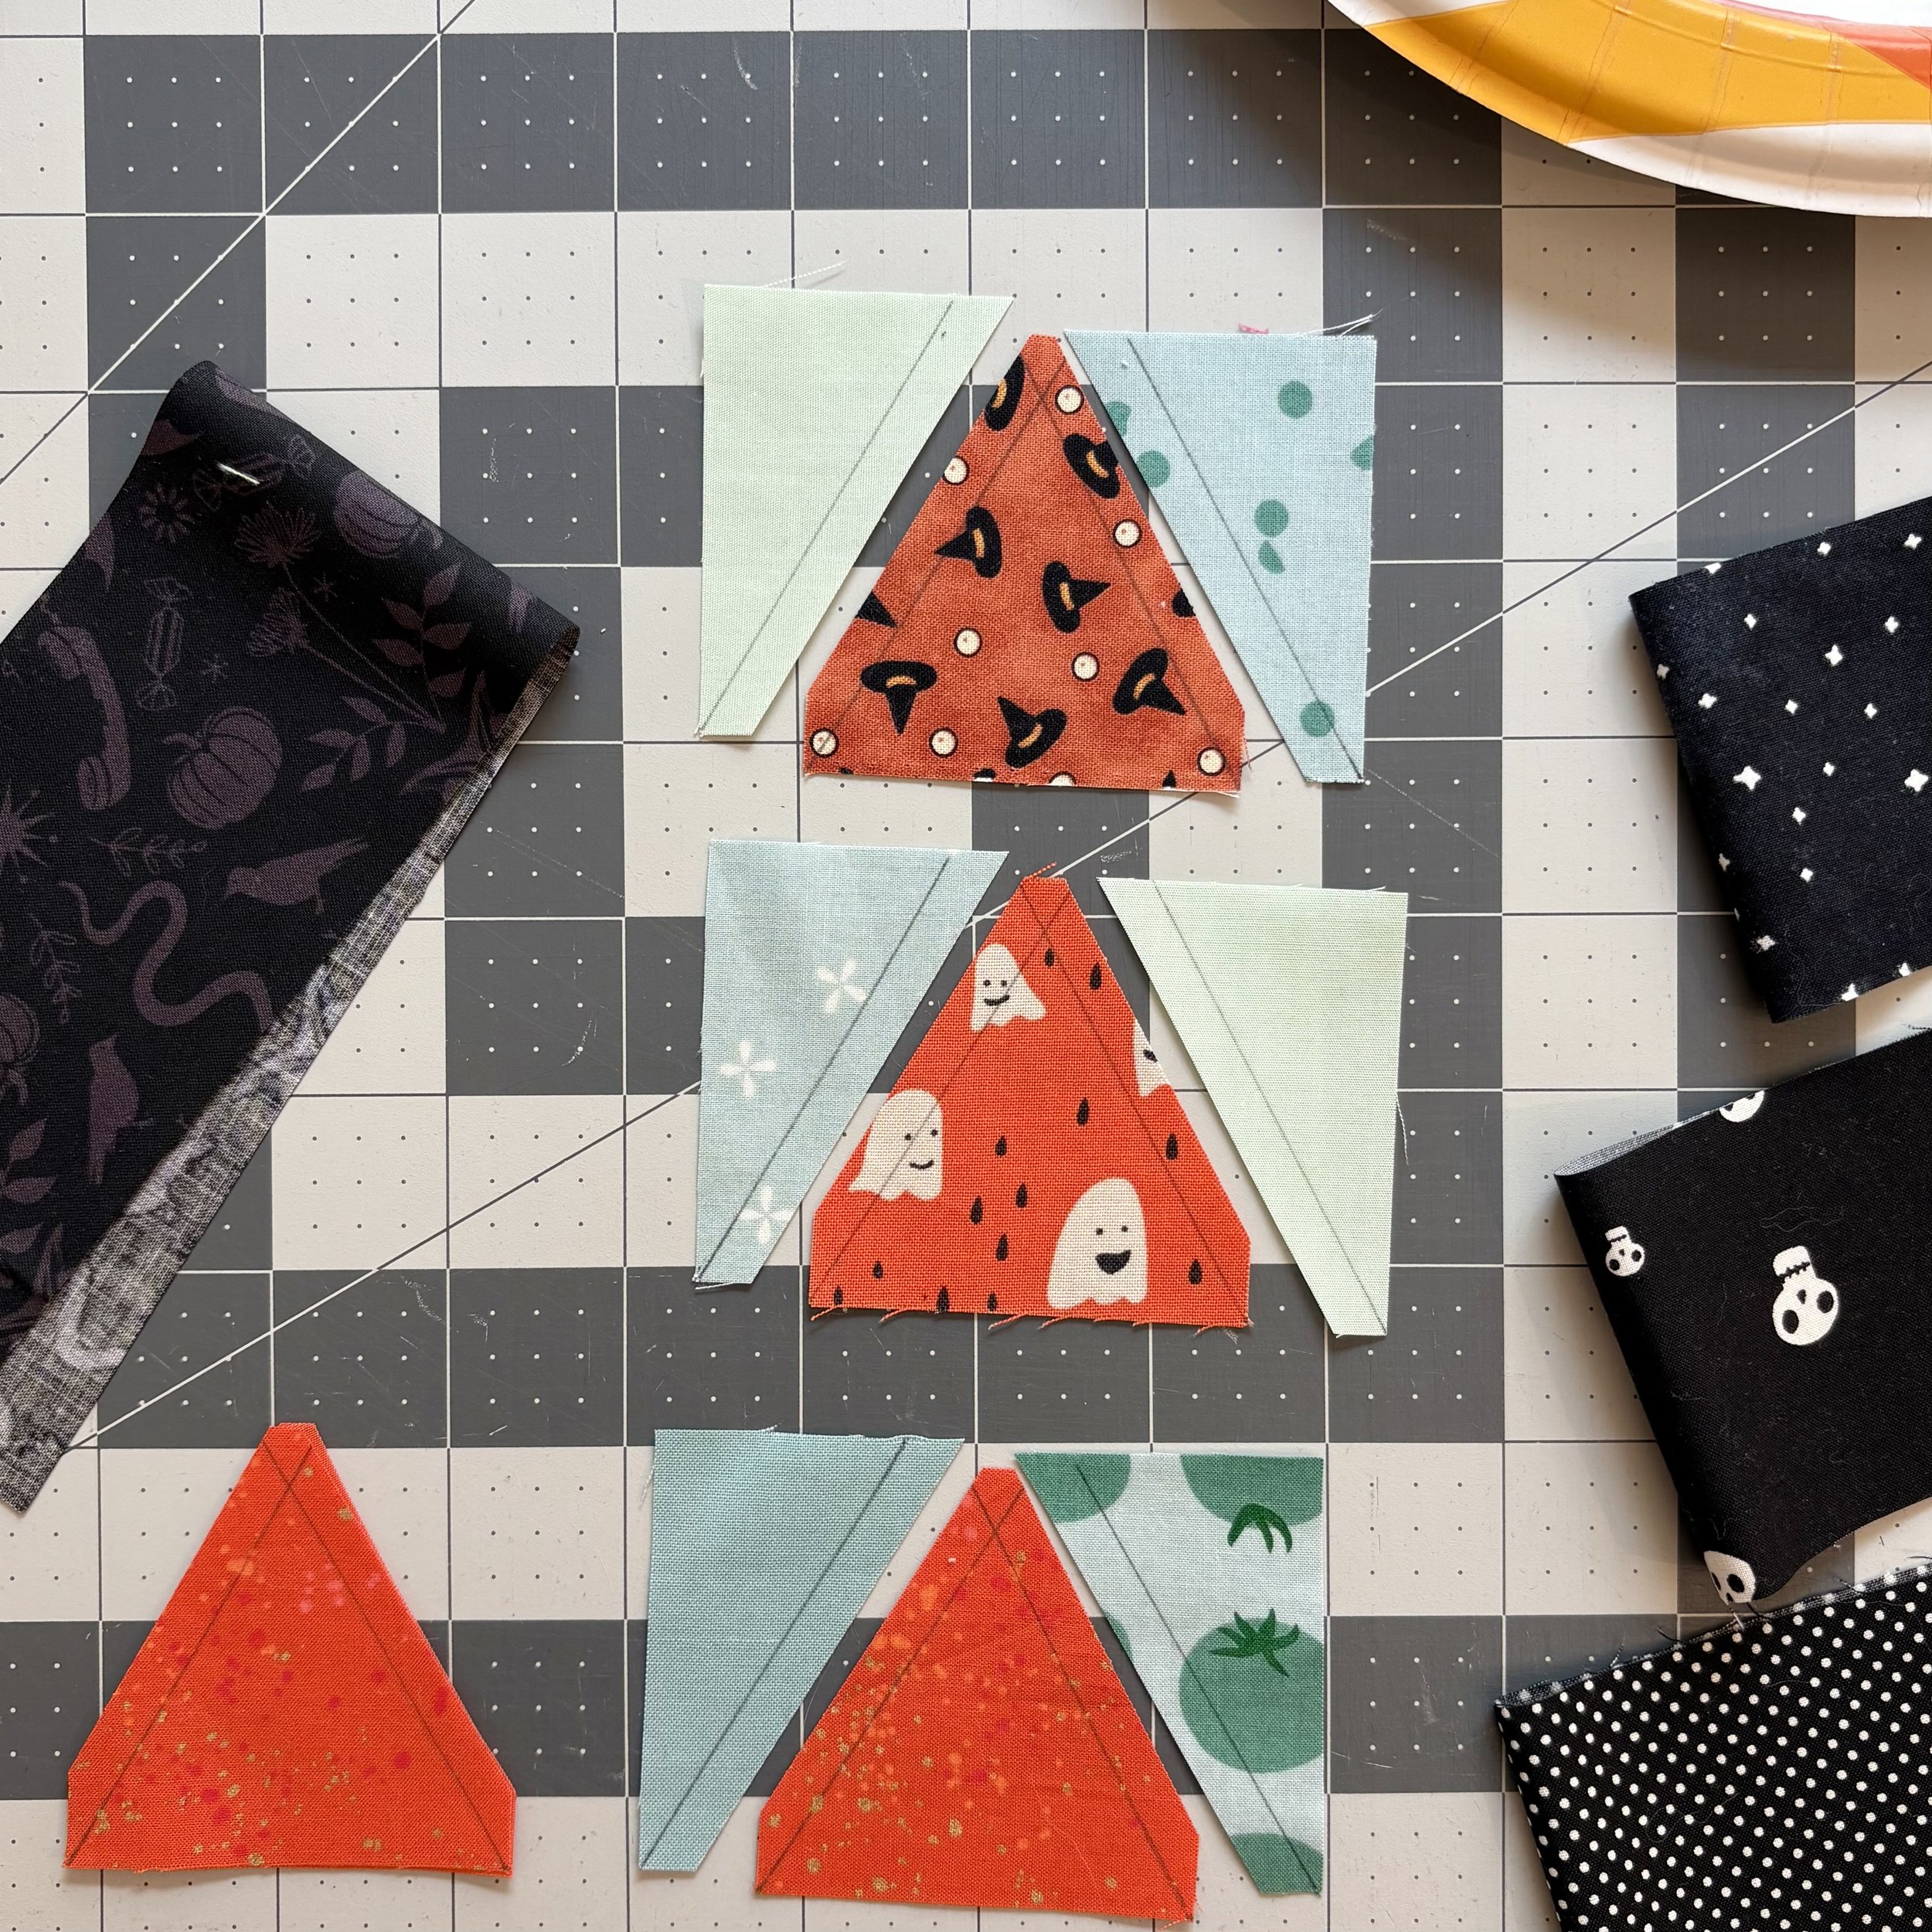
If you want even more detailed information on how to make these equilateral triangles, check out this blog post.
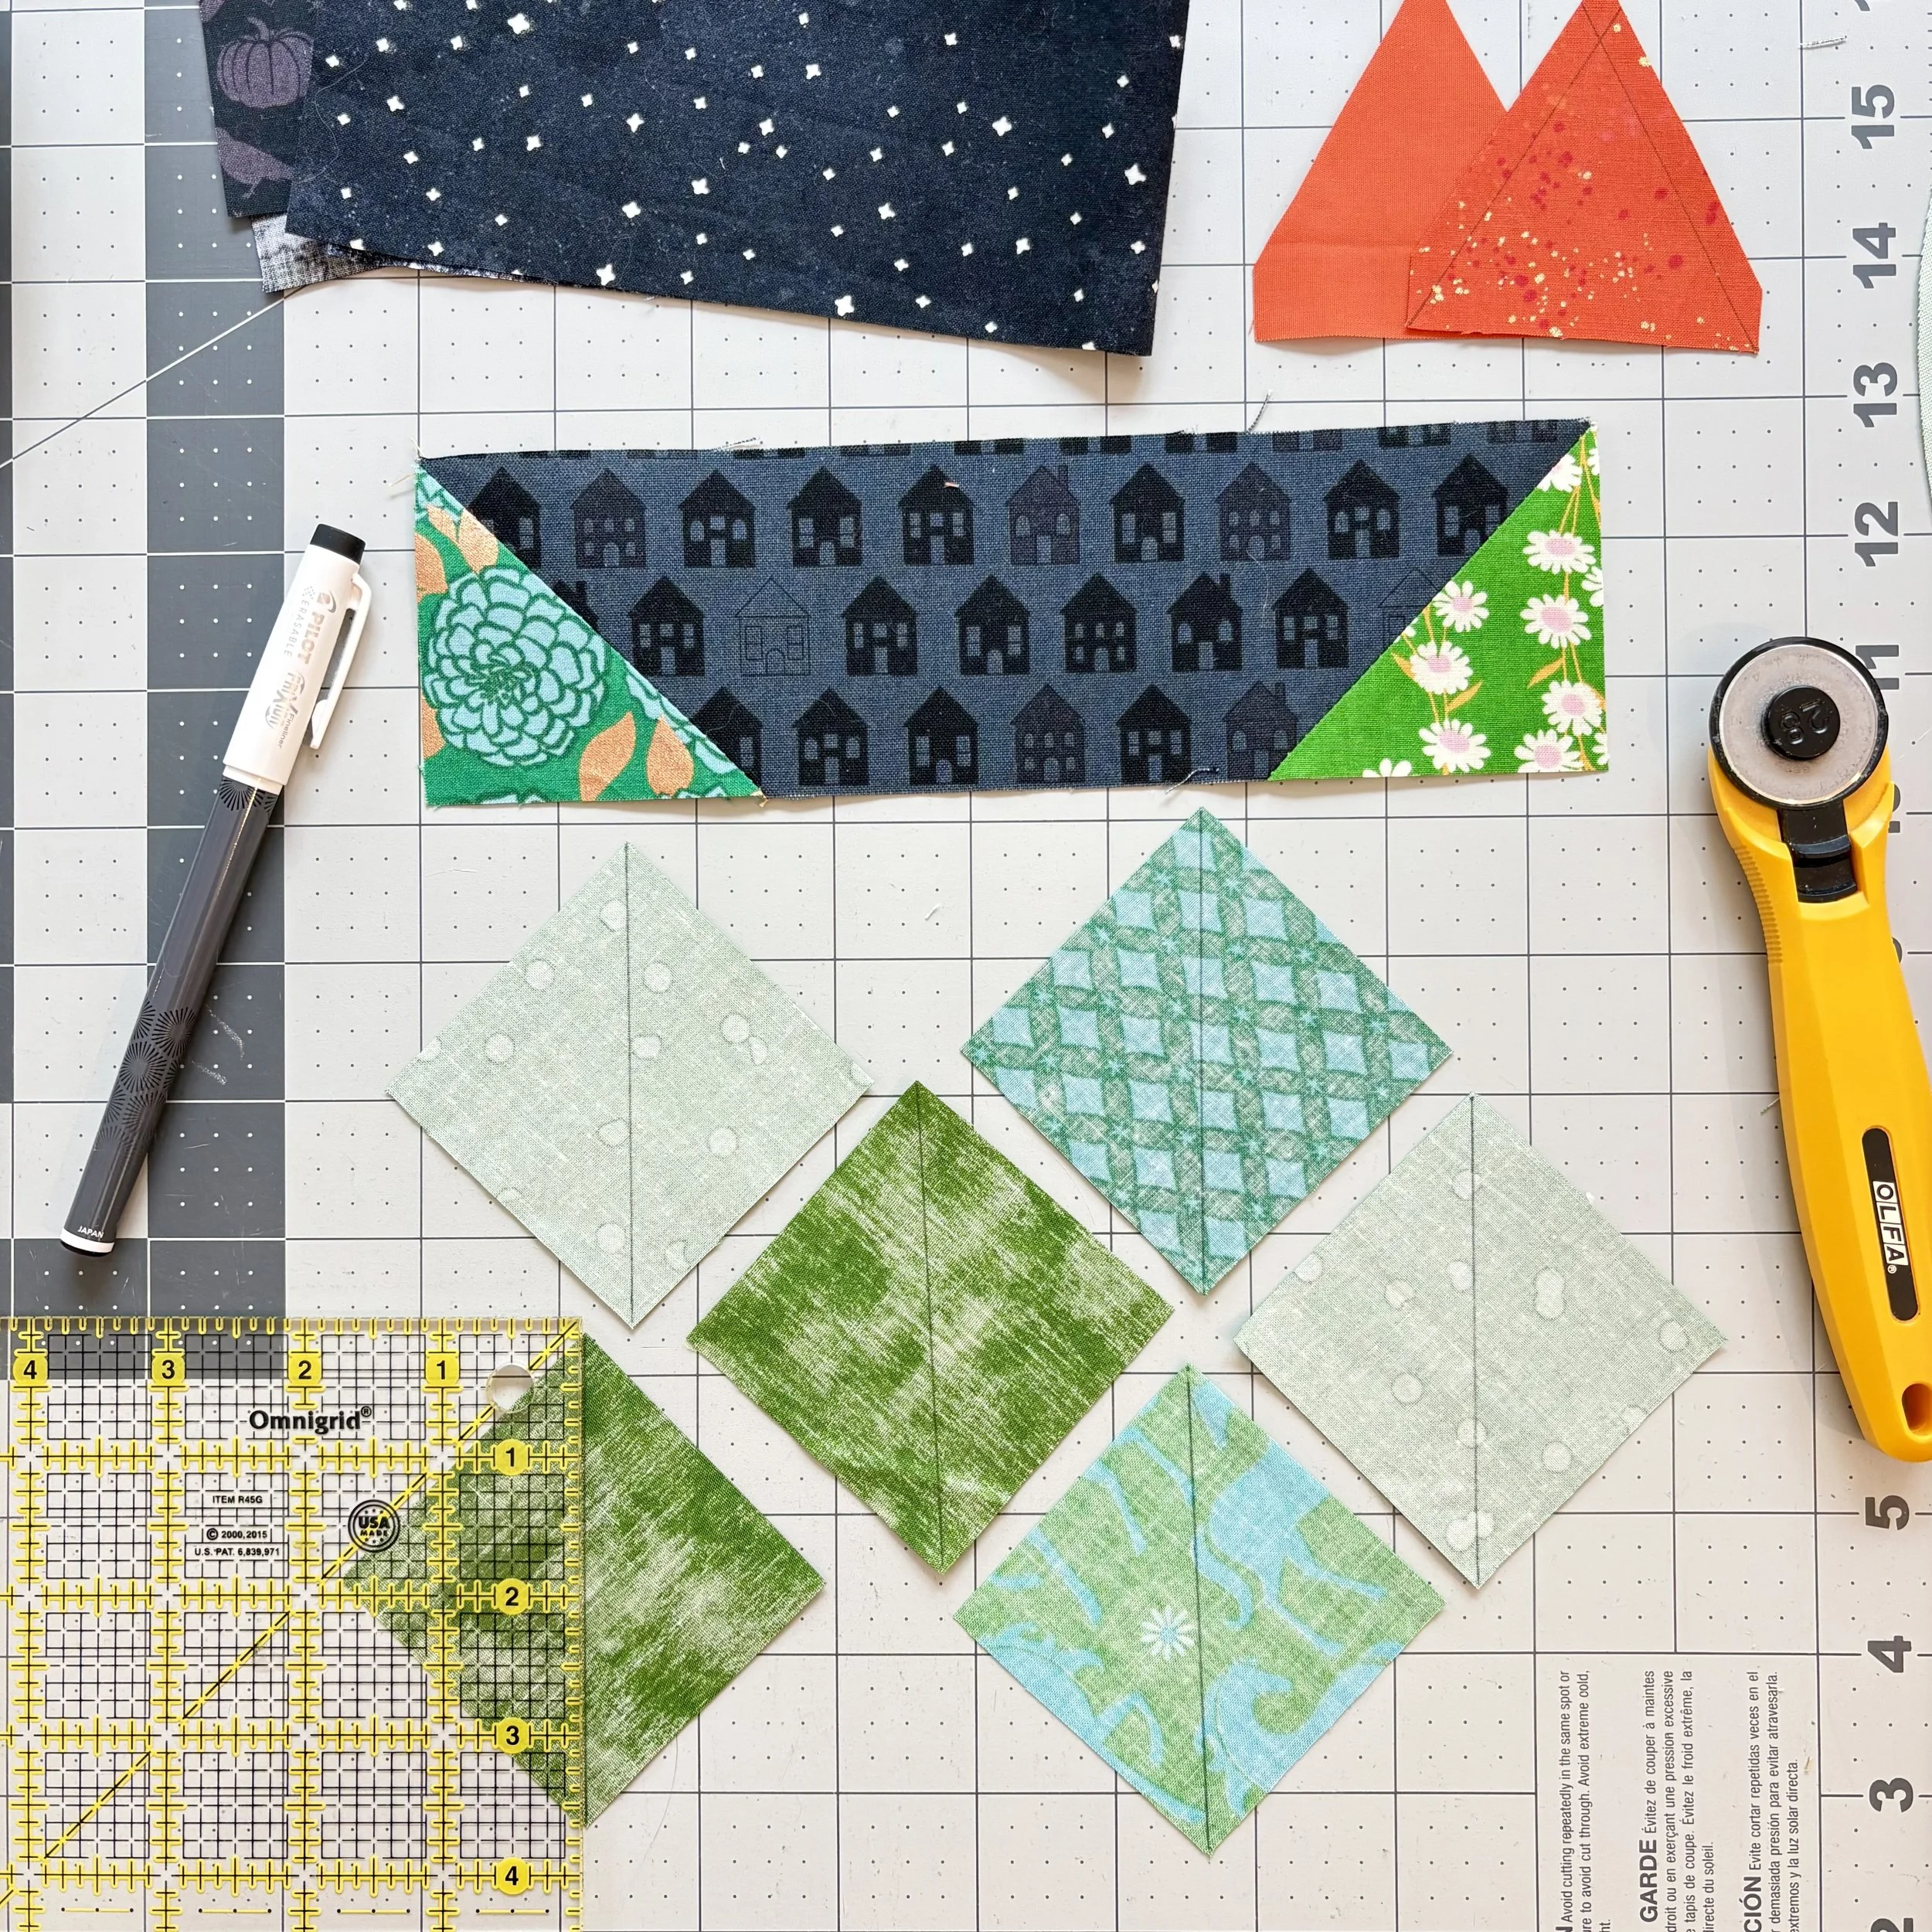
Stitch and Flip
Part 3 of the pattern is all about the stitch and flip units. I found it easiest to start by drawing the diagonal line on all the D1 squares at the beginning.
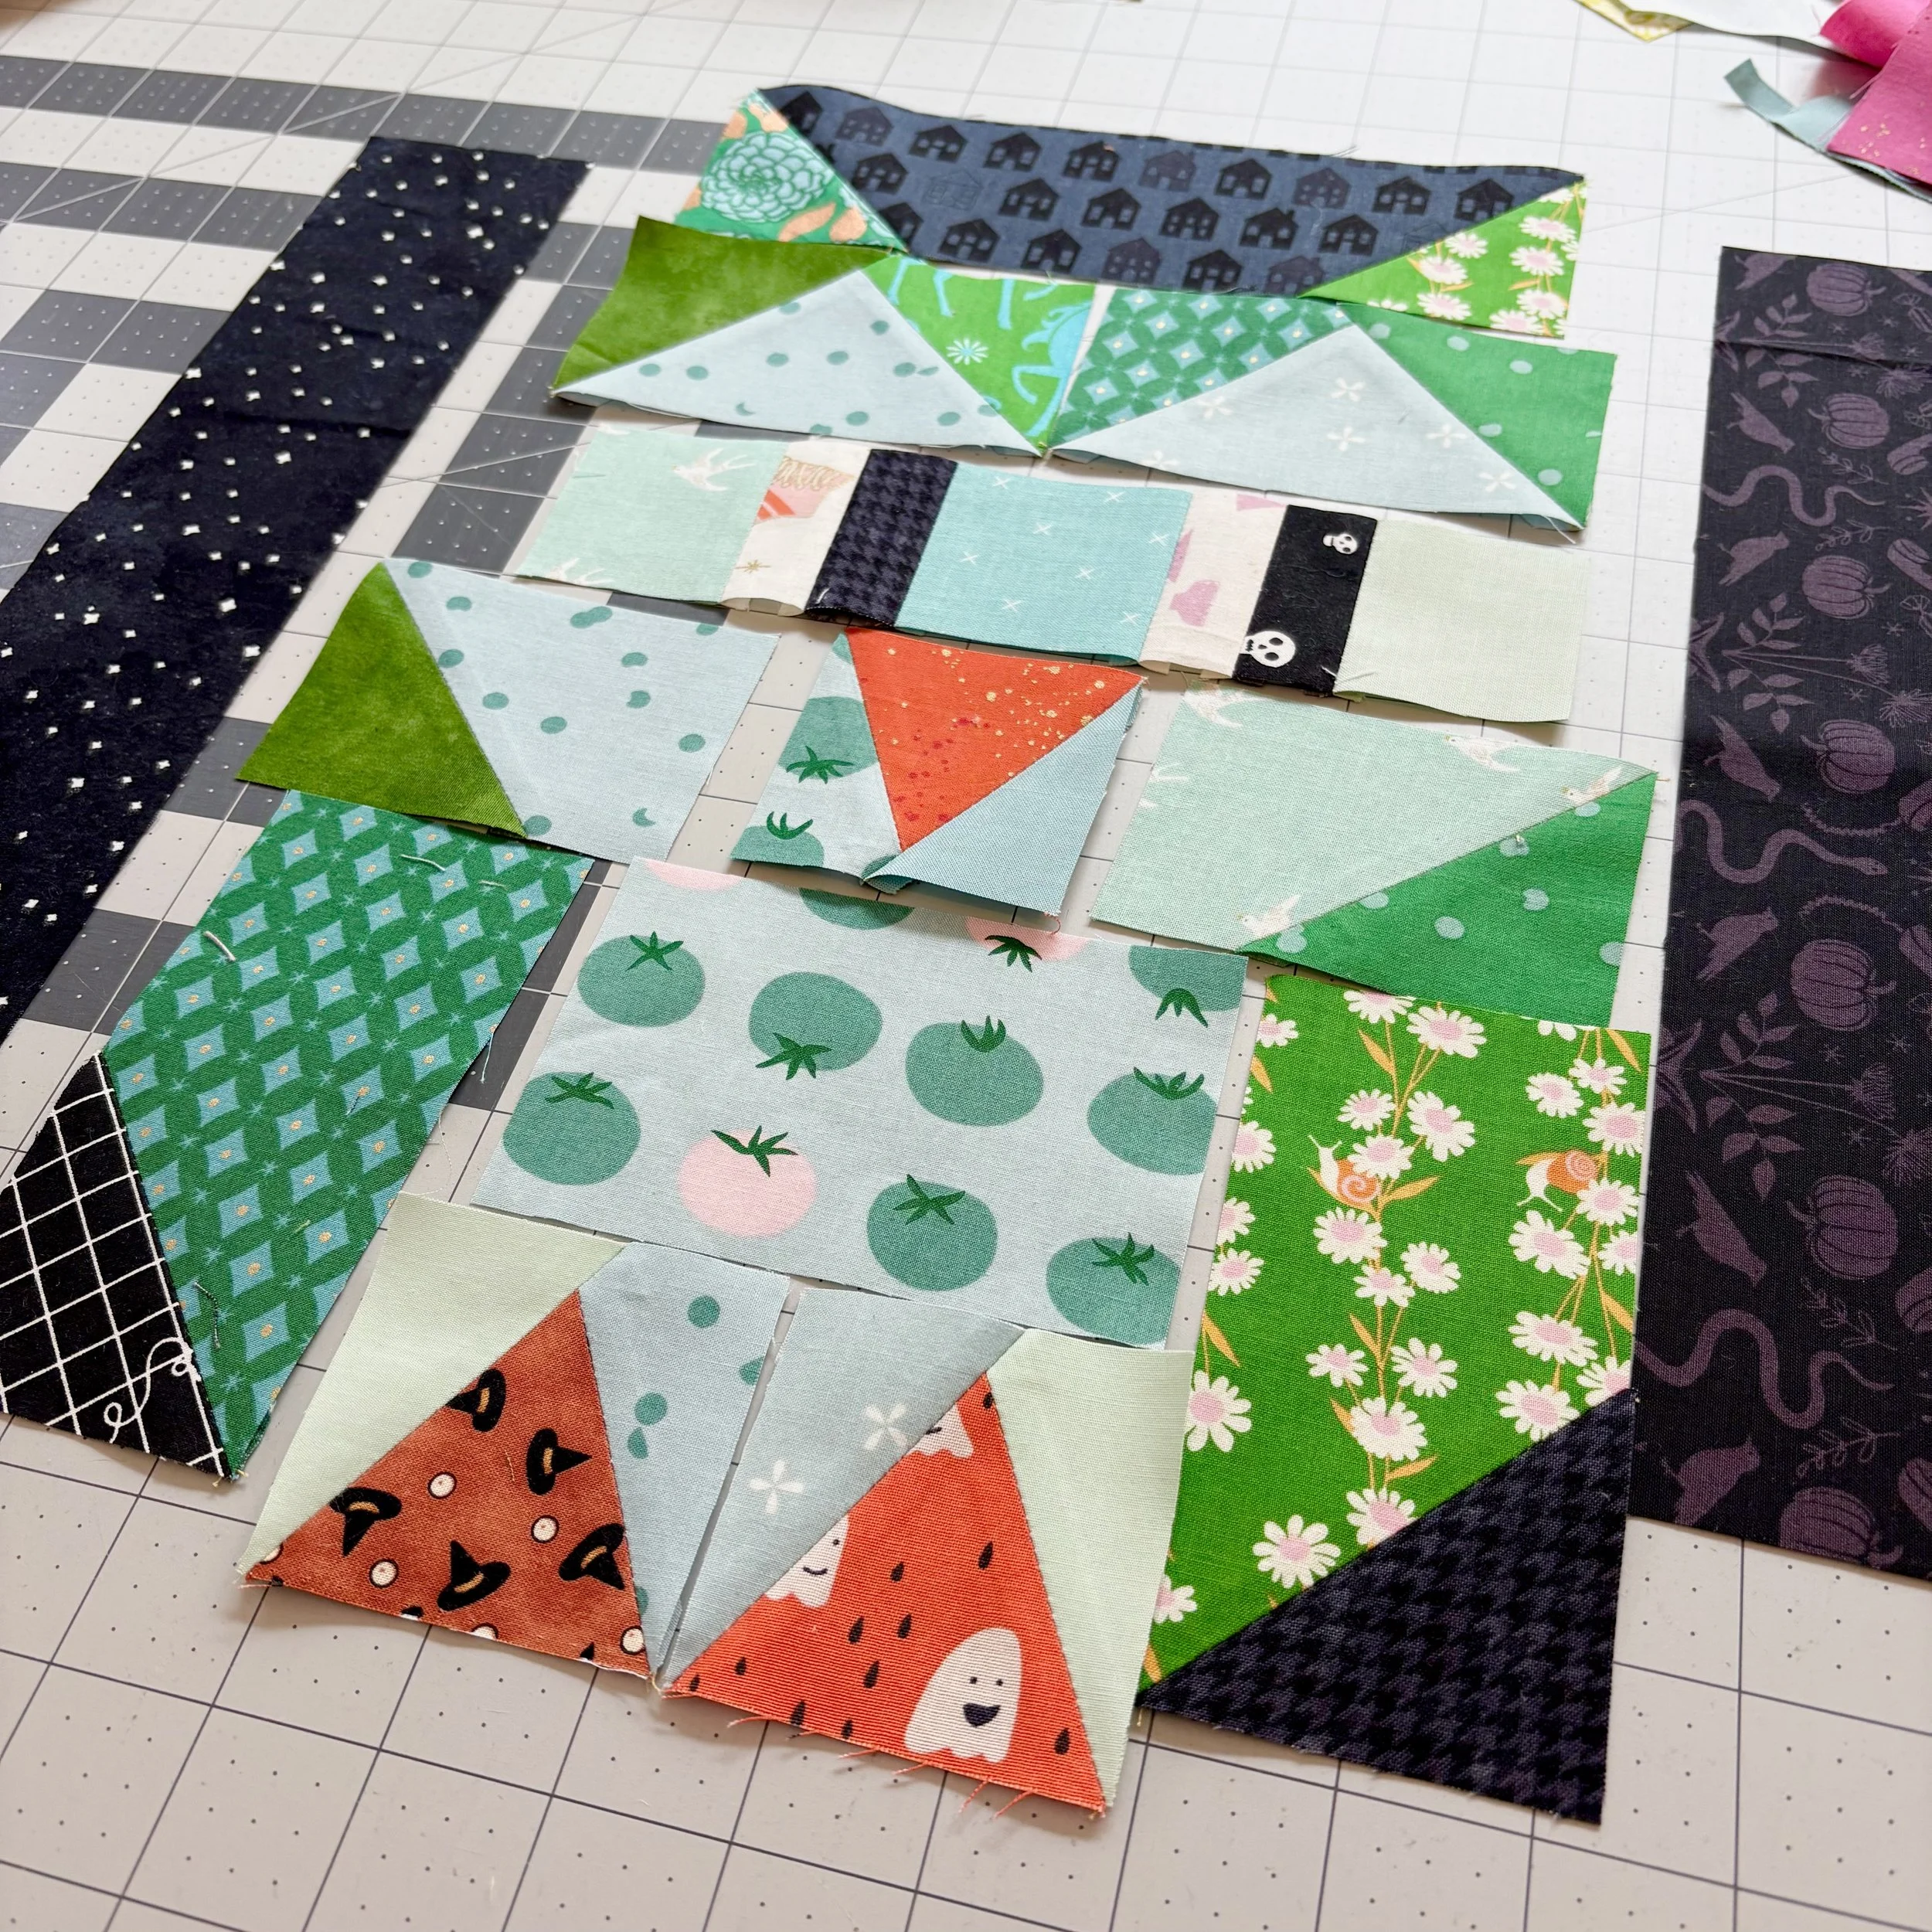
Owl Assembly
From here, assembly is a hoot! Just follow the assembly diagrams on pages 5 and 6.