Pump Queen: Equilateral Triangles
Sometimes the most simple shapes can make the biggest design impact. The equilateral triangles, inset circle and patchwork squares play together so elegantly in the Pump Queen block! Making the triangles is so straight forward and fun that you’ll have a hard time stopping at just six of them.
I’ve written the pattern so that you mark on the right side of the fabric. Some other equilateral triangle patterns have you mark on the wrong side of the fabric. I found that to be confusing, but you should know that that is an option if you don’t like using marking tools on the right side of your patchwork.
Make sure you reference Table 1 in the pattern to know how many center, left and right triangles to make.
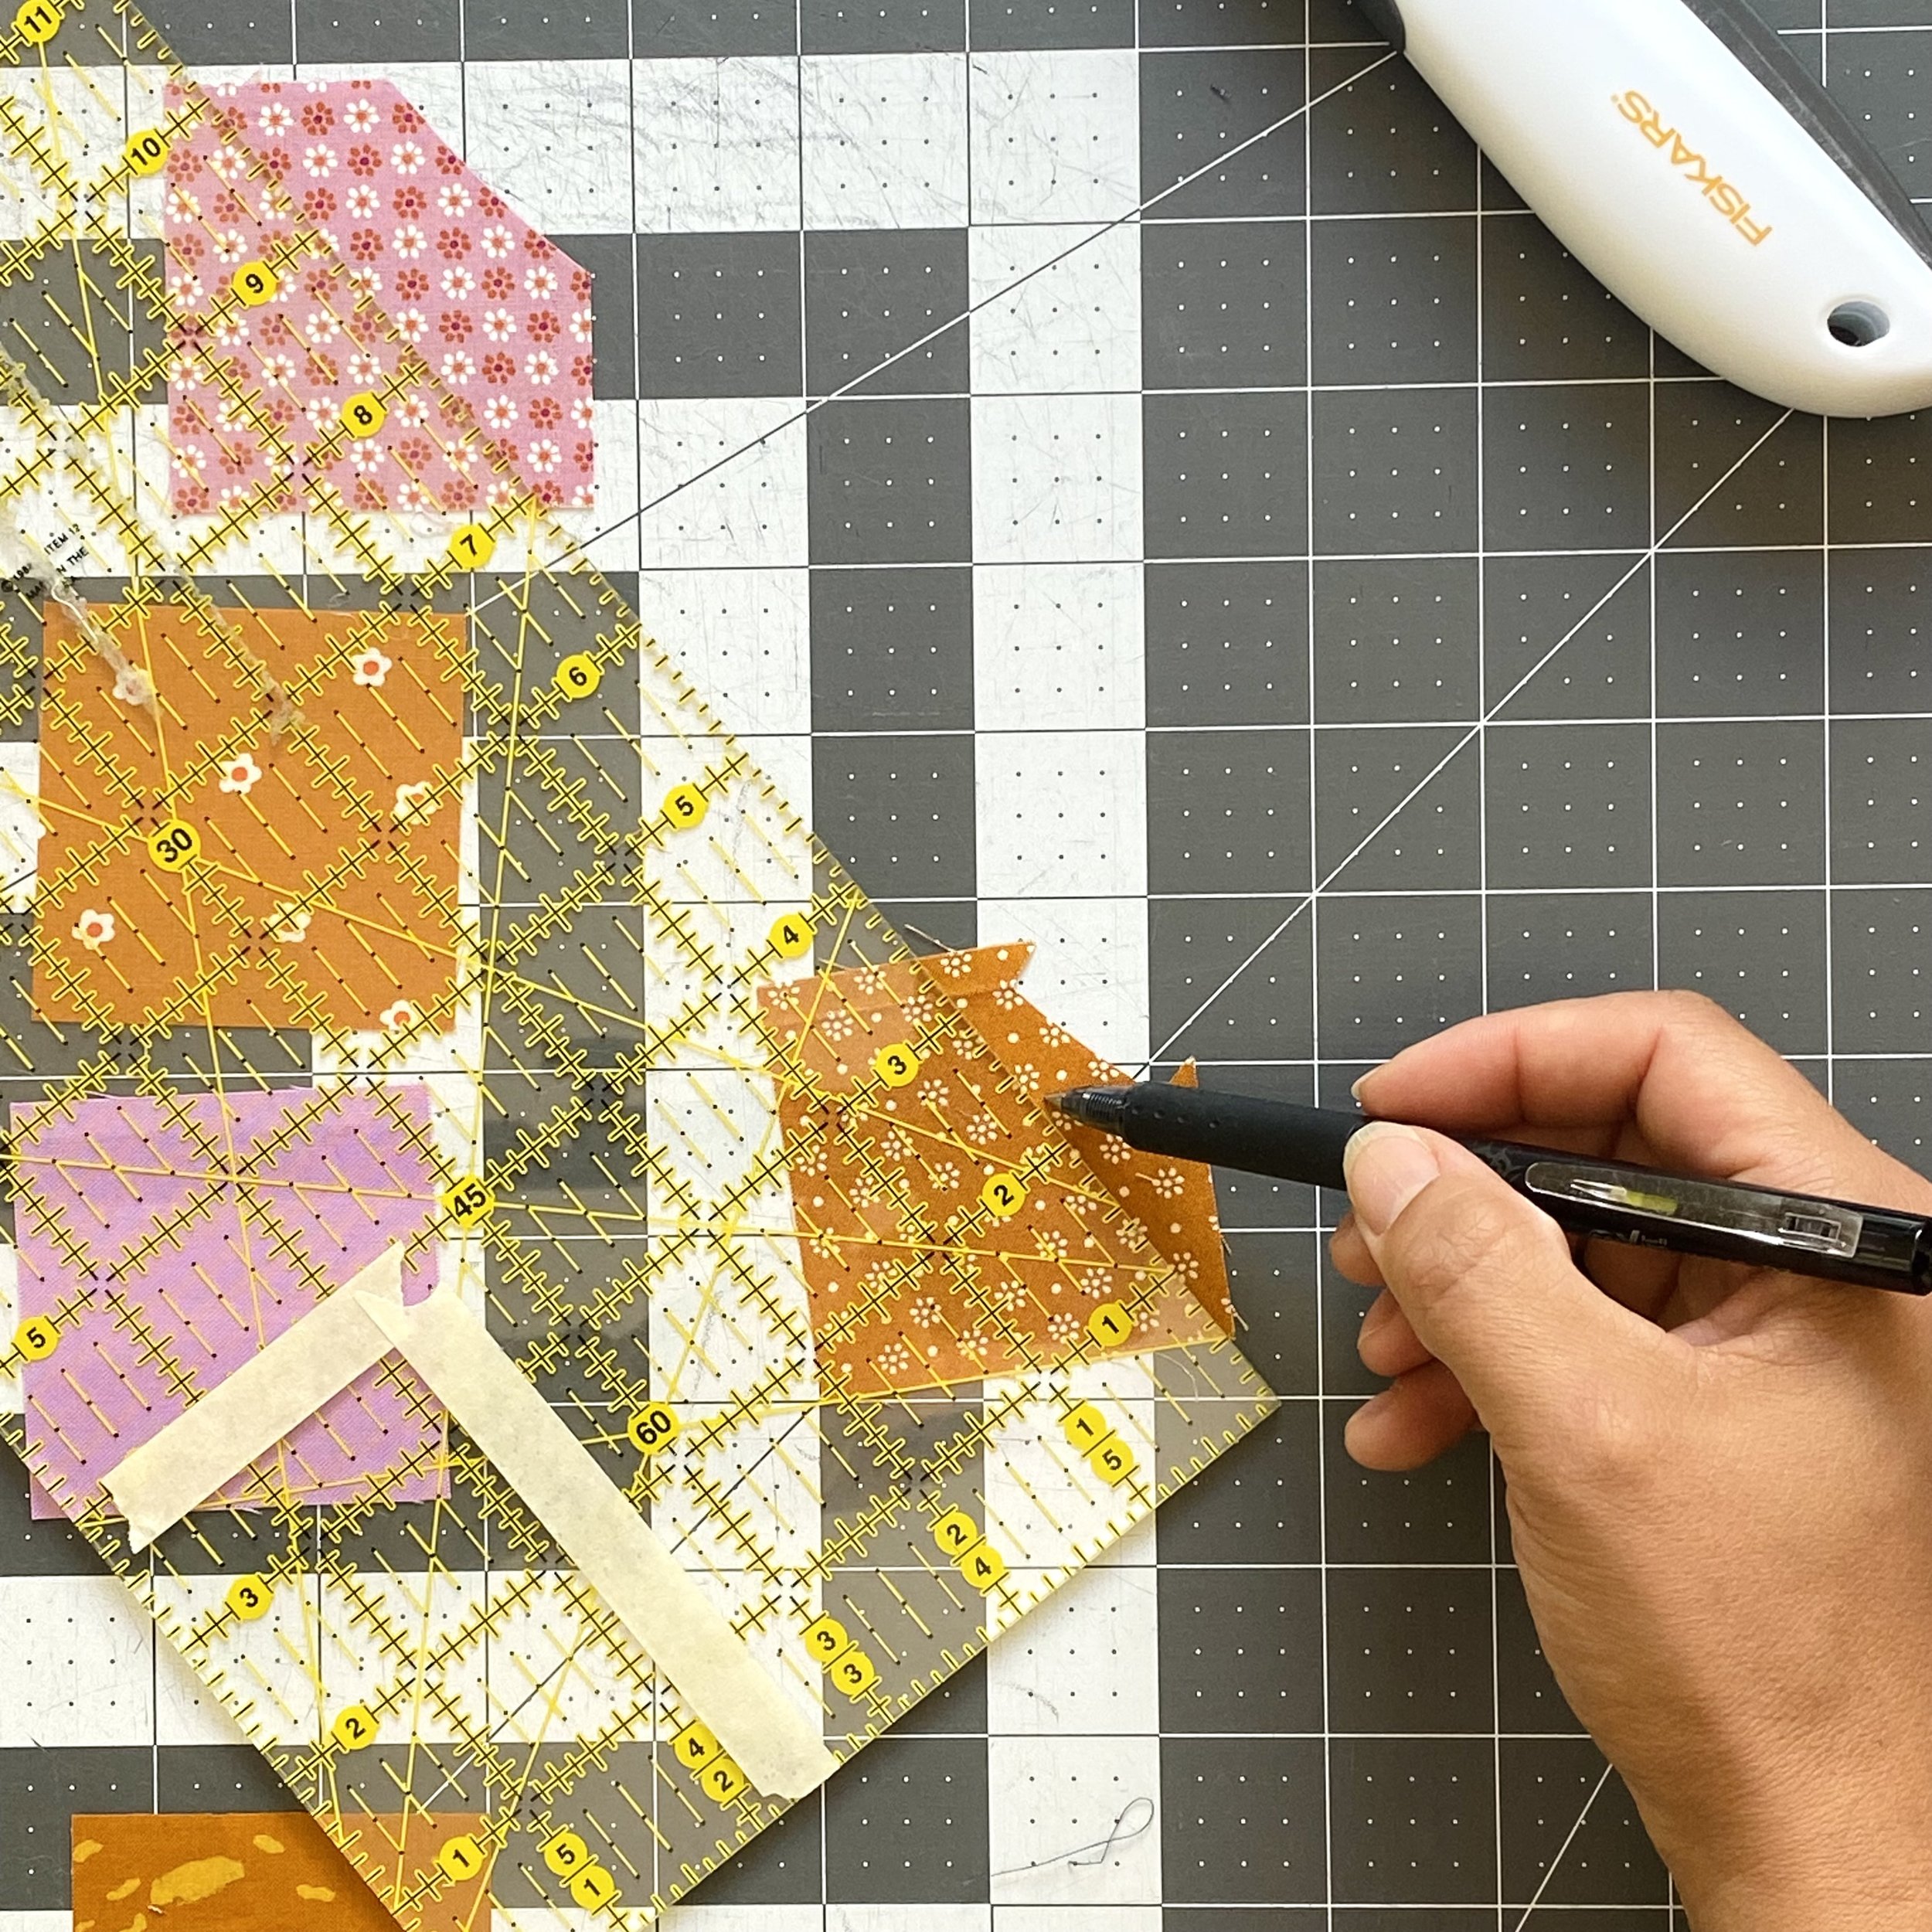
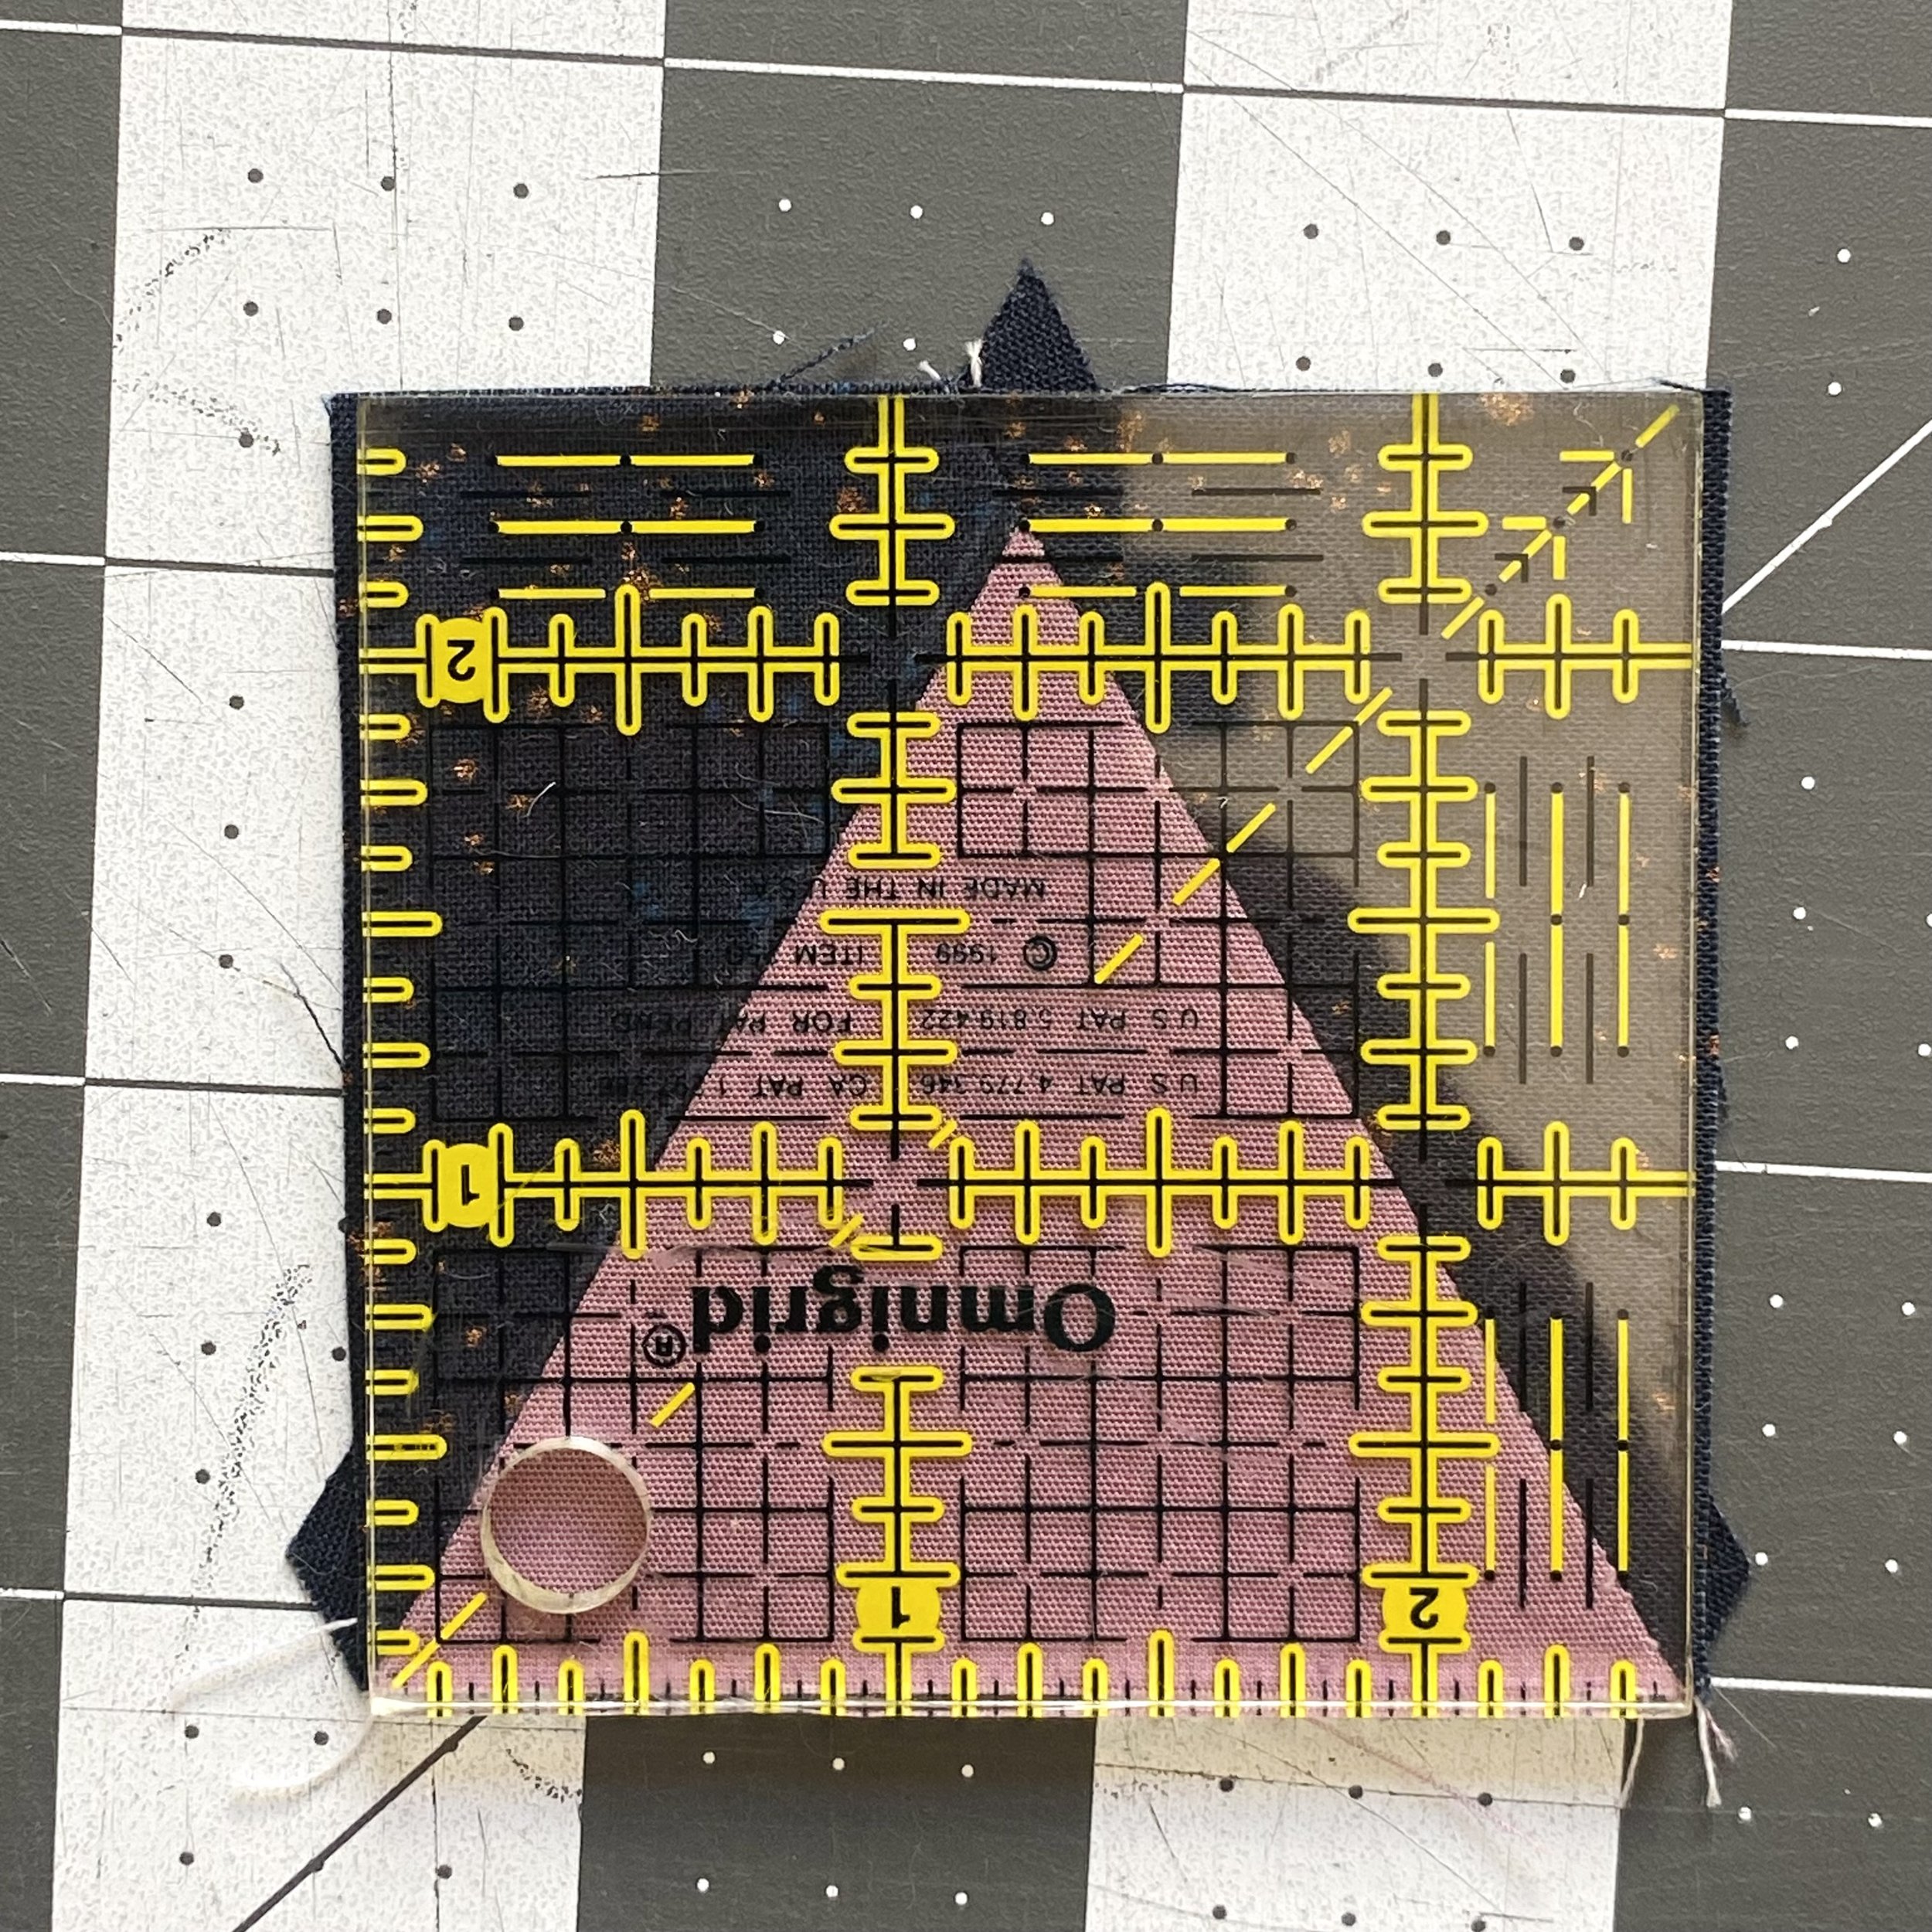
To make a center triangle, I’ve aligned the 60 degree line with the bottom of the square and drawn a line from the corner of the block to the center top.
I noted in the Sorting Scraps blog post that you can use incomplete squares in the eyes and nose triangles. Remember, you need complete squares for the background fabric to use in the smile triangles.
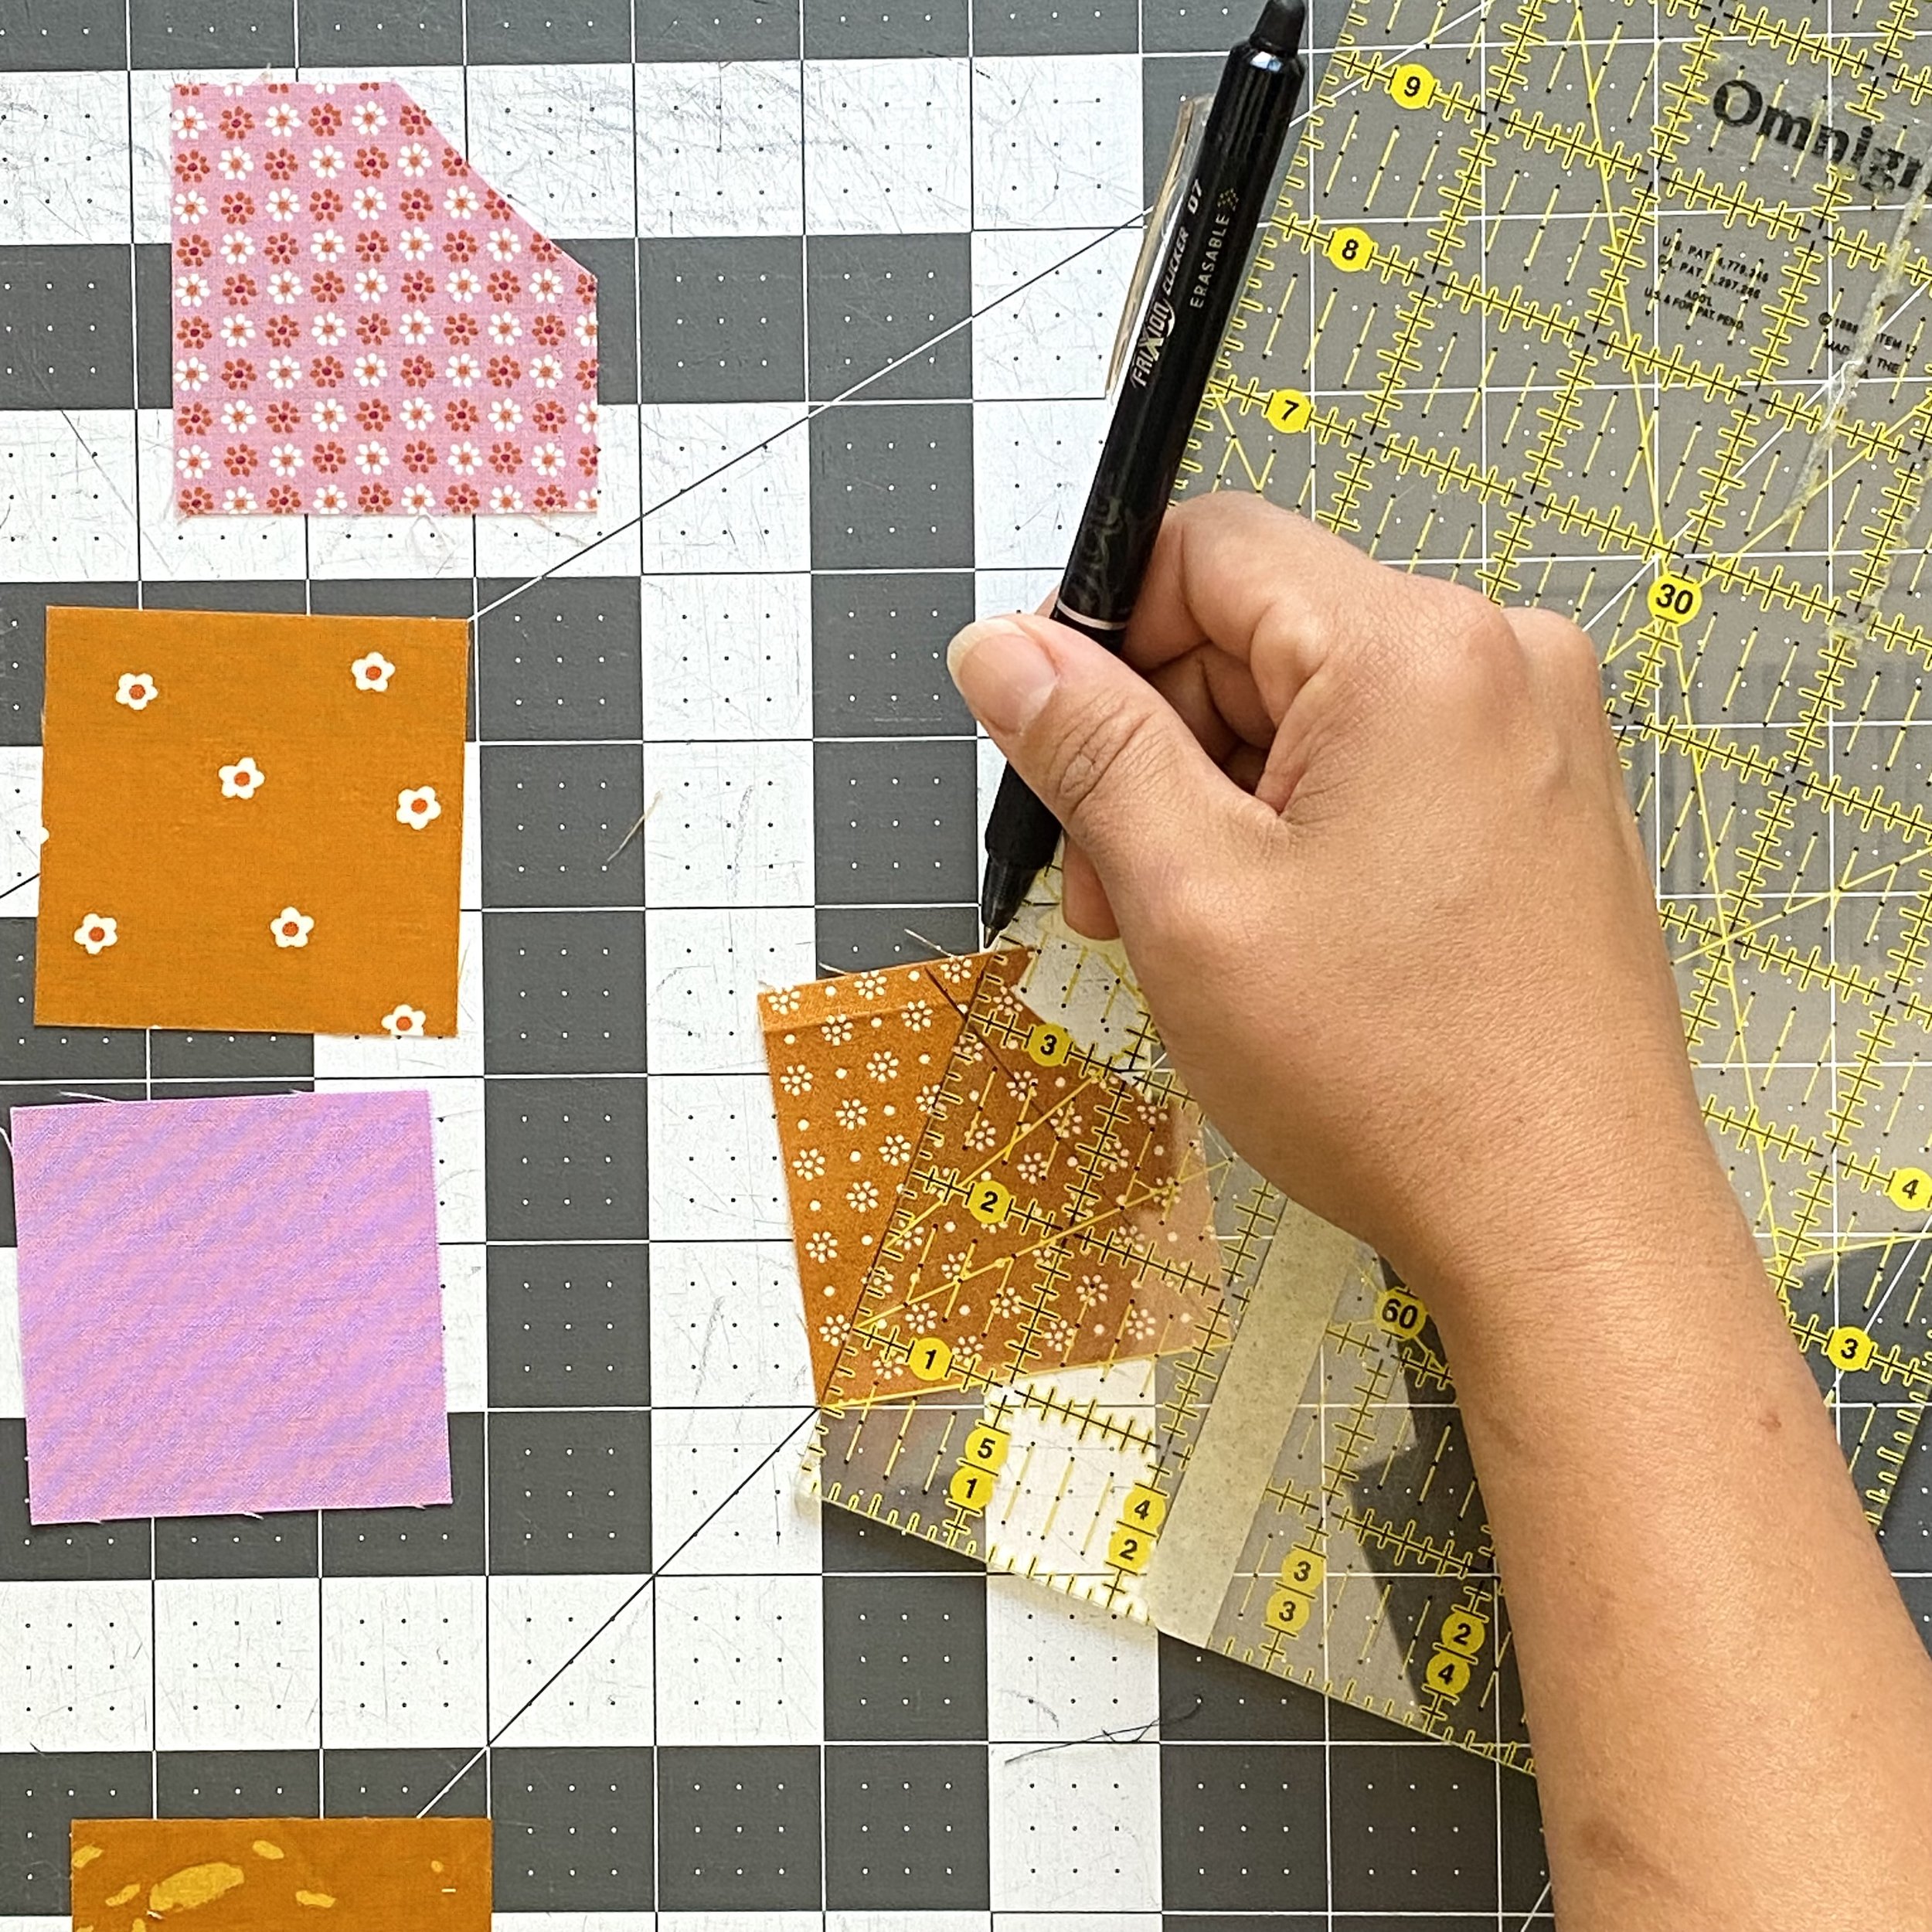
To mark the second 60 degree line, I rotate my ruler and draw the line in the same manner as the first side. I use a FriXion pen - I like that the ink disappears with heat, as opposed to other pens that require water or air. (I used a red FriXion pen on the dark fabric and it left some white residue…time will tell if it disappears. The black ink on light fabrics seems to work just fine!)
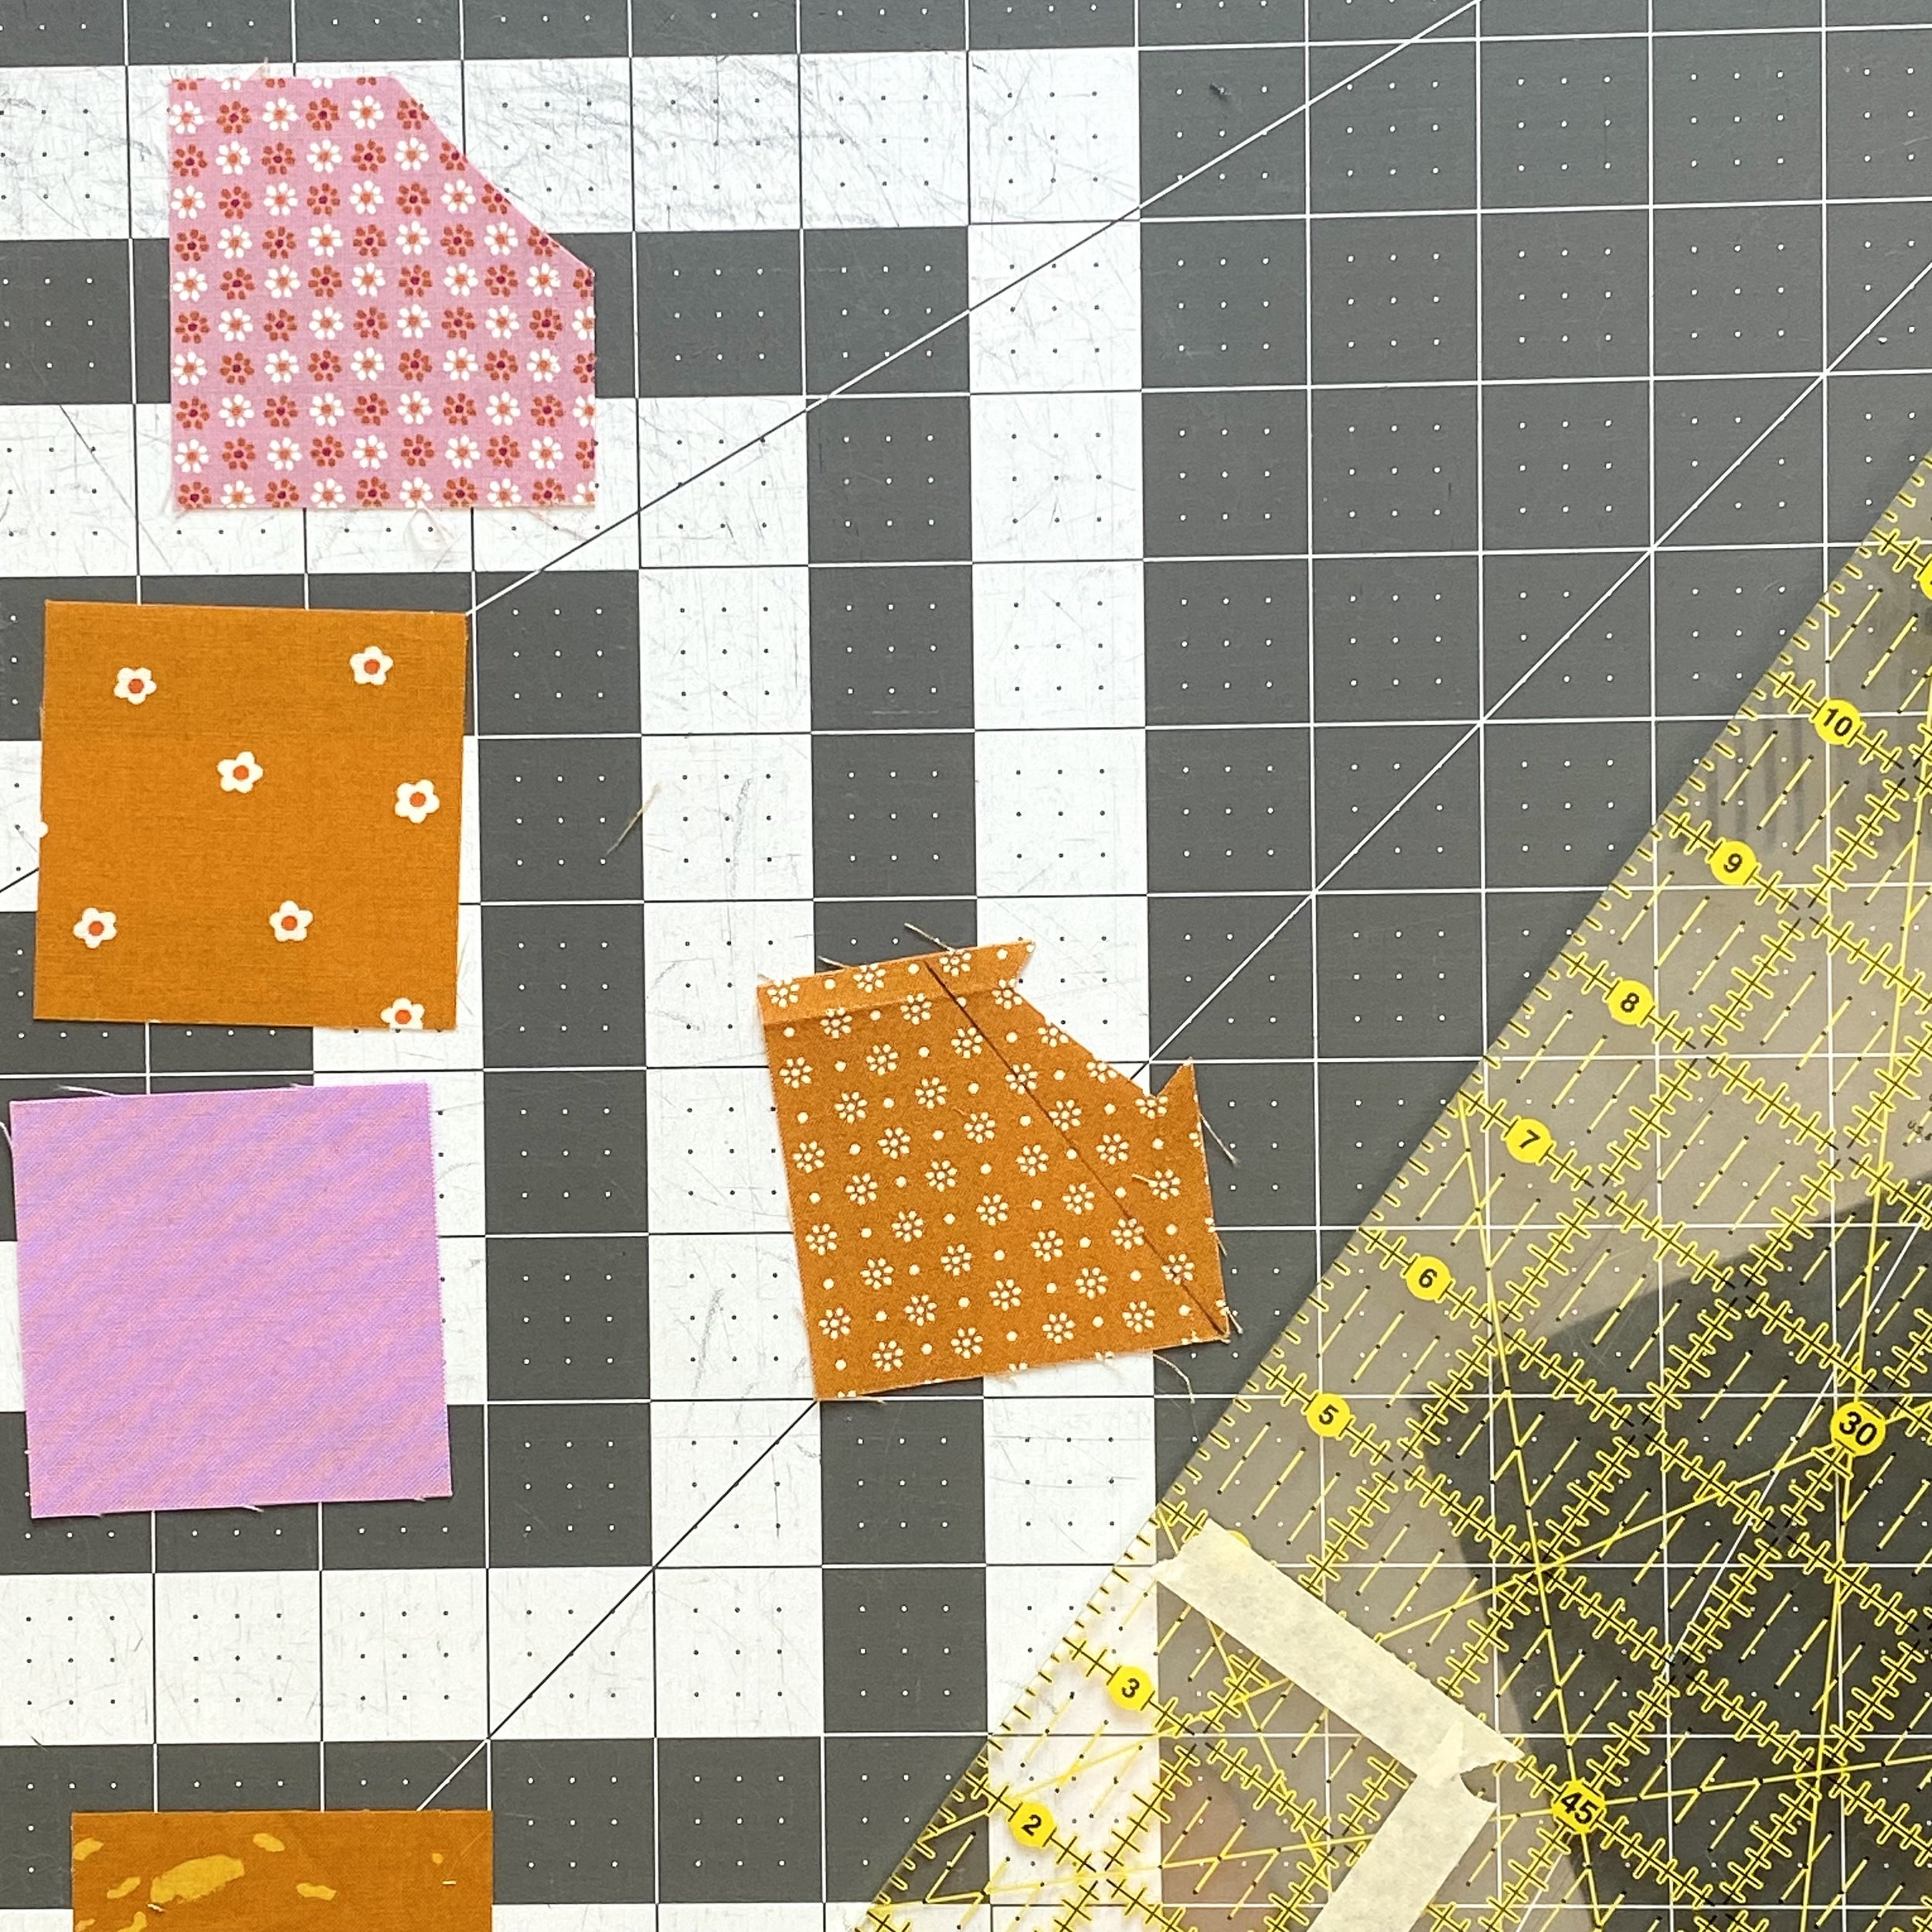
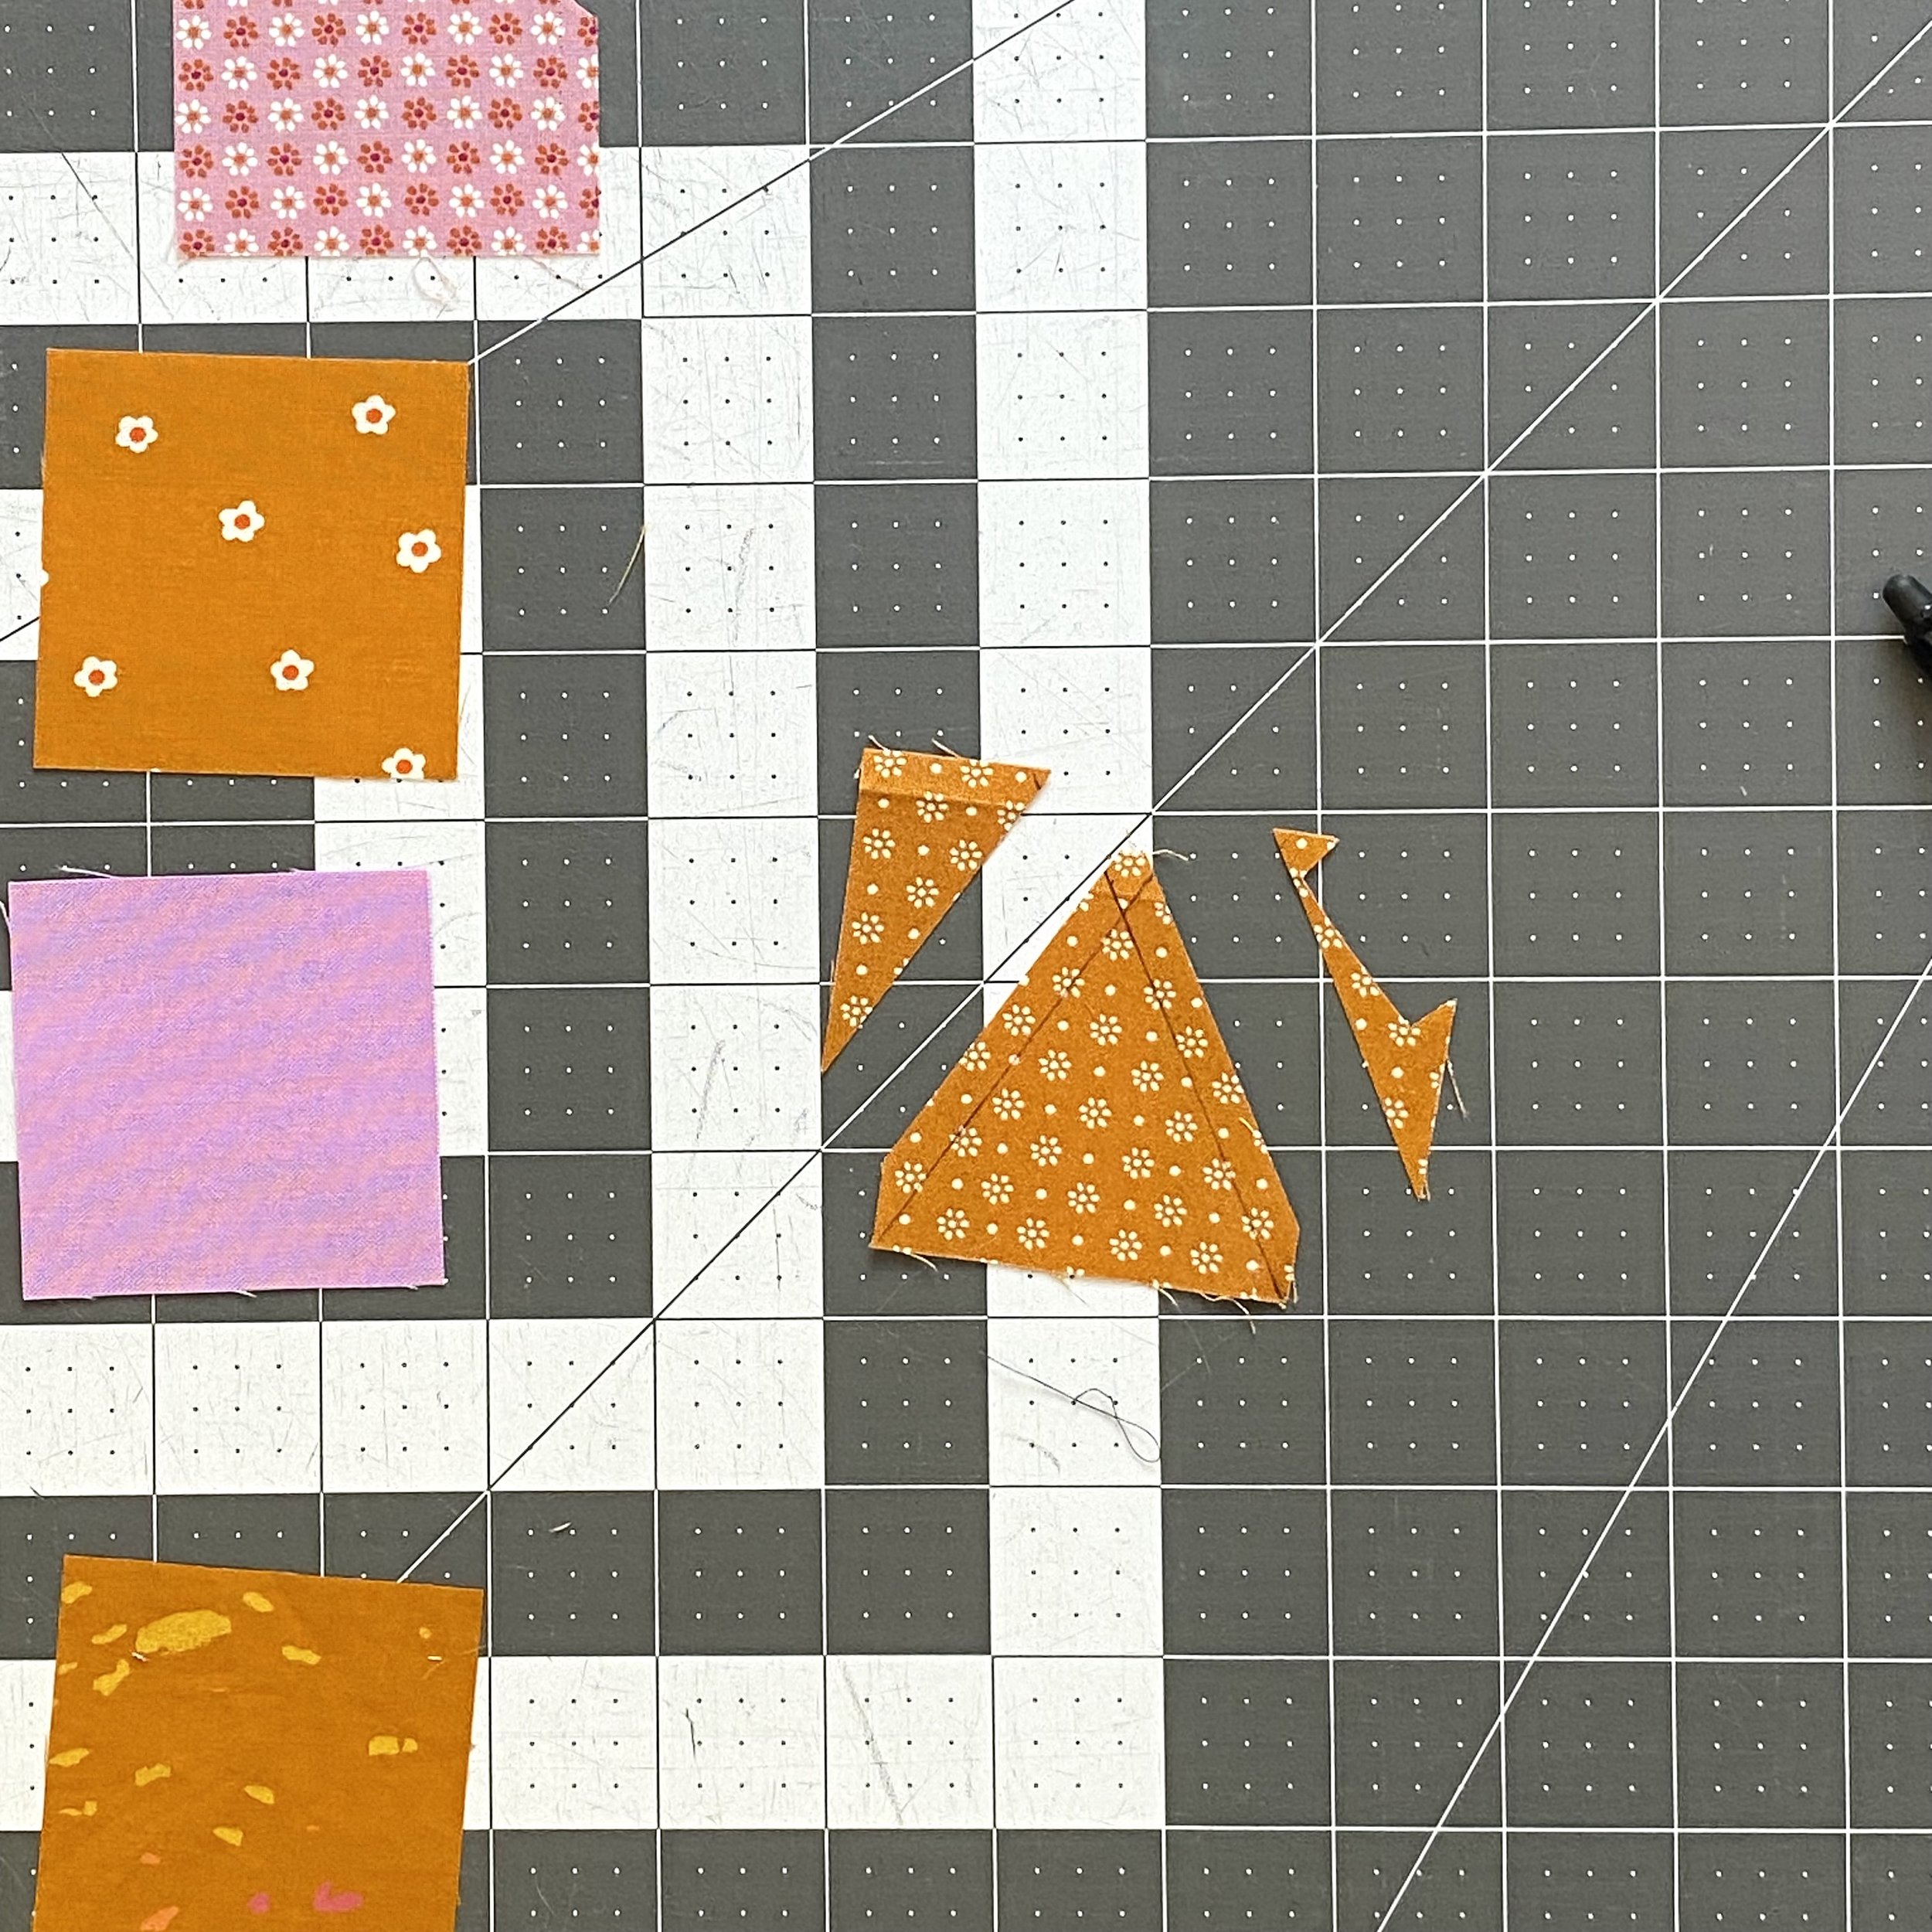
Once the lines are marked, trim the square into a triangle by cutting away from the lines. “Away” means away from the center of the block.
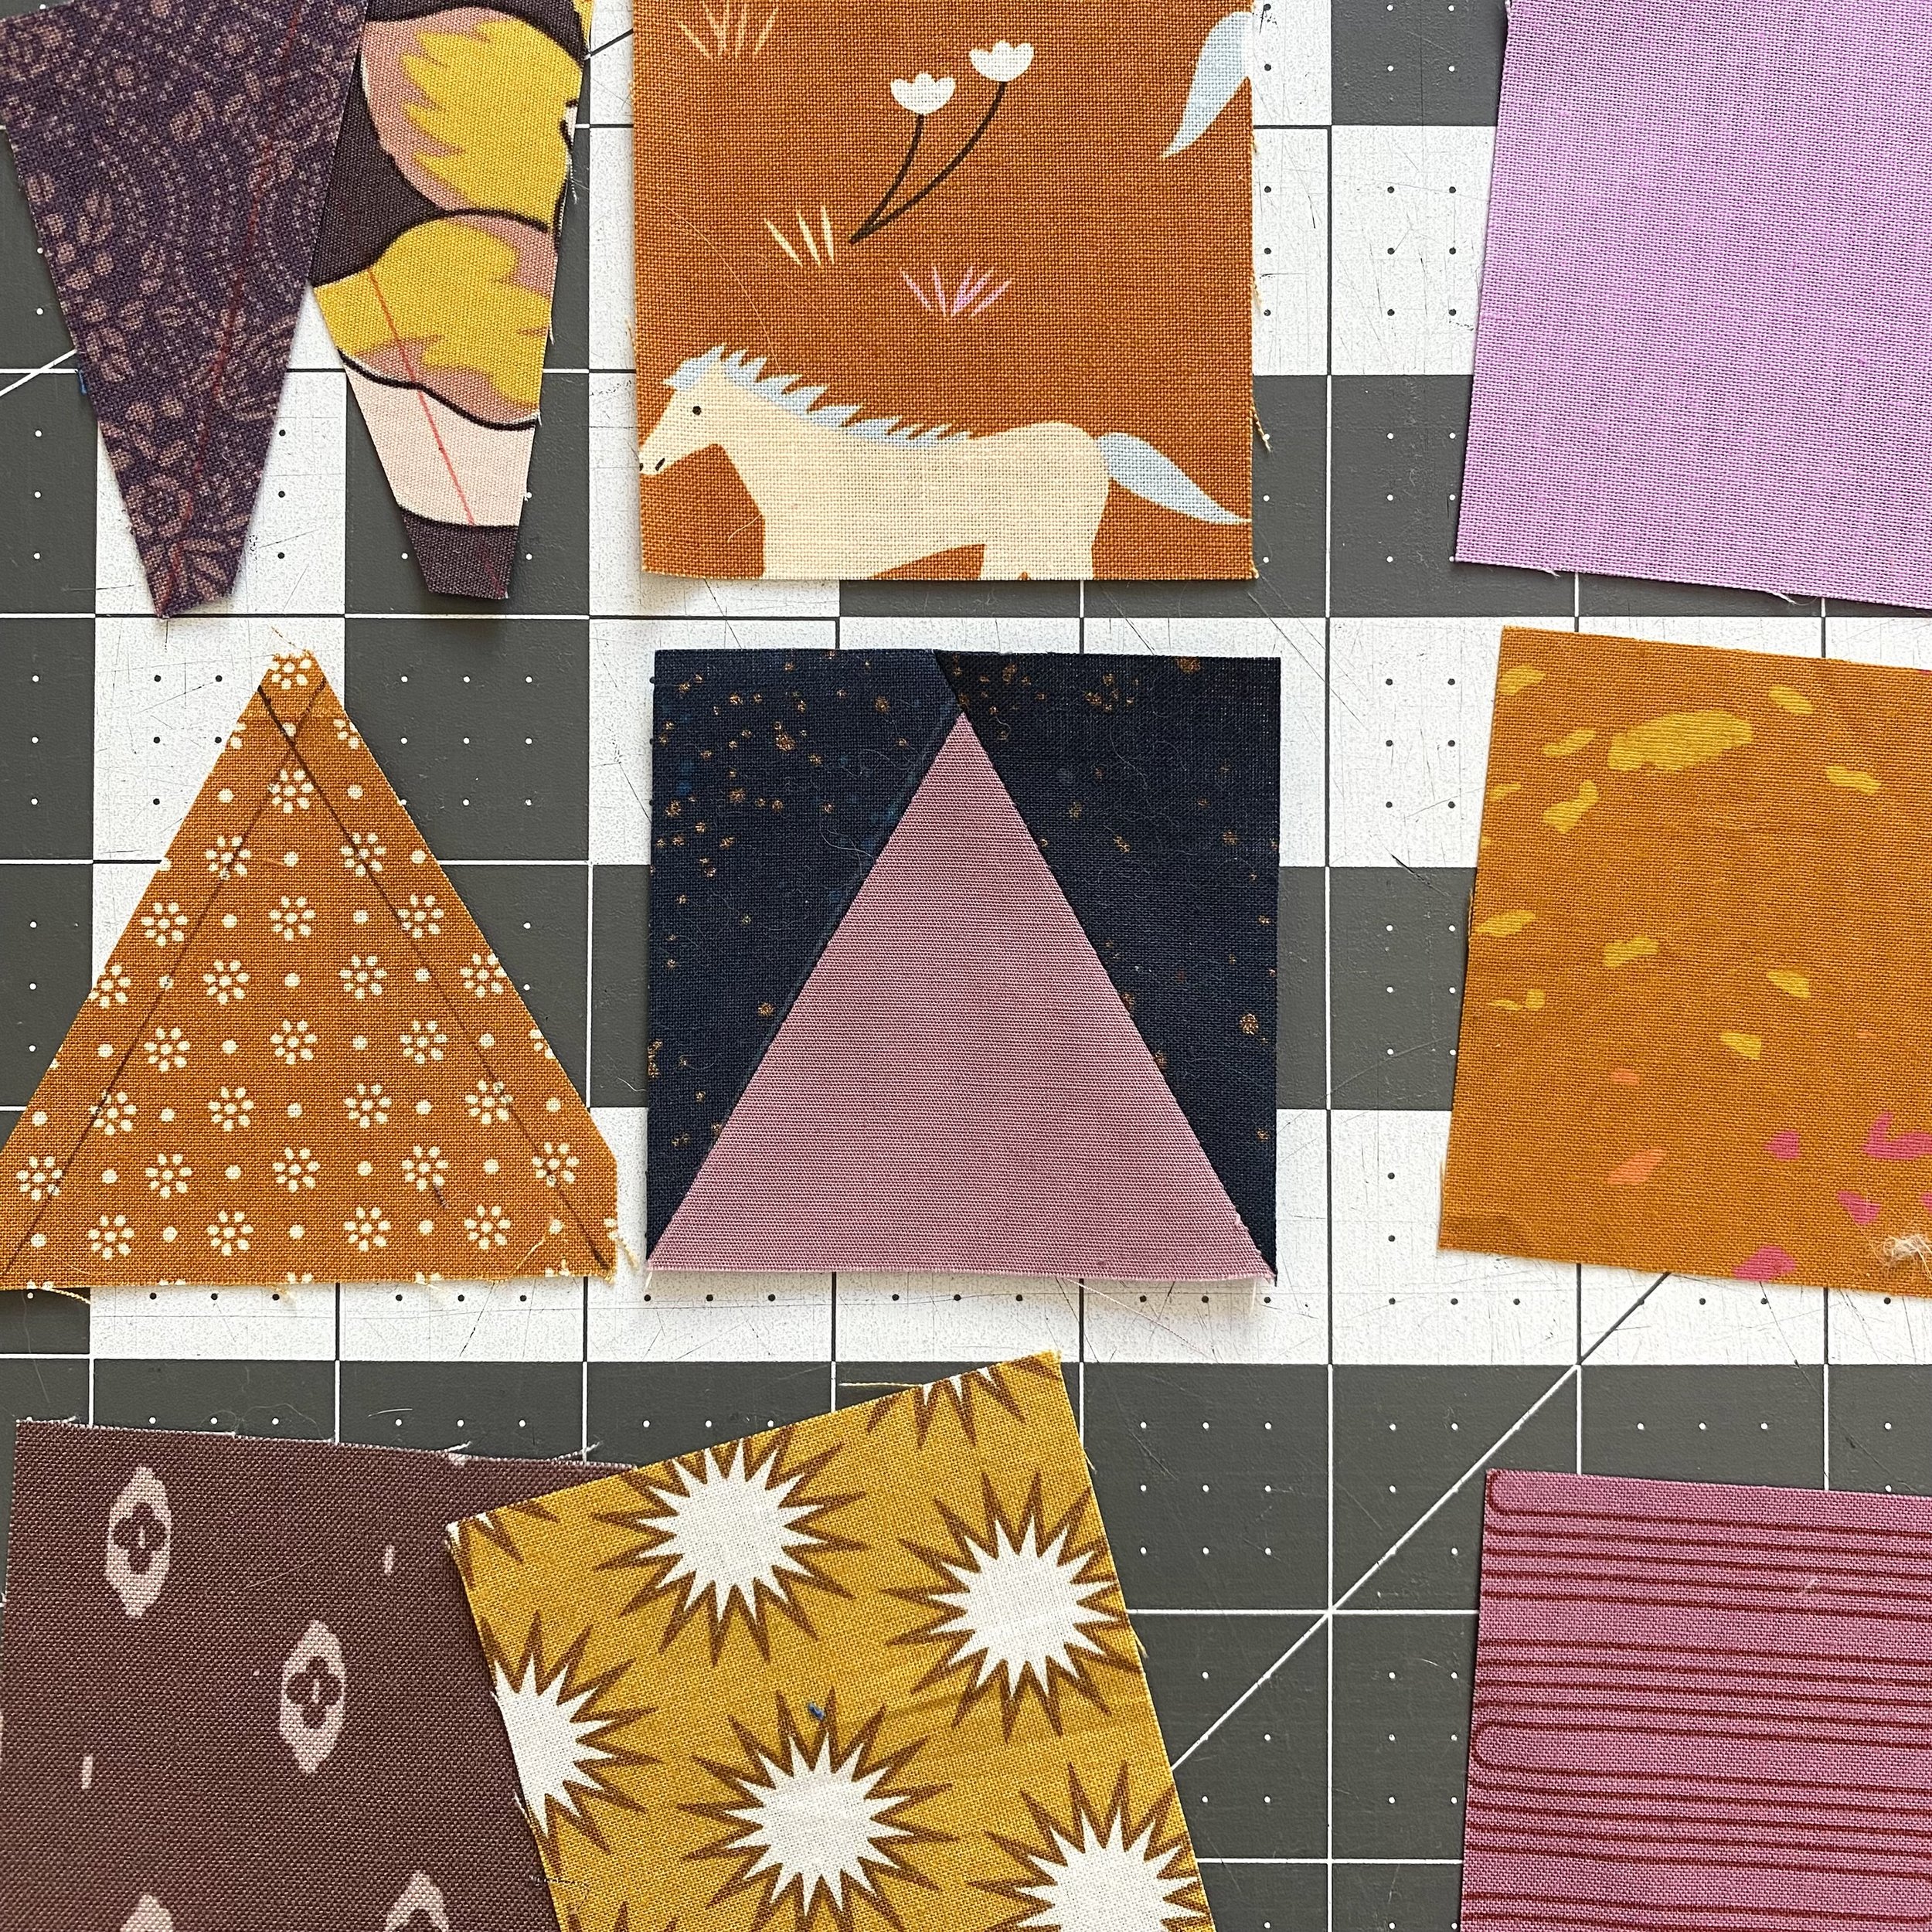
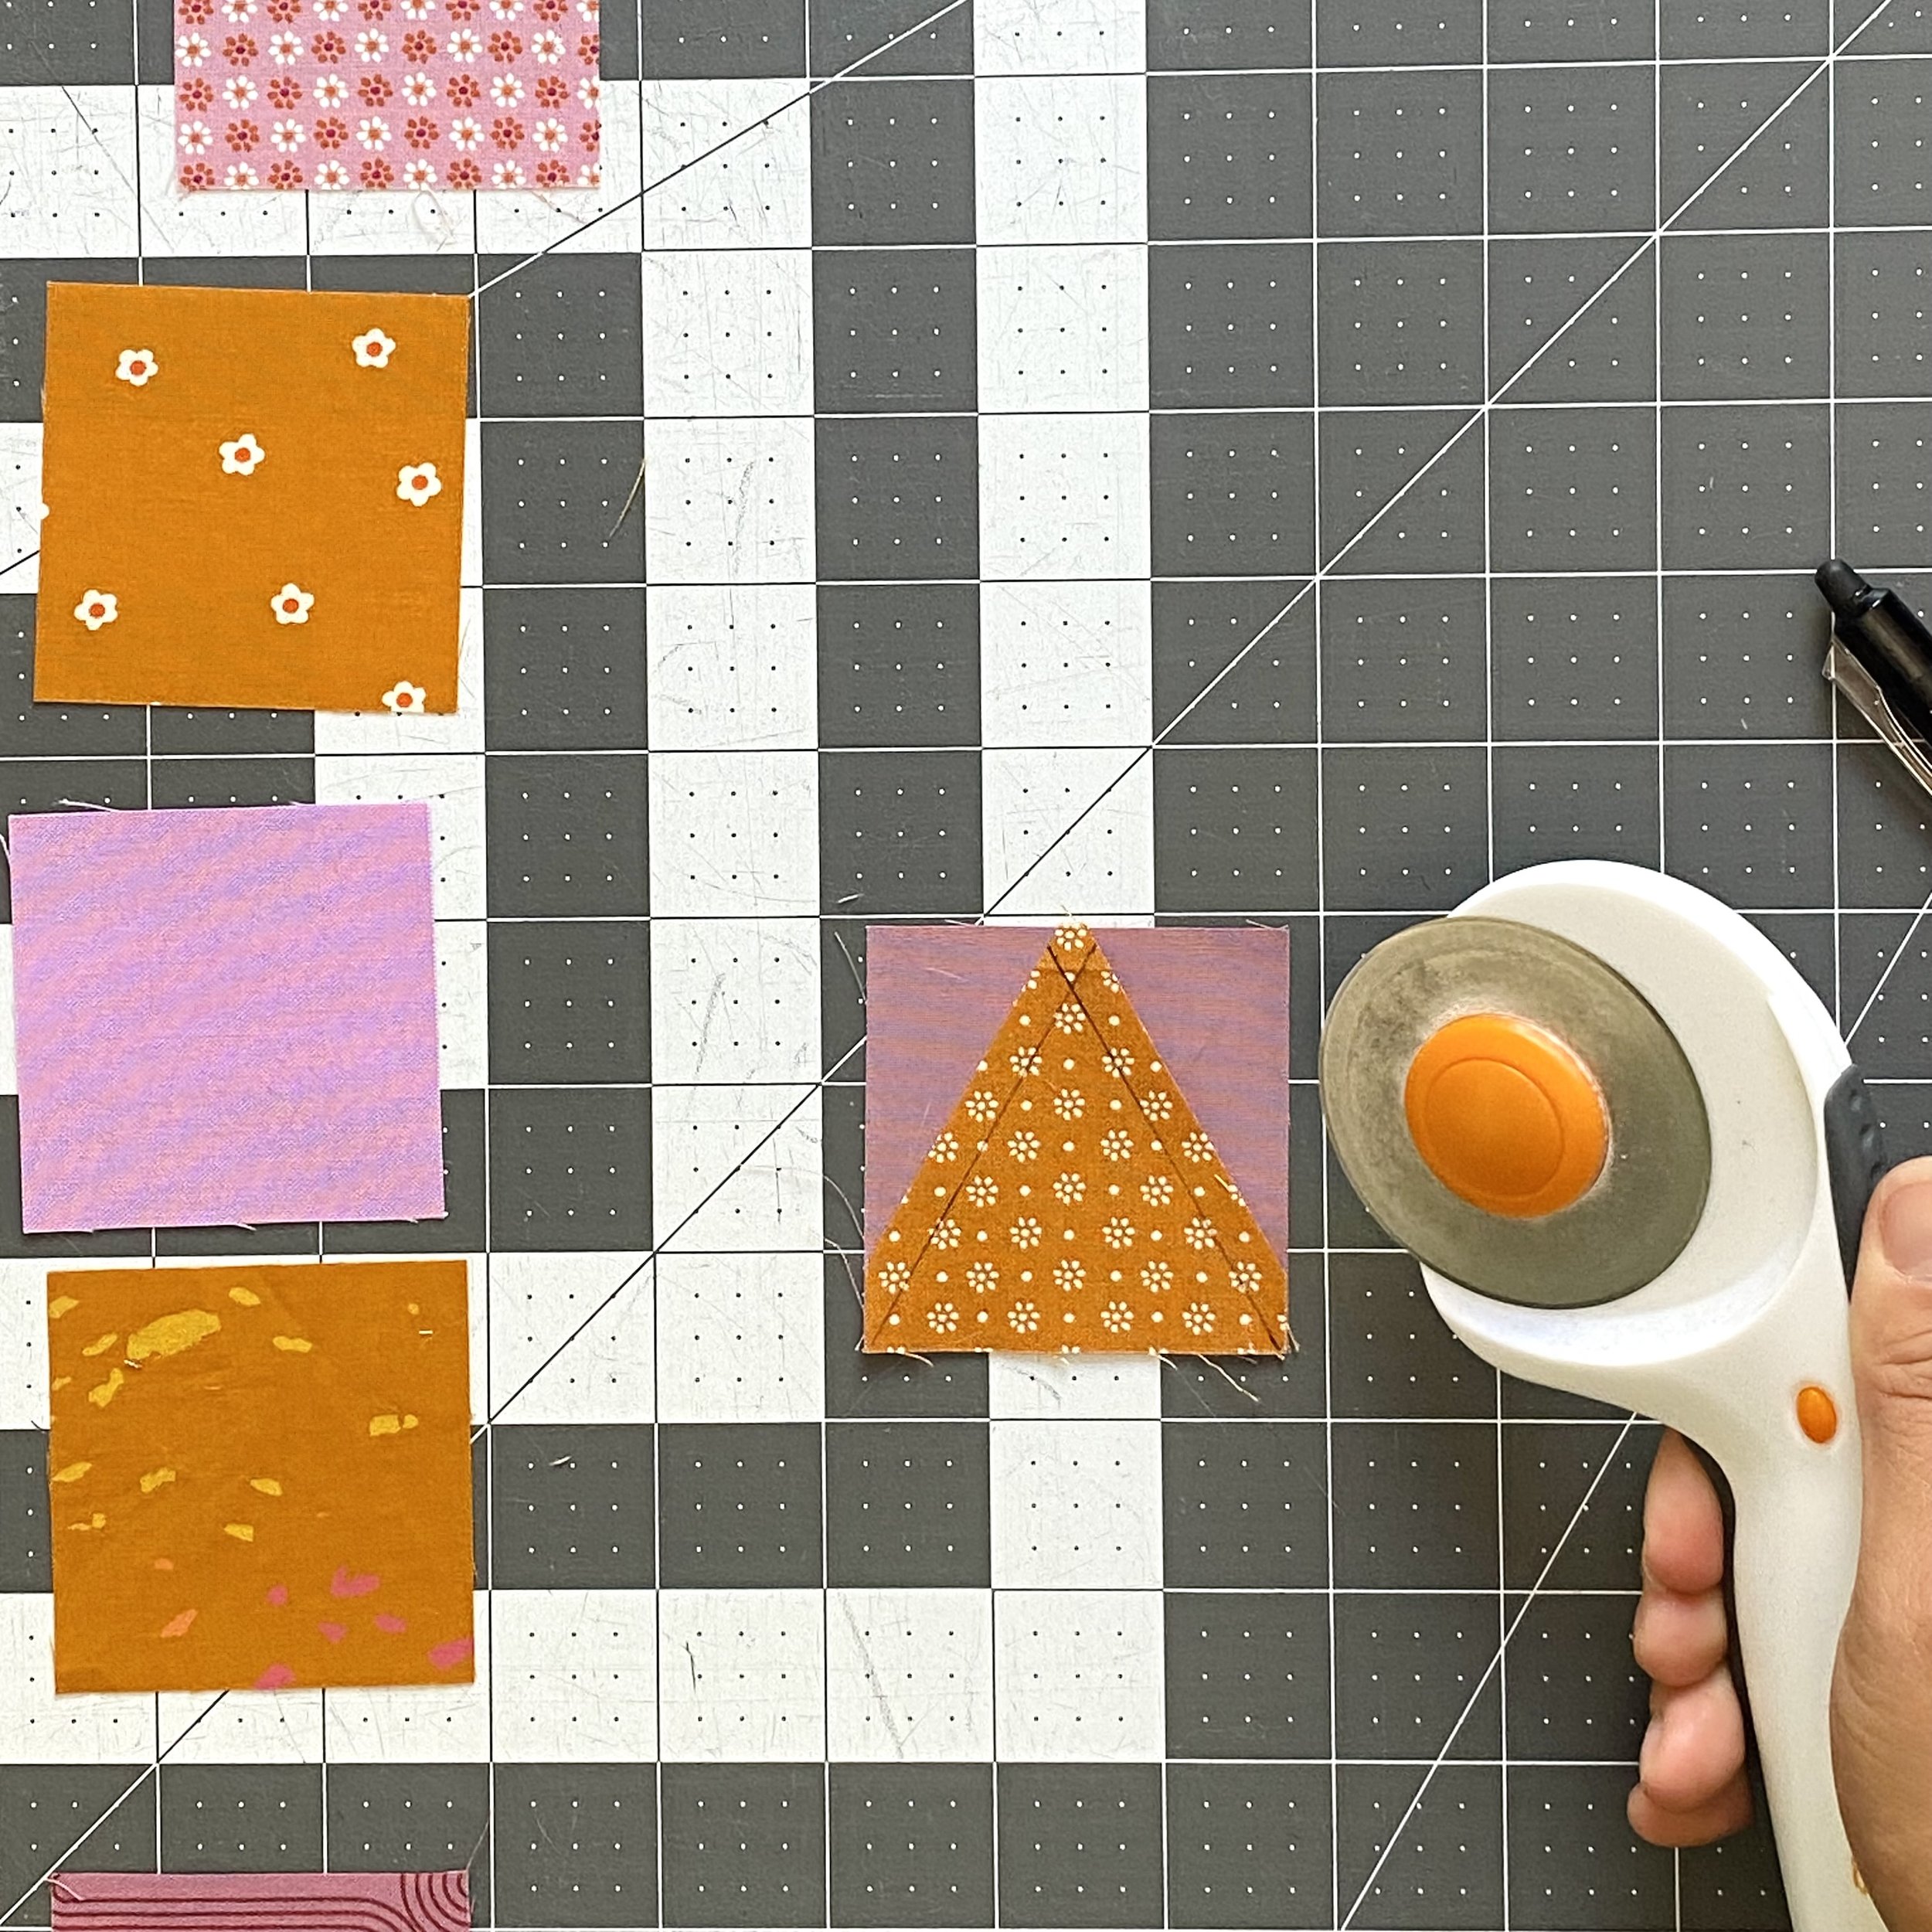
We have several center triangles to make. You have two options moving forward. 1) You can repeat marking the drawn lines as described in the pattern. Or 2) you can use one center triangle as a template to trim the remaining squares as pictured here.
I don’t recommend the second option until you have made a few equilateral triangles and are confident that you have marked everything accurately.
To make the left and right triangles, the process is similar to the center triangle, but not identical.
First, you only need to draw one line. Second, to trim the block, you will trim in from the drawn line. “In” means towards the center of the block. And in the case of the background fabric, you need to use some of the discarded trimmings to make all the right and left triangles.
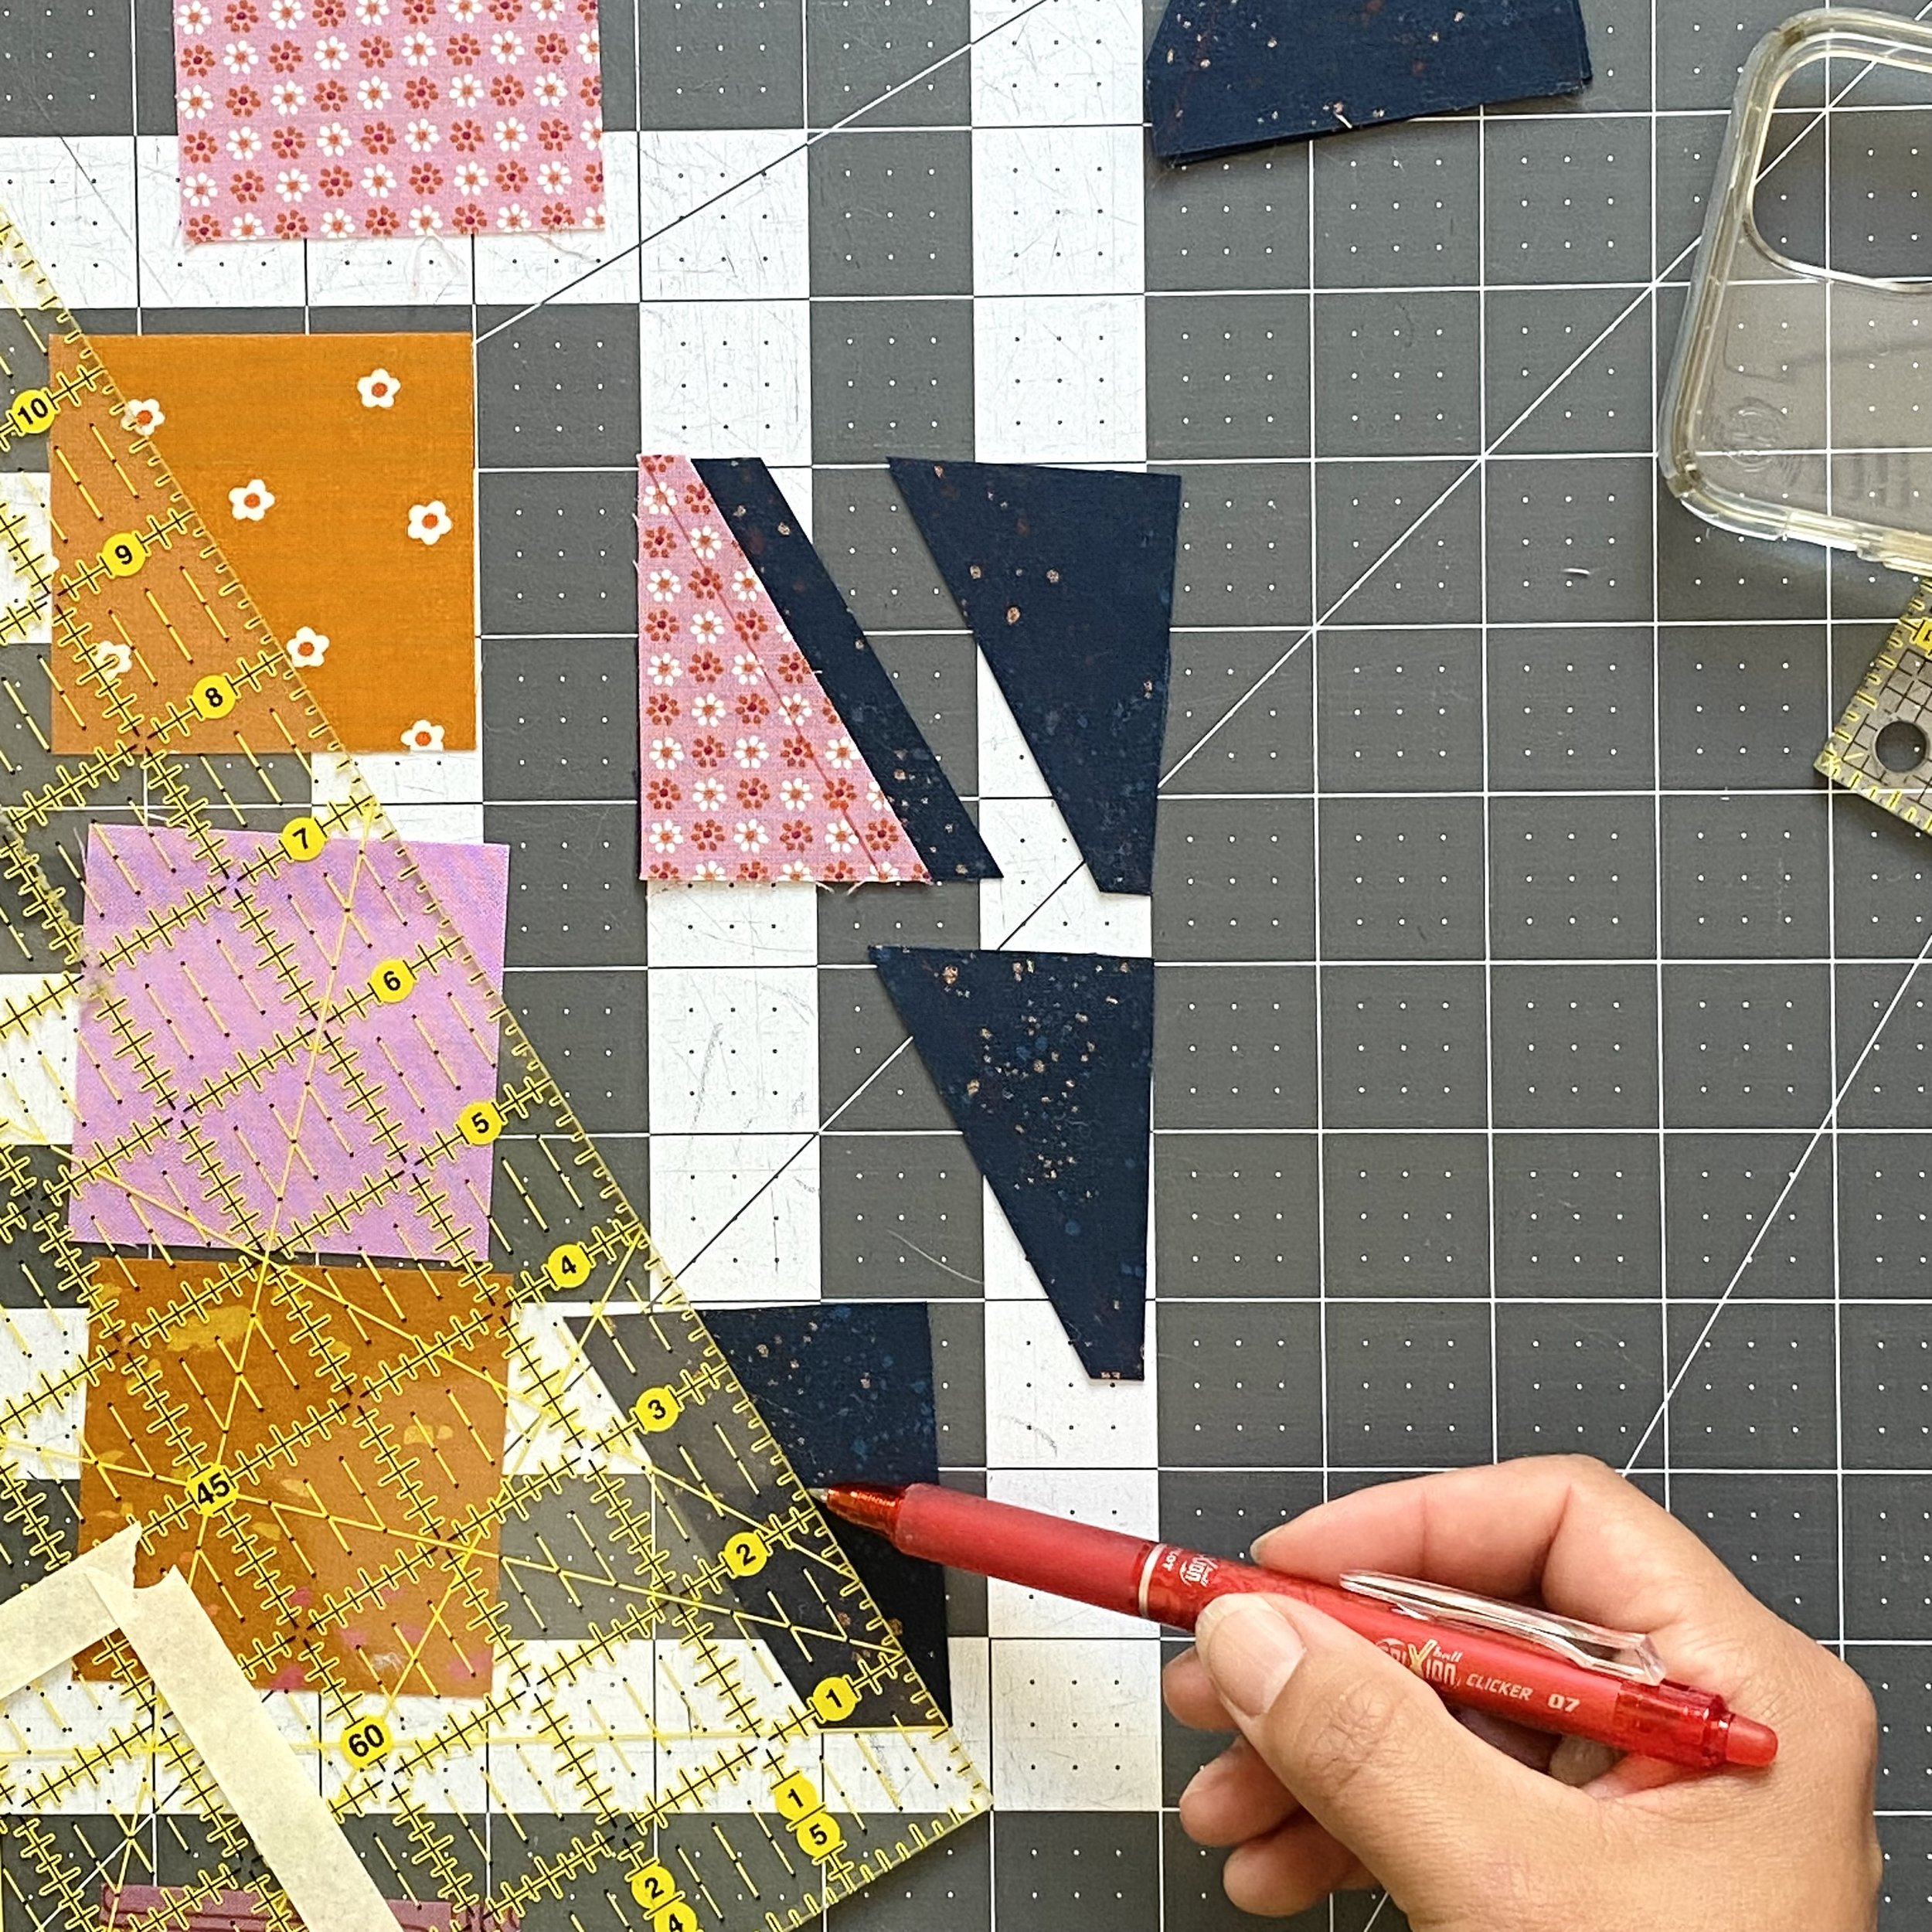
Pictured here are two methods to get all the triangles from the discards of the background fabric. At the top, you’ll see a blue fabric right triangle, and an upside down right triangle in my pumpkin fabric laying on top of the blue discards. I can use the pumpkin fabric unit as a template to trim the blue fabric. Or I can continue to use the 60 degree line on my ruler to mark the discards, as I am doing at the bottom of the picture.
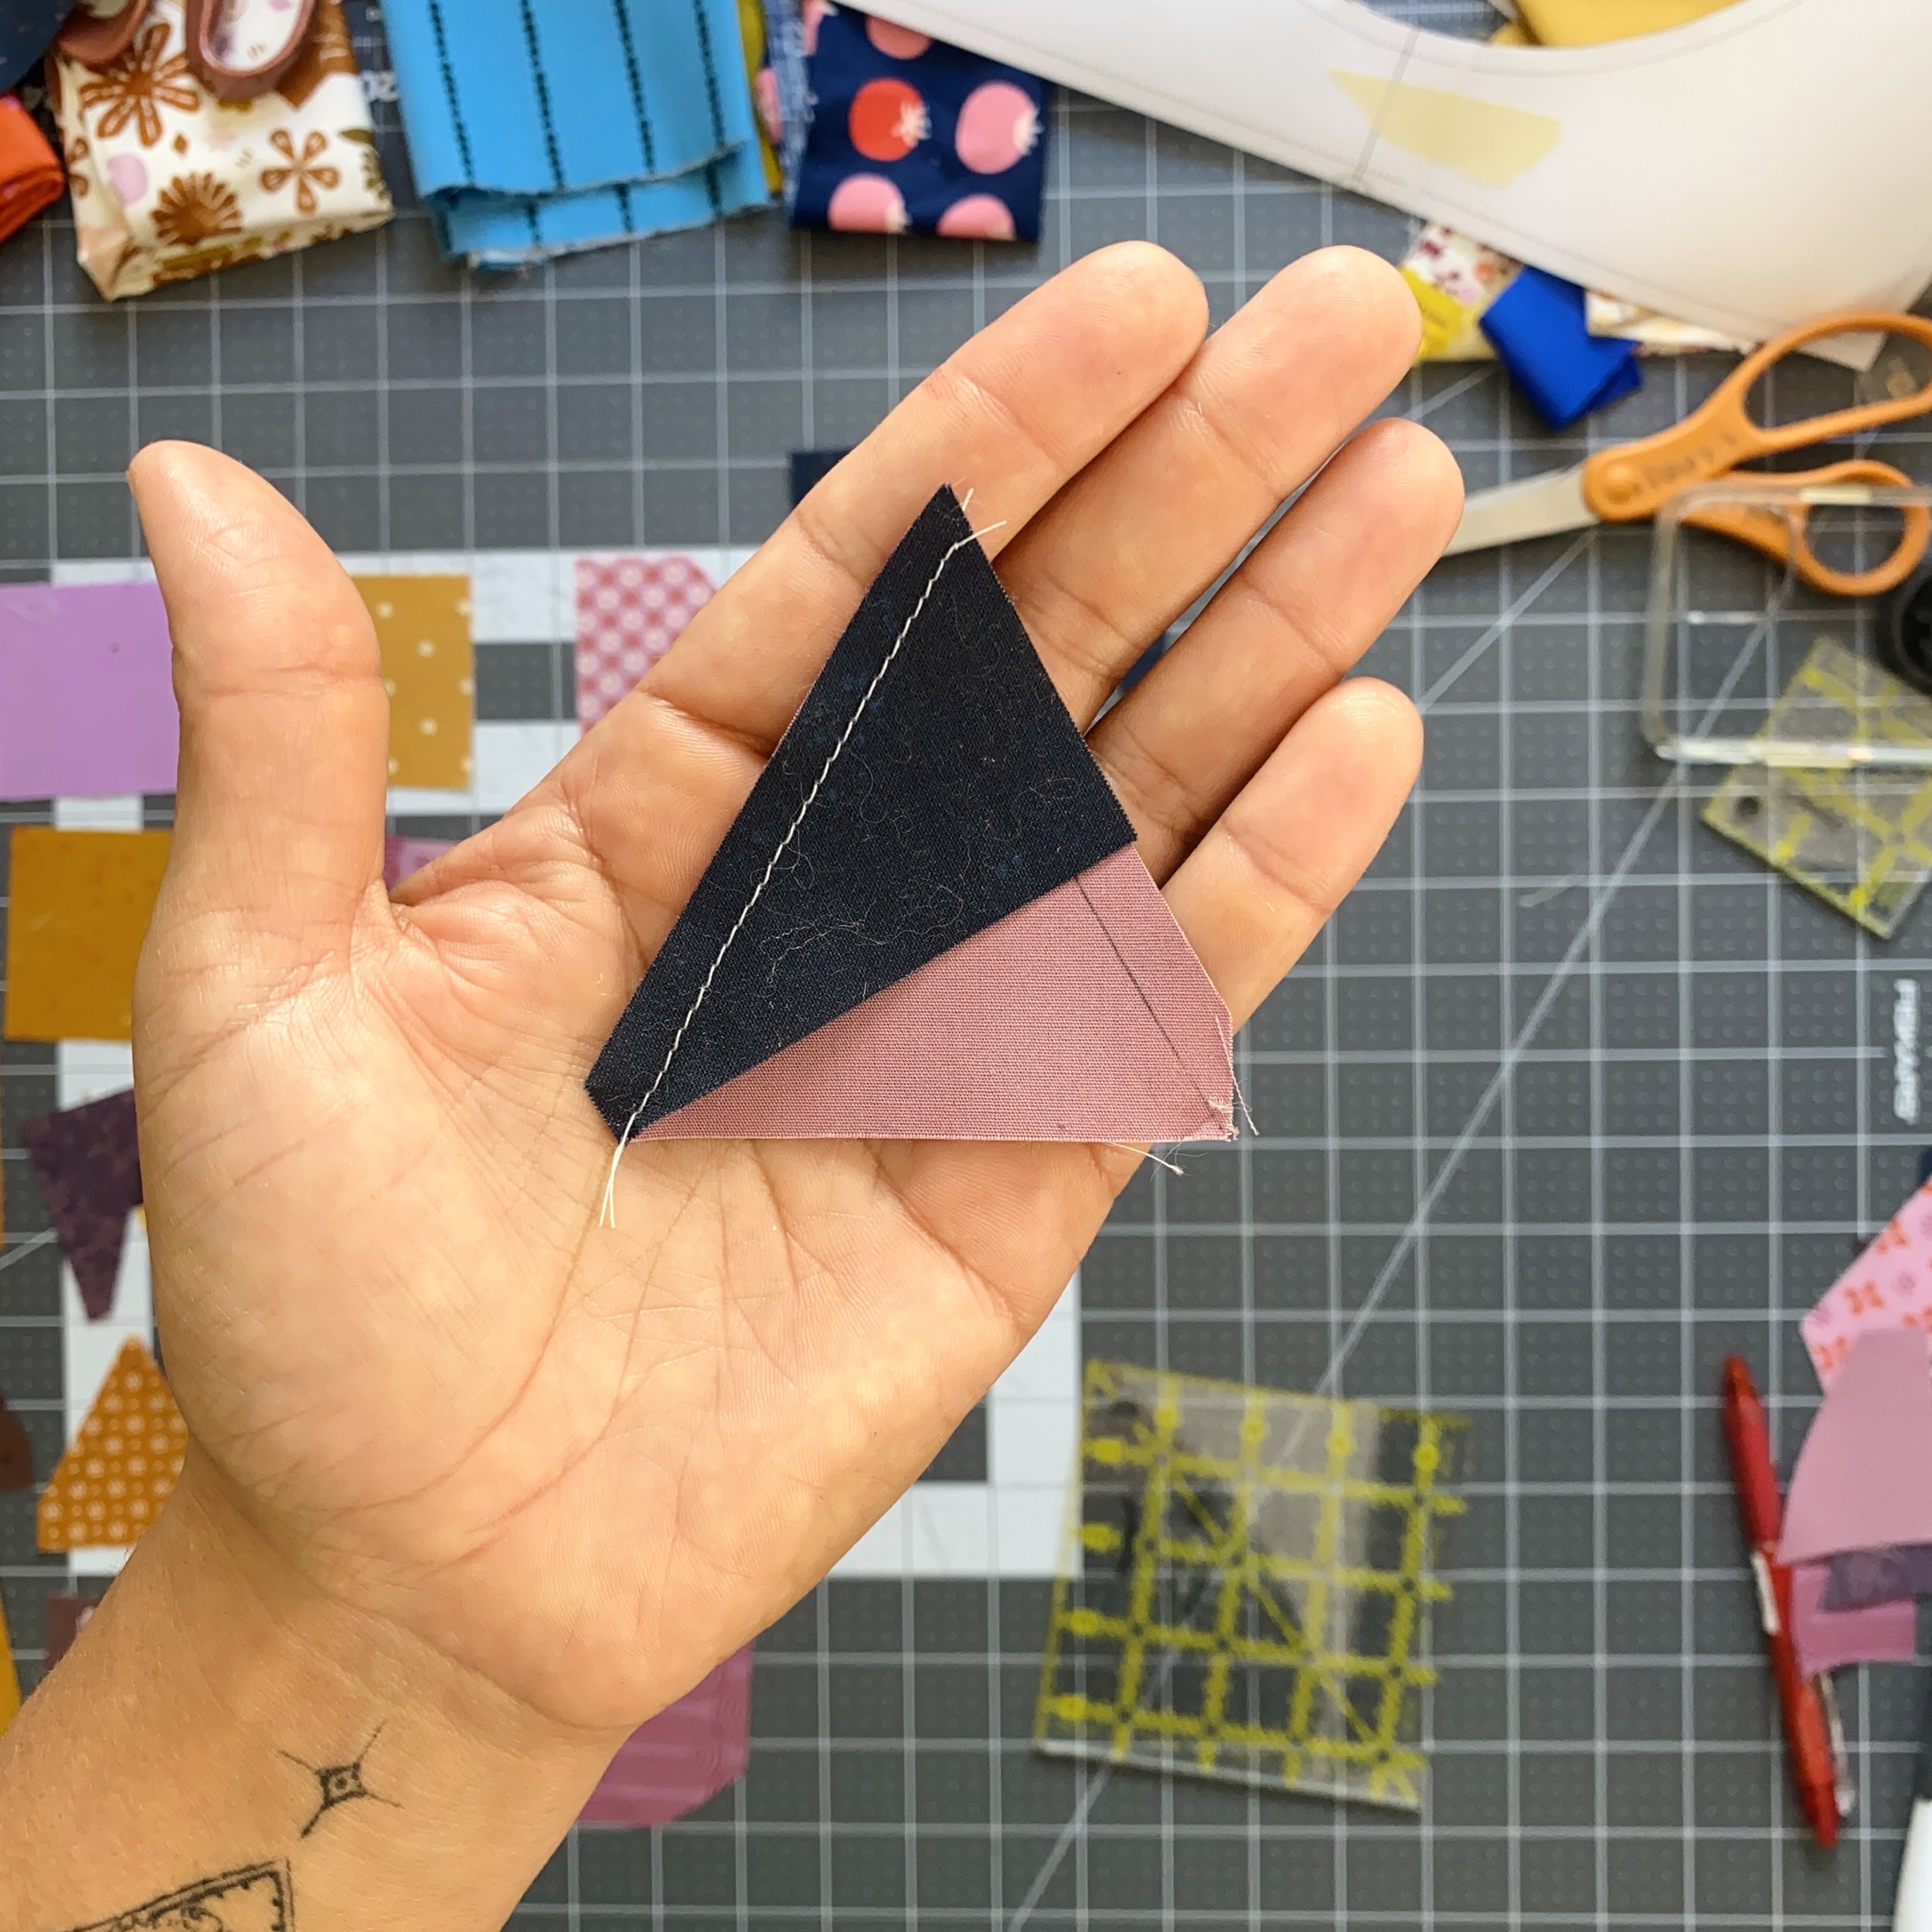
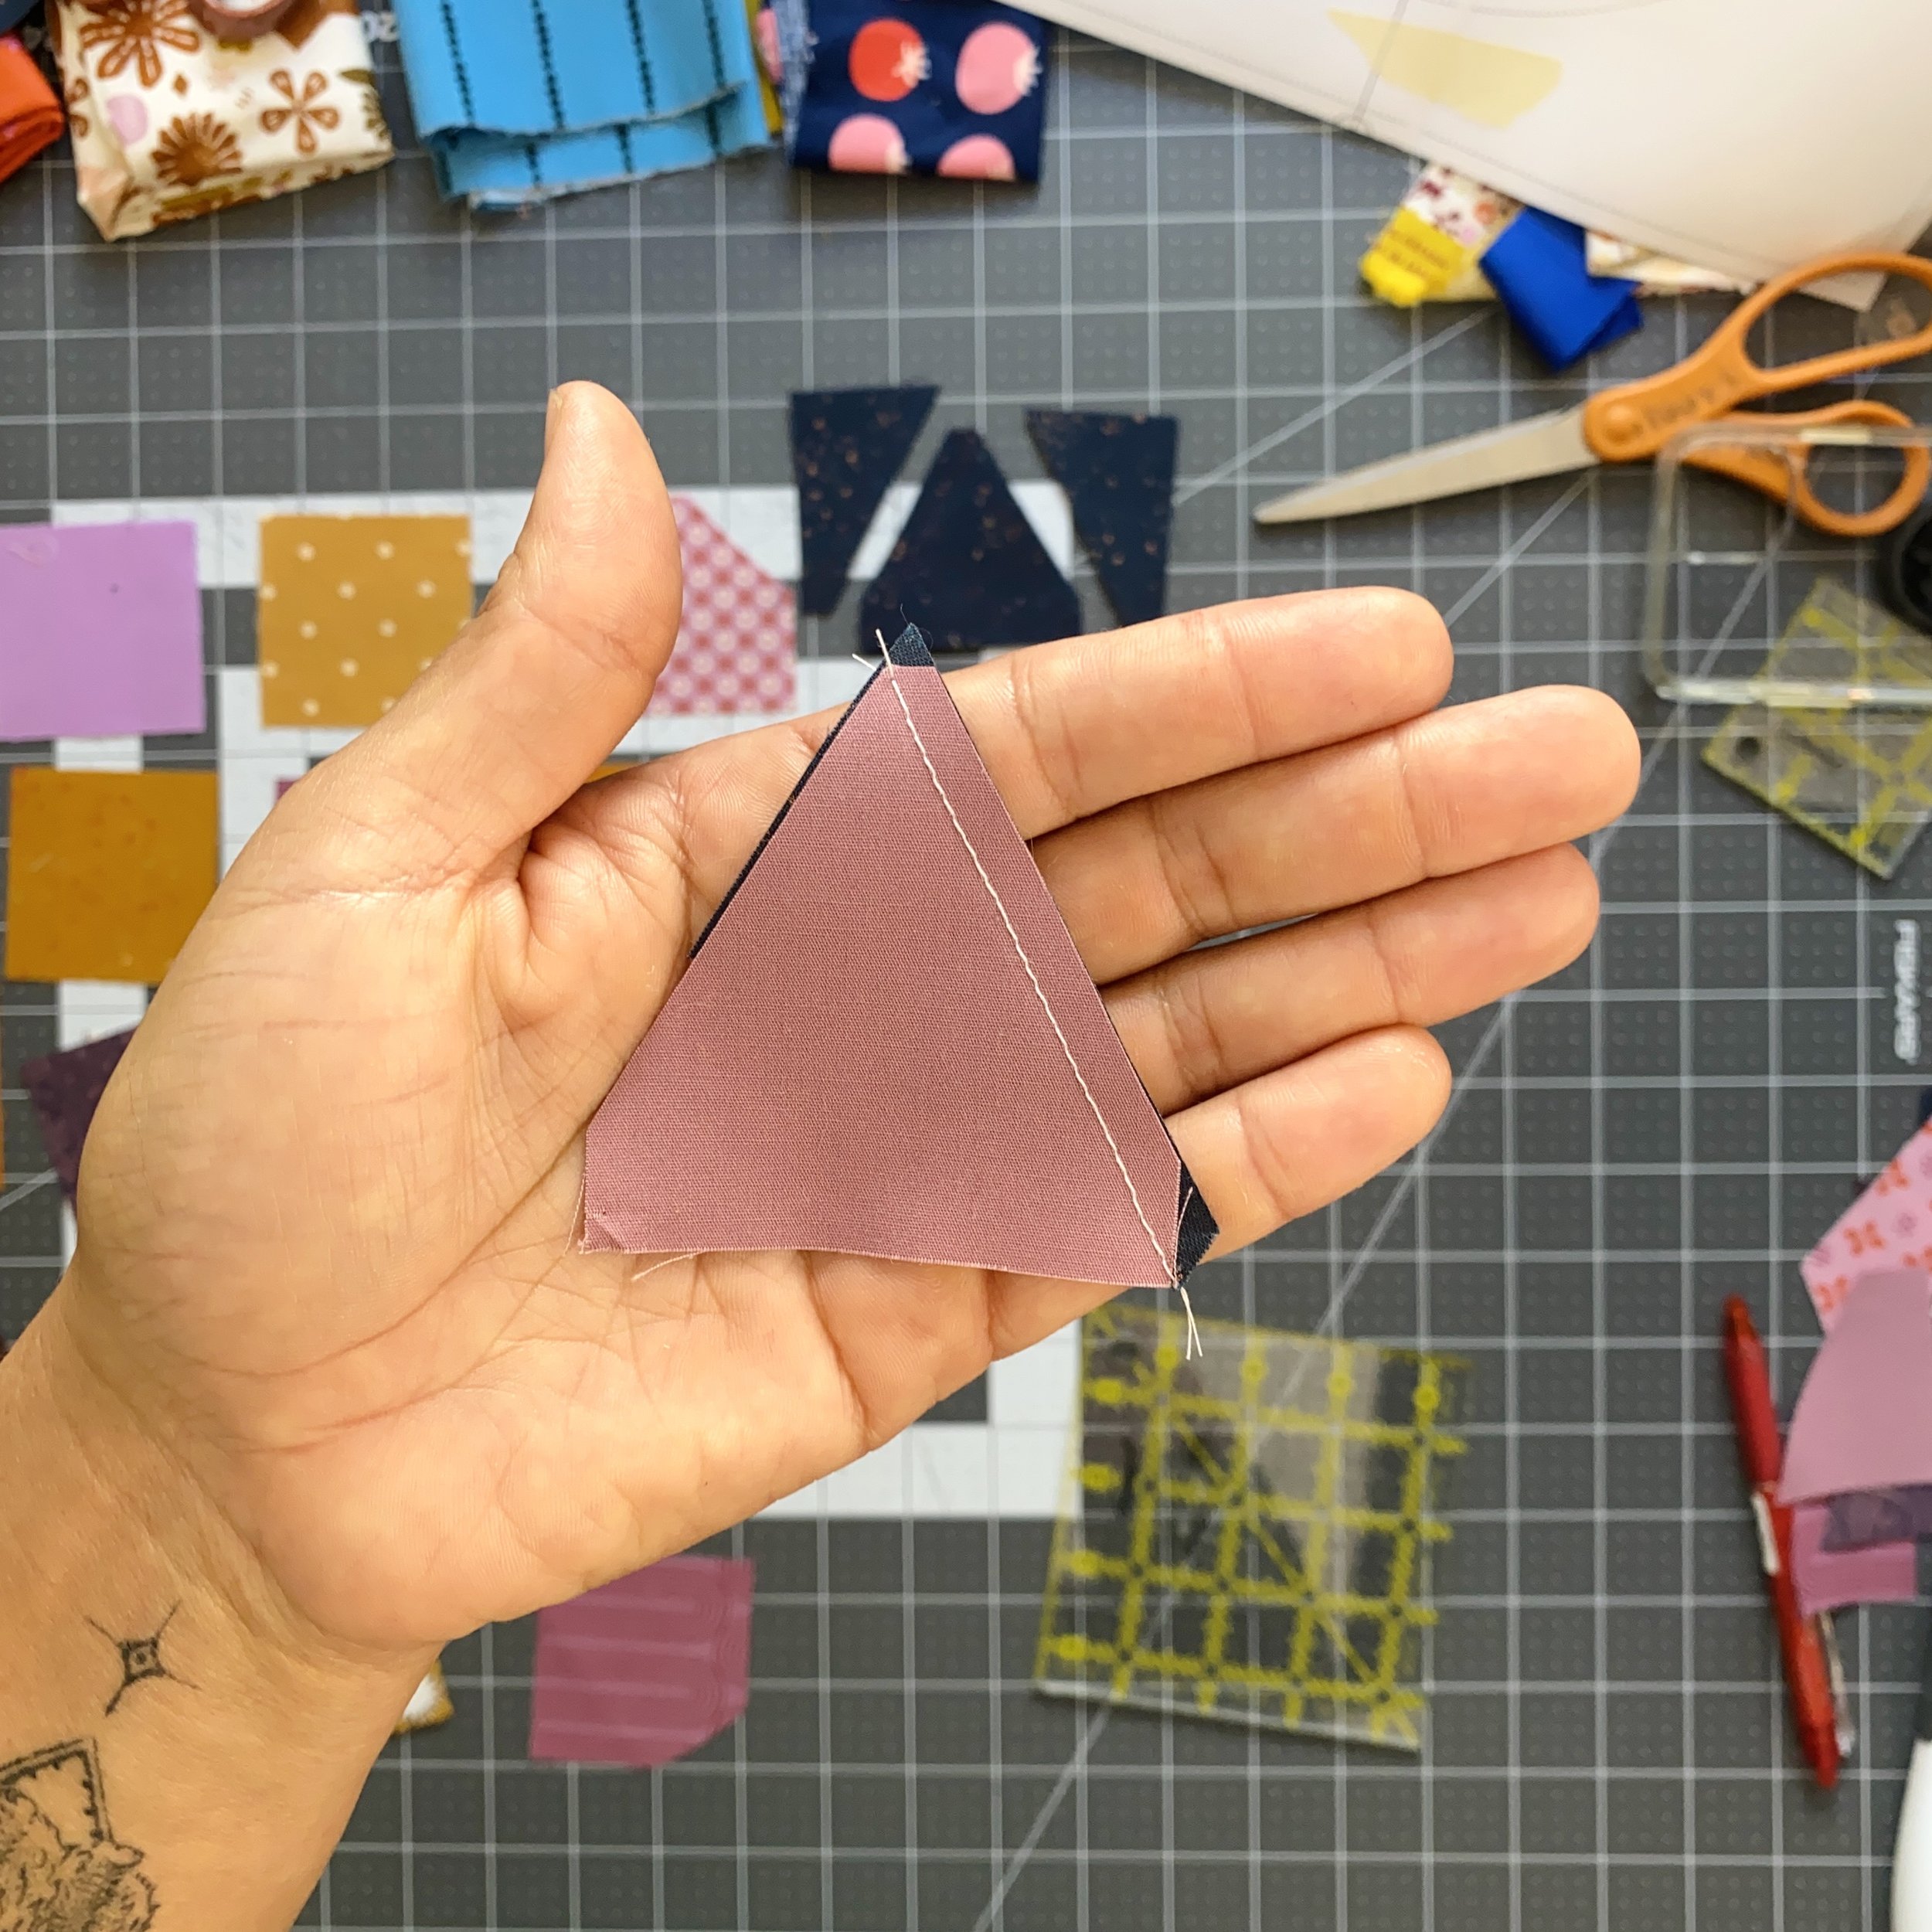
Here, I have stitched a left triangle to a center triangle. You can see the seam runs directly from the bottom left corner of the top triangle to the top right tip of the bottom triangle.
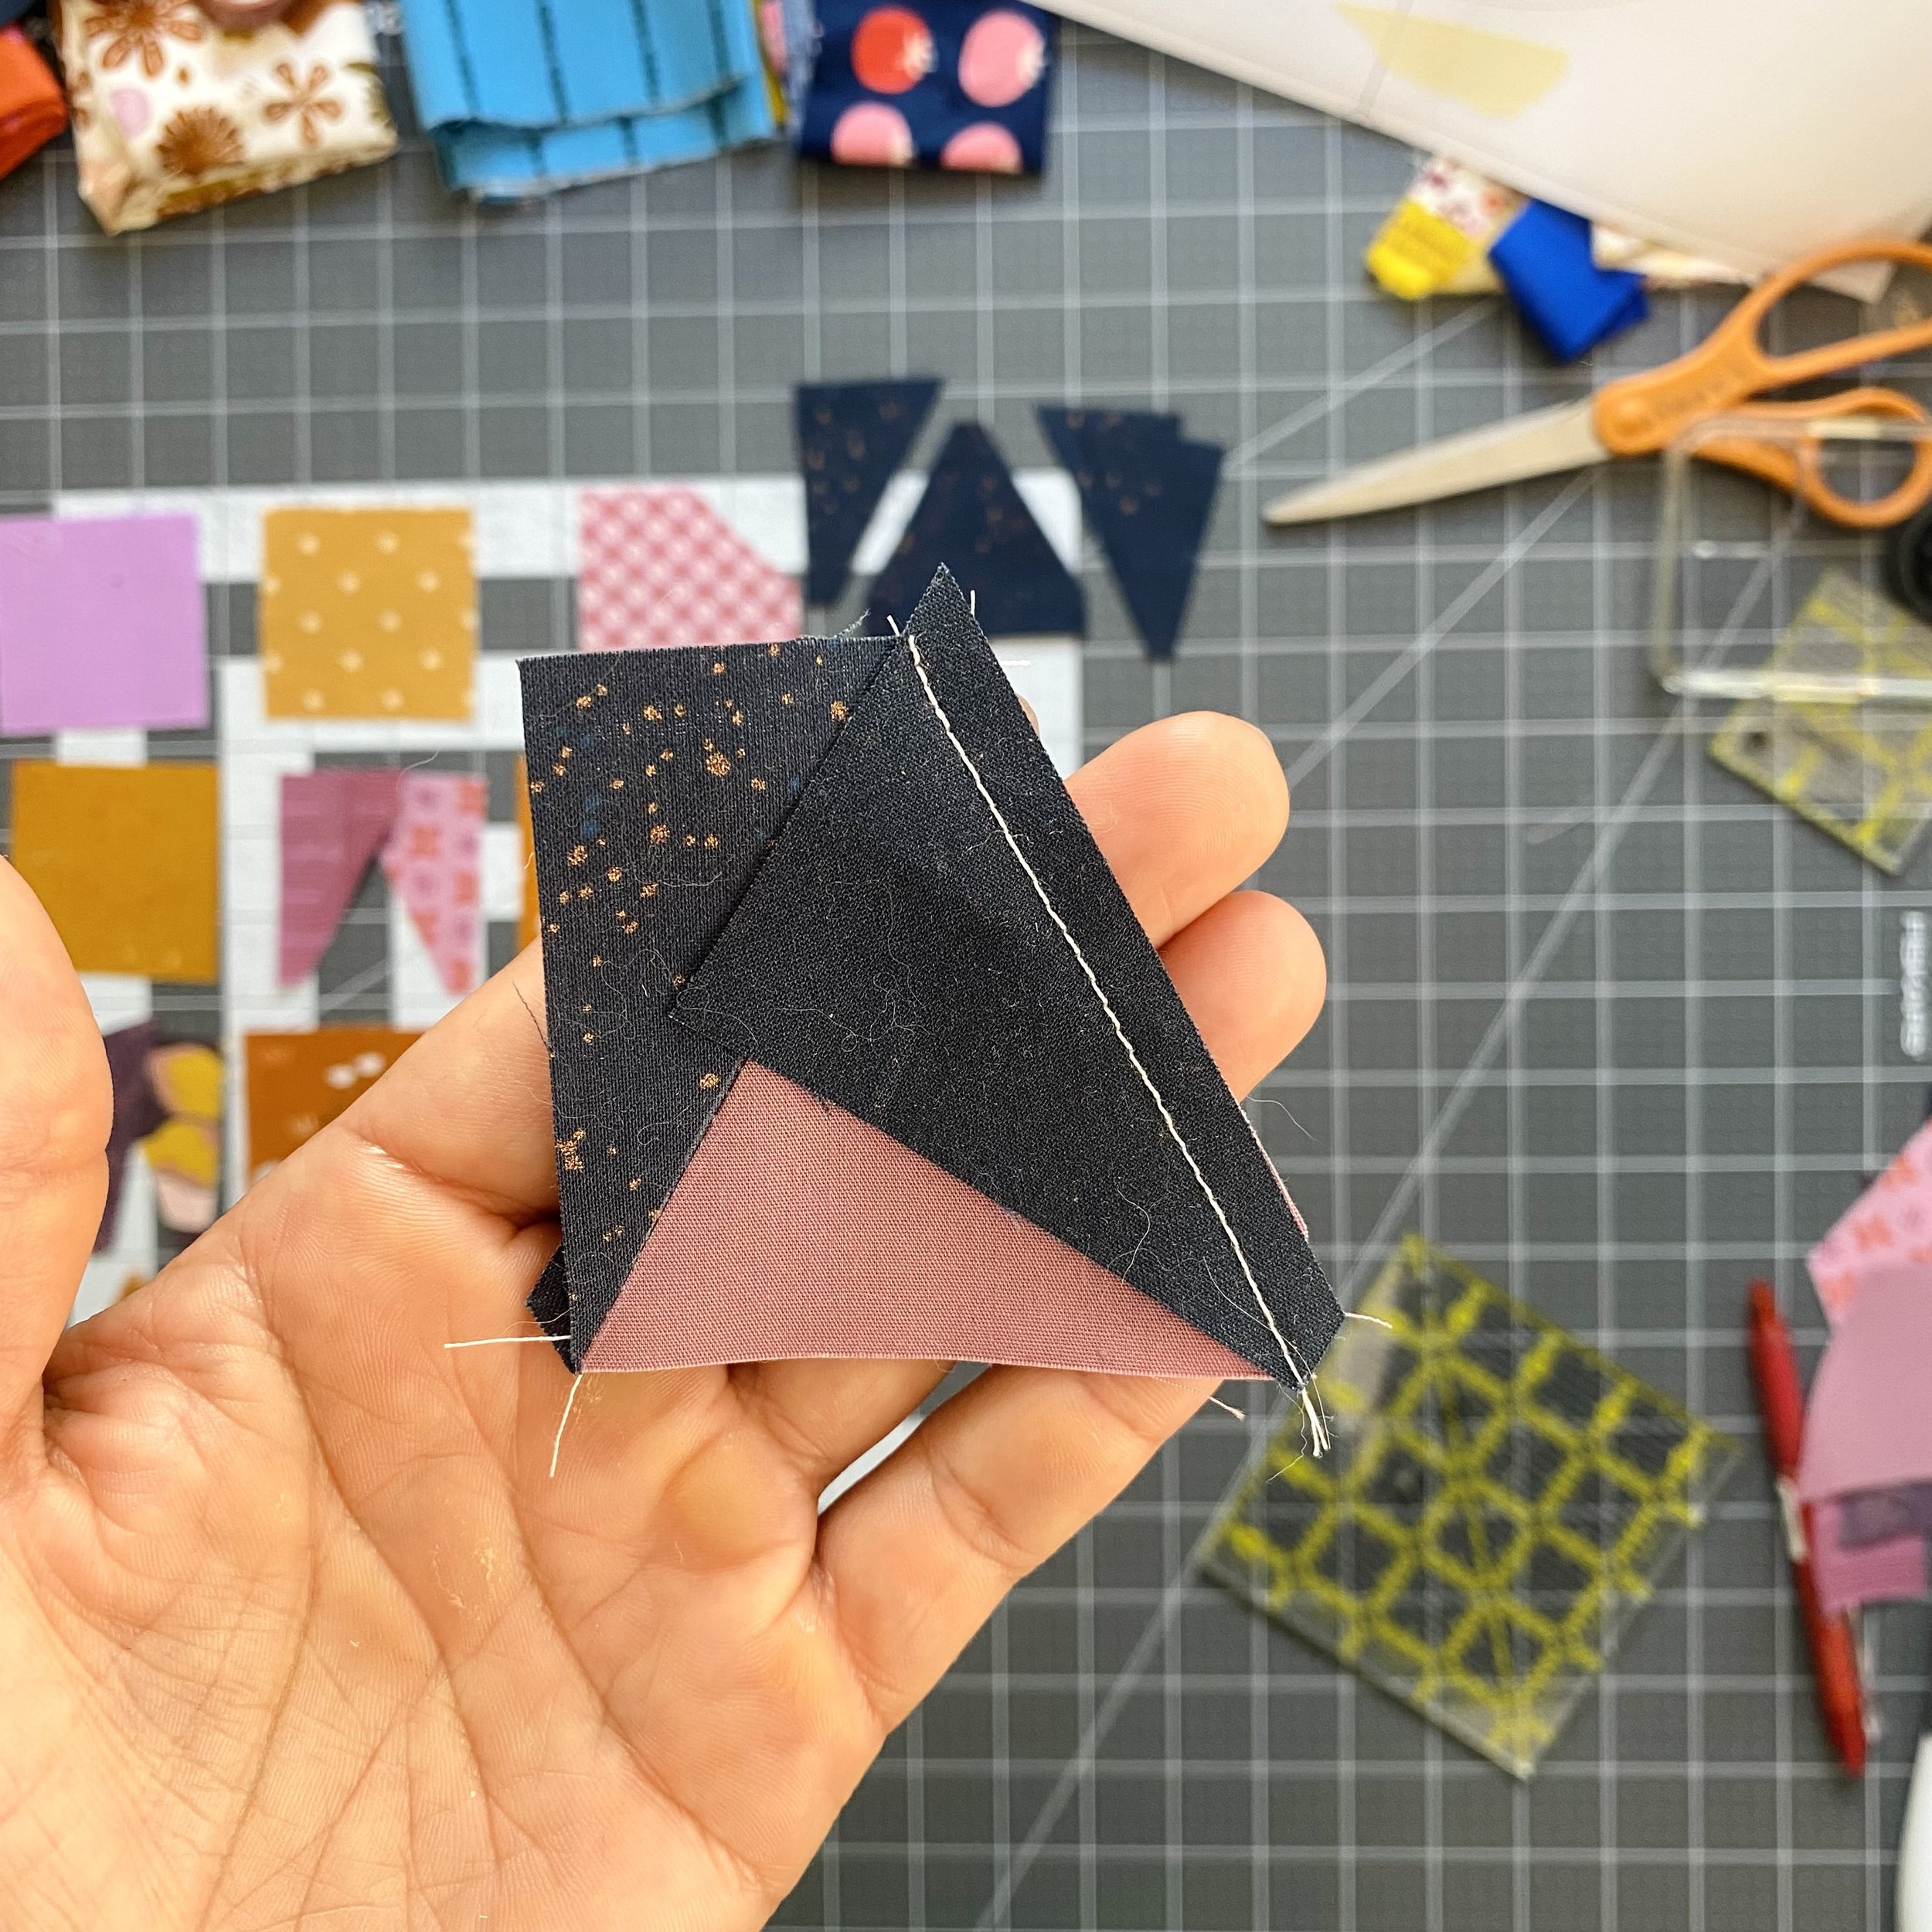
Here is the same unit, but flipped over. Notice the edge near my thumb; the left and right triangles always slightly extend past the center triangle edge here.
Here is the right triangle sewn onto the center triangle. Notice the seam intersects the patchwork exactly at the top, and hits the bottom right corner perfectly.
As noted in the pattern, I suggest using a scant seam allowance for the equilateral triangles. This gives me just a smidge of trimming room on the sides! I like to leave the untrimmed units under a heavy object overnight, just to make sure the fibers don’t shift around too much after I square up the unit.
And that’s it. This piece, with the pumpkin fabric in the center triangle, will end up being used in the smile. An equilateral triangle with the background fabric in the center triangle would be used as an eye or for the nose.

