Pump Queen: Sorting Scraps
My favorite part of the Pump Queen block is playing with my scraps! I cut all my project leftovers into 2½" x 2½" squares, so I don’t have too much prep to do. I can dive right into playing with my patchwork.
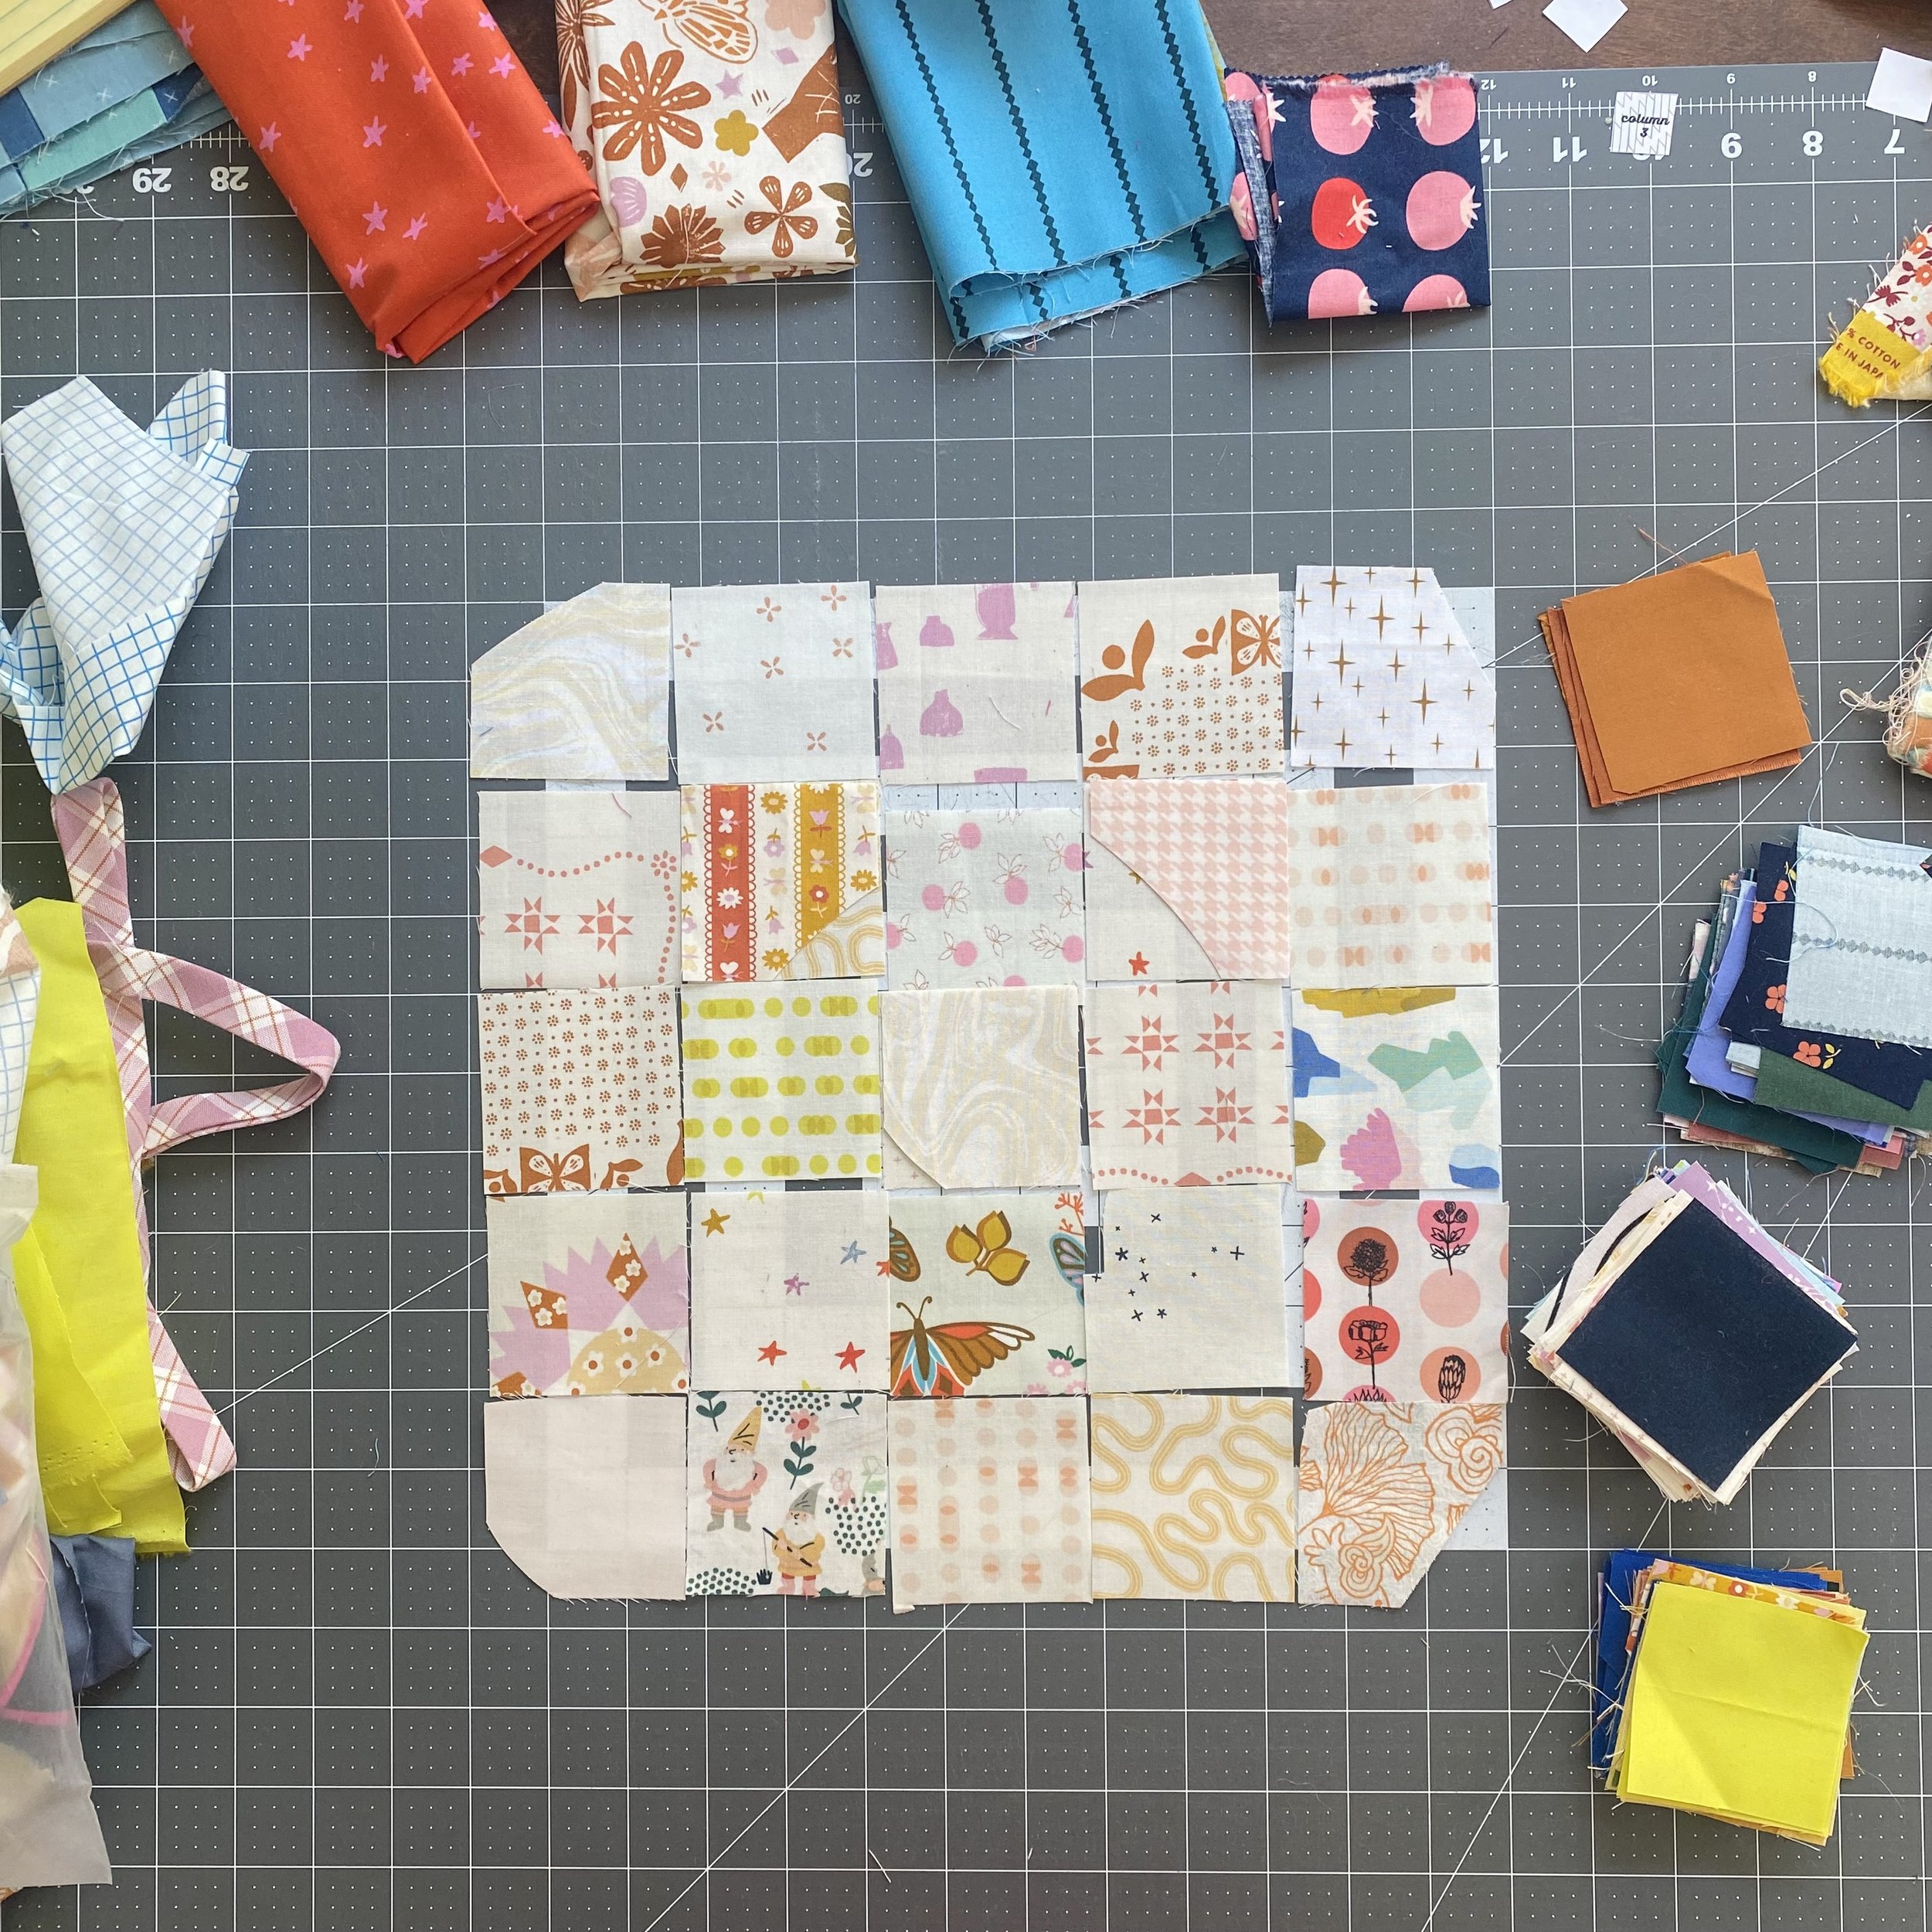
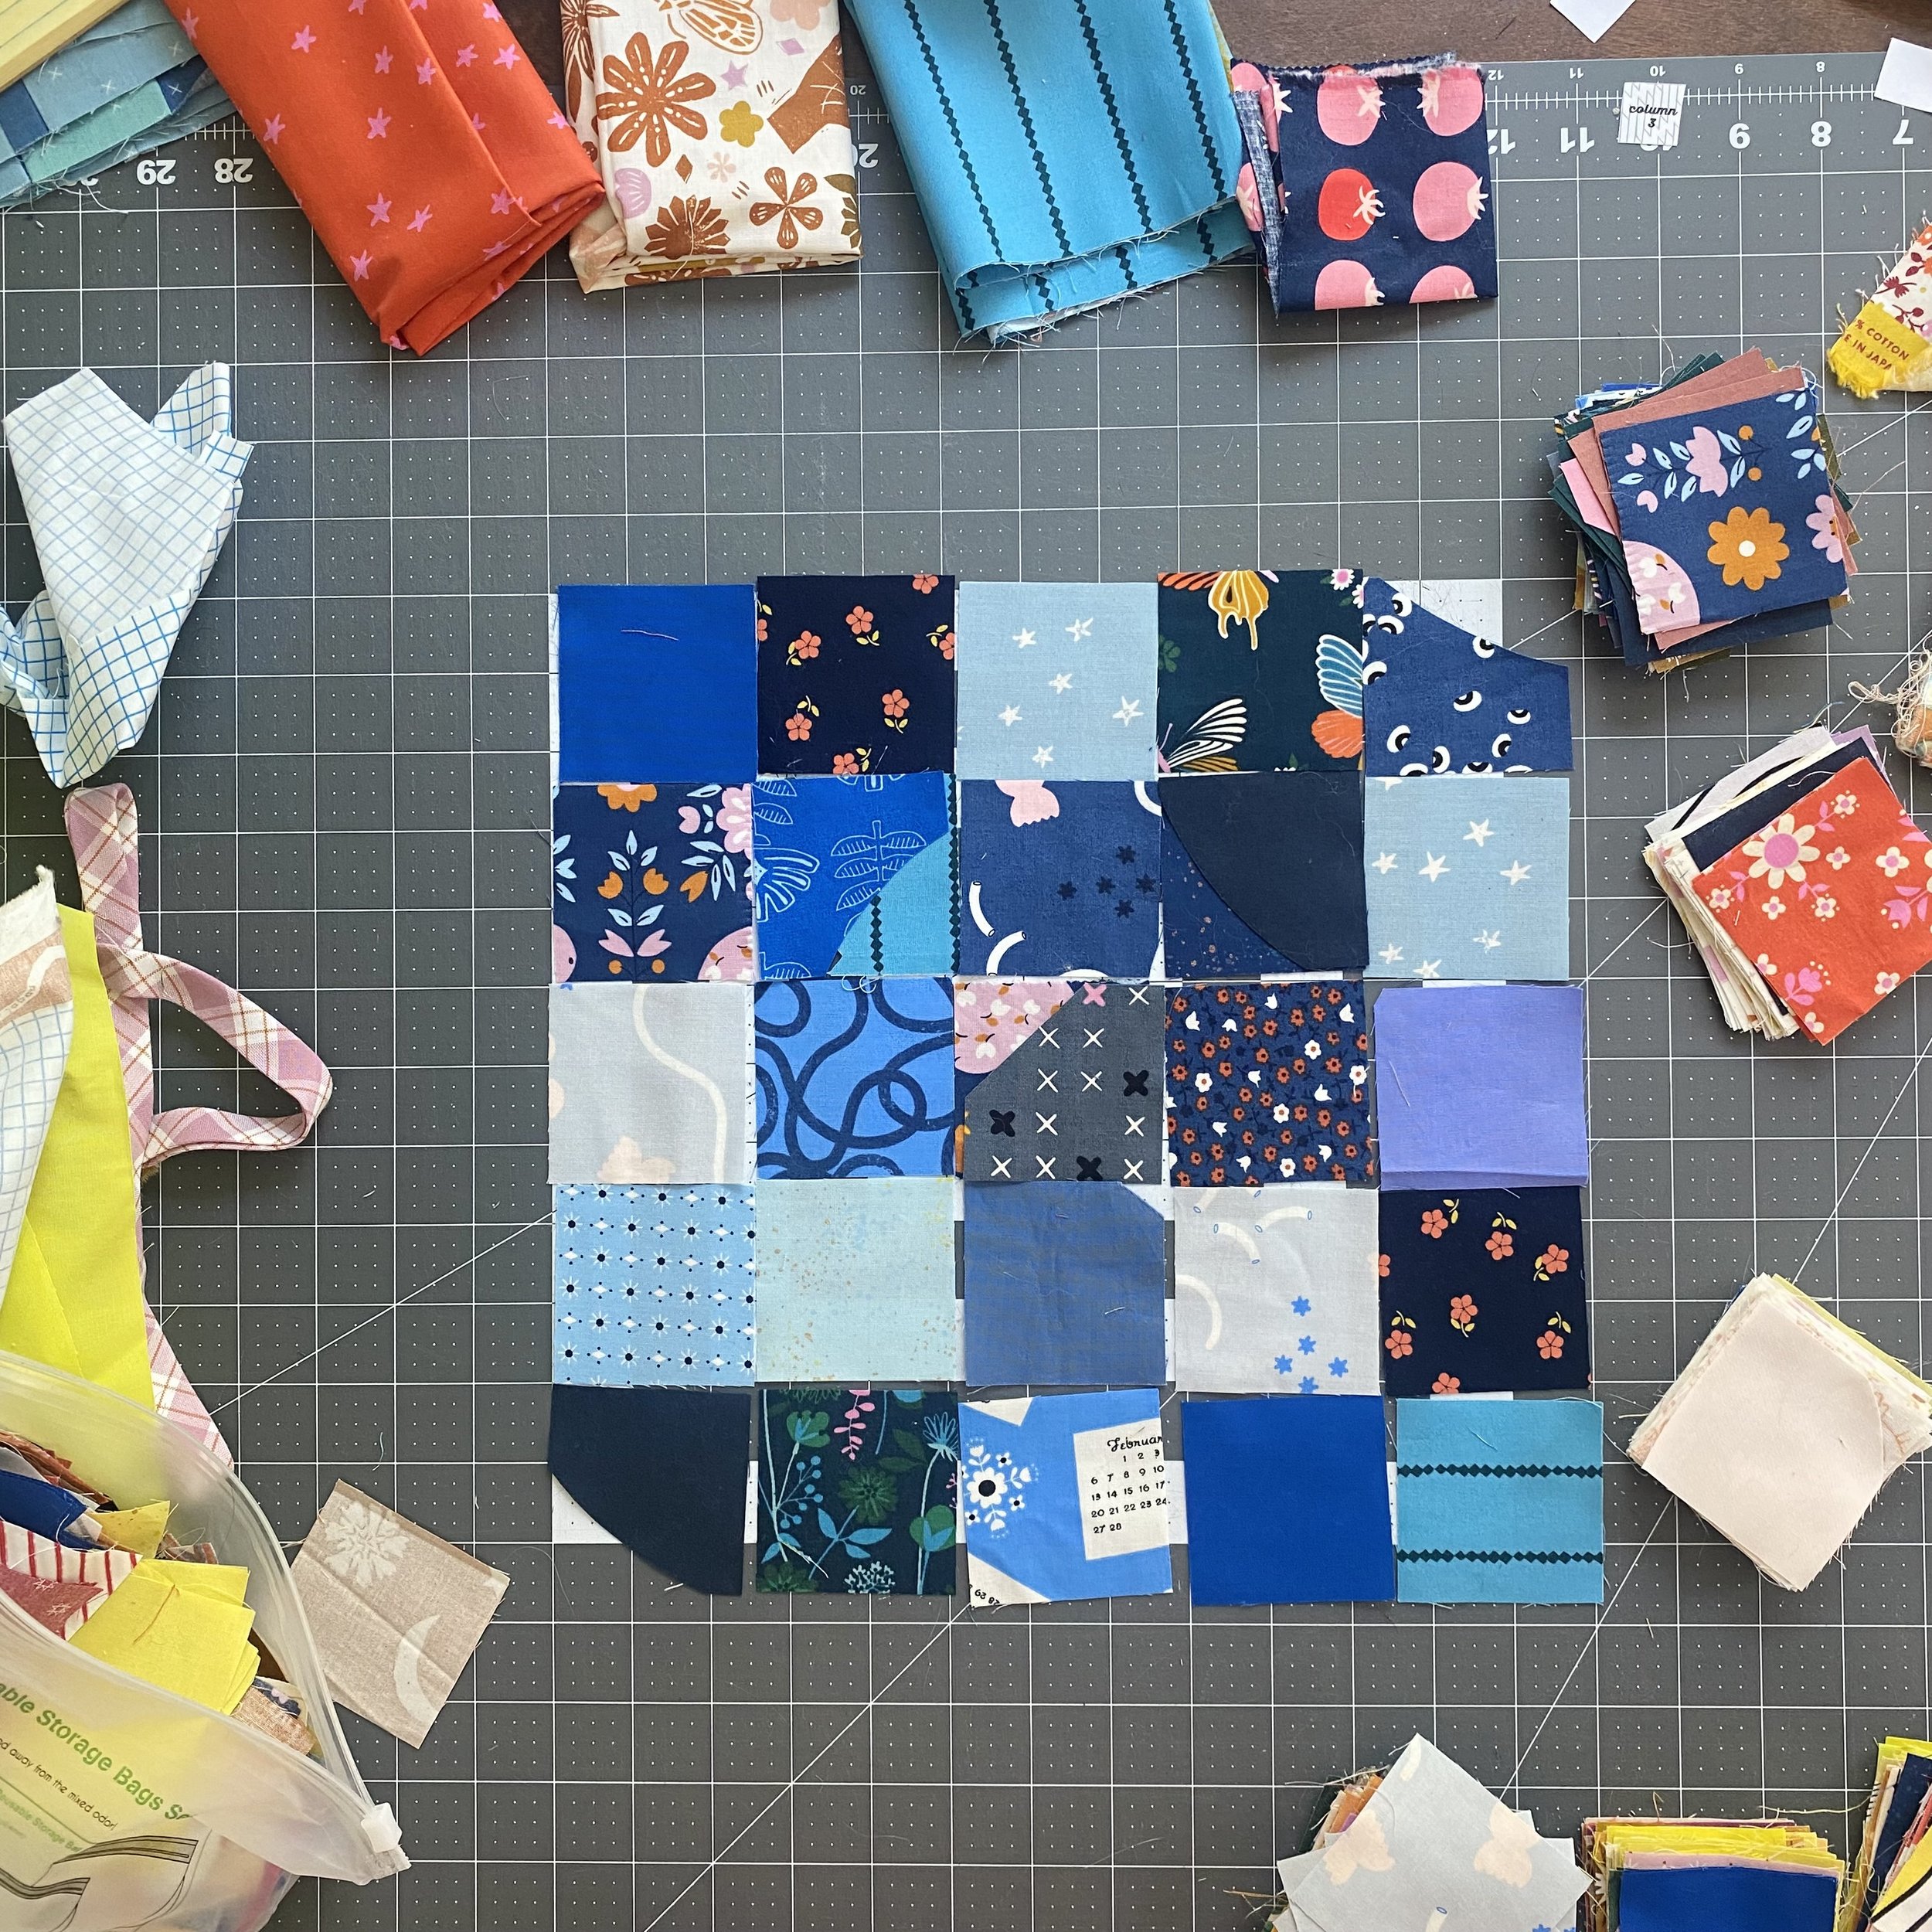
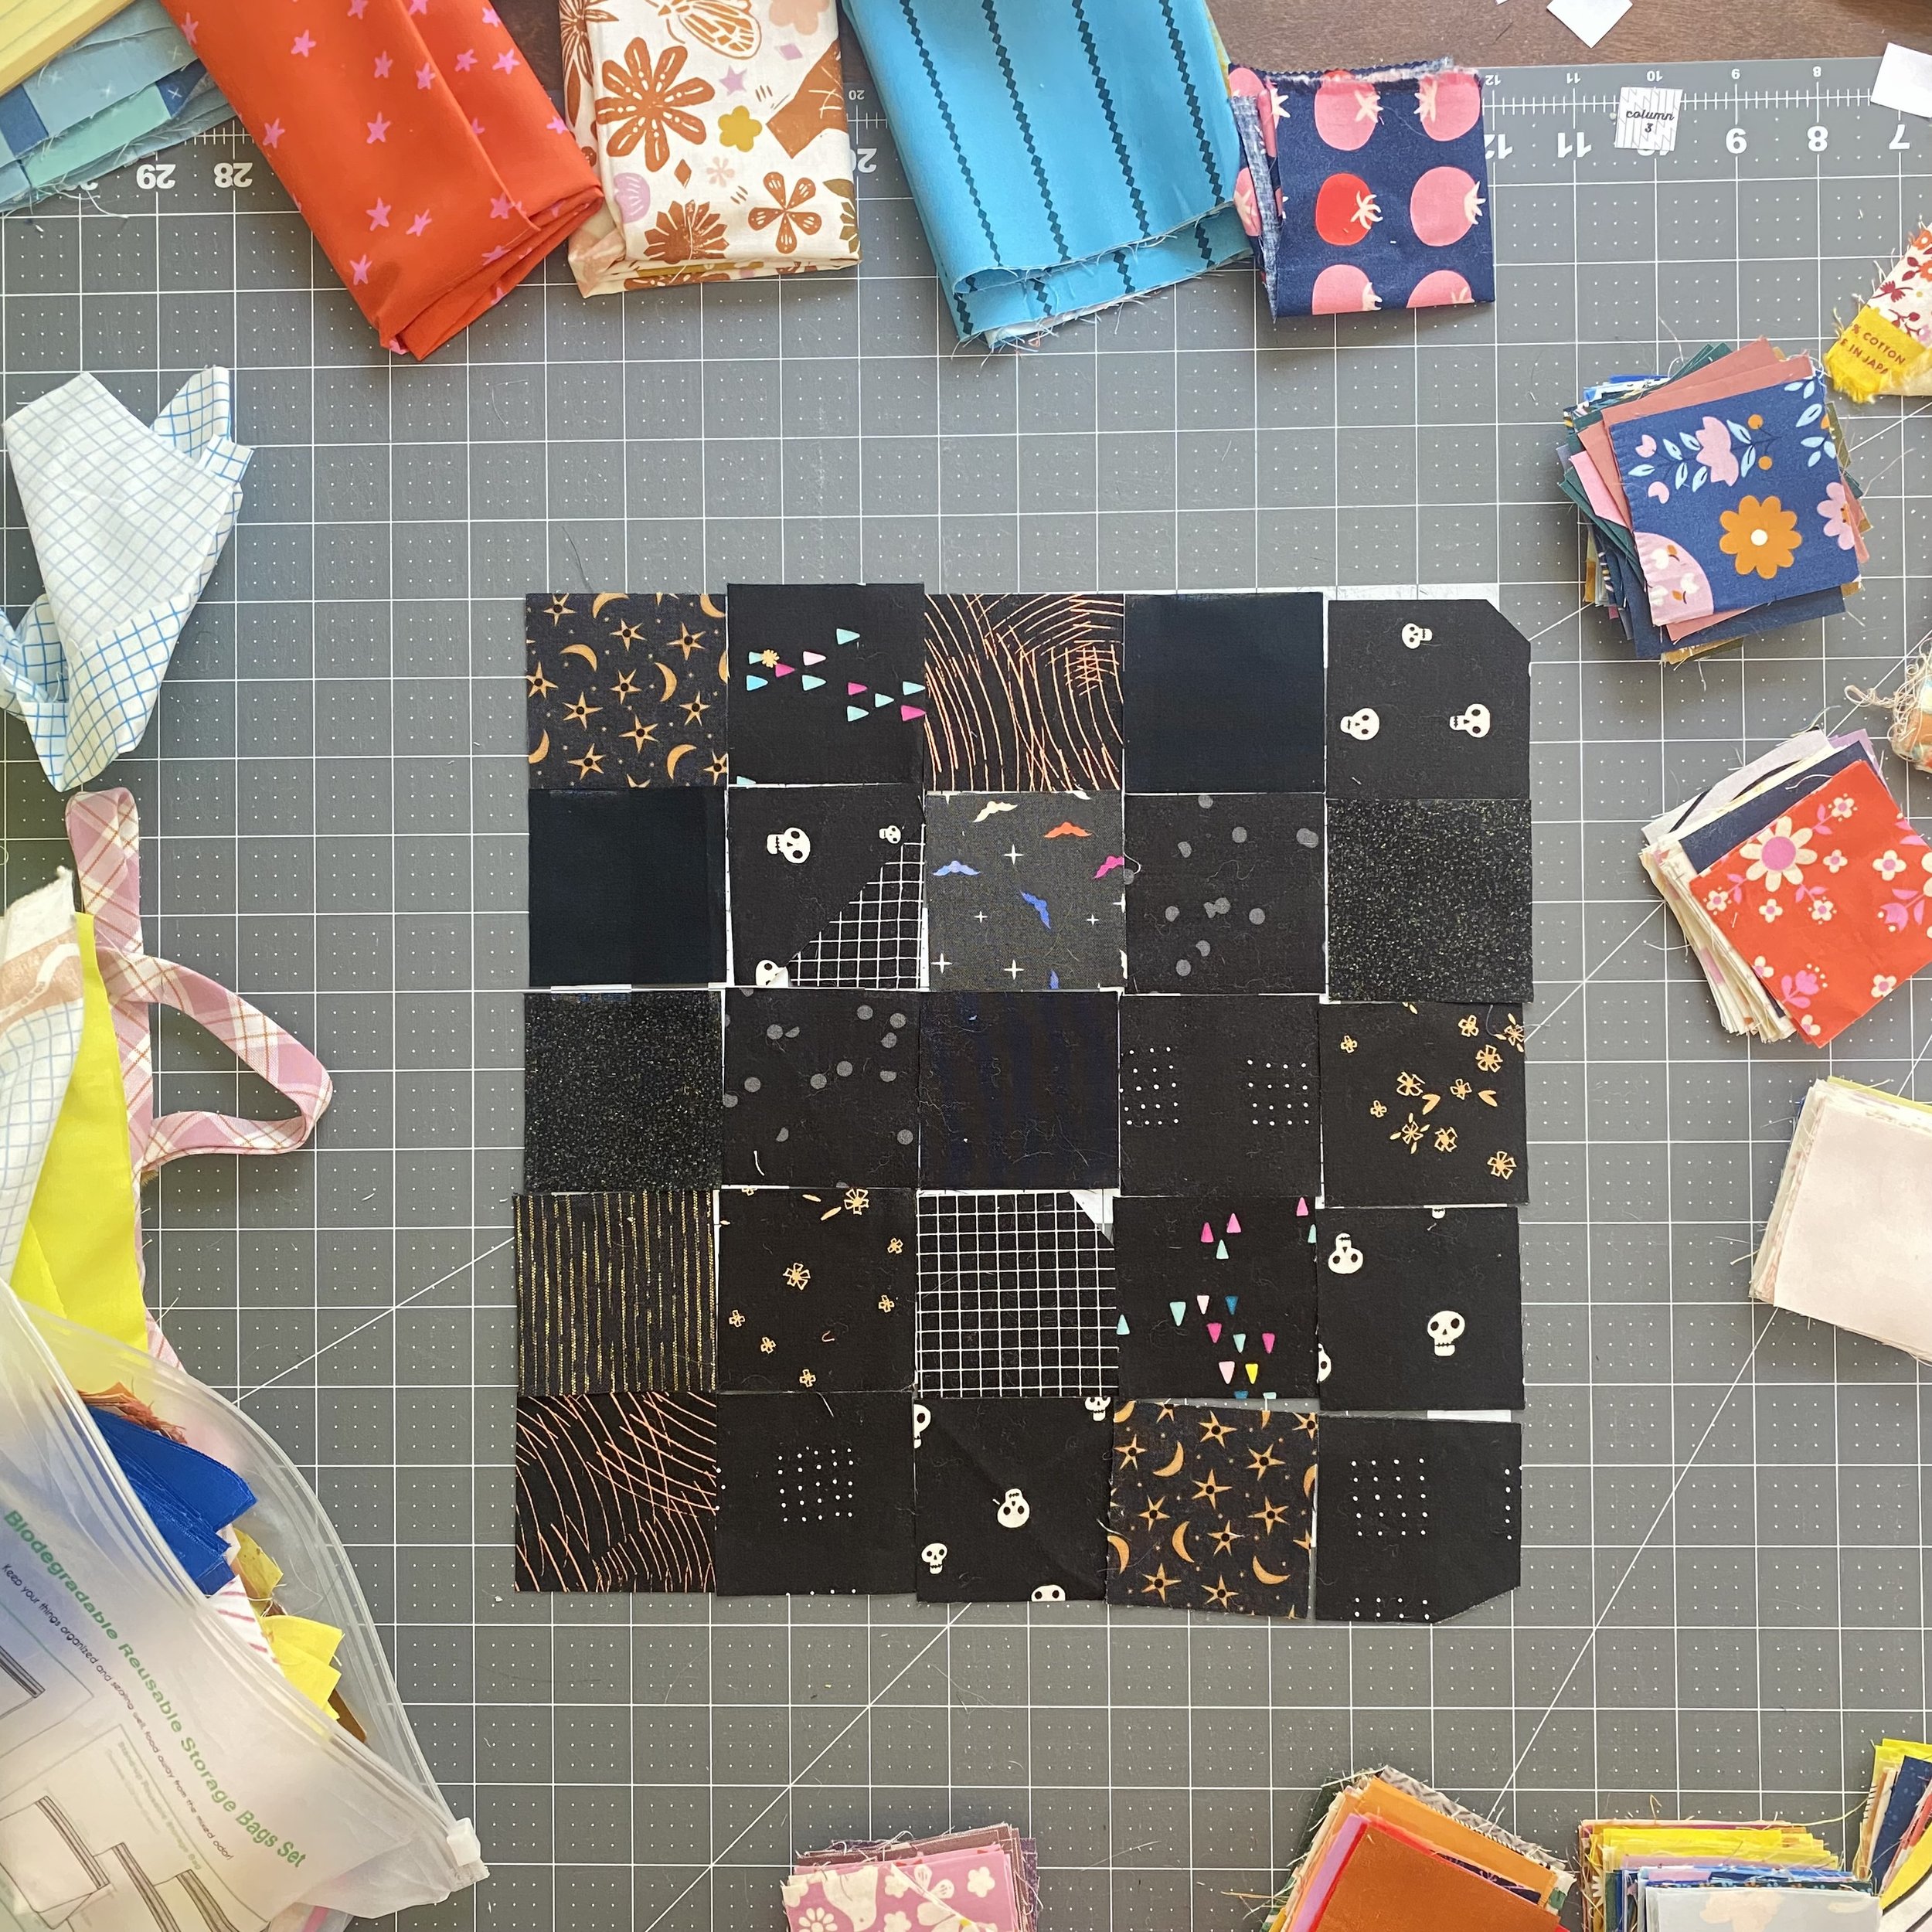
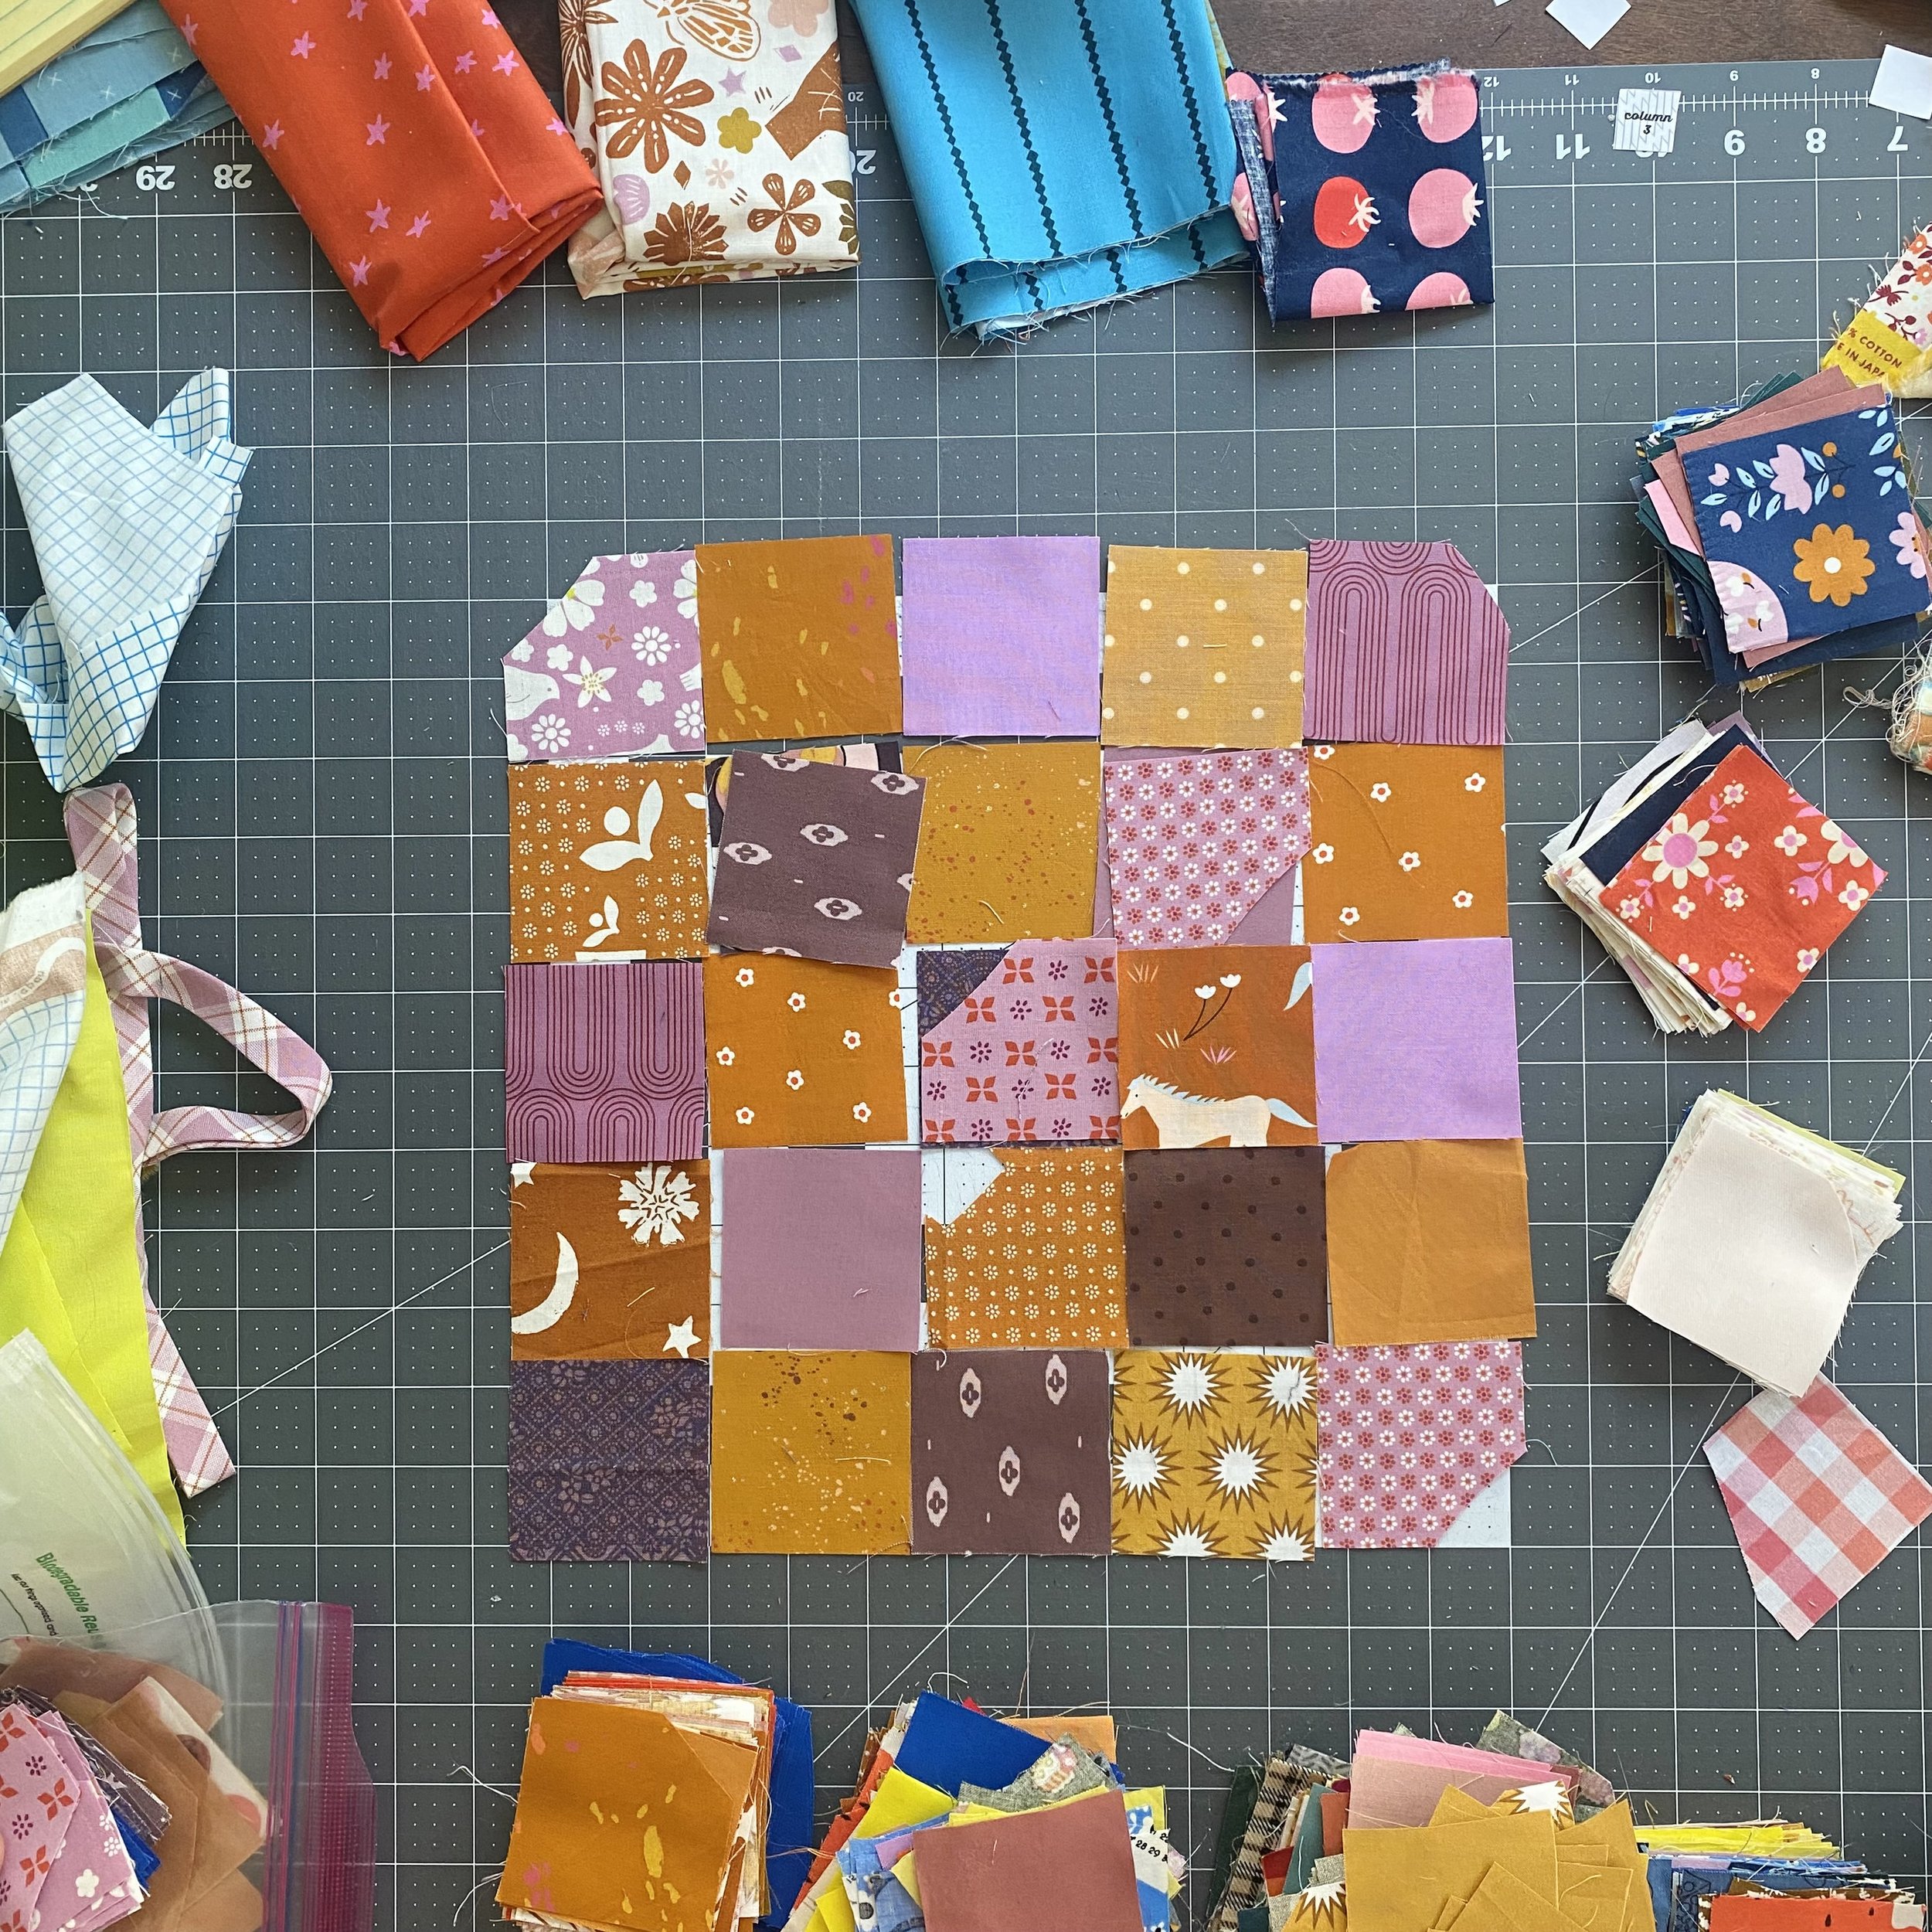
I start by laying out a 5 x 5 square of patchwork. The 3 remaining squares are used in the eyes and nose. Look closely at the pictures and you’ll see that I actually have pairs of fabric in the spots for the eyes and the nose.
In this layout, I’ve played with low volume scraps (or at least low volume for me!). A low volume Pump Queen would look good with pretty much any background fabric color.
If you want something a little more realistic, you can play around with warm solids like I did here.
My favorite tips for sorting out my scraps is this - you can get away with using imperfect 2½" x 2½" squares for the eyes, nose and corner pieces! You could even get away with using imperfect scraps in the teeth units. Look closely, and you’ll see that I have some very scrappy squares laid out in those spots. It’ll take some experimenting to learn how “complete” your scrap has to be. This is true for the pumpkin fabric only - you need complete squares for the background fabric.
I have to admit, I’ve become a print addict. I used to be a solids-only quilter, but I have really turned a corner! If you want to cram as many prints as possible into your Pump Queen block, consider a monochromatic approach.
In this version, I’ve pulled out all my black scraps for a haunted pumpkin look!
This is where I settled on the patchwork. A two-tone mix using prints and solids. I wanted a little bit of organization, so the purples and oranges are arranged in a checkerboard pattern.
Whatever color combination you use, just keep enough contrast between the patchwork fabrics and the background fabric. Don’t forget to cut the background fabric so you’re ready to dive into the equilateral triangles next.


