
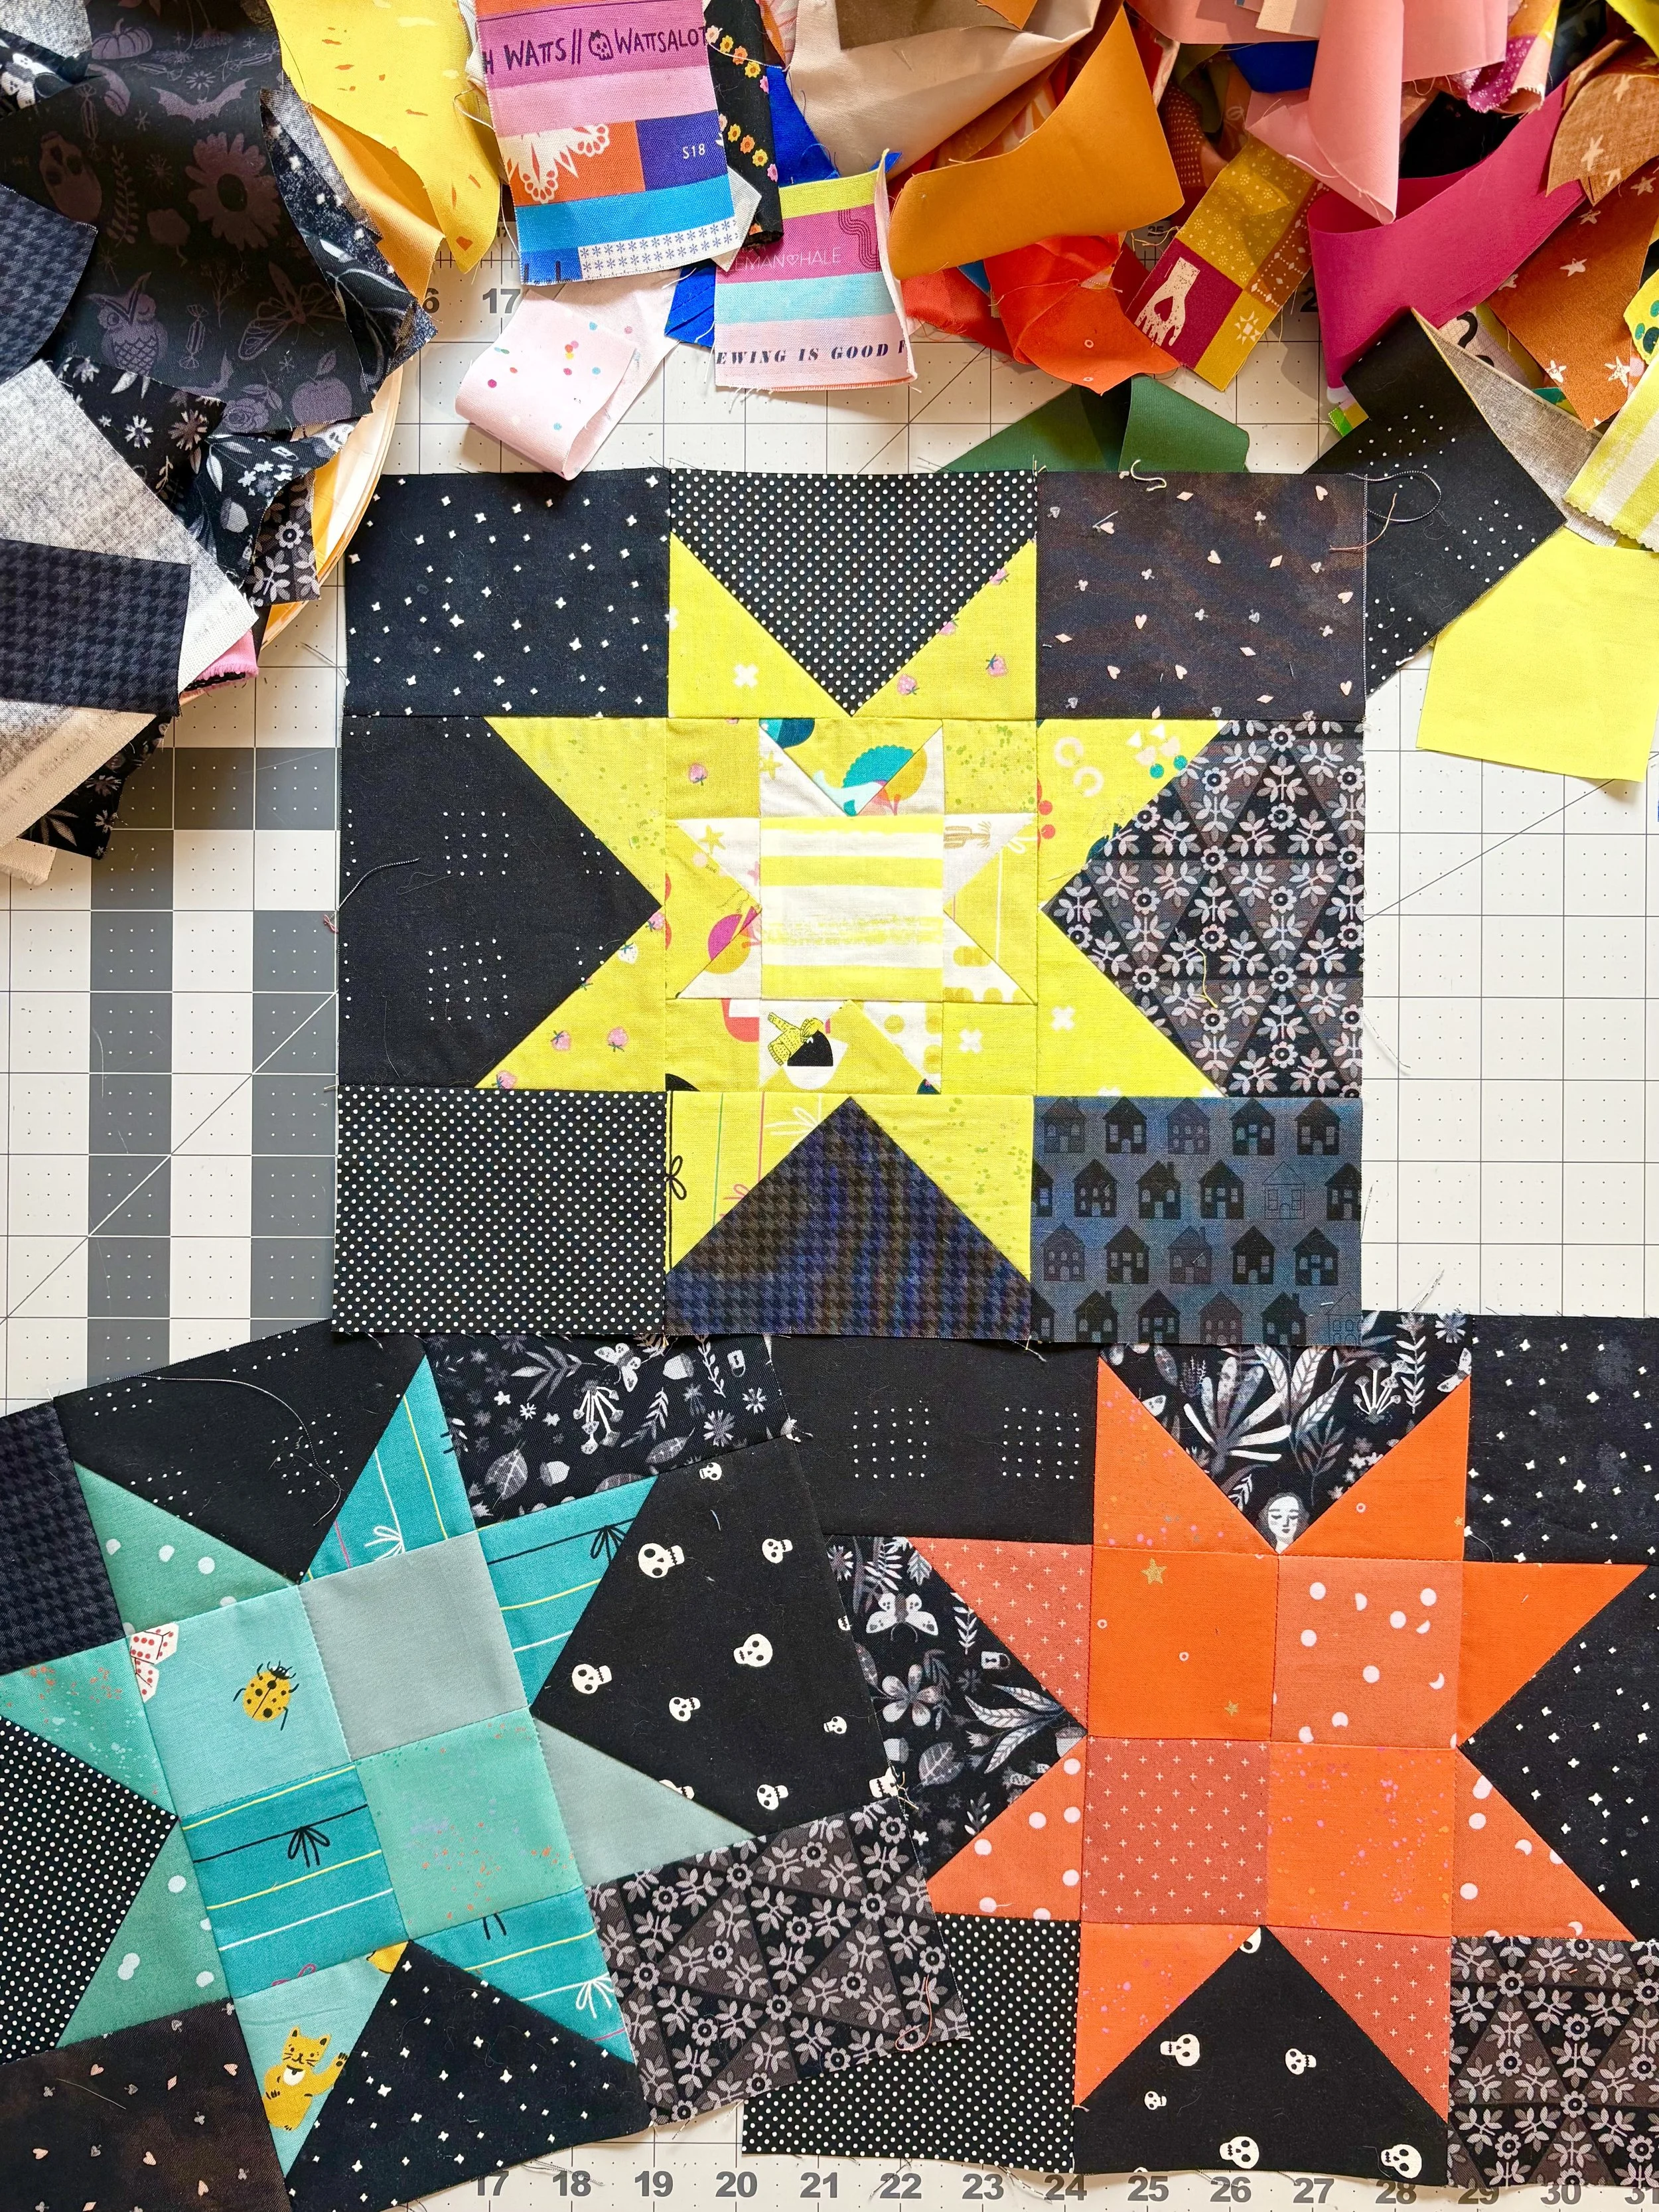
This block should have been a very straightforward scrappy make. But of course, I had to try and get fancy with the pattern.
But first, I just want to say how happy I am with this trio of colors! These blocks are so bright and shiny, they could be shooting stars! Every time I pick colors for a block, I have been trying to make them unique from other blocks I’ve made. I’m about to run out of unique color combinations, so we’ll see how long that lasts.
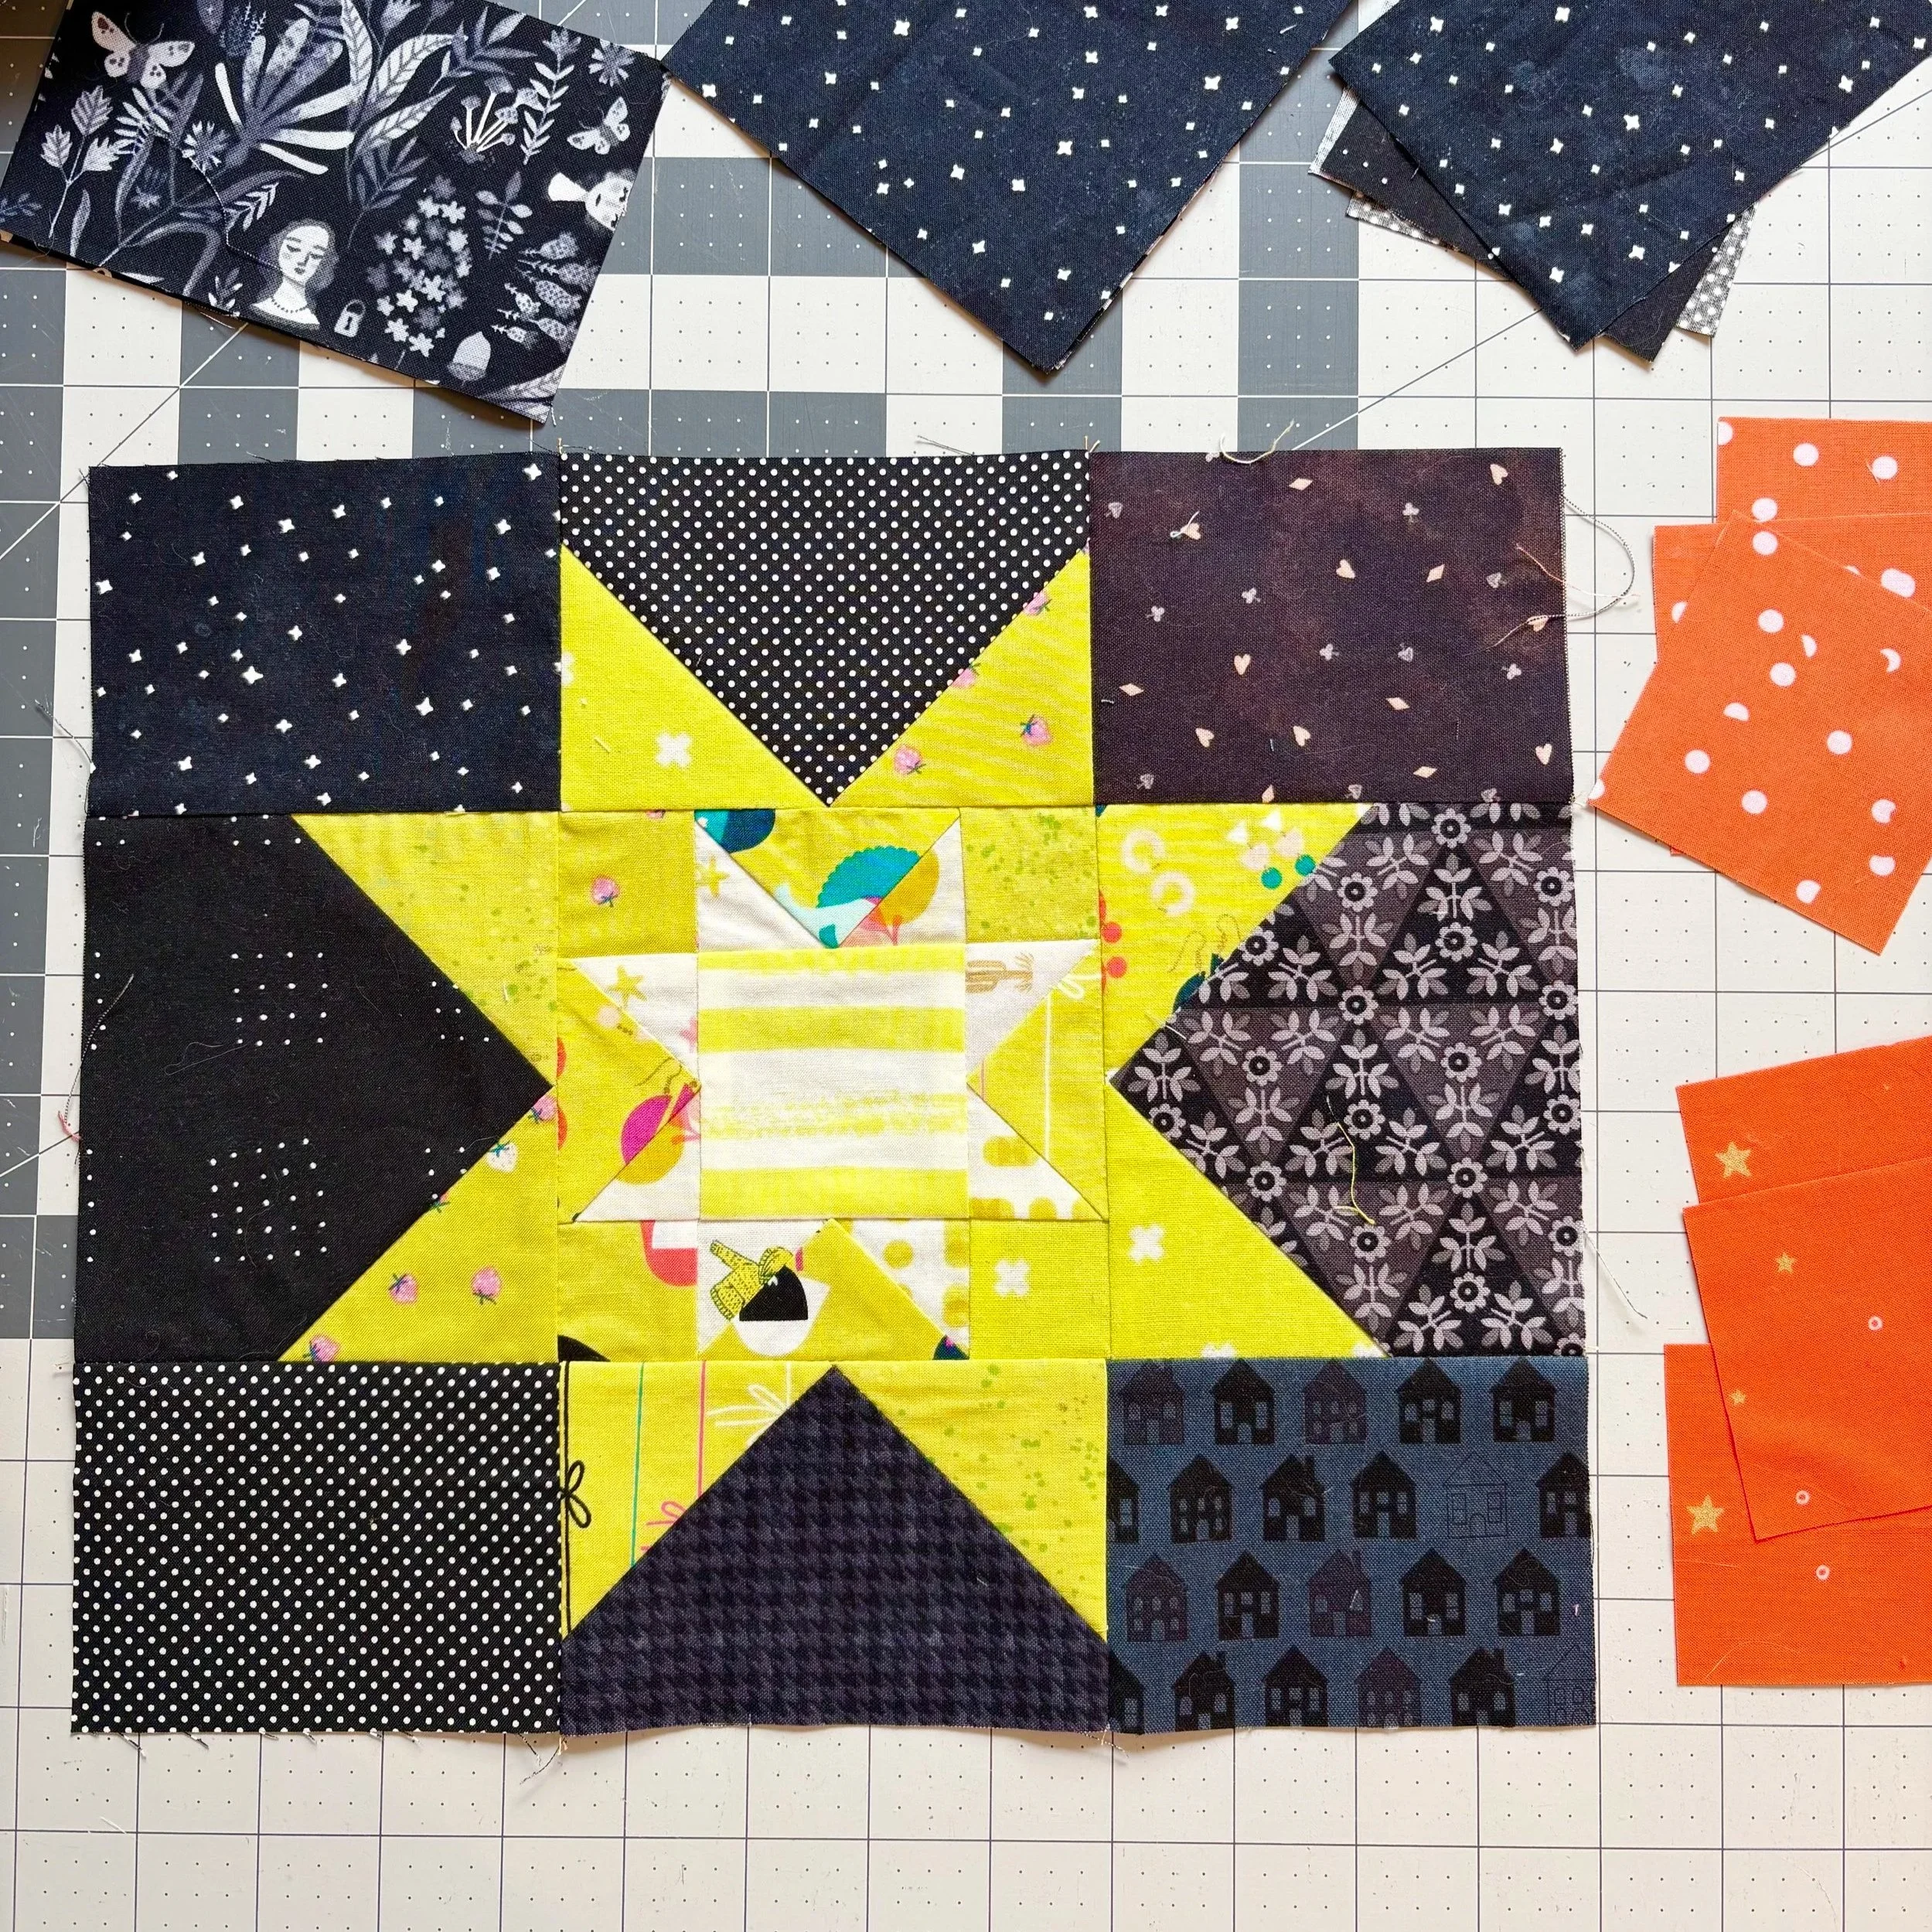
I knew I wanted to make really bright stars. I started these blocks wondering if I could add a little something to make them glow.
My solution was to try adding a white hot center to the star. I would use fabrics with similar accent colors on a white ground, in a teeny-tiny, center sawtooth star pattern.
It took forever. It required a bunch of 1⅜" squares, finicky sewing, lots of unpicking seams to make sure the unit turned out the corrected size… While the block is cute, it was a pain to put together. And I don’t think it glows in the way I was hoping for.
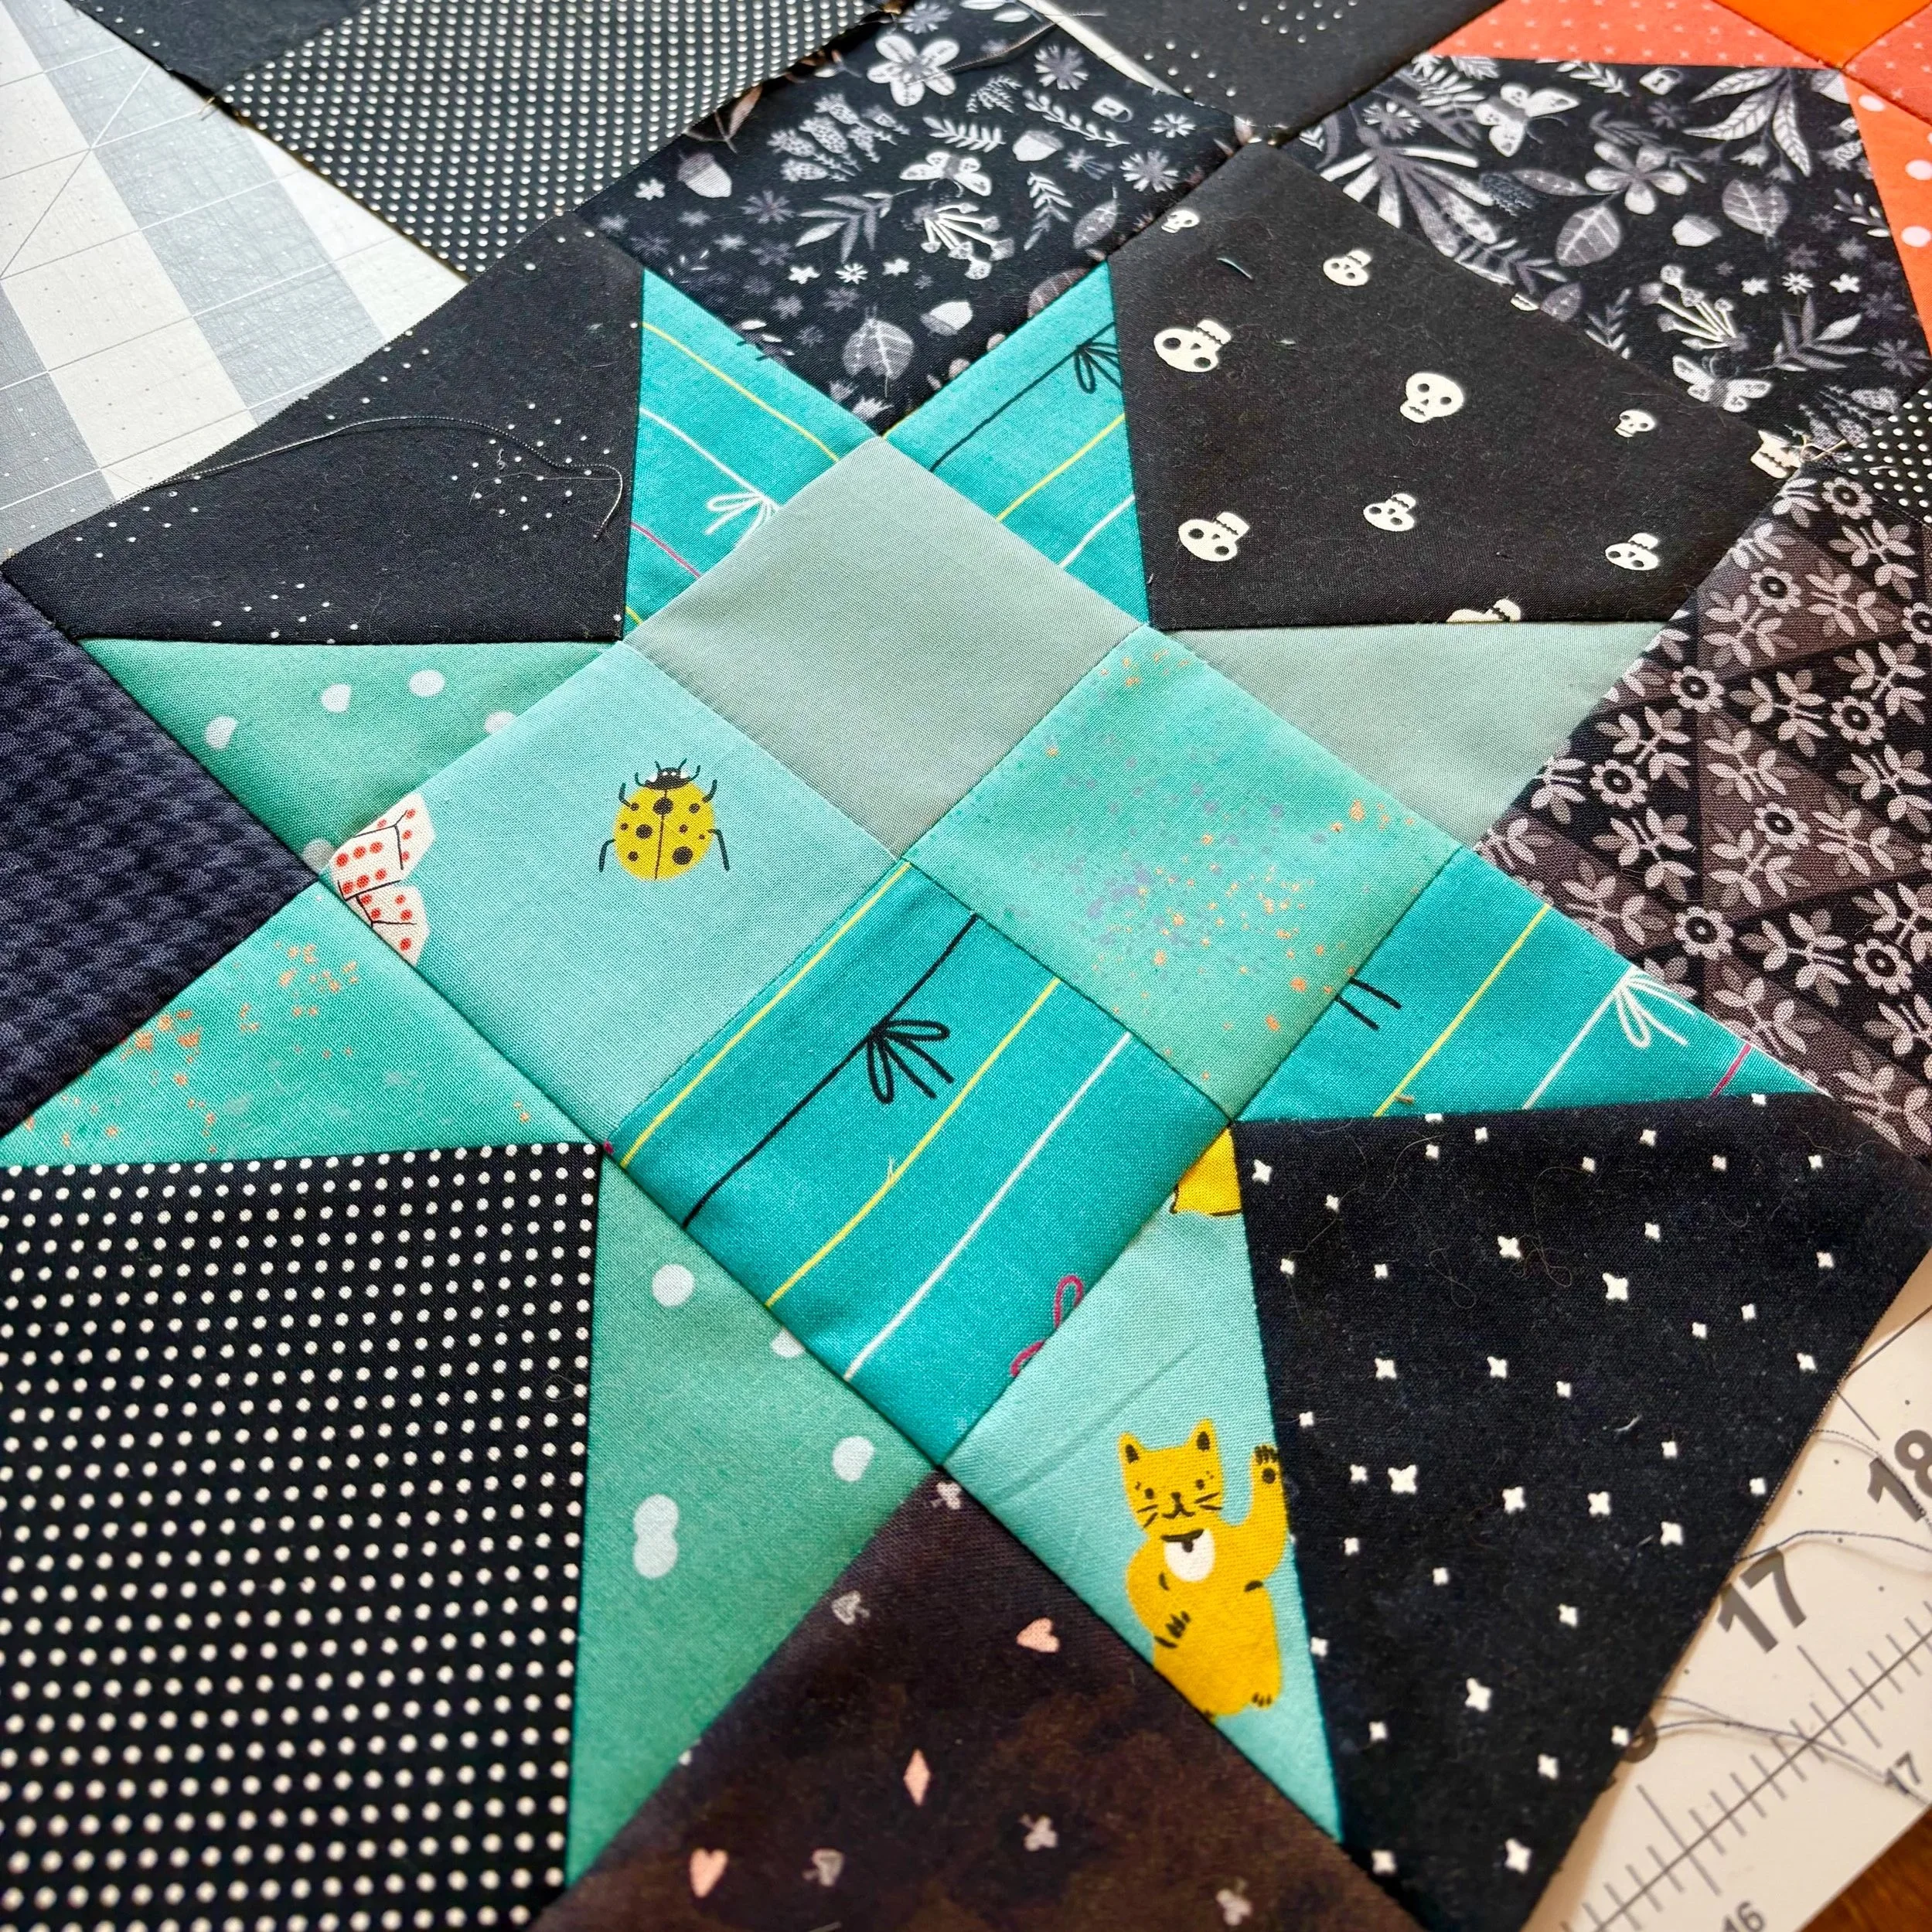
I decided to make my life easy by changing course to a simple four patch. I’ll keep the yellow star in the quilt, and it will be like a little easter egg to spot in the top. The remaining two blocks, I just replaced the center A2/B2/C2 square with four additional A1/B1/C1 squares.
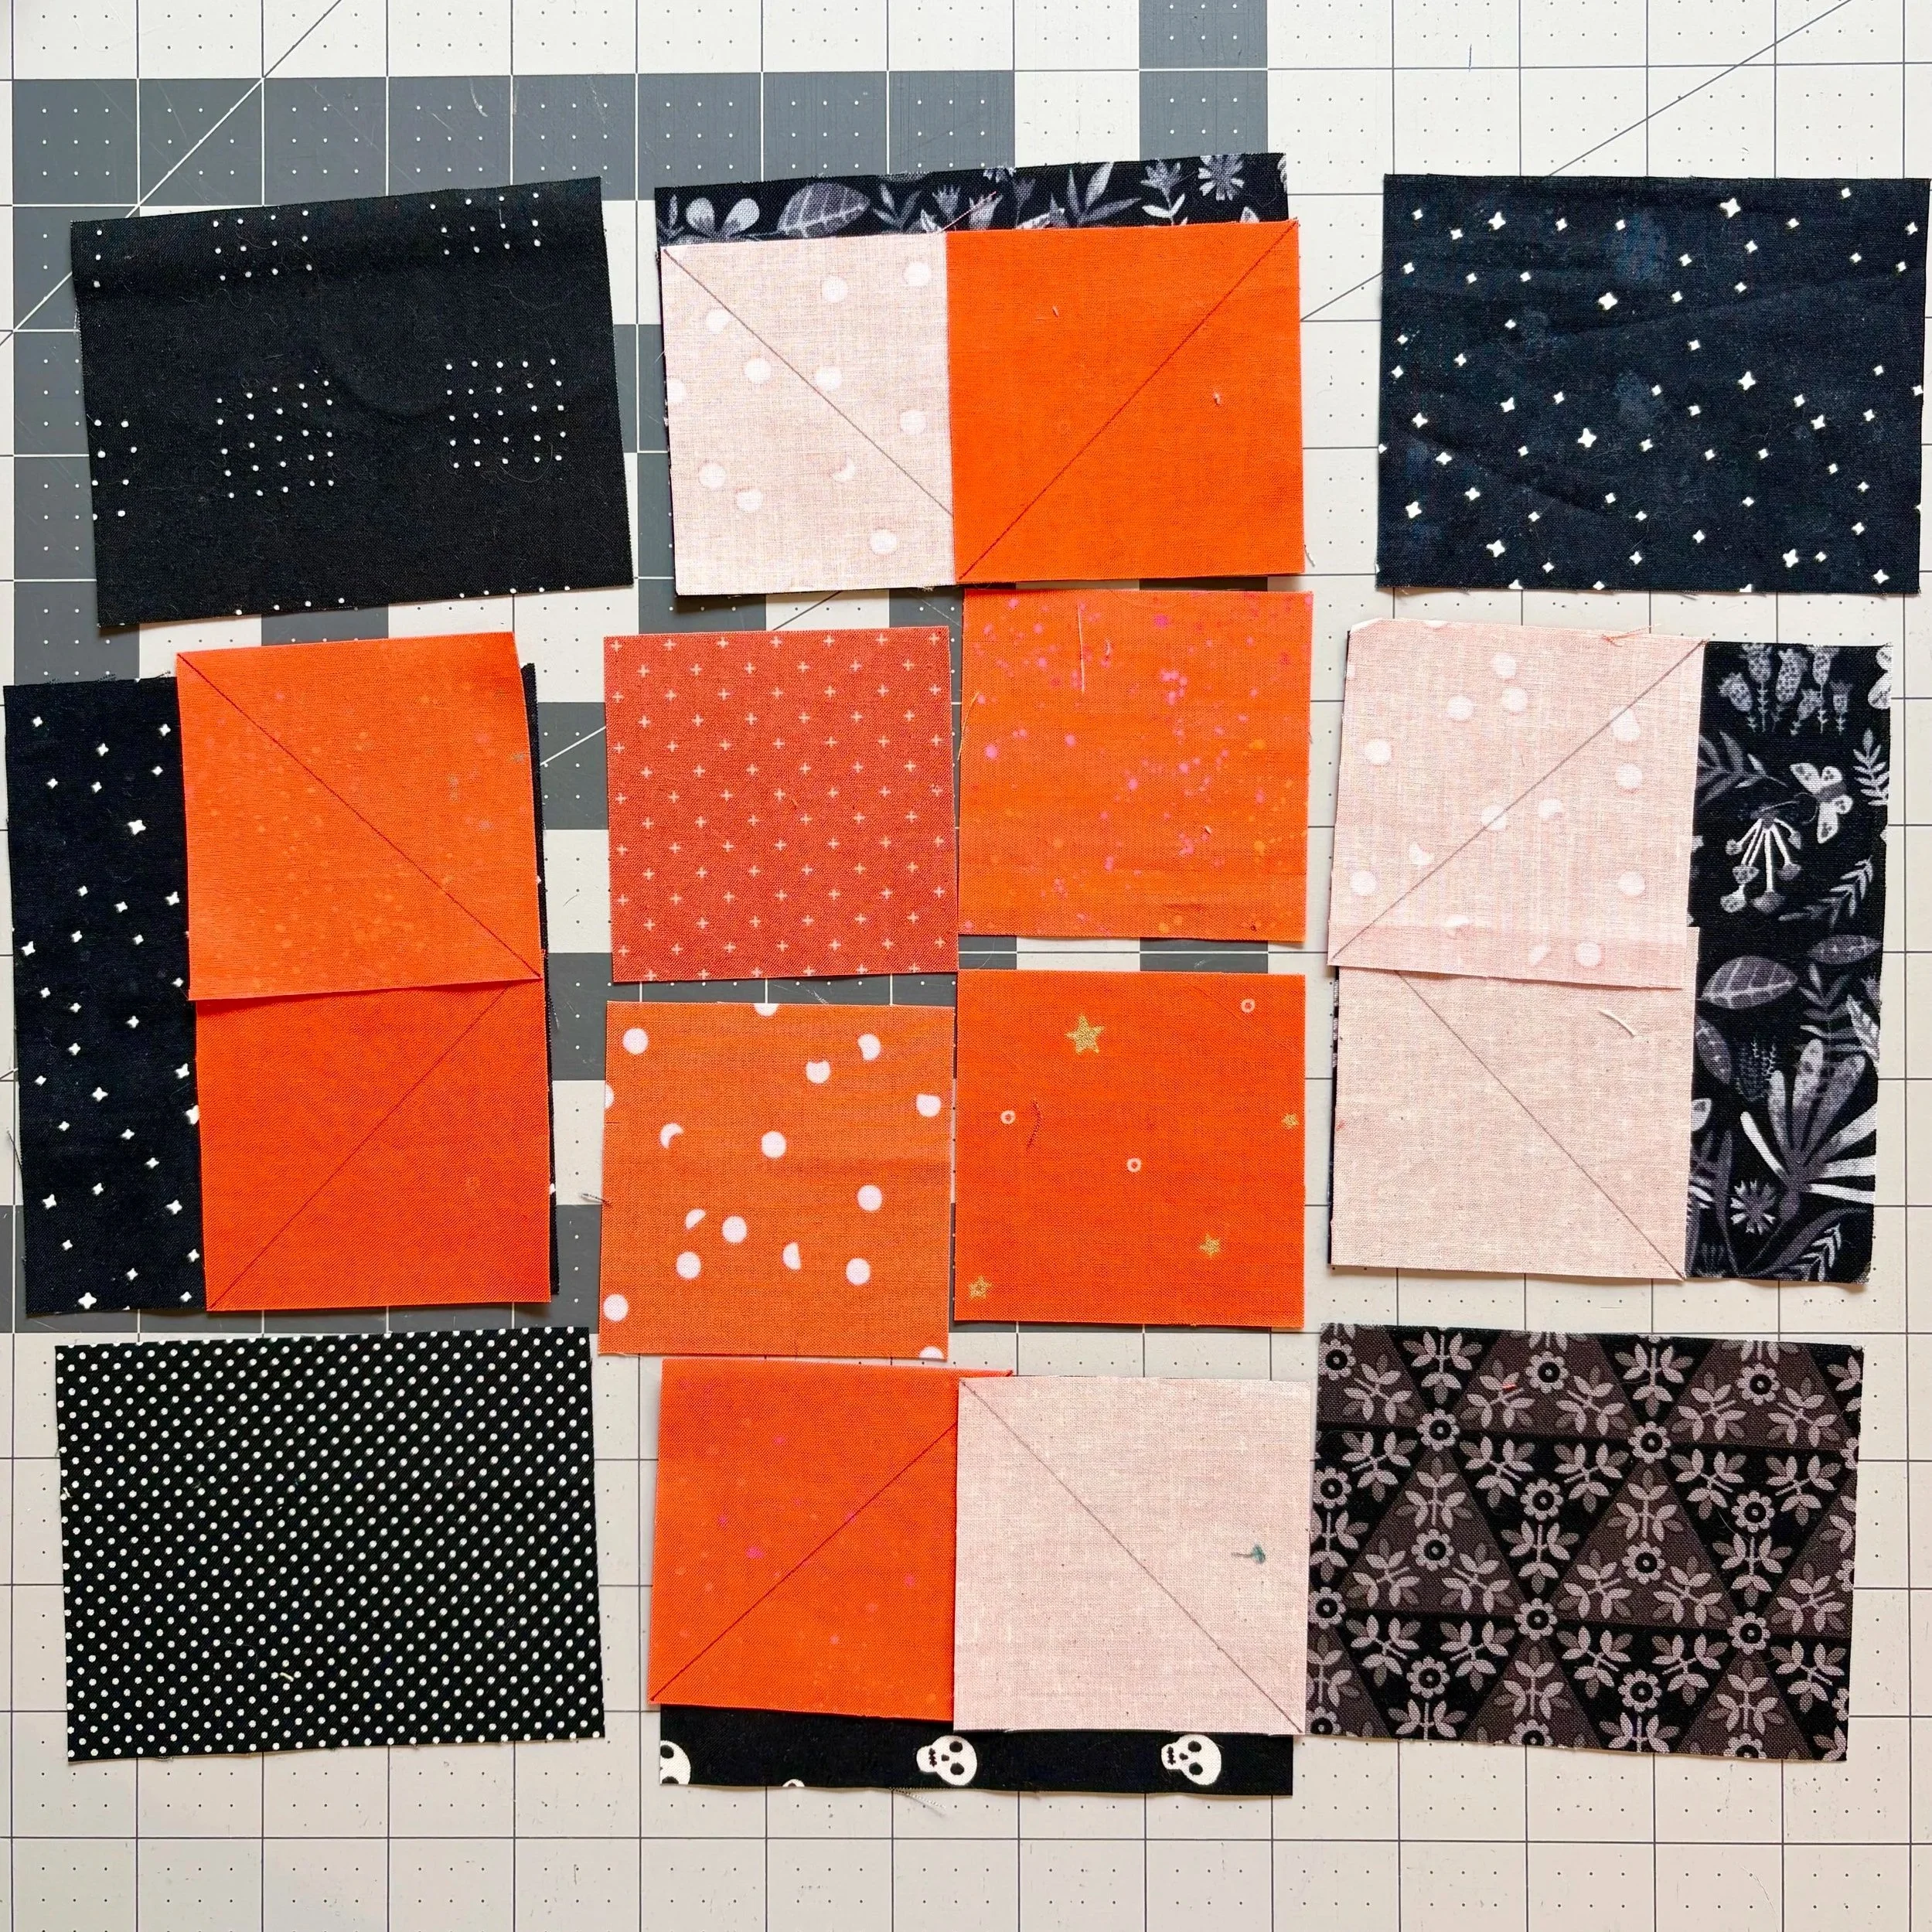
I made a simple four patch to replace the center unit, and followed the pattern directions to assemble the flying geese. I used these blocks to experiment with a different pressing orientation. The pattern tells you to press the seams open. In these blocks, I pressed towards the background fabric. I found this helped make my points sharp, especially the very tip of the flying geese units. Because the fabric is pressed towards the black point of the flying geese, the point is quite proud of the fabric, making it look extra sharp.
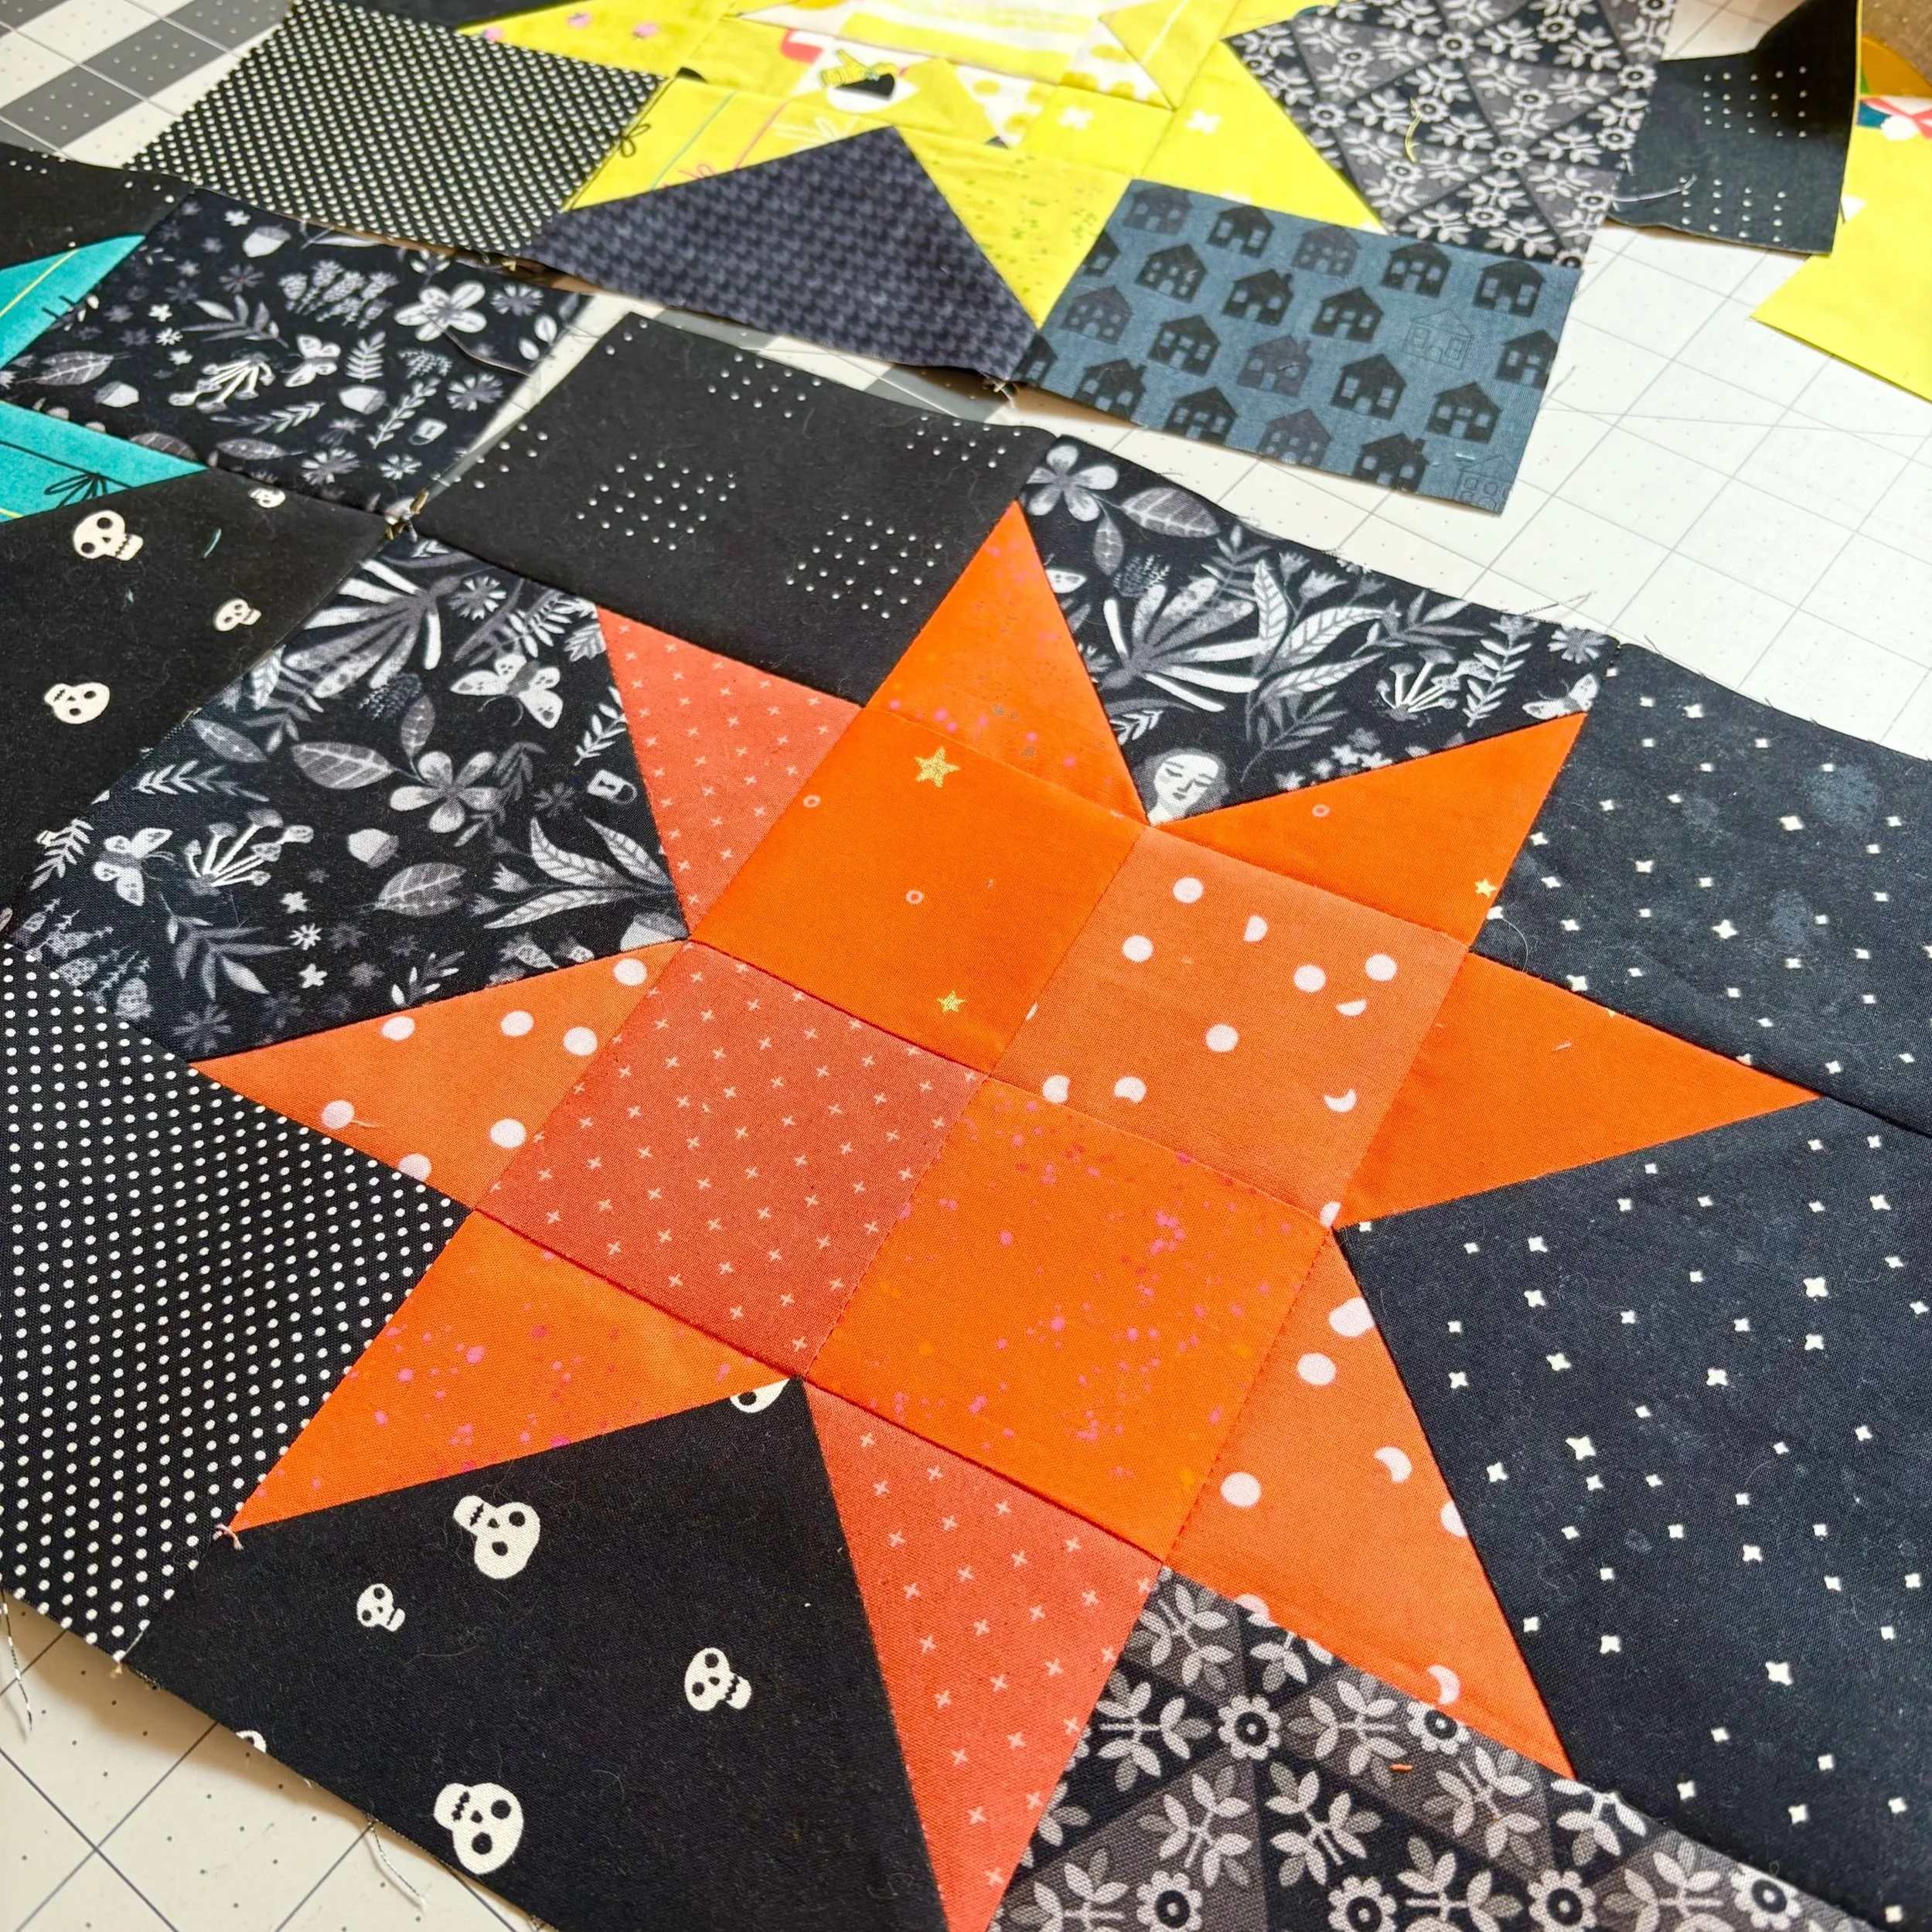
They aren’t too hard to stitch up and I had a blast picking fabrics for them. These blocks were always meant to provide a respite from the more intricate blocks. Up next …the mice!