
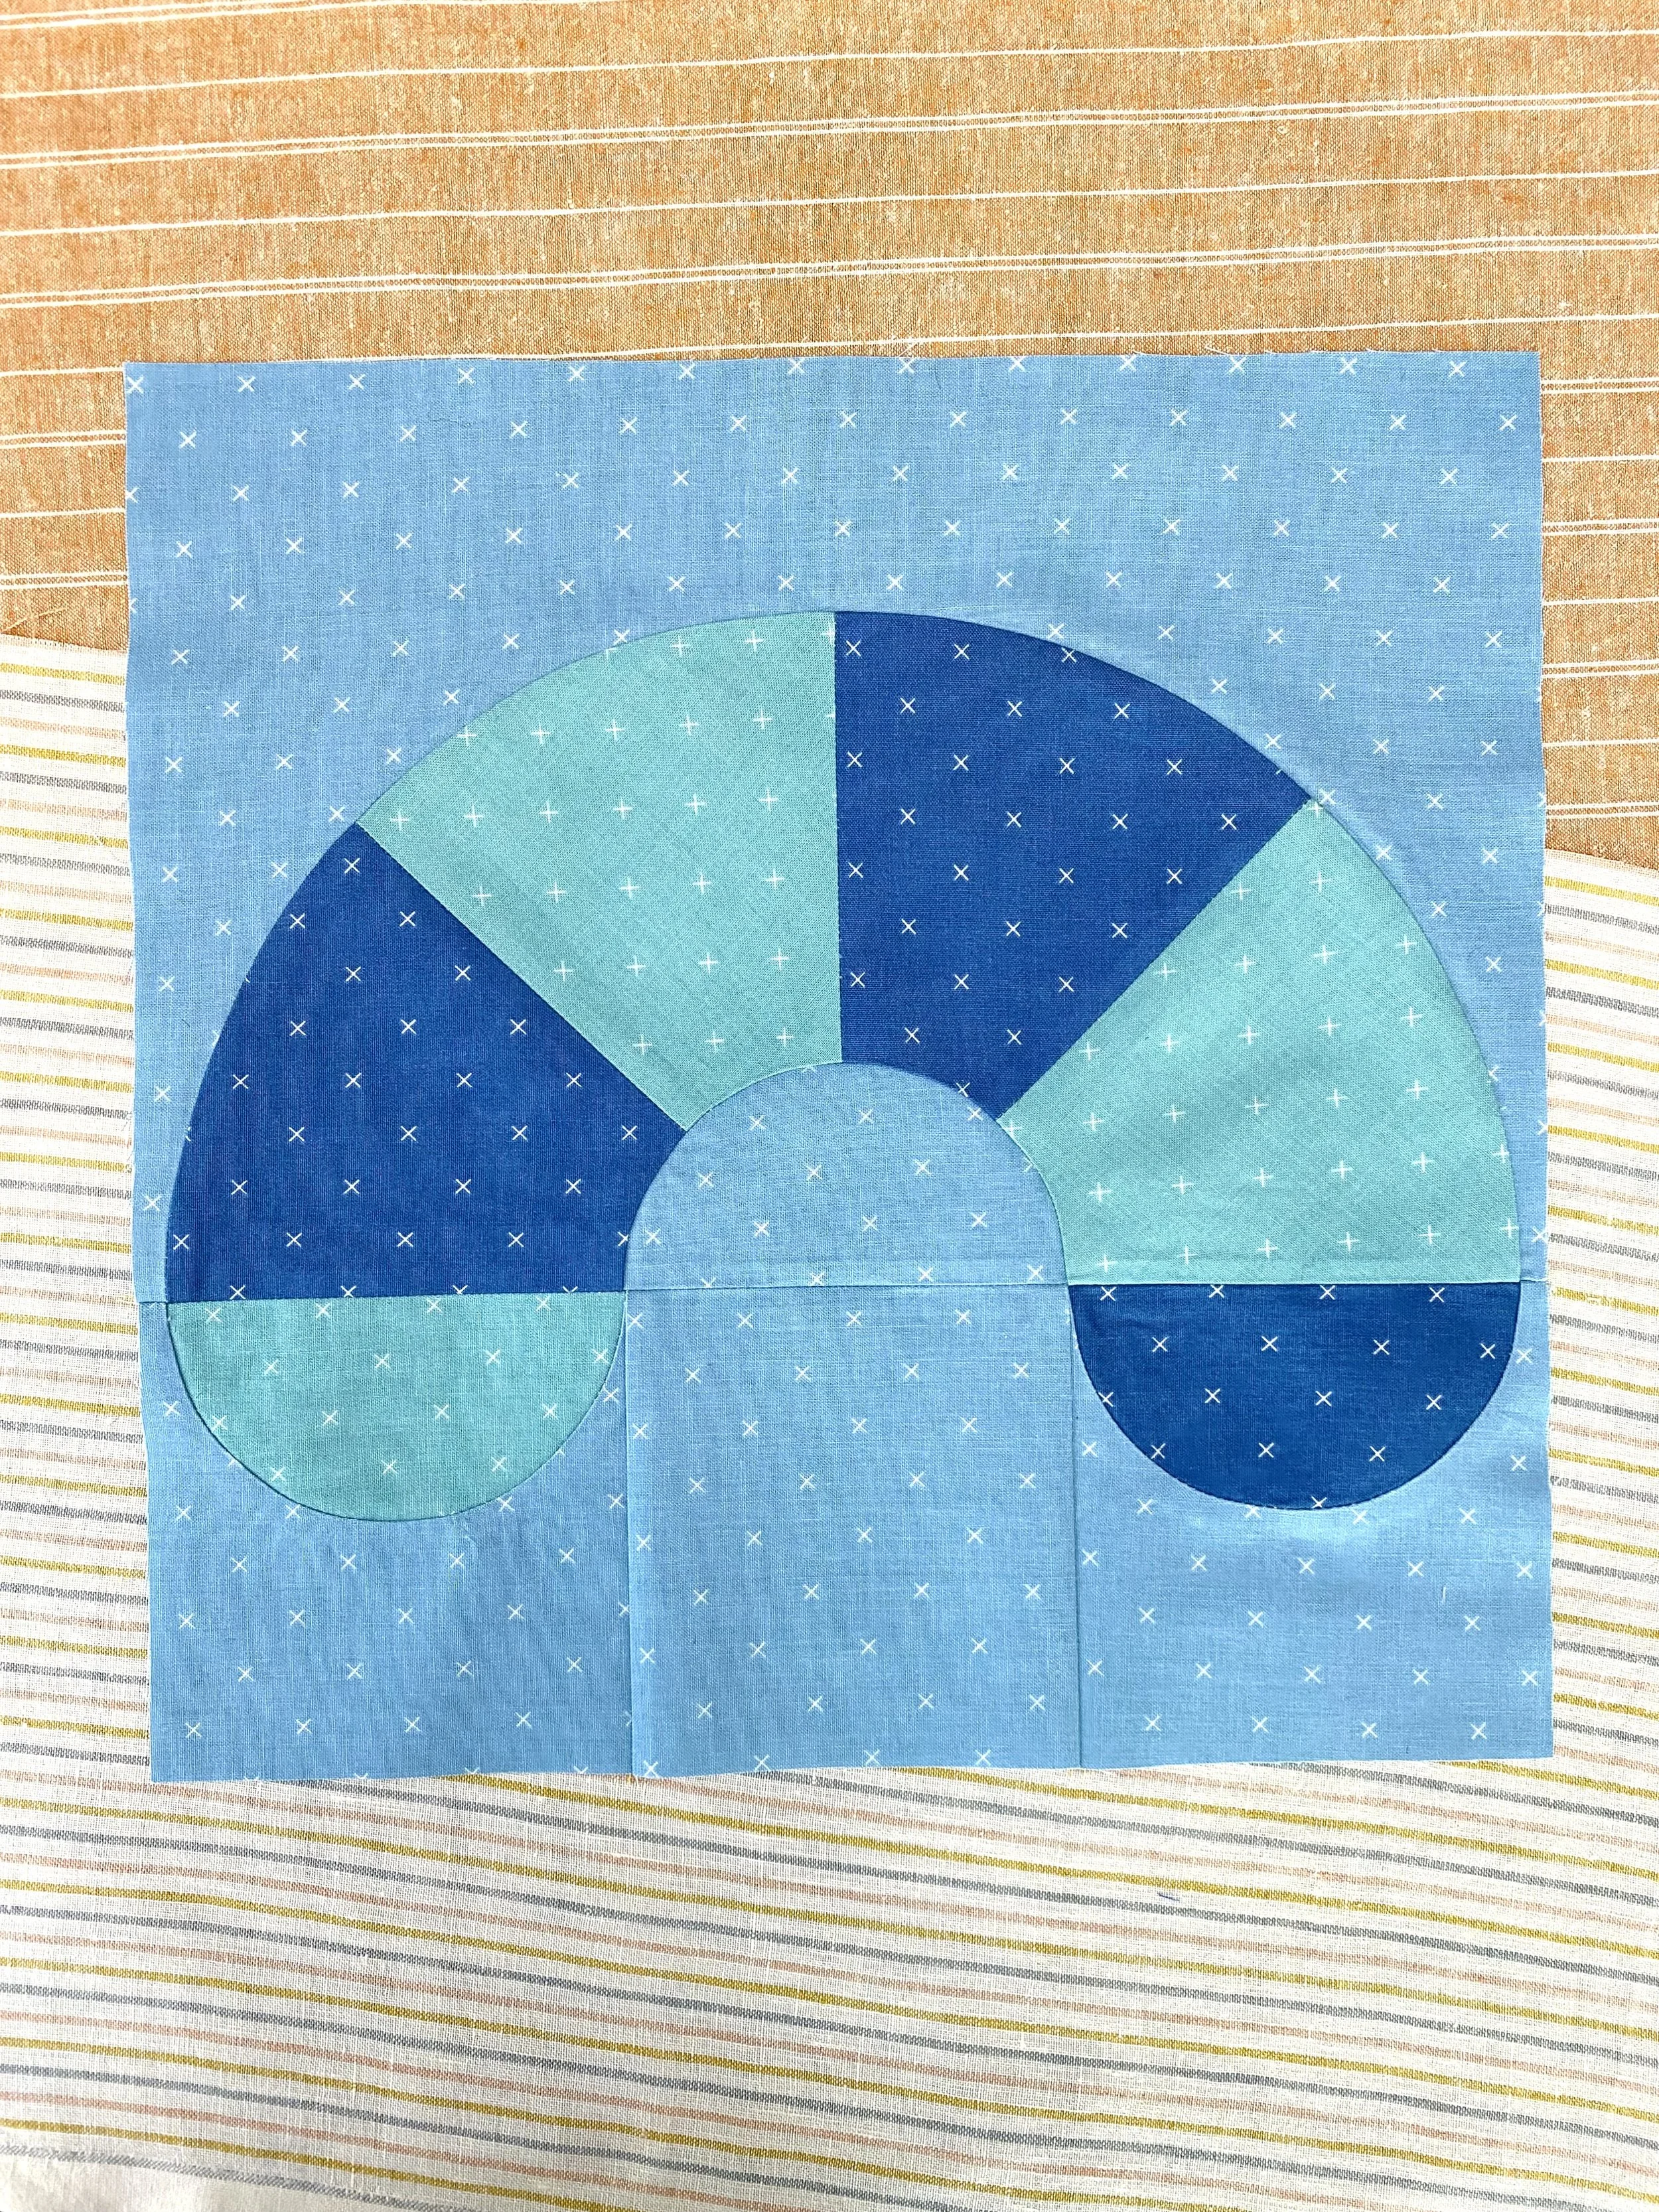
The Cheese Puff quilt block is inspired by my favorite snack! Just don’t eat them while you’re quilting, otherwise you’ll get that cheese dust all over your project!
We sewed small half circles last month - this month we’re building out those skills with three small half circles. Make sure you pay attention to the order of the template units this month, as they aren’t identical as they may first appear.
The fabrics I’m using are Bee Cross Stitch, designed by Lori Holt for Riley Blake Designs. Fabrics were provided by Riley Blake Designs.
Denim
Cottage
Soldier
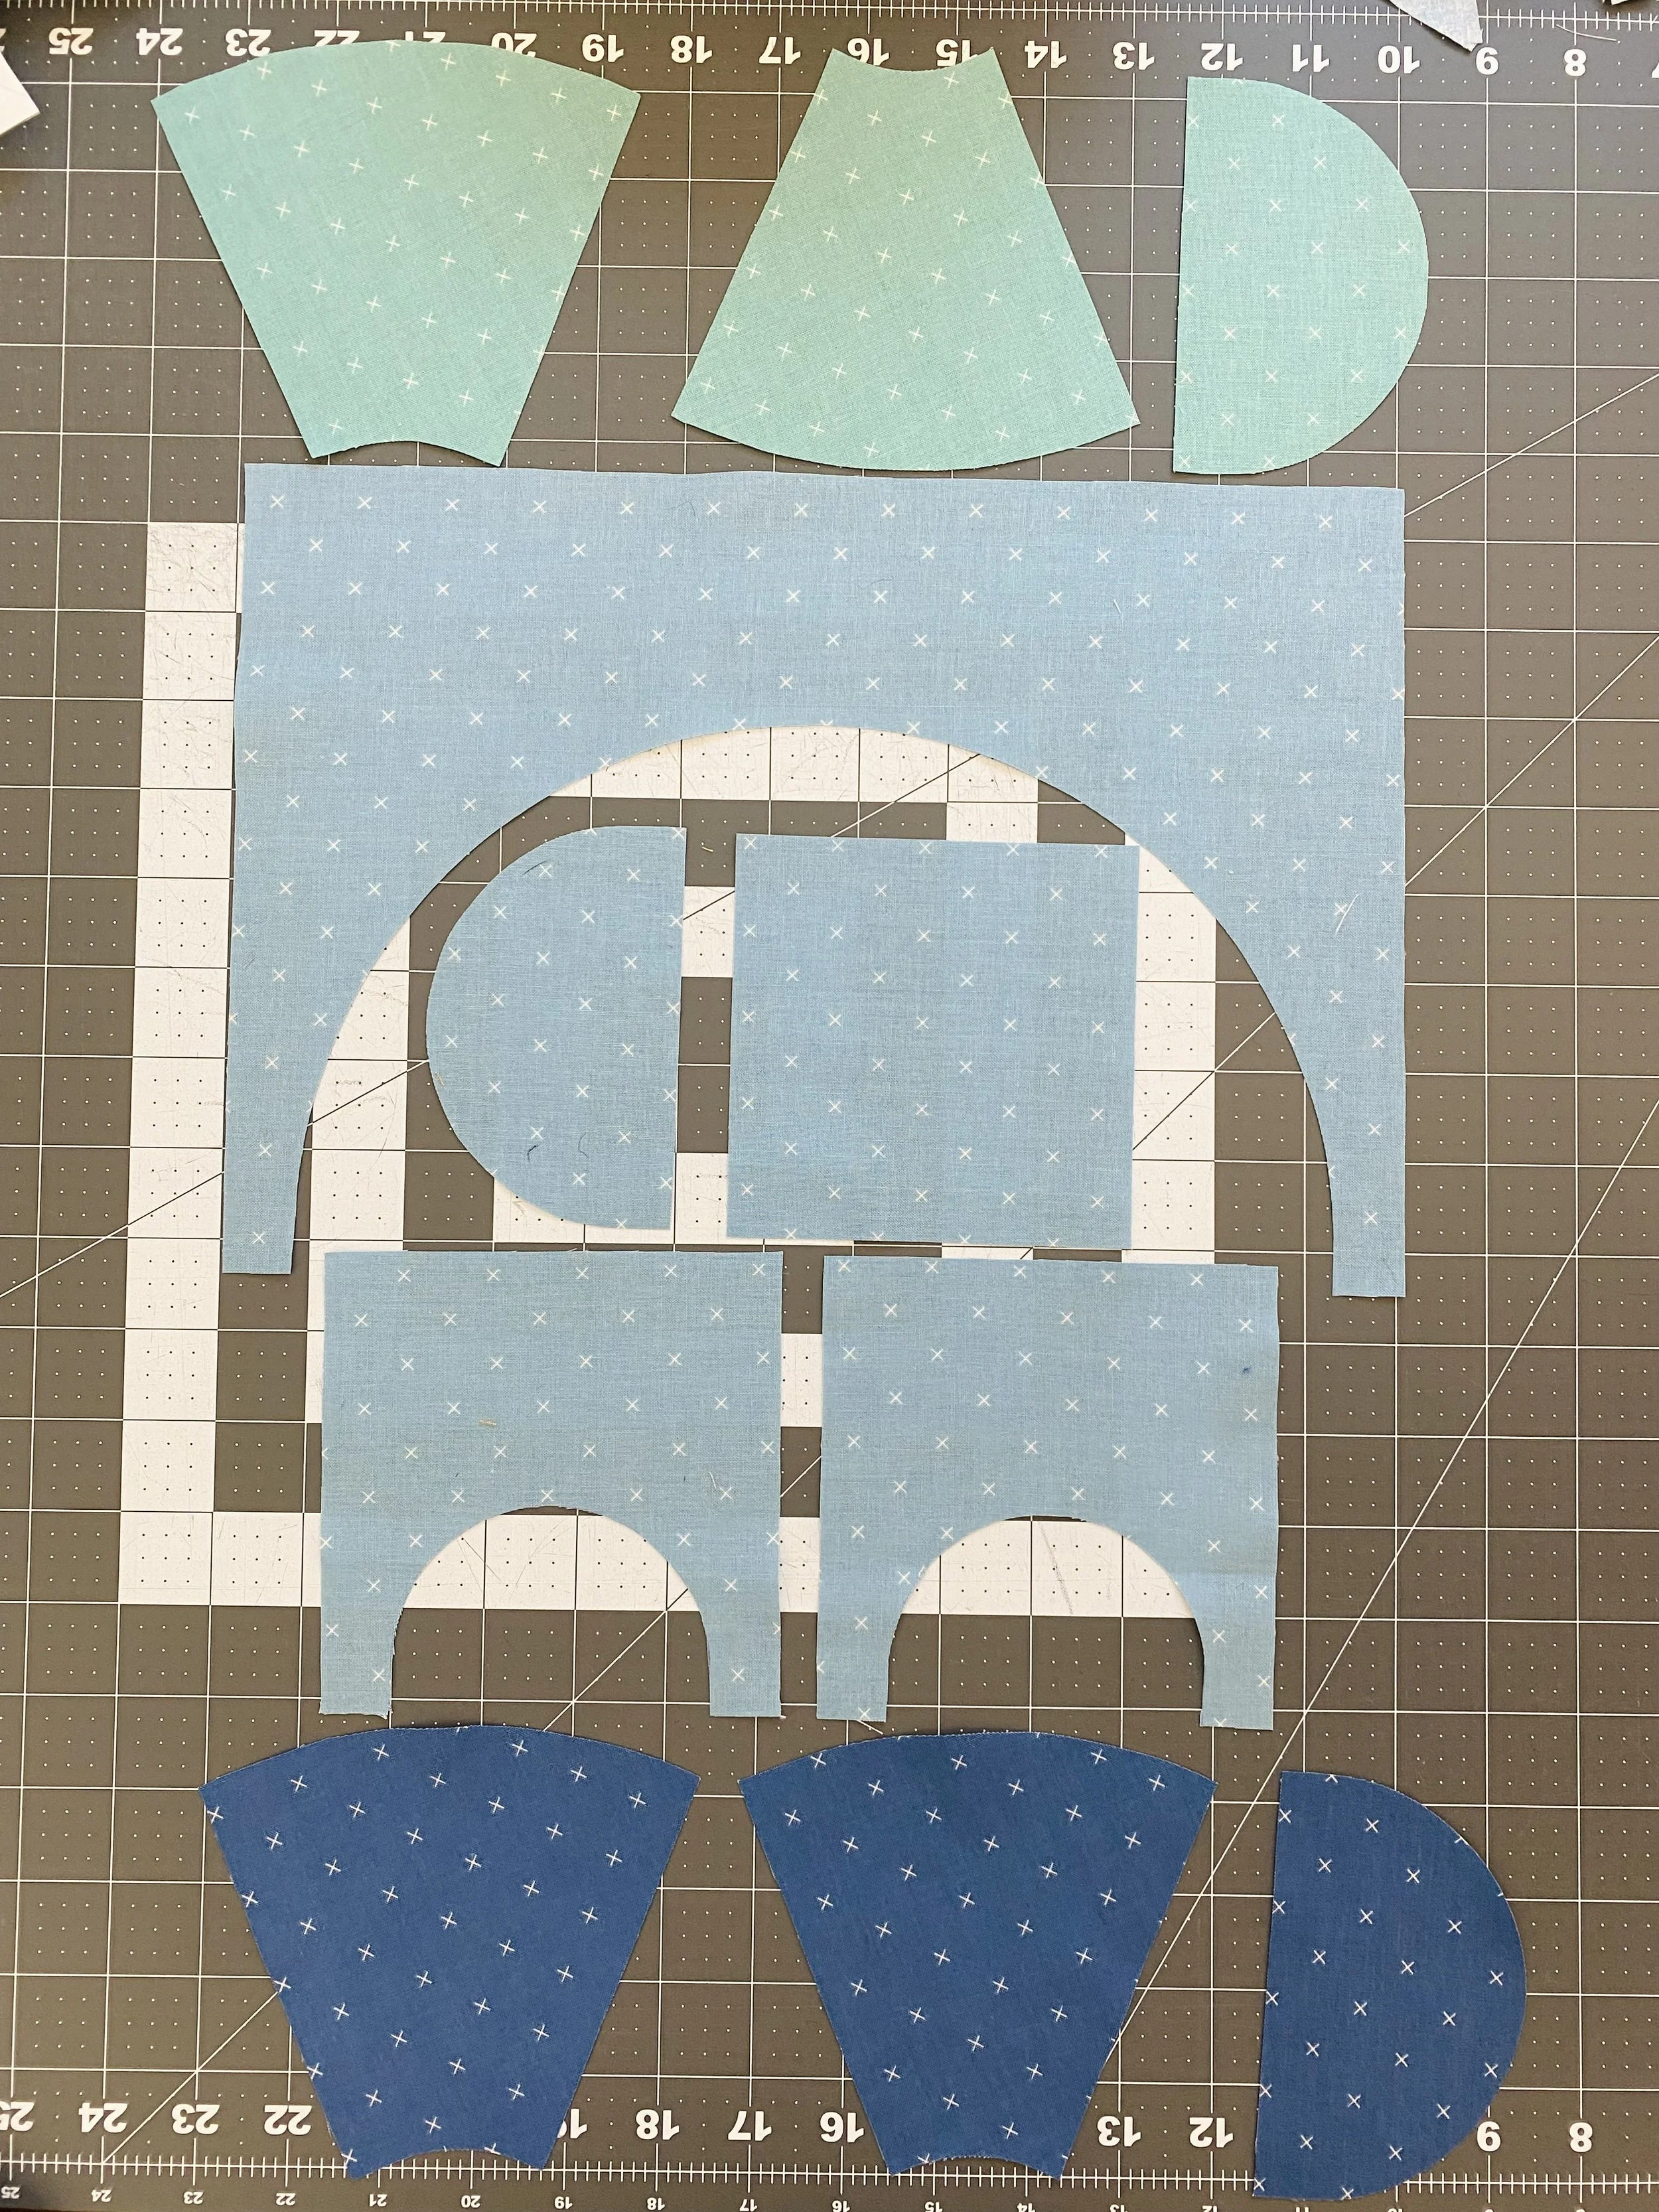
This month, cutting is a breeze! This is one of the few blocks where I think it’s fun to play with directional fabric in the background. Make sure you reference the cutting guide if you plan to use directional prints.
You can also make the block a little scrappy by cutting each Template 1, 3 and 5 from different fabrics. Check out what scrappy blocks look like in this month’s bonus sheet. But make sure to keep each template labeled correctly!
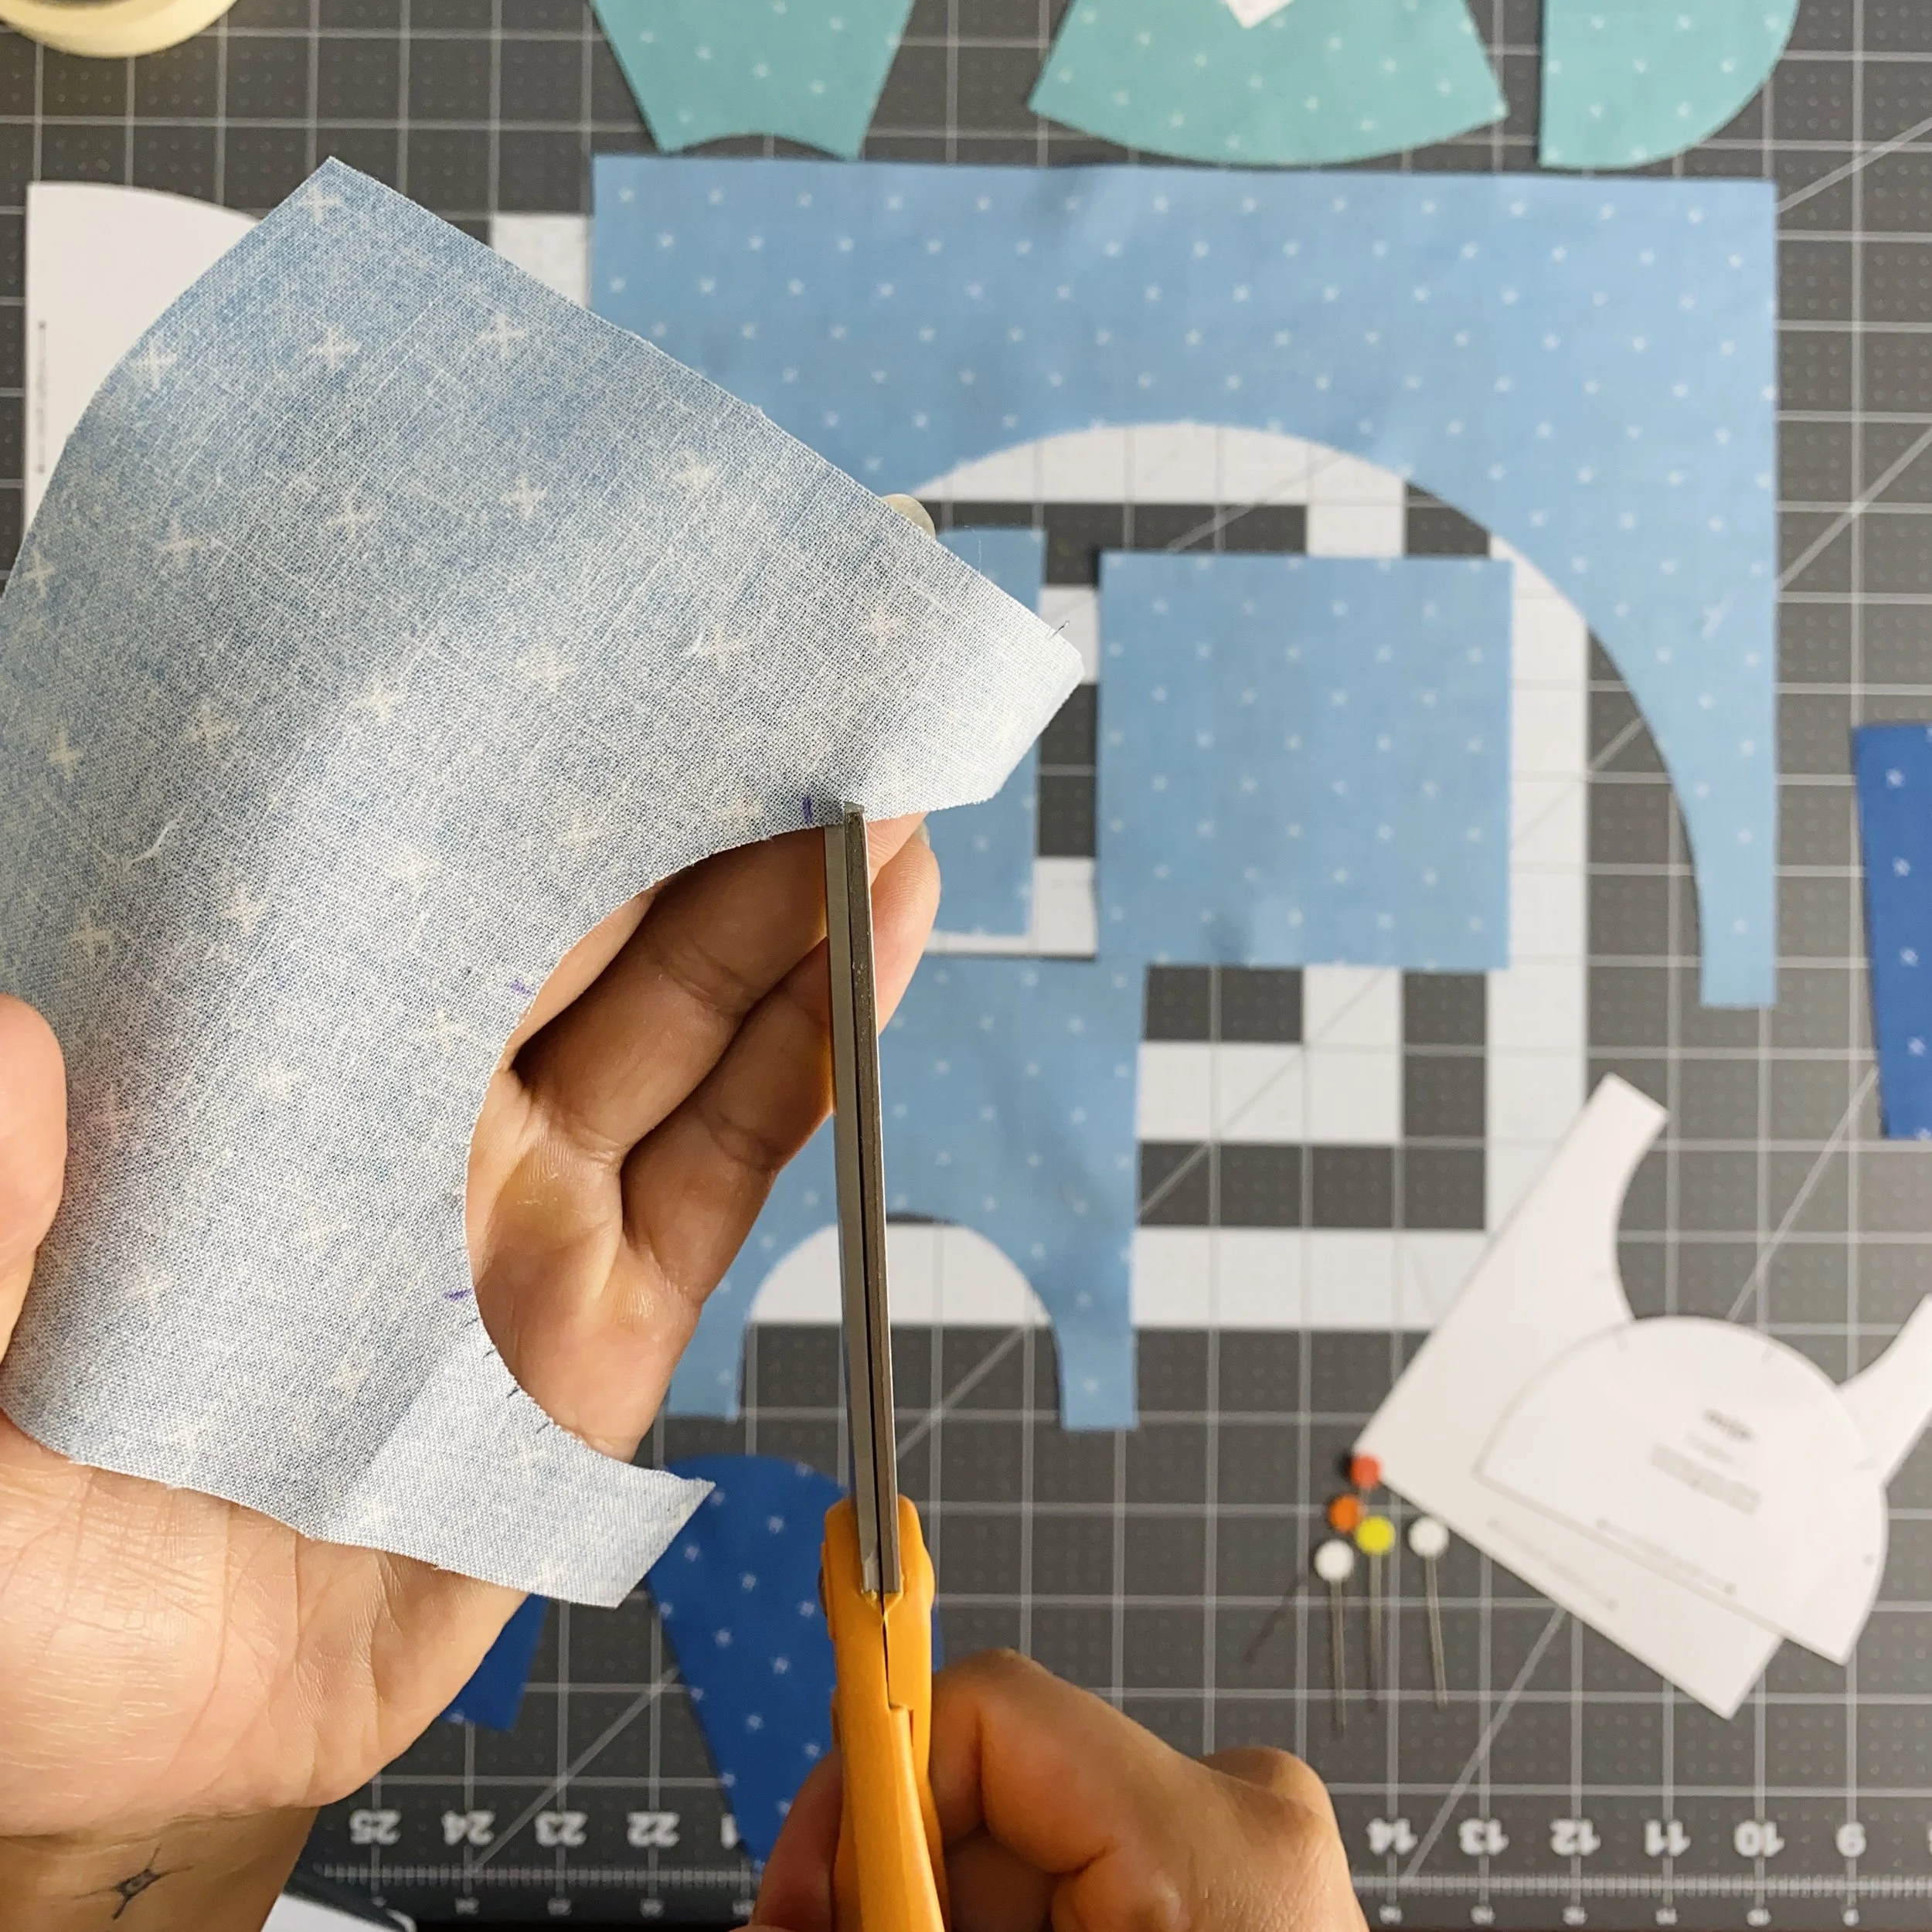
We’re still working with small half circles. This month I played around with making small snips in the Template 2 curve. This helped considerably! Just make sure your snips don’t render the registration marks unreadable.
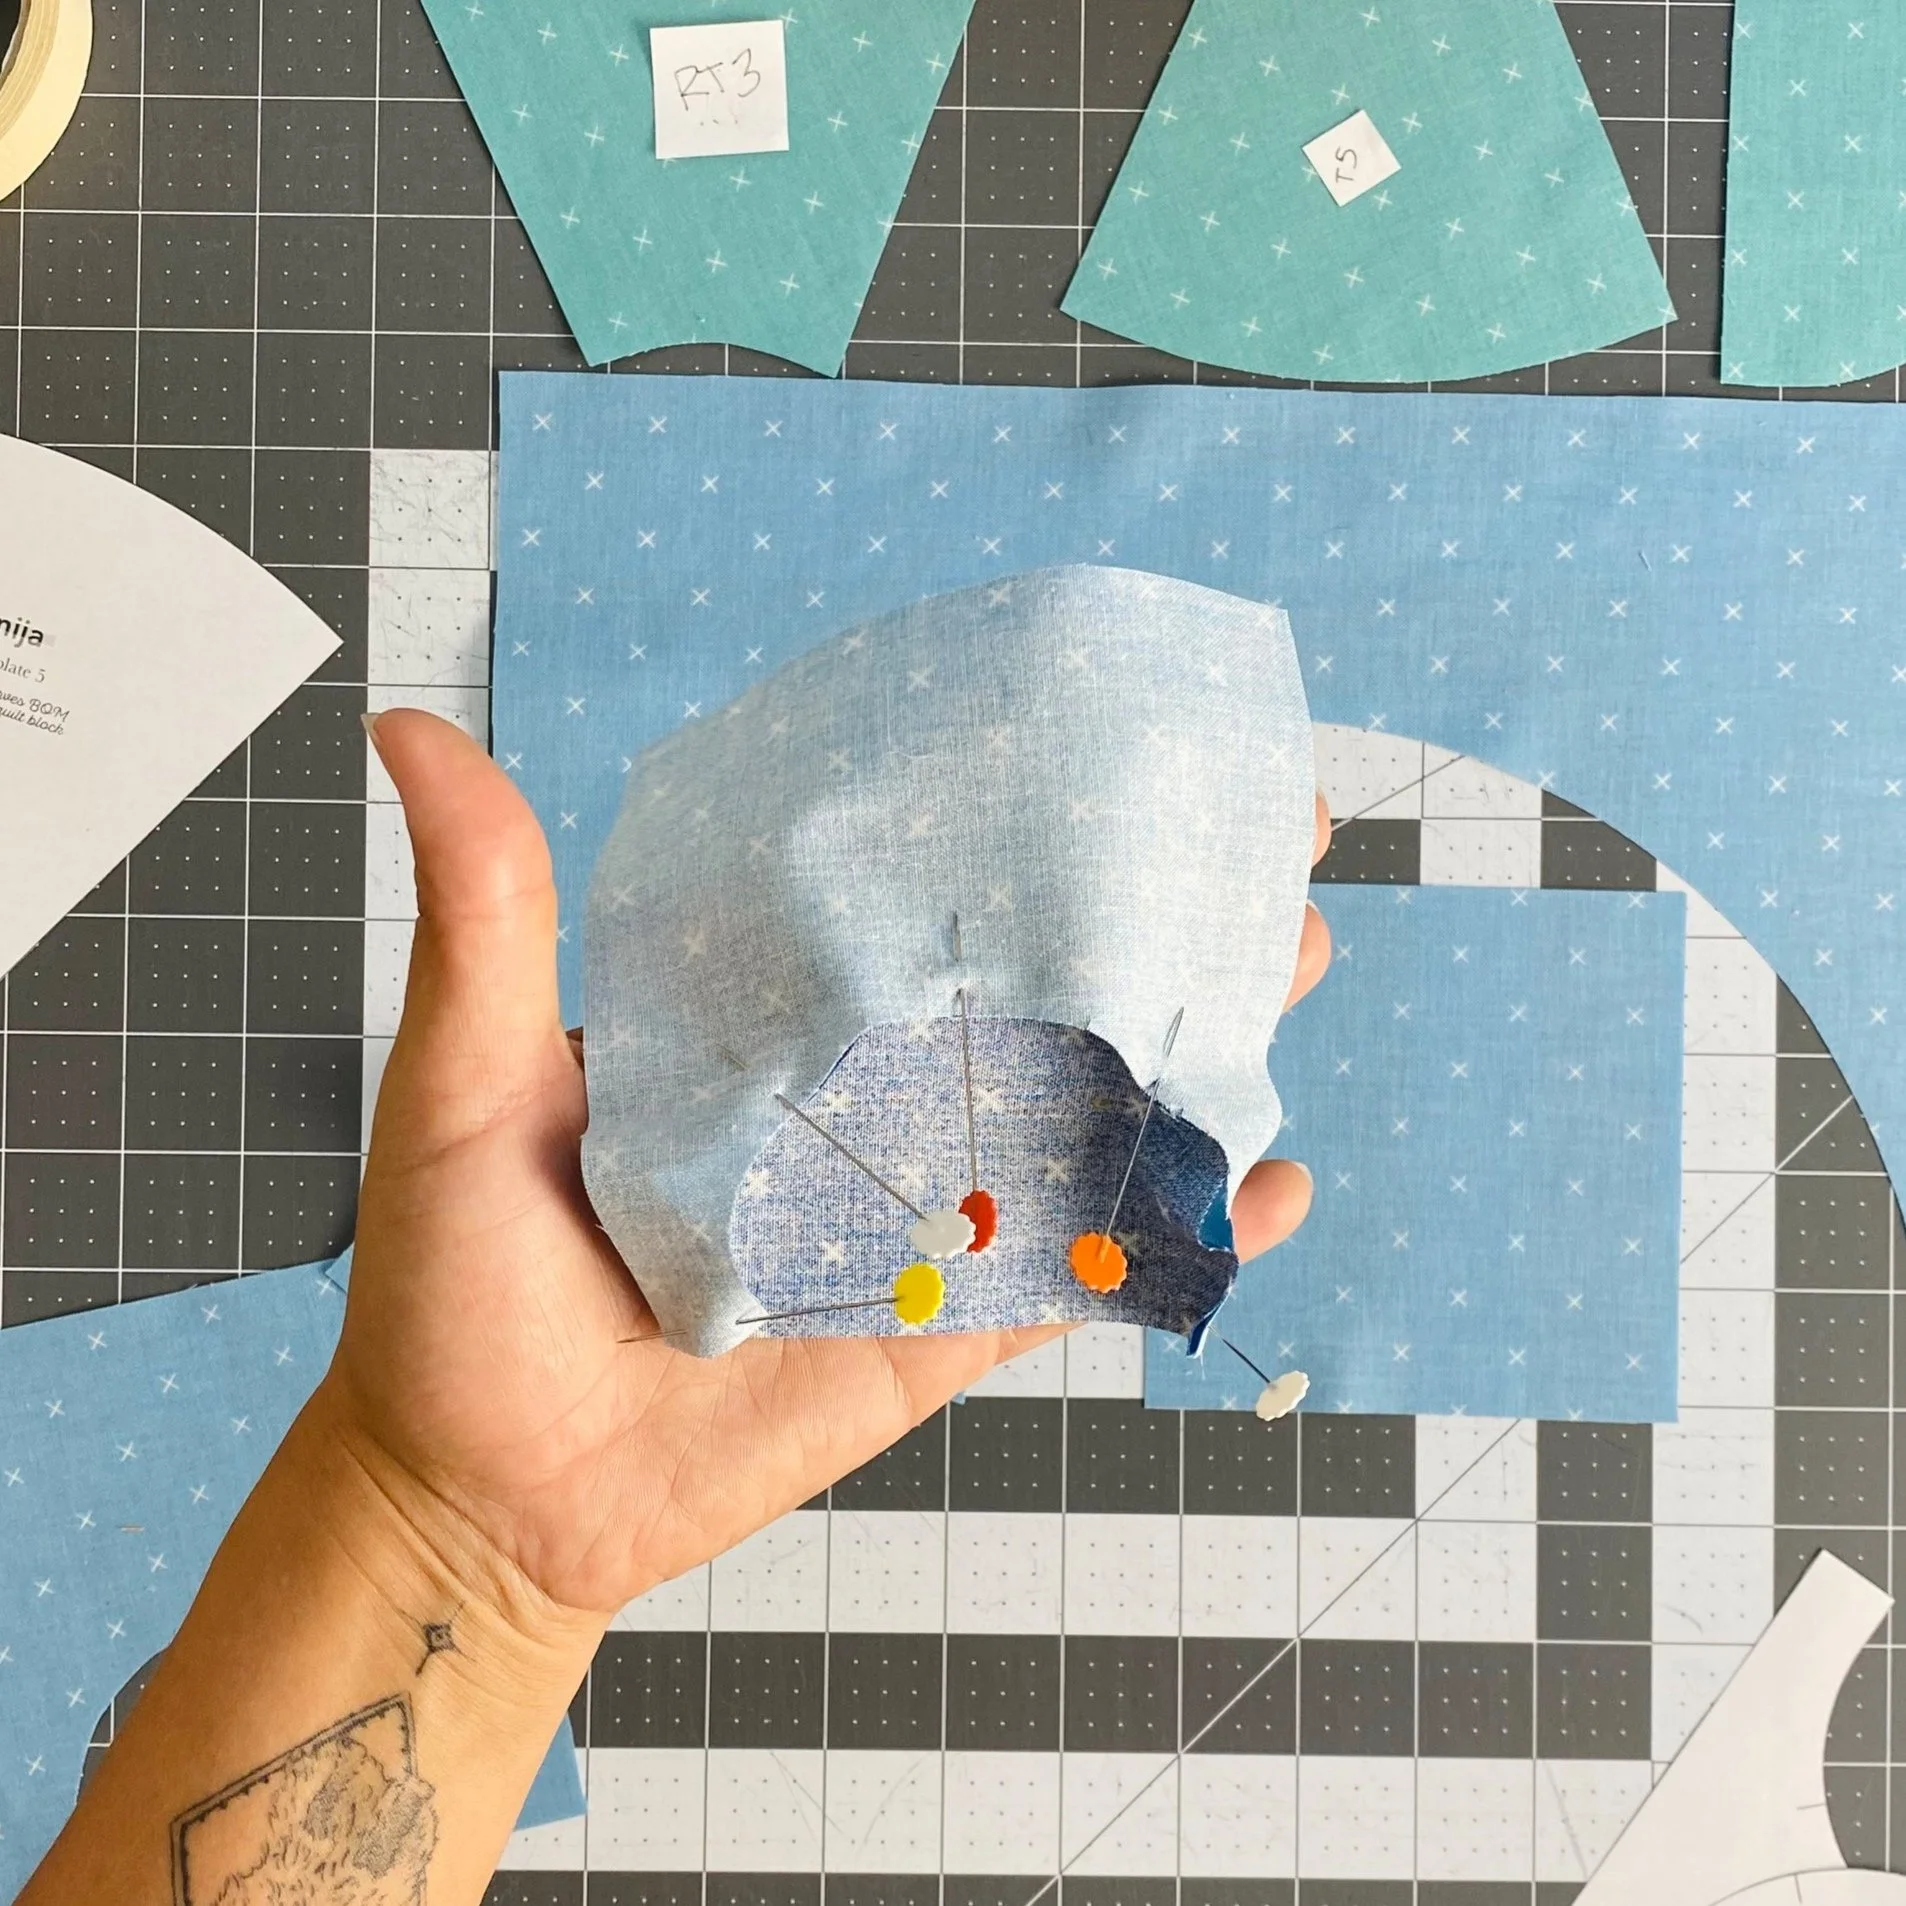
I’m constantly playing with the number of pins I like to use. I found 5 pins to be acceptable here. This is what the Template 1 and Template 2 unit looks like once it’s pinned.
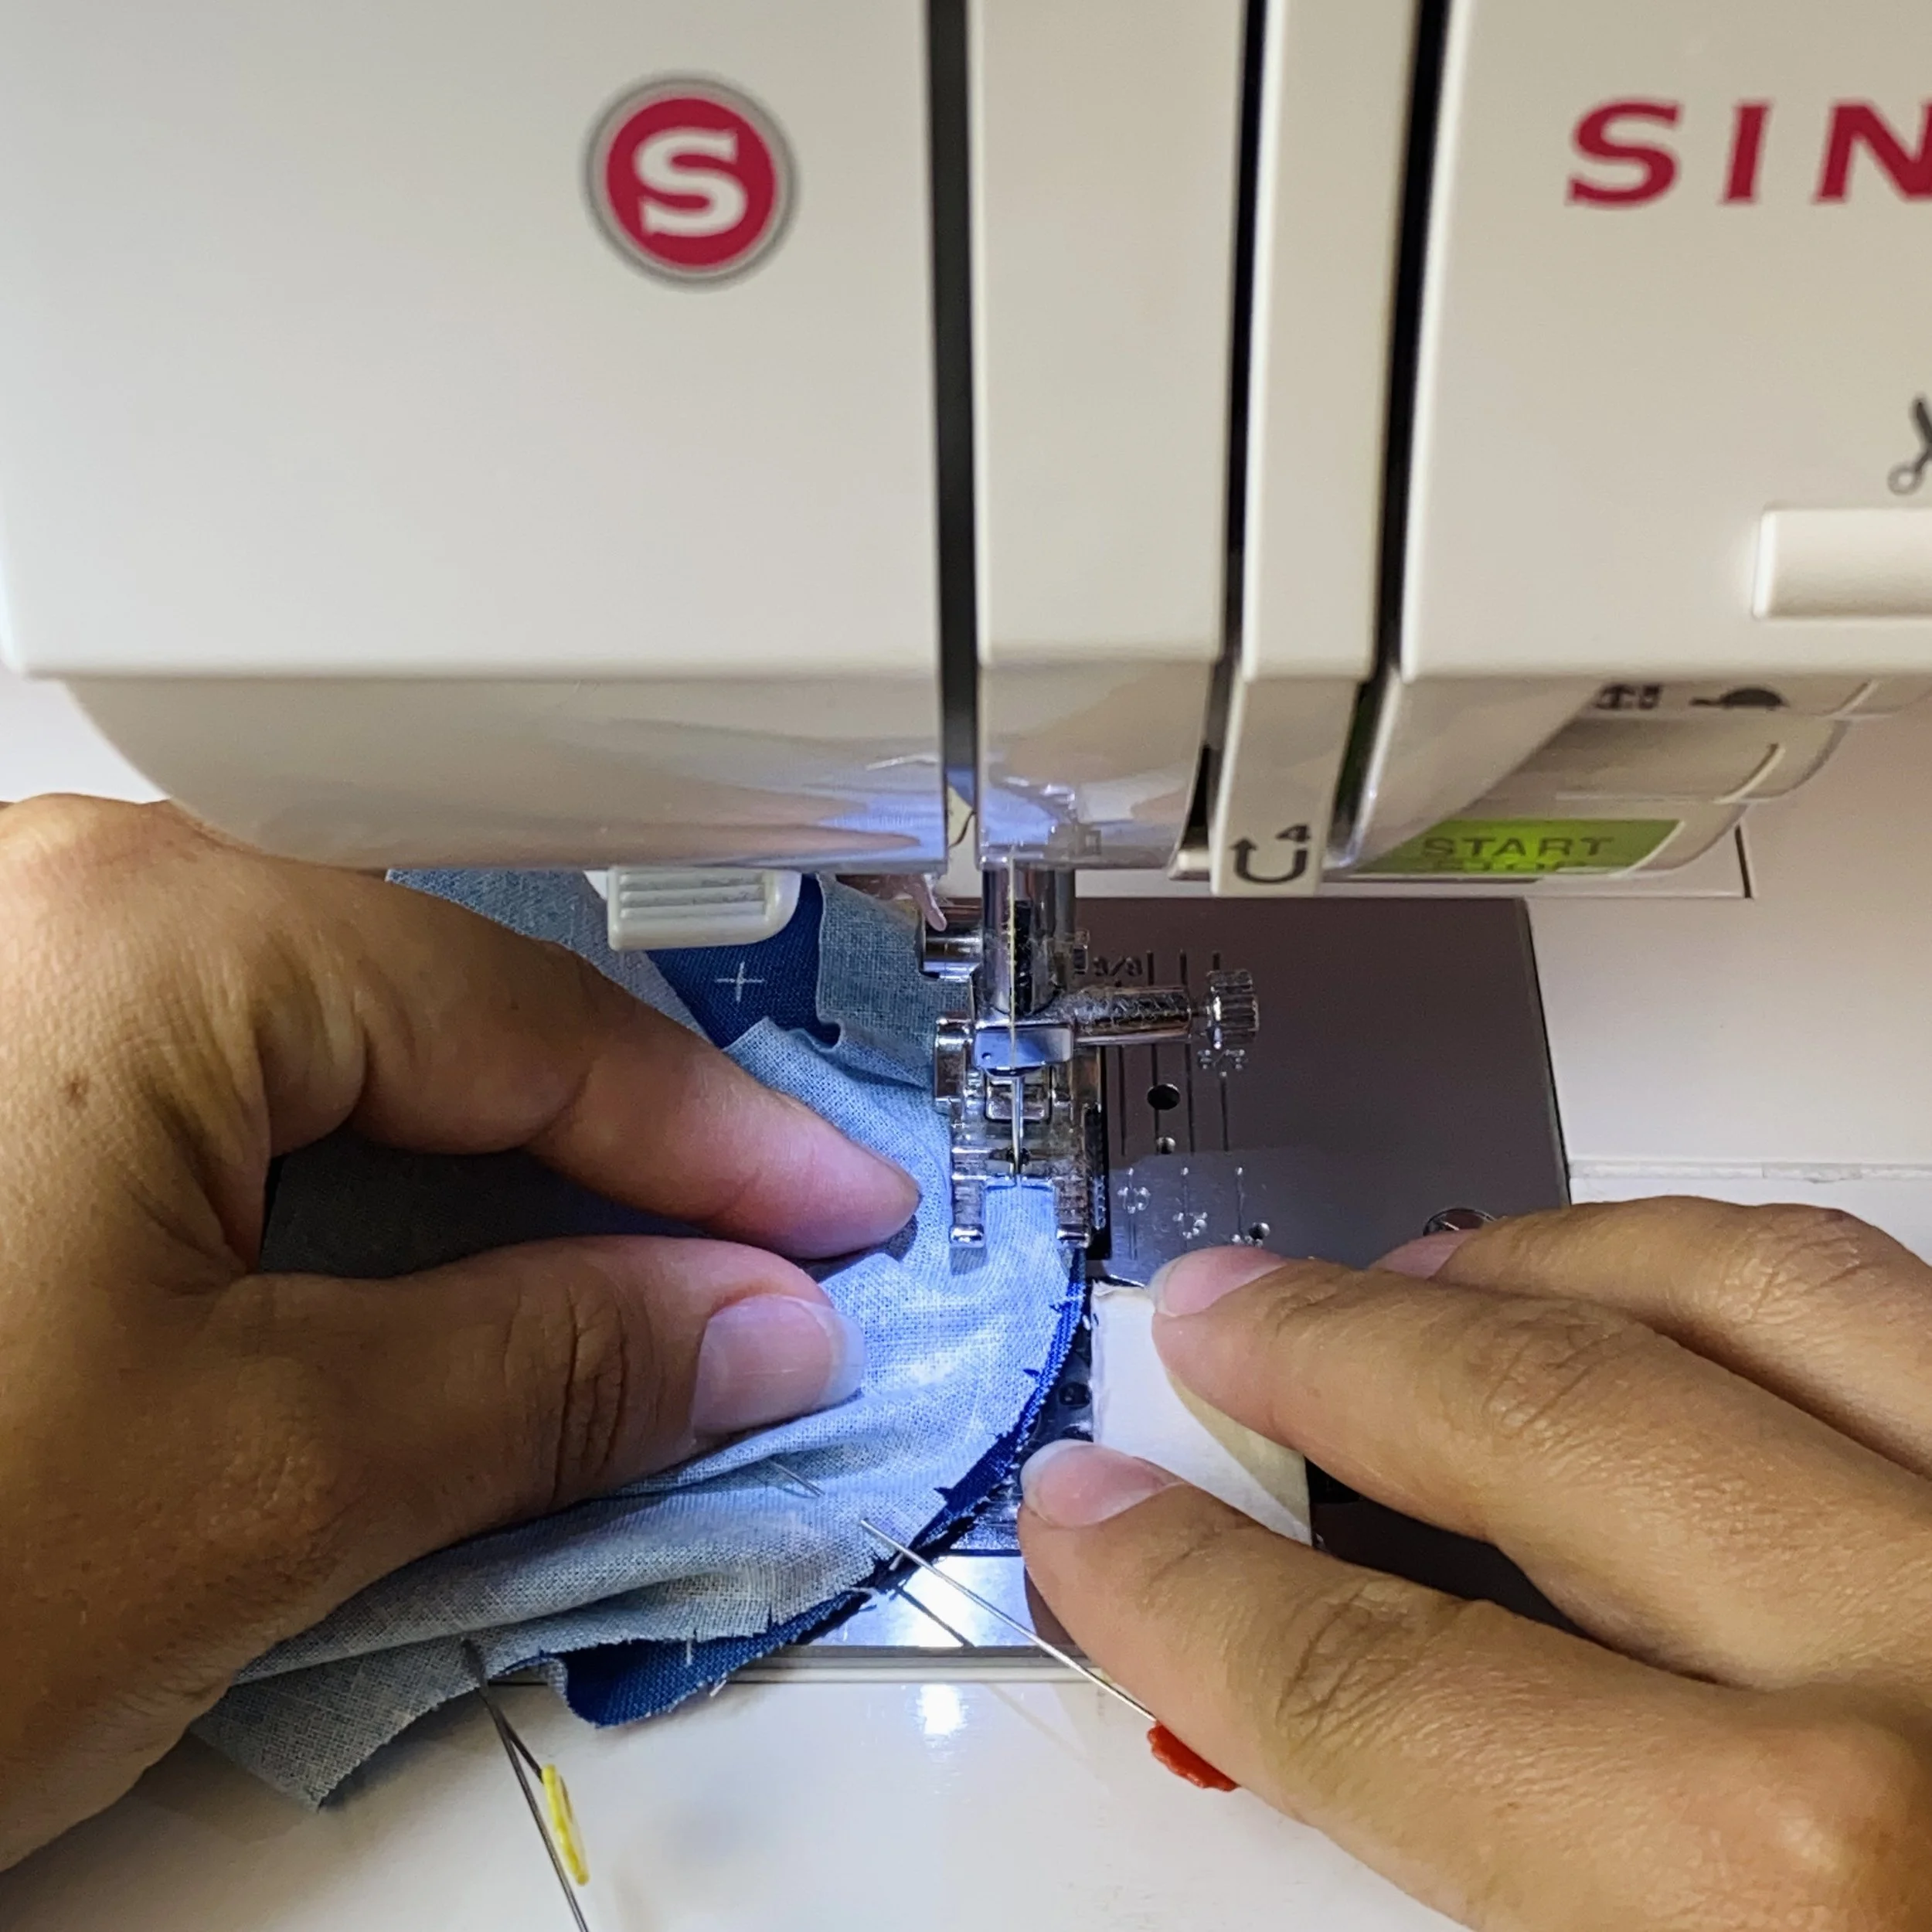
Once we’re at the machine, we’ve got a slightly easier time of it than we had last month. There isn’t a mass of fabric in the concave unit to manage here. You can see here that the snips really help the concave unit lay flat.
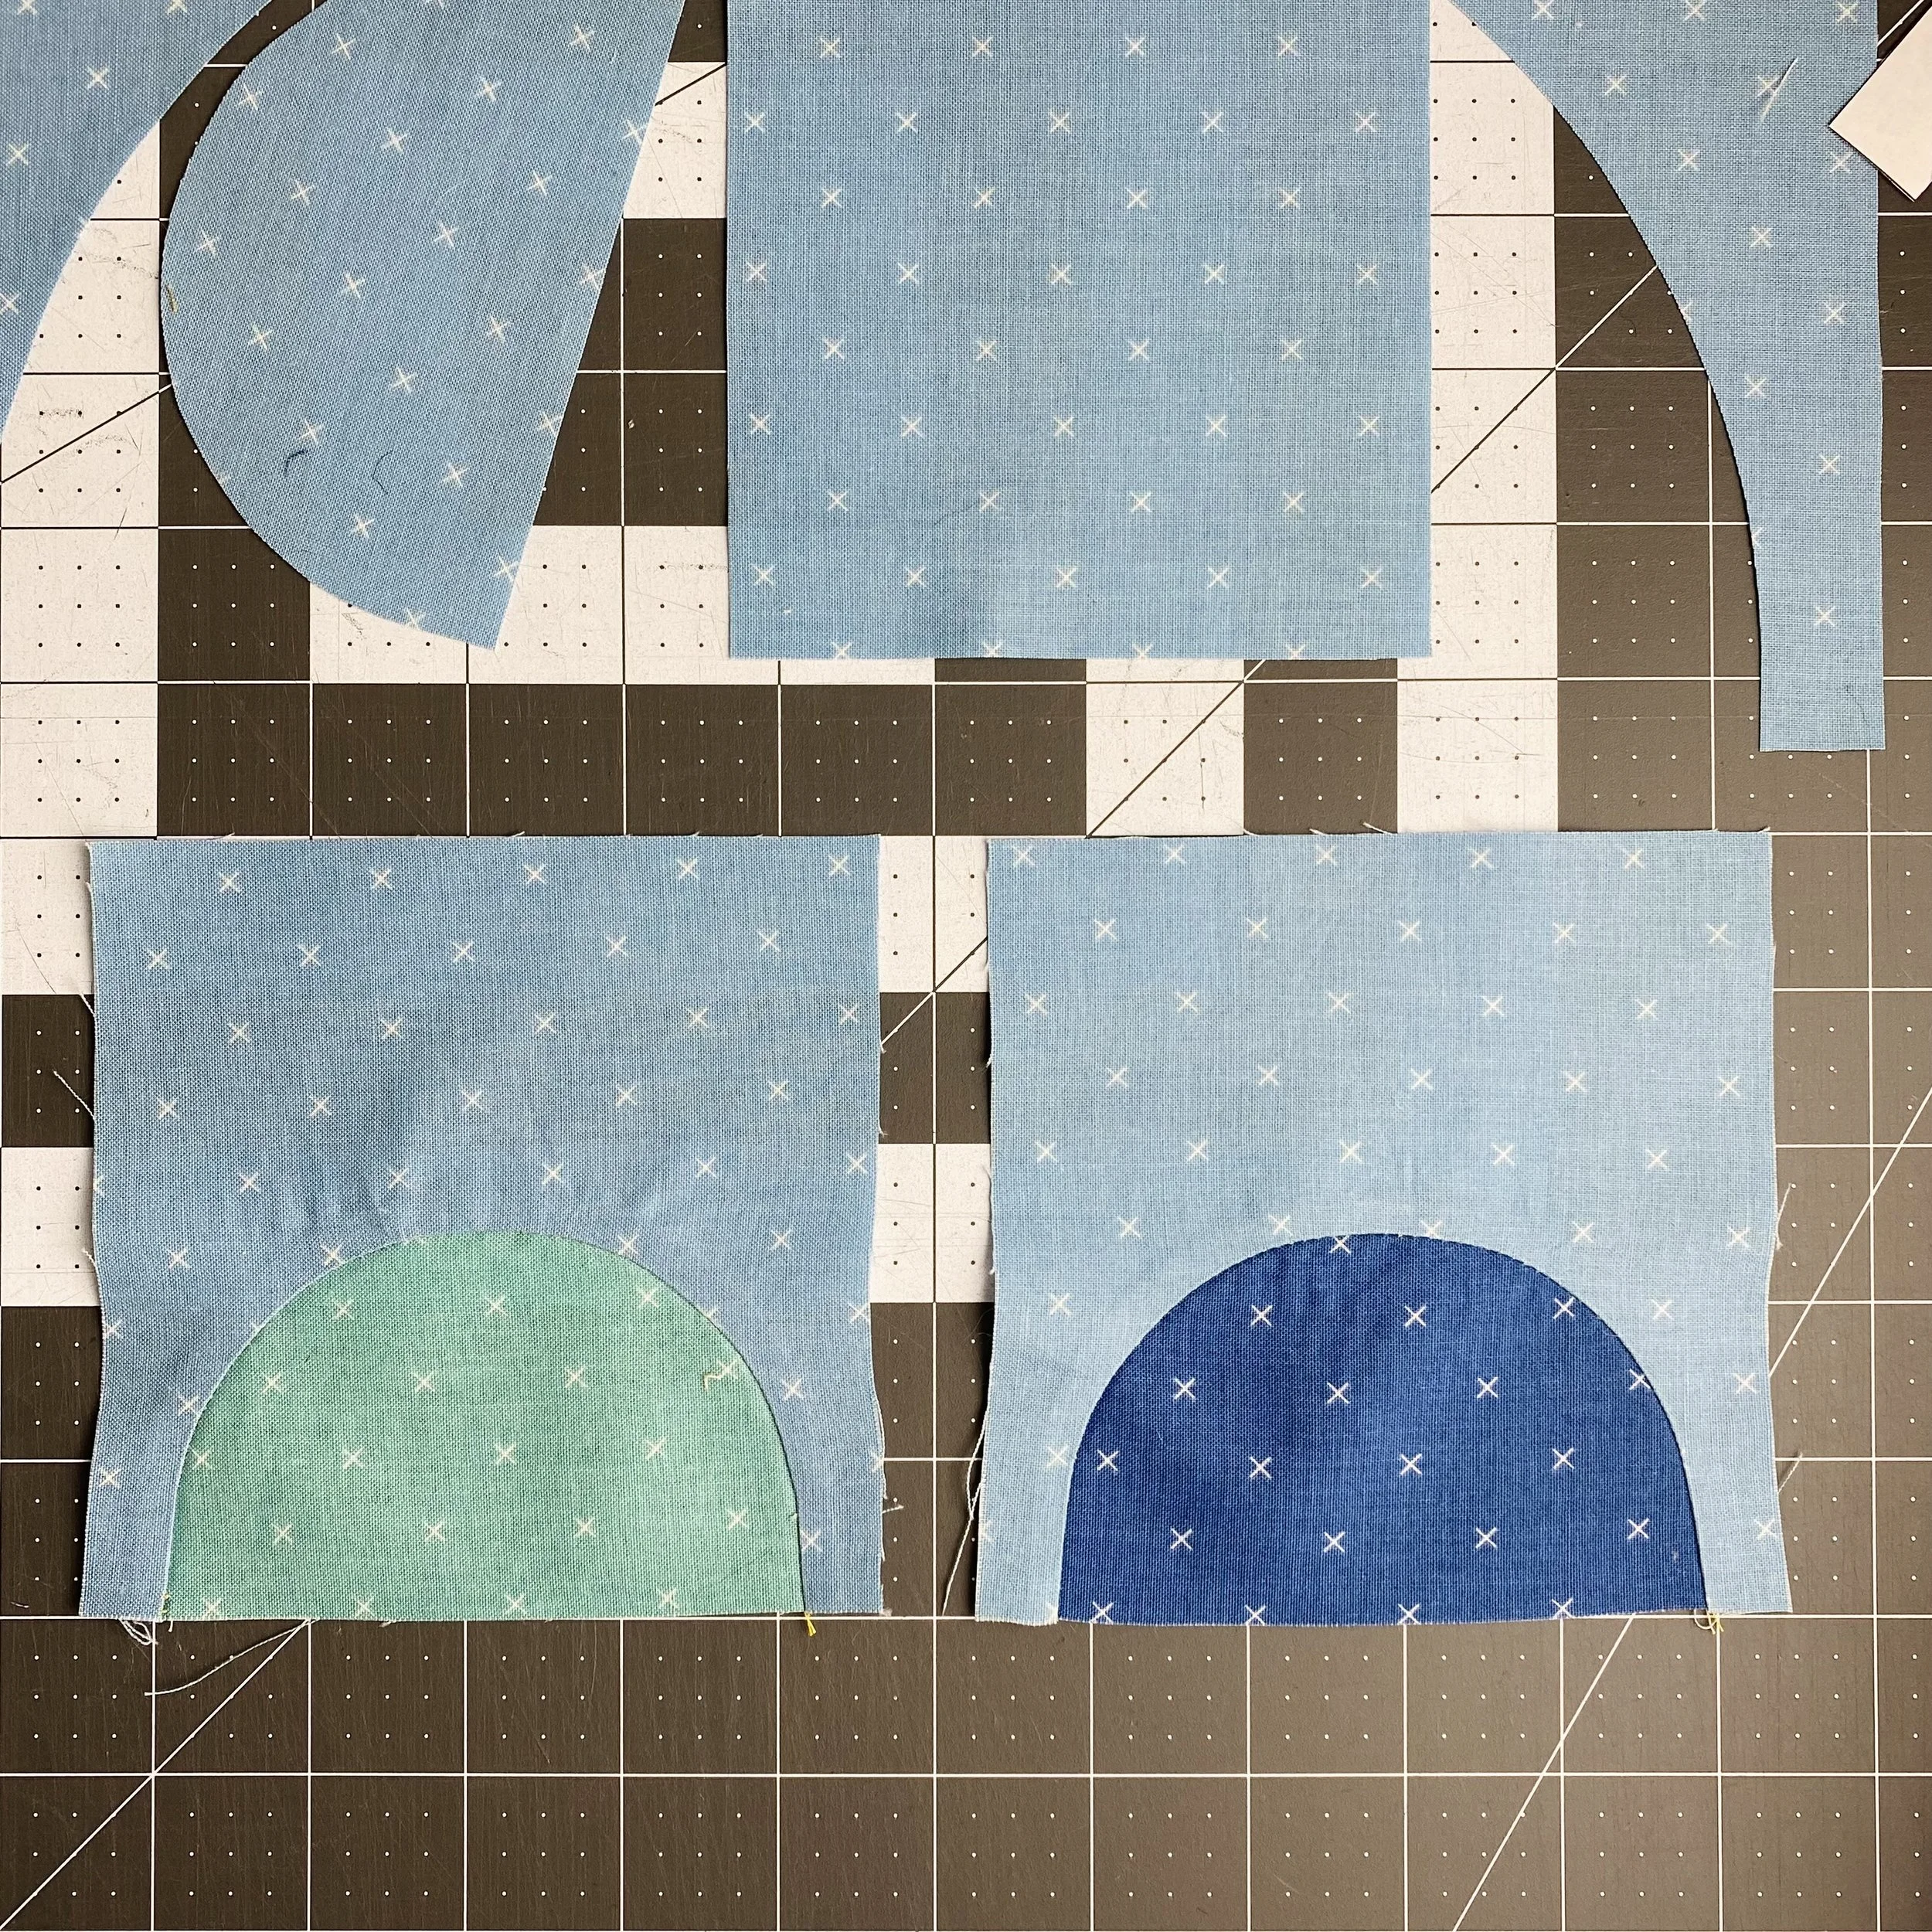
Here are my two units from Part 1. I’m pretty happy with how straight the bottom edge is, but the sides are a bit wonky. Don’t worry though - these templates are designed to be trimmed to size so I can correct that bit of that wonk. As always, I recommend leaving units under a book for a short while before trimming.
I’ve also pressed the curve towards the concave unit - this allows some seams to nest later on in construction.
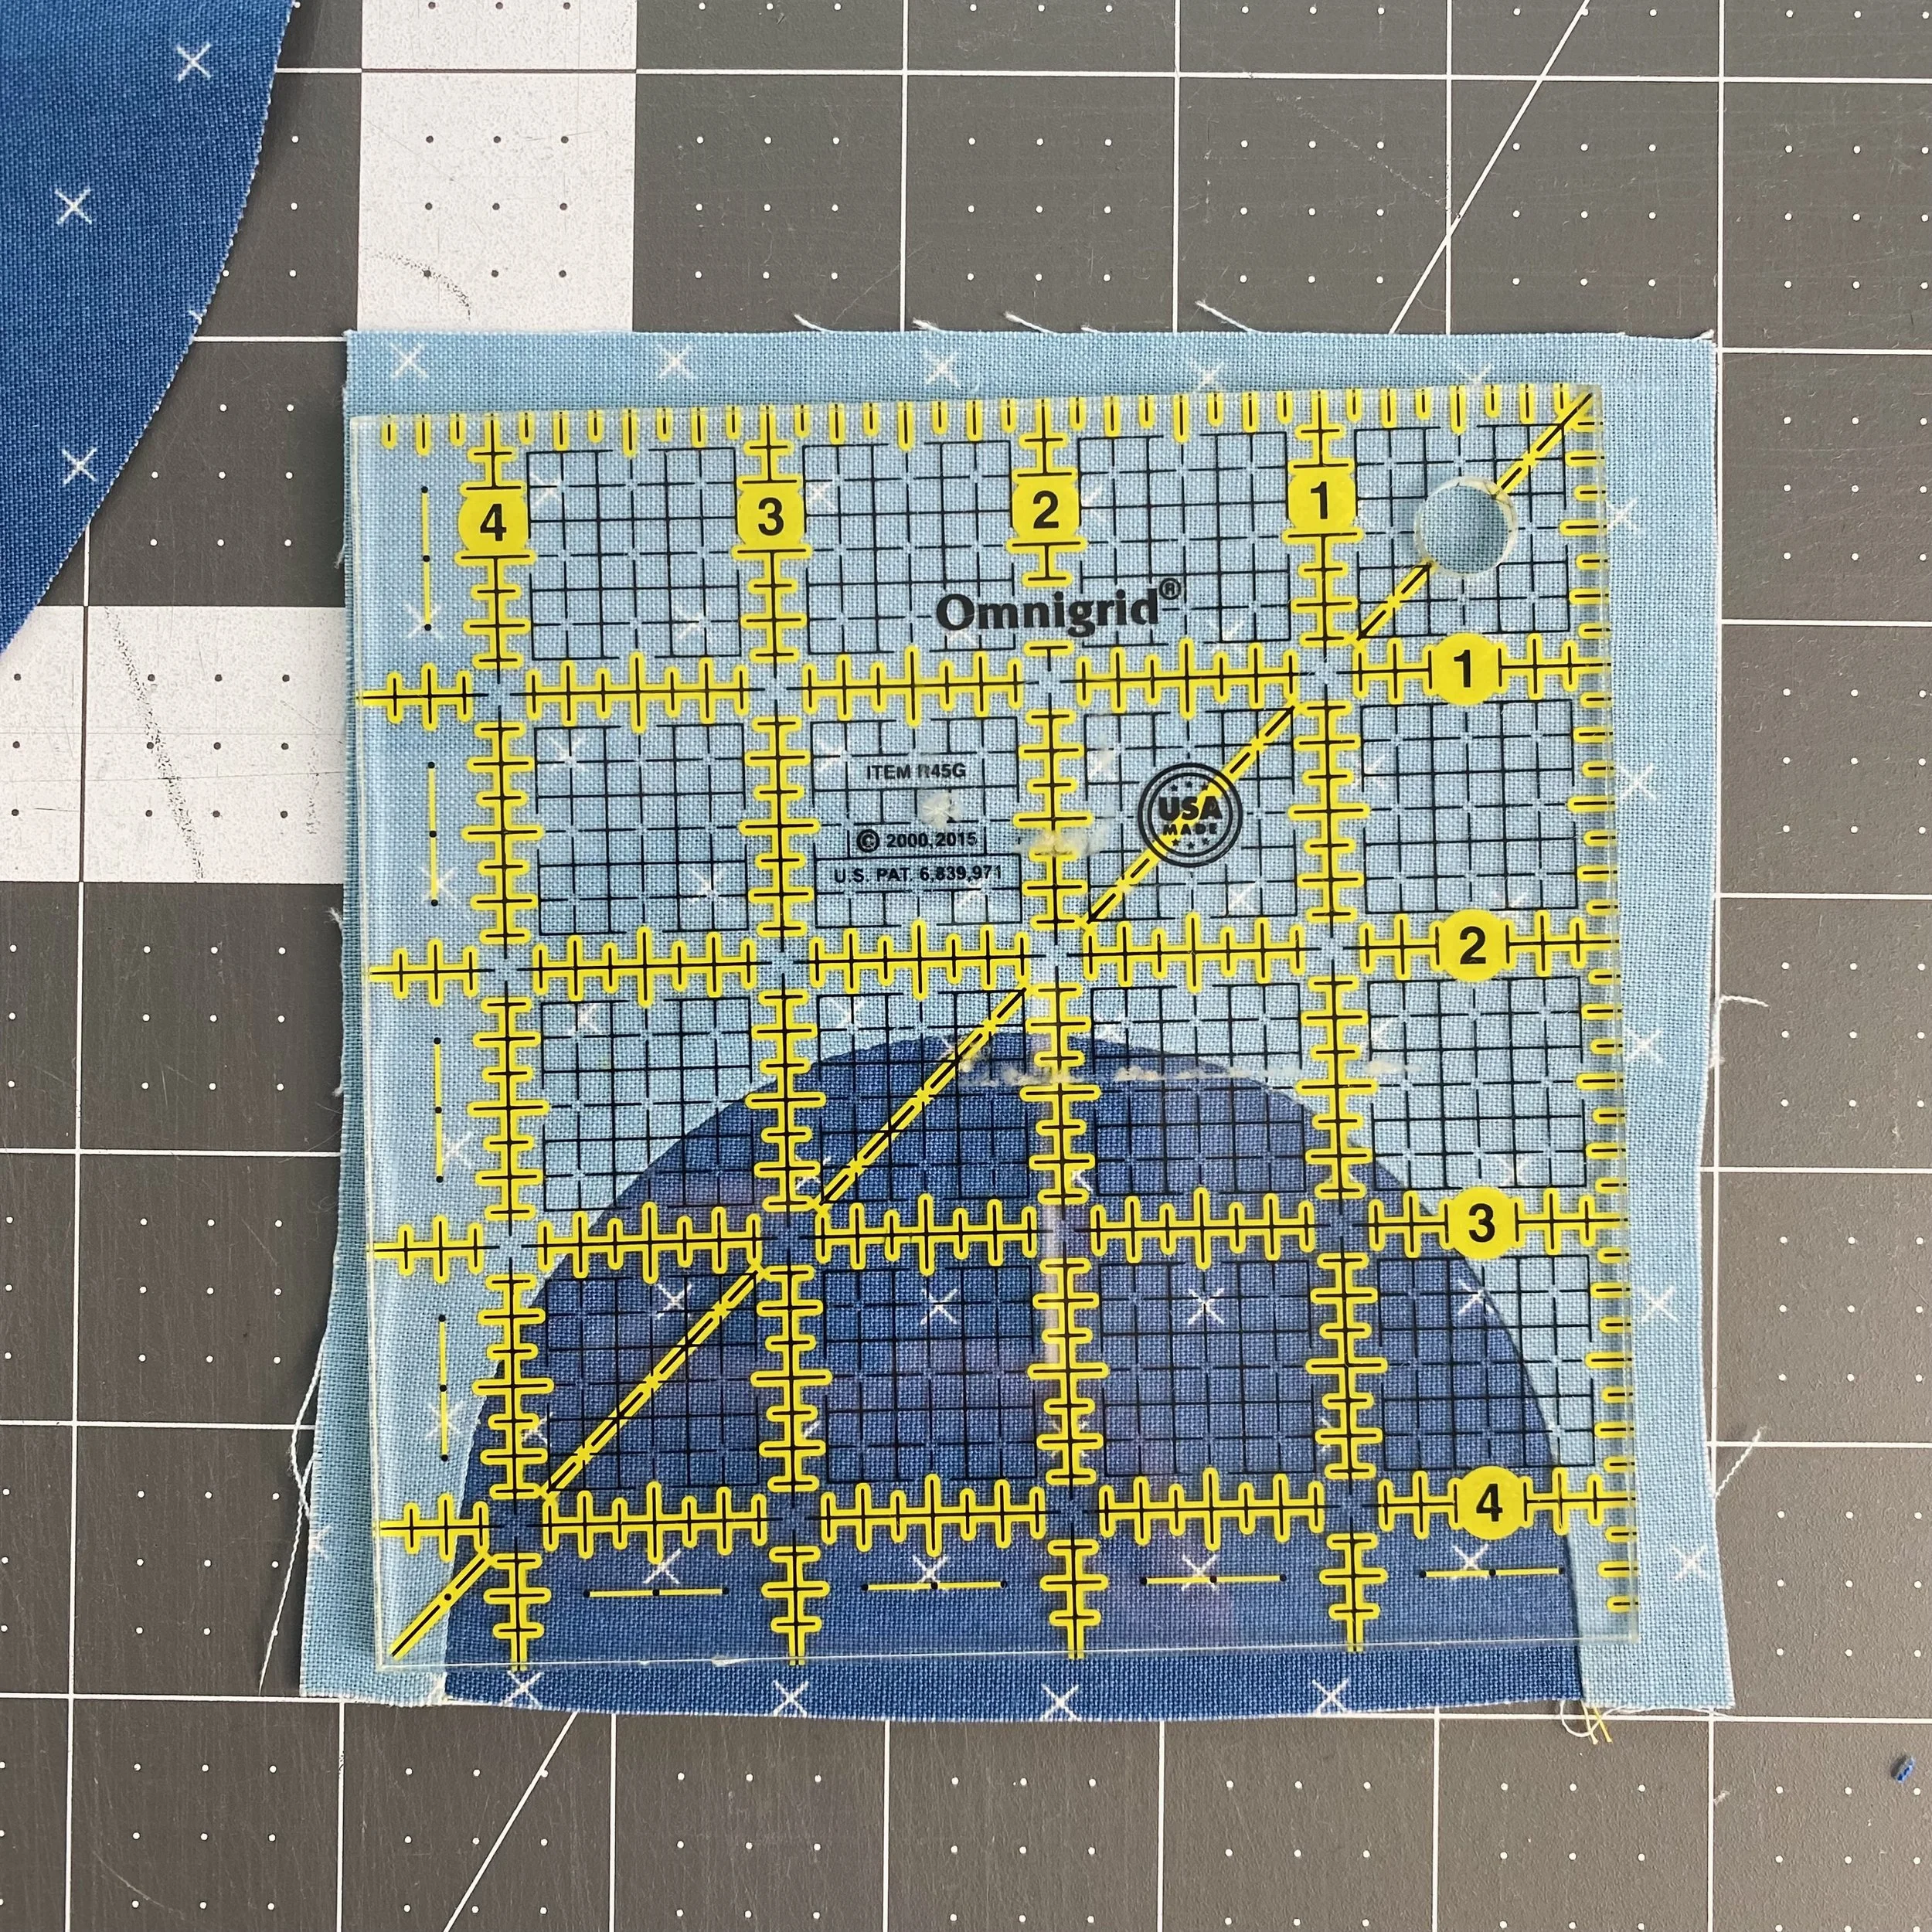
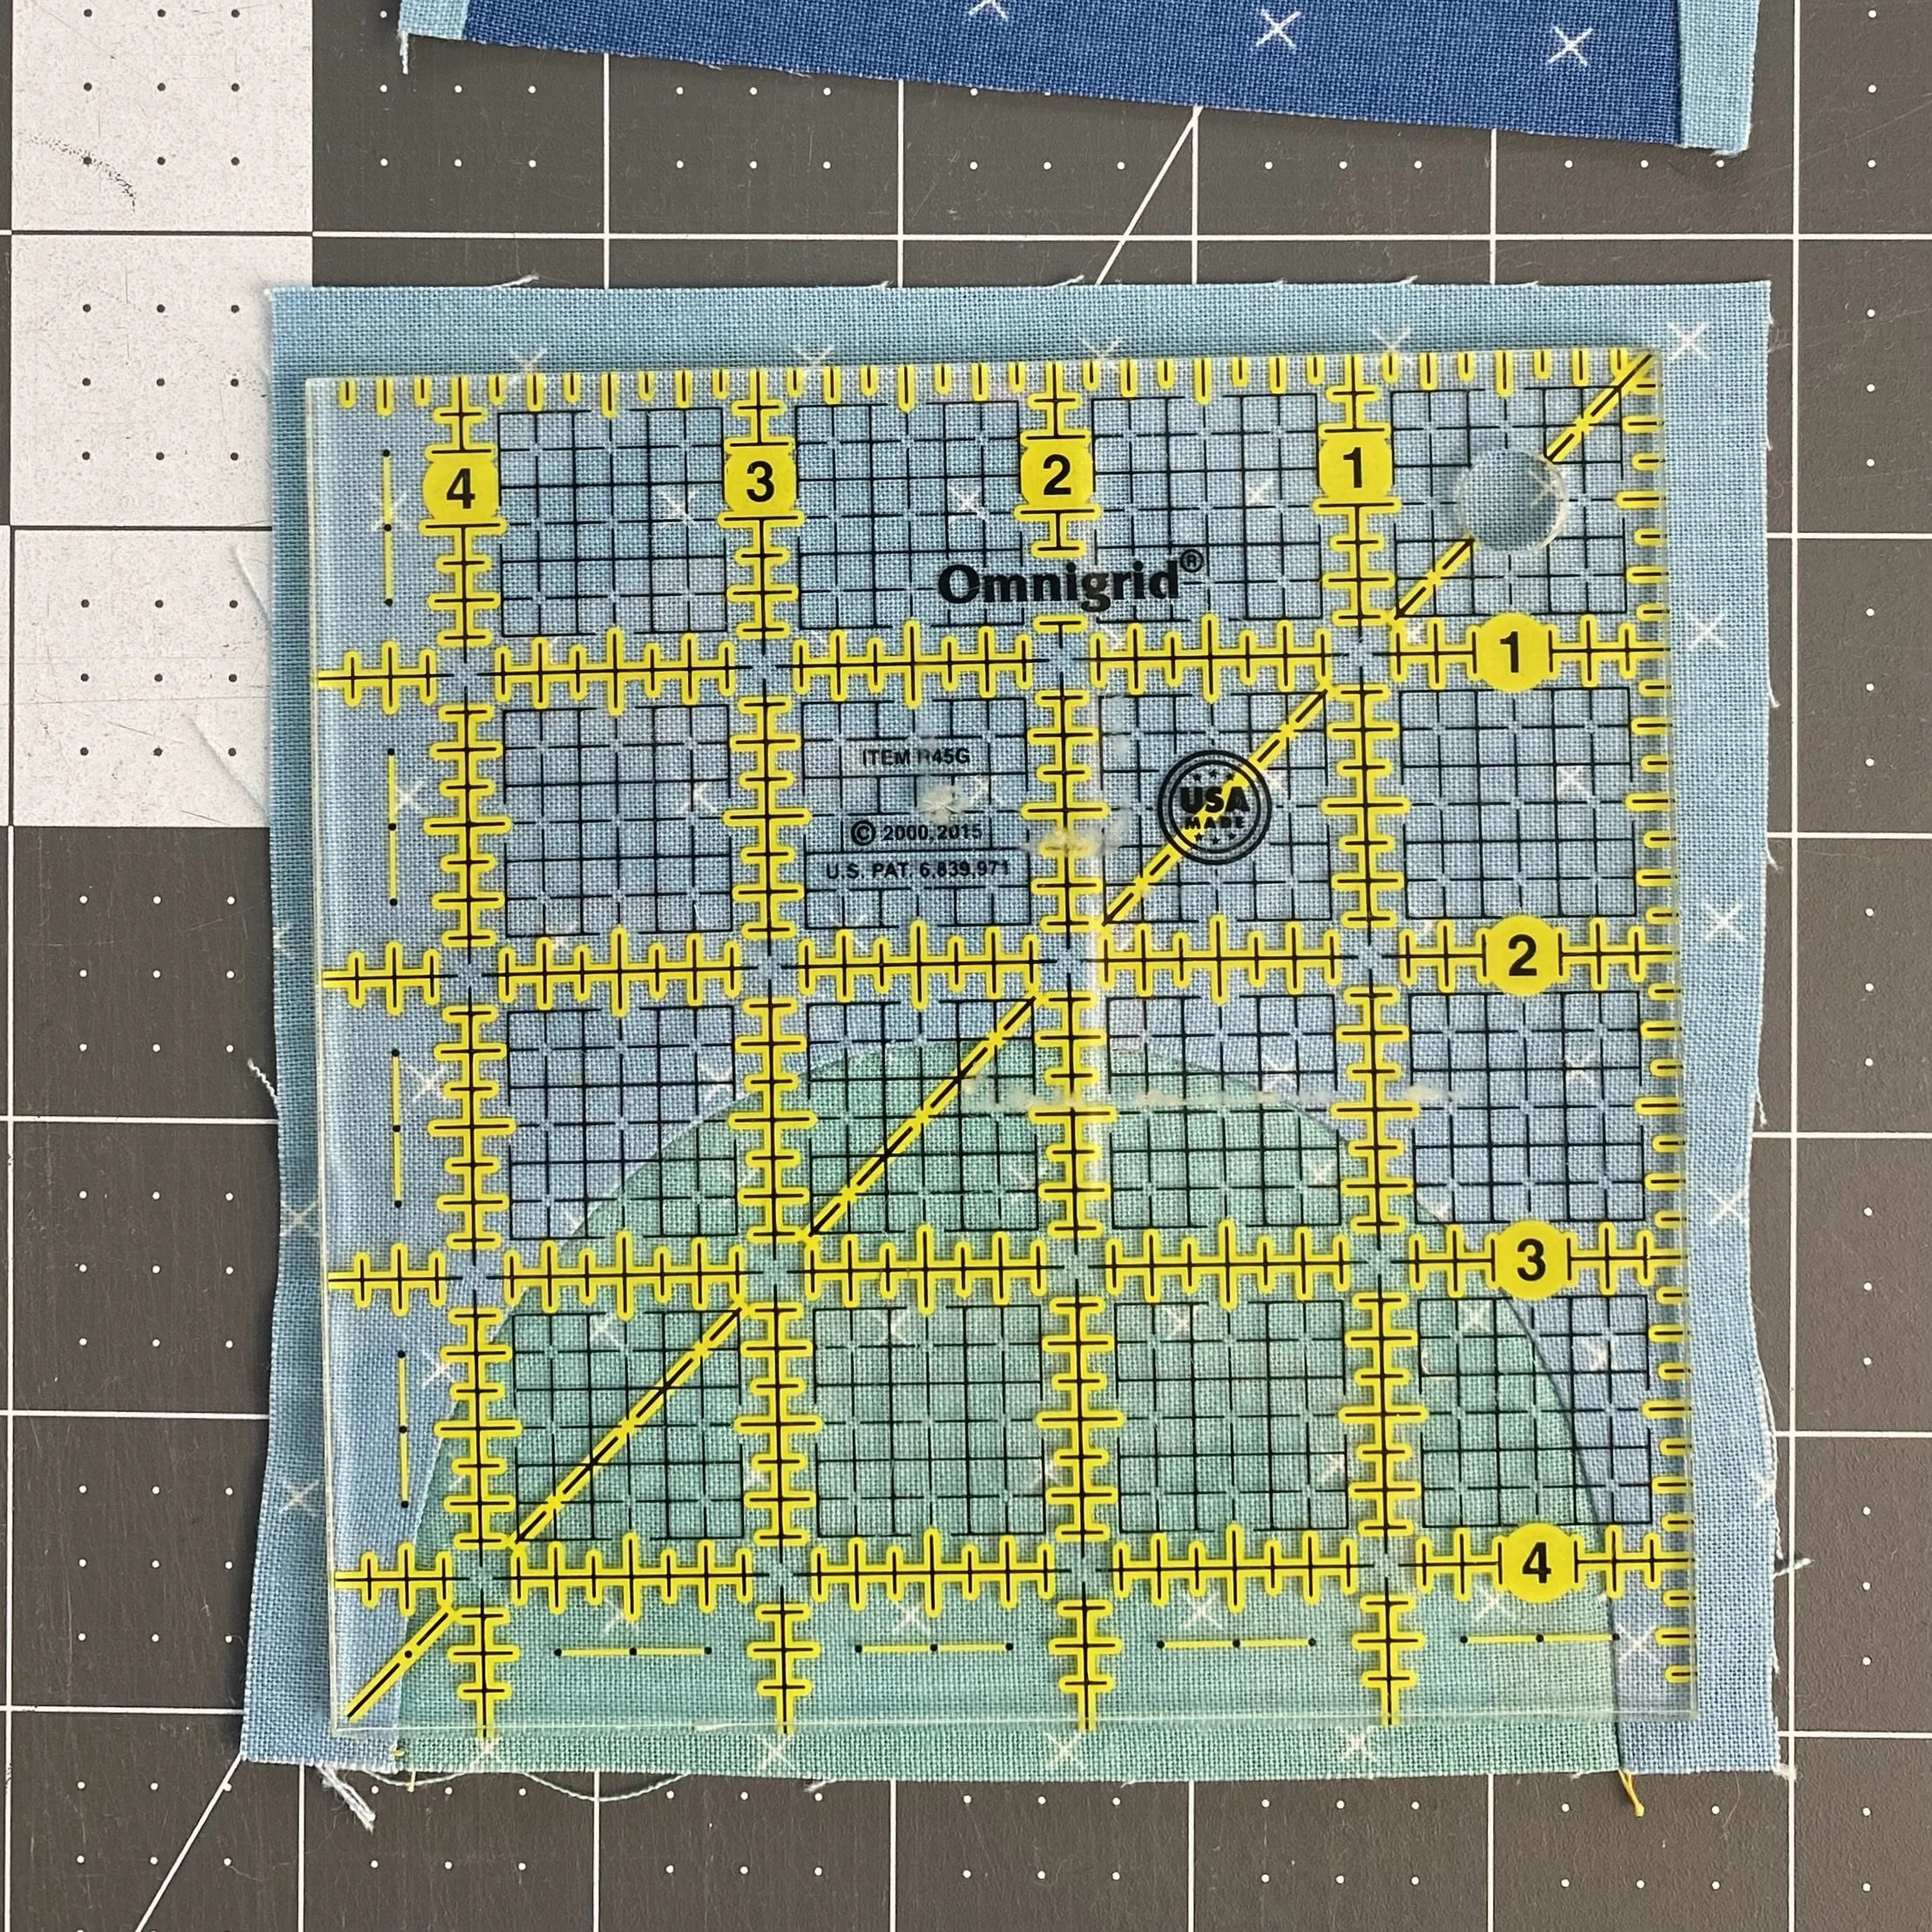
Here are both units with a 4½" ruler. I’ve kept ¼" of seam allowance at the bottom left and bottom right sides. I’ve also kept 2¼" of background fabric at the top. You can see in the block with the dark blue fabric, in order to keep these measurements, I’ve had to skew the ruler a bit. But that’s fine because there’s enough trimming room in the template to account for this.
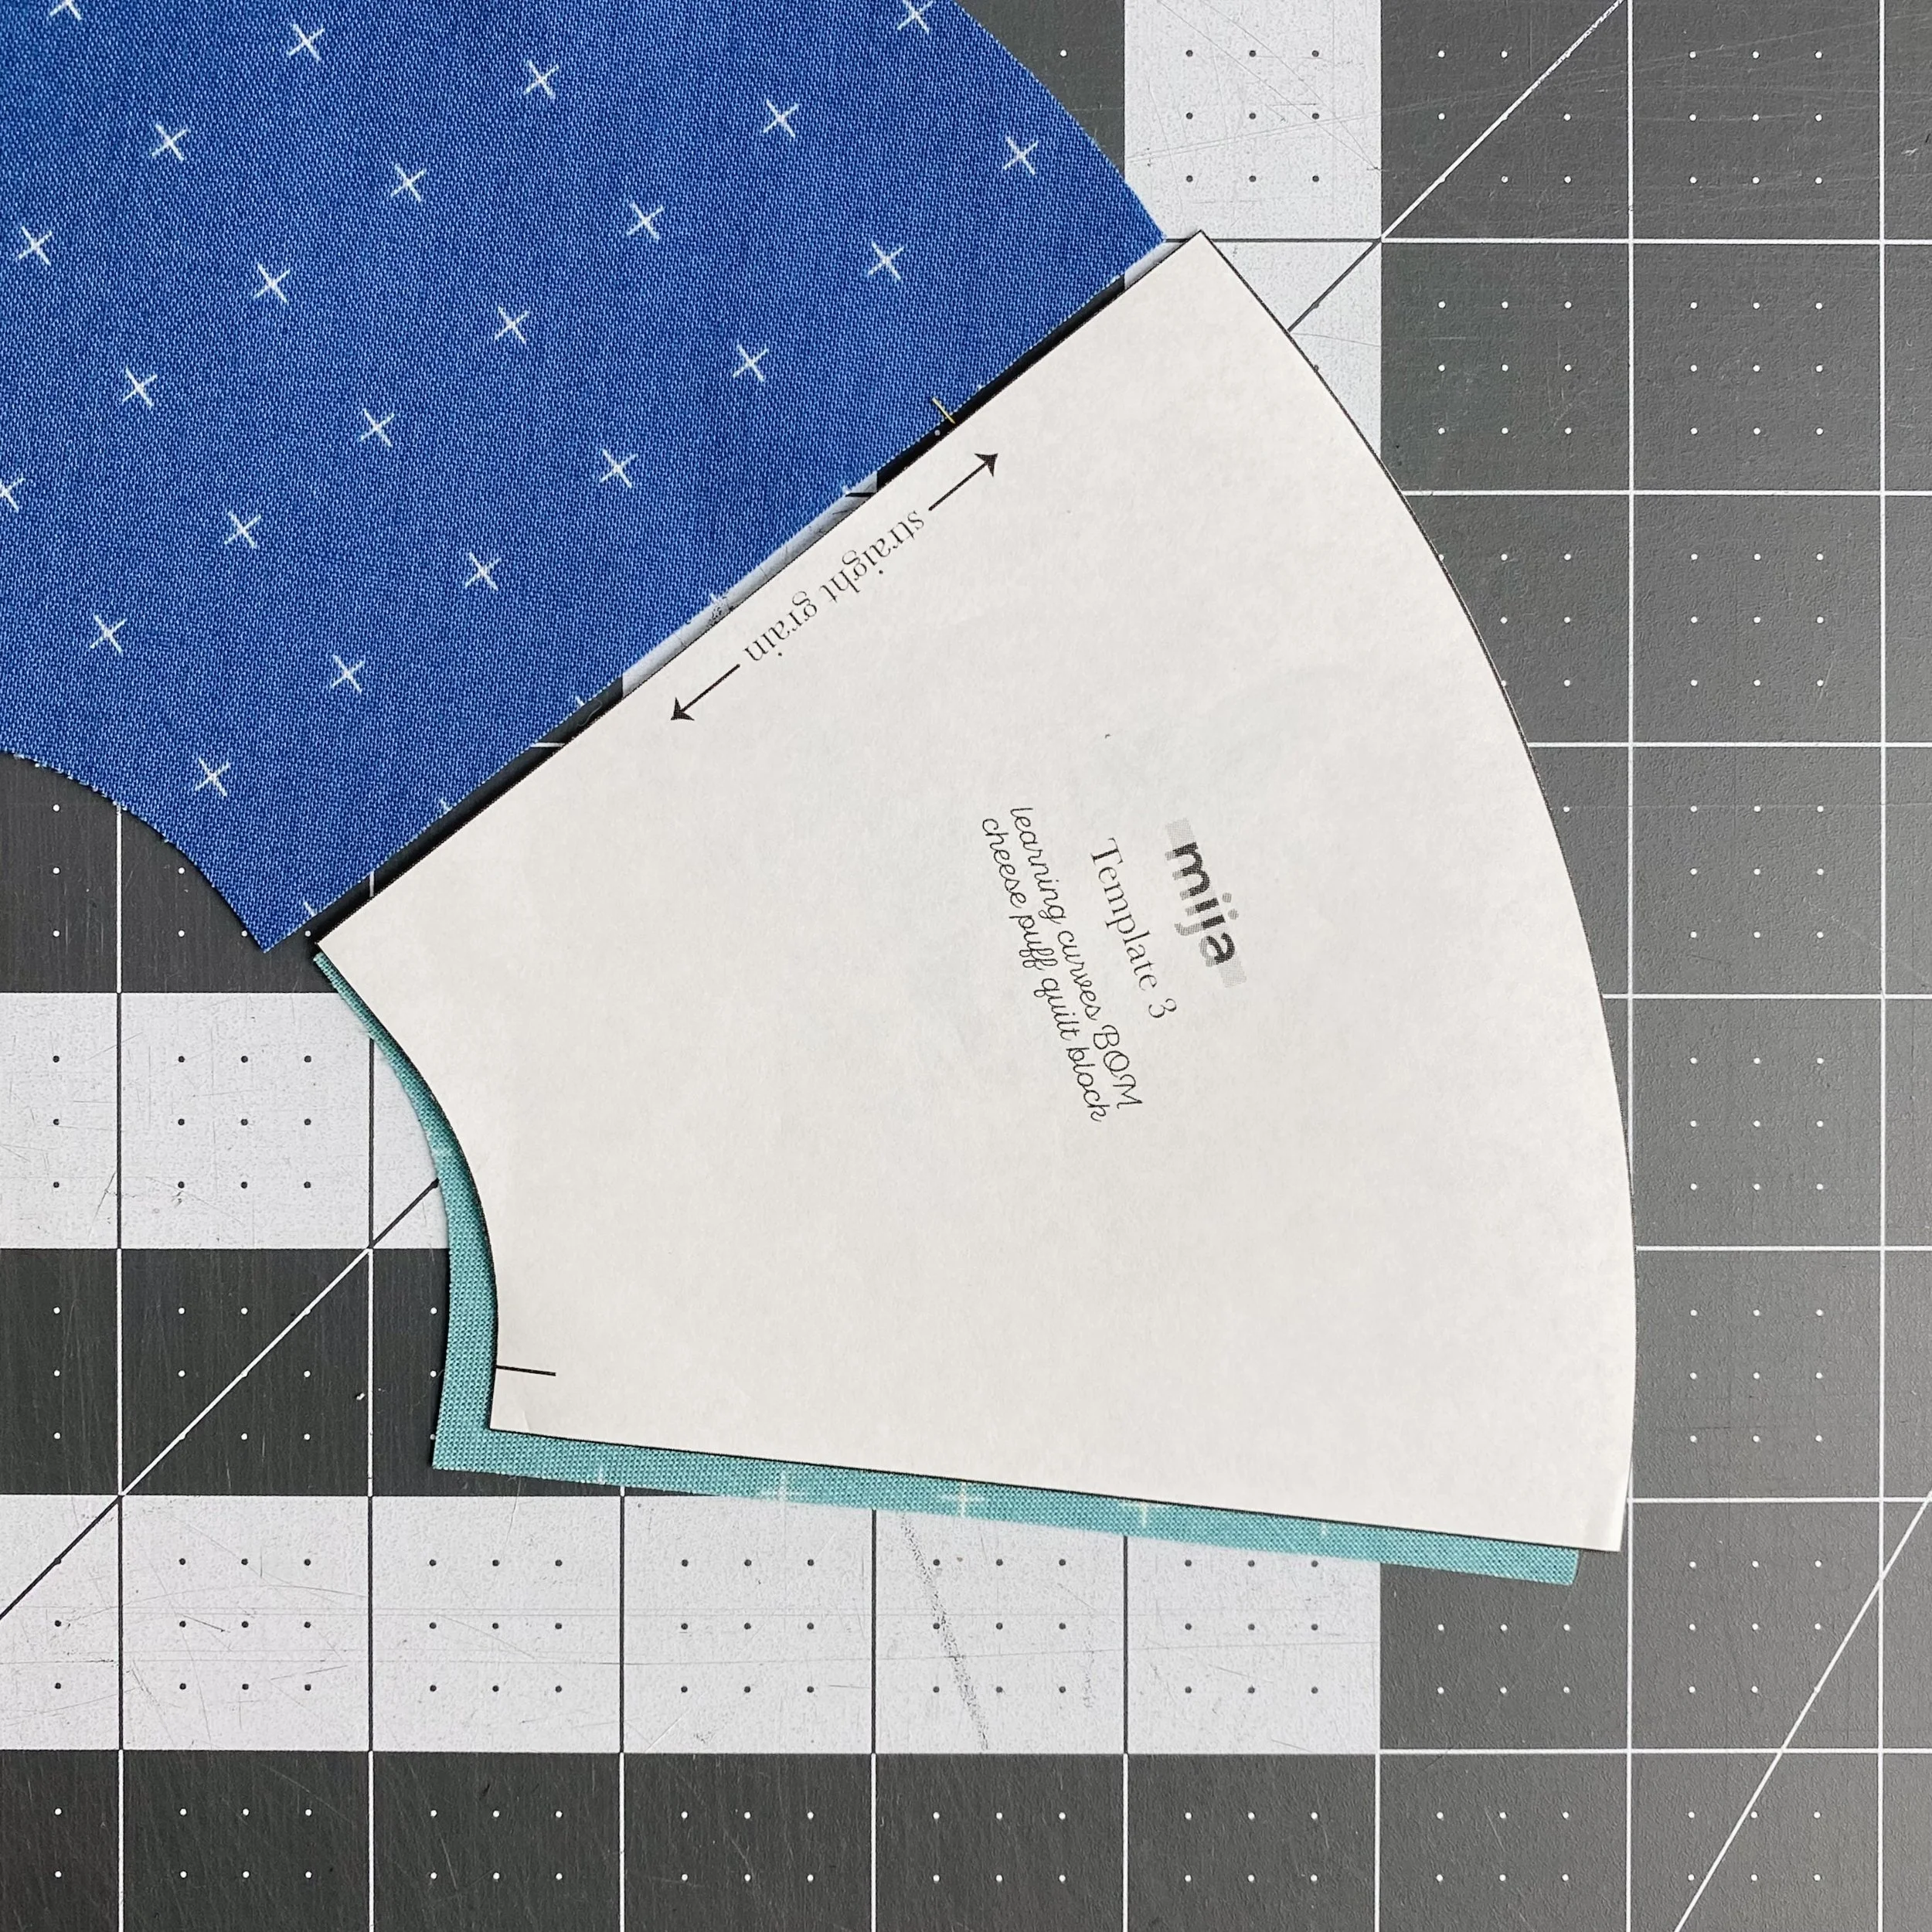
Now we can move on the sewing the arc units together. The units align perfectly when they are right sides together. But I want to take a second to show that it’s important to keep the units in the correct order. In this photo, I’ve laid the paper Template 3 on top of the Reverse Template 3 unit and you can see they are not interchangeable. This is due to the trimming room built into the template. Just keep everything labeled and sewn in the correct order, and you won’t run into any issues.
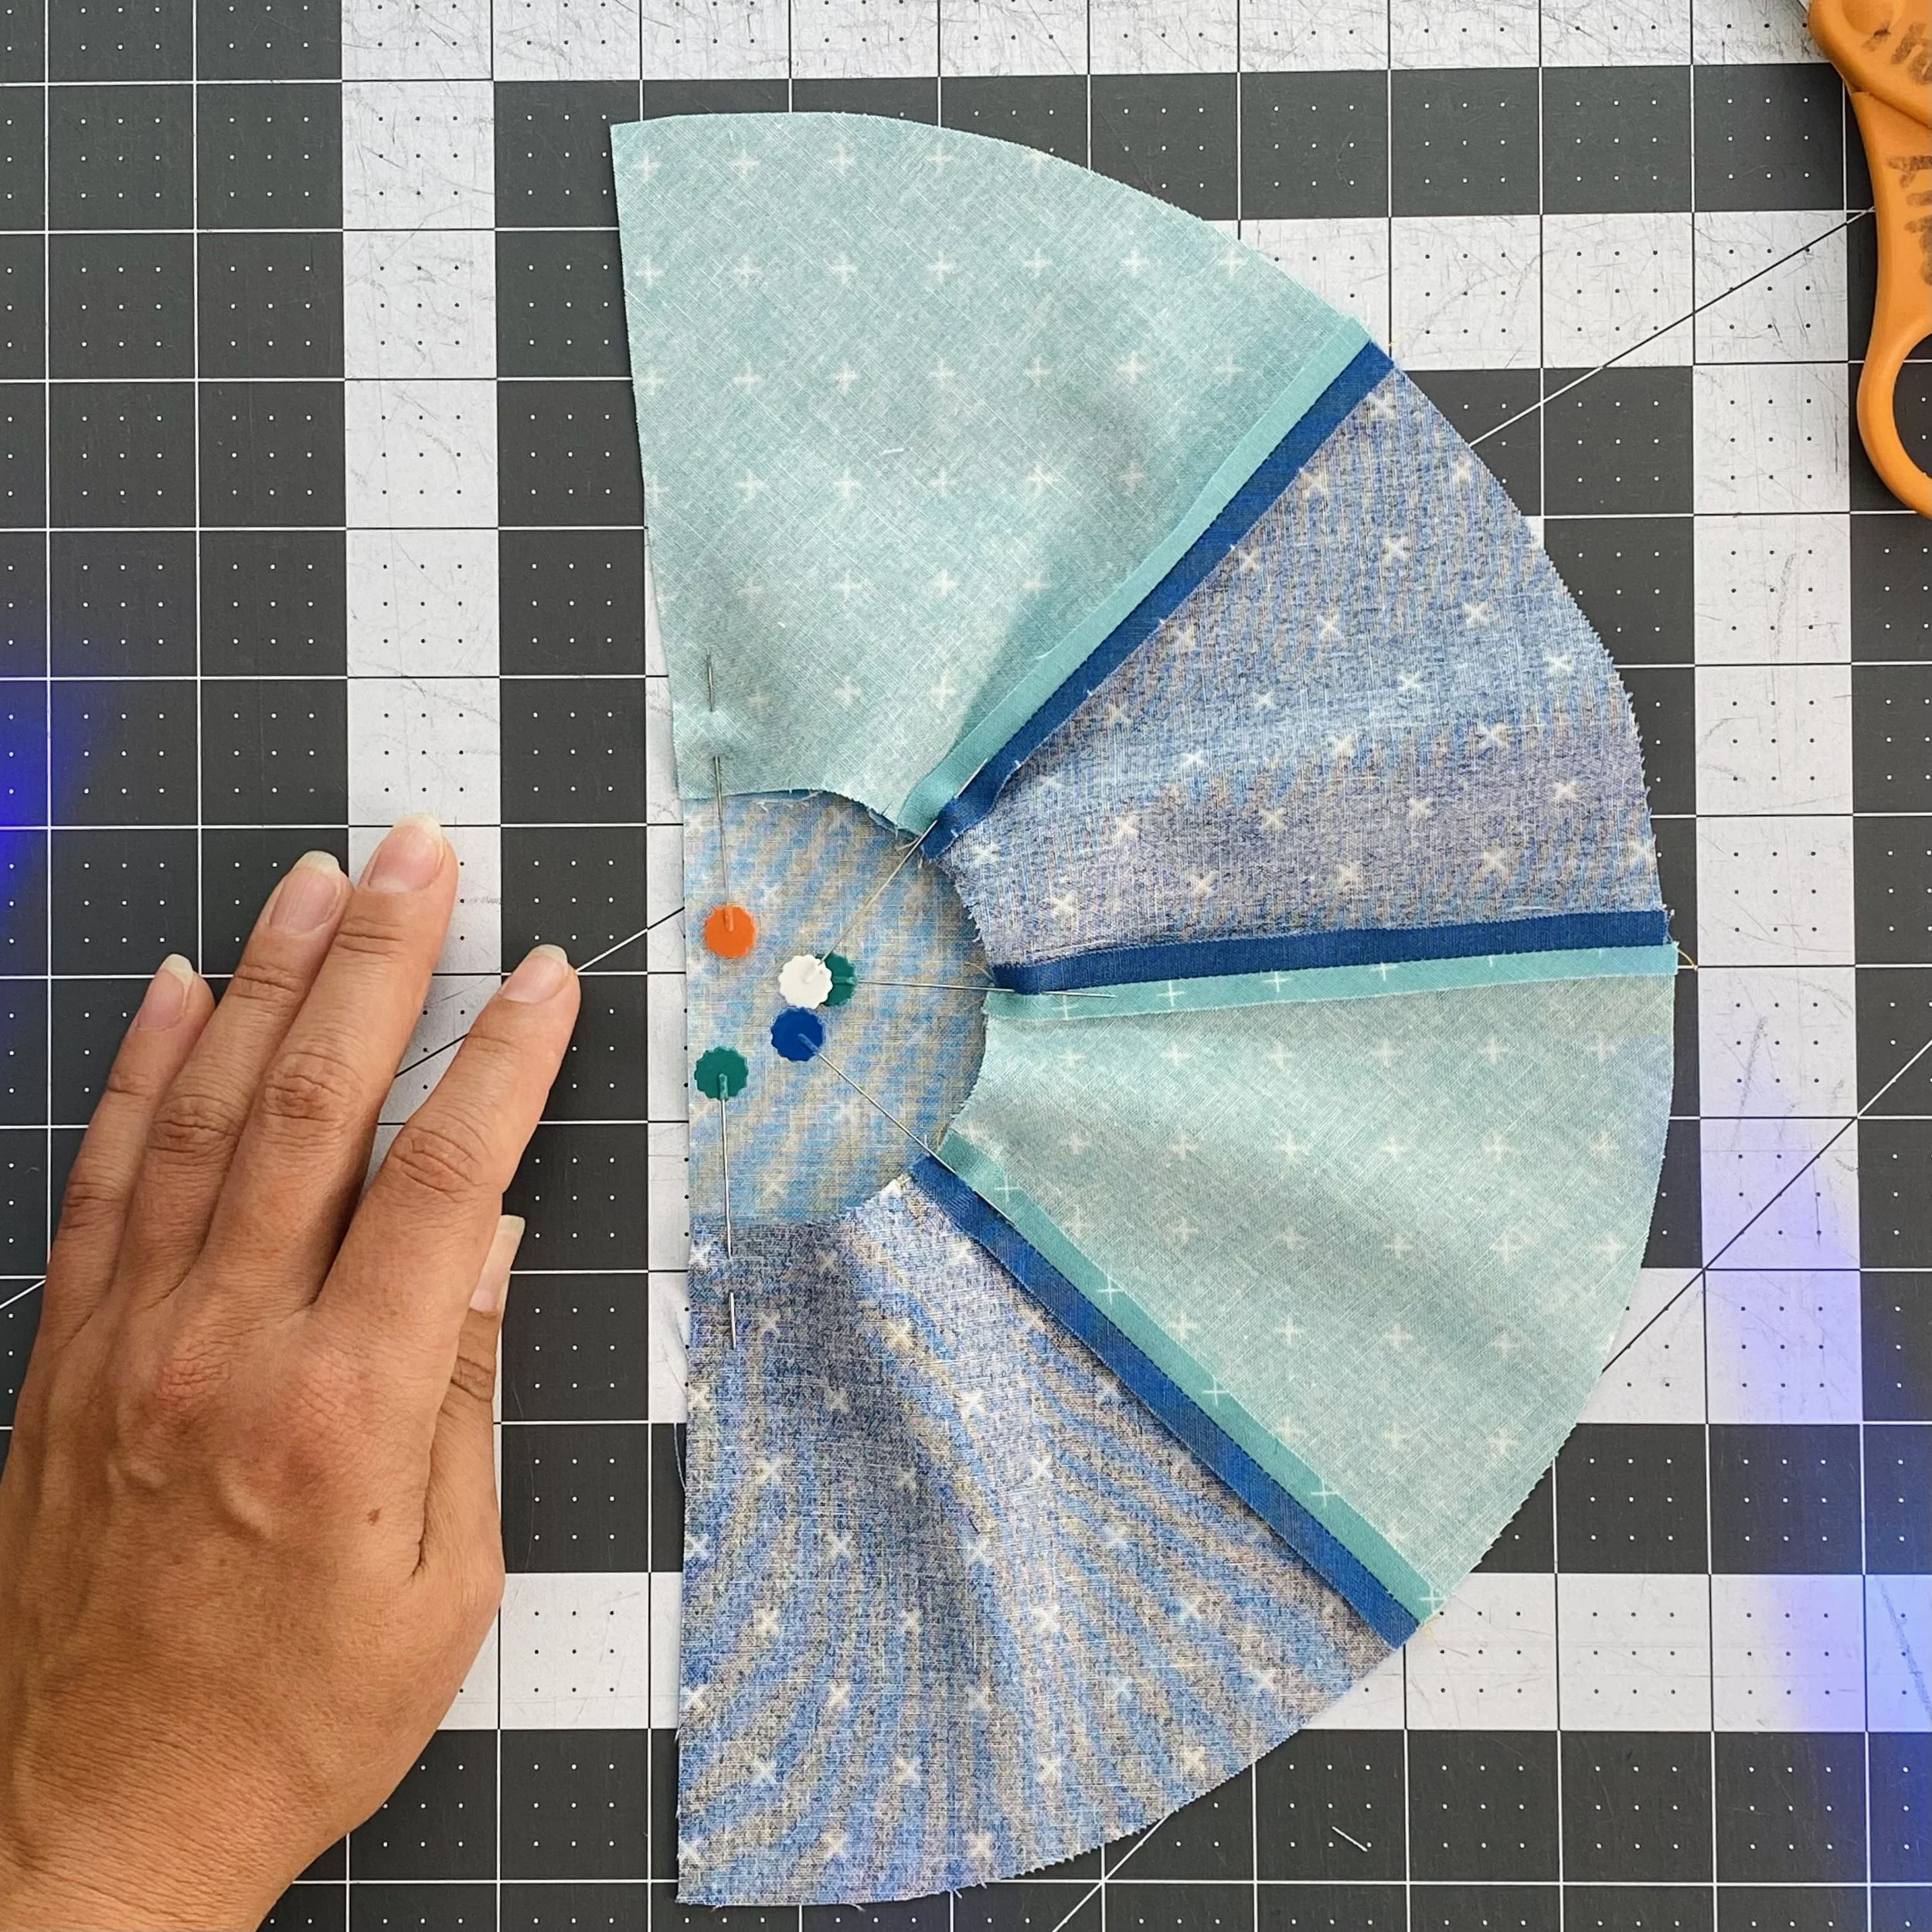
Once the arc is pieced, we return to our half circles. I’ve put small snips in the pieced arc, making sure to avoid the seams.
Once I’ve got everything pinned, I like to lay the unit flat and make sure the long, straight edge lays relatively straight. If it isn’t laying straight, I’ll readjust my pins and ease the fabrics until I like how it sits.
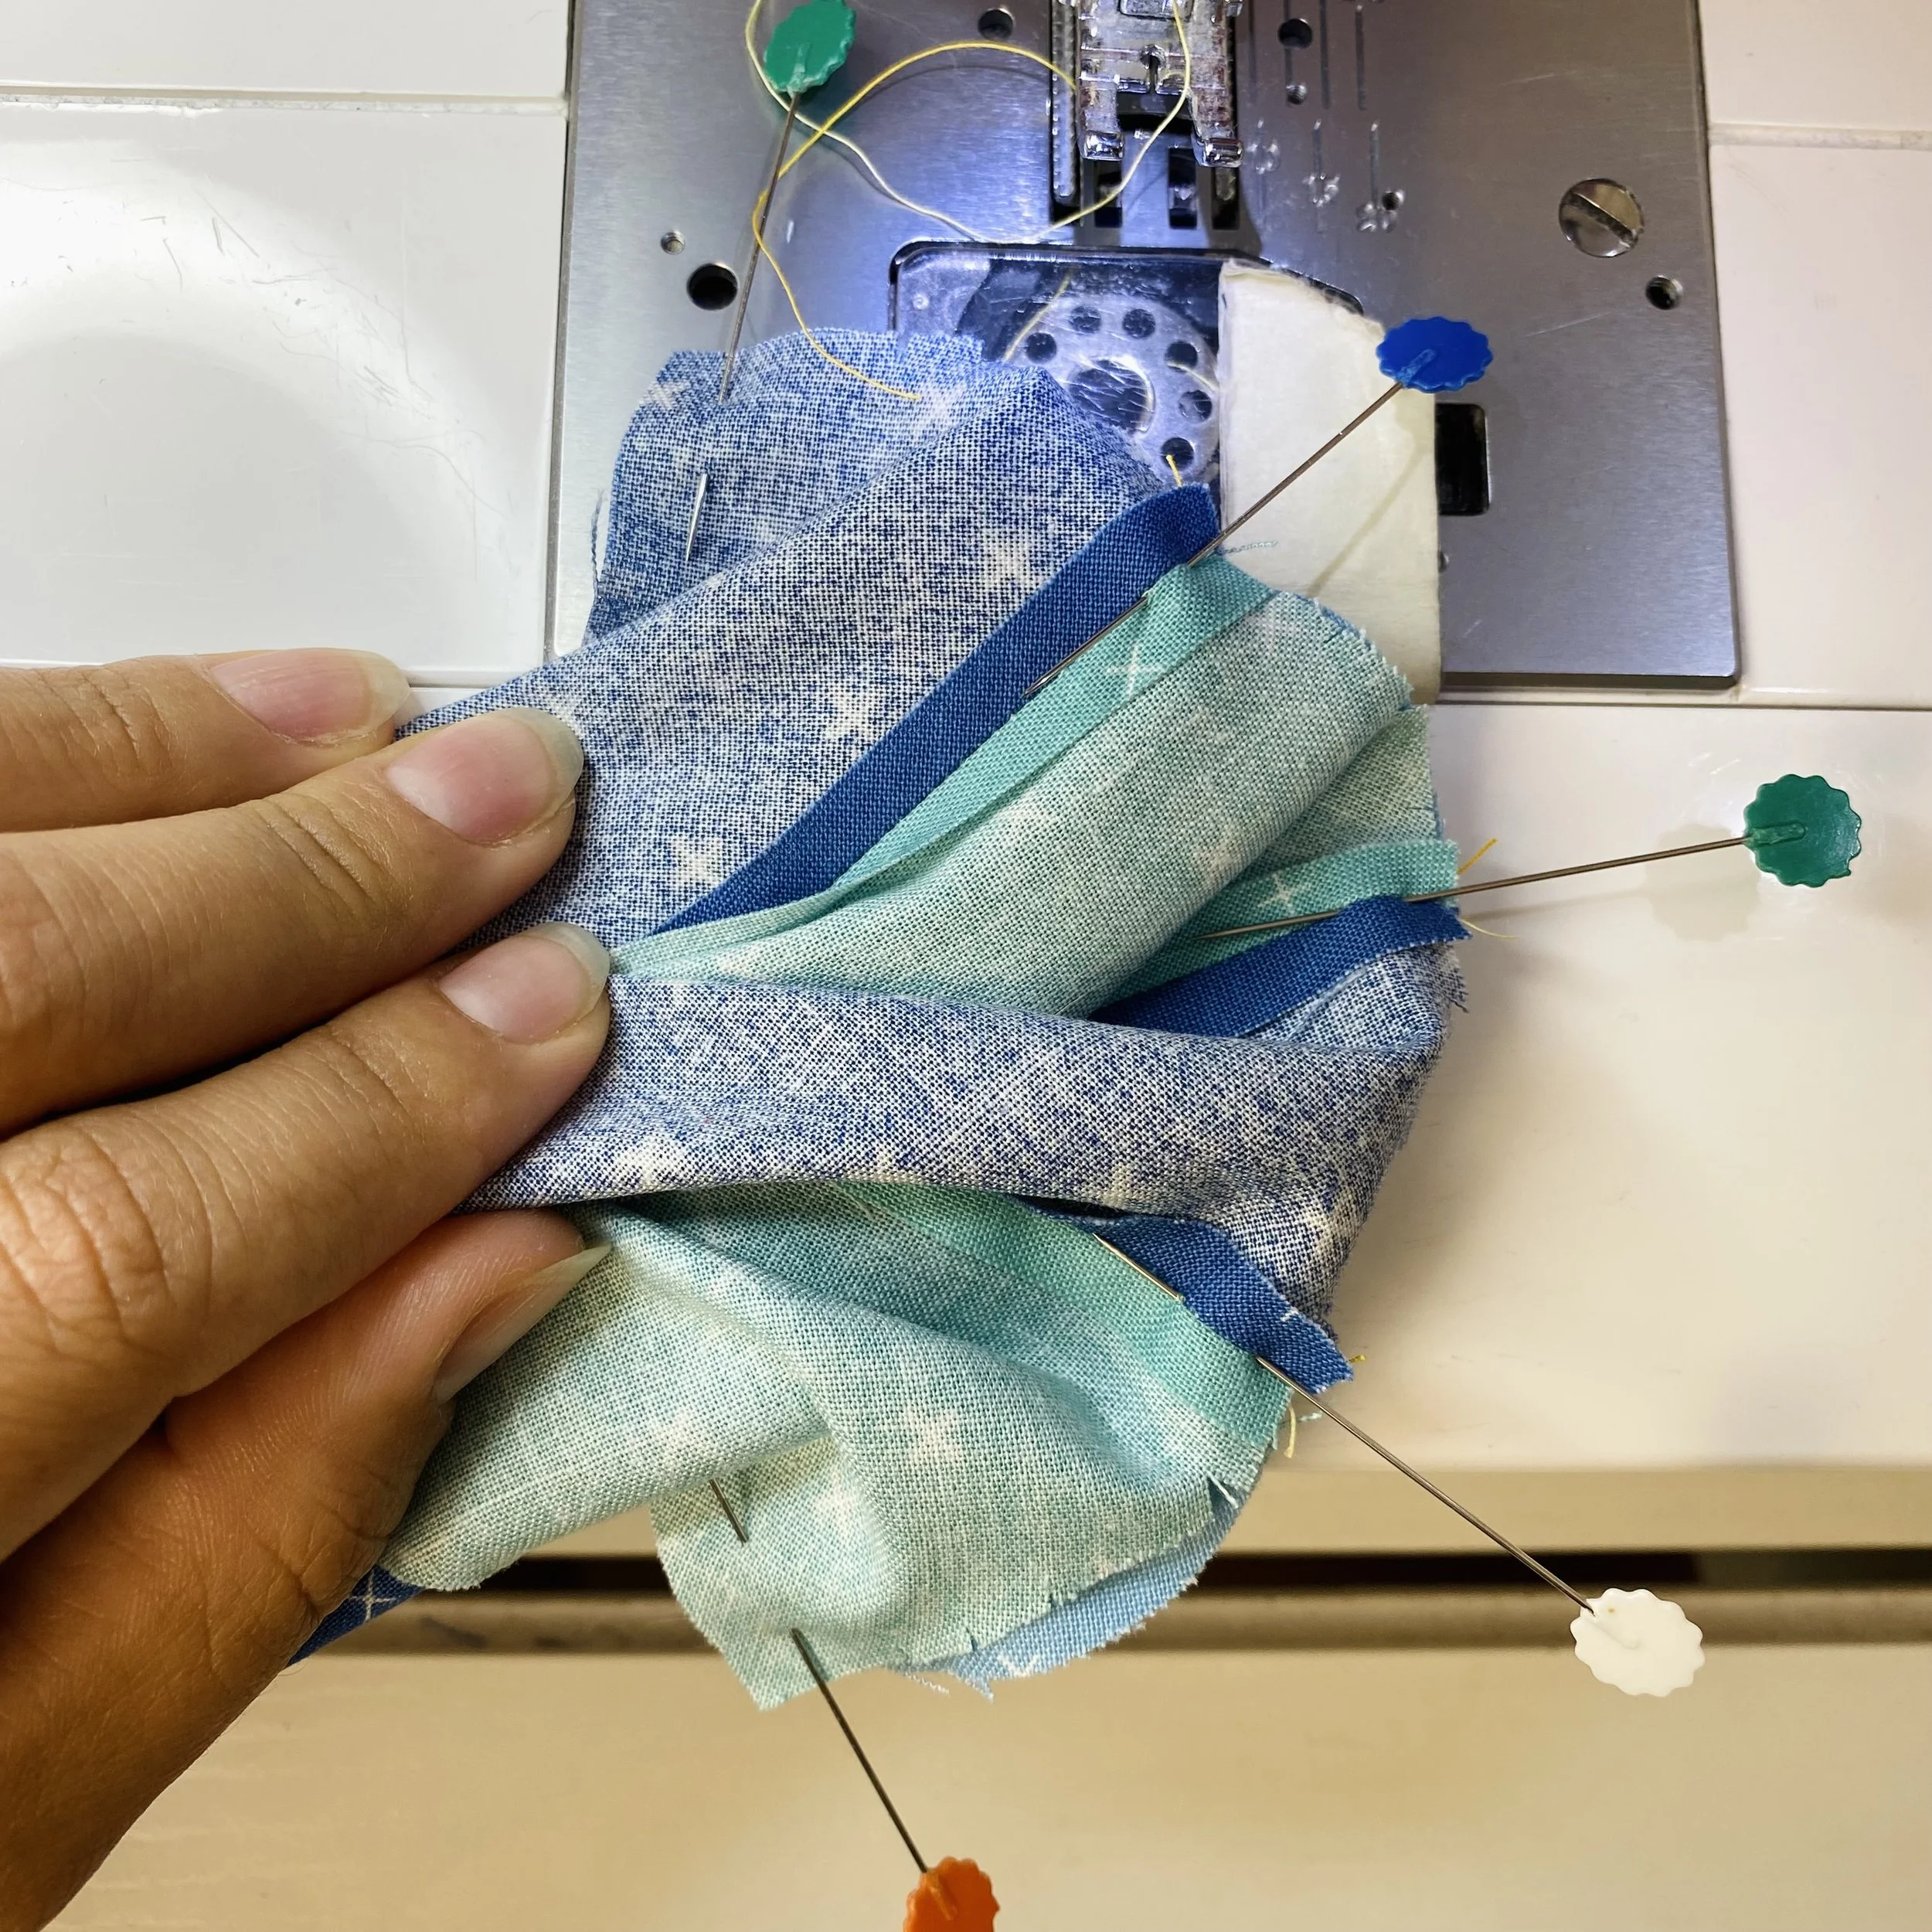
Last month, we practiced managing bulk in the concave piece. This step is similar, but a little more manageable! I like to gather the fabric in concave unit in my left hand, as pictured here.
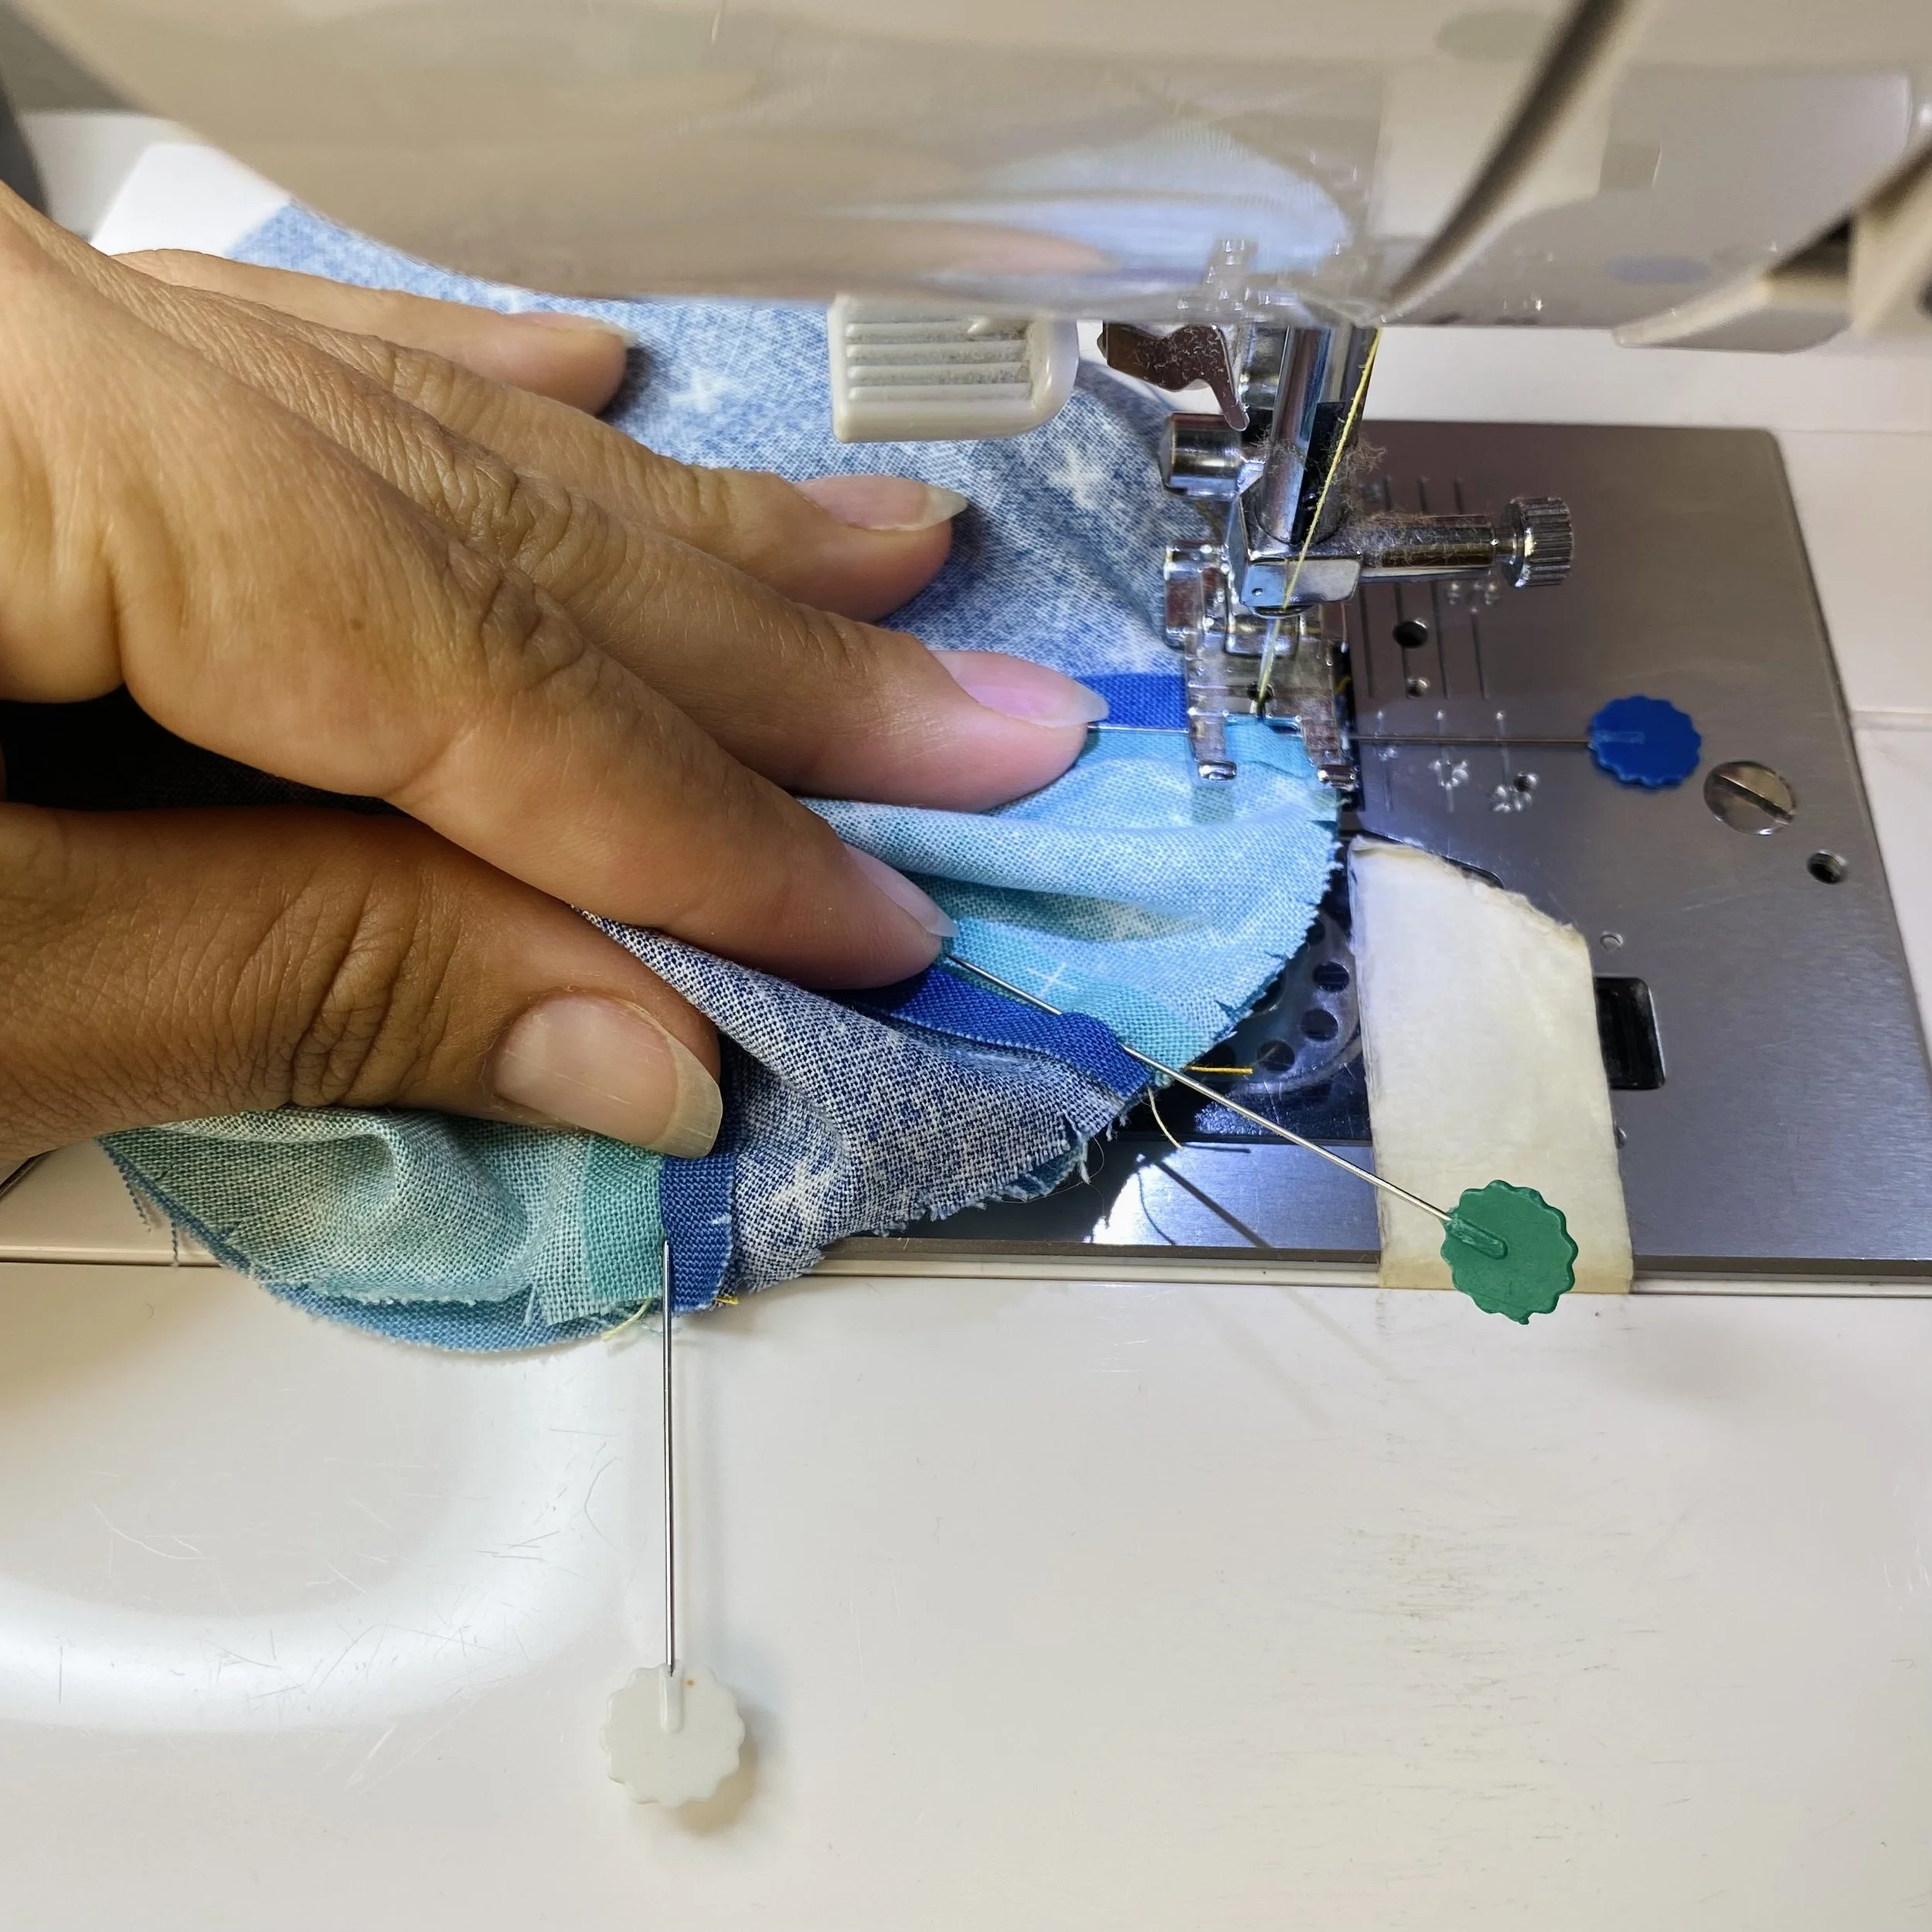
Again, you can see how the snips help everything lay flat, and by keeping the concave unit gathered in my hand, I can sew around this curve pretty easily!
These next pictures are only meant to show how a good press can help the entire unit lay flat. Make sure to avoid stretching the unit, as there are plenty of exposed bias edges. But a hot iron and a heavy book can help almost any block look amazing!
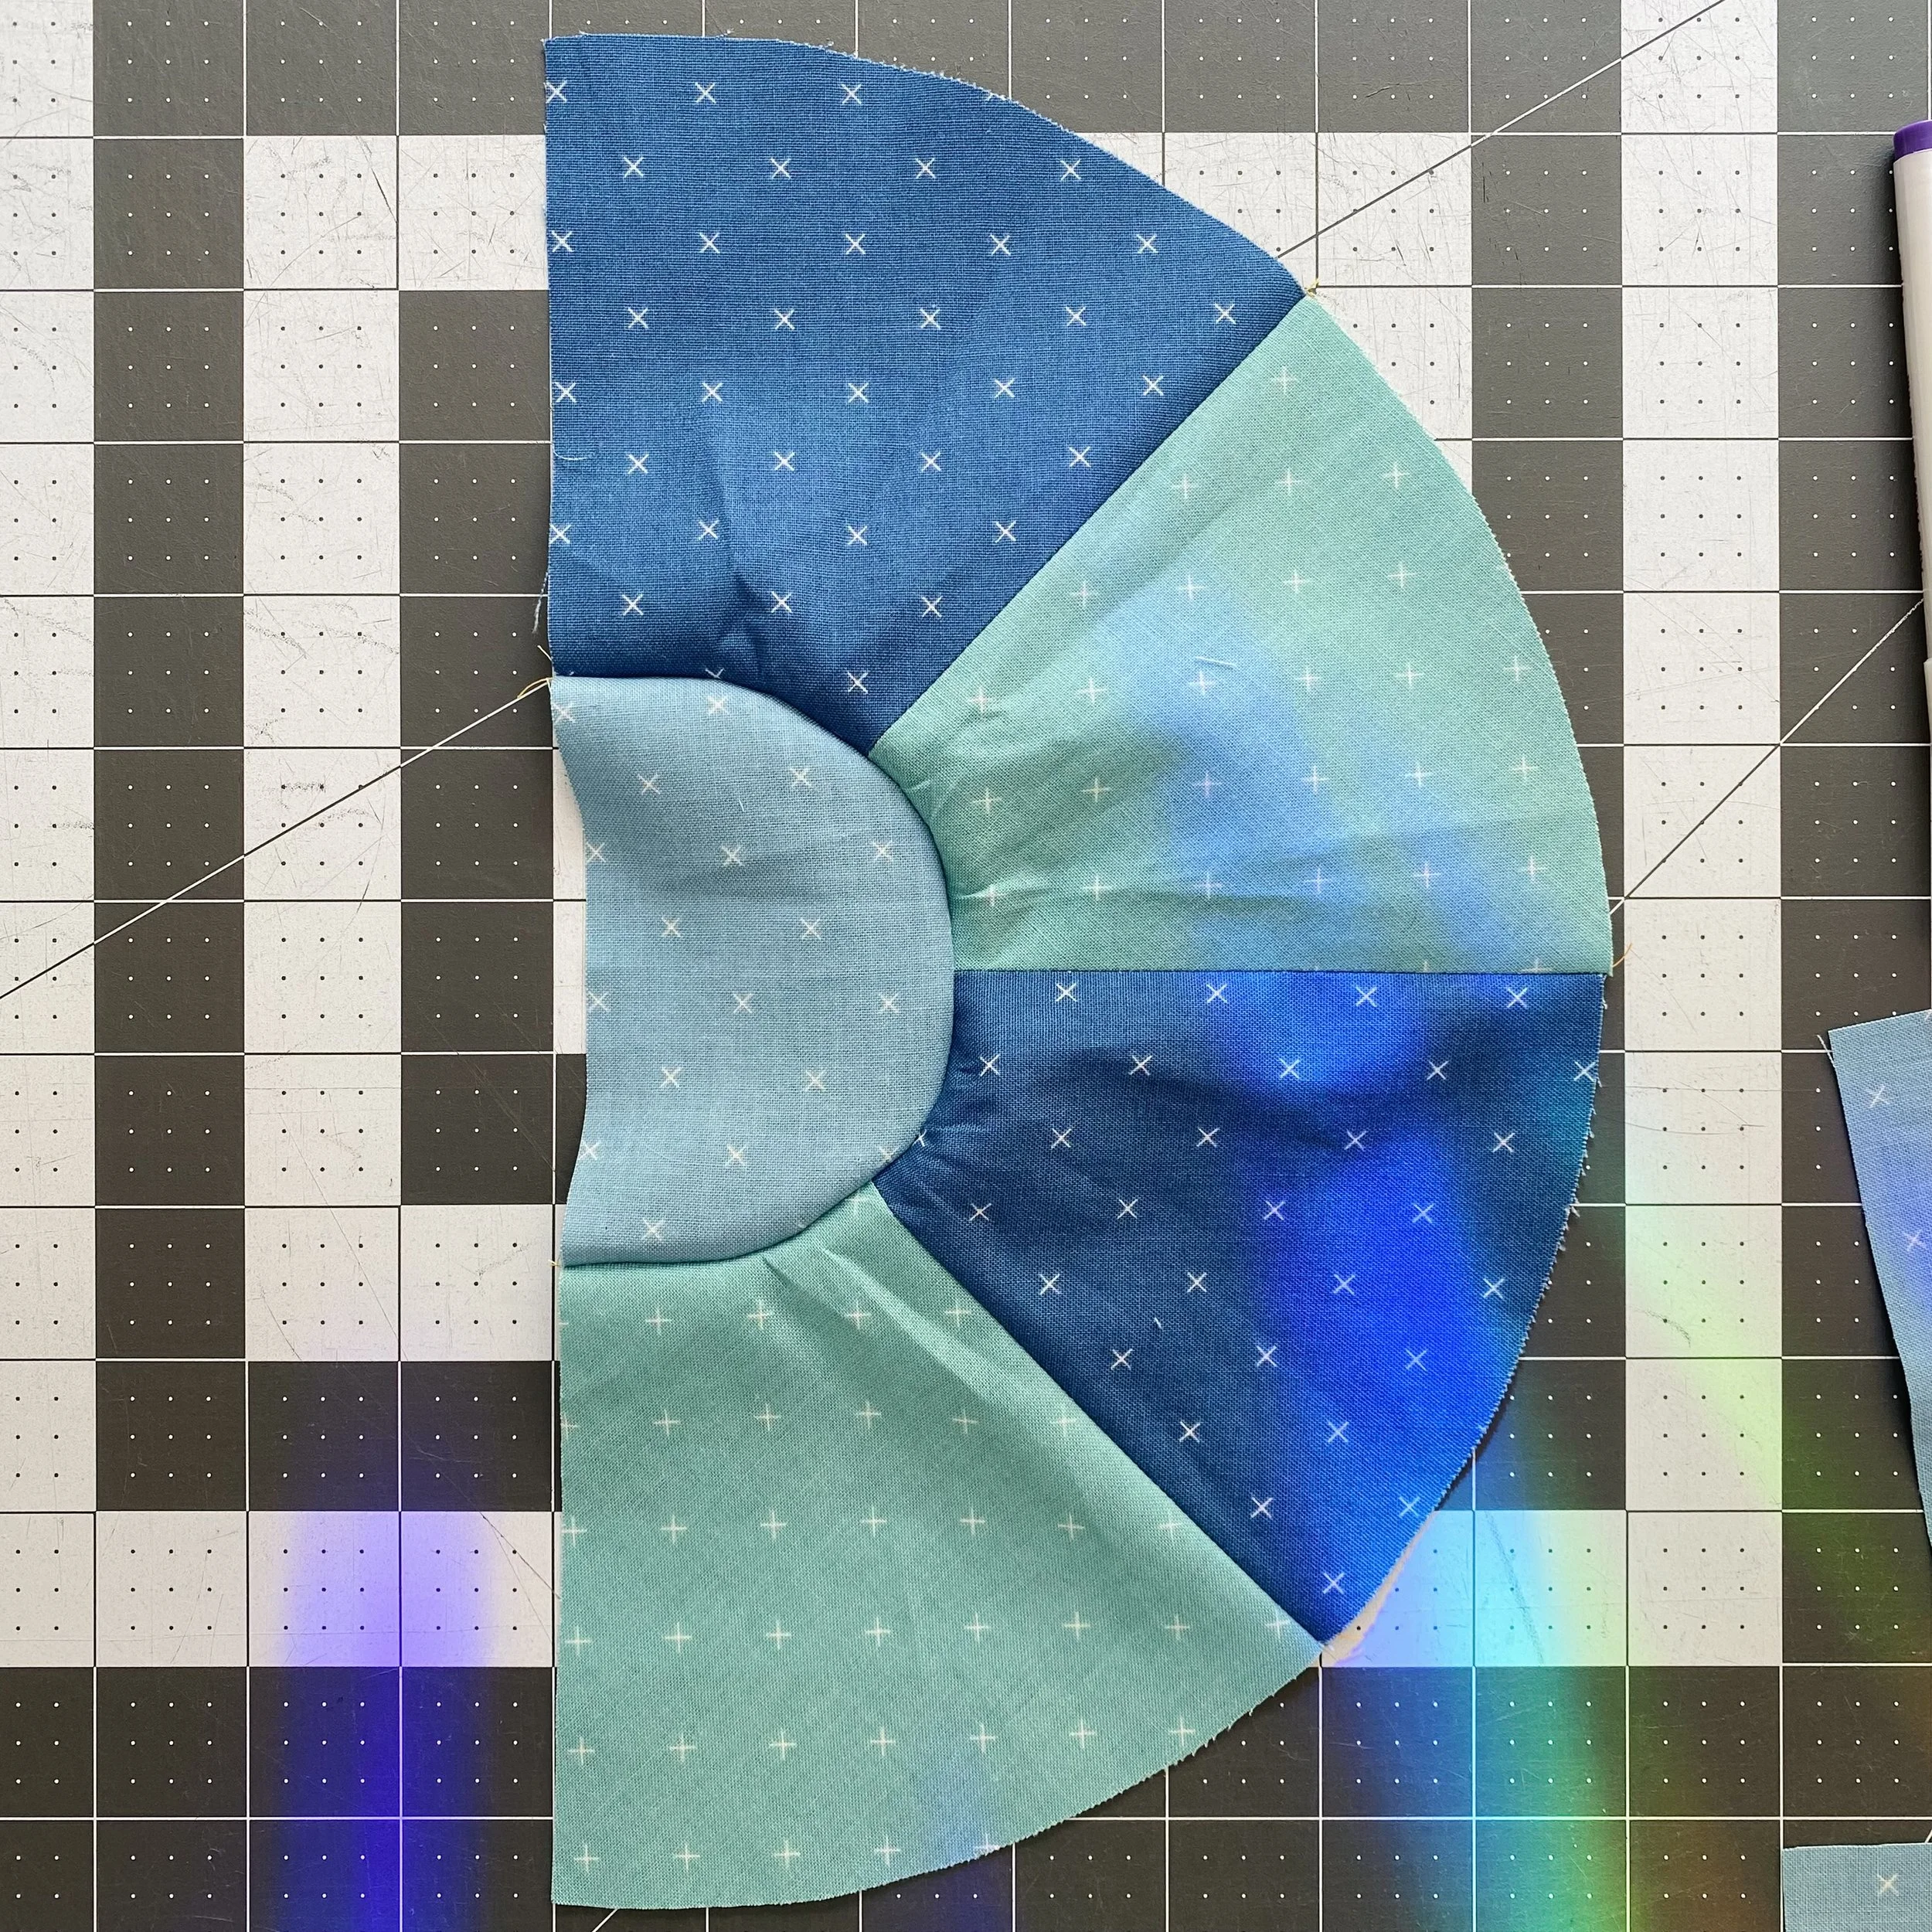
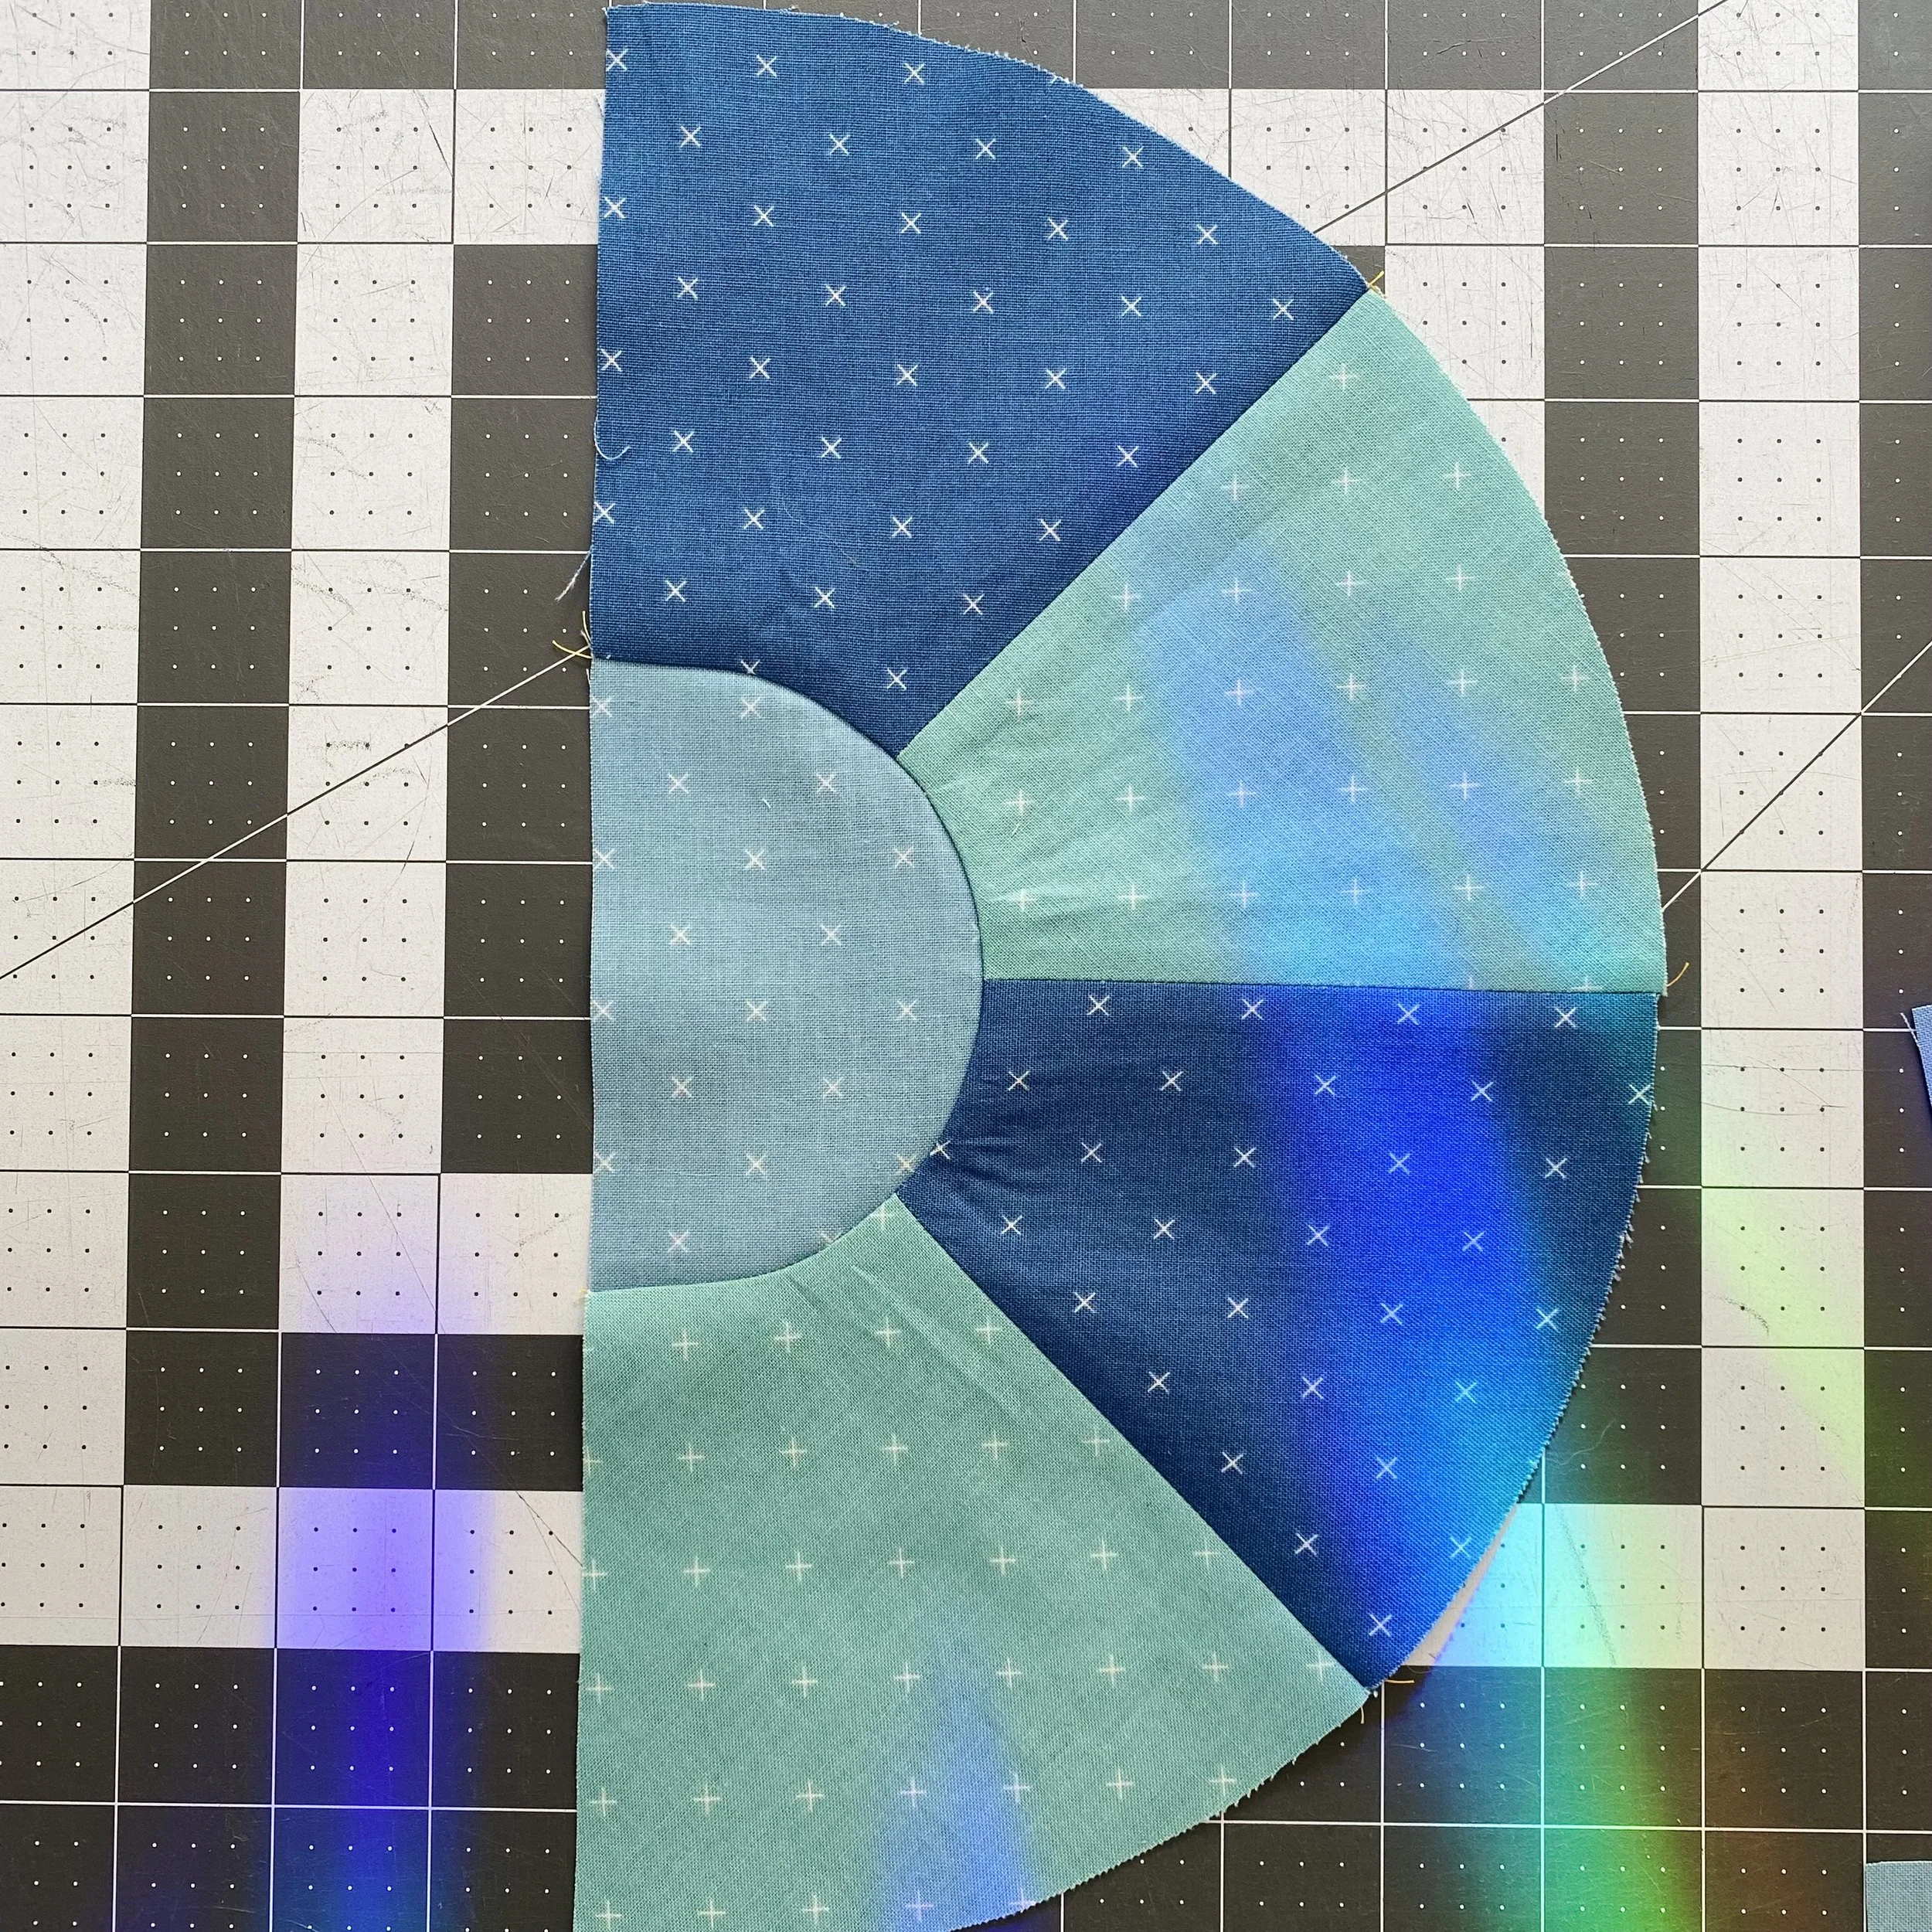
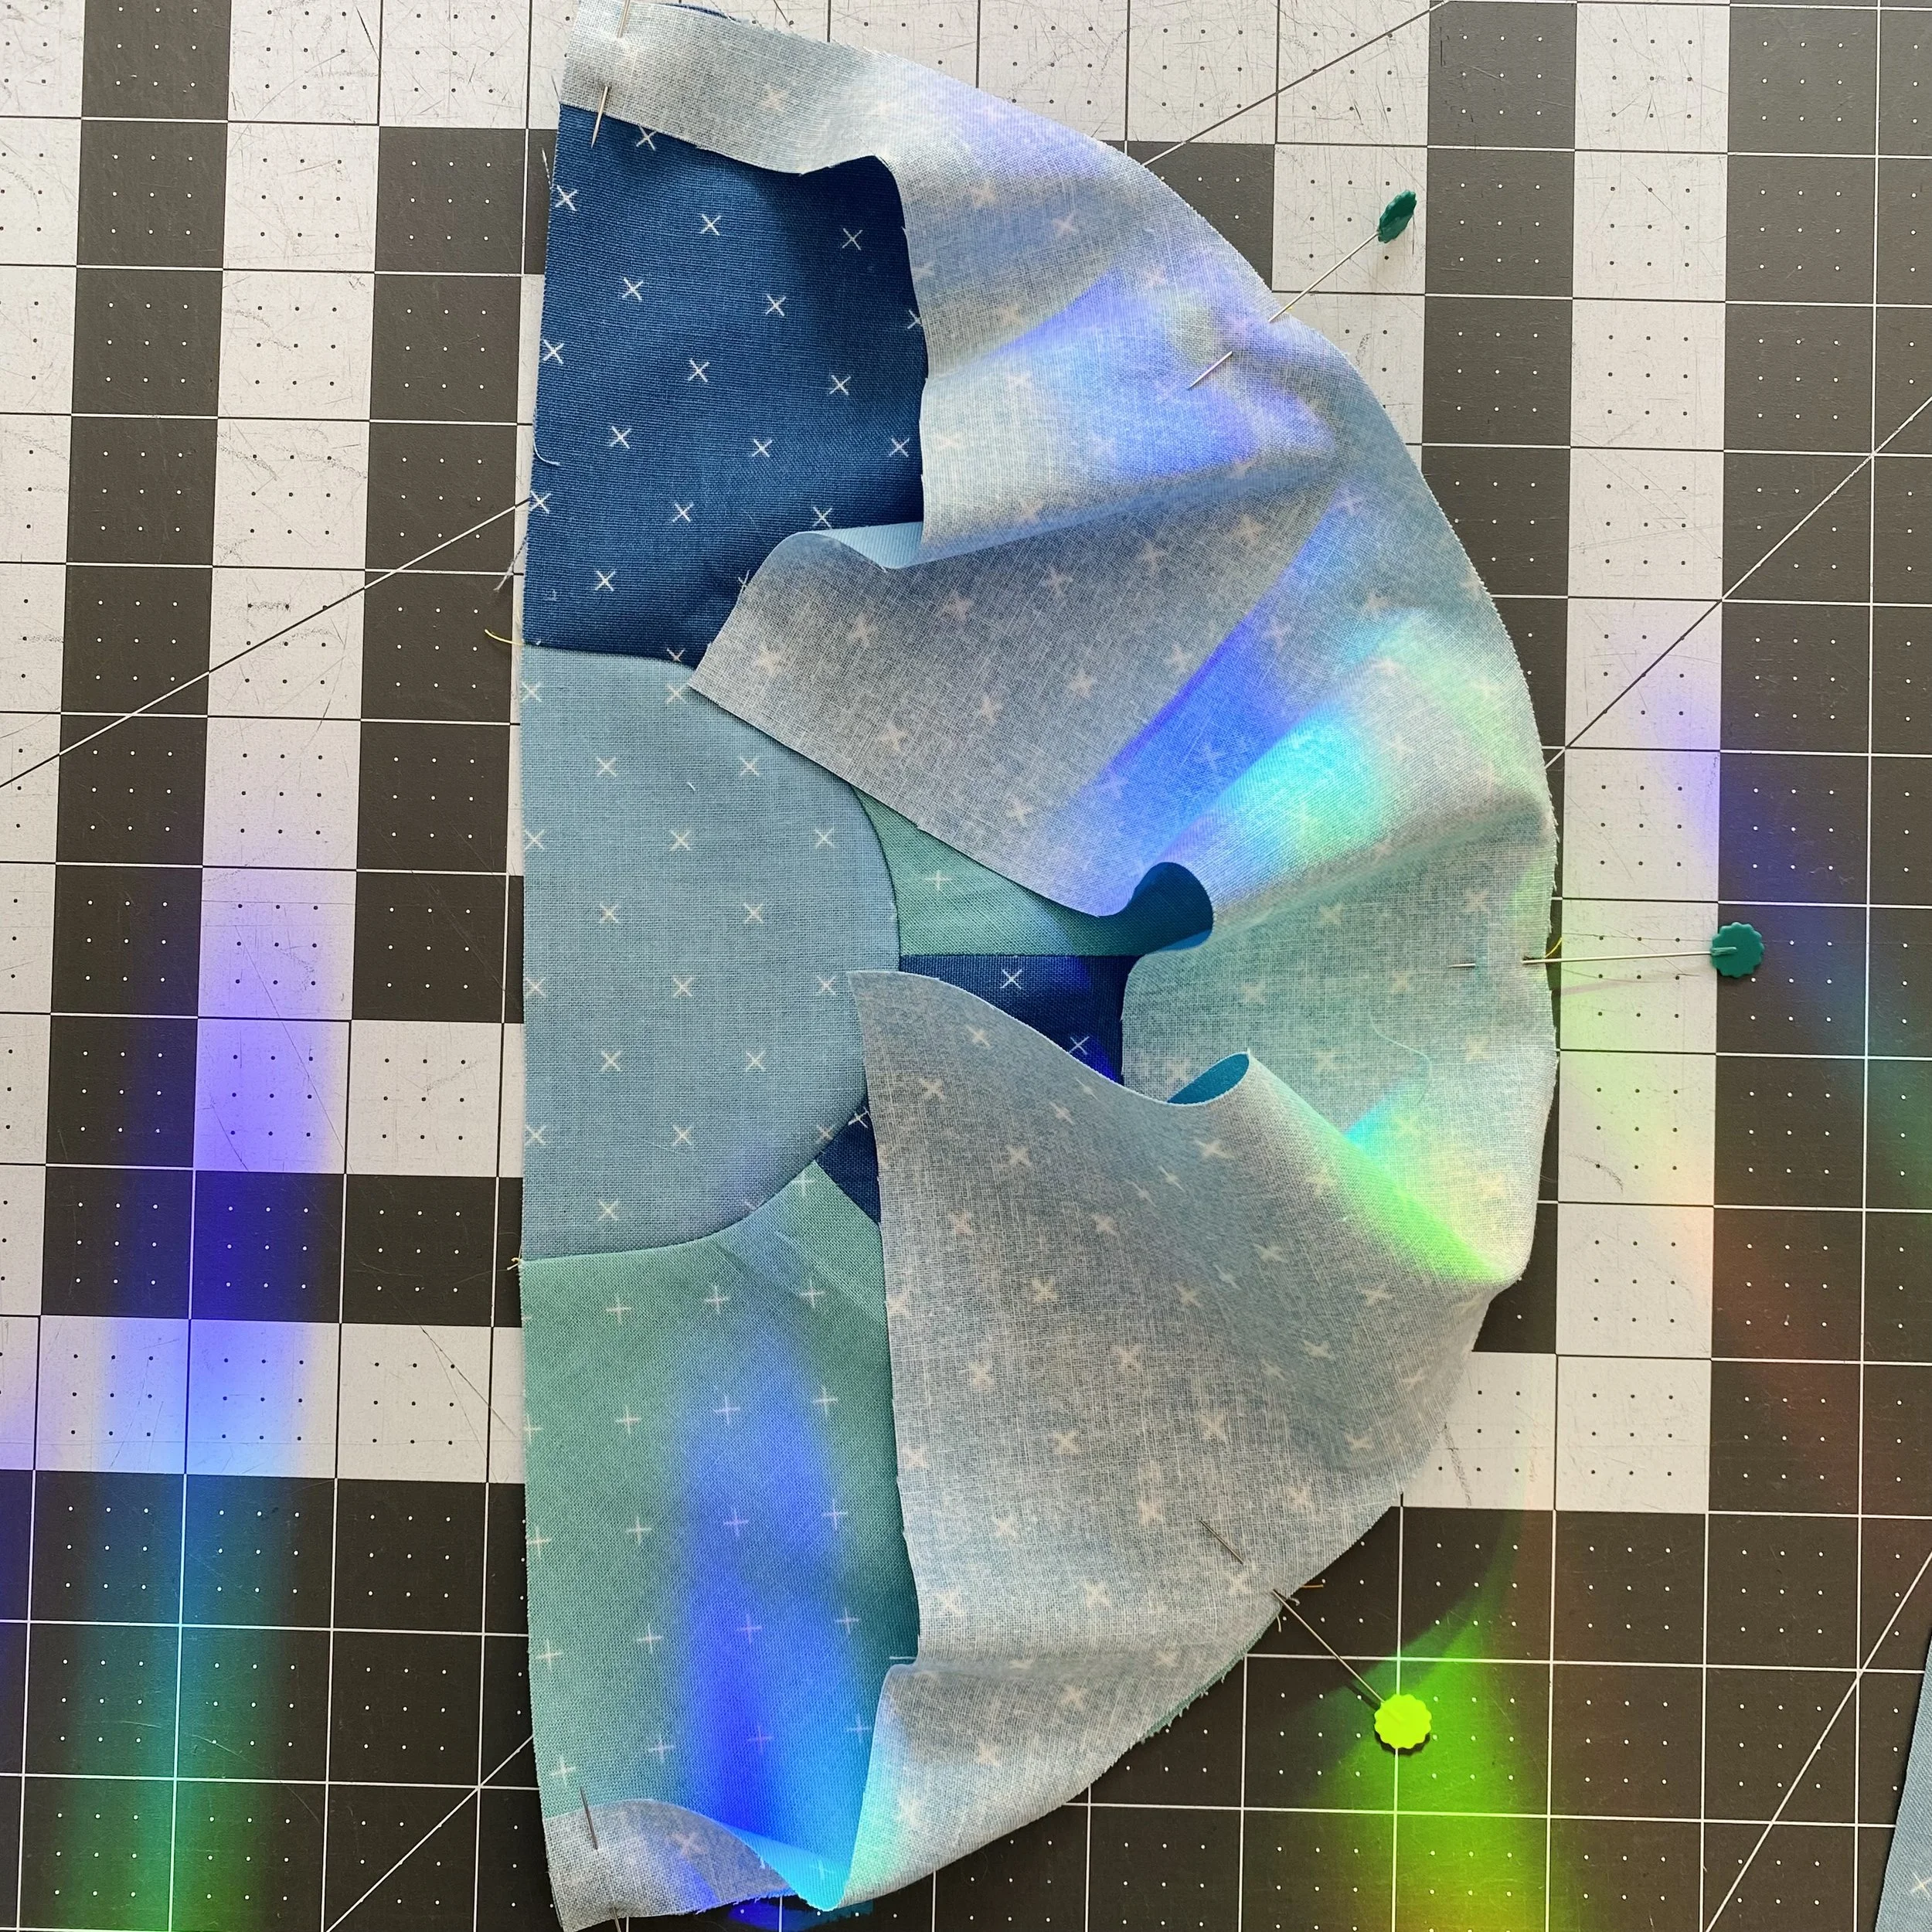
We’re old hats at sewing these comfortable half circles now. I still love my five-pin approach for these. If you like nesting seams, press this seam inwards.
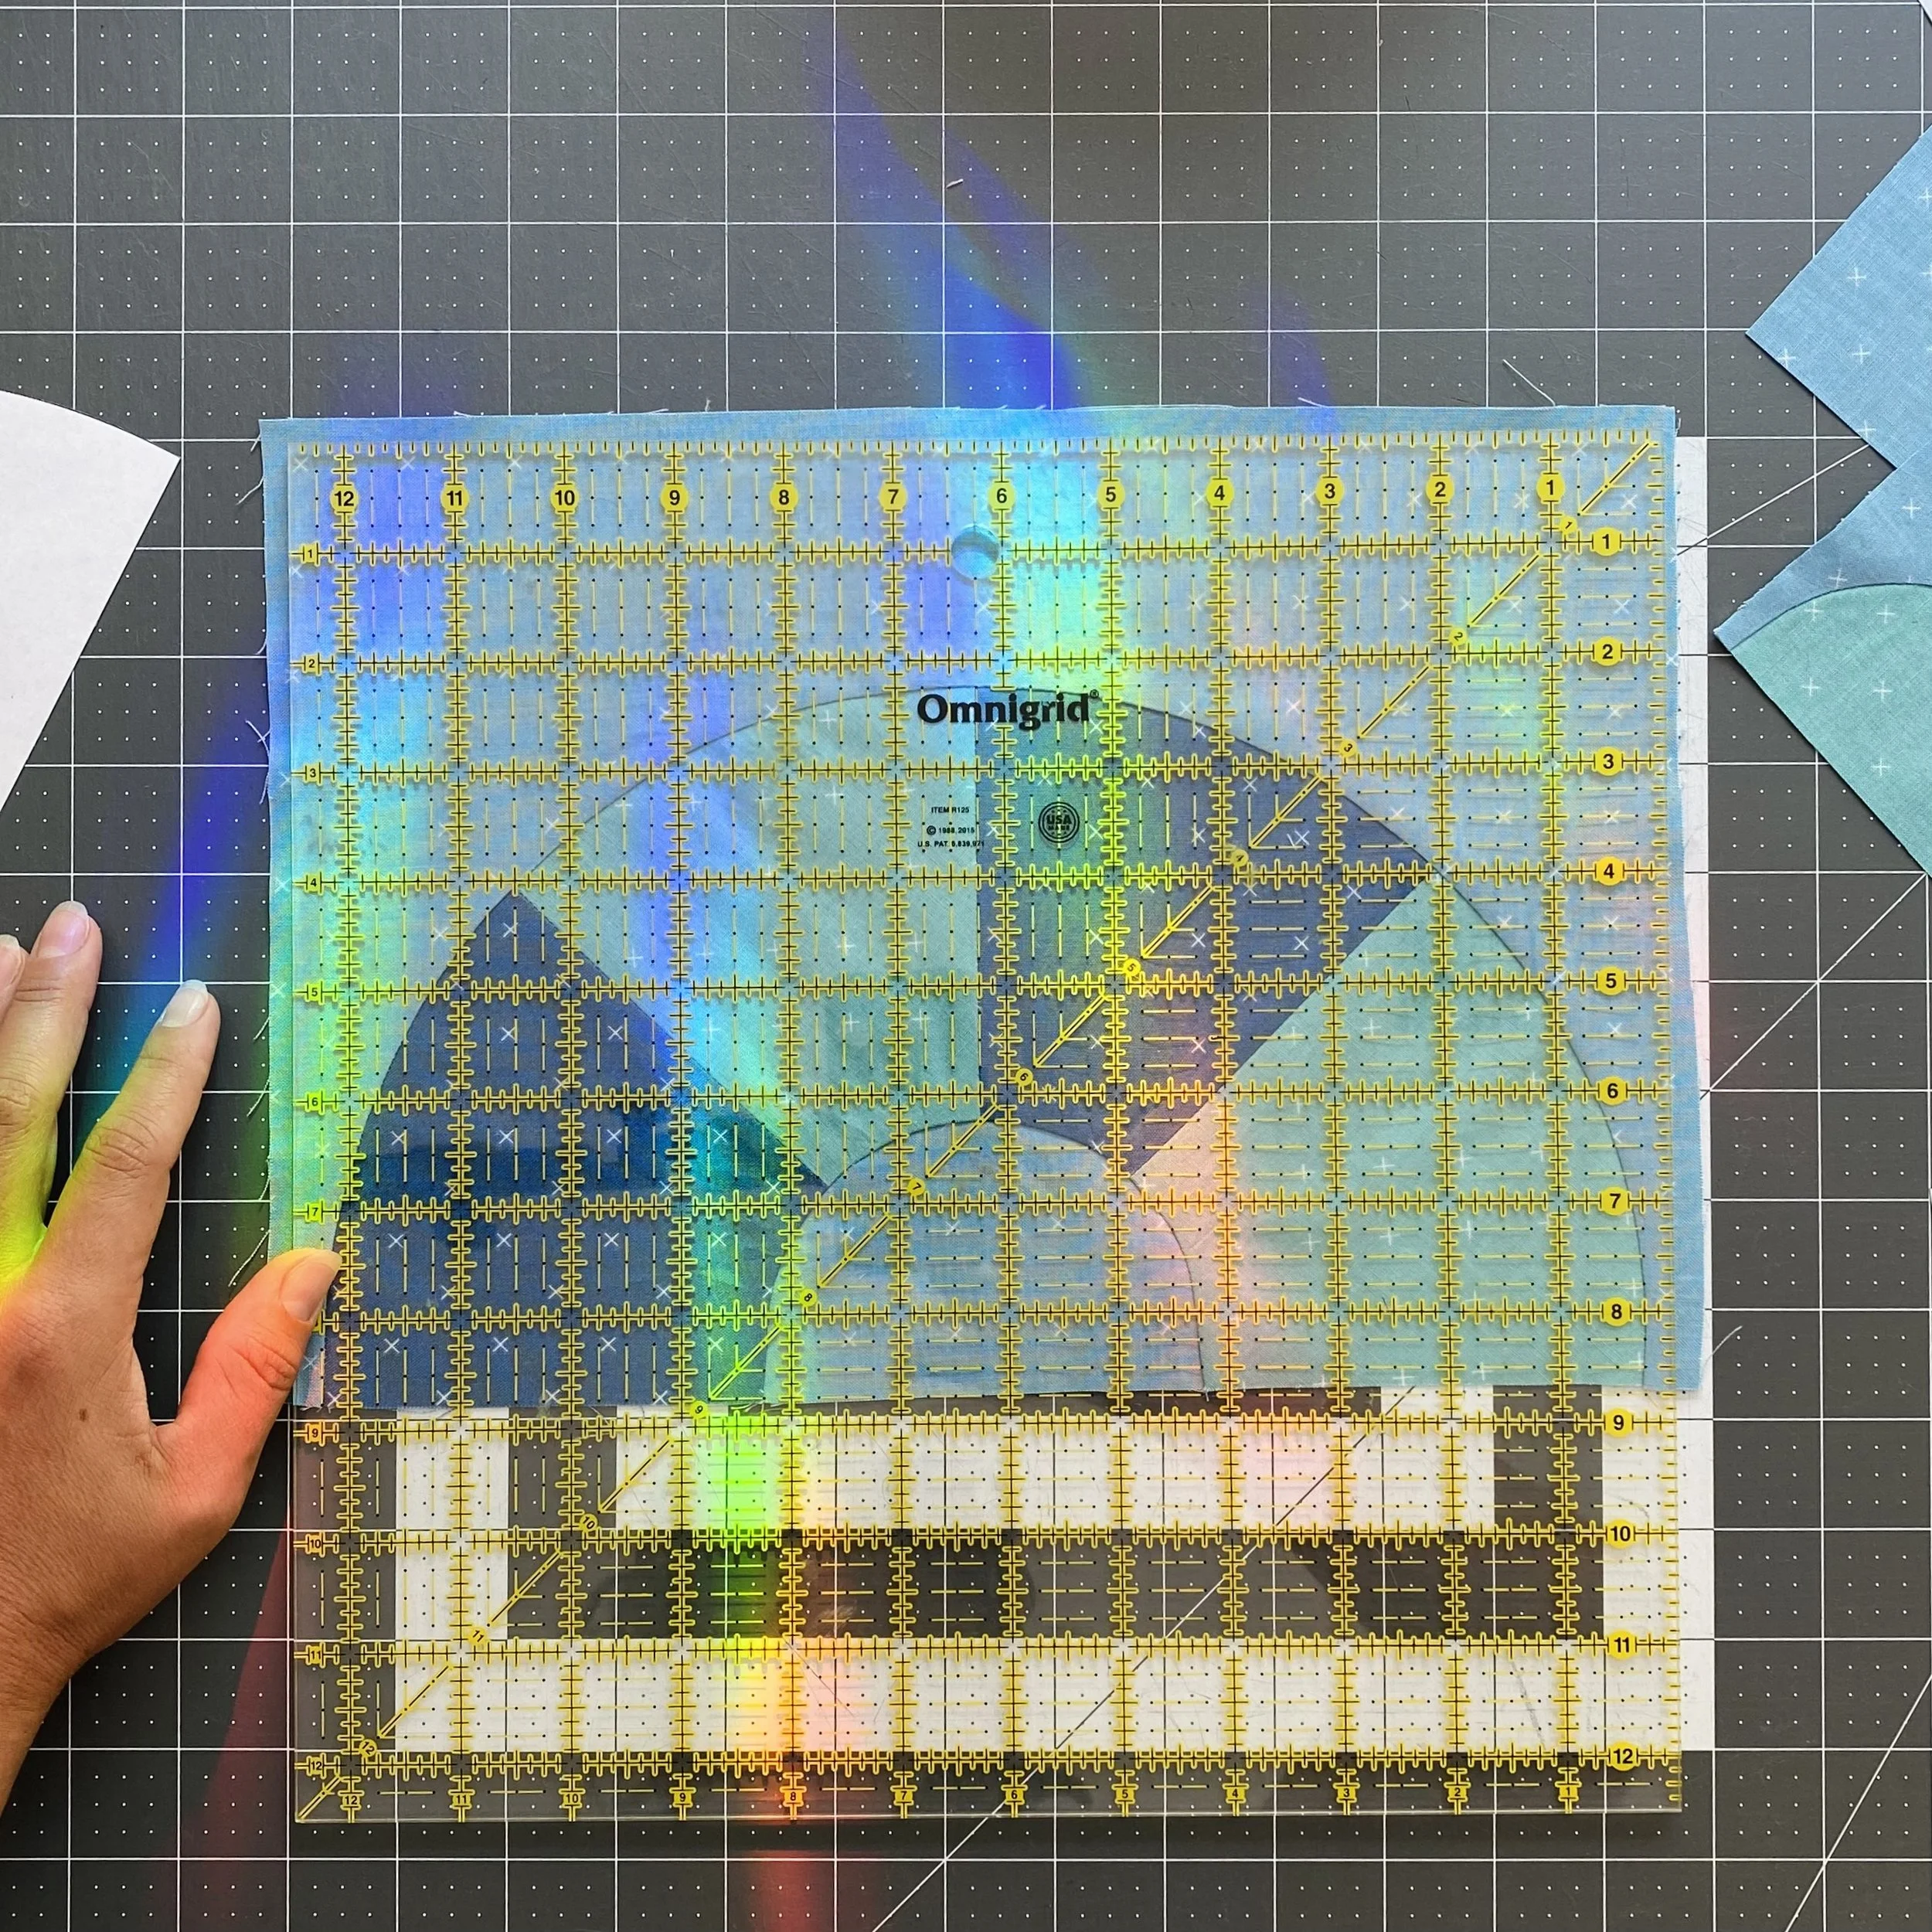
Now we get to trim this unit. Trimming from all 4 sides is required. Again, feel free to leave this under a heavy object for a while to really smush it down.
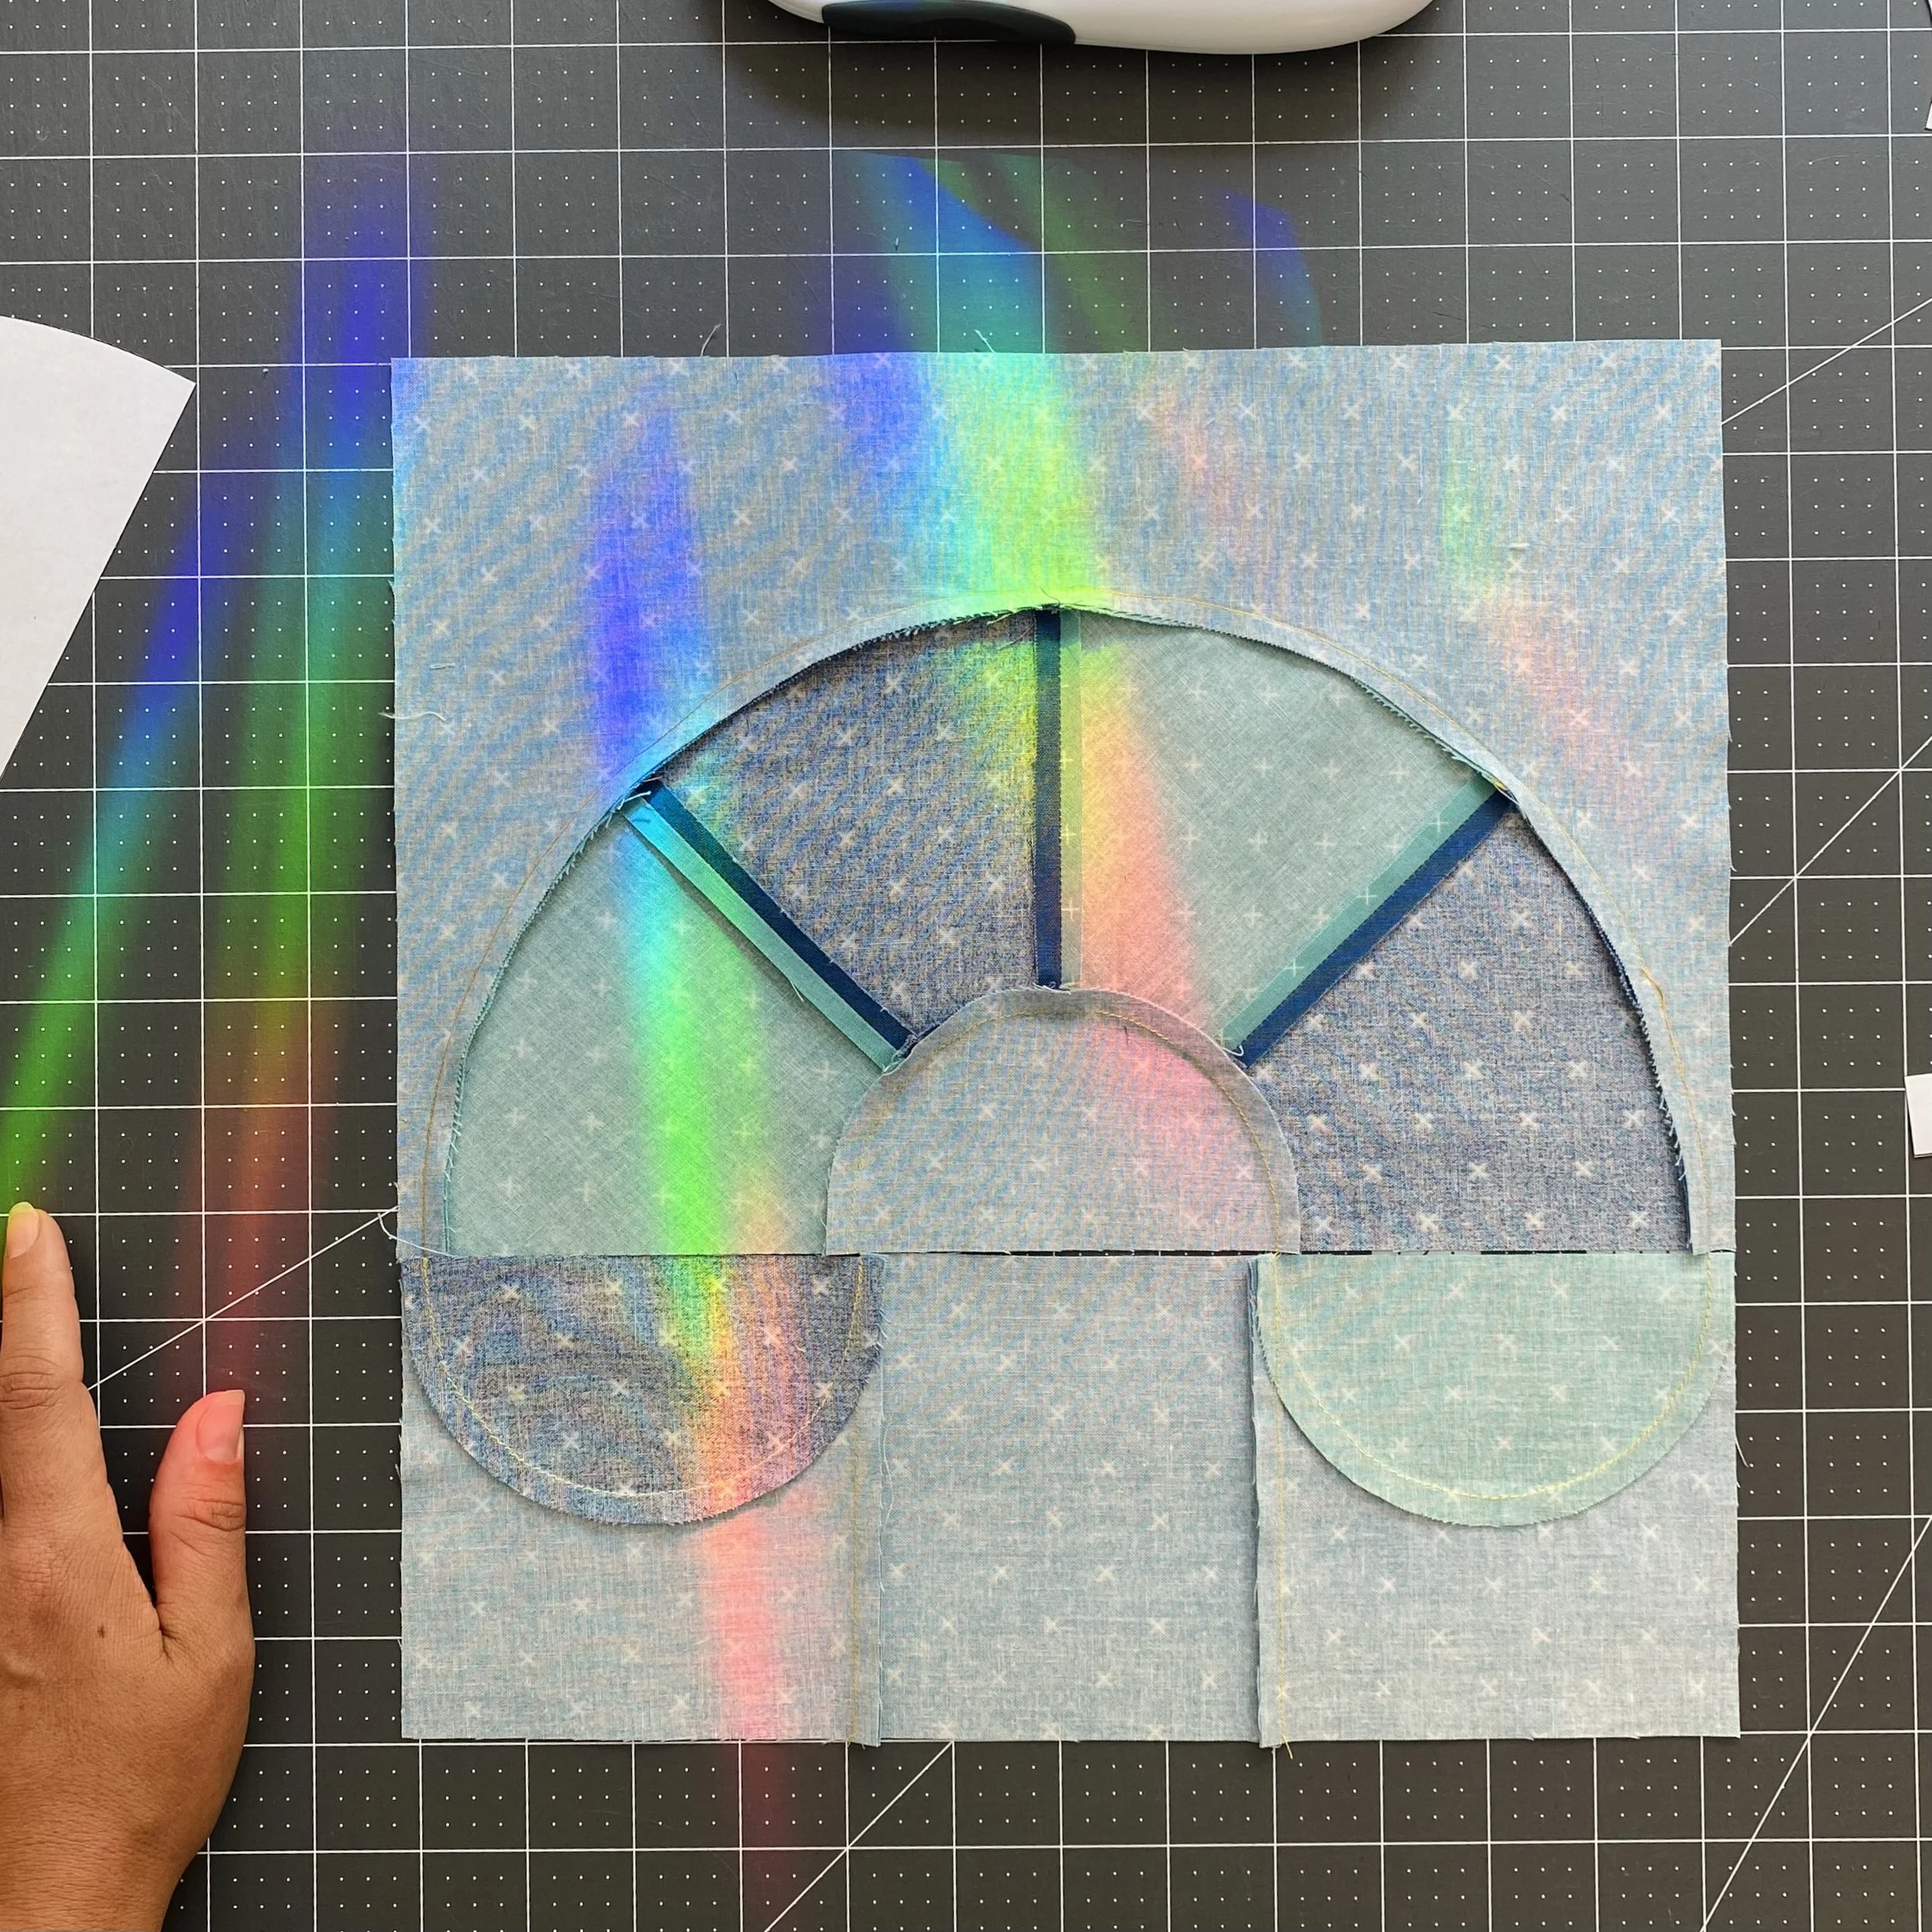
If you’ve followed all the pressing instructions, you’ll end up with these lovely nesting seams. I can’t tell you how happy my heart gets when I can nest my seams. I hope you feel the same way about the final block construction!
How about that block? I don’t know about you, but this block makes me want to grab a snack! Let me know how your block came together. Send me an email, or share your progress on Instagram with #learningcurvesbom and #cheesepuffquiltblock.