
Quilt Organization Tips: How to Stay Organized While Quilting
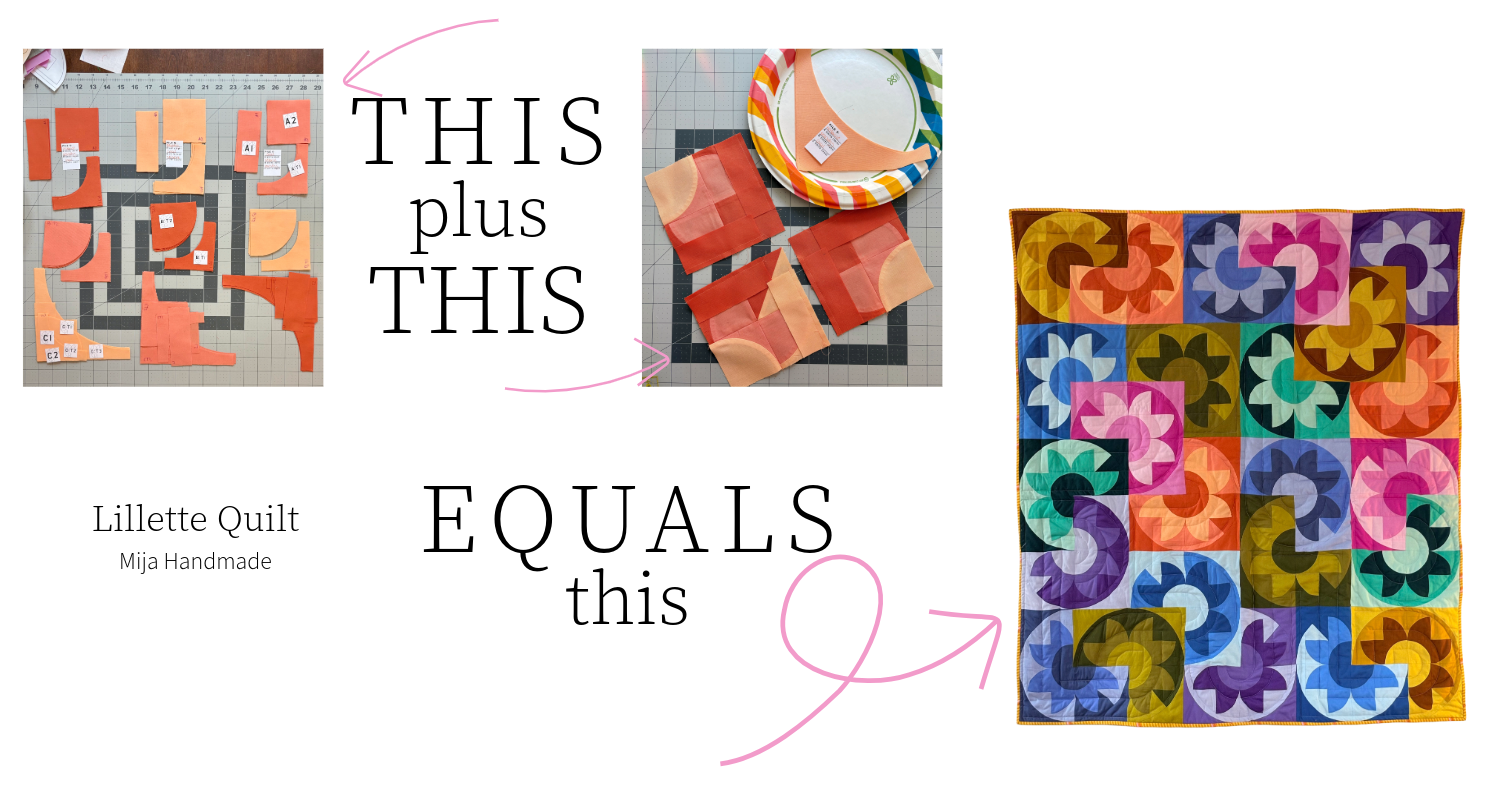
One thing I’ve noticed as my quilting skills have advanced and I write more intermediate patterns, is that it’s important for our quilting organization skills to advance as well. But the typical intermediate pattern doesn’t include intermediate tips for how to keep quilt blocks organized.
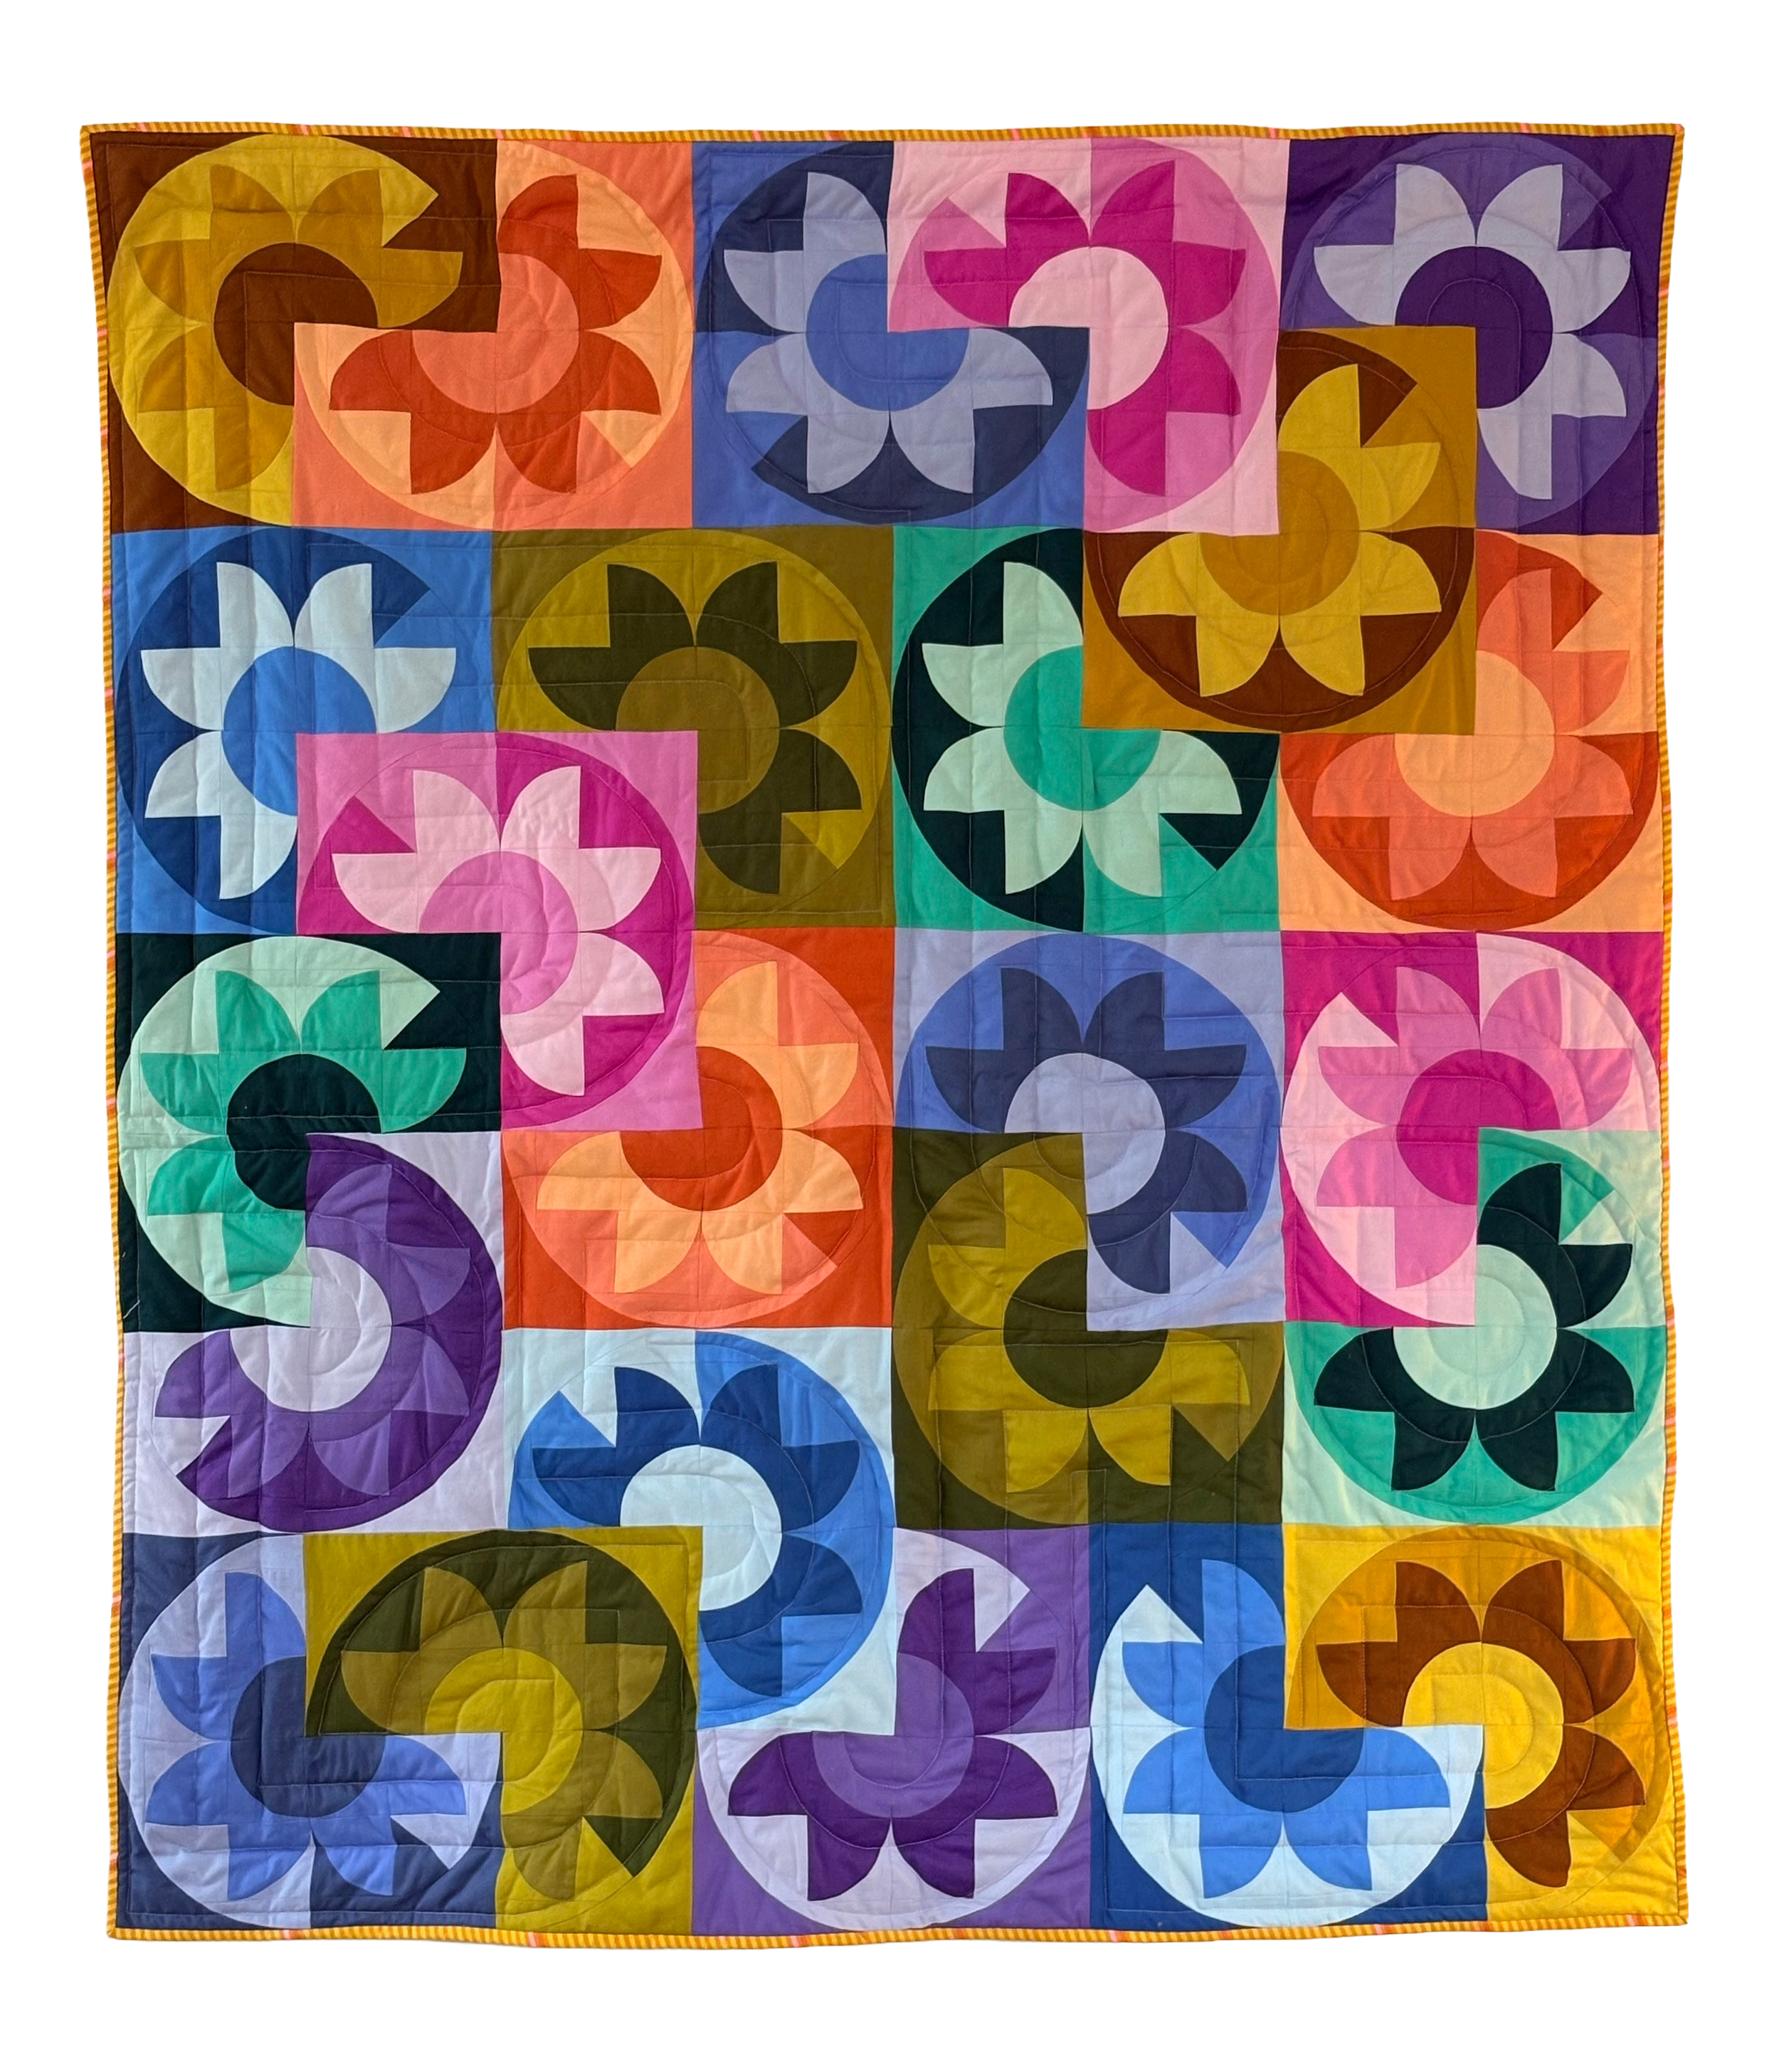
I want to change that! I want to share some of the quilt block management skills I’ve learned on my quilting journey. And I’ll show you how I put these into practice using the Lillette quilt pattern as an example.
My very first tip is that any quilter, of any skill, can tackle any project. All it takes is a dash of patience and confidence, and you can easily quilt your way through any pattern.
Let’s start with why the Lillette quilt pattern is rated as an intermediate pattern.
1) Lots of quarter circle curves.
In my dream quilting world, everyone would love sewing curves as much as I do. I mean, just look at the stunning design that simple quarter circle curves results in! But you don’t have to be a curve master before starting this pattern - even if you’ve sewn just a few curves before, you’ll be a master by the end of the pattern. Need a refresher? I’ve got a detailed blog post on sewing quarter circle curves.
2) Fabric selection
There is no background fabric in this quilt. In my experience, a background fabric can hide all sorts of fabric-pull sins. If your contrasting values don’t actually contrast, if you’ve picked hues that are too similar, if the scale of your prints is just off… ehhh who cares when you have a beautiful background fabric separating them. That’s not an option with this pattern. That’s why I have a whole blog post with fabric pull inspo, ready to go! If you haven’t already read it, make sure you check it out.
3) Organization
This pattern requires a strong ability to stay organized. I found myself a bit confused at times, and I wrote the dang pattern. So over the course of testing, I added lots of organizational tools, references and diagrams to the pattern to help keep everything sorted. Including this blog post! I’ve got lots to share about how to stay organized, so keep reading for all my tips and tricks for staying organized while making an intermediate quilt pattern.
1) Cut only a few fabrics at a time
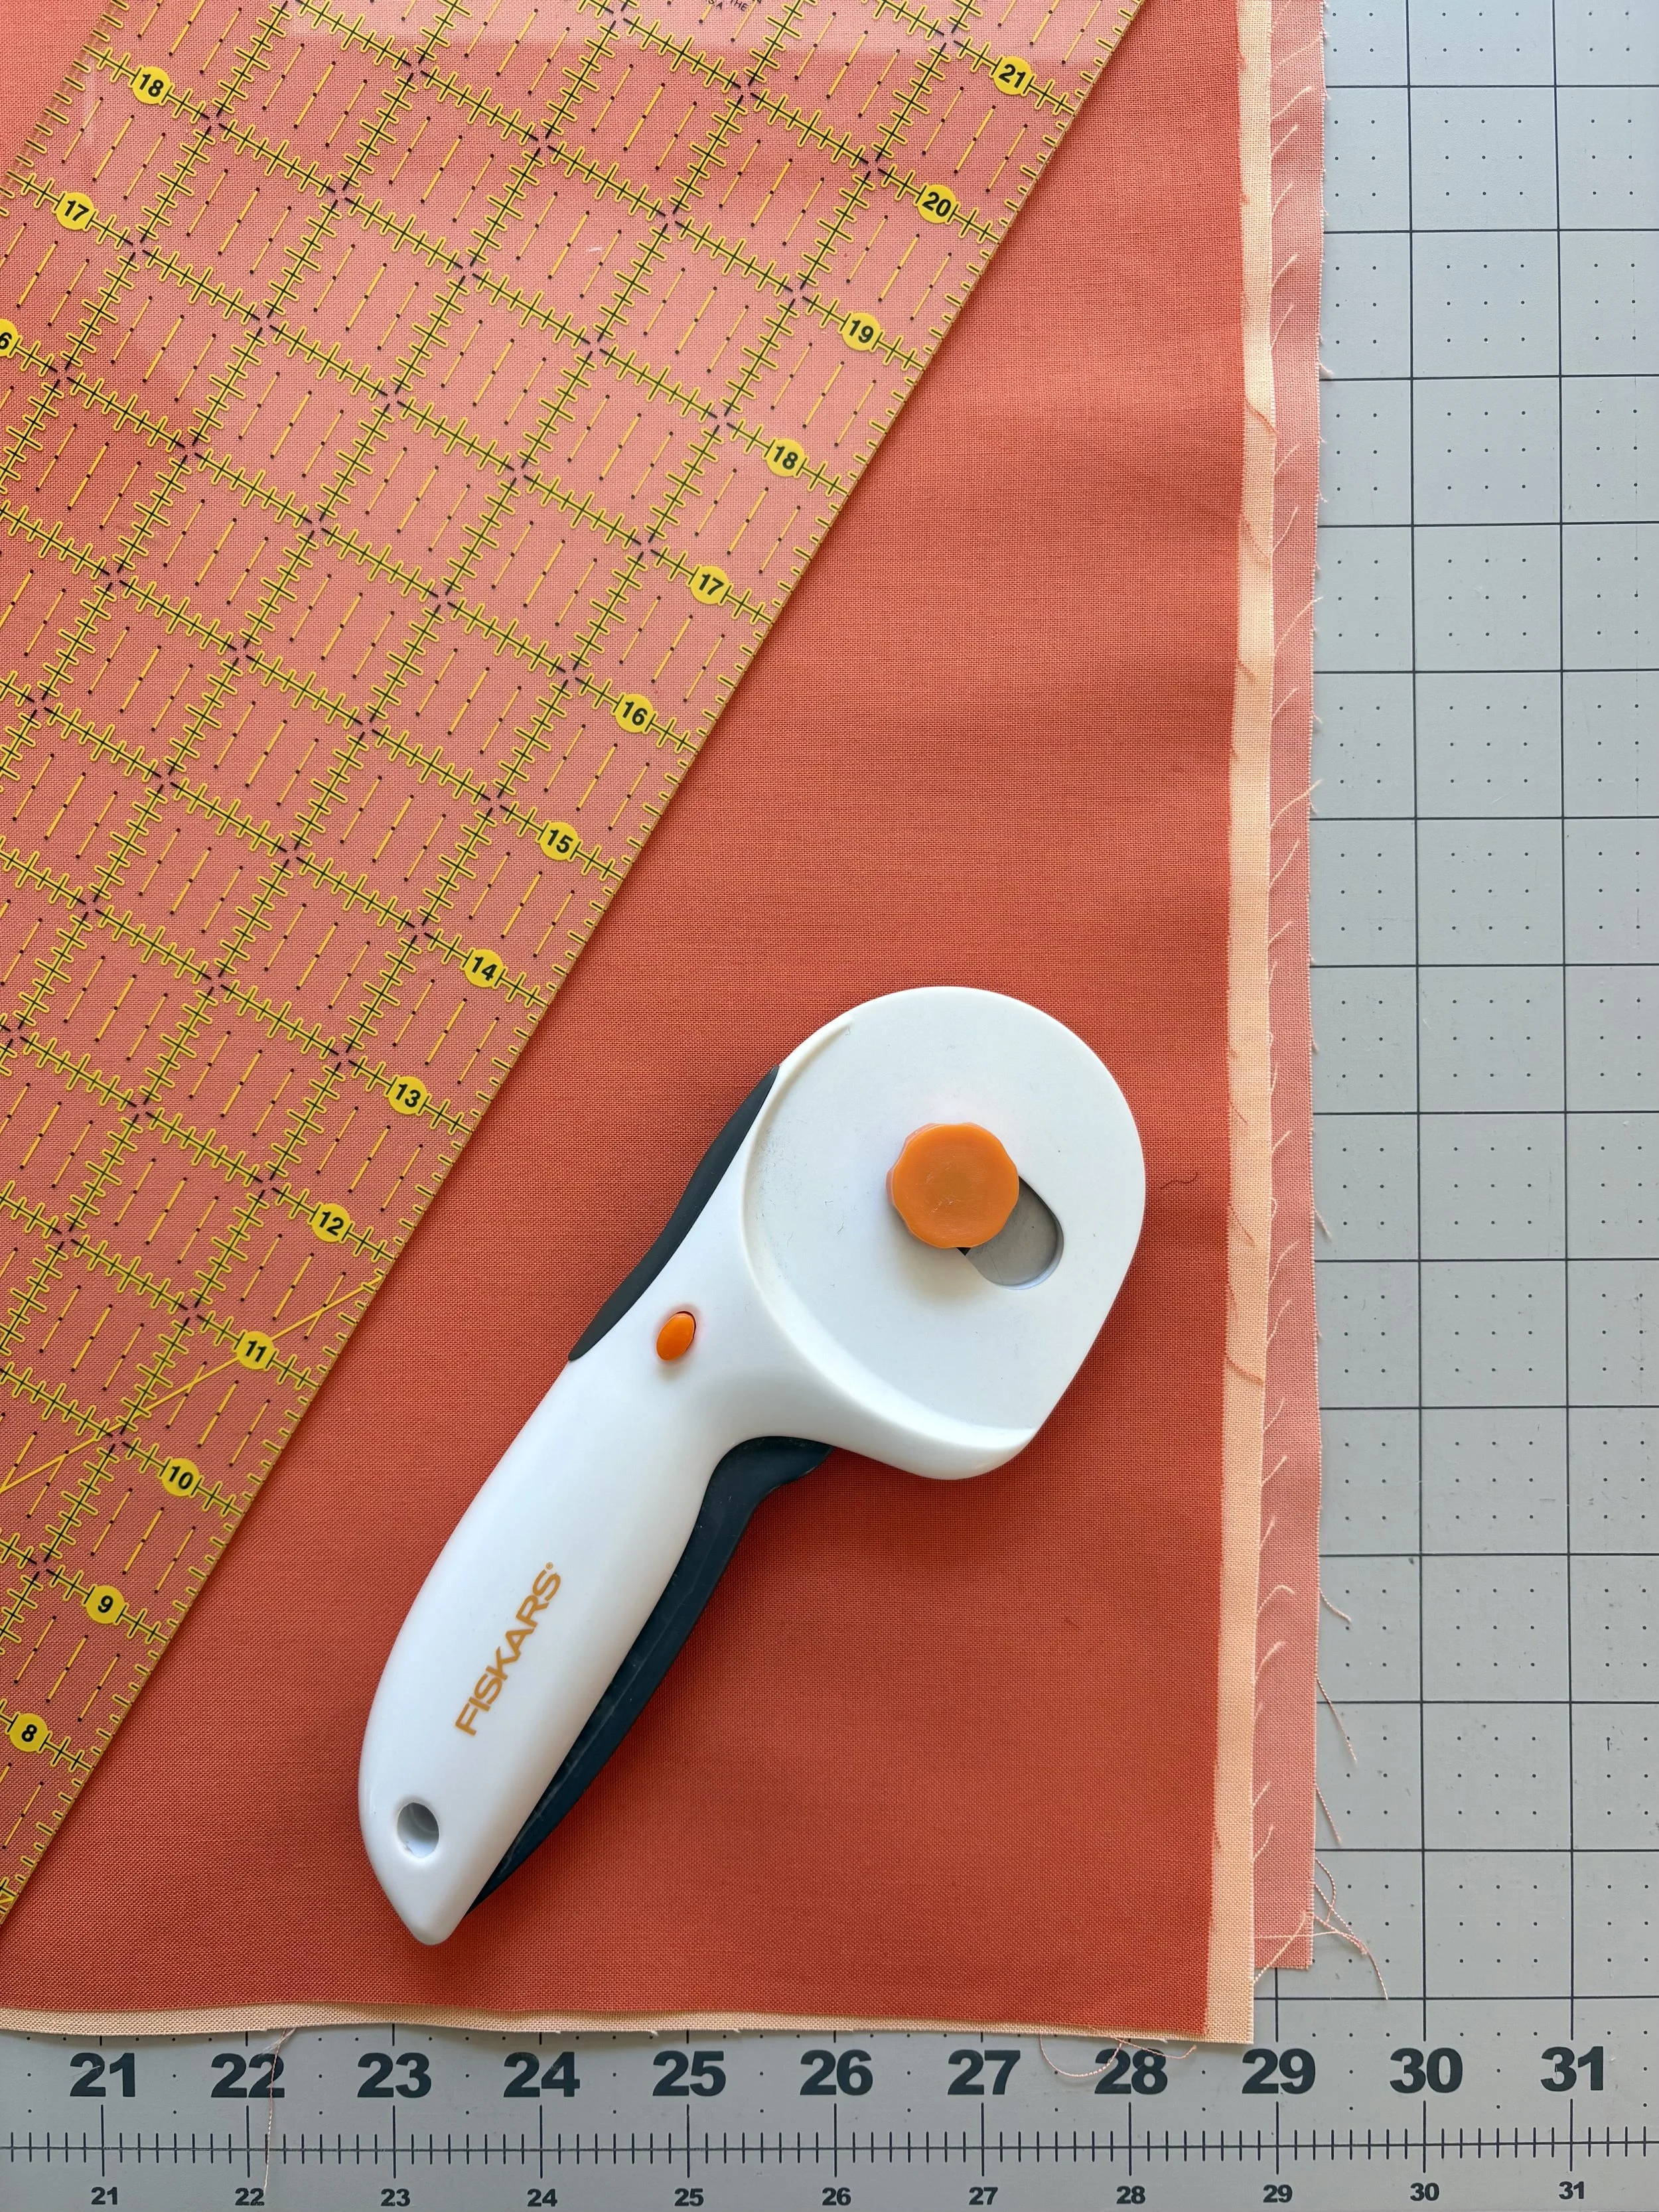
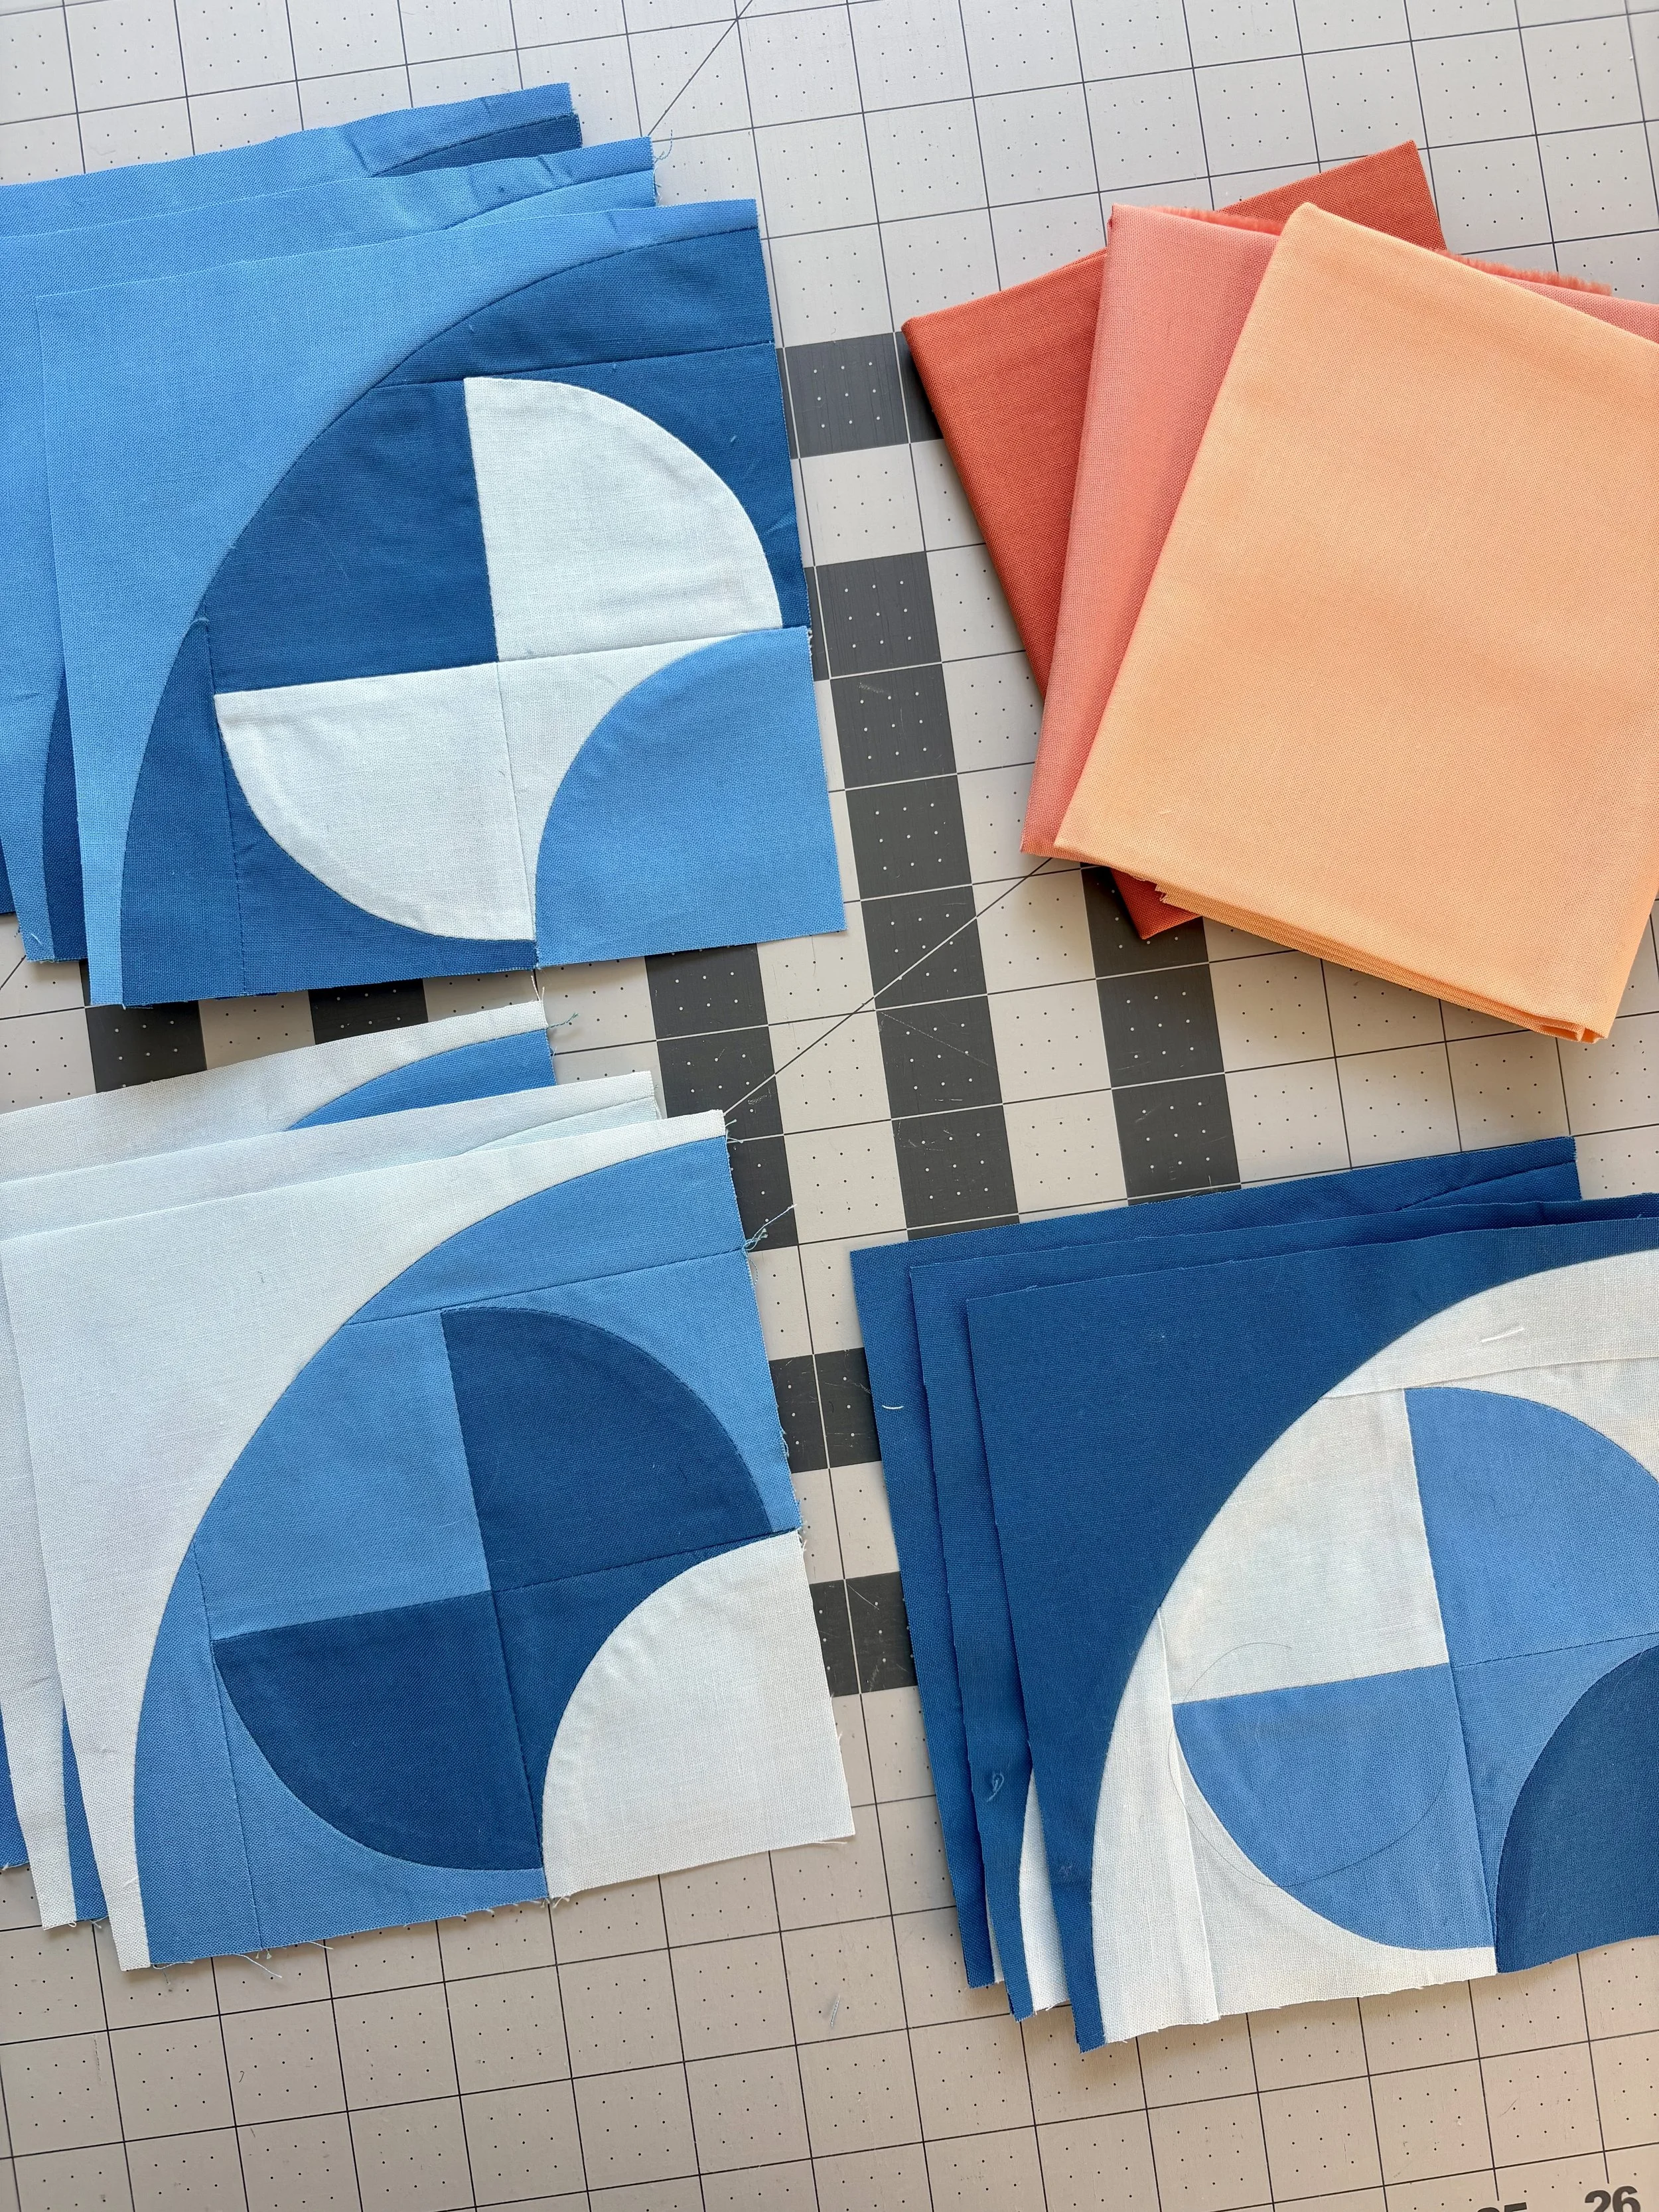
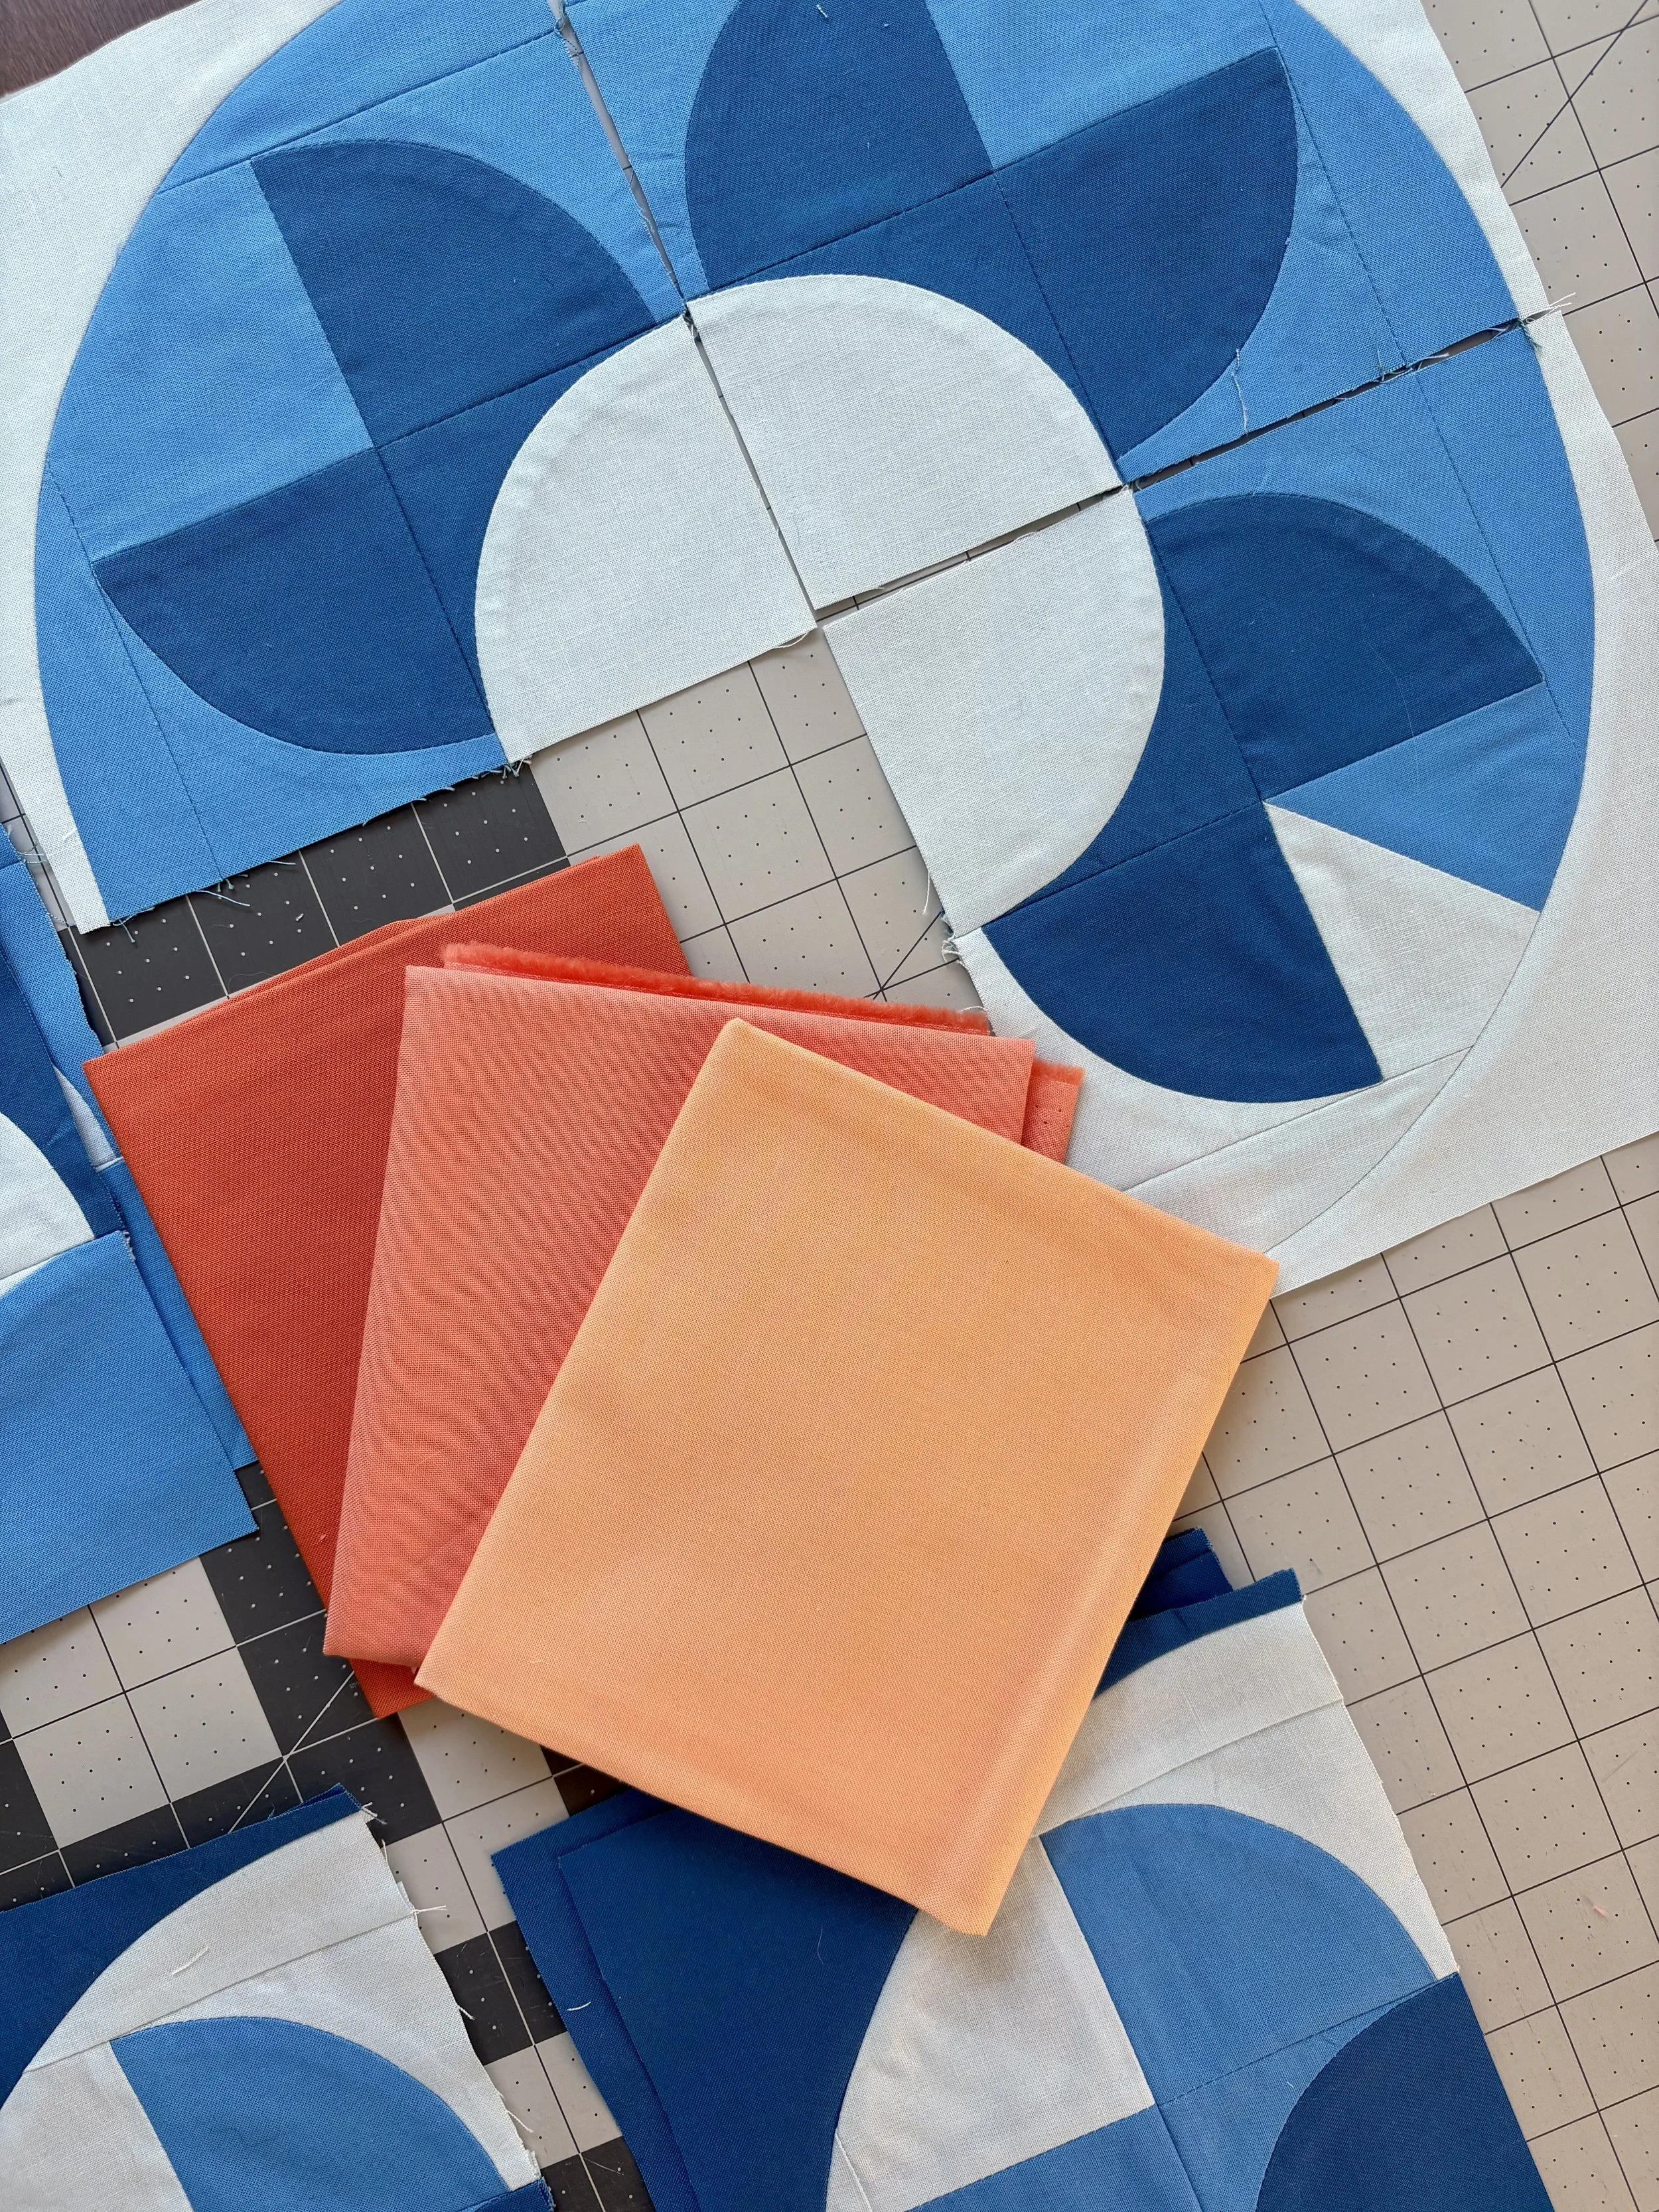
In the Lillette quilt, you’ll notice that the three L-shaped flower motifs will use the same fabrics, but in different places of the block. Like lots of intermediate quilt patterns, this means you might get confused while piecing.
To minimize confusion, I suggest only cutting three fabrics at a time, then sew up all these blocks before cutting into the next set of fabrics. In these pictures, you can see that I’ve laid out three FQs. I’ll cut these three at the same time, making sure to use a fresh blade to cleanly slice through all the multiple layers of fabric.
Not only does this help you stay organized, it allows you to treat the first block as a test block. Any mistakes you make in this first block can be avoided in the next block!
2) Smart labeling
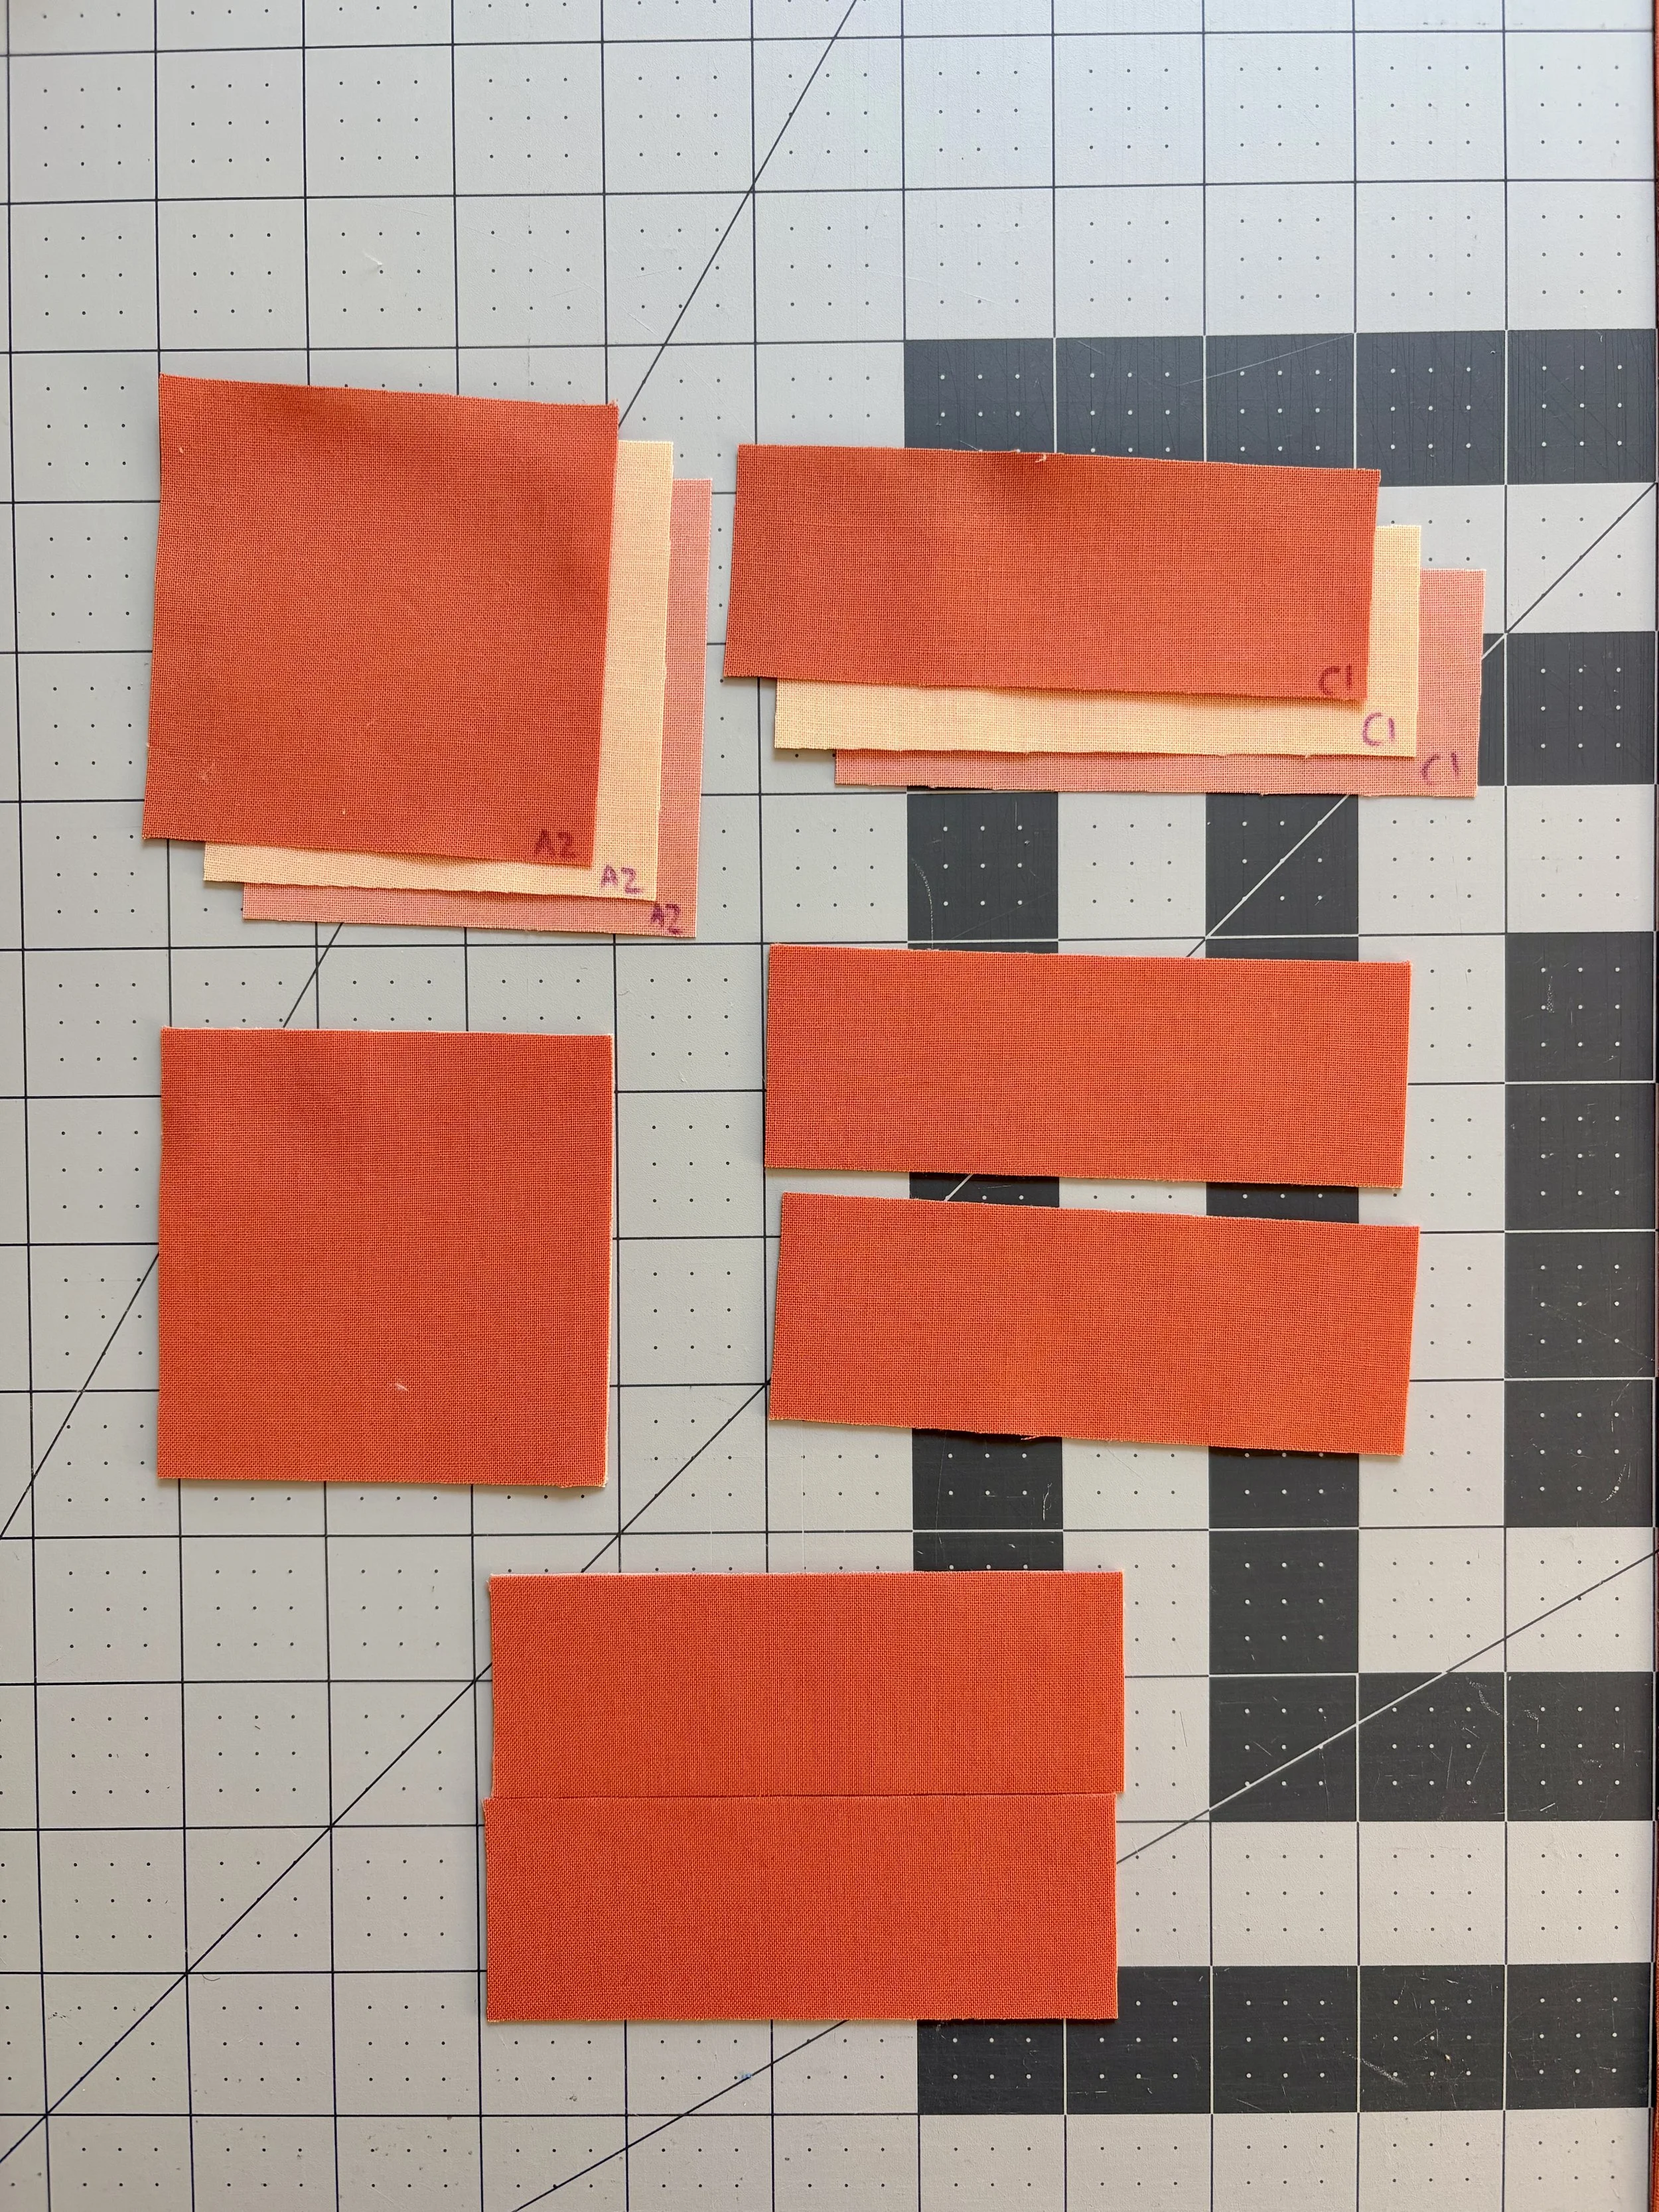
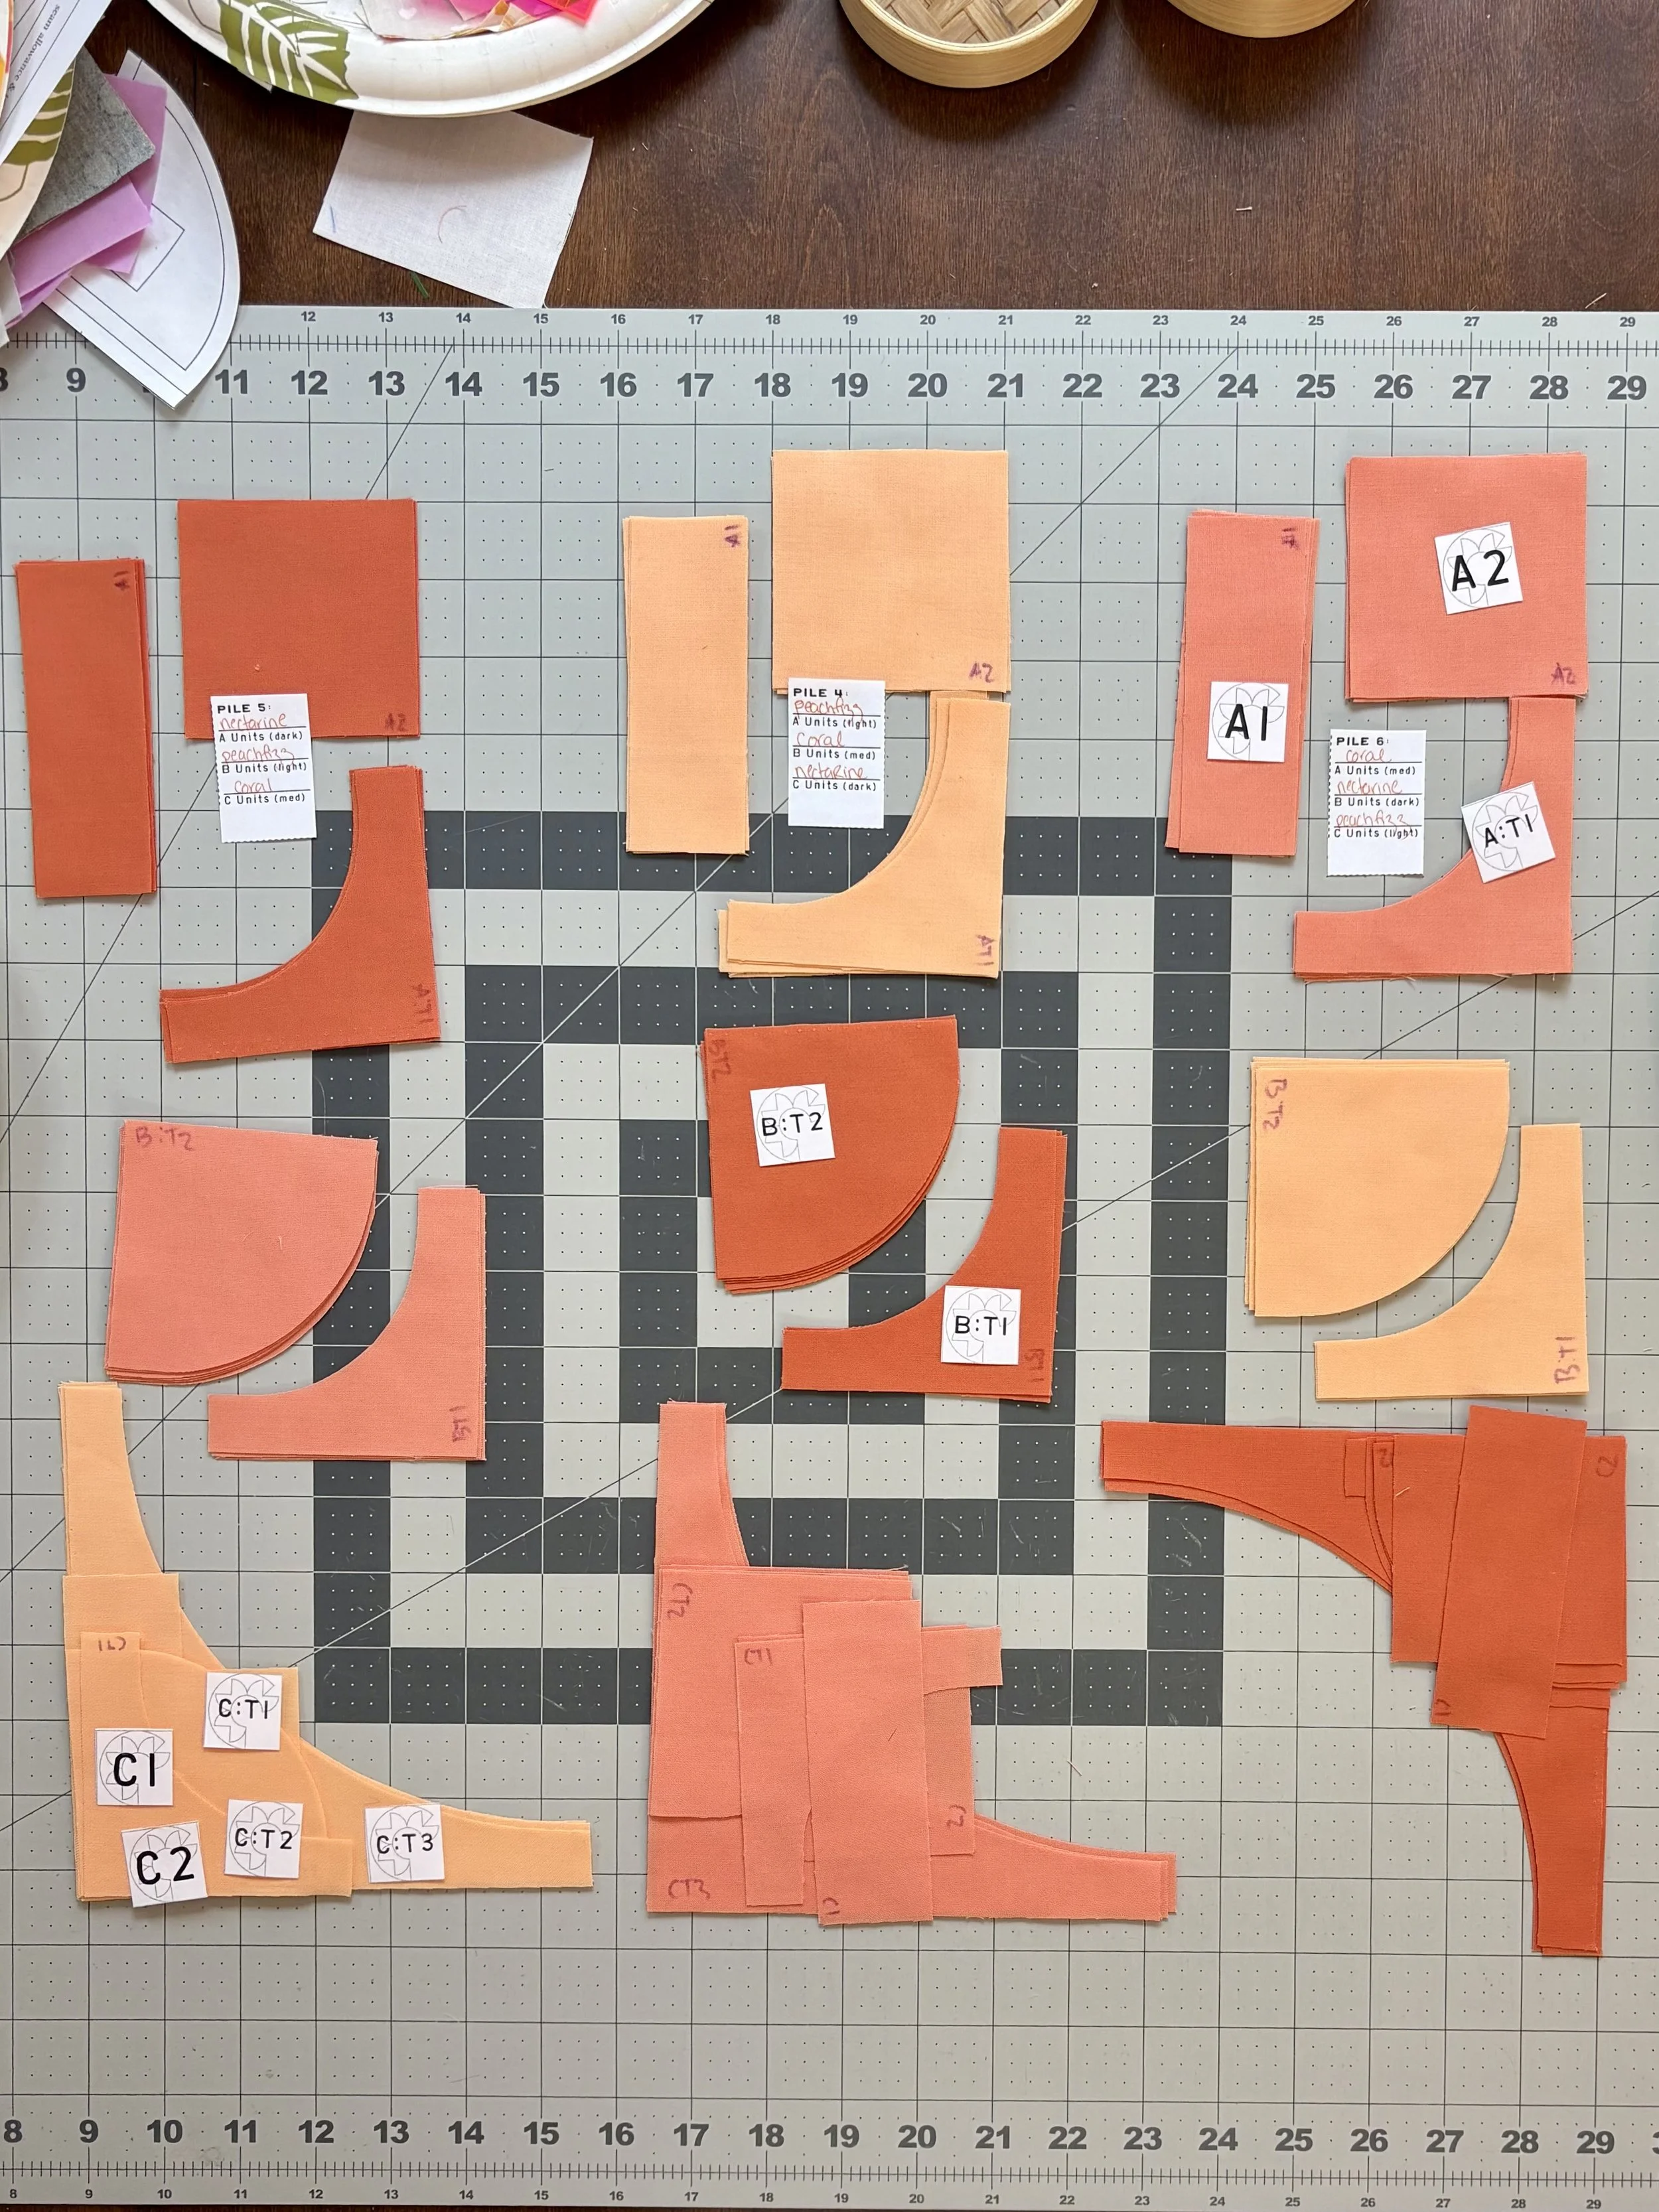
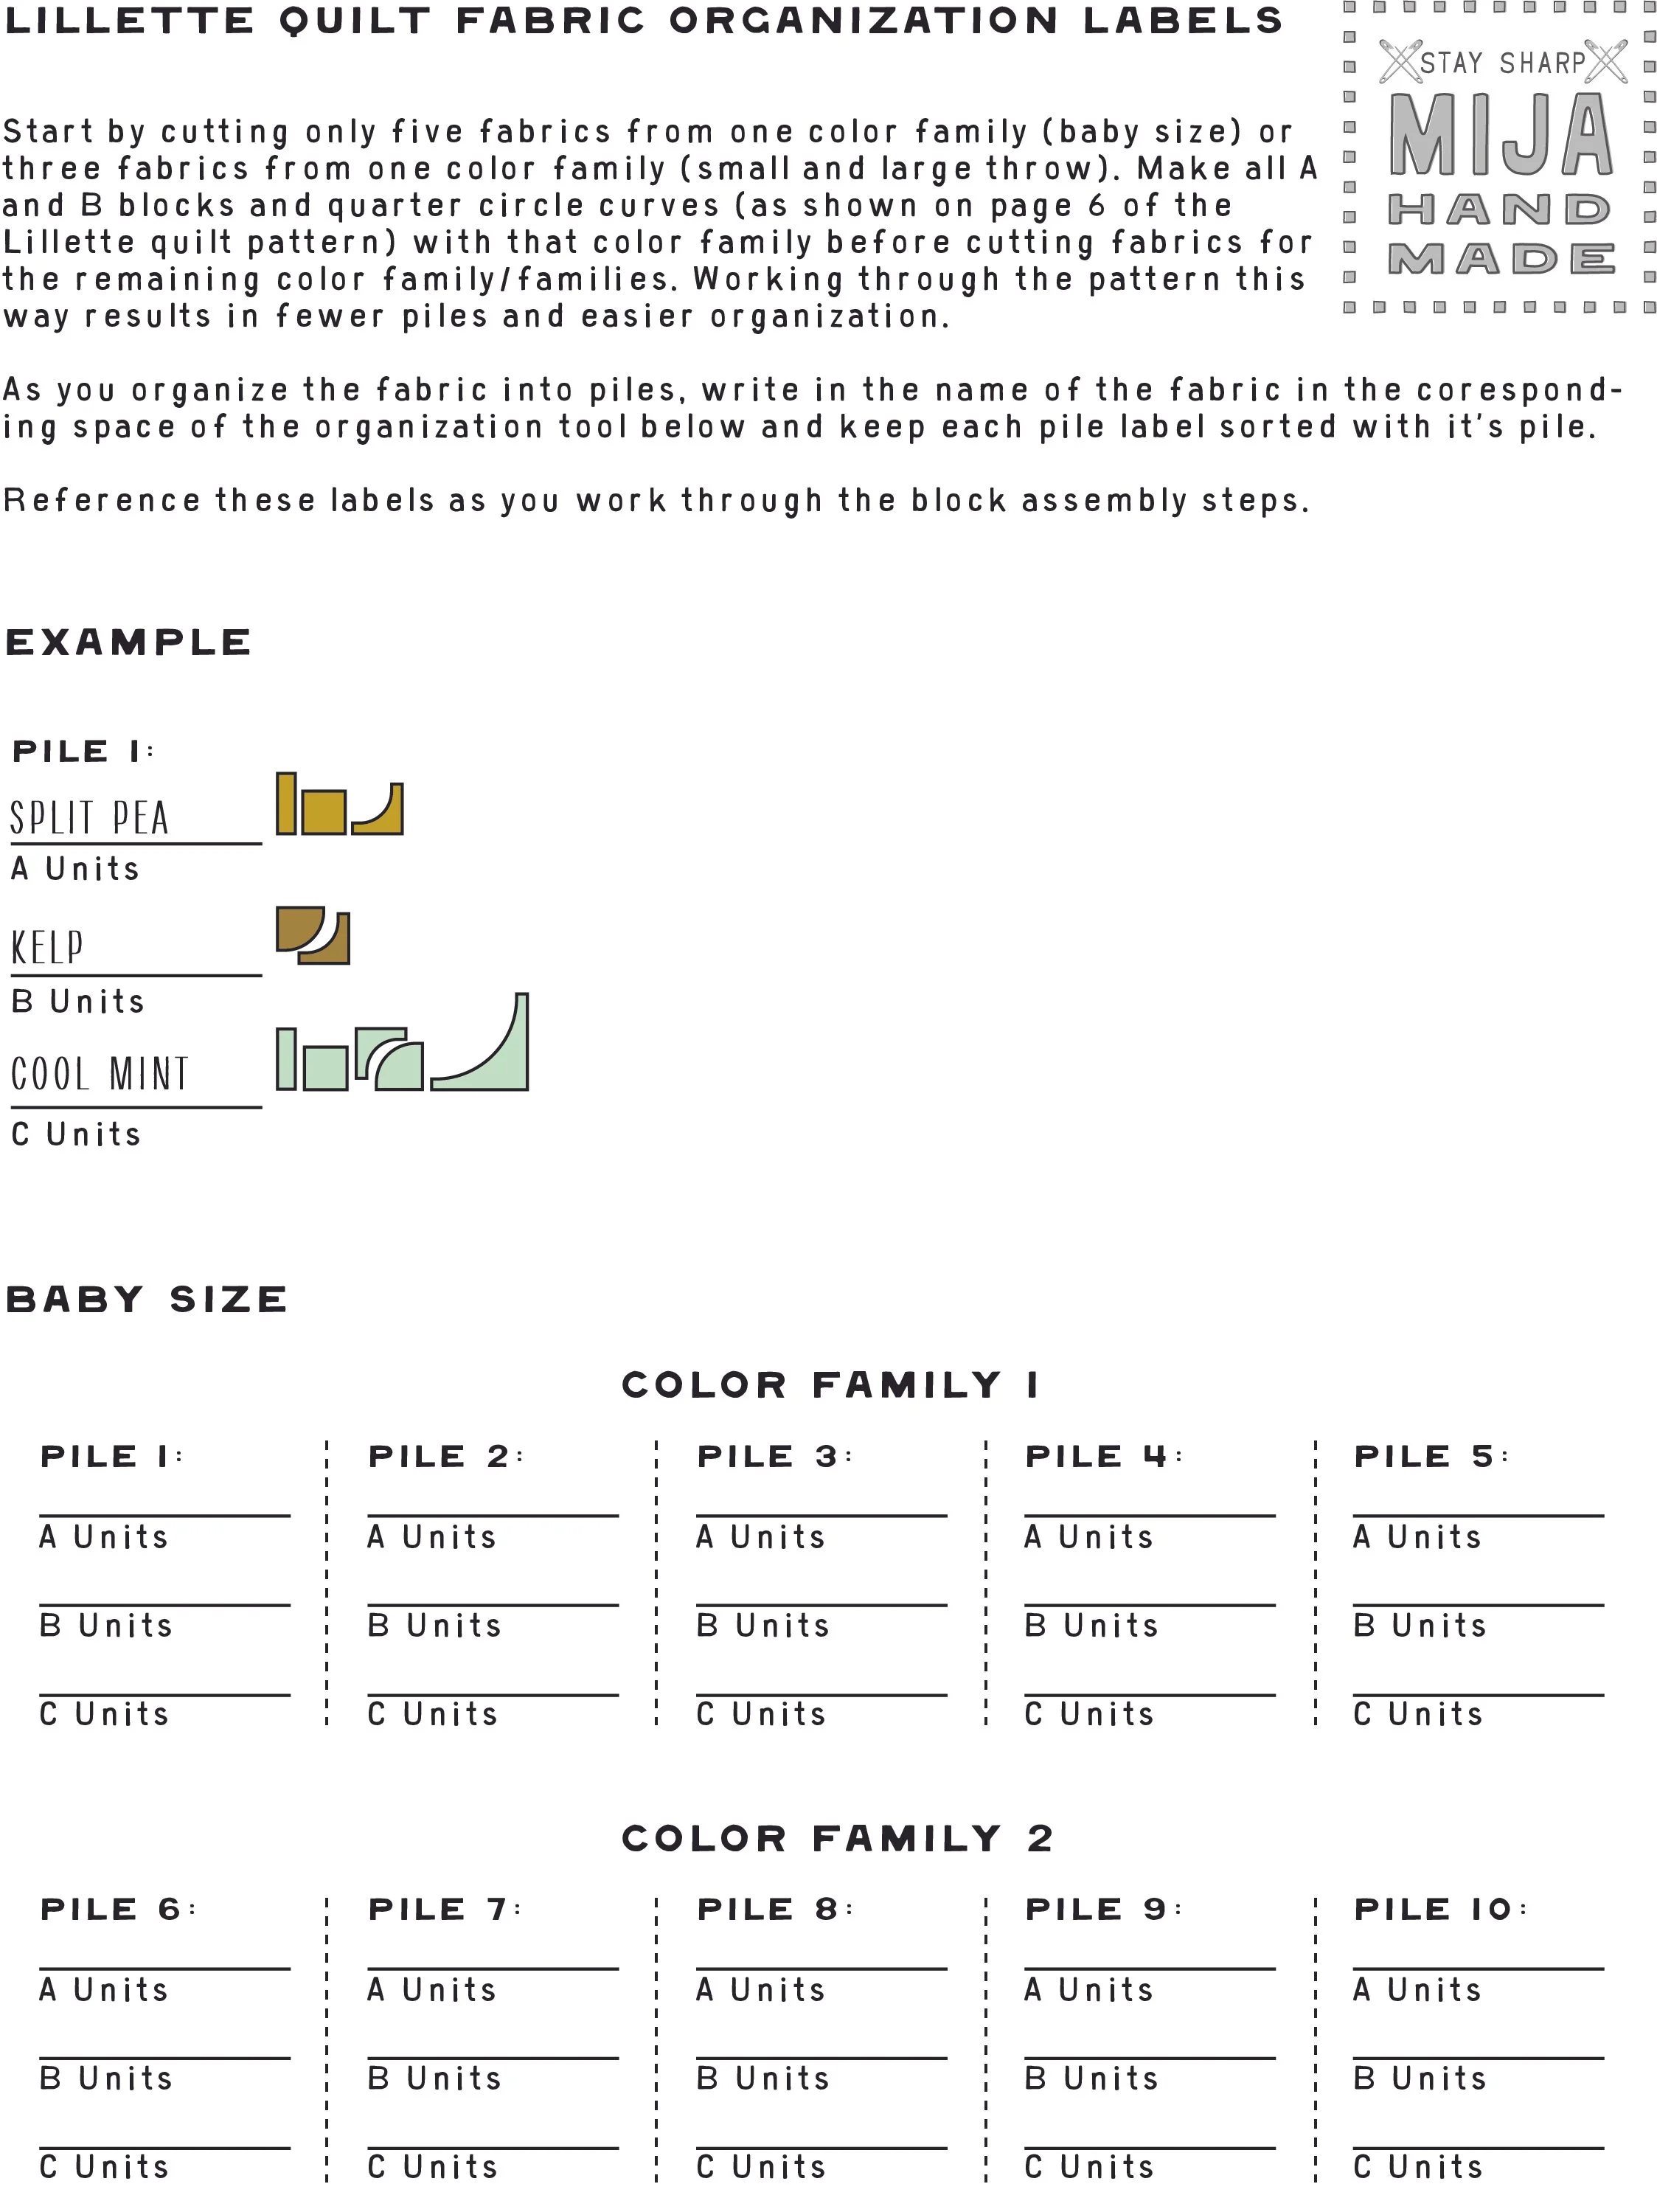
Many quilt patterns, regardless of the skill level, will include labels for keeping track of quilt pieces. The Lillette quilt also includes a worksheet to keep track of the color families that are used across the quilt top. In addition to using the labels and worksheet, I like to use a disappearing pen to write the unit label in the corner of the cut pieces. Make sure to keep the ink inside the seam allowance.
3) Organize your blocks with paper plates
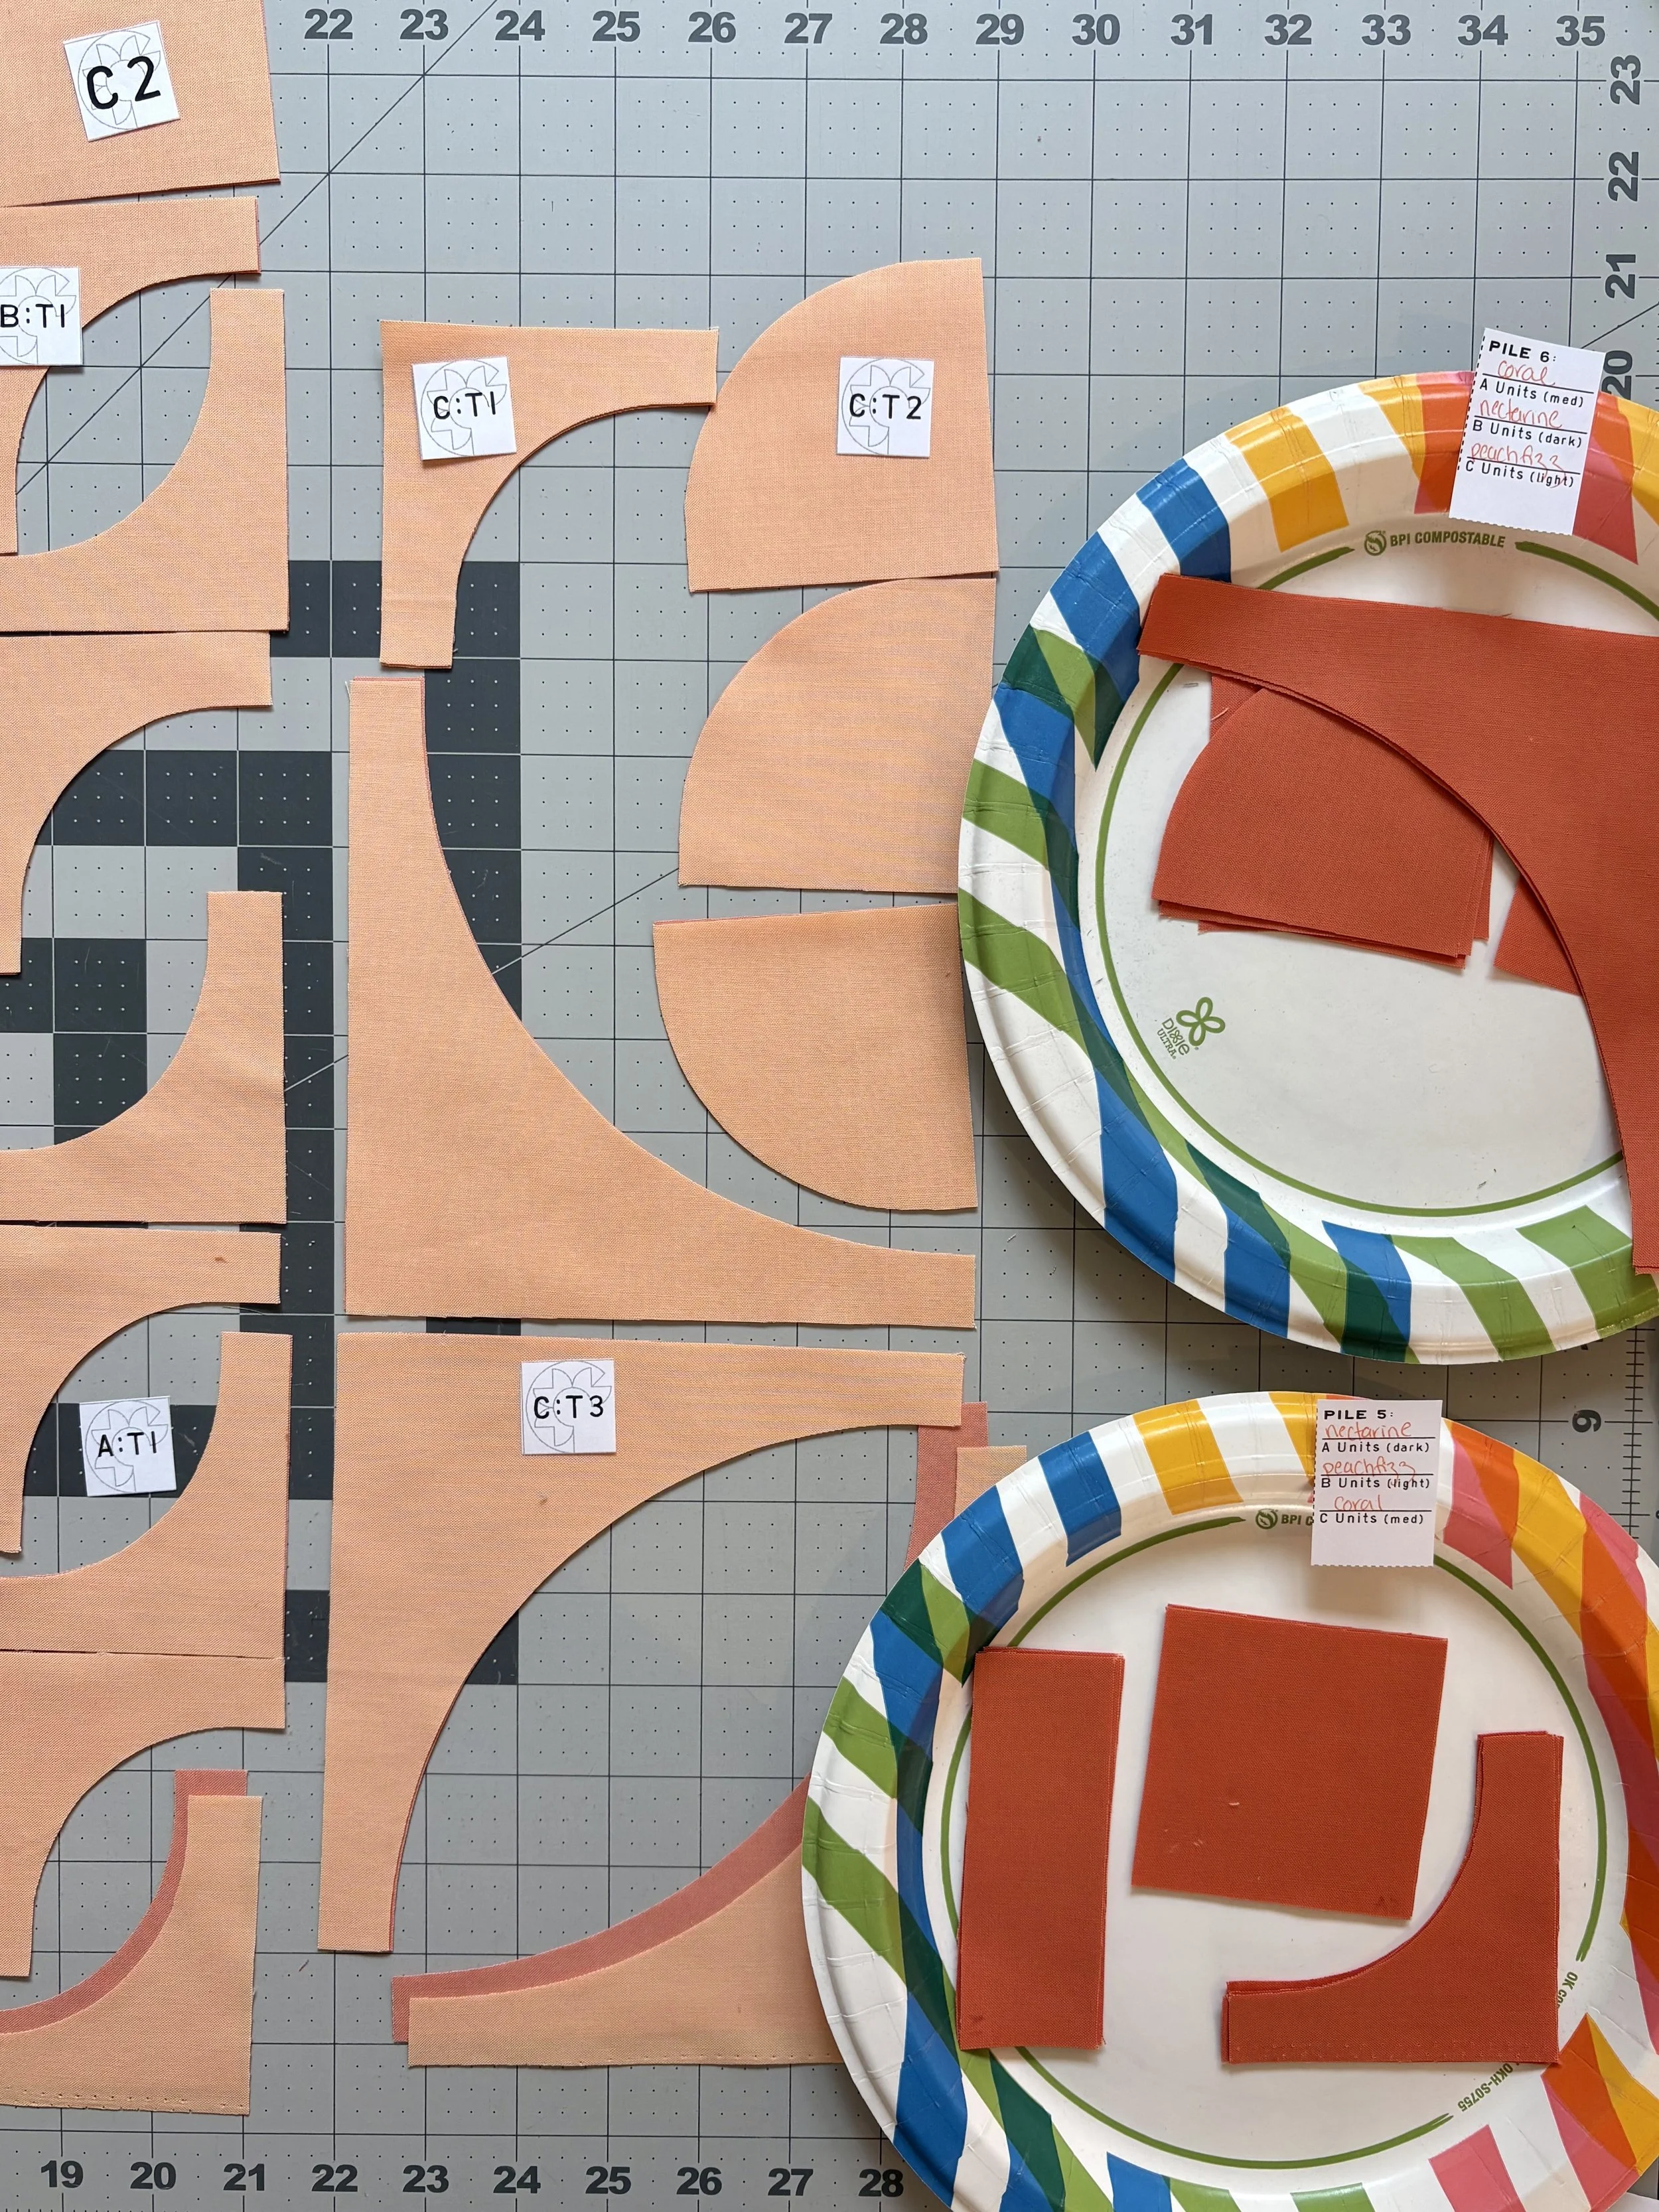
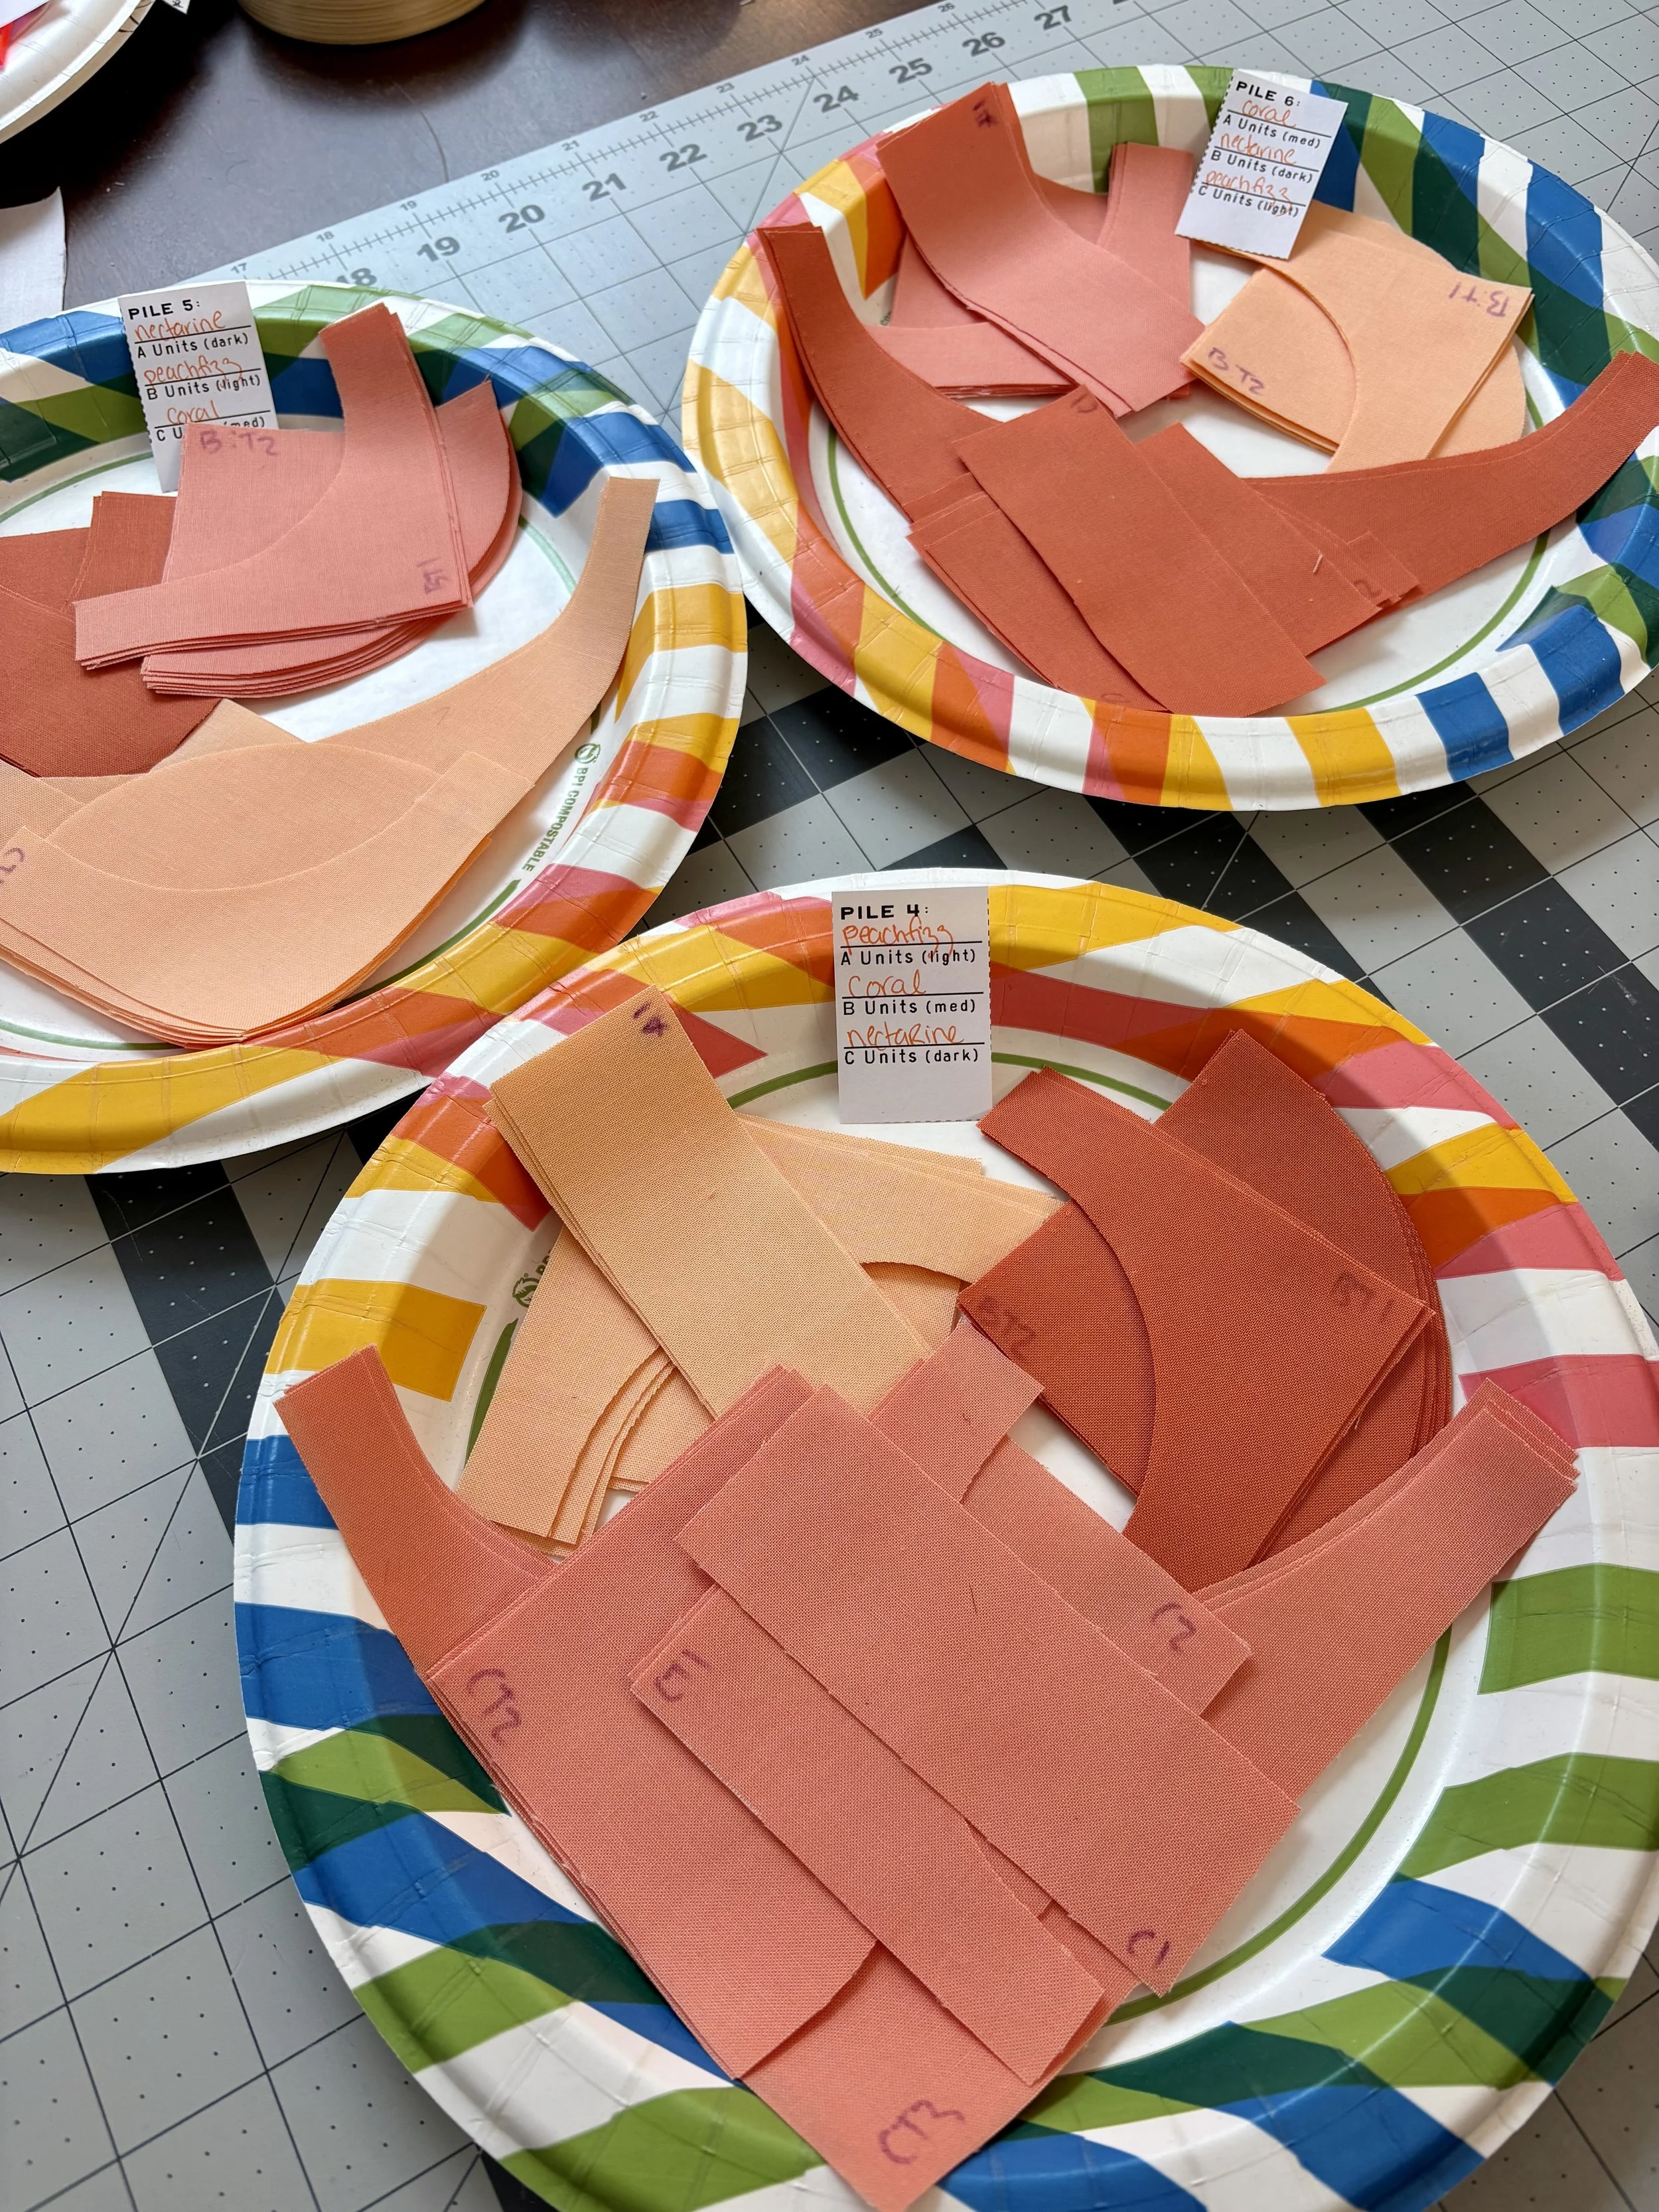
Keeping your quilt blocks organized is a major key to success for intermediate quilt patterns. Especially with a quilt like Lillette, when it matters where you use each fabric in the block. That’s why I’ve included a detailed guide on how to build piles of fabric that will be used in each L-shaped flower motif. My biggest tip for your quilt management is to use paper plates to keep each pile of fabric together.
This way, I can sew from one plate at a time, and keep all sub-units collected in their little plates as I move through the pattern. I’ll make all Block A and Block B units from one plate before moving on to the next plate.
4) Pressing directions actually matter
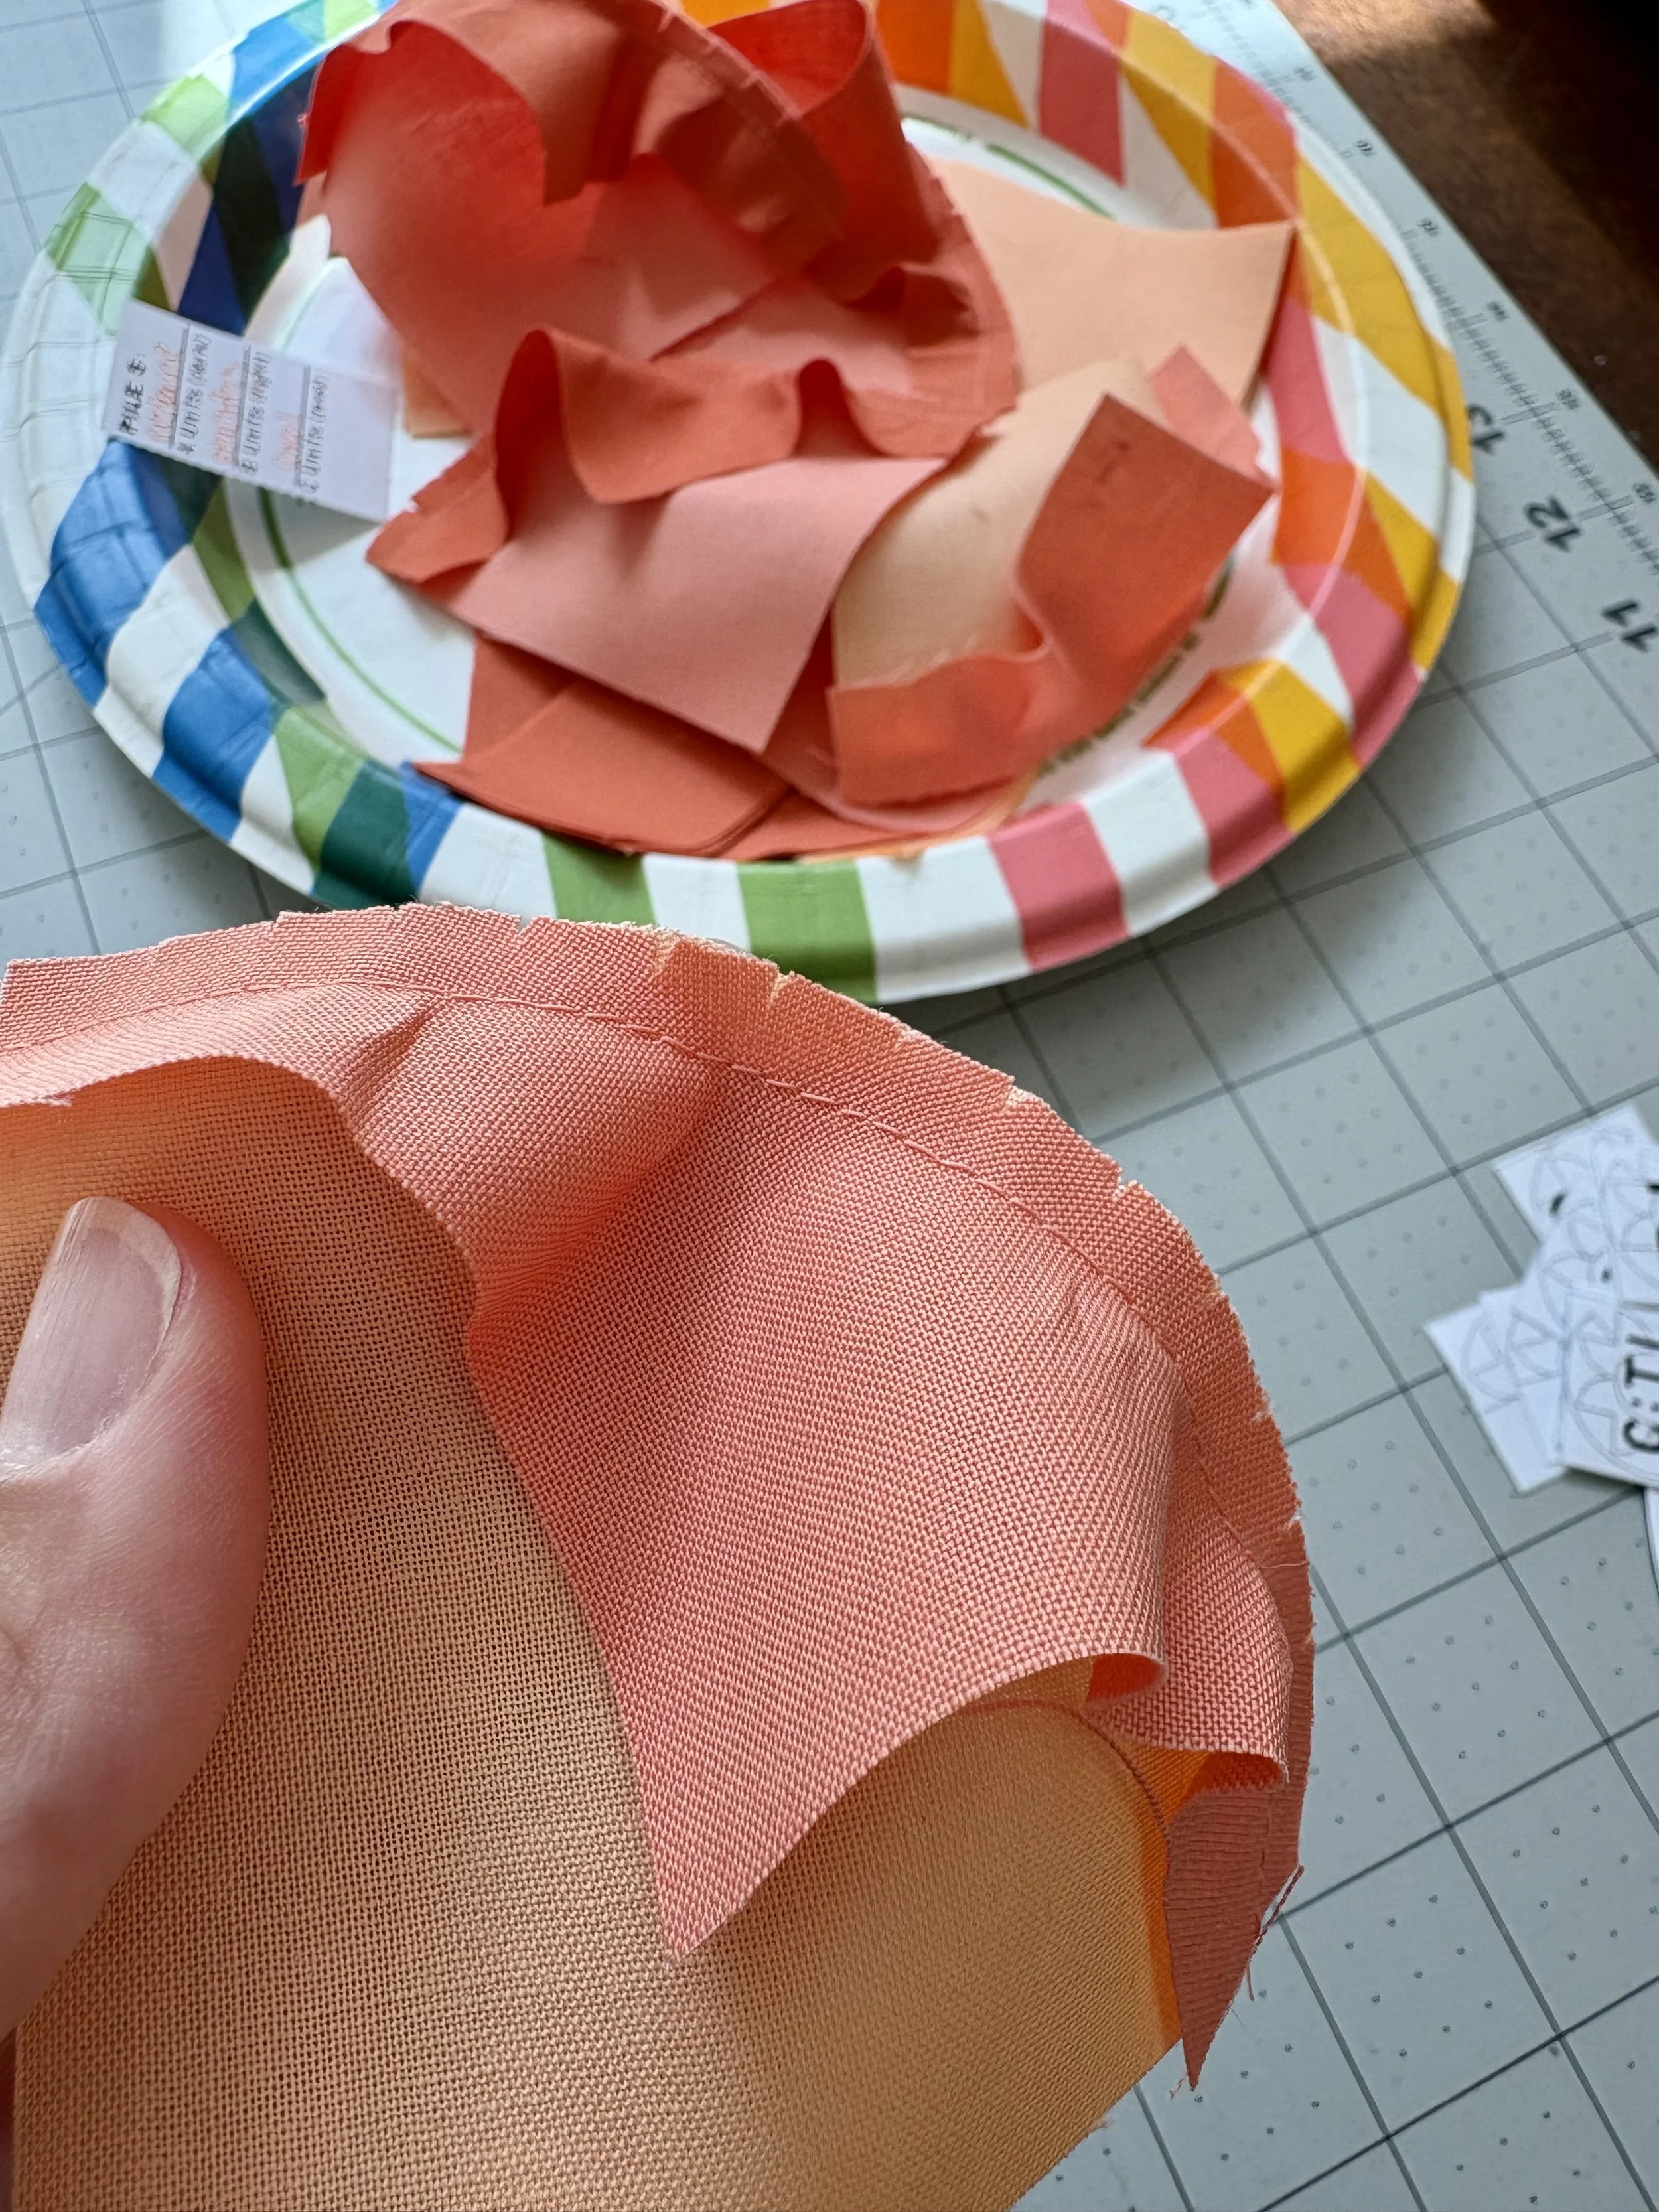
You would think this tip is a bit more of a sewing tip than an organization tip, but pressing seams appropriately is a very important part of successfully planning for an intermediate quilt pattern. You’ll notice that in the Lillette quilt, the petals of the flower motifs are made up of small quarter curves. If you press all these seams outwards, you’ll end up with some bulky seam intersections. Planning ahead for your seams can make or break the accuracy of your quilt.
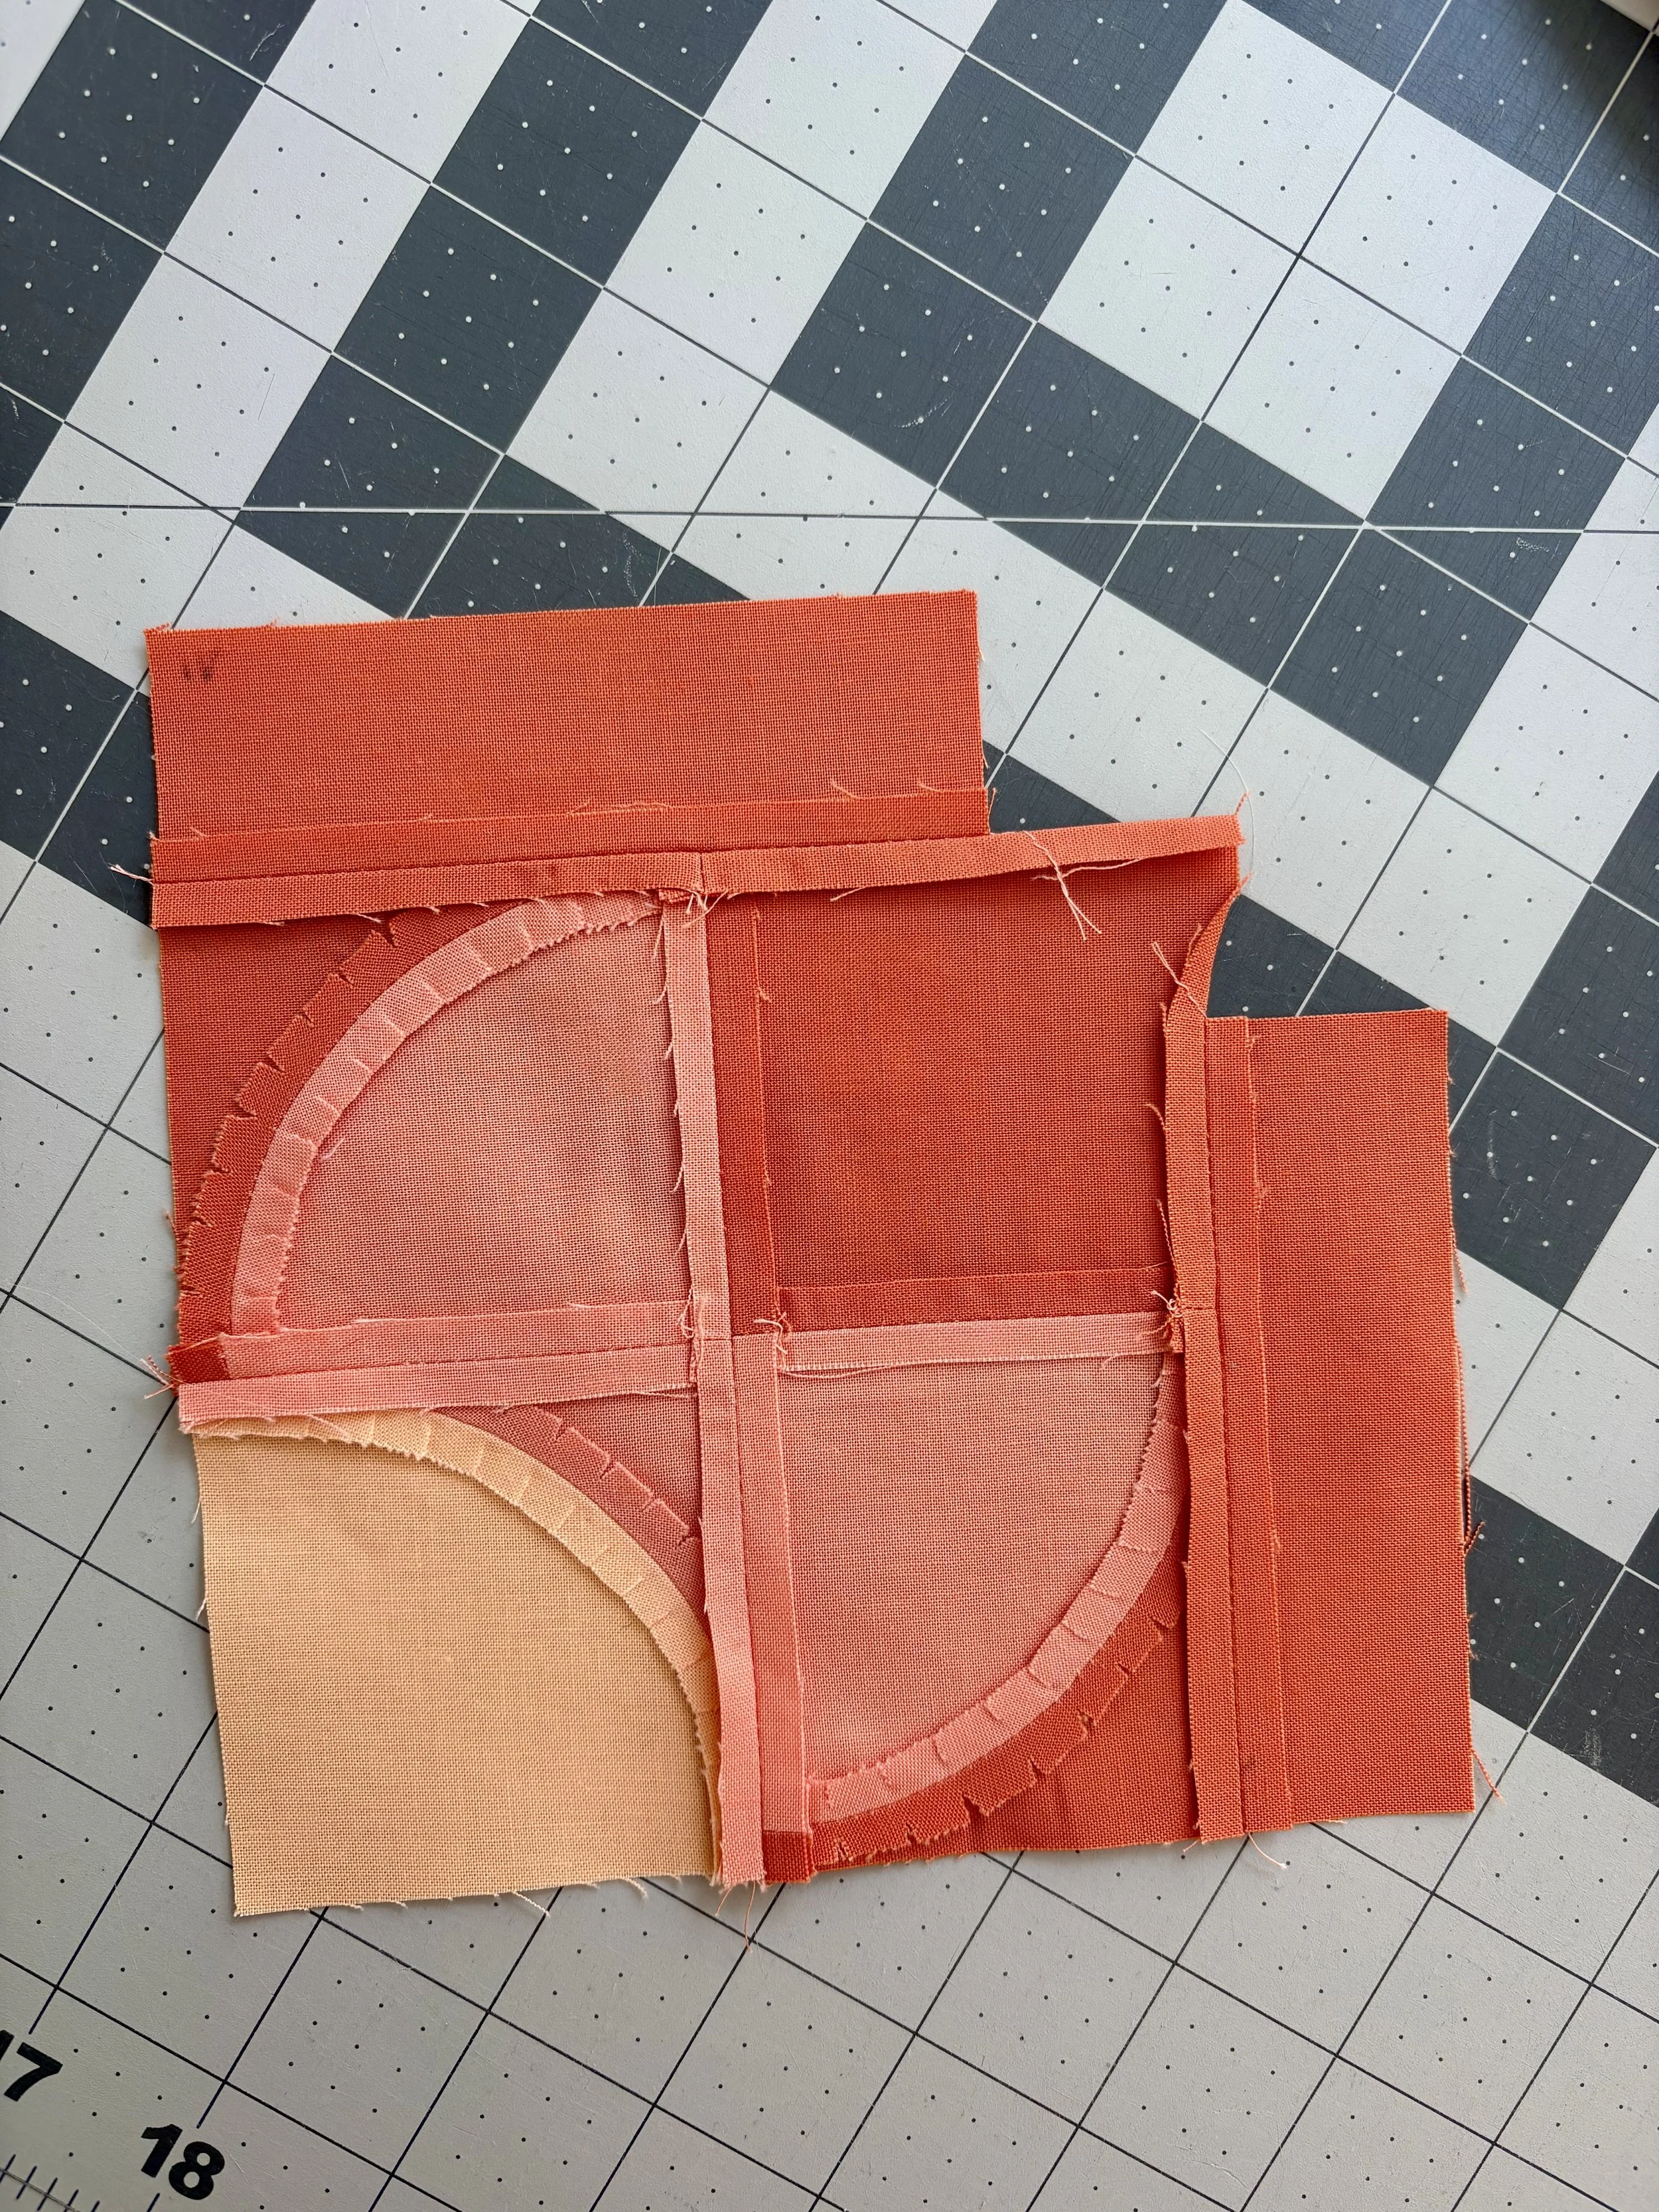
To set you up for success, I’ve recommended pressing all the curve seams open. The templates in this pattern include room to trim from all four sides of the block - this is the most forgiving kind of curve template, so don’t stress too much about getting these perfect! To press curve seams open, I recommend 1) making small snips in the concave piece when sewing the curves together, then 2) making snips in the convex piece before pressing the seam open. The snips in the convex piece will help the open seam lay super flat.
5) Lay out blocks so you can visualize the full block
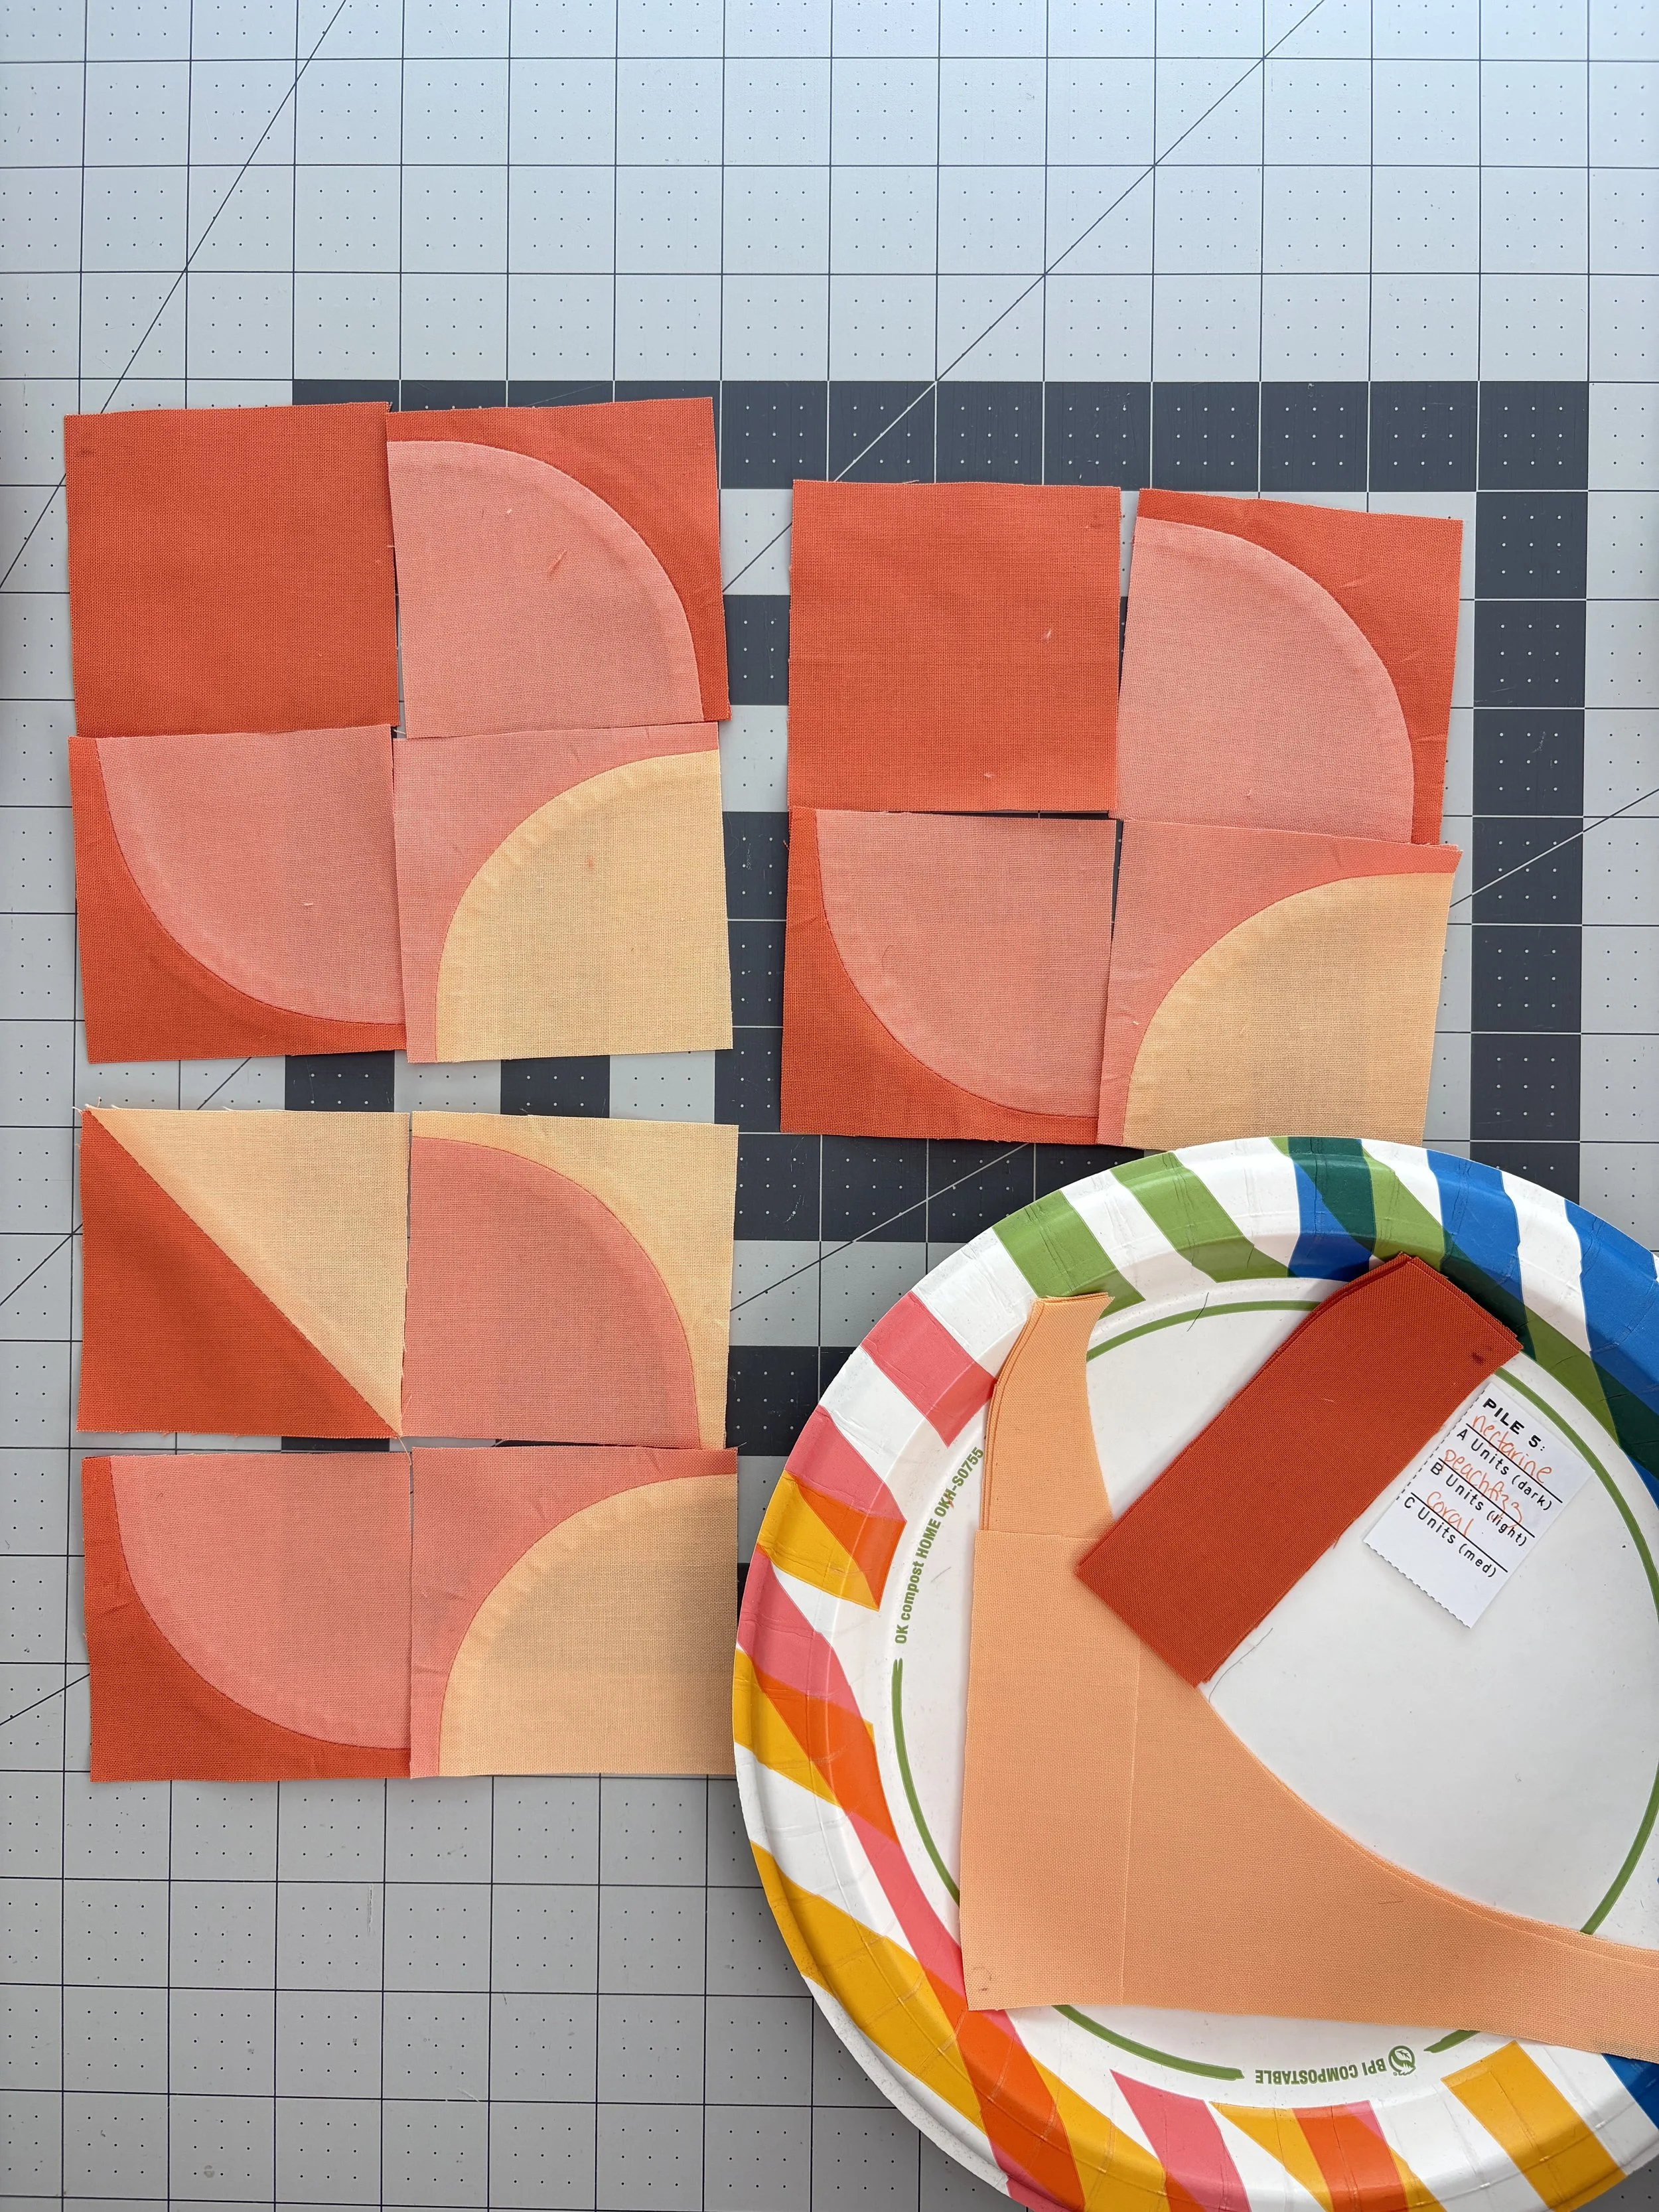
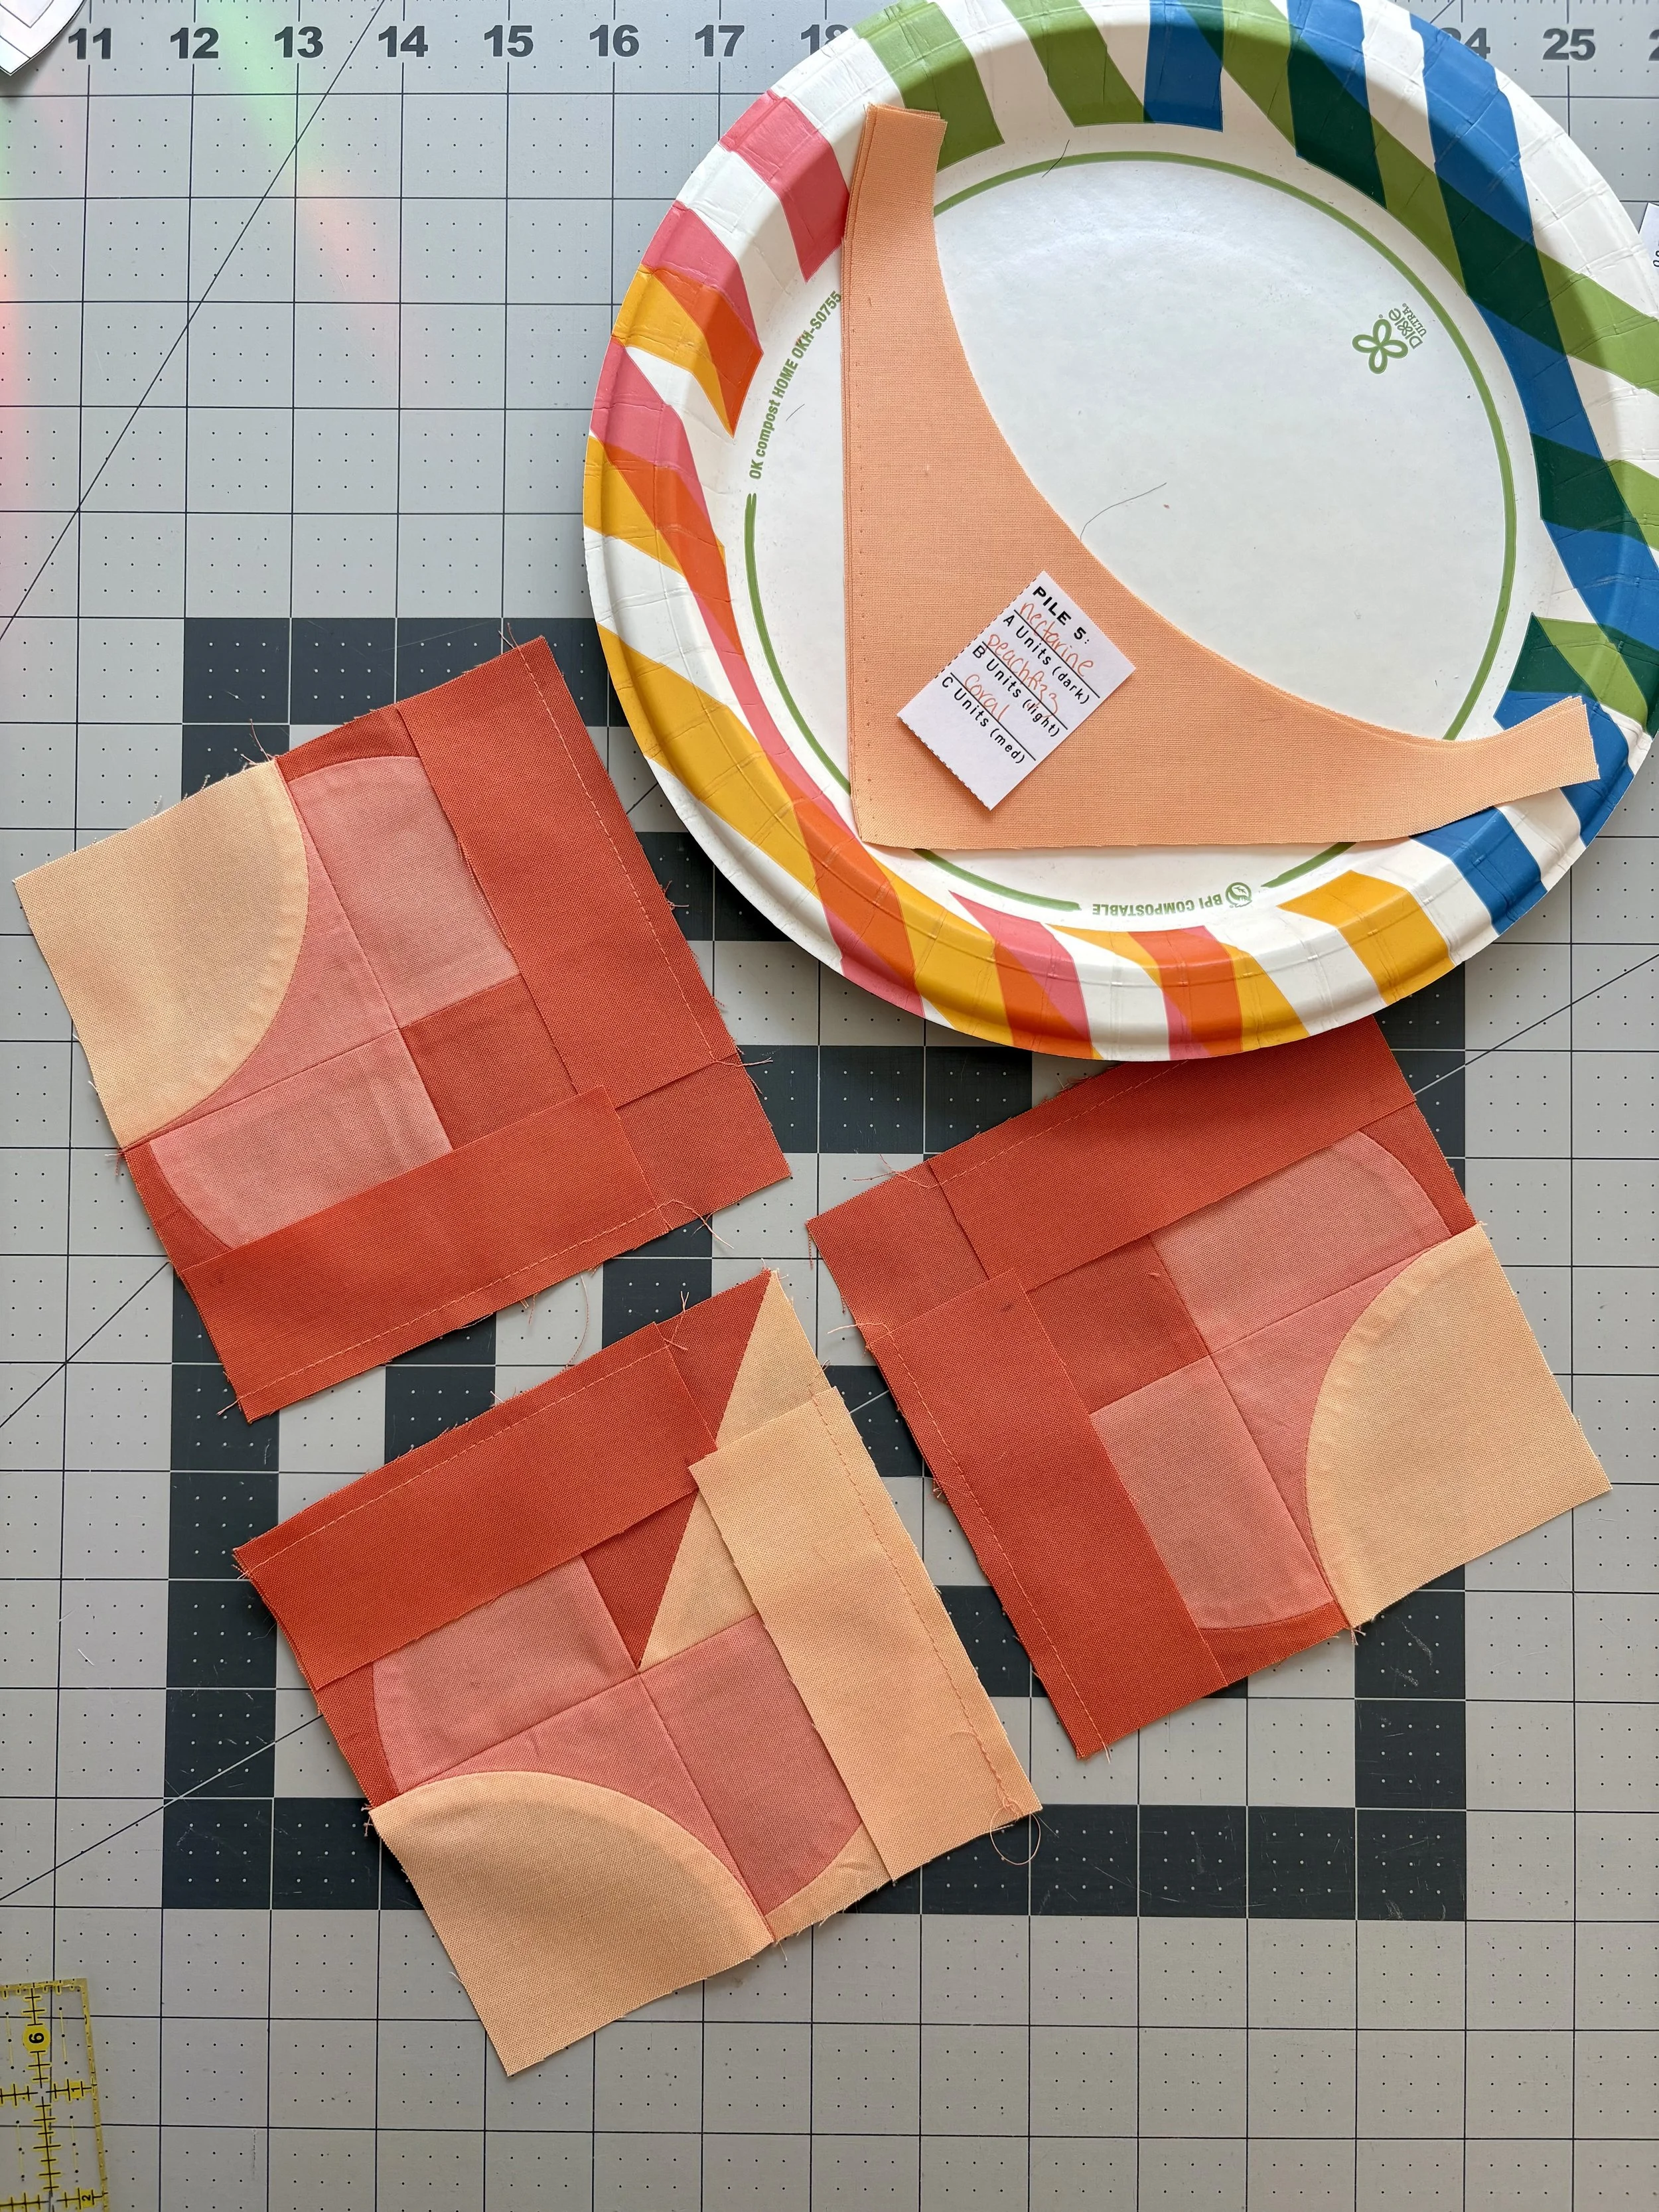
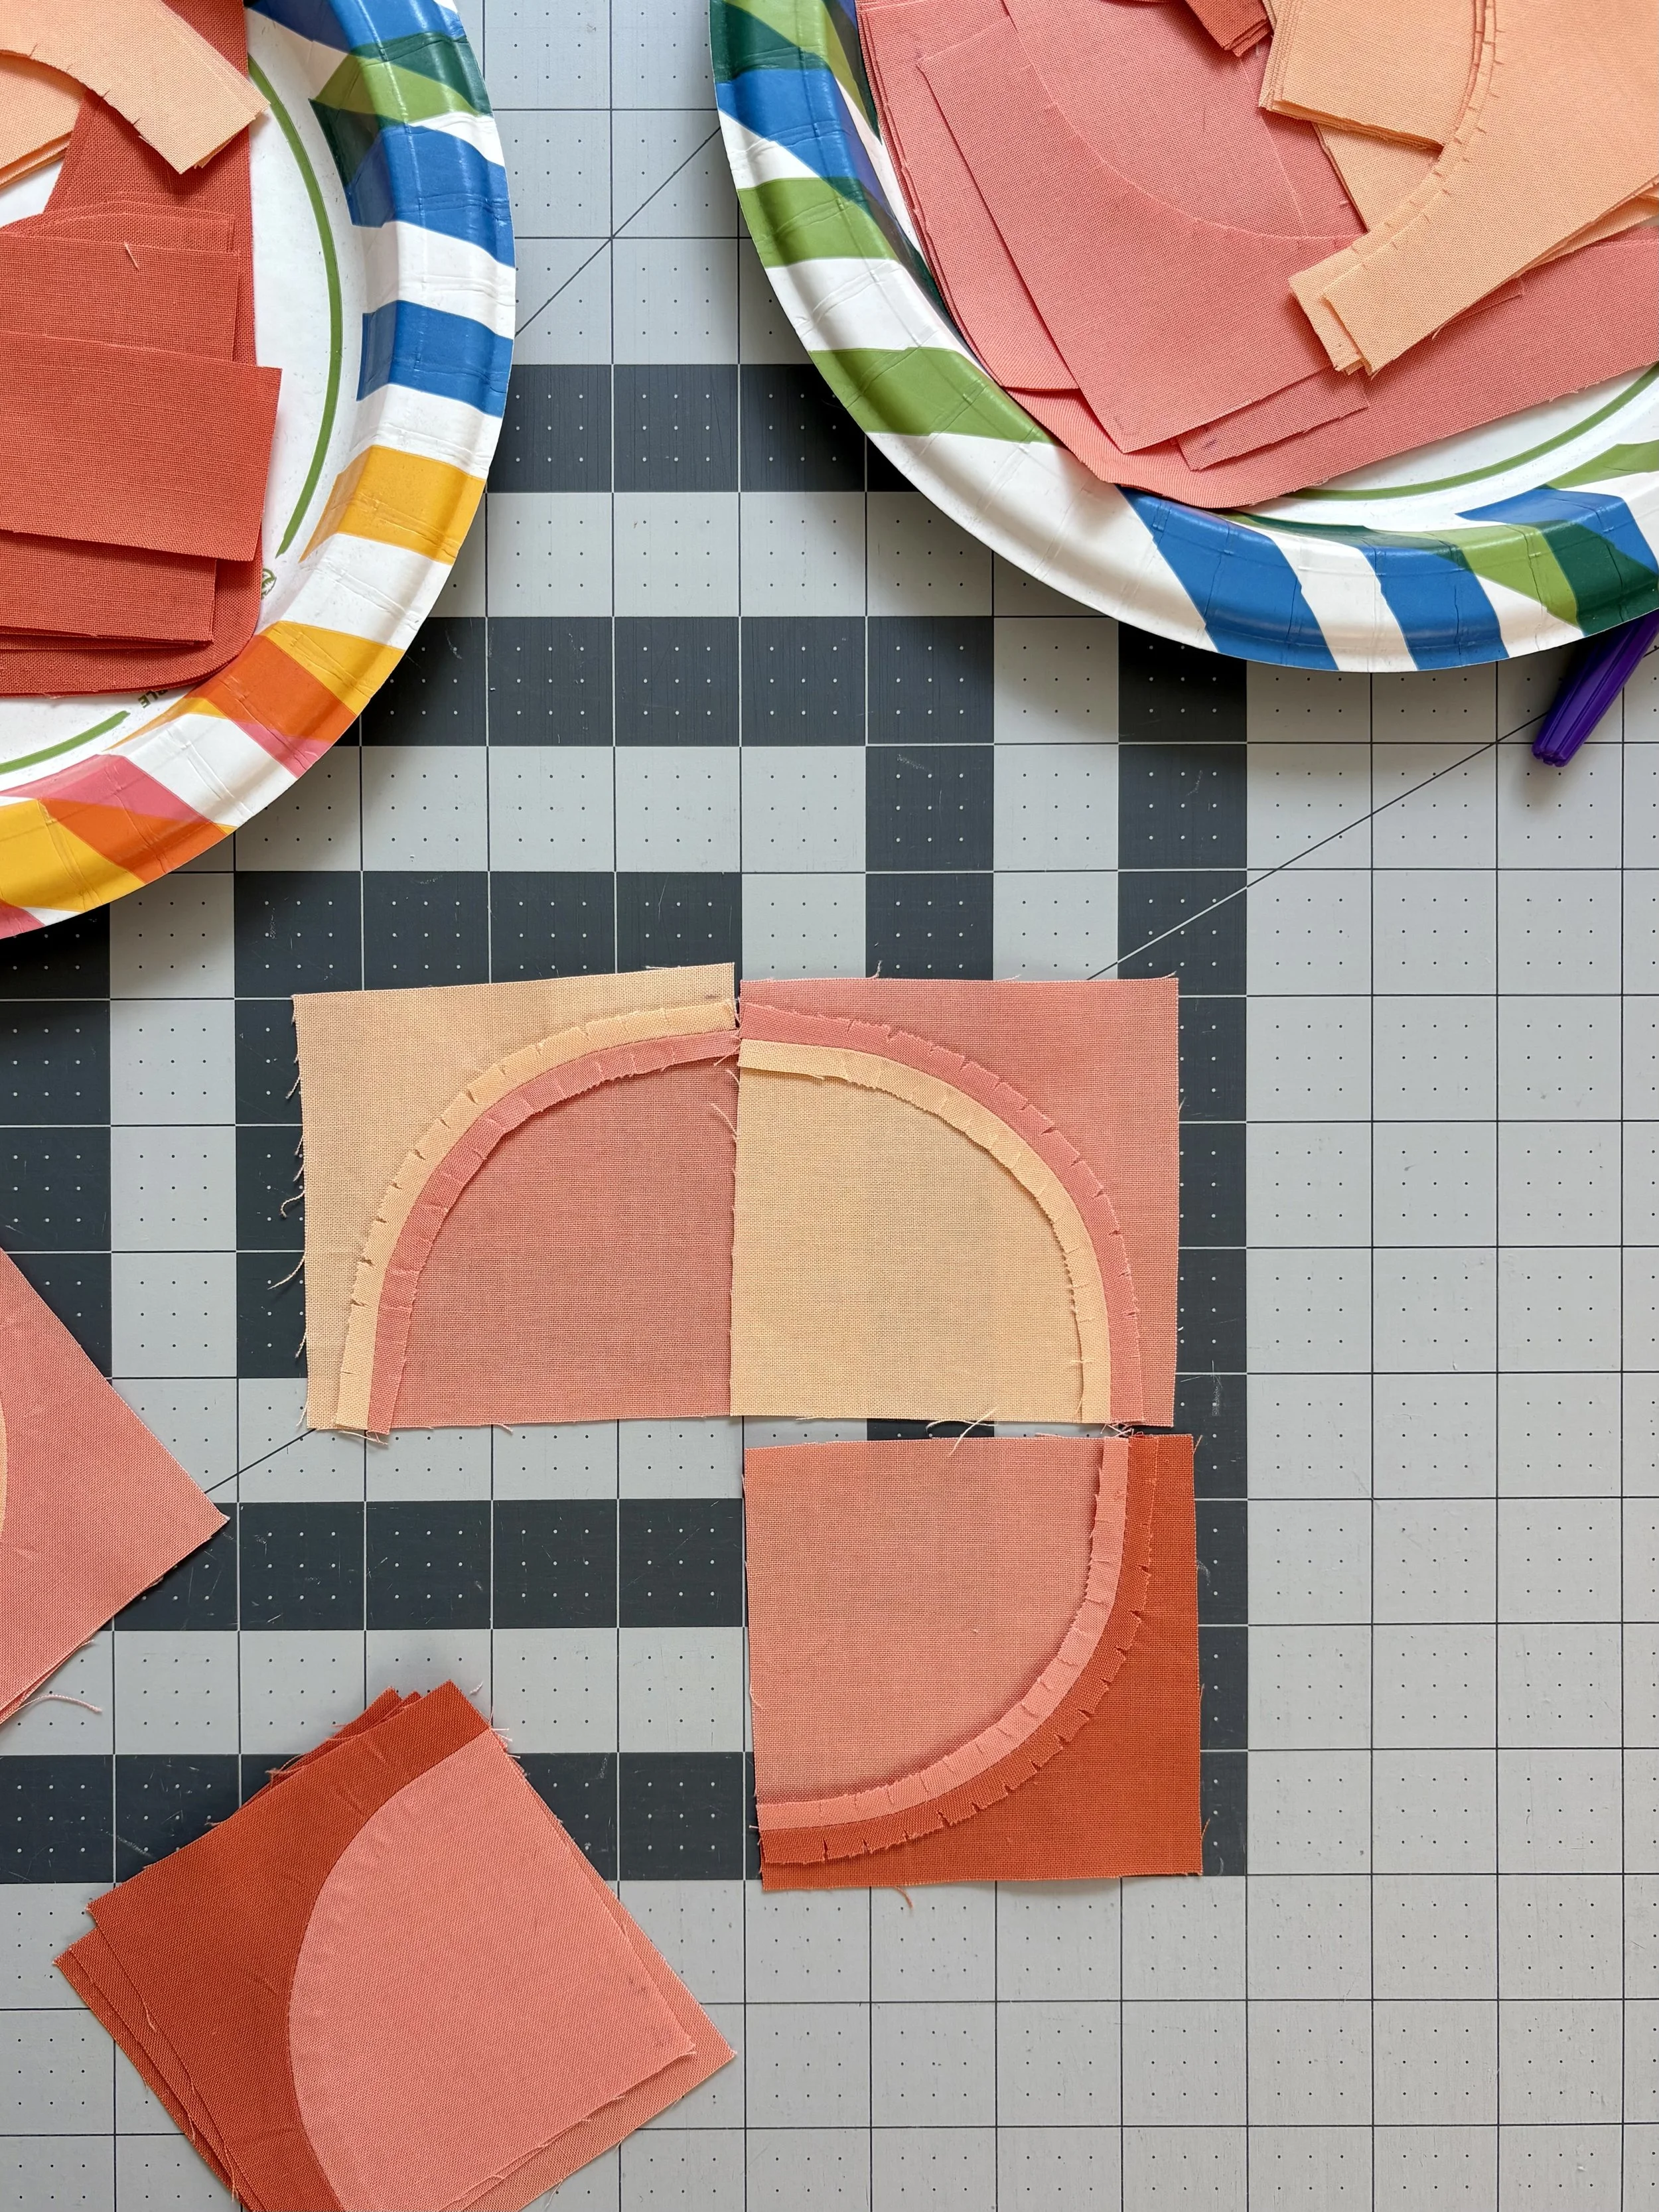
In intermediate patterns, you may be making lots of similar blocks that have only small differences. You can see in the Lillette pattern, the only difference between Block A and Block B is the HST in the corner of B. Once I reach this stage of the pattern, I like to lay out the blocks so I have a strong understanding of what goes where before I start chain piecing, as opposed to leaving all the sub-units in a pile and blindly picking them up. Make sure you regularly reference the pattern so everything stays oriented correctly.
Specific to the Lillette quilt, once these units are sewn up, the pattern directs you to sew long rectangles to the sides of the units. Again, pay attention to the diagrams so everything stays oriented correct. The rectangles don’t reach the top of the units, so when I press the seams, I just kind of… smoosh the corners down. These get trimmed off to make the convex units of the large quarter circles, so smooshing is fine.
Perfect project management
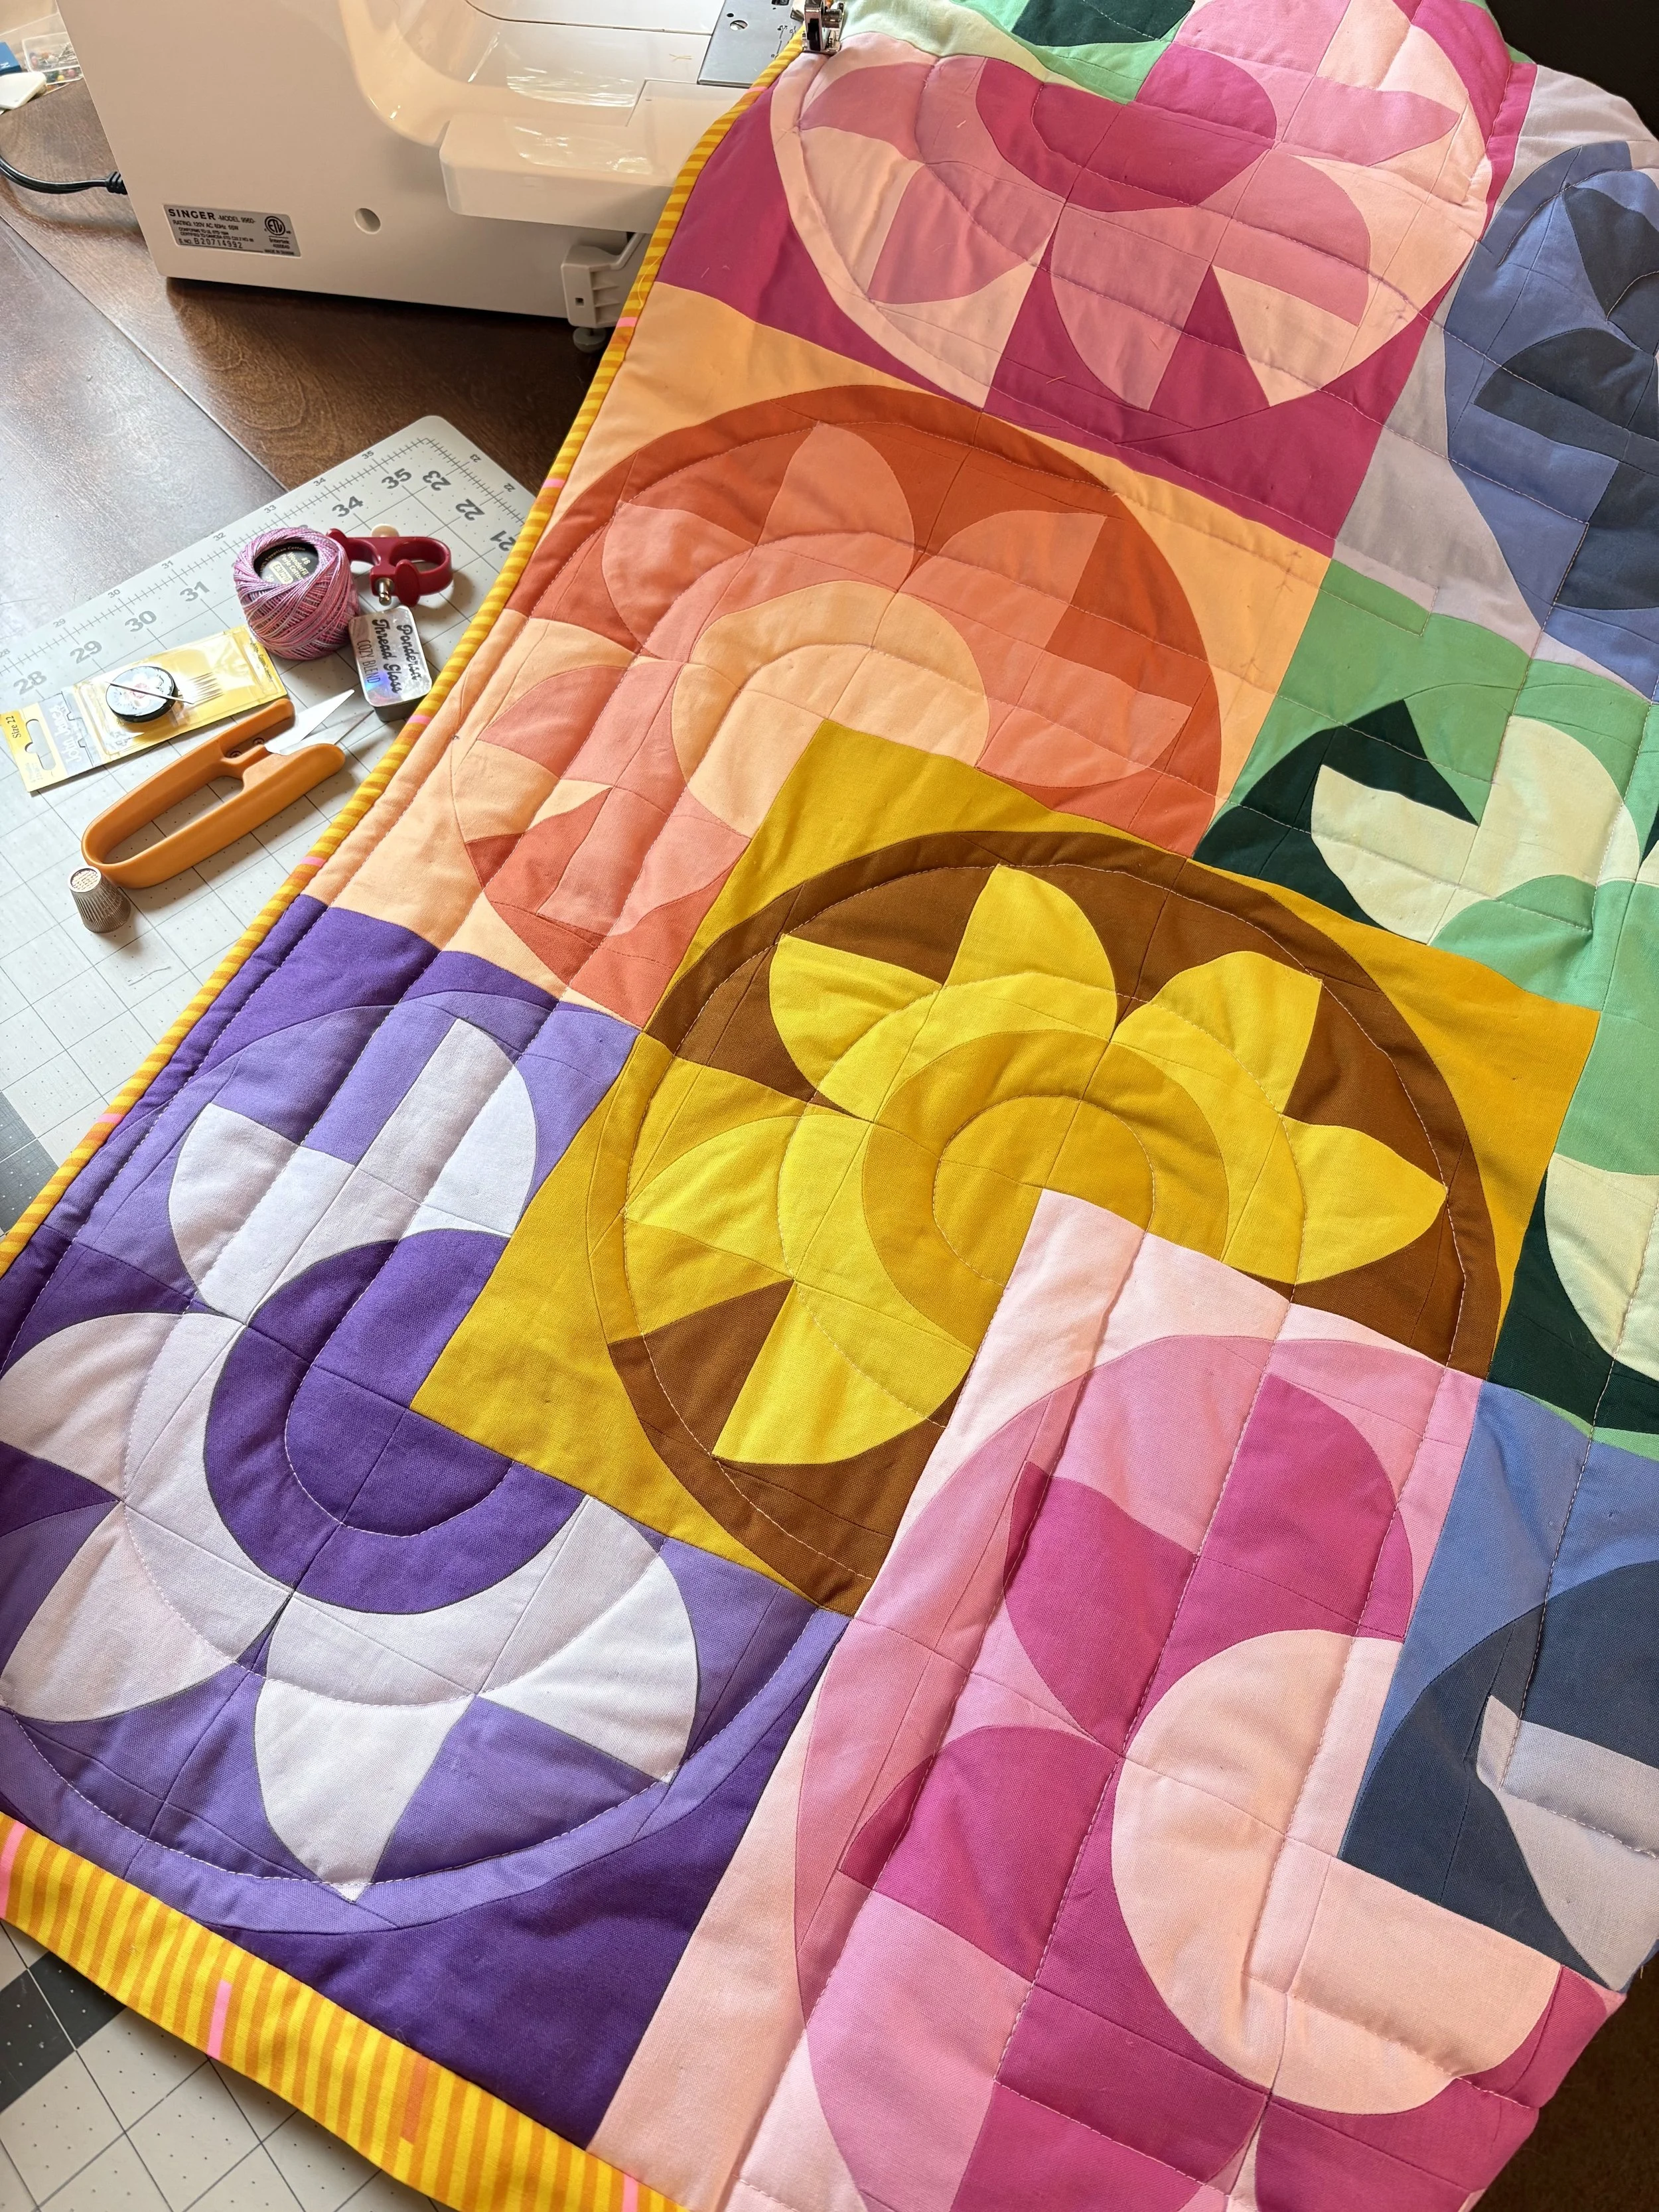
What do you think of those tips? If you feel ready to jump into an intermediate quilt pattern, the Lillette quilt is a perfect place to put these skills into practice.
The Lillette quilt is a bold and colorful quilt pattern featuring tumbling geometric flowers and playful color combinations. This quilt design uses quarter circle blocks to make a 70’s, retro-inspired floral motif that is both nostalgic and contemporary.
With its oversized blooms, strong color contrasts, and endless opportunities to play with color and value, the Lillette quilt pattern is perfect for quilters who love bold quilts and statement-making floral designs. The repeating flower motif makes this a great pattern for experimenting with different fabric combinations— read this blog post to learn how to carefully curate the perfect palette.
The pattern comes in three sizes, and includes printable templates, labels, coloring pages and a bonus fabric organization worksheet to keep your fabrics organized.
Large Throw - 54" x 60"
Small Throw - 48" x 54"
Baby - 30" x 36"
The skill level is intermediate.
Quilt pieced by Emily Milbauer and Mija Handmade
Quilting by Mija Handmade
Technical edit by Village Bound Quilts