
How to Sew a Quarter Circle Quilt Block
Learning to sew curves is an amazing way to expand your quilting skills. Once you’ve decided to try sewing curves, the number and type of quilt patterns you can tackle expands wildly!
It’s never too early in your quilting journey to learn how to sew curves. It’s also never too late to learn to sew curves! Beginner or advanced, sewing curves is for everyone. I believe in you! I believe in your skills!
Looking for a practice project?

Follow along with this tutorial with the Show and Tell Mini Quilt.
Designed specifically for practicing quarter circle curves, you’ll master curves in no time with the Show and Tell mini quilt.
To start developing your curve sewing skills, here’s a step-by-step guide to sewing quarter circle blocks. Every template has it’s own specific sewing or trimming instructions. The templates I’m using here only require trimming from the concave unit, so keep that in mind as you apply this knowledge to other quarter circle templates.

Anatomy of a quarter circle
There are two units for these curves. The green fabric is the convex unit and the white fabric is the concave unit. The best way to keep these straight is to remember that the CONCAVE unit looks like a CAVE ceiling.
You generally want to cut the units so the straight grain of the fabric is running along the straight edges of the templates. This way, the bias is only exposed on the curved edges. We want this! Having the bias on the curved sides will help us ease fabric as we sew the seam.

Right Sides Together
The directions for each template you come across will differ. Some will have you fold the units half and match at center. I like to fold the concave unit wrong sides together, and the convex unit right sides together. This ensures the creases can nest in each other, kind of like a big spoon/little spoon situation.
Other templates will have registration marks you can transfer to the units. My template has registration marks, so I transferred the convex marks to the right side of the unit, and the concave marks to the wrong side of the unit.
I like to sew my curves with the concave unit on top. So I start by flipping the concave unit over and matching the curves at the middle. I make sure that the concave piece is nicely aligned like the photo on the left. The wonky alignment on the right makes my skin itch.

Pinning
This is perhaps the most controversial part of sewing curves. To pin or not to pin. Glue or not to glue. Or just freestyle it and don’t do any sort of matching. I pin. When I first starting learning to sew curves, I used an abundance of pins. Now I use fewer and tend to pin only at both ends and center.
The advantage of using more pins is that you get all the fussing with the fabric done before you even get to the machine. The disadvantage is that you spend more time pinning.
The advantage of fewer pins is that you spend less time pinning. The disadvantage is that you spend more time fiddling with the fabric under the needle.

Small quarter circle units
I’ve been known to sew curves that finish at 2" square. For any quarter circles that finish smaller than 4" x 4", I use more pins. The smaller the unit, the more pins I use. I also clip the seam allowance to help the concave unit lie flat during assembly. These snips should be no longer than ⅛" and can be as close as ¼".
I typically reserve snipping the seam allowance for tiny quarter circles, but this method can be very helpful for beginner quilters practicing with larger quarter circles.
My favorite tip
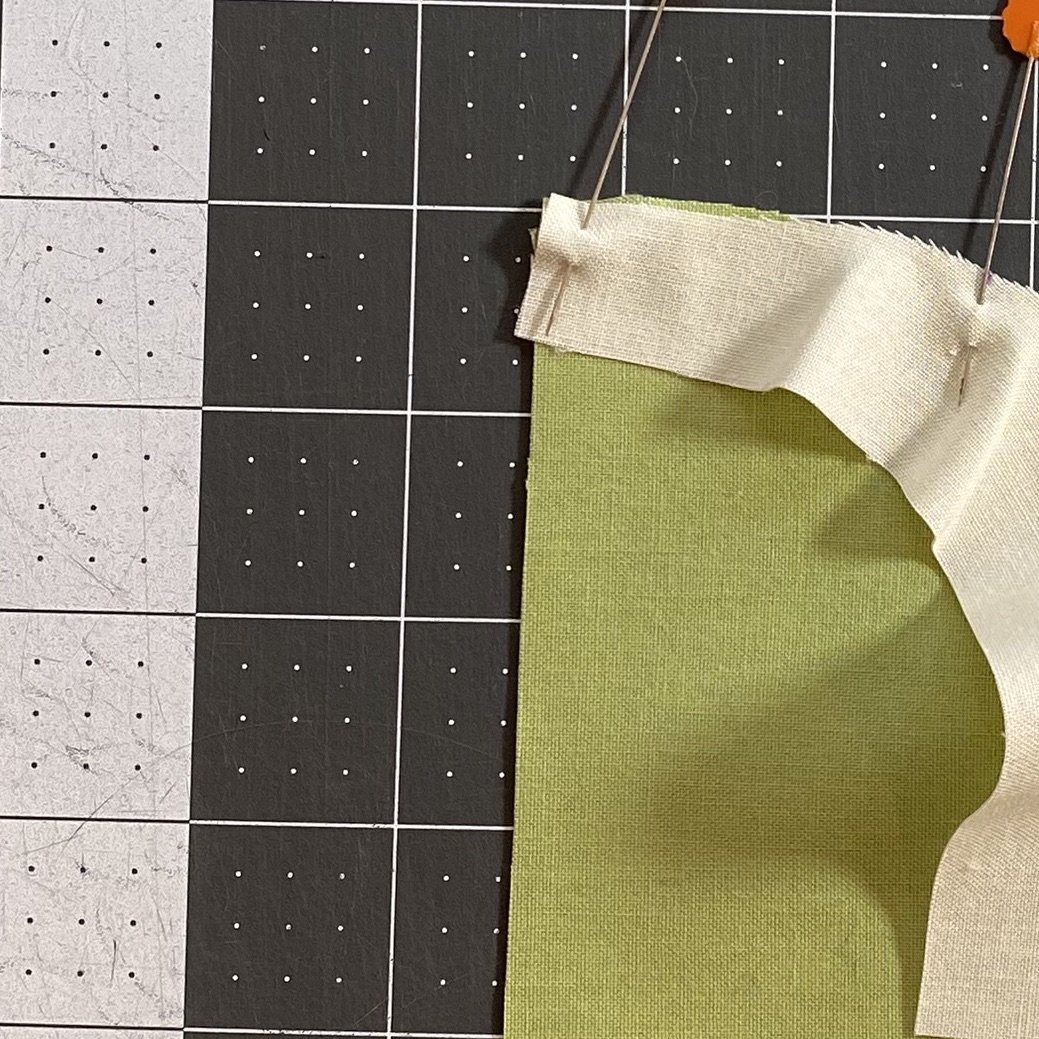
I don’t like to align the edges of my units exactly. After lots.and.lots.and.lots of experimenting, I like my curve edges to look like this picture. The corner edge of the concave piece extends just slightly outwards and the fabrics meet exactly at the ¼" mark. I make both ends of the concave unit look like this. This is a skill I’ve developed with lots of practice, and now I can eyeball when this alignment looks right to me.

At the machine
As you sew around the curve, your goal is to keep the fabric under the needle flat, and keep all the fabric fullness to the left of the needle. These next few pictures show how the fullness will pucker and how I sometimes manipulate the fabric to make the edges flat. You get to choose if you sew over your pins or not.
If you’re a beginner, sew slowly. We’re learning a new skill and there is no need to rush it. You can even shorten your stitch length - this gives you lots of opportunity to readjust your fabric and avoid puckers. Take a few stitches and readjust. Sew a bit more, then readjust. Sew and adjust. Sew and adjust. And on till you hit the end of the unit.


Setting the seam
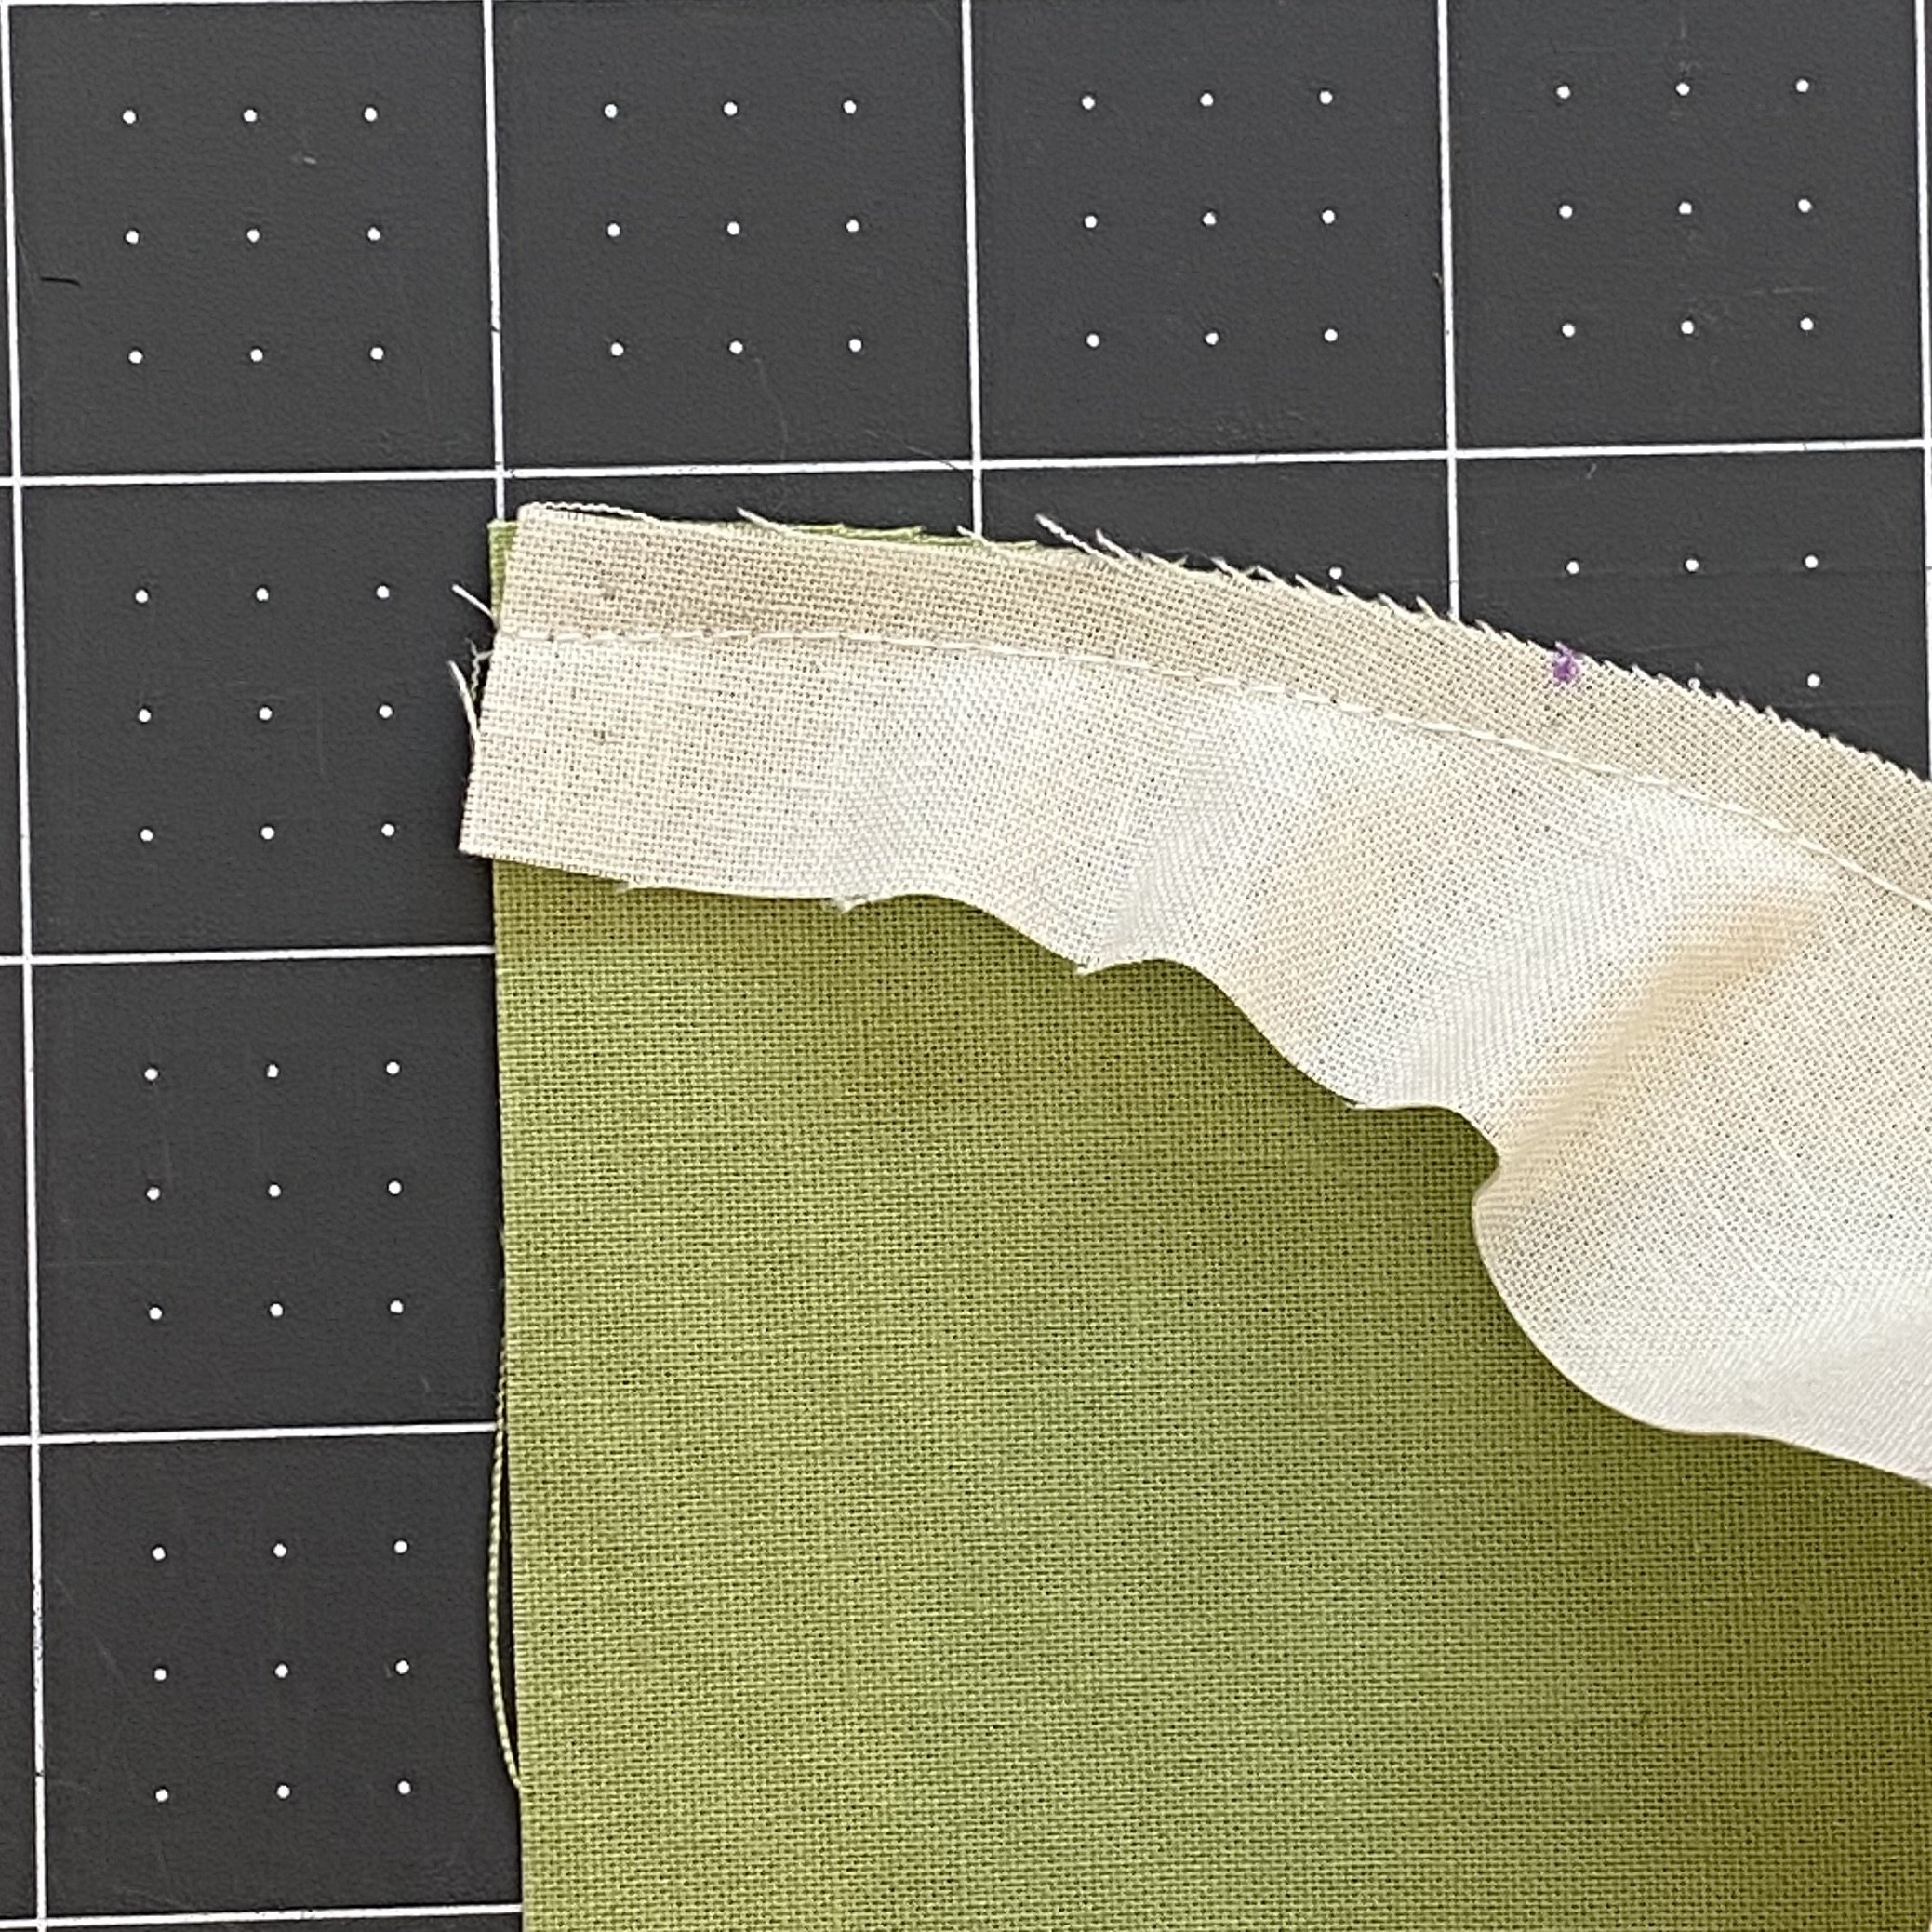
If you’ve tried my favorite tip, the sewn curve will look like this. The edges are slightly wonky but the seam intersects both at the ¼" mark. Now it’s time to set the seam. This means stamping the seam with a hot iron. This step helps the thread sink into the fabric. If you’re a stickler for flat seams, you don’t want to skip this step.

Pressing
Every pattern will have different pressing directions. Which way I like to press depends what my end purpose. I love nesting seams, so I’ll alternate pressing inwards and outwards if it means the seams will nest. If there is no opportunity for nesting seams, I’ll press open. I do recommend snipping the seam allowance of at least the convex unit if you decide to press open.
I’ve also been known to make liberal use of water and steam. If the block has turned out lumpy, with lots of fullness, I excessively spray the block and manipulate the fabric to get it to lay as flat as possible.
Trimming
Before trimming, I like to leave my blocks under a tailor’s clapper or a heavy book for at least 20 minutes, but overnight if I have the patience. This way, I know all the fibers are relaxed and won’t shift or shrink after trimming.
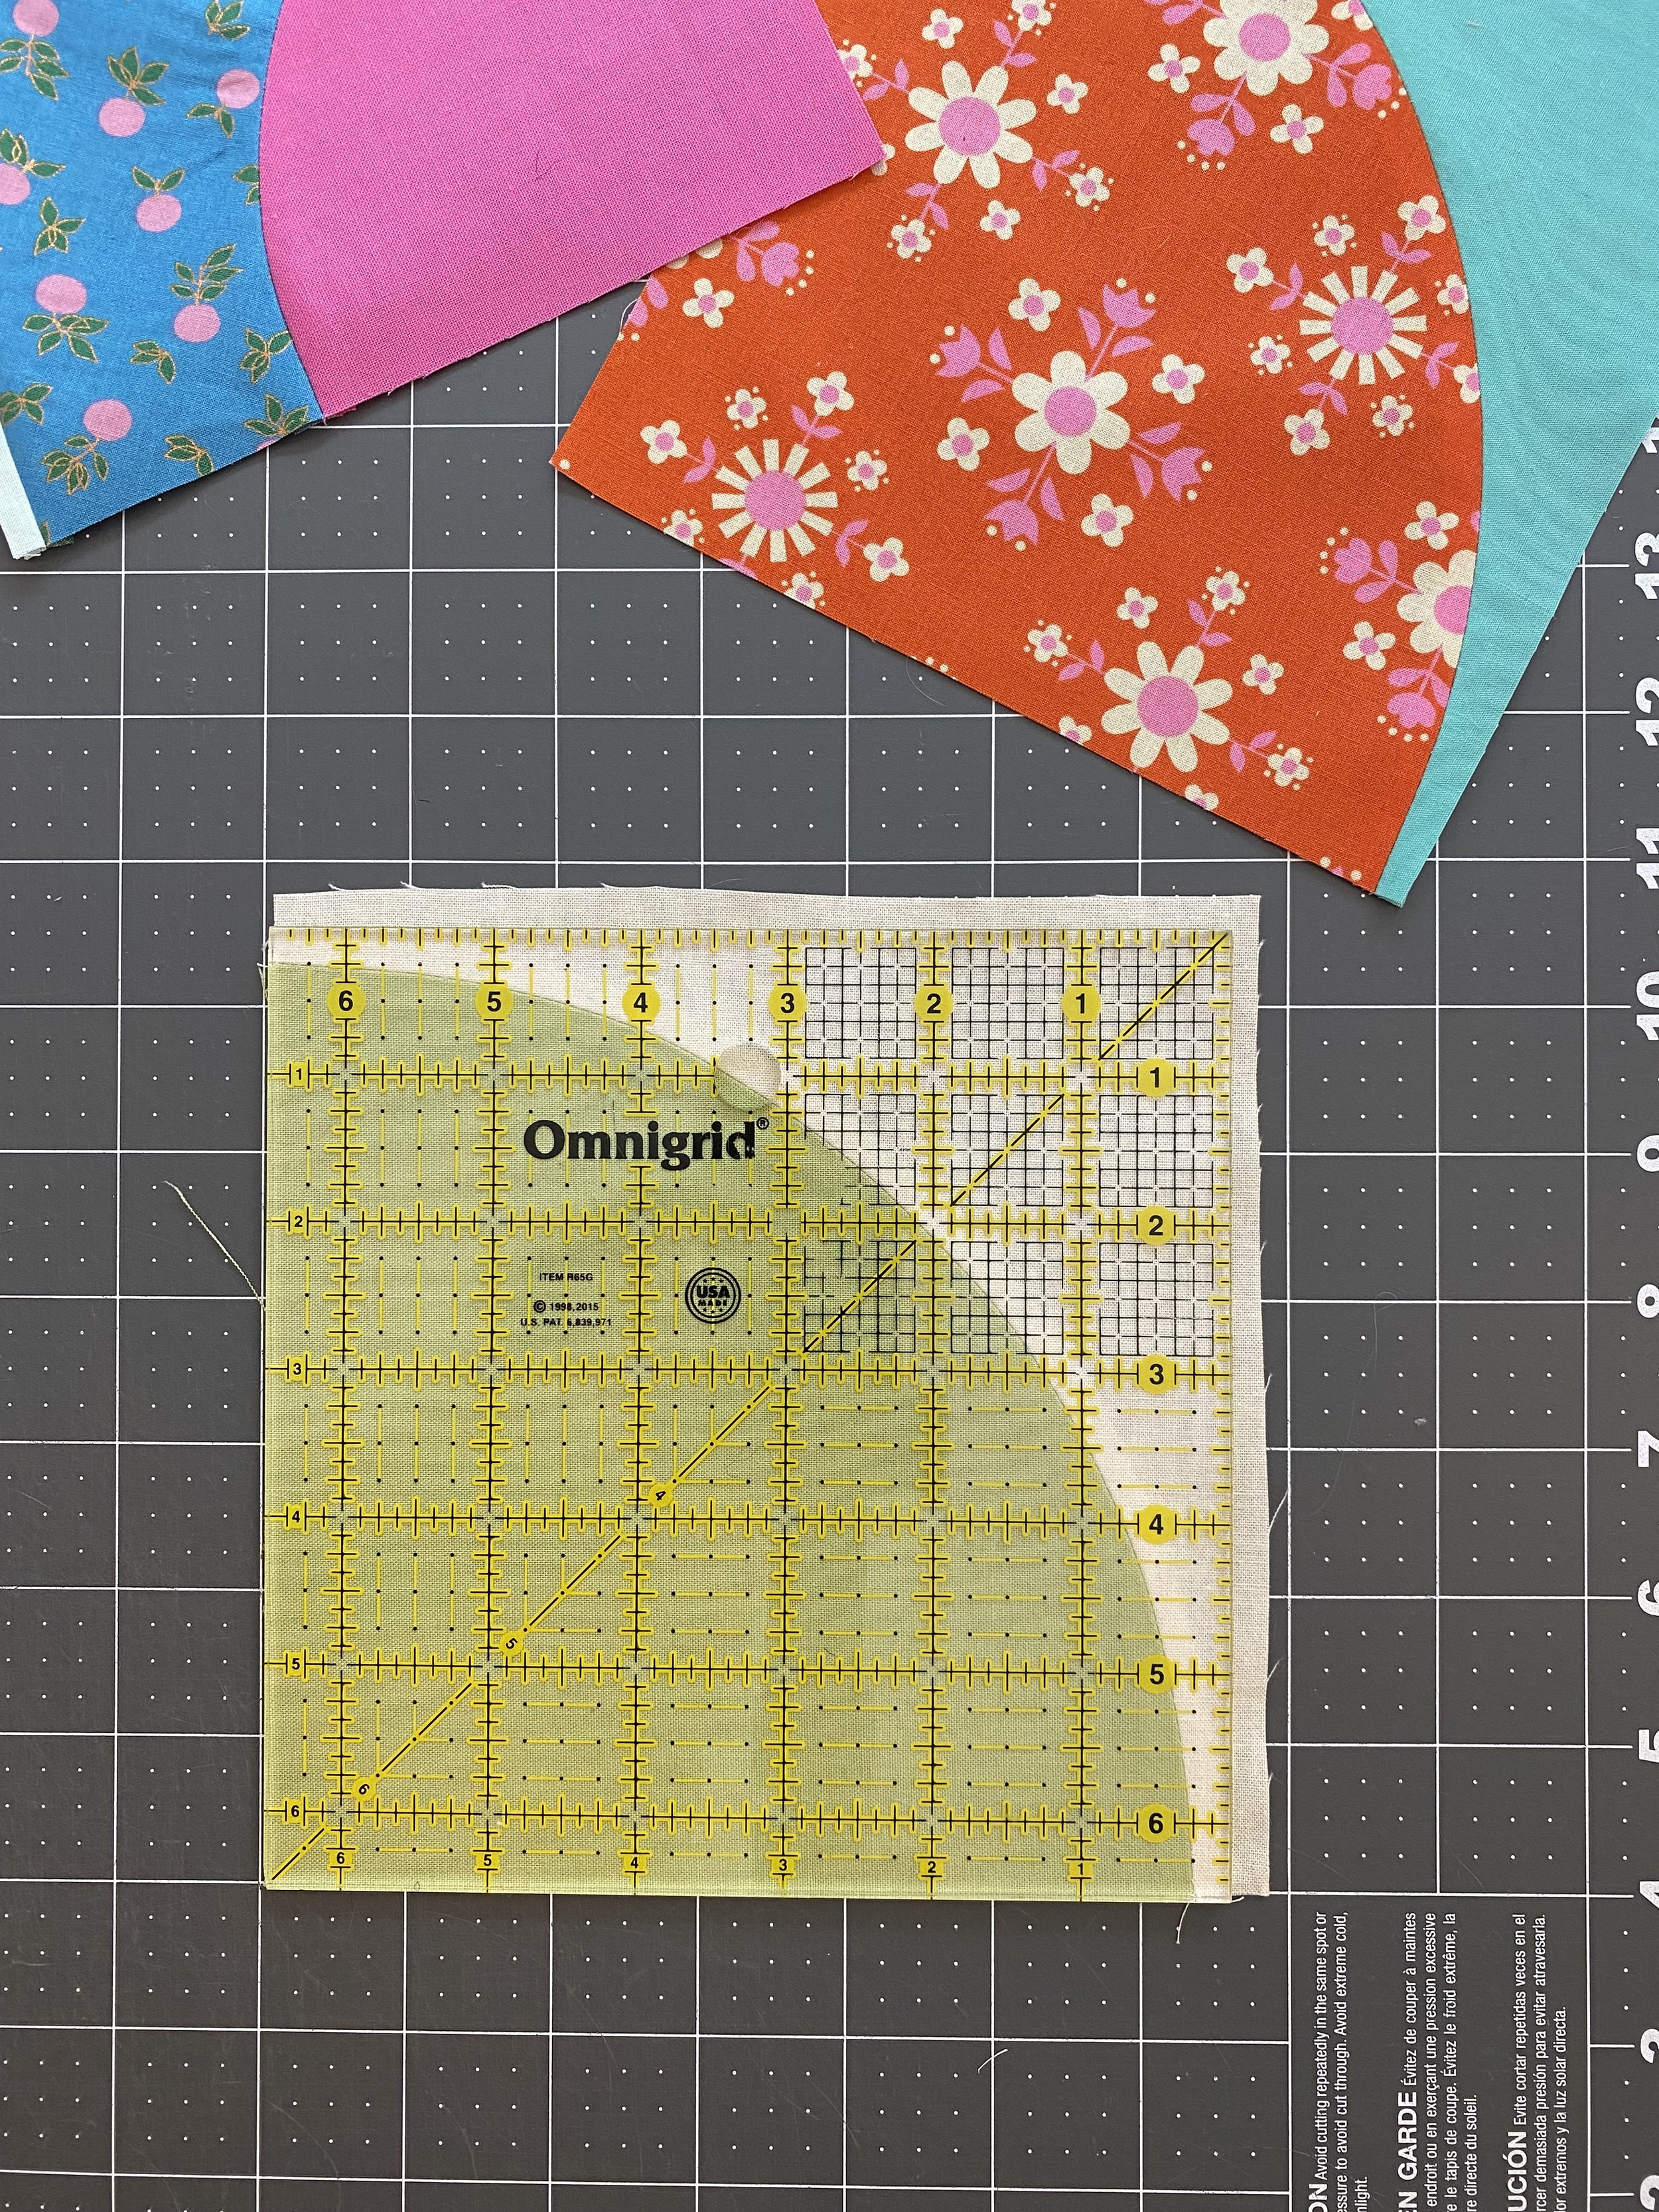
The template I’ve used here only requires trimming from the concave unit. Whatever your template requires, it’s most likely that you’ll need to leave ¼" of seam allowance at the ends of the unit. Identify the appropriate ¼" mark on your ruler and align those marks with the curved seam.
Before you jump into your first big project or pattern, try a test block or two using whatever templates come with the pattern. These can always be incorporated into the quilt backing or made into a wall hanging or pillow.
Now you’re ready to tackle quarter circle blocks! Check out the Show and Tell quilt, a wall hanging size project I designed specifically for practicing quarter circle curves!