
Modern Hand Quilting Design: A Simple Guide to Quilting Your Lillette Quilt
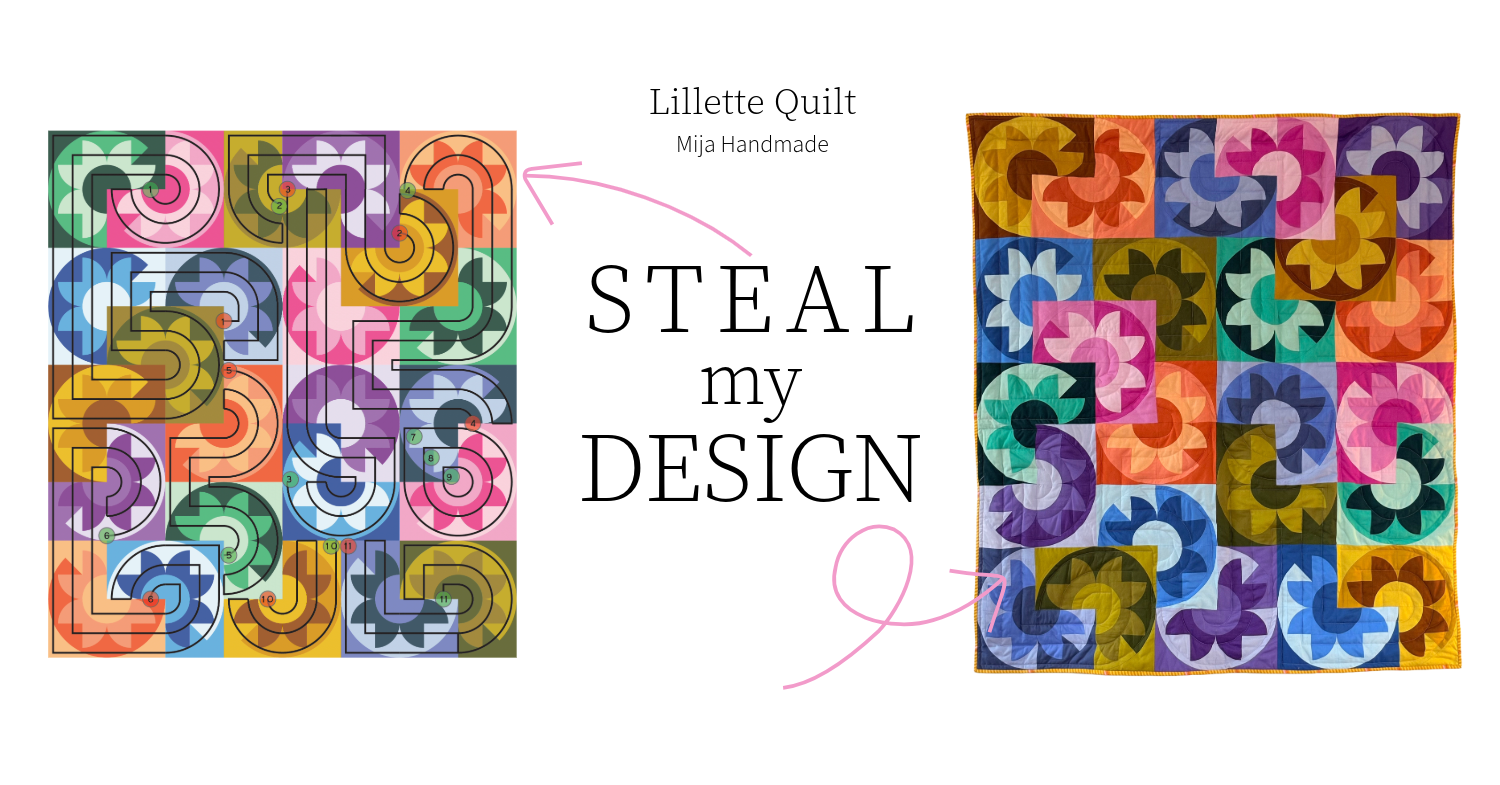
Can I share a secret with you?
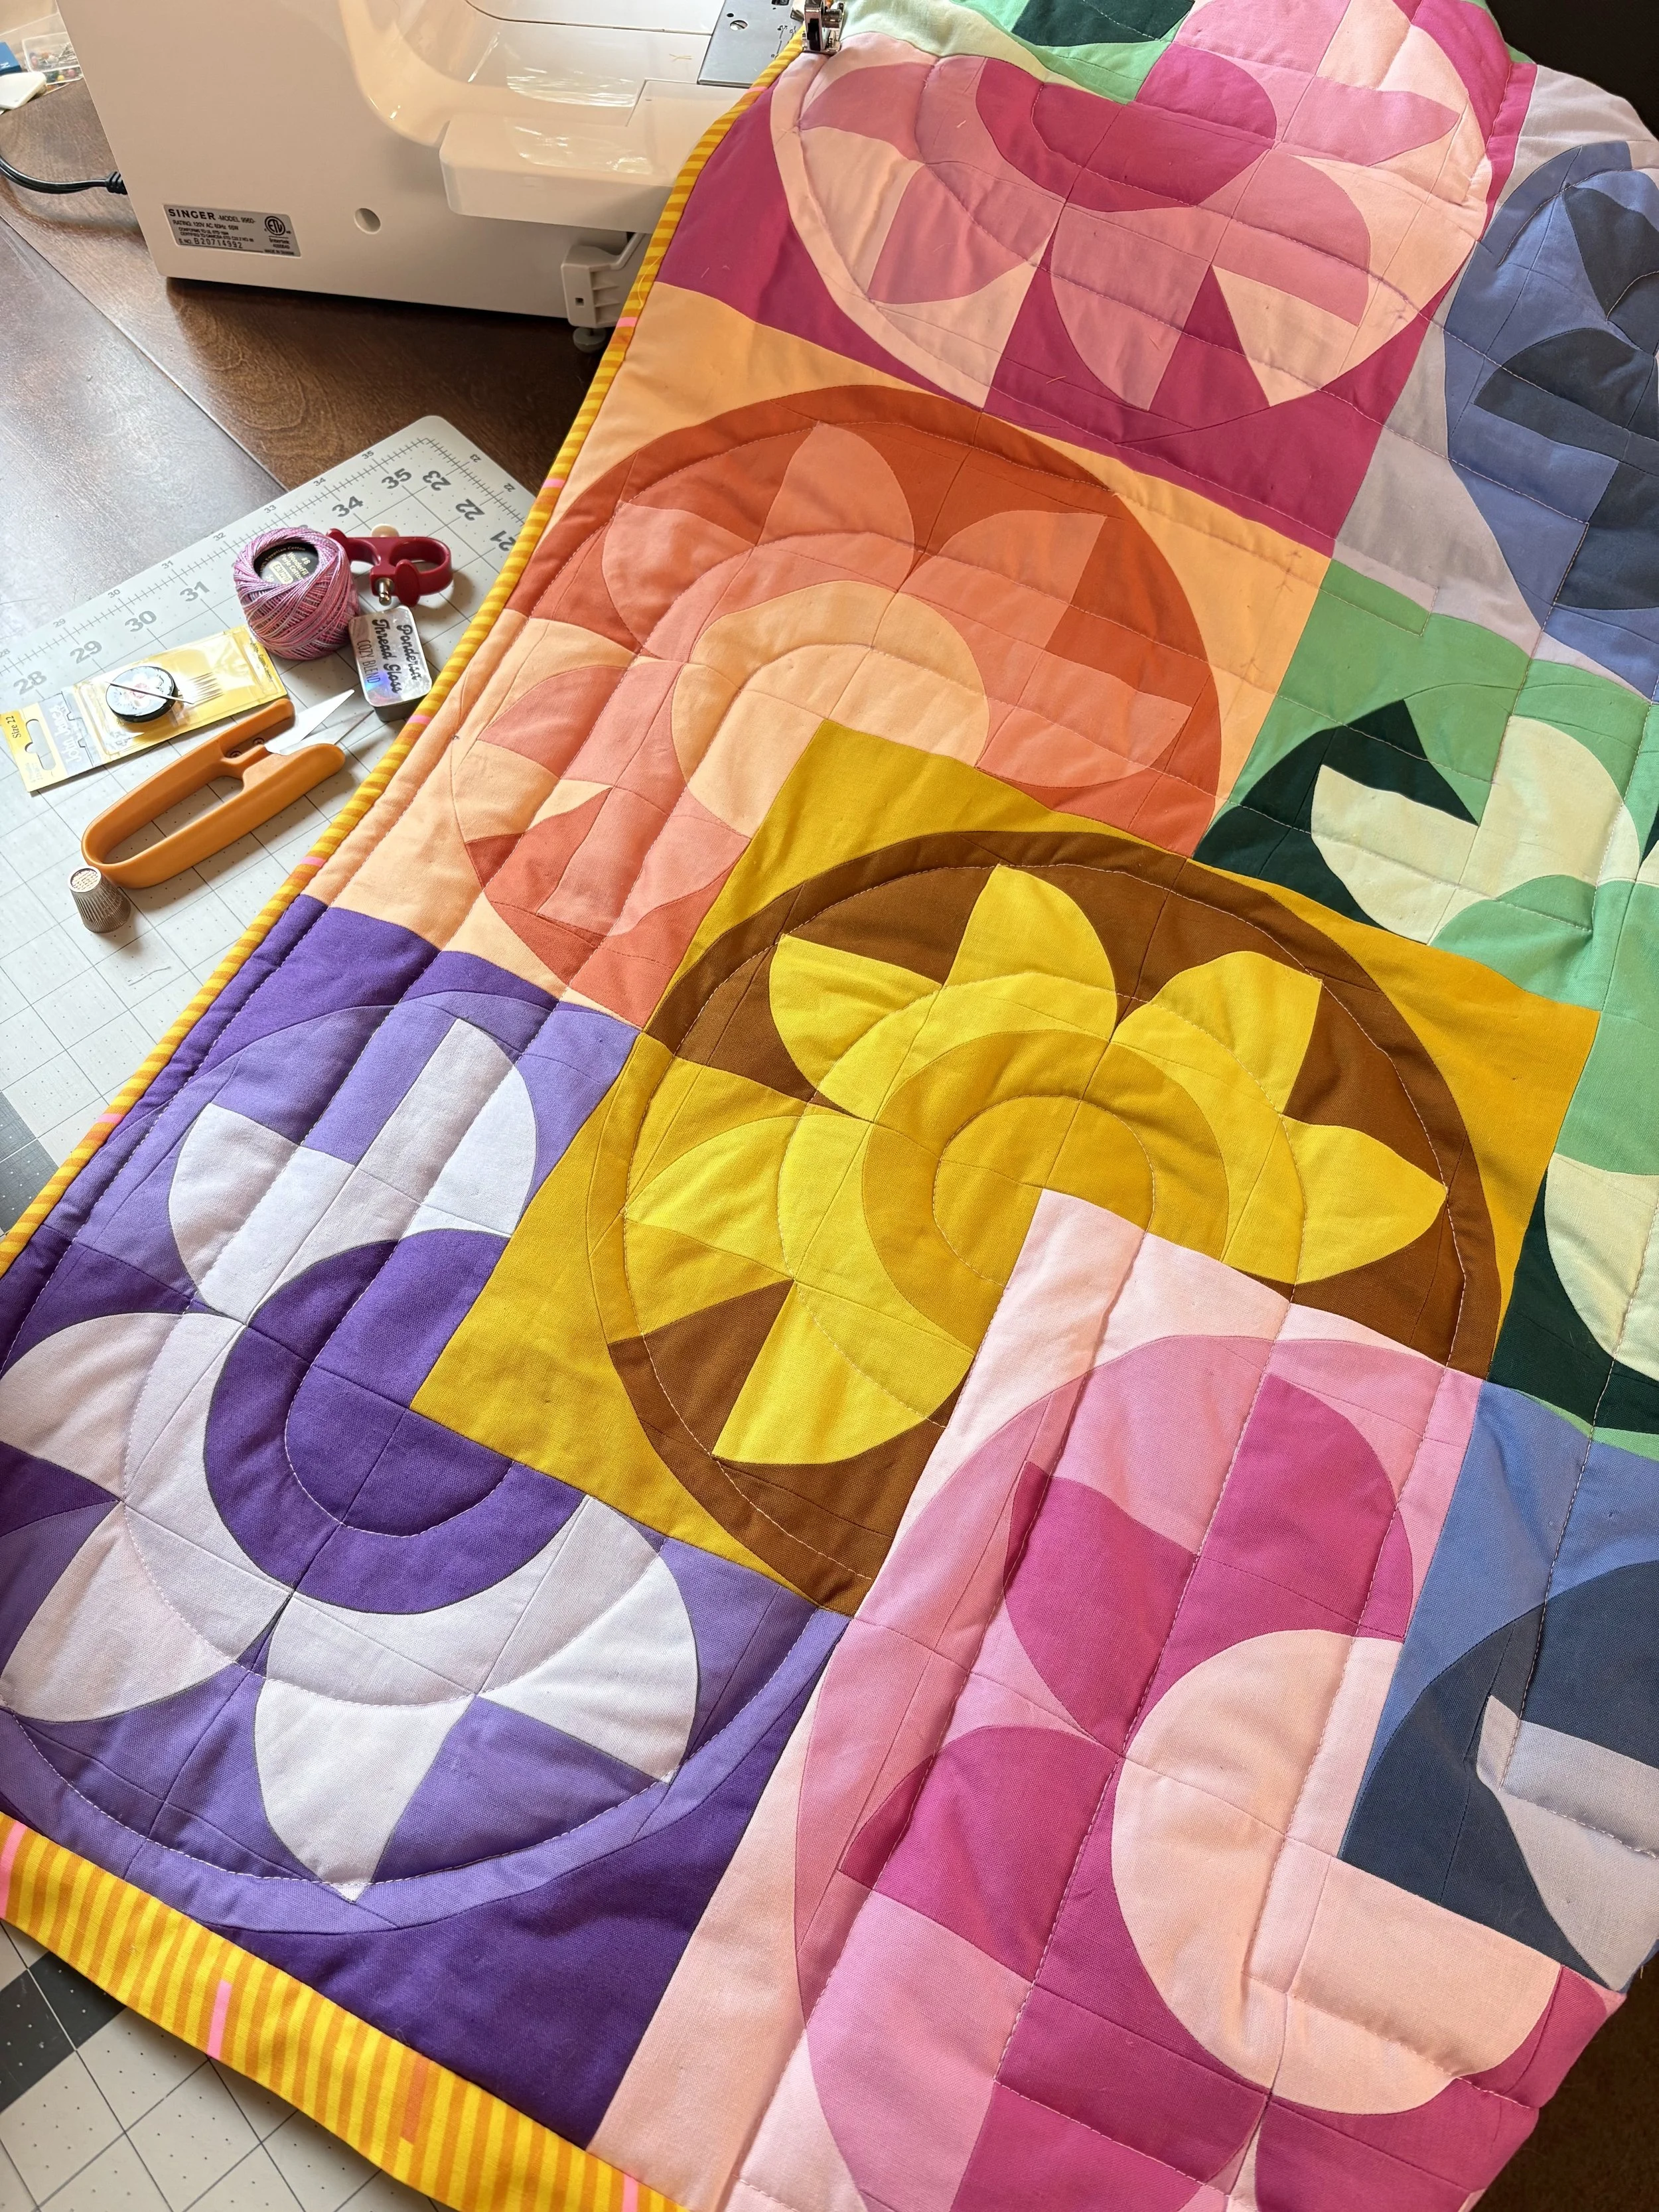
I desperately wish that I had hand quilted the Lillette quilt! I’ve reached a point with quilting where I truly want to hand quilt every quilt top. I’ve been incredibly slow to release this pattern, so I decided to quilt it on my domestic machine to speed up the release. I’m not sure how much machine quilting I’ll do in the future… I say that now, but who knows what future deadlines will hold!
Regardless of how you decide to finish your Lillette quilt, I encourage you to steal my quilting design. I worked pretty hard to figure this one out, and hope to see this on your quilt tops soon! Download the FREE quilting guide and circle templates (more details below) and keep reading to learn how to transfer the design to your quilt top.
Quilting Designs
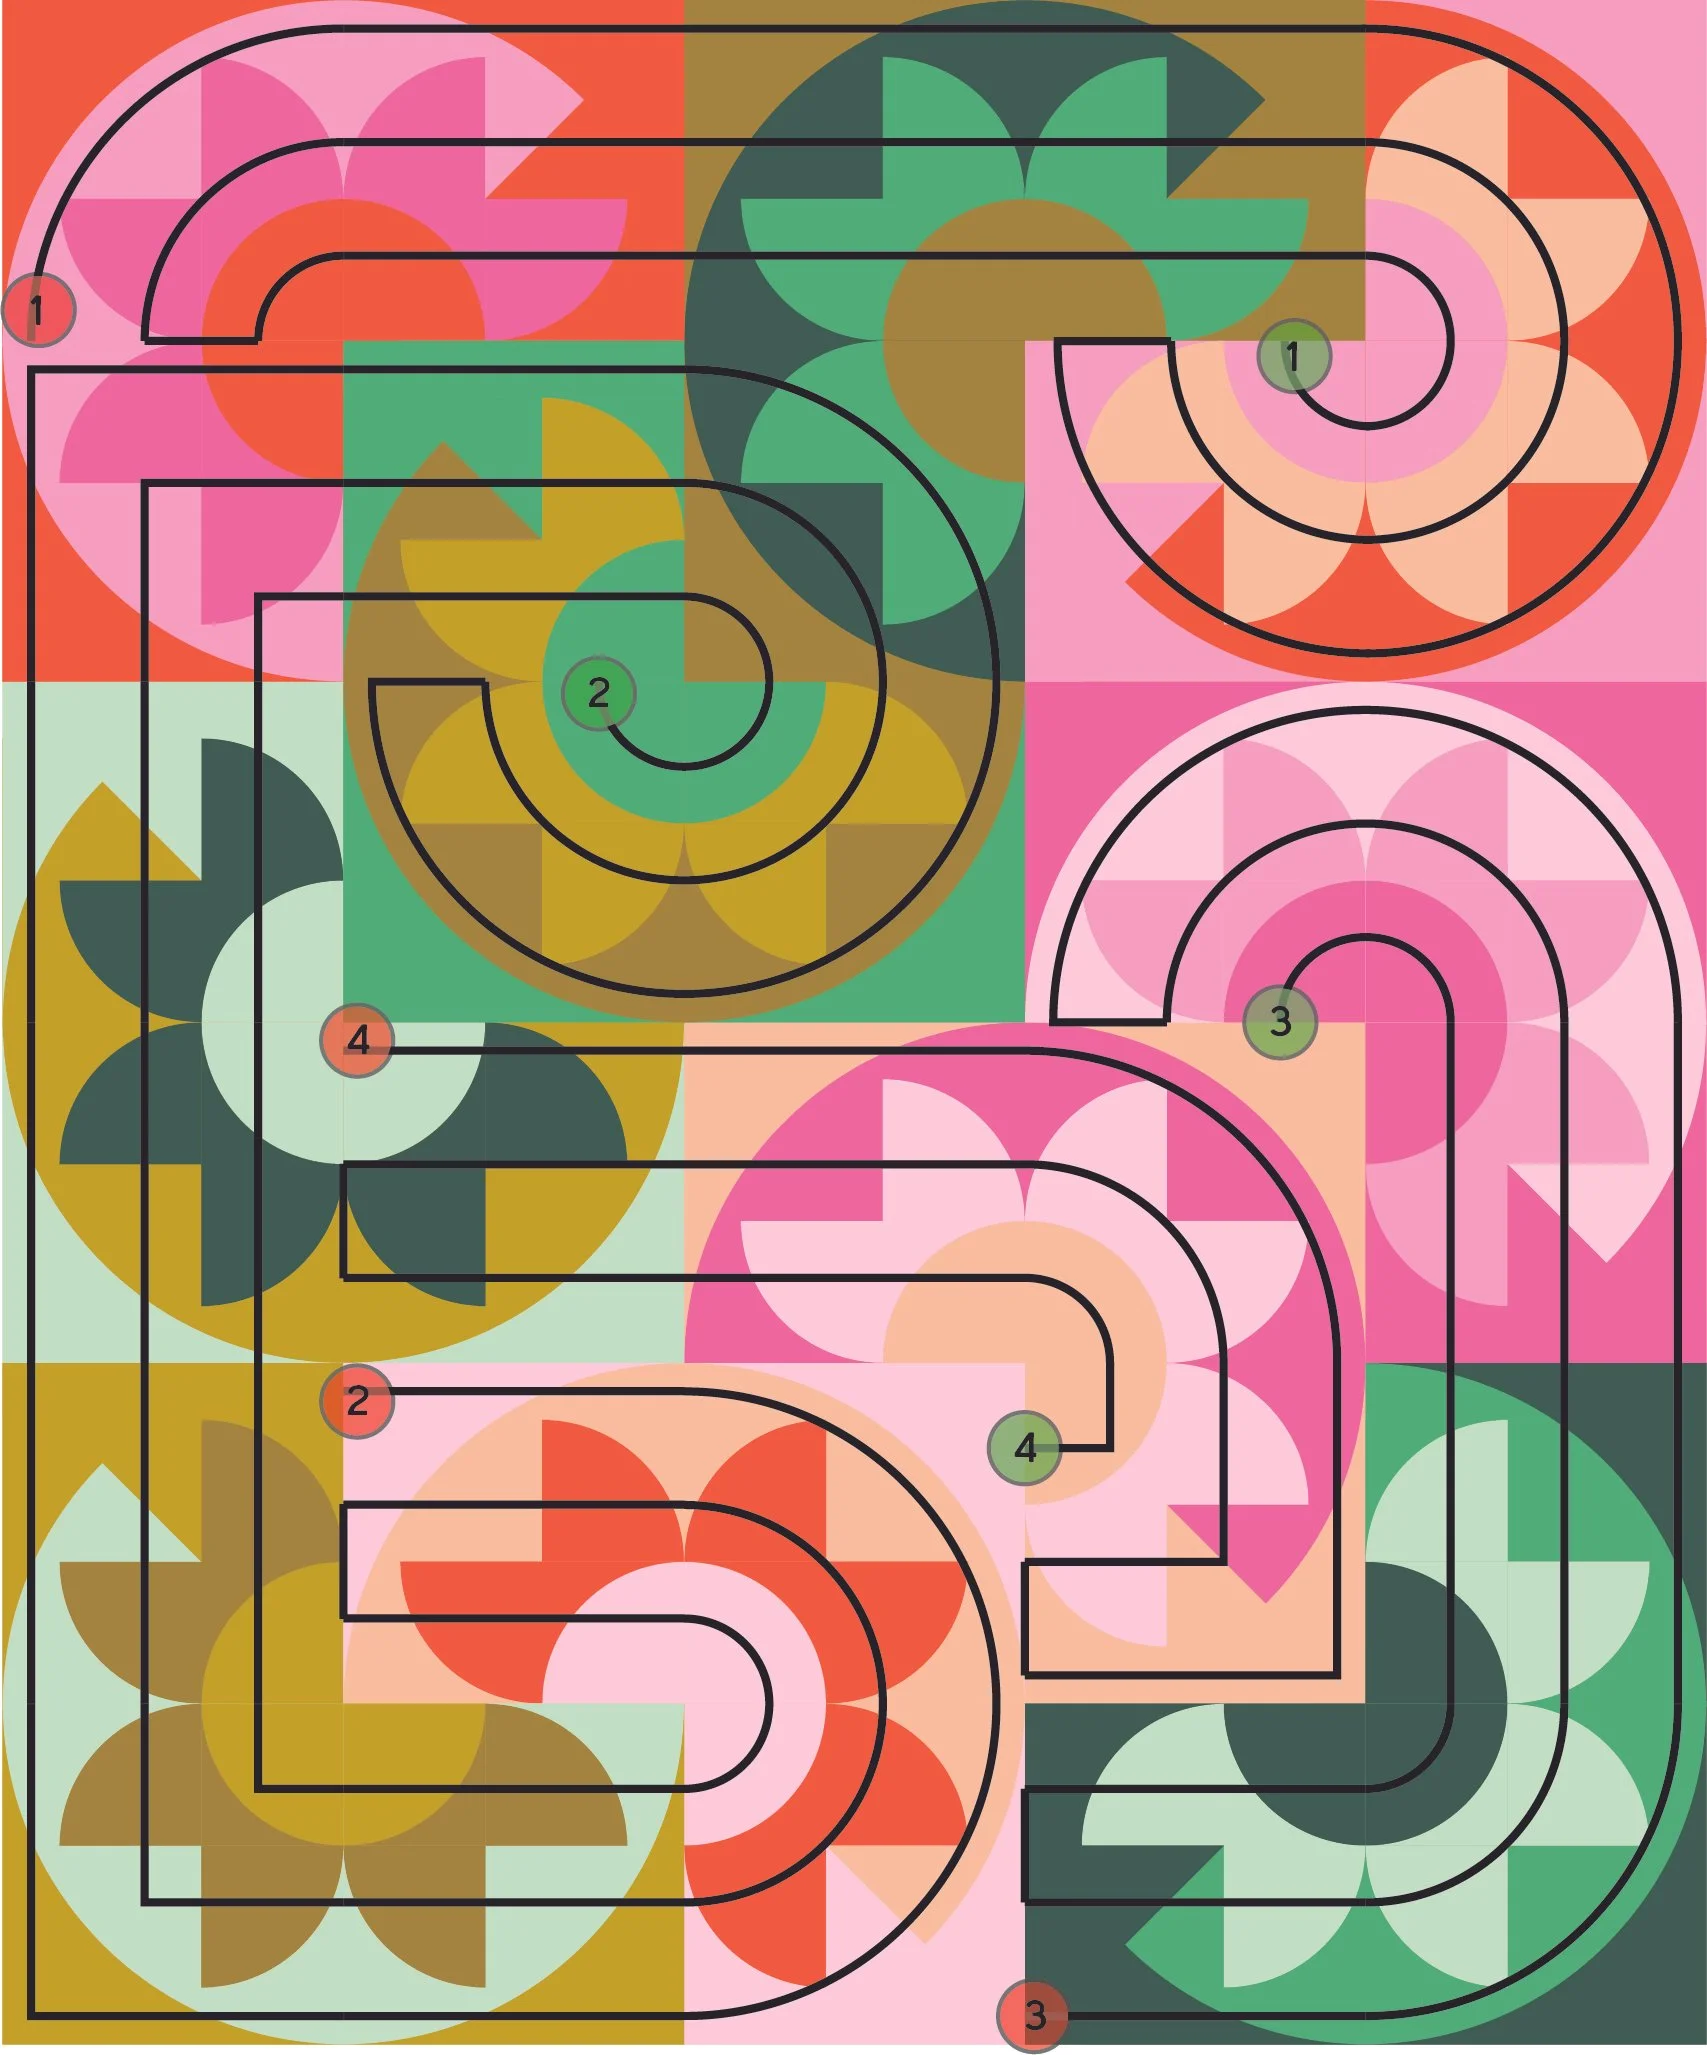
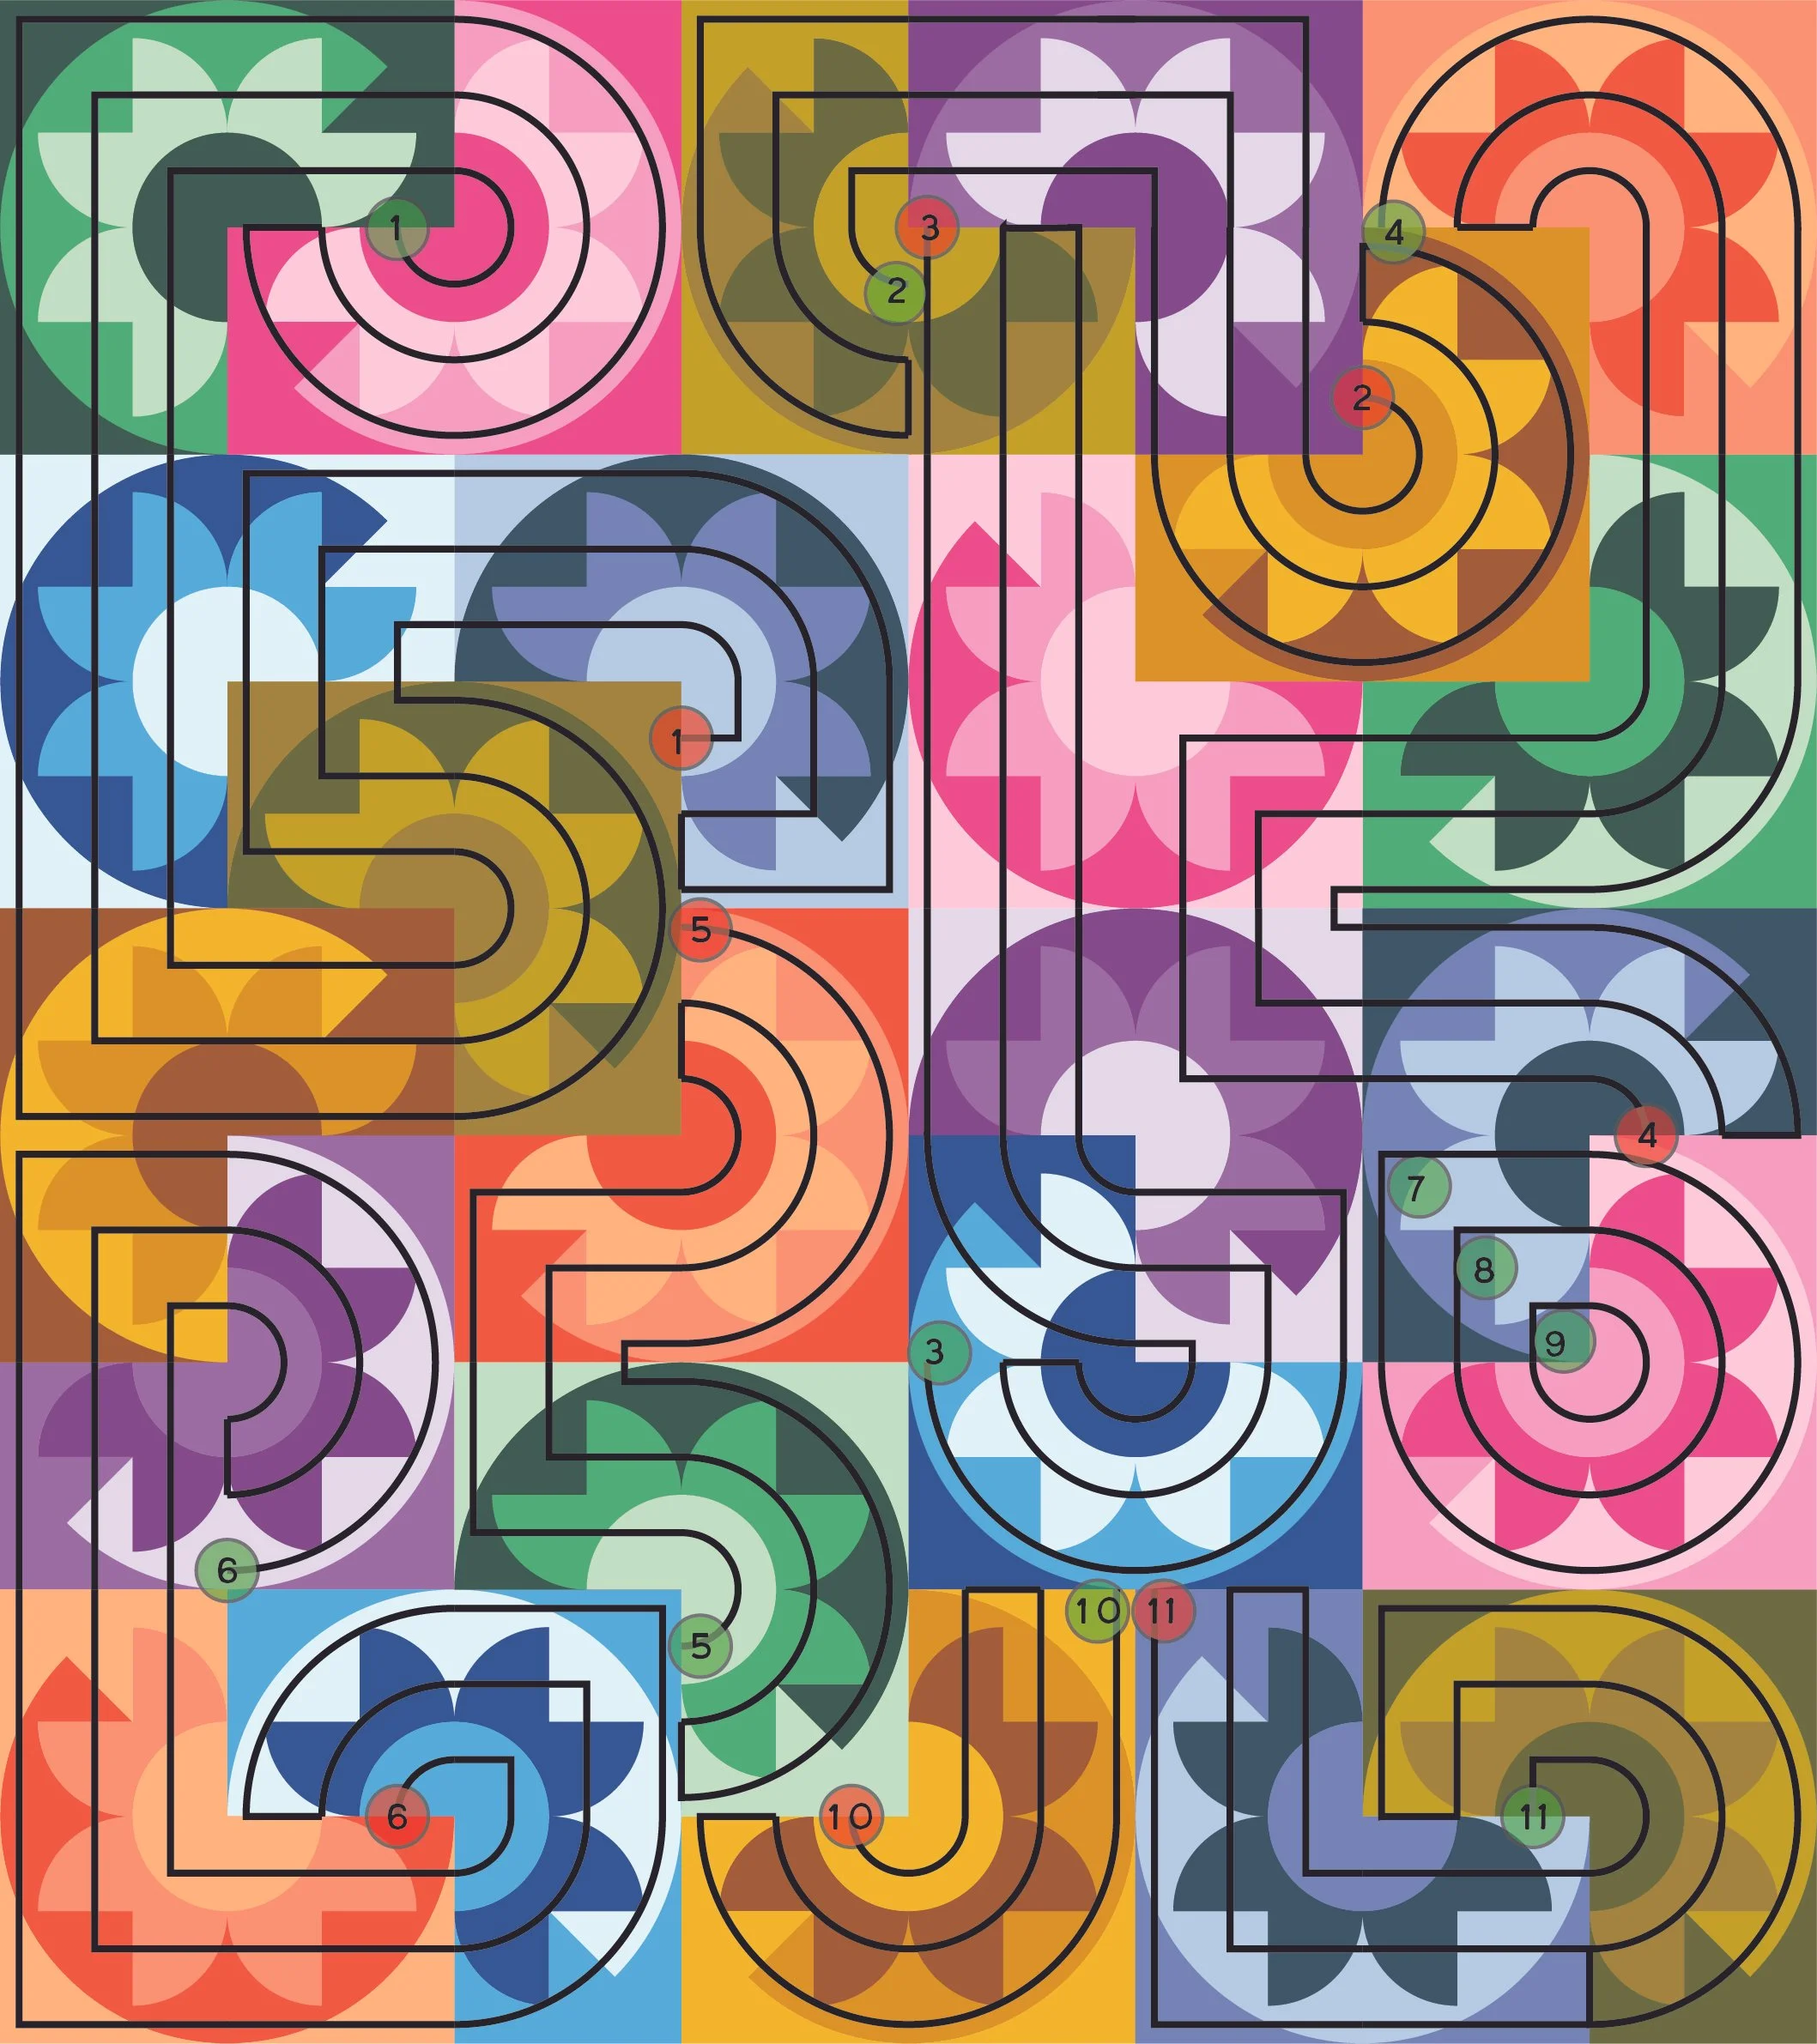
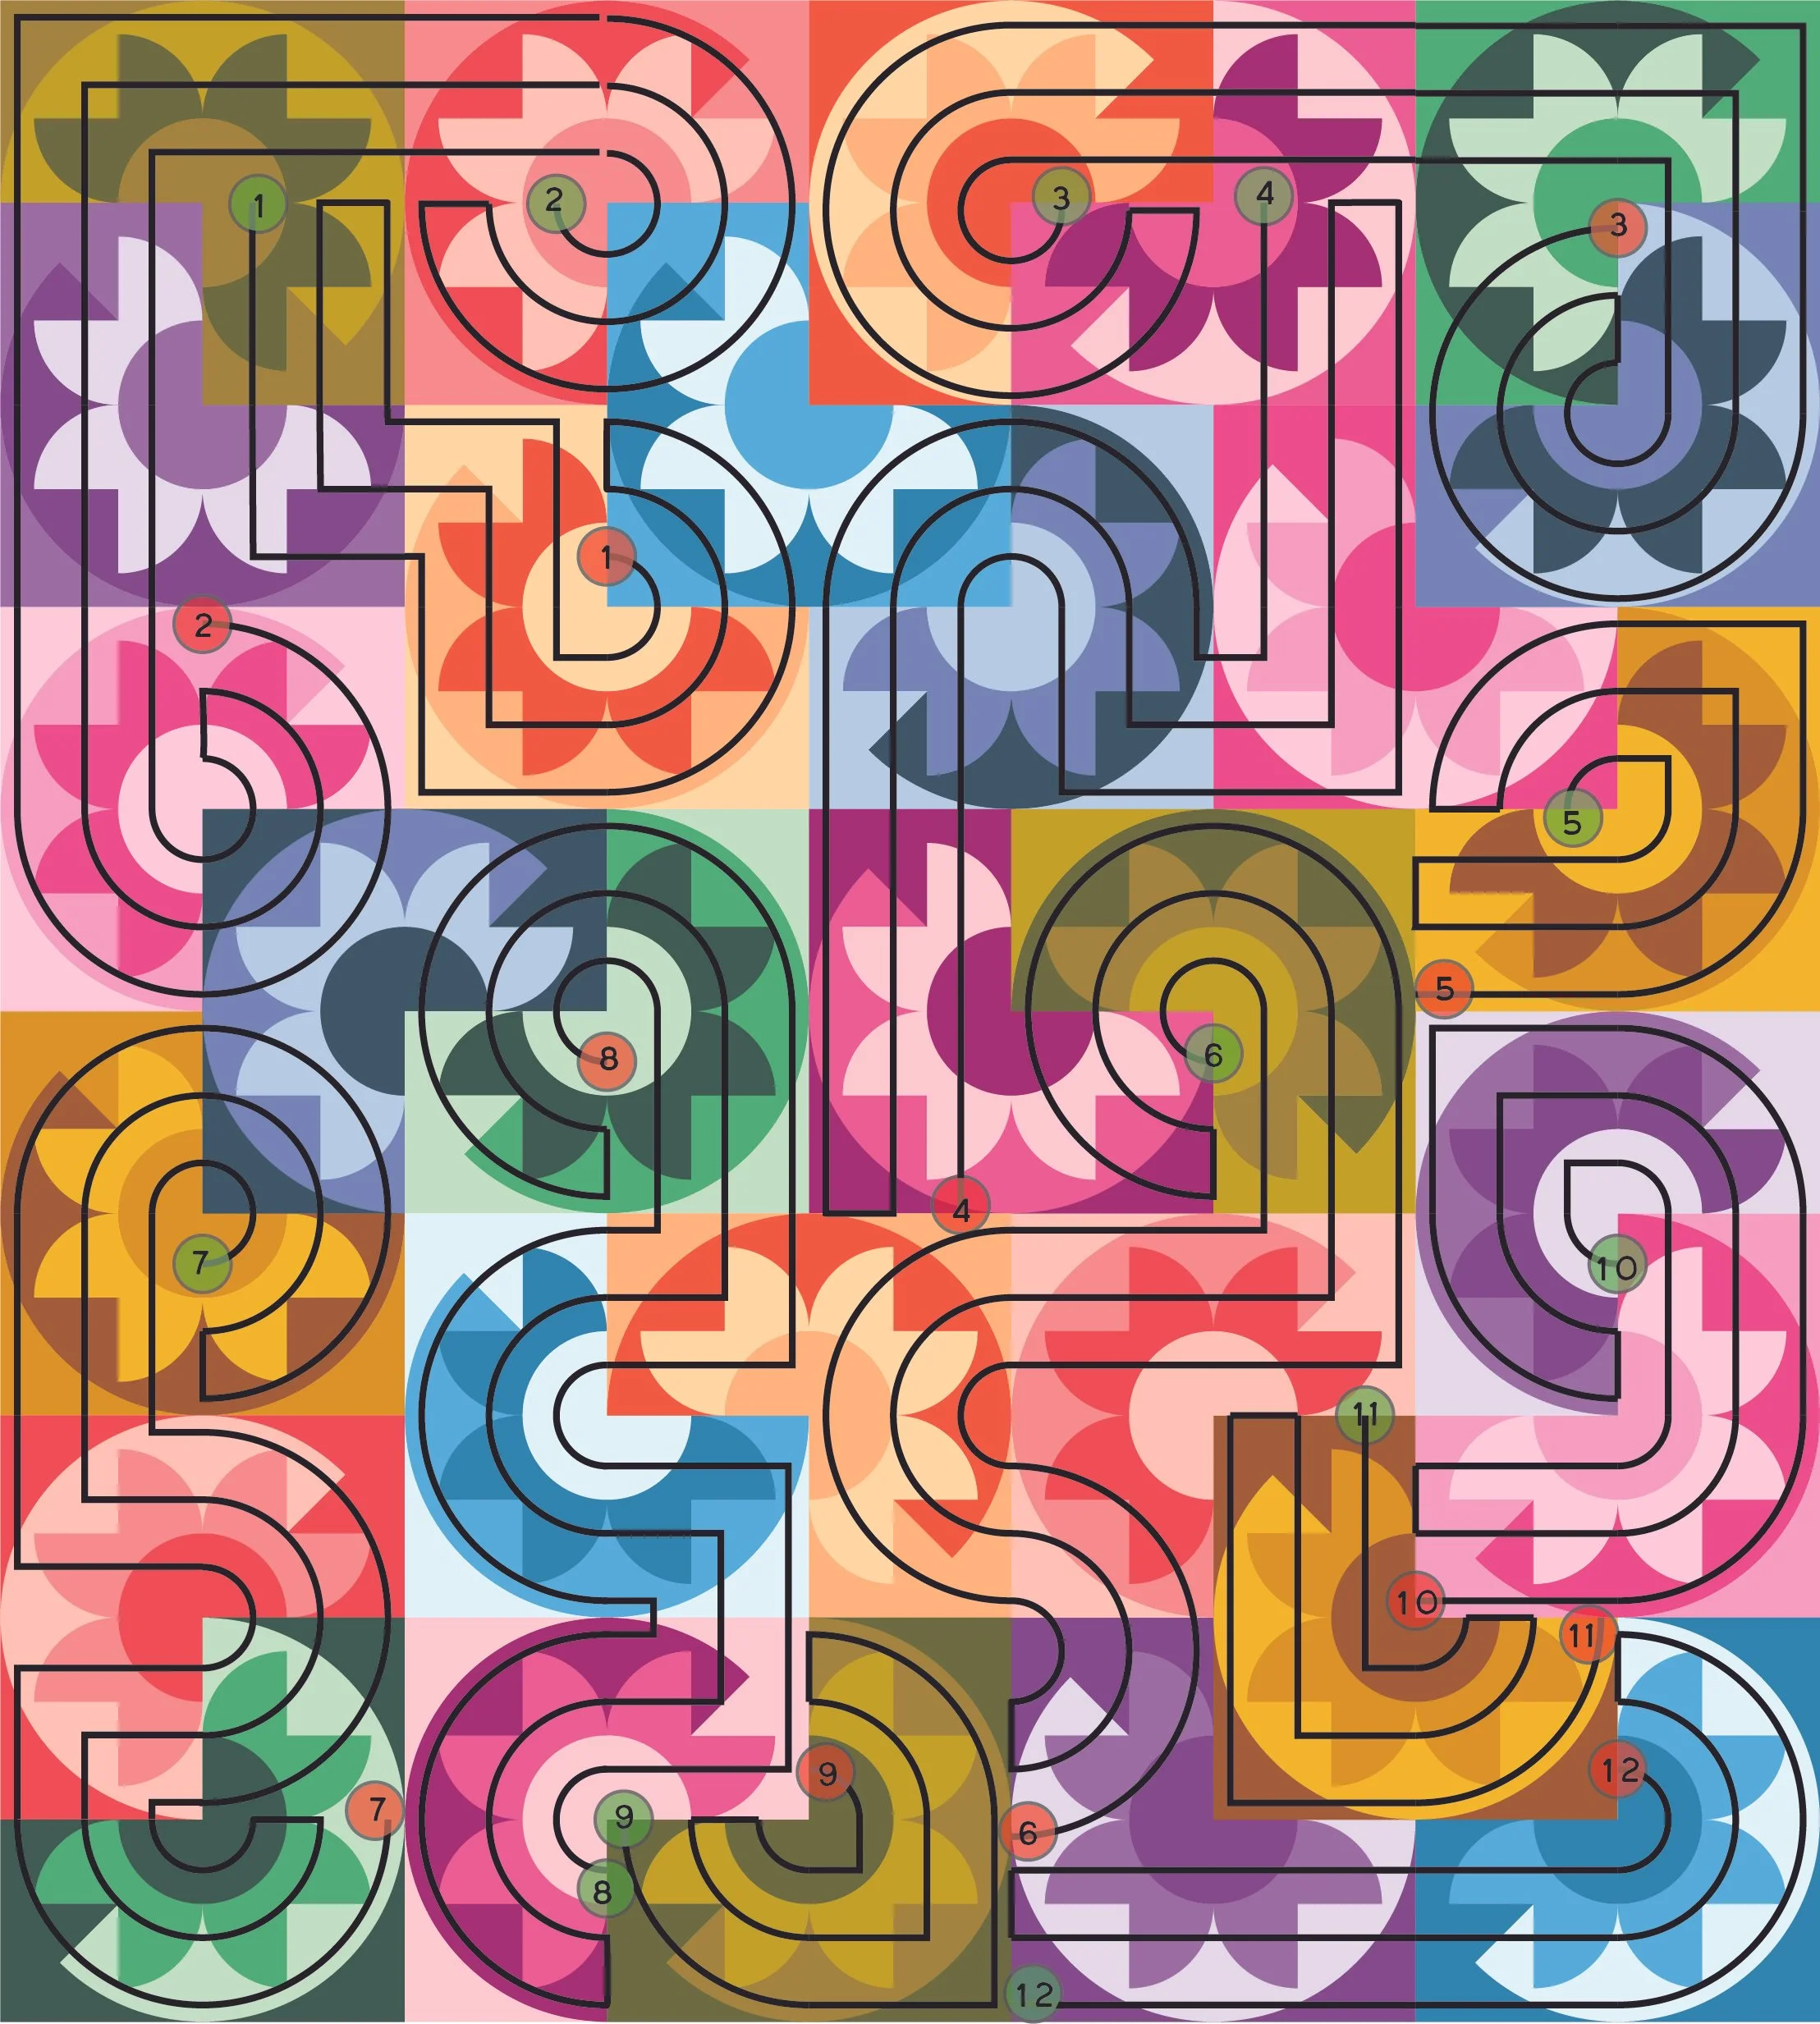
A couple insights about the quilting designs.
All the lines are 2" apart.
There is a fair amount of starting and stopping. Be prepared to bury some threads if you plan to quilt on your domestic machine.
Because the pattern recommends pressing many of the seams open, the quilting lines are designed to avoid stitching in the ditch.
Marking Out The Lines
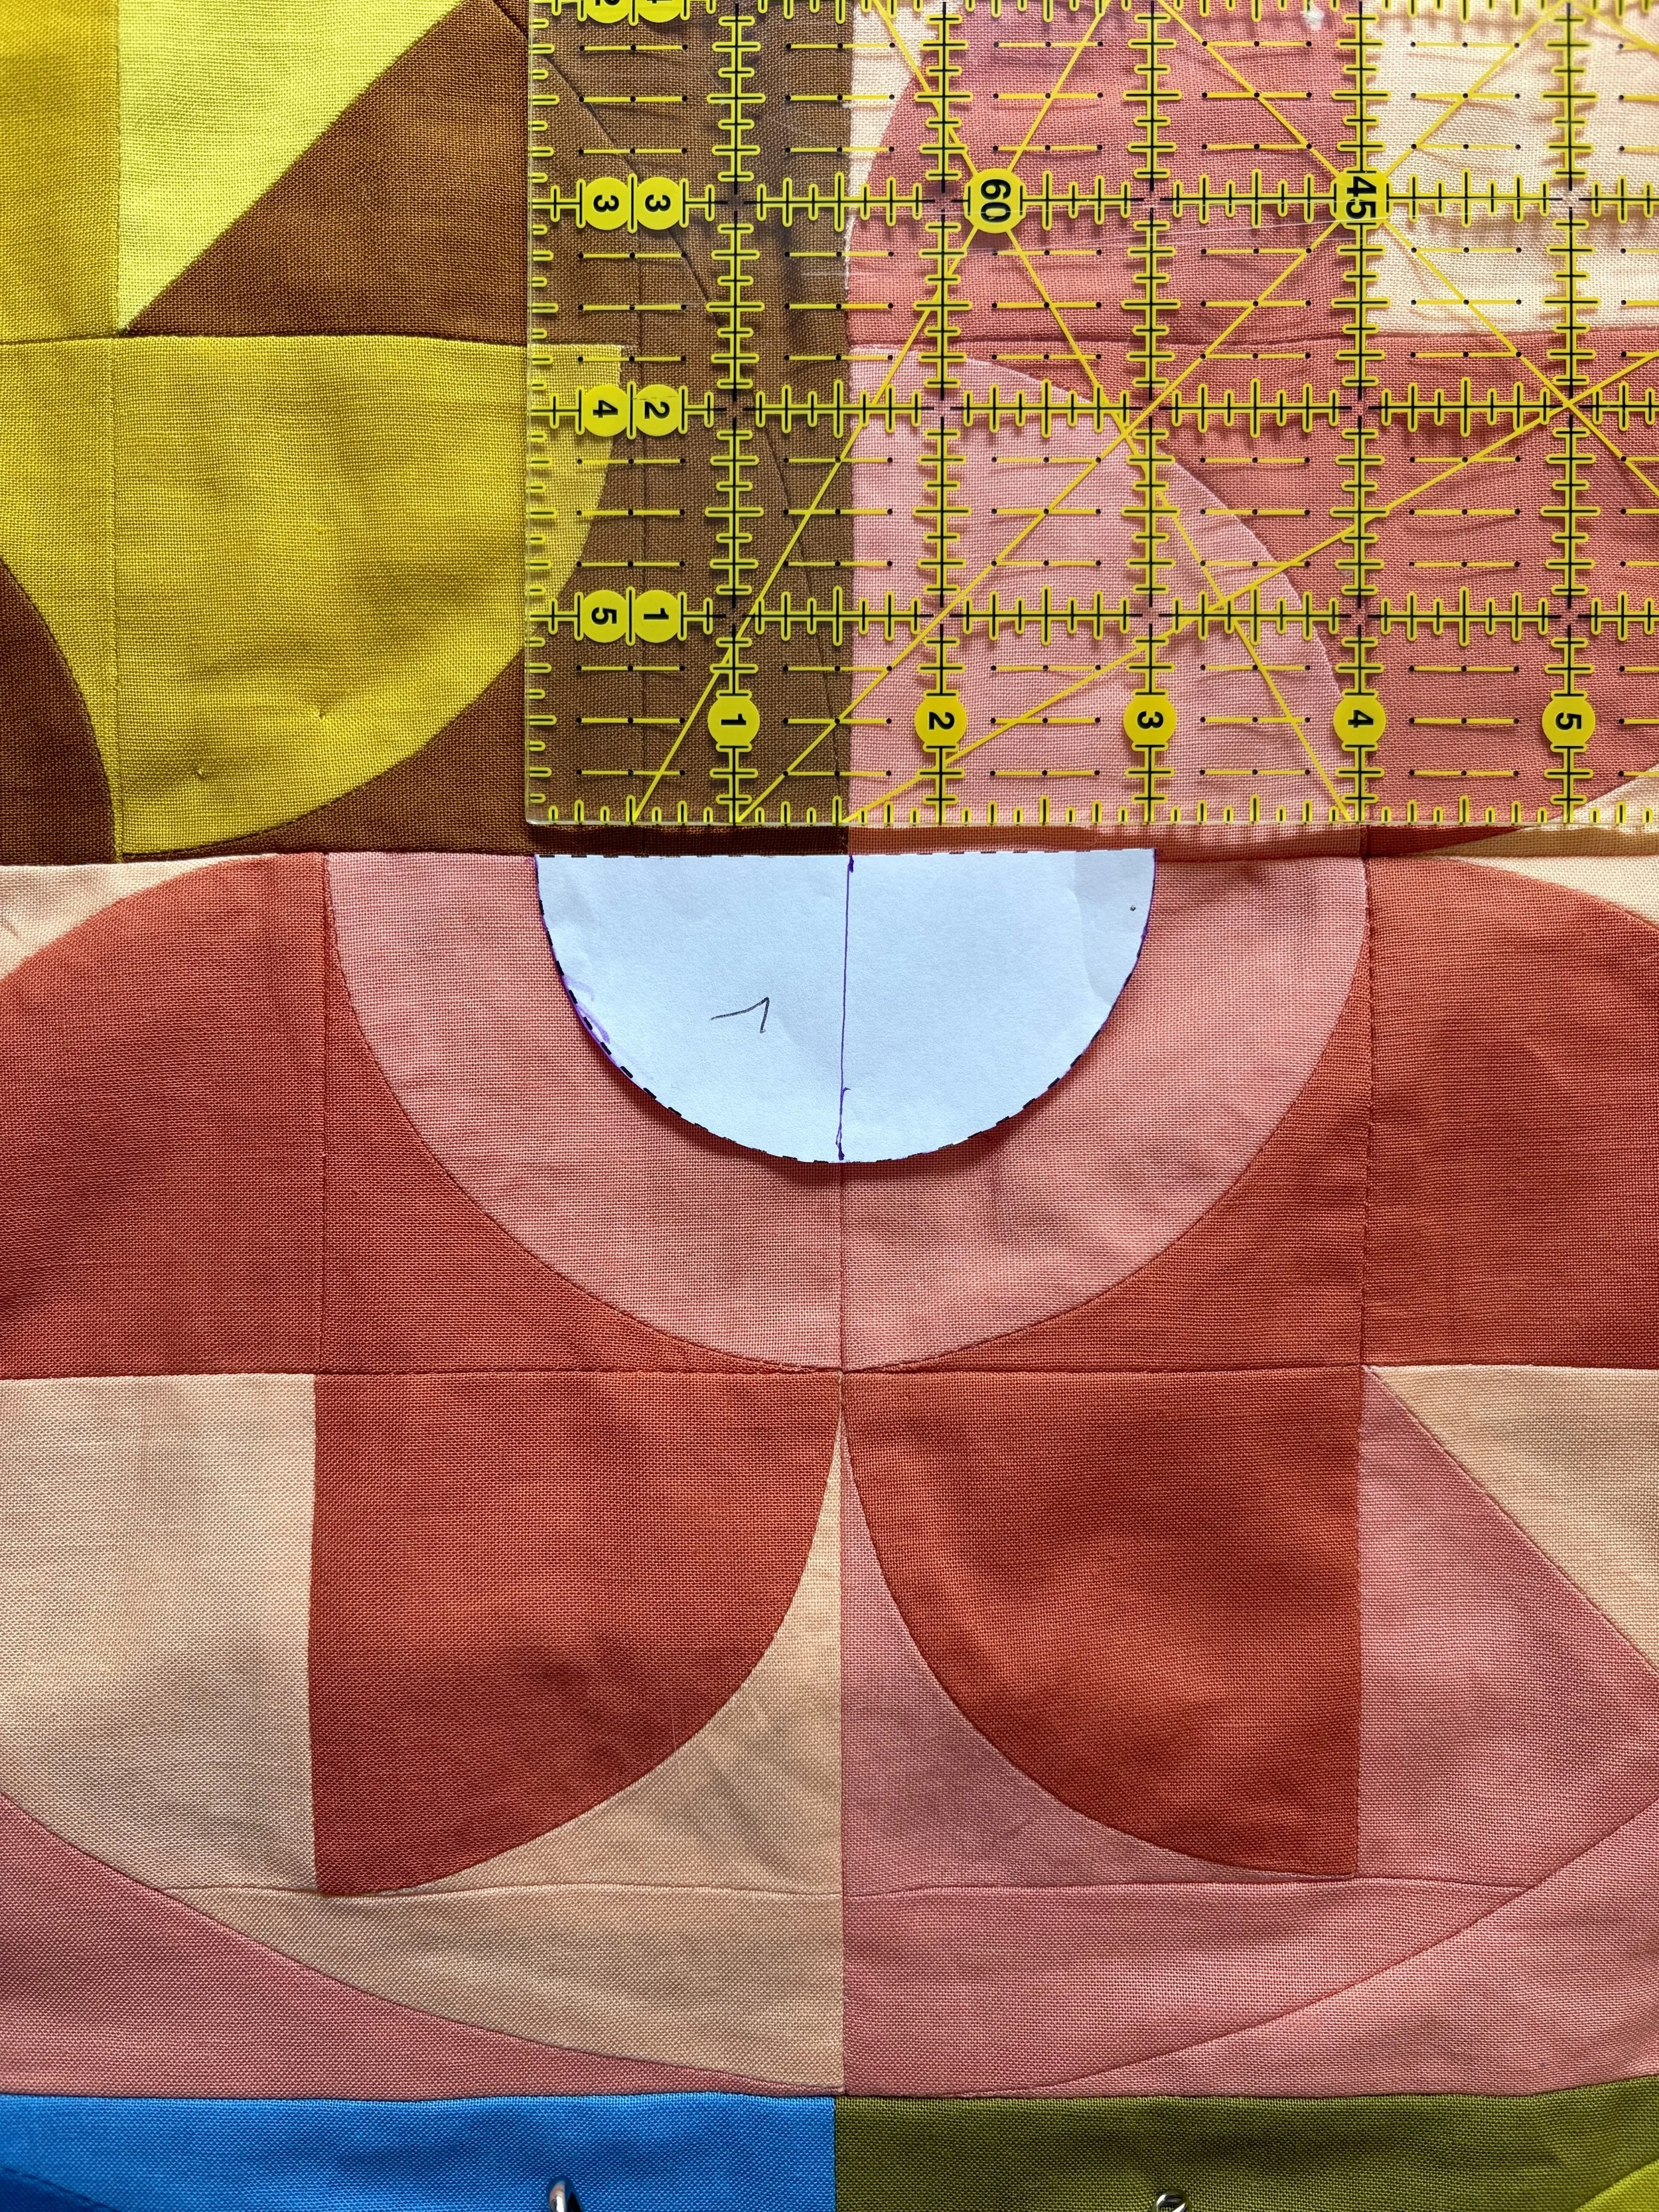
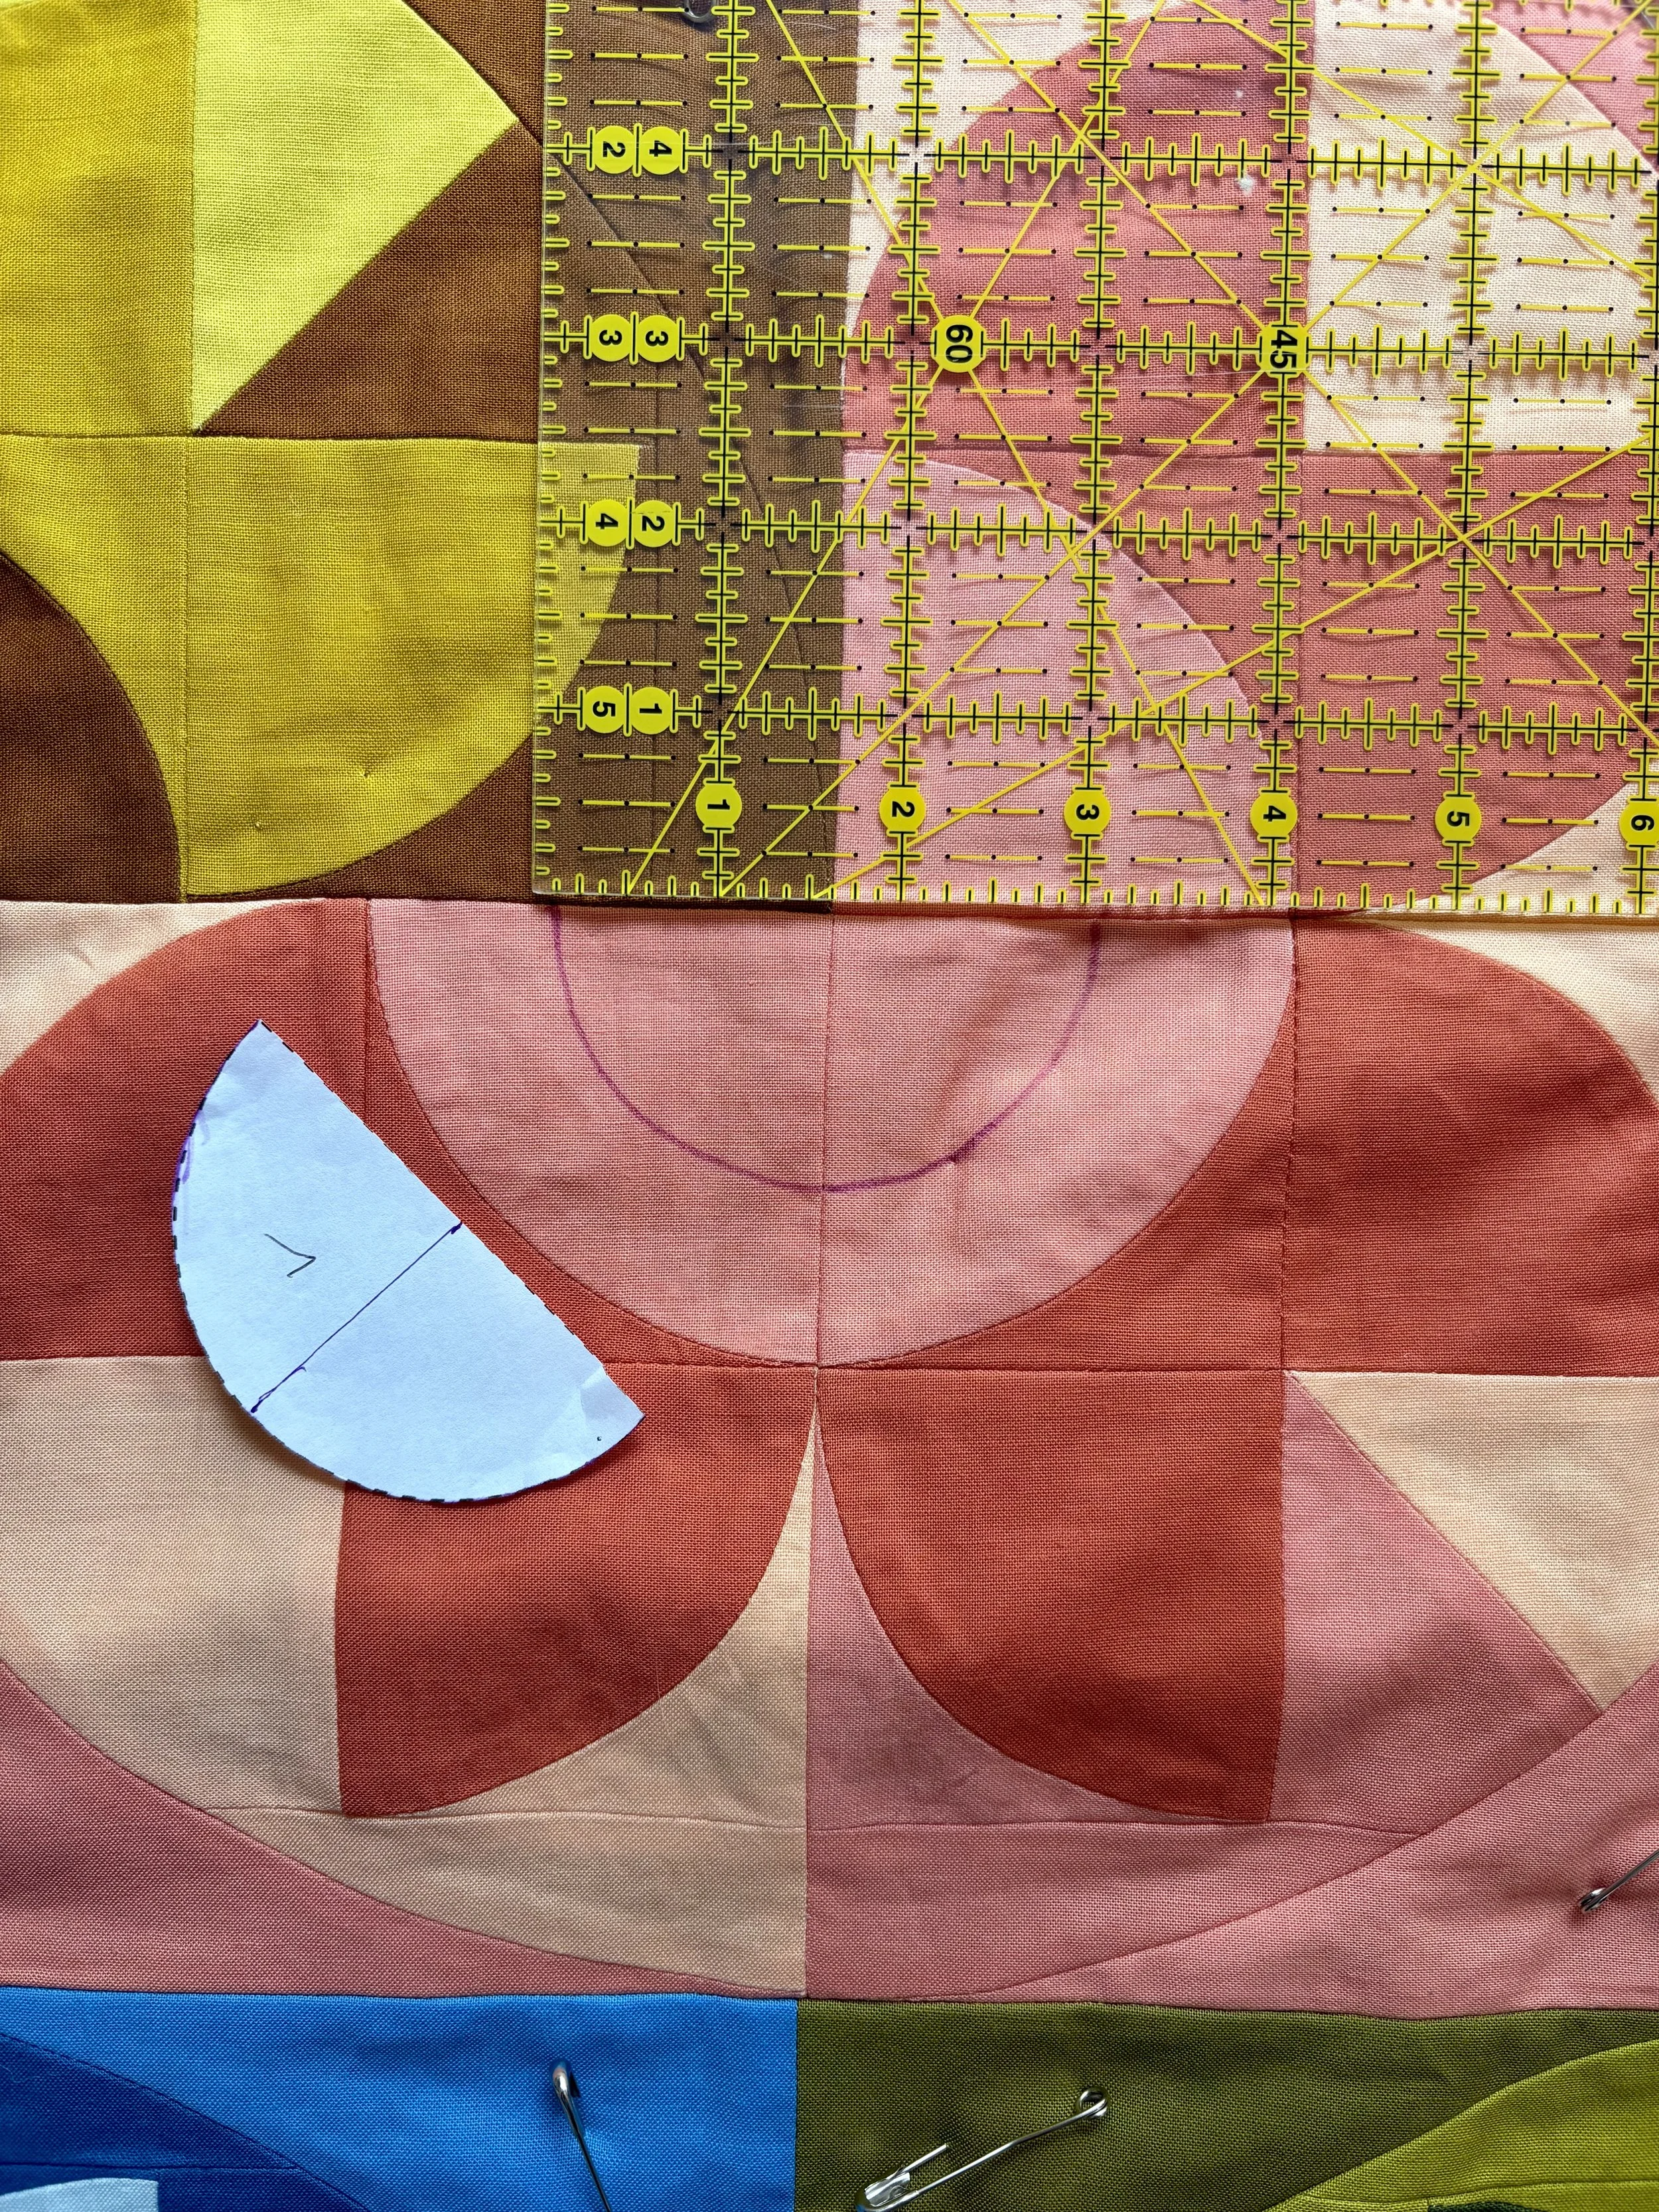
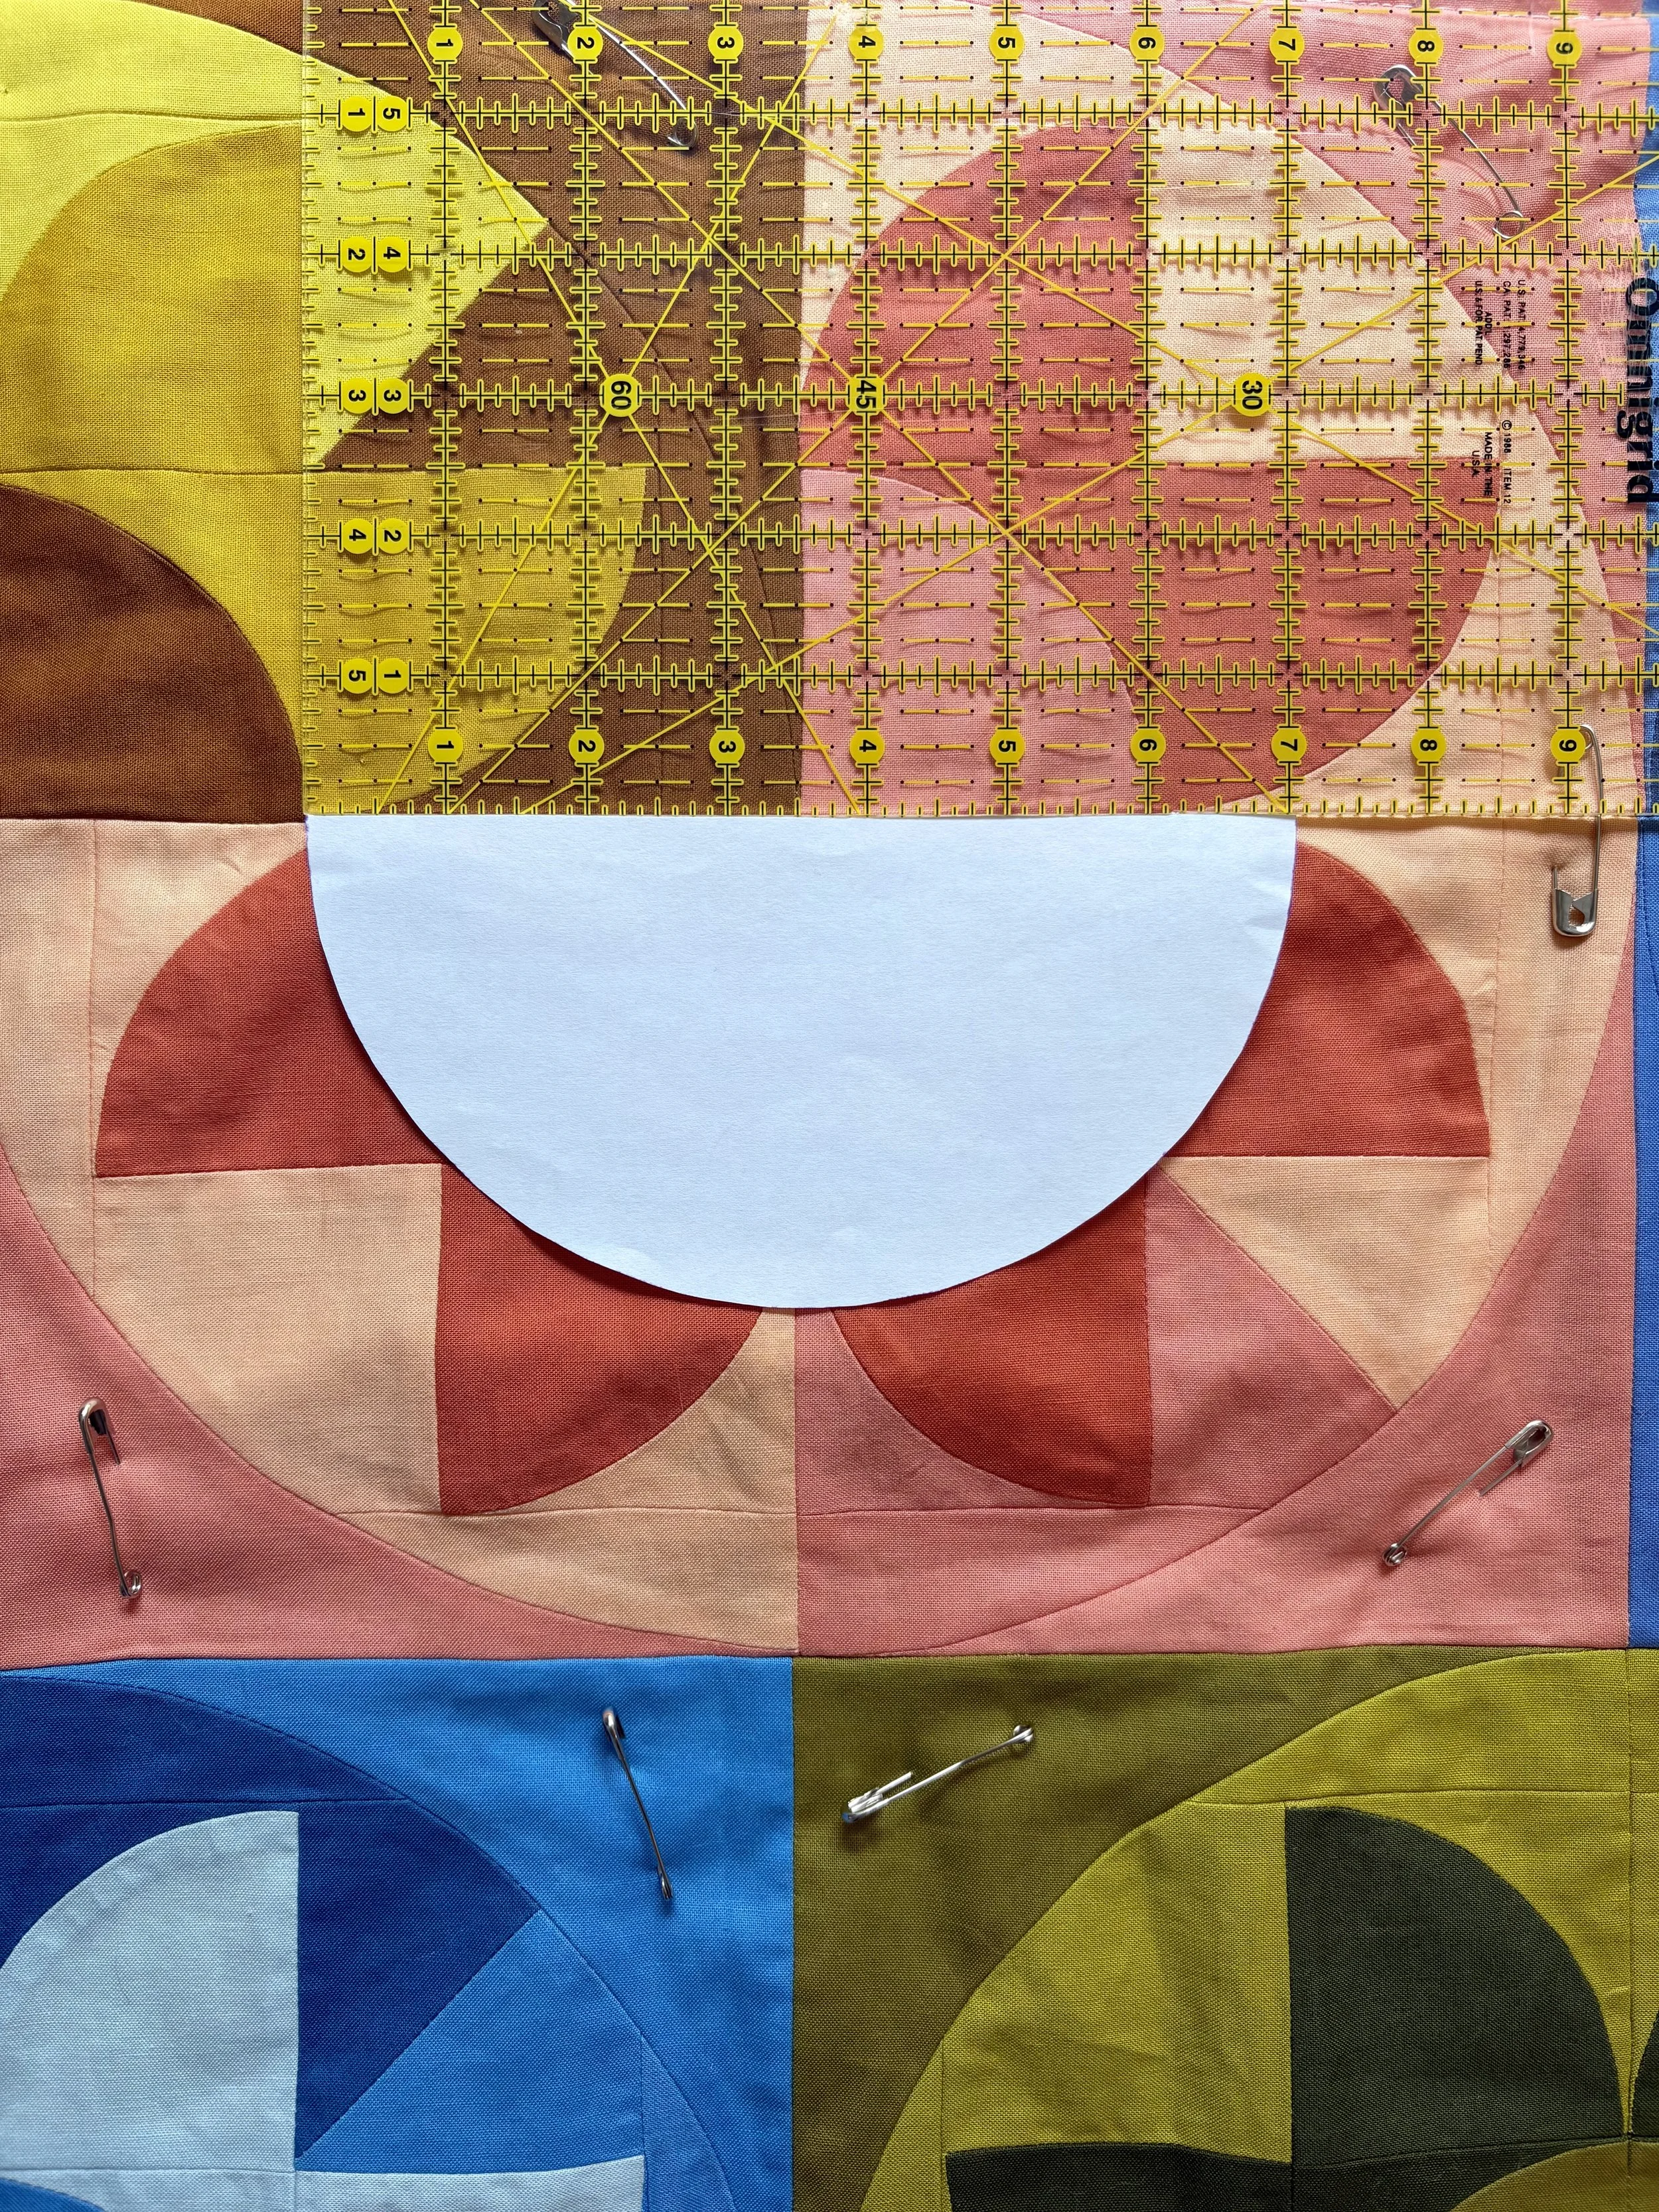
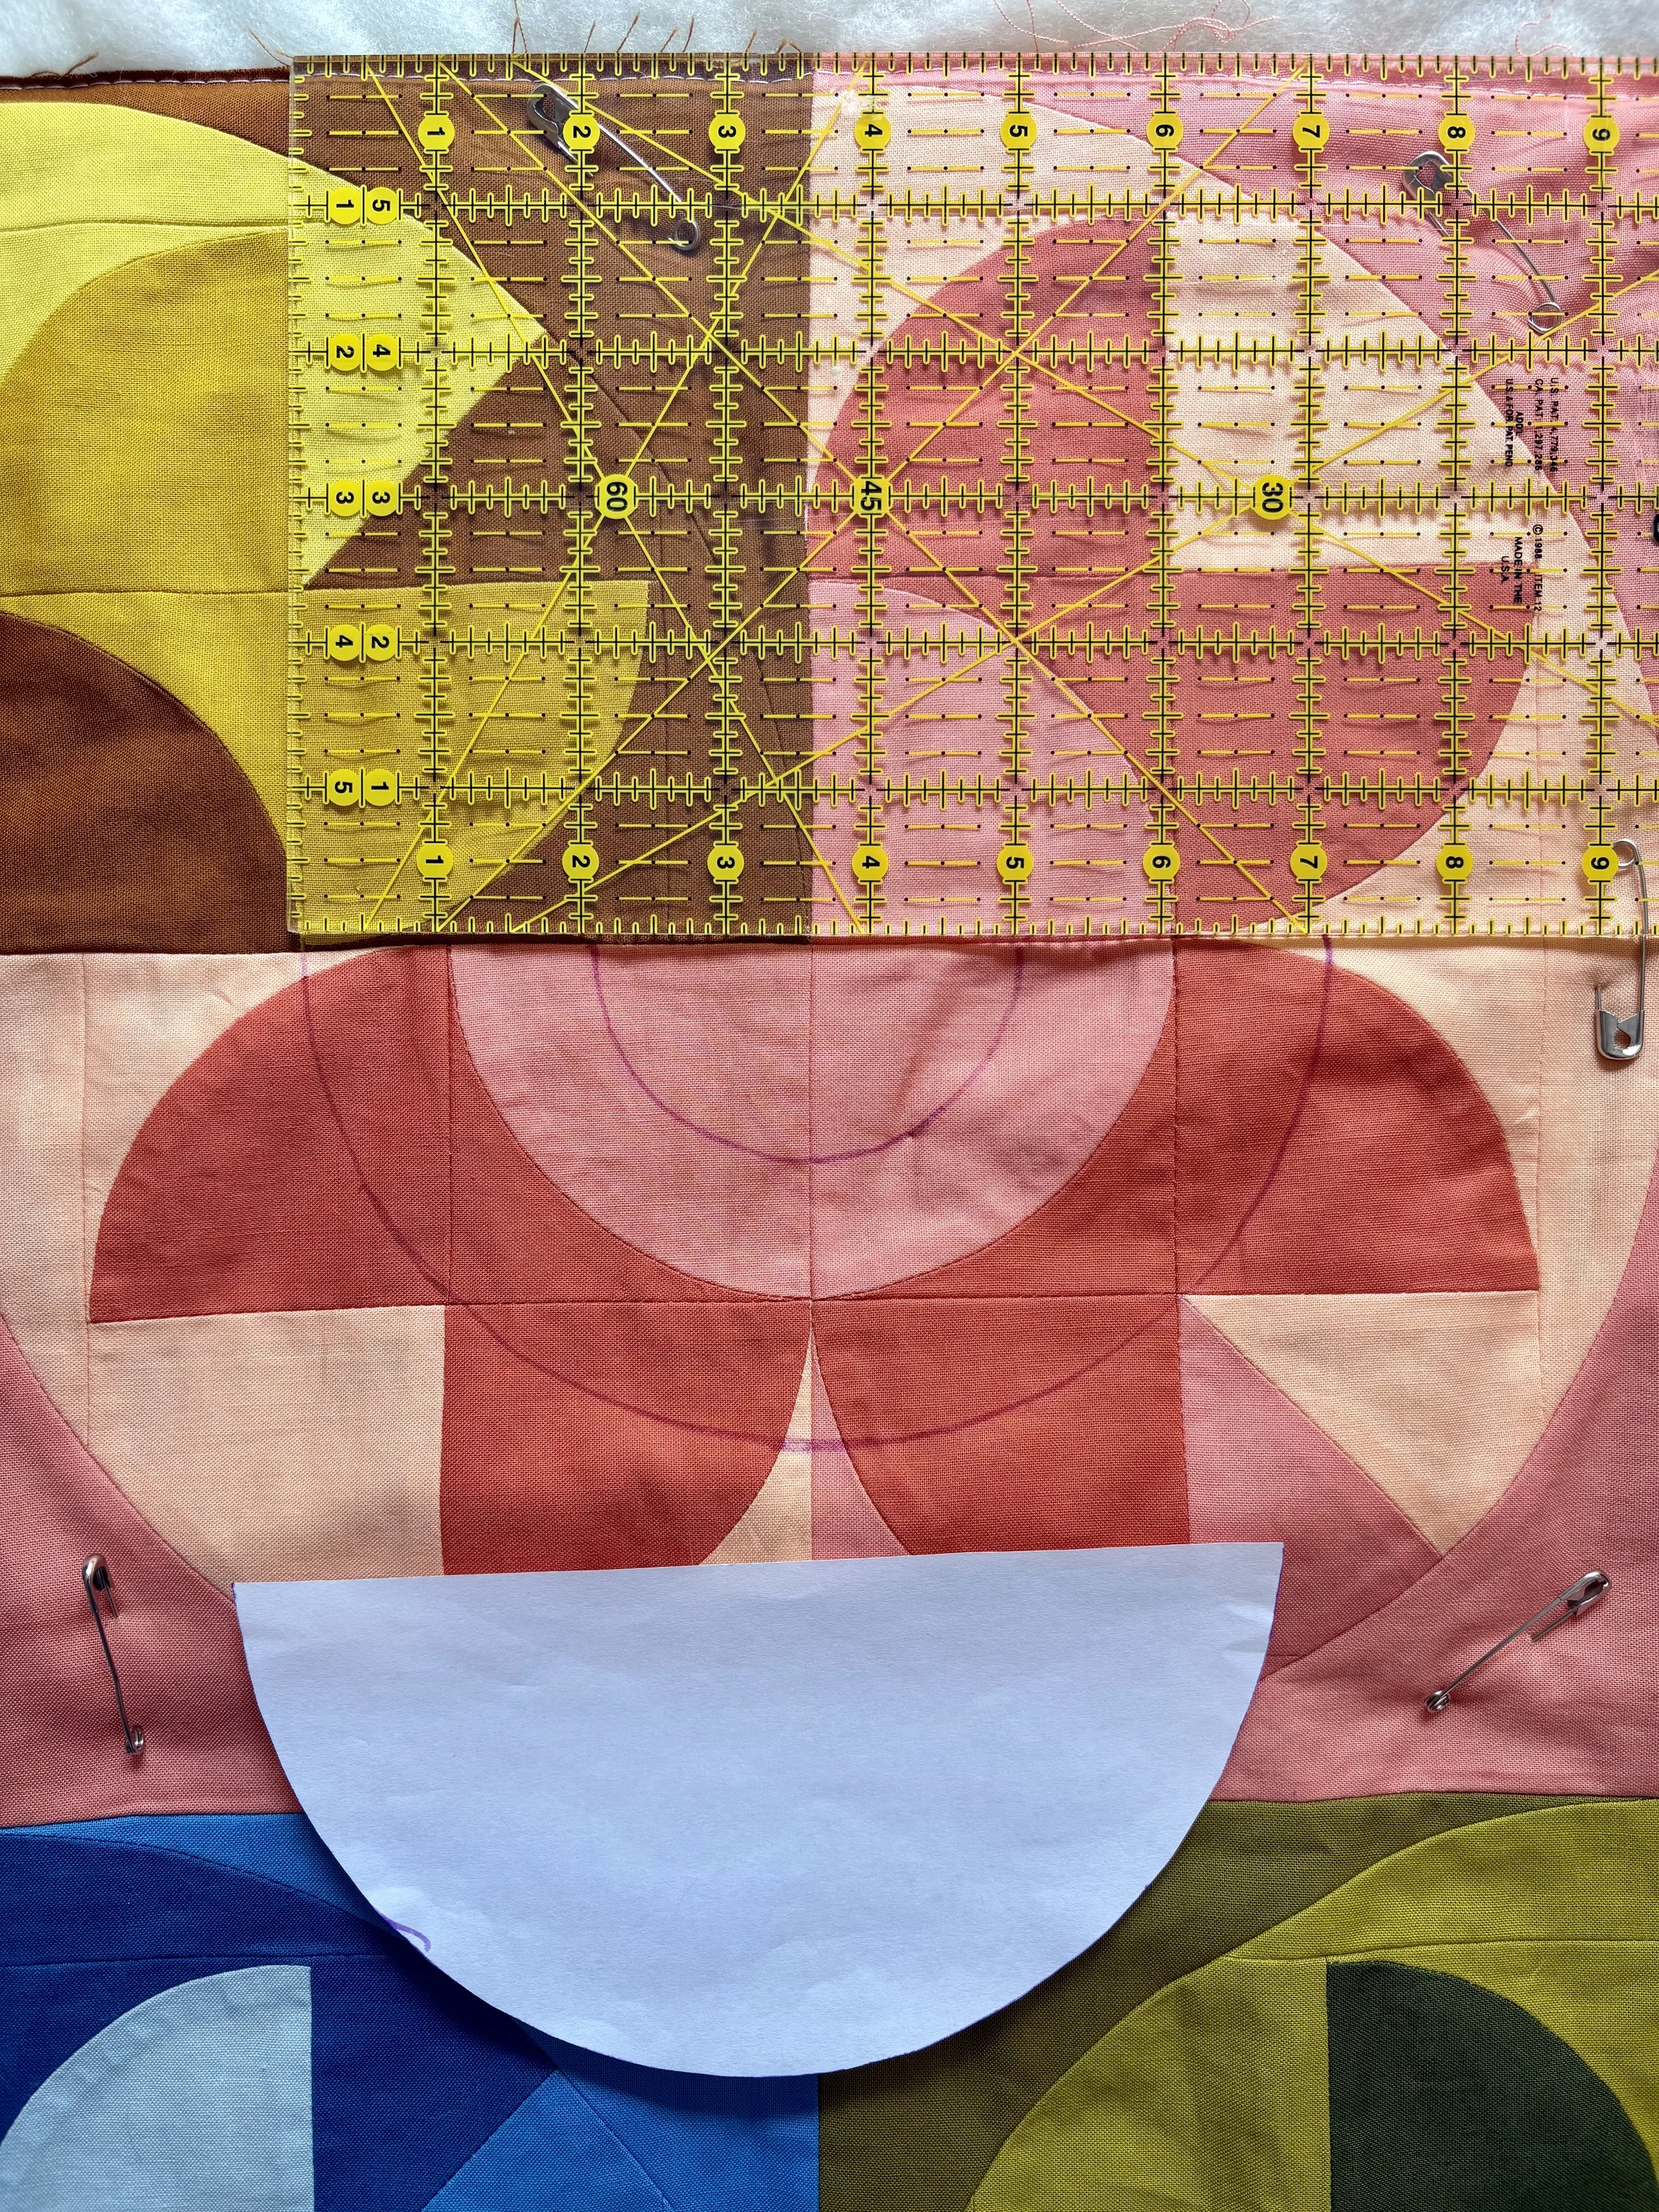
Look closely at the quilting designs - you’ll see each section is made up of three echoed lines. The detailed quilting map in the free download identifies a place to start and stop quilting for each section. When I quilted my top, I marked out one of these sections at time by identifying any curved quilting lines, then using the templates to mark them out.
The diameter of the smallest quilted circle is 3". The diameter of the middle circle is 7". And the diameter of the large circle is 11". If you have a circular drawing method, just center the circles at the inside corner of any flower motif and get to work. If you need help drawing the curves, I’ve included quarter and half circle templates in the quilting guide so you can trace them on your quilt top. Just align the center seam with the center of the template and trace away.
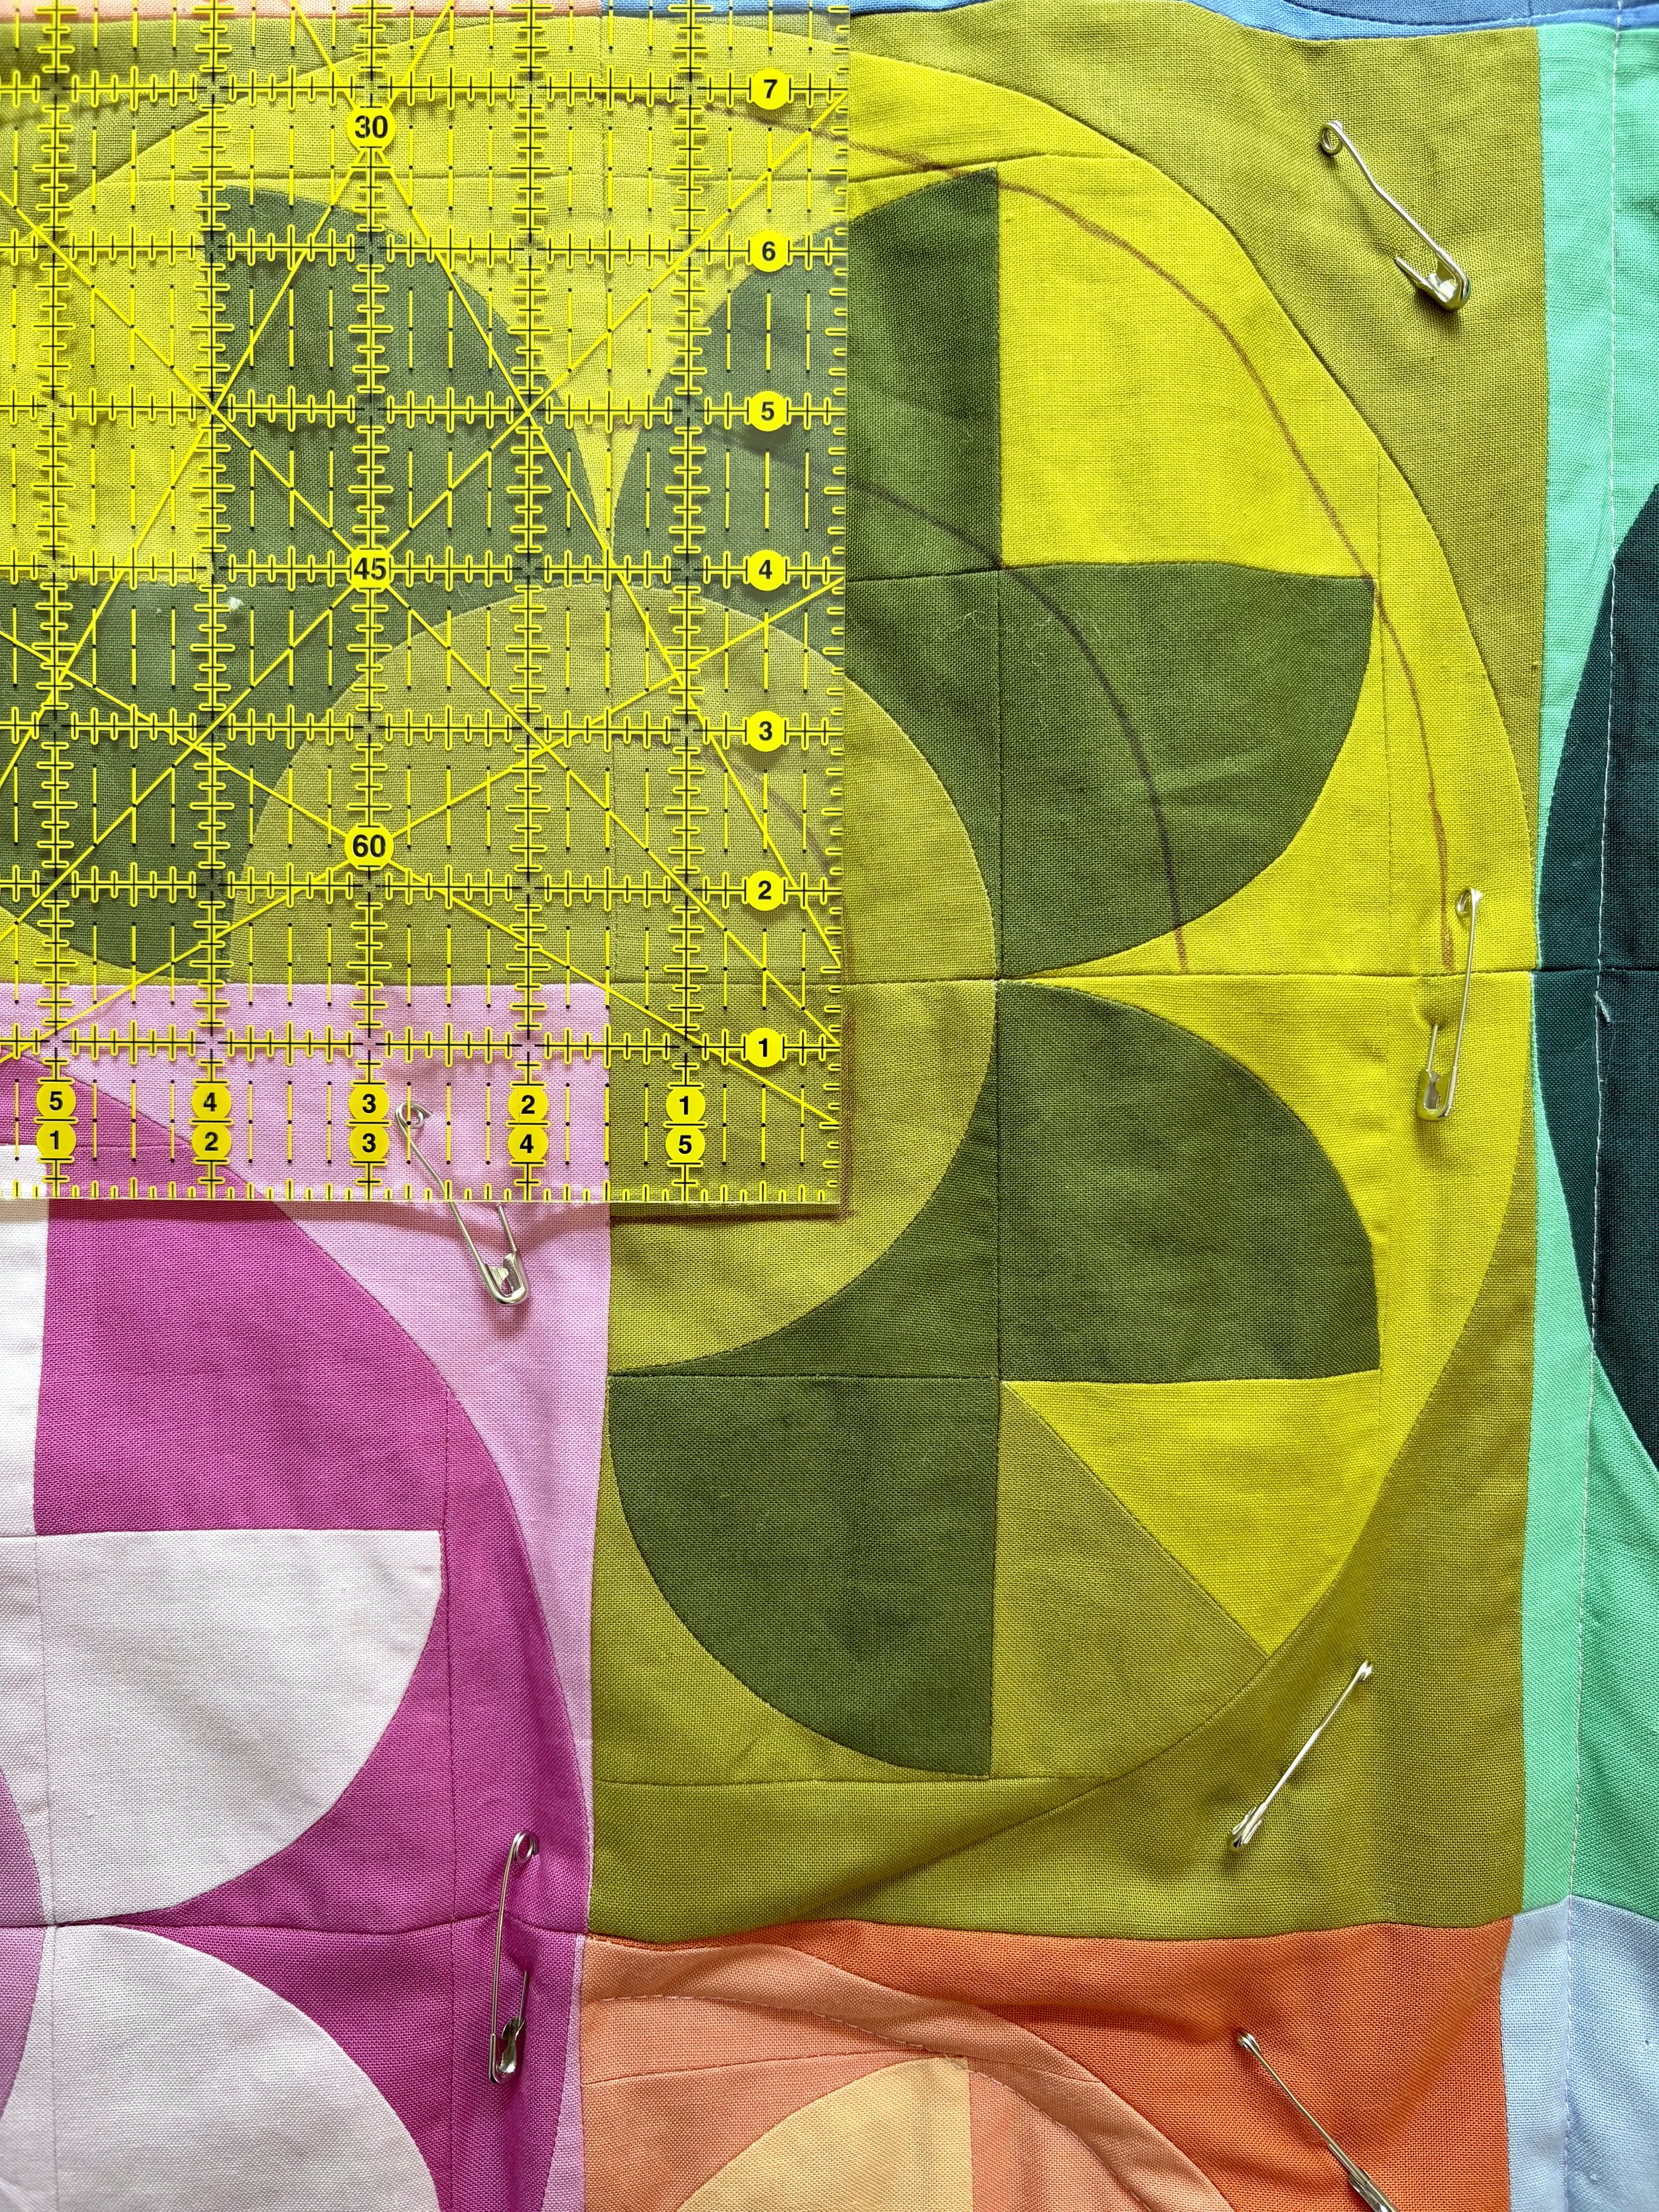
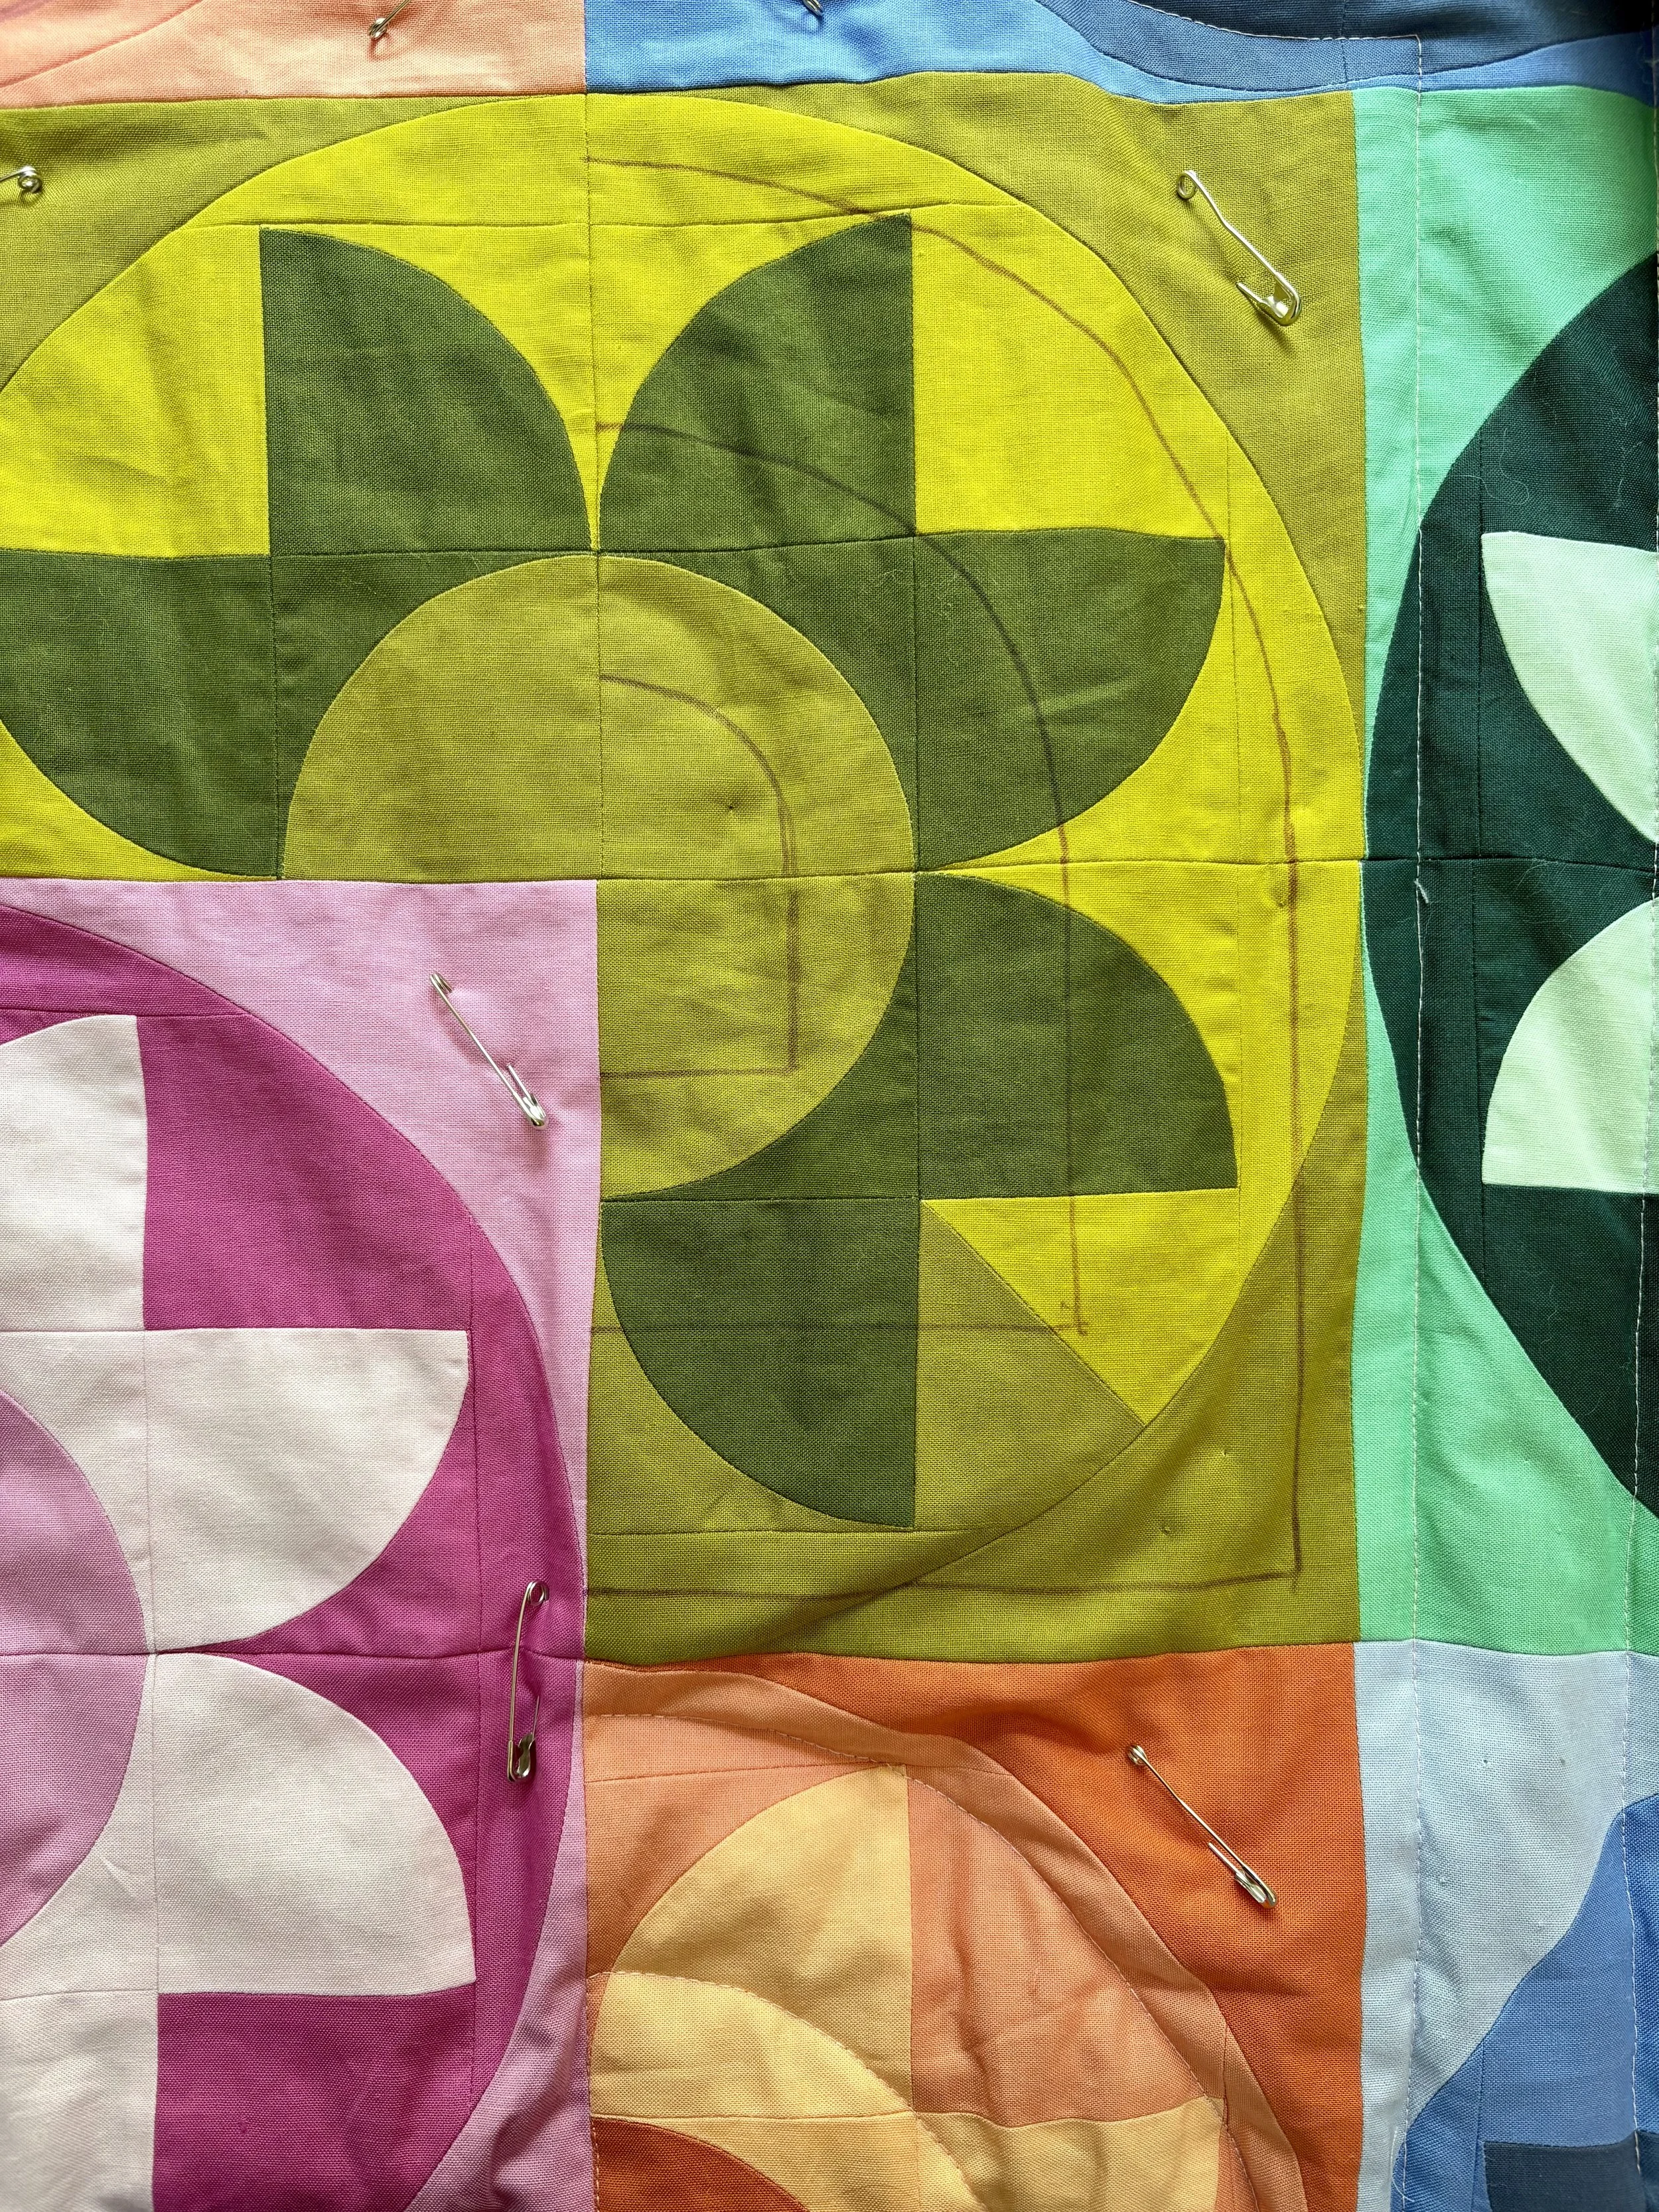
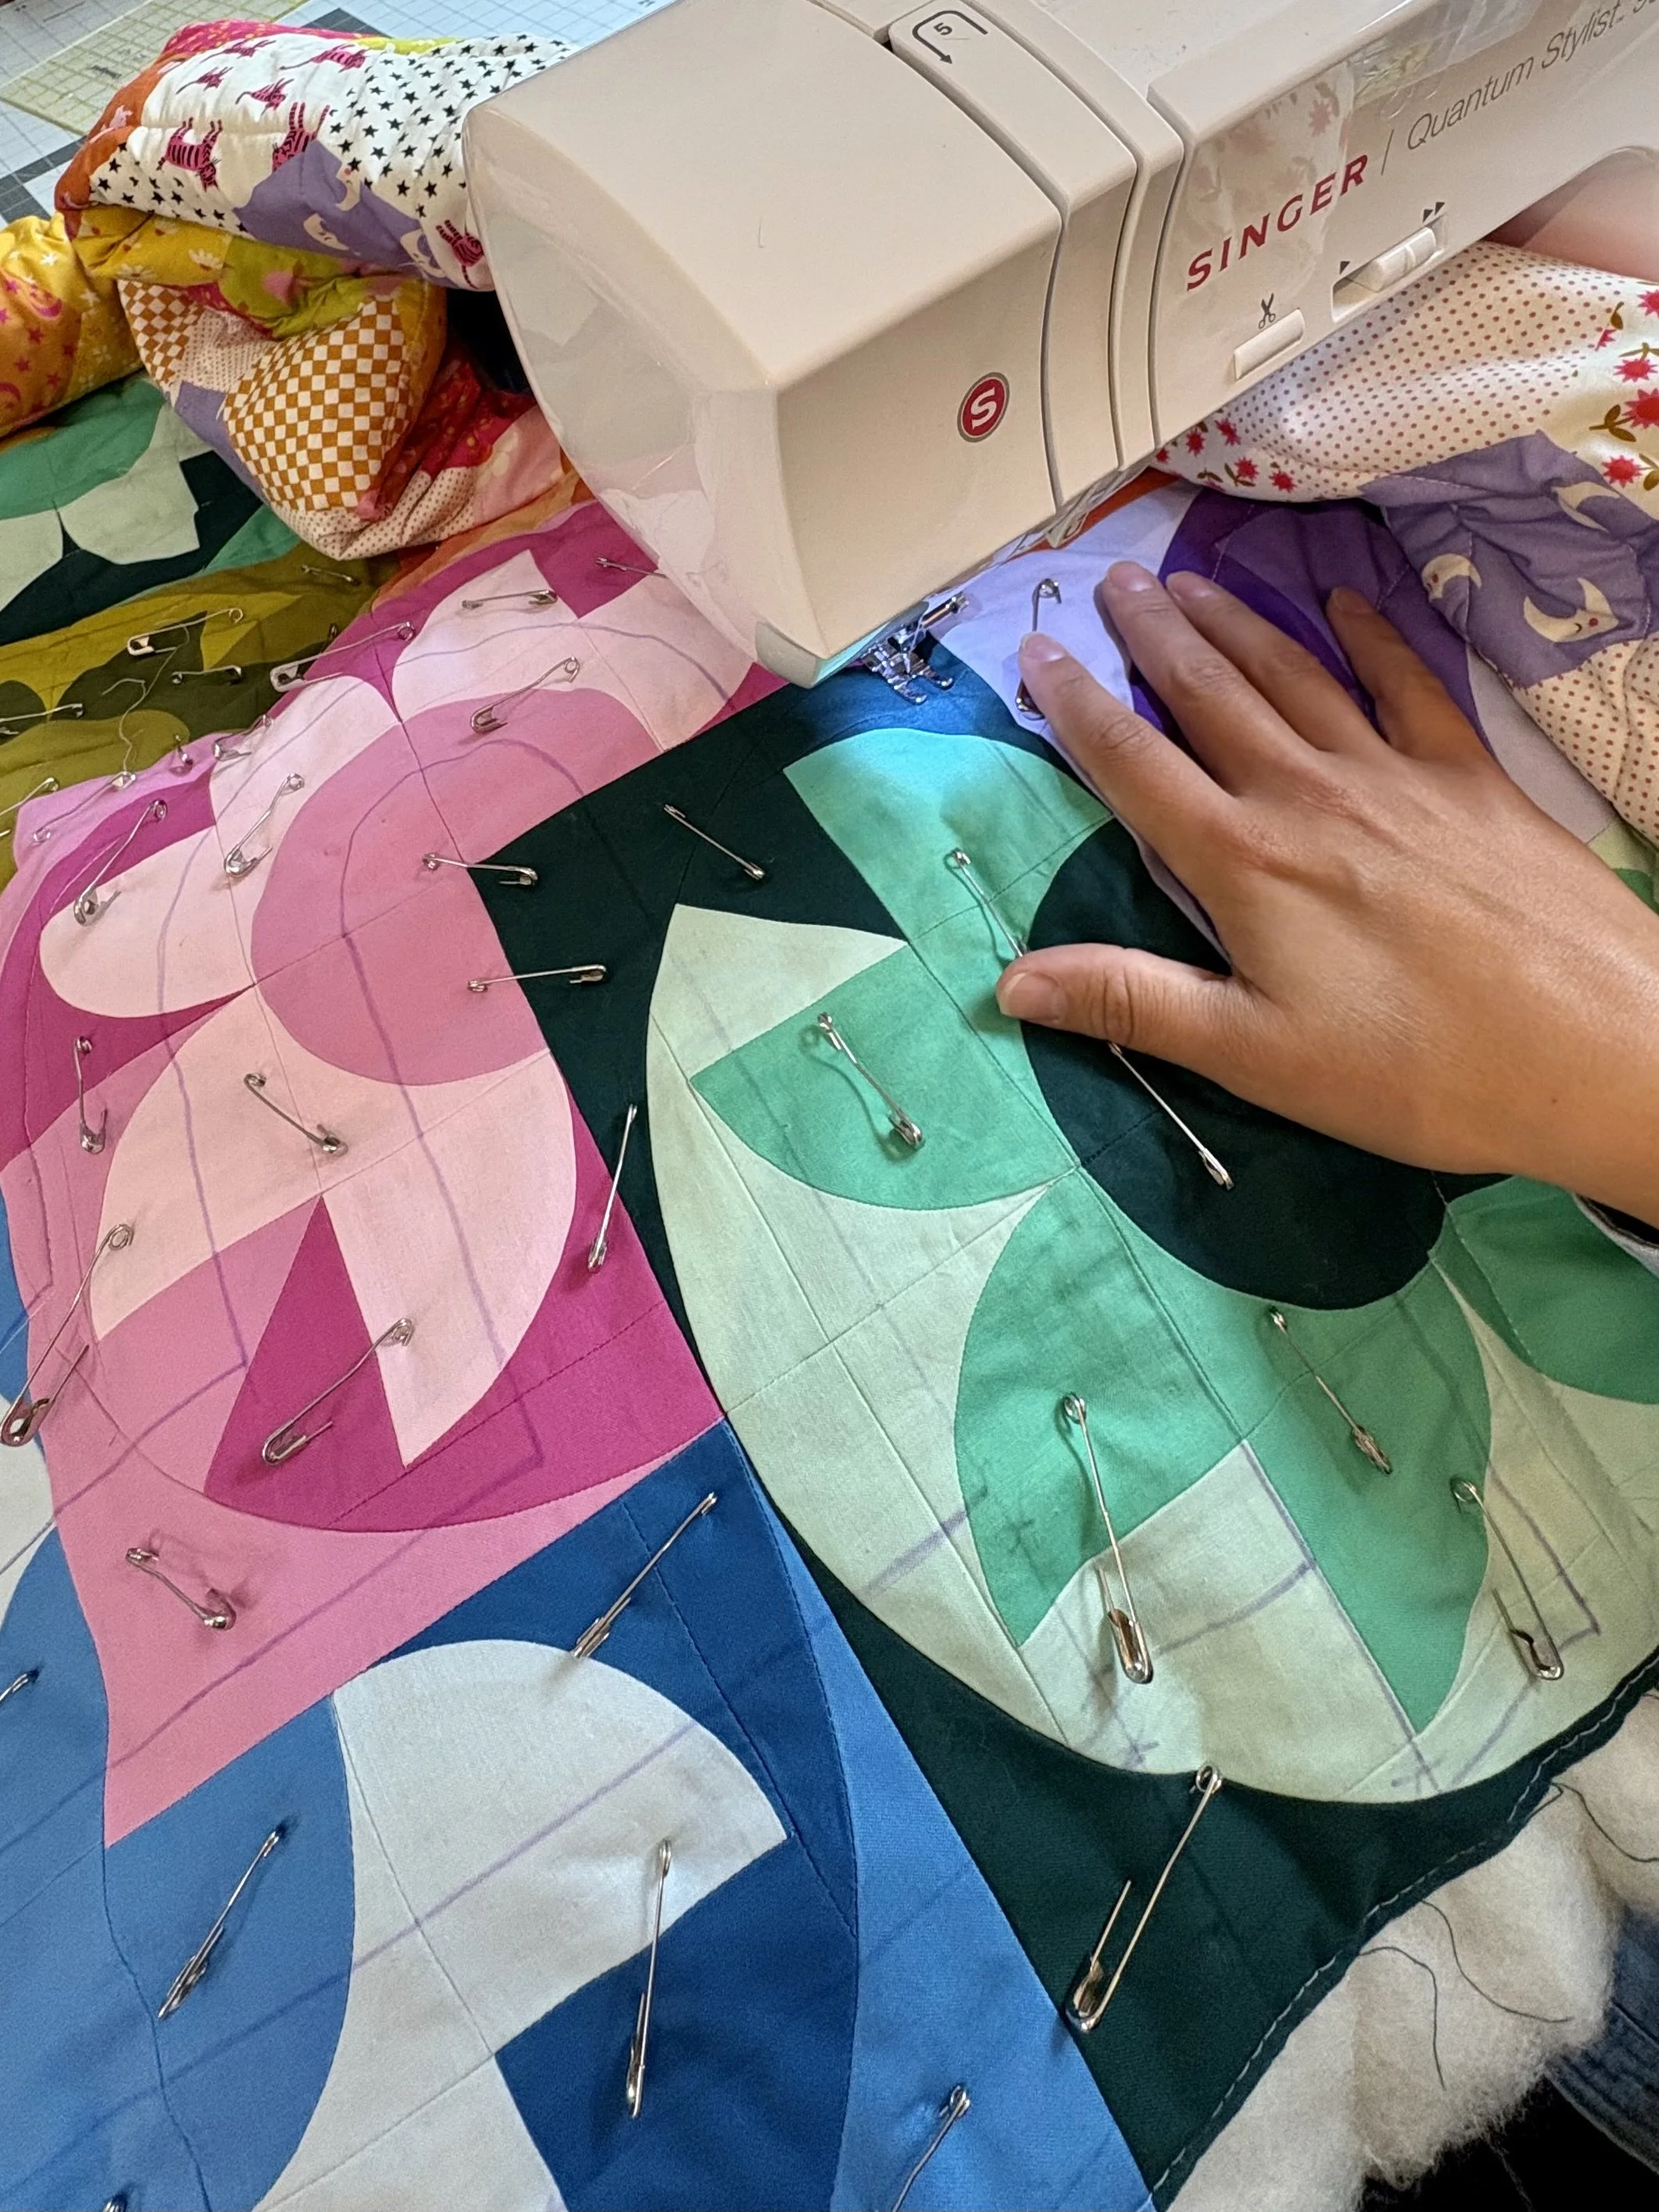
Once all the curves were marked, I connected them with straight lines or 90 degree turns using a straight edge ruler. Then I made sure to liberally pin the quilt sandwich, especially since I didn’t spray baste the quilt.
Are you ready to get to work? Download the detailed quilting guide and templates by dropping your info below.