
Fluttersome Strip Piecing
After I spent time making the Fluttersome FPP blocks, I wanted to see if it was possible to replicate the double wedding ring look, but with strip piecing instead. I’m happy to report that it was a pretty successful effort!
This spin on the Fluttersome block would be a great way to use up any leftover fabric you have from quilt bindings or jelly rolls! Just trim the WOF strips to 2" wide. If you like the look of this block, keep reading for a tutorial on how to turn the block pattern into a 48" x 60" quilt!
I’m using a fun selection of blender prints and Color Wheel Solids from Connecting Threads. If you’d like to use these fabrics, I’ve got them listed here for you!

Accent Fabrics:
Hatfield Garden Tiny Tulips Dusty Aqua
Summer Jubilee Star Ditsy Lt Harbor Blue
Luxembourg Square Swiss Netting Tea Green
Luxembourg Square Sofia Dot Misty Green
Vivienne Daisy Chain Soft Purple
Faux Tweed Tonals Lilac Ice
Solid Fabrics:
Color Wheel Solids French Blue (91236)
Color Wheel Solids Antique Pink (94162)
Color Wheel Solids Coral Reef (94183)
Color Wheel Solids Carnation (91197)
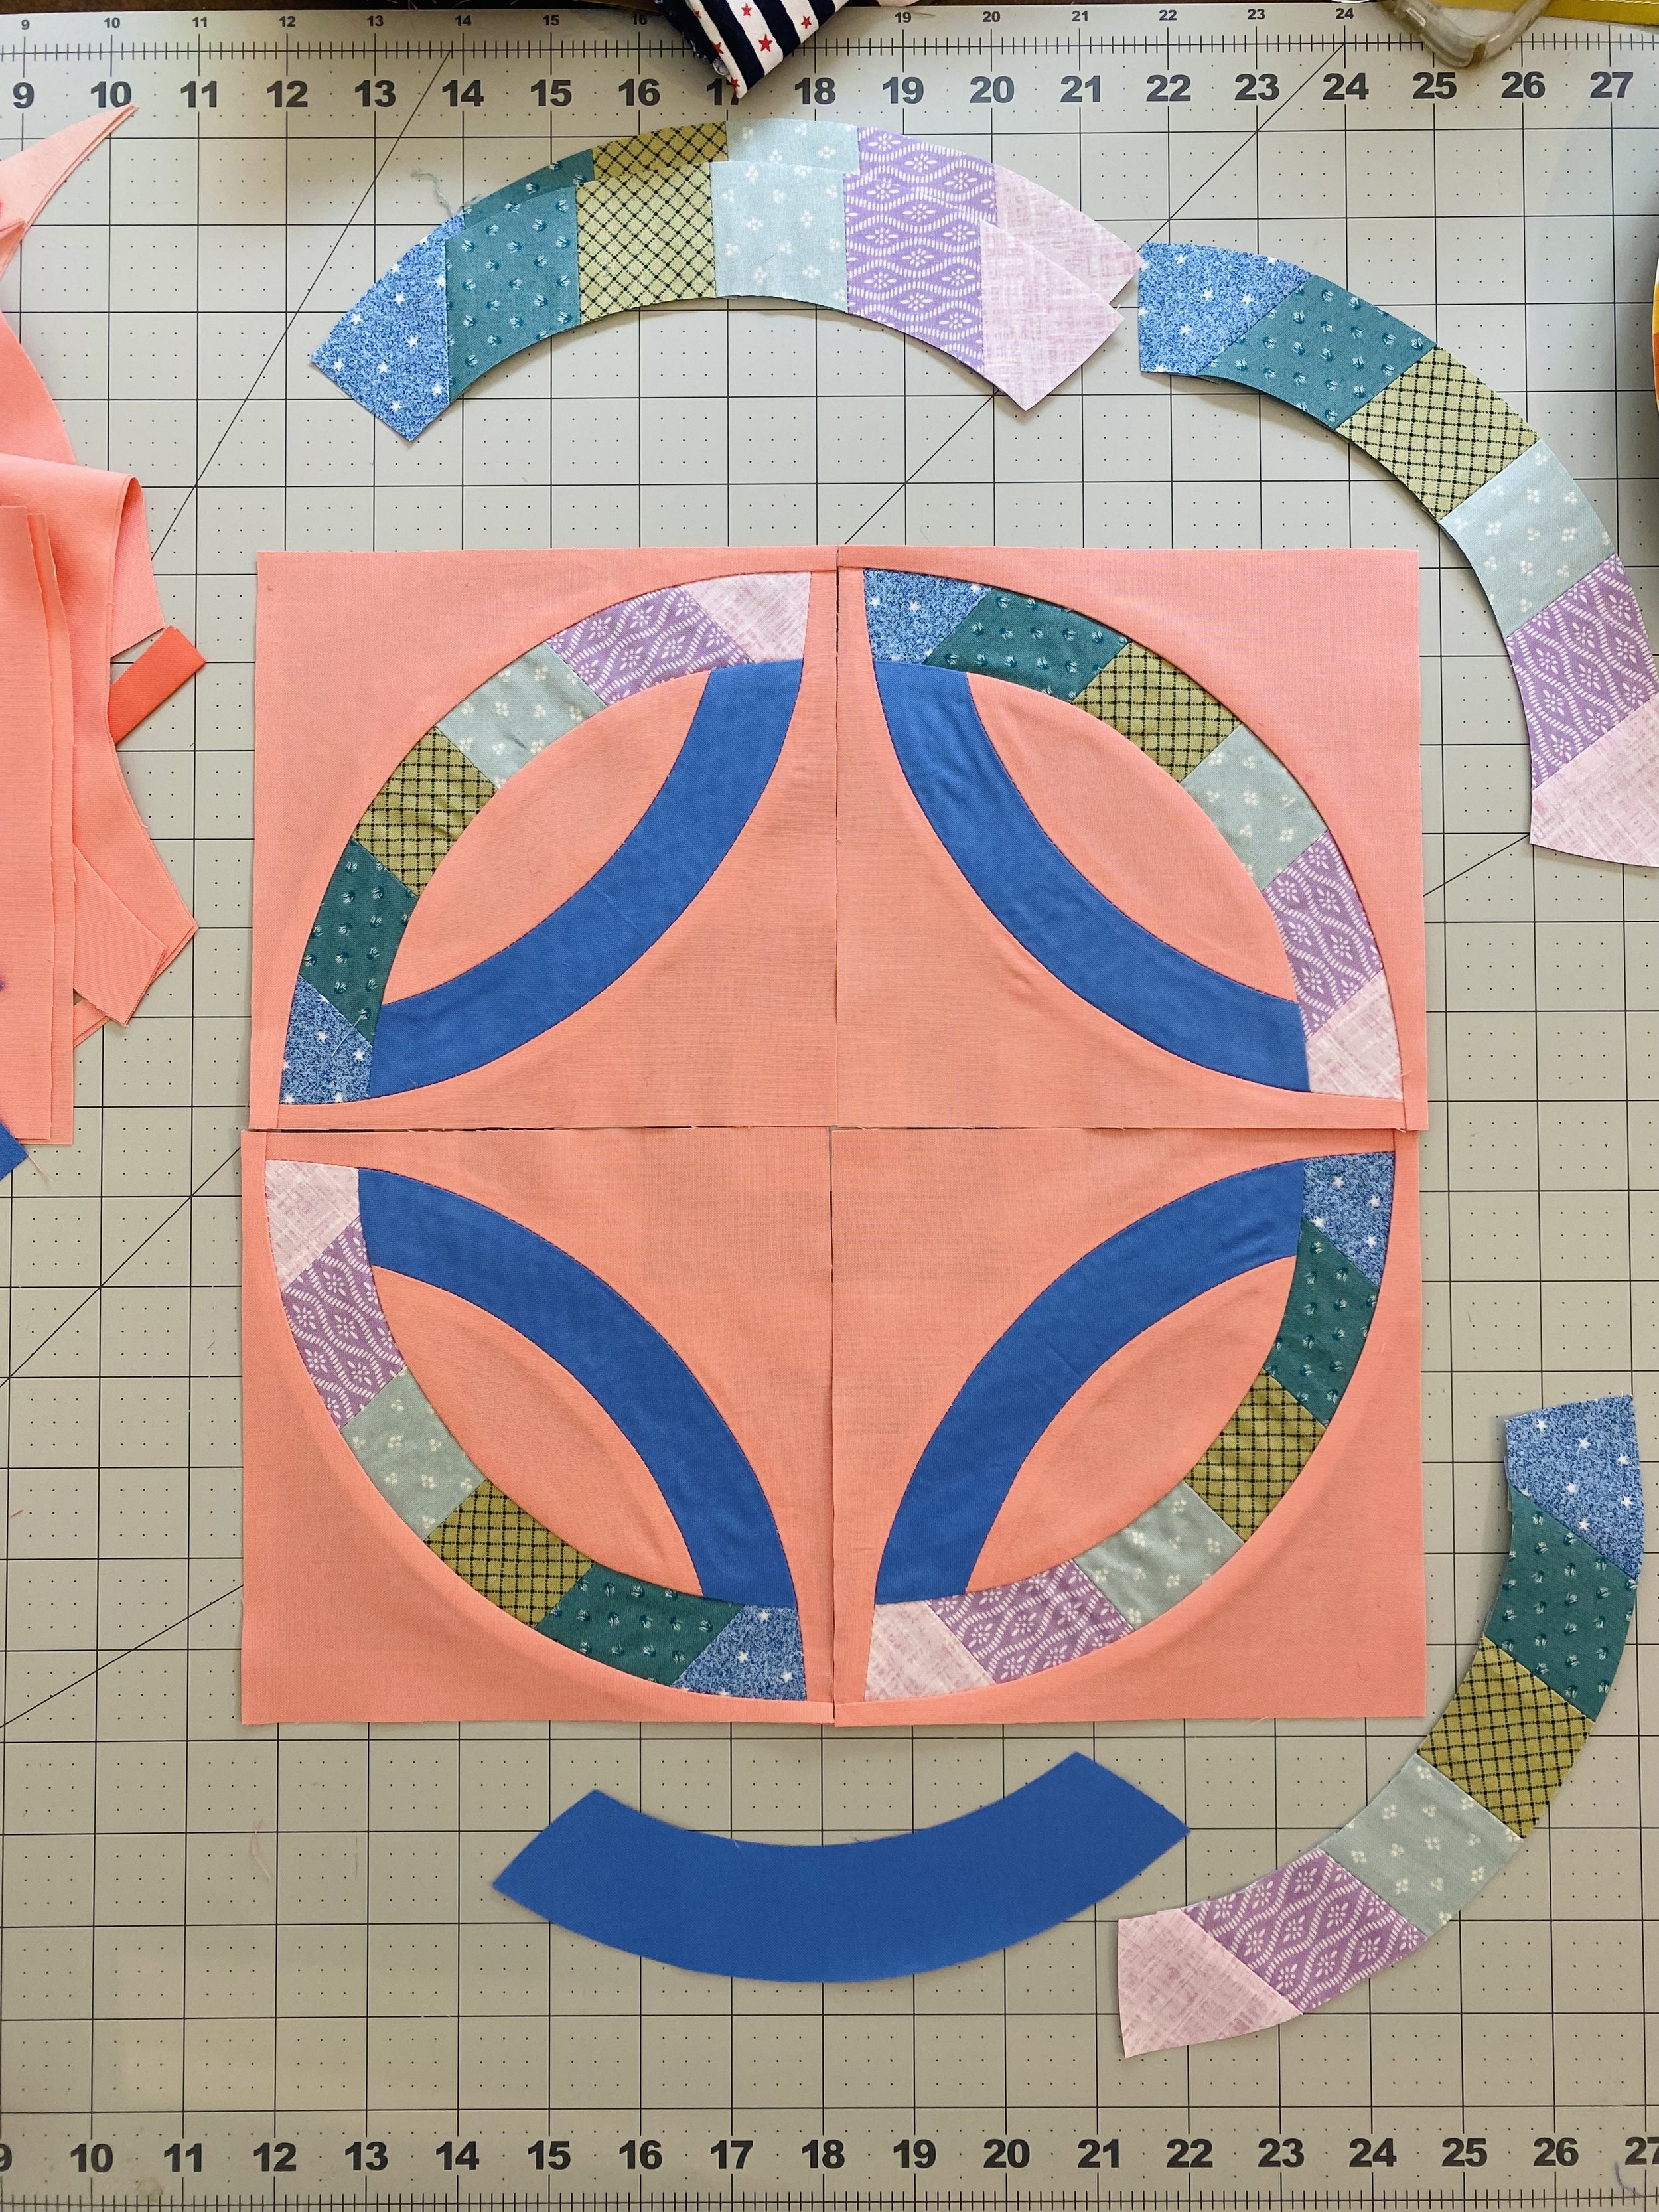
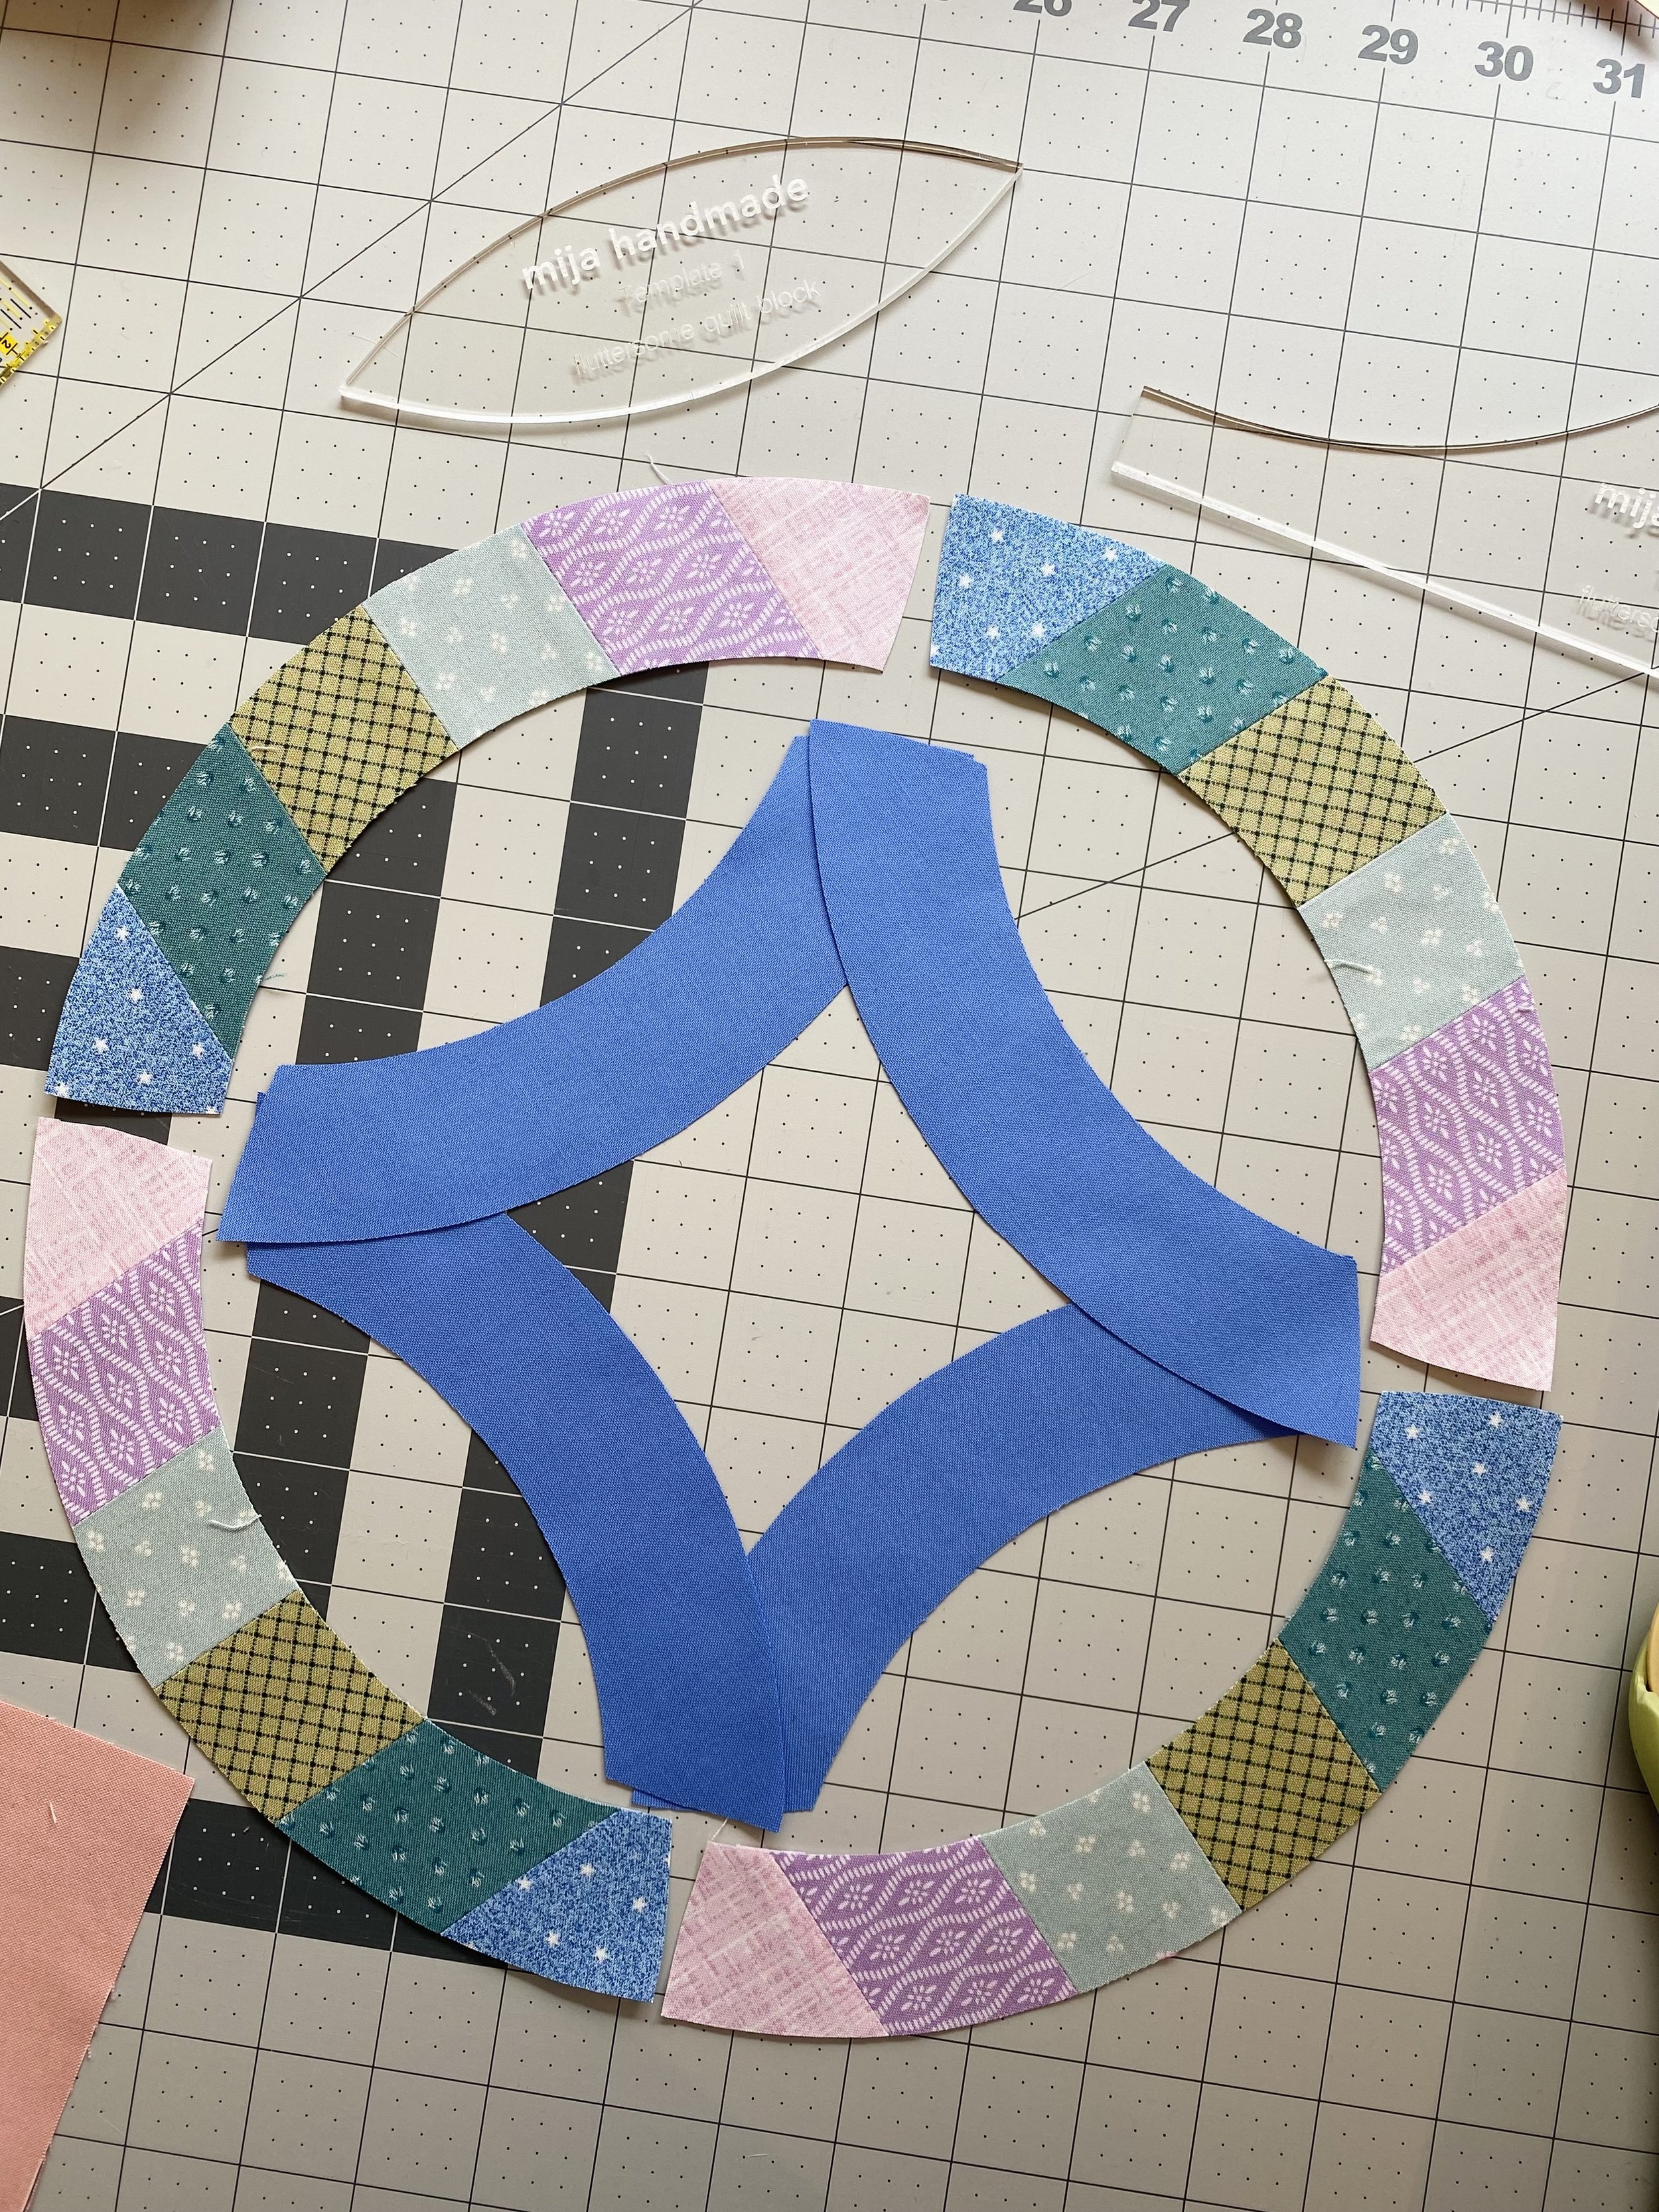
If you’re going to make a solid background quilt top, I recommend picking one of the pink solids. I started with six, 2" x WOF strips of the accent fabrics listed above. I centered Template 3 on the strip pieced units and cut as many as I could from the WOF pieced unit. If you are using paper templates from the pattern, you can find the midpoint by folding Template 3 in half and marking the crease with a pen or pencil. If you are using the acrylic templates from Cut Once Quilts, the center is already marked for you!
Don’t forget to purchase the Fluttersome block pattern! The pattern includes printable templates if you aren’t going to pick up the acrylic templates.
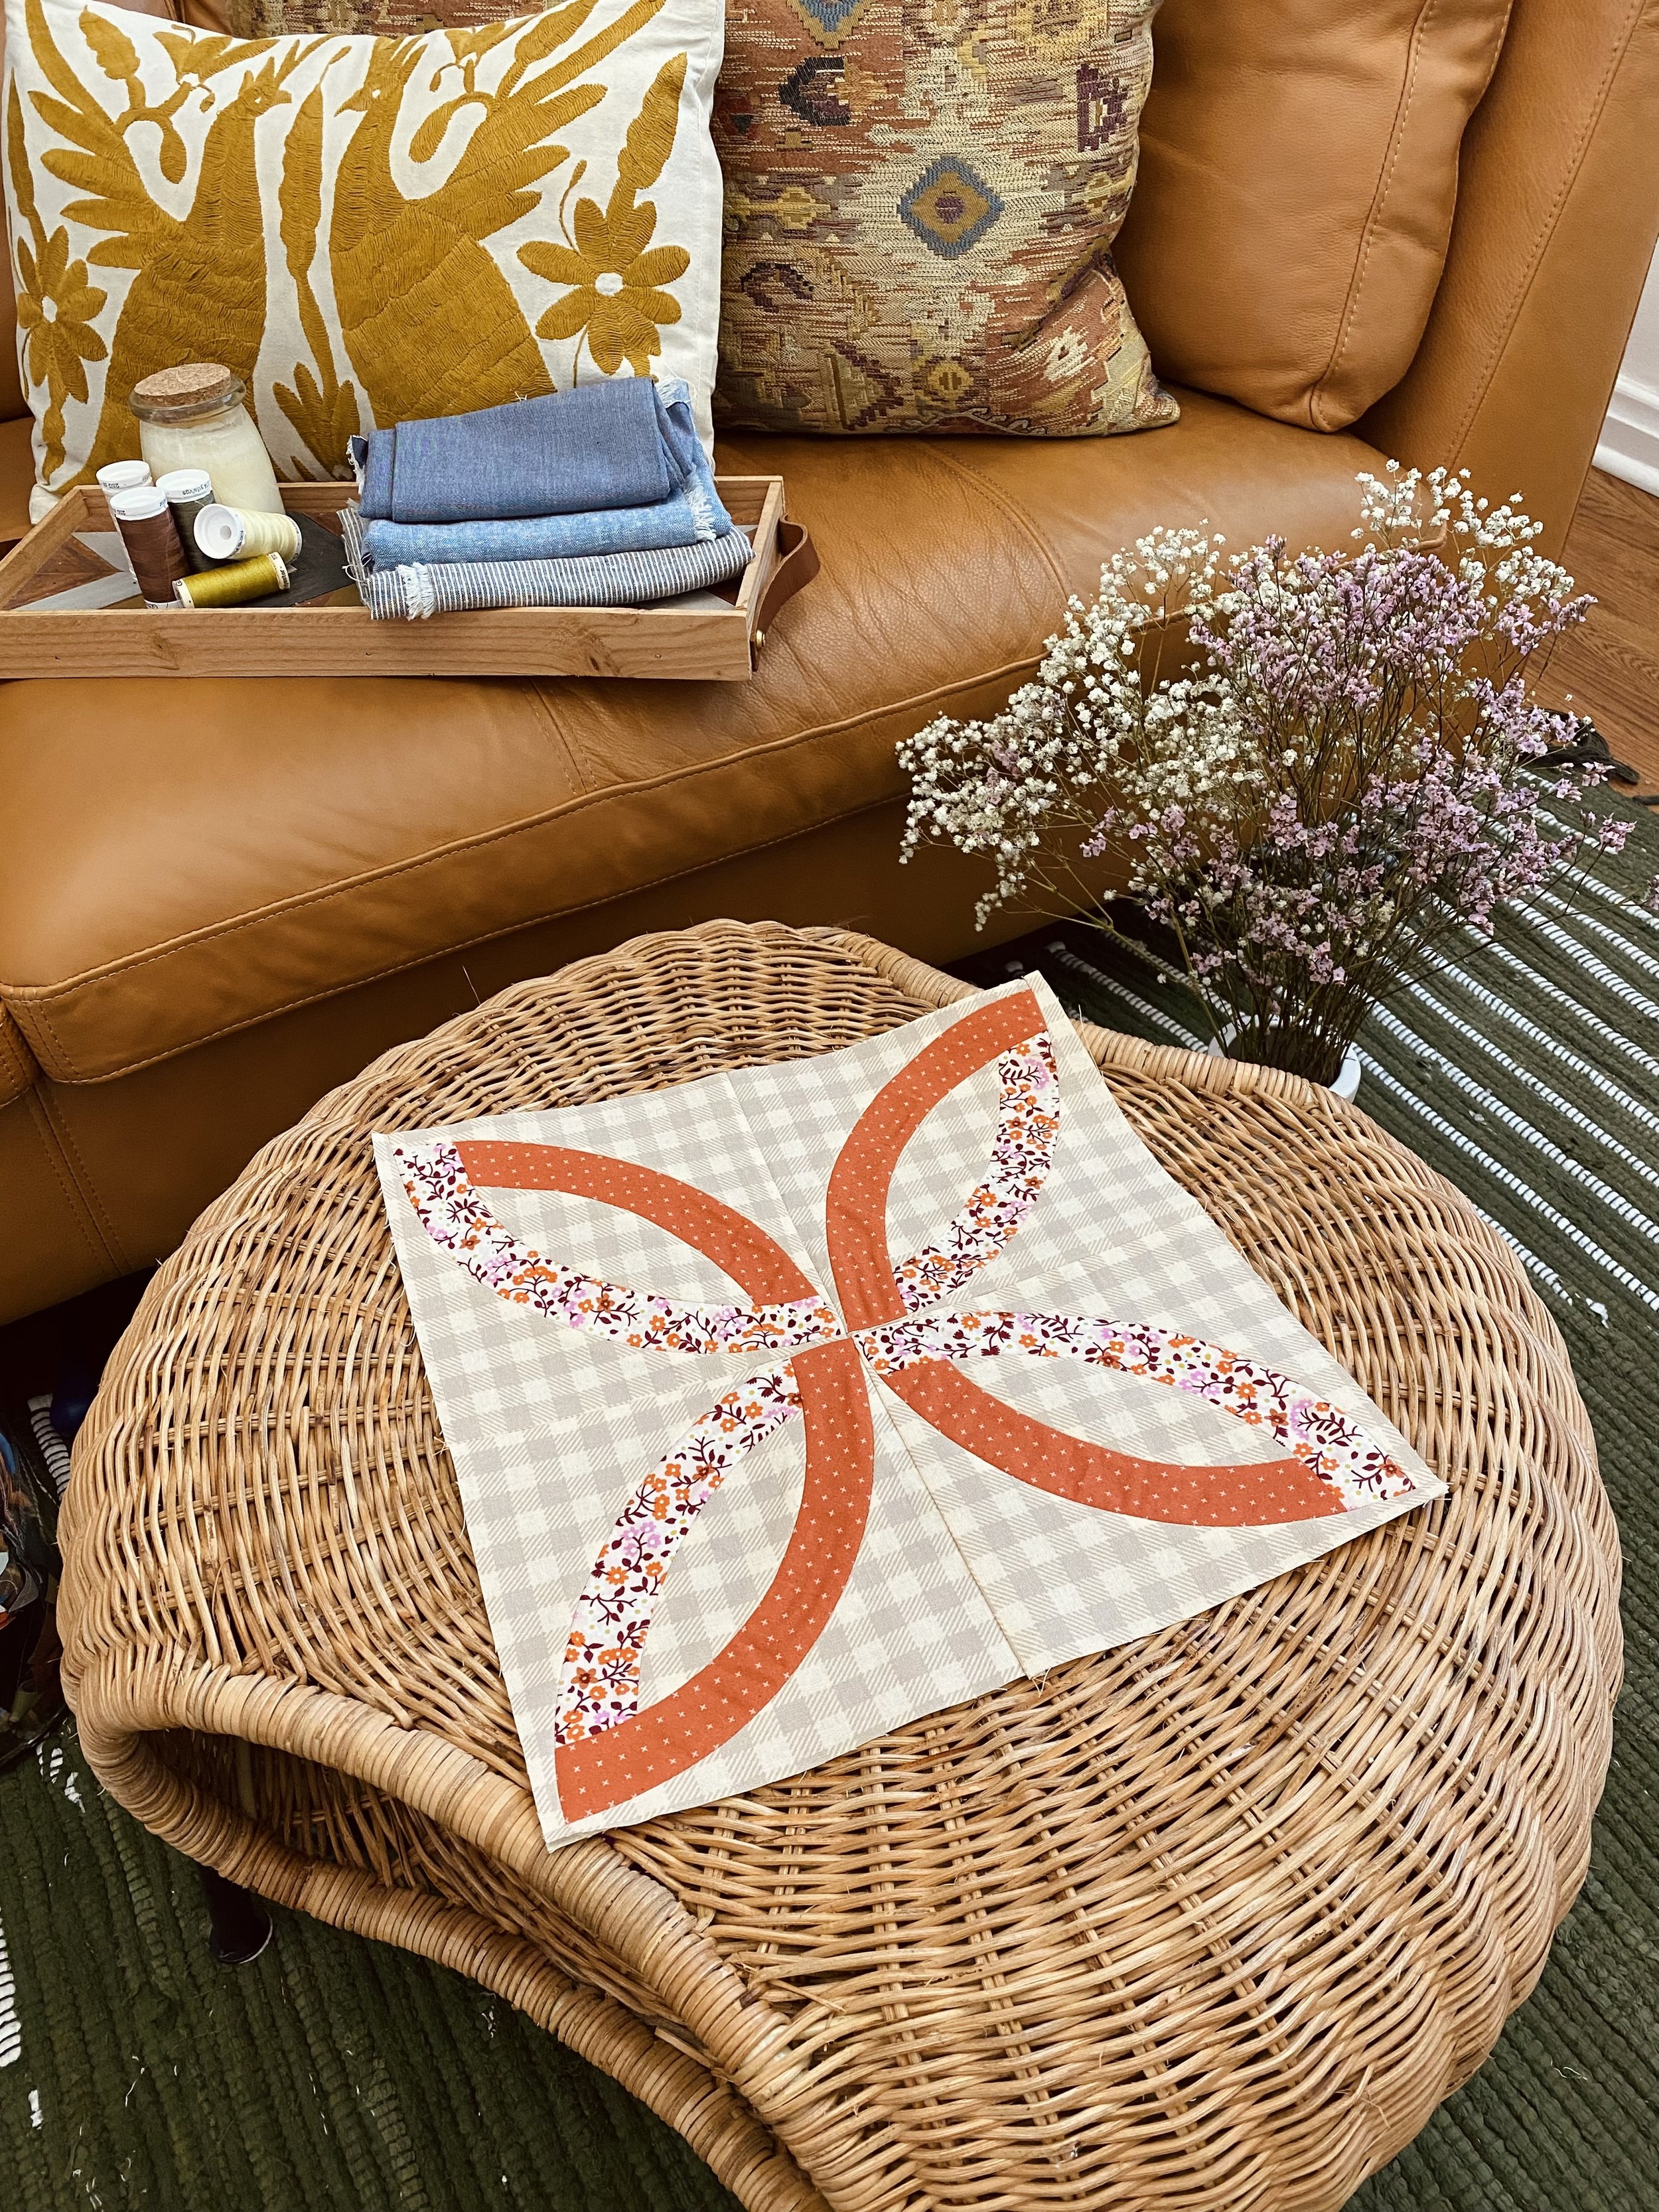
This block pattern was originally designed for the 2024 Learning Curves BOM. The 12” x 12” block pattern celebrates the classic orange peel block with gentle curves that any confident beginner can tackle. The instructions include an alternate layout suggestion and FPP templates to make an updated double wedding ring design. Make one block to practice your curve sewing techniques, or make several to turn into a quilt top!
Skill level: confident beginner
Instant download PDF
Includes printable templates and multiple FPP templates

I followed the pattern instructions for piecing the remaining templates. I found that I liked to press the seams open, except for any seam on the pieced Template 3 unit. I always pressed these seams to the side, away from the pieced unit.
I’m stopping at a wall hanging size, but if you’d like to make a small throw size quilt that measures 48" x 60", or 4 blocks by 5 blocks, I’ve written a quick tutorial for you!

Fluttersome quilt top fabric requirements (48" x 60")
Outside ring, six accent fabrics: ⅓ yard each
Inside ring, one accent fabric: 1 yard
Background fabric: 3¼ yards
Backing: 3 yards
Binding: ½ yard
Cutting Instructions
Outside ring accent fabrics:
From each fabric cut 5: 2" x WOF
Inside ring accent fabric:
4: 8" x WOF
From each strip, subcut 20 of Template 2. This yields 80 units.
Background fabric:
16: 6⅞" x WOF strips.
From each strip, subcut 10 of Template 4 and 5 of Template 1. This yields 160 of Template 4 and 80 of Template 1.
Binding fabric:
6: 2½" x WOF

Strip Pieced Template 3 Units
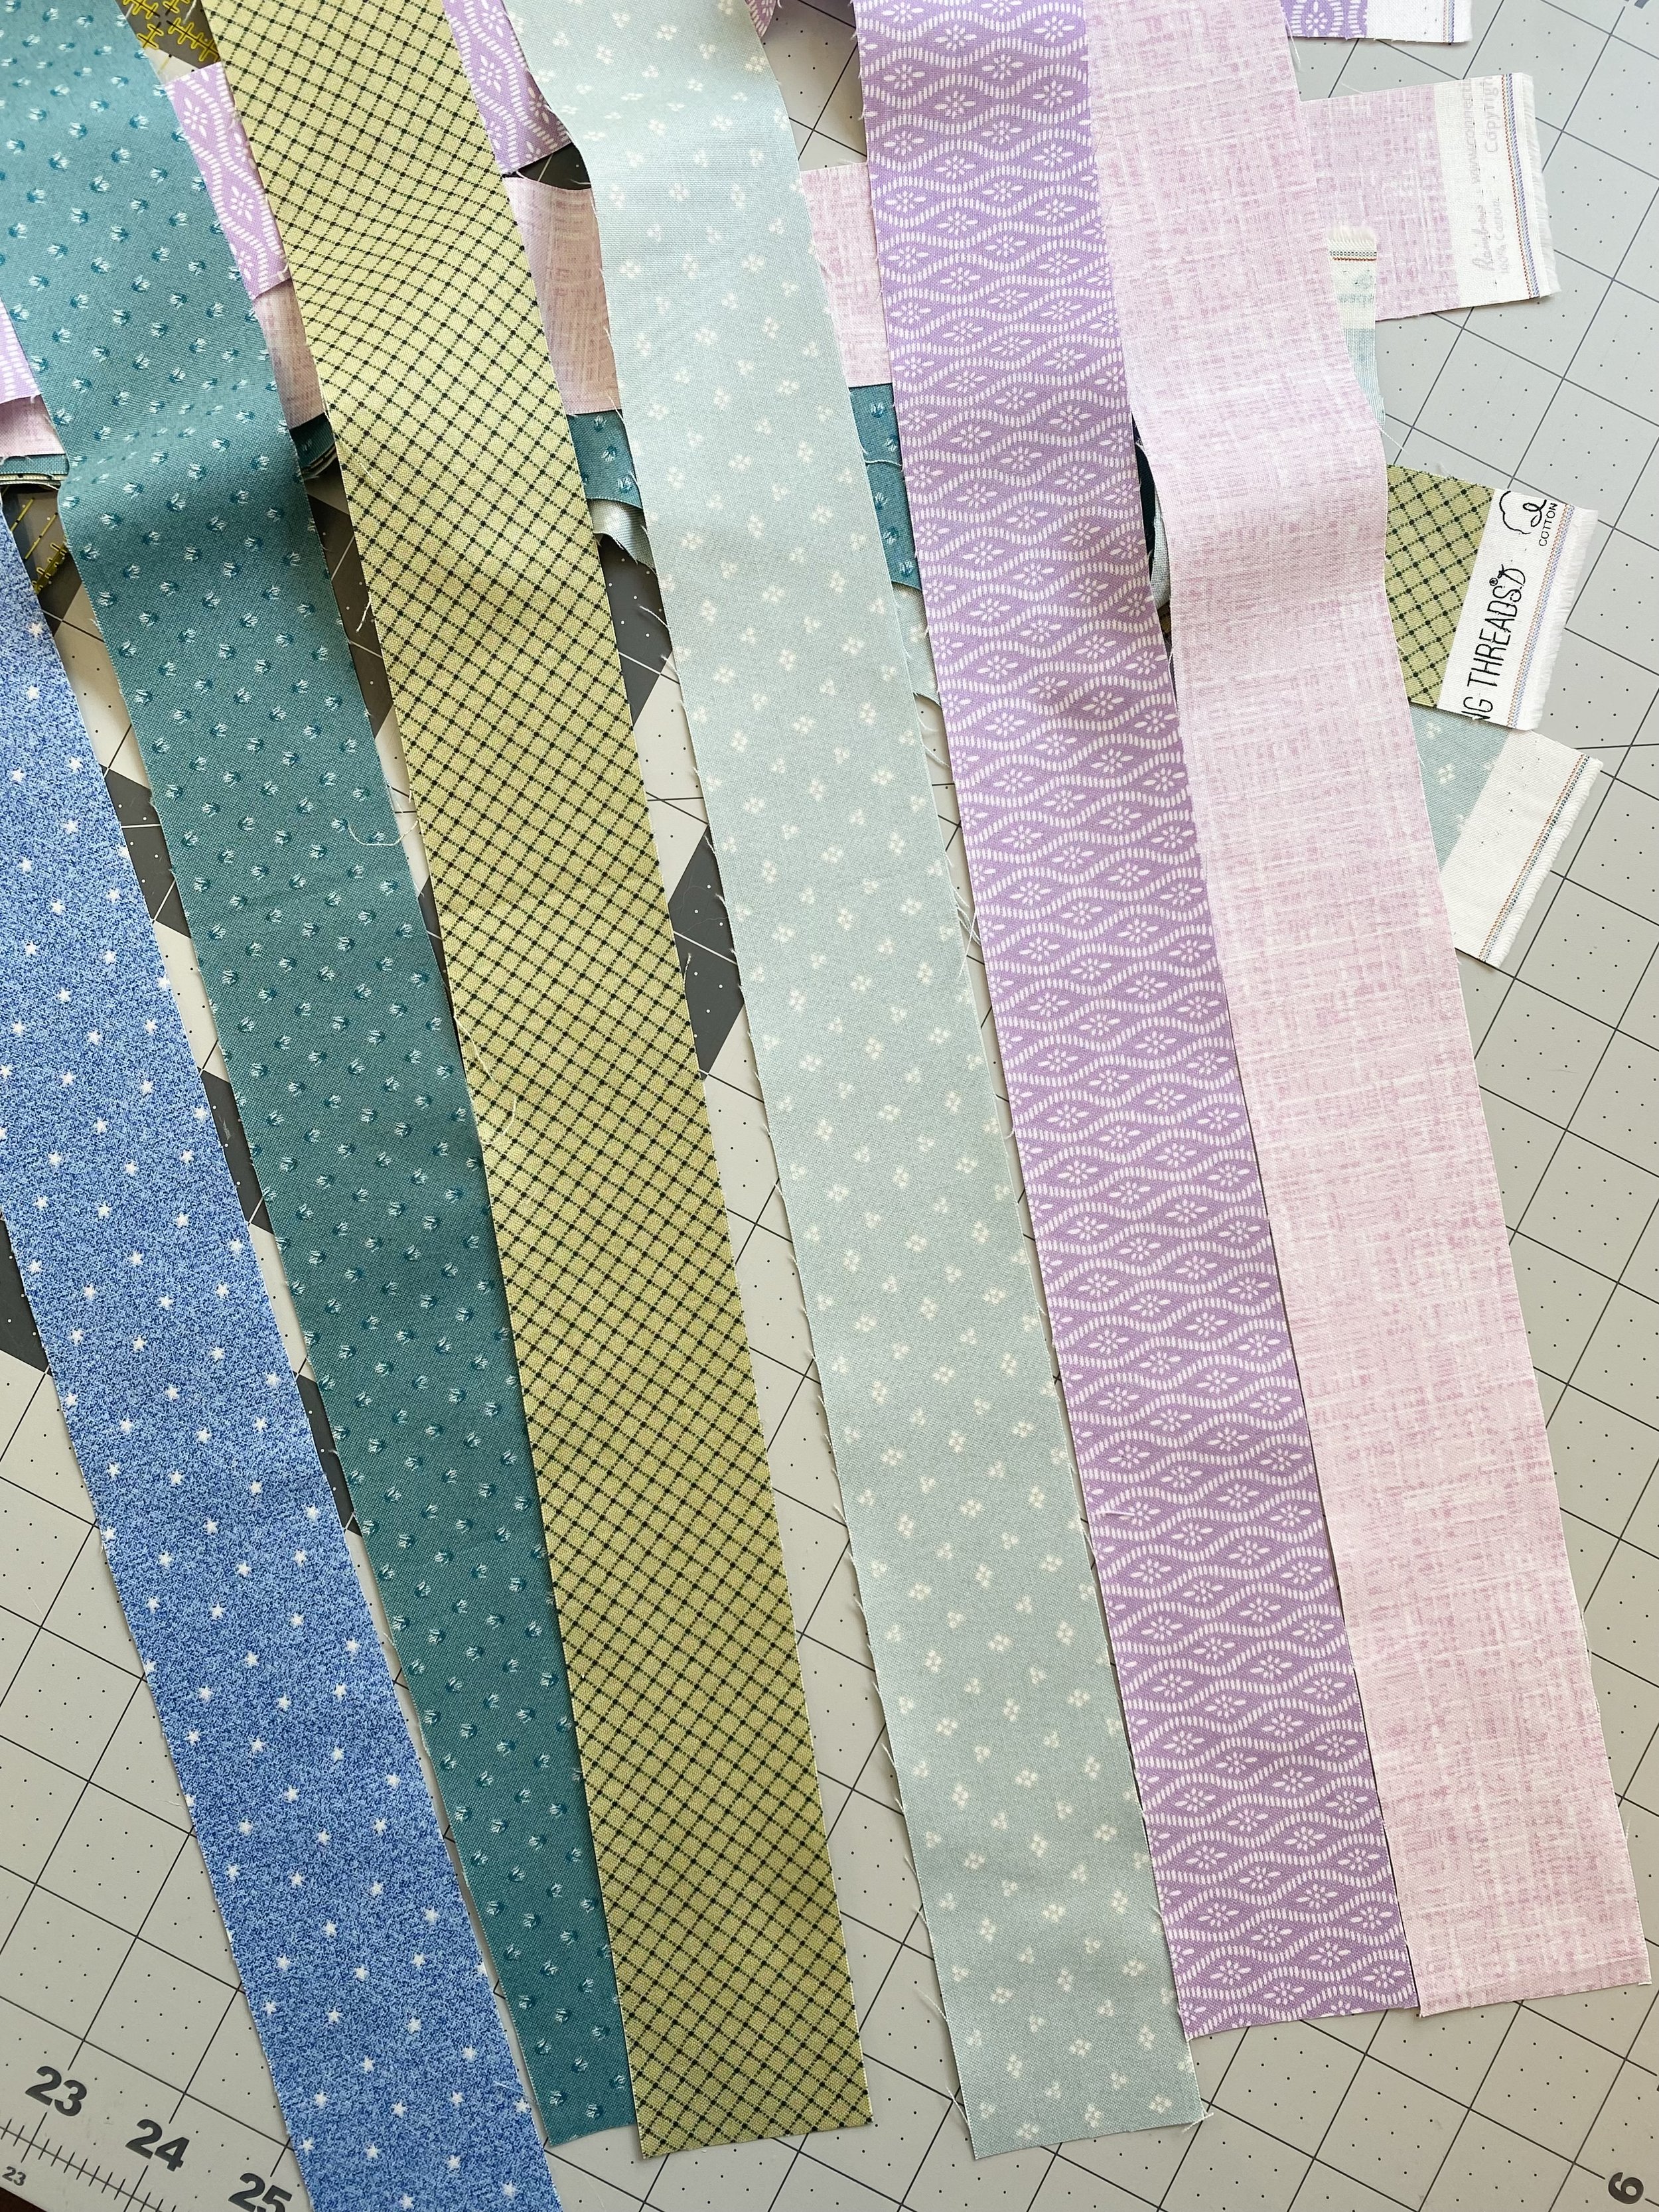
Sew one WOF strip of each accent fabric to create a strip set 9½" x WOF. Make sure to sew the fabrics in the same order every time. Make 5 strip sets. Cut 80 of Template 3 from the strip sets. Choose one fabric to keep on the left side - orient the strip set with this fabric on the left side before you cut Template 3. If you change the orientation, the fabrics will appear out of order in the final block. Each strip set should yield about 18 Template 3 units, depending on how closely you cut each unit.
Block Assembly
Follow the pattern directions for sewing all the templates together into 6½" x 6½" sub blocks. Sew 4 sub blocks into the alternate layout orientation on page 8 of the pattern. Sew blocks into 5 rows of 4. Sew all rows together.
And there you have it - a complete Fluttersome quilt top! If you want to shop your stash, try making all the strip pieced units super scrappy by using different fabric in each set! Make it even scrappier by using FQs instead of yardage - just make 10: 9½" x 21" strip sets instead of 5: 9½" x WOF sets.
I can’t wait to see what you put together - make sure to share pictures using #FluttersomeQuiltBlock or #MijaPatterns, and tag me @mija.handmade.
* This is an affiliate link. These links help support my quilting business at no additional cost to you.