

And January’s block is…
Roxy Wave! This block reminds me of Southern California boardwalks, summer time and Vans slip on shoes. There’s something casual and friendly about this design that I just love. The seamless checkerboard design across three quarter circle blocks brings so much visual interest for very little work.
If you’ve never sewn curves before, make sure you reference the bonus sheet - it it some tips on how to practice sewing curves with the templates before committing to the full block.
The fabrics I’m using are Bee Cross Stitch, designed by Lori Holt for Riley Blake Designs.
Fabric A: Denim
Fabric B: Cottage
Fabric C: Soldier
Fabrics were provided by Riley Blake Designs.
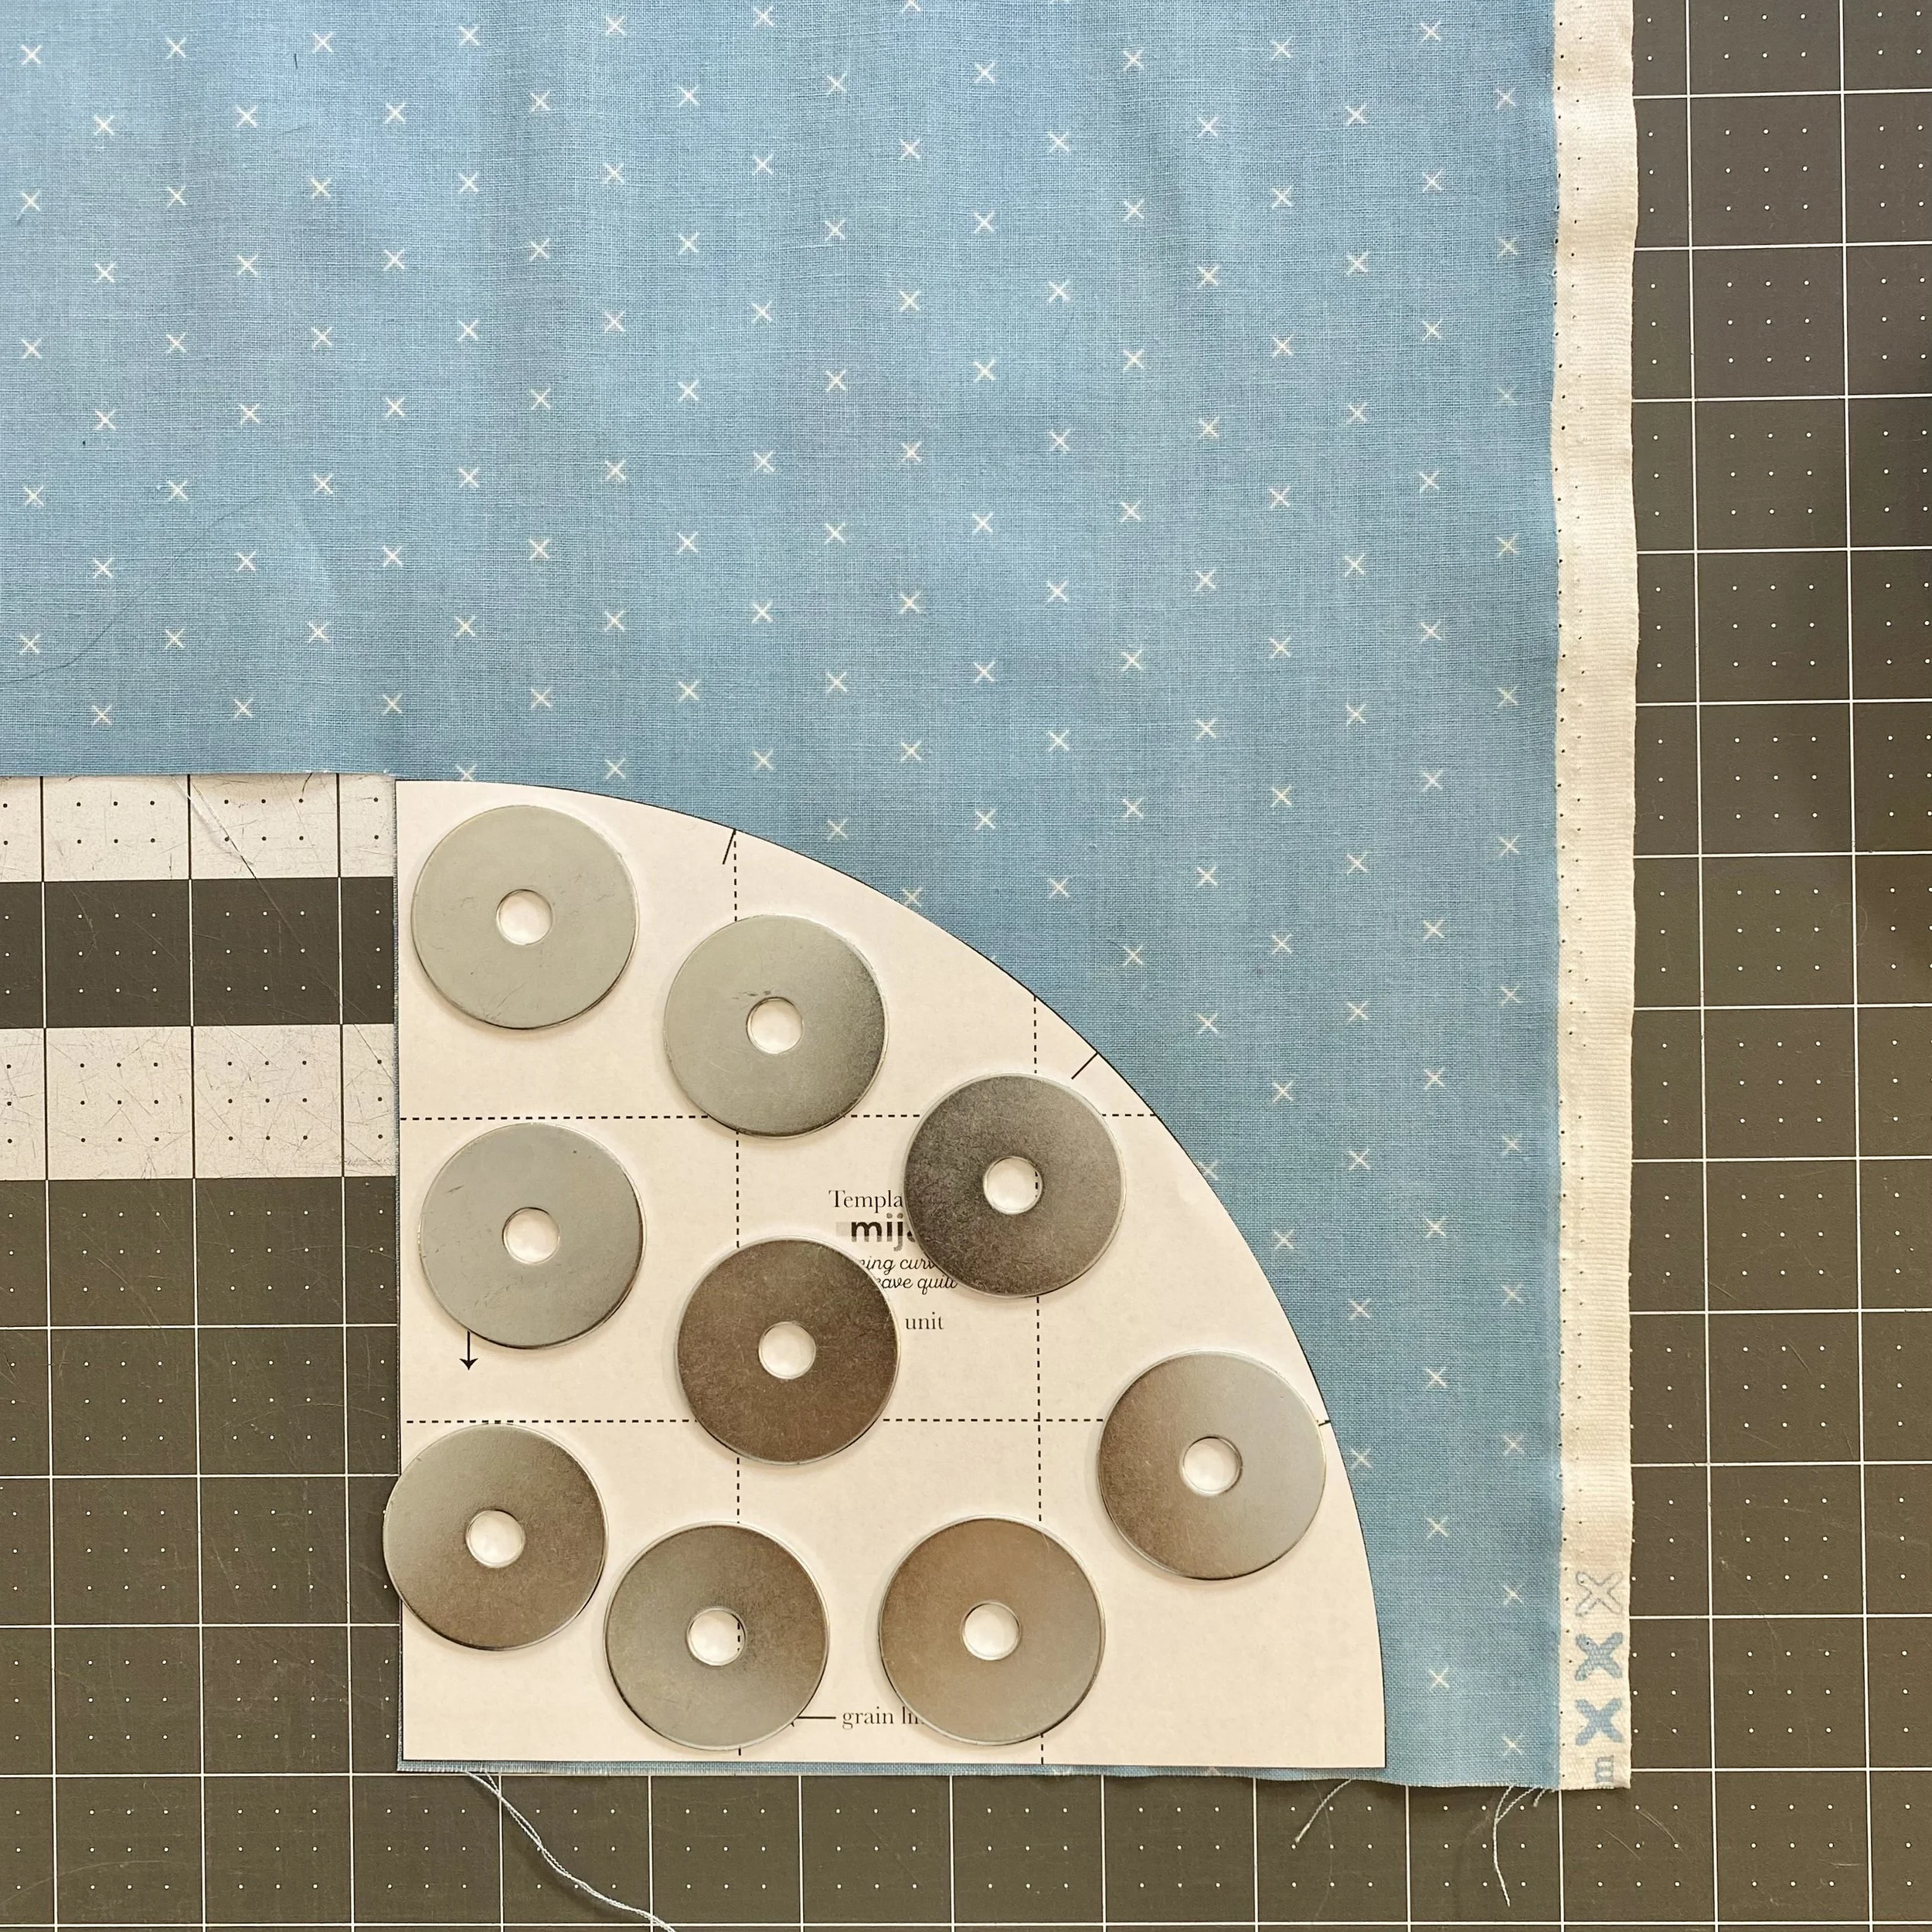
Cutting Out Convex Units
There are a couple different ways to cut curve units using templates. The pattern notes that the template and fabric should both be right sides up. This picture shows my preferred method for convex shapes. I like to secure the template with a handful of large pattern weights and cut along the convex curve with a rotary blade, following the edge of the paper template. If you don’t have pattern weights, anything large and heavy that doesn’t block your rotary blade will do. Before I got pattern weights, I used clear tape to secure the template to the fabric (just make sure to remove all tape from the fabric before ironing). If you haven’t checked it out yet, read through my list of recommended sewing tools to keep on hand during the Learning Curves BOM.
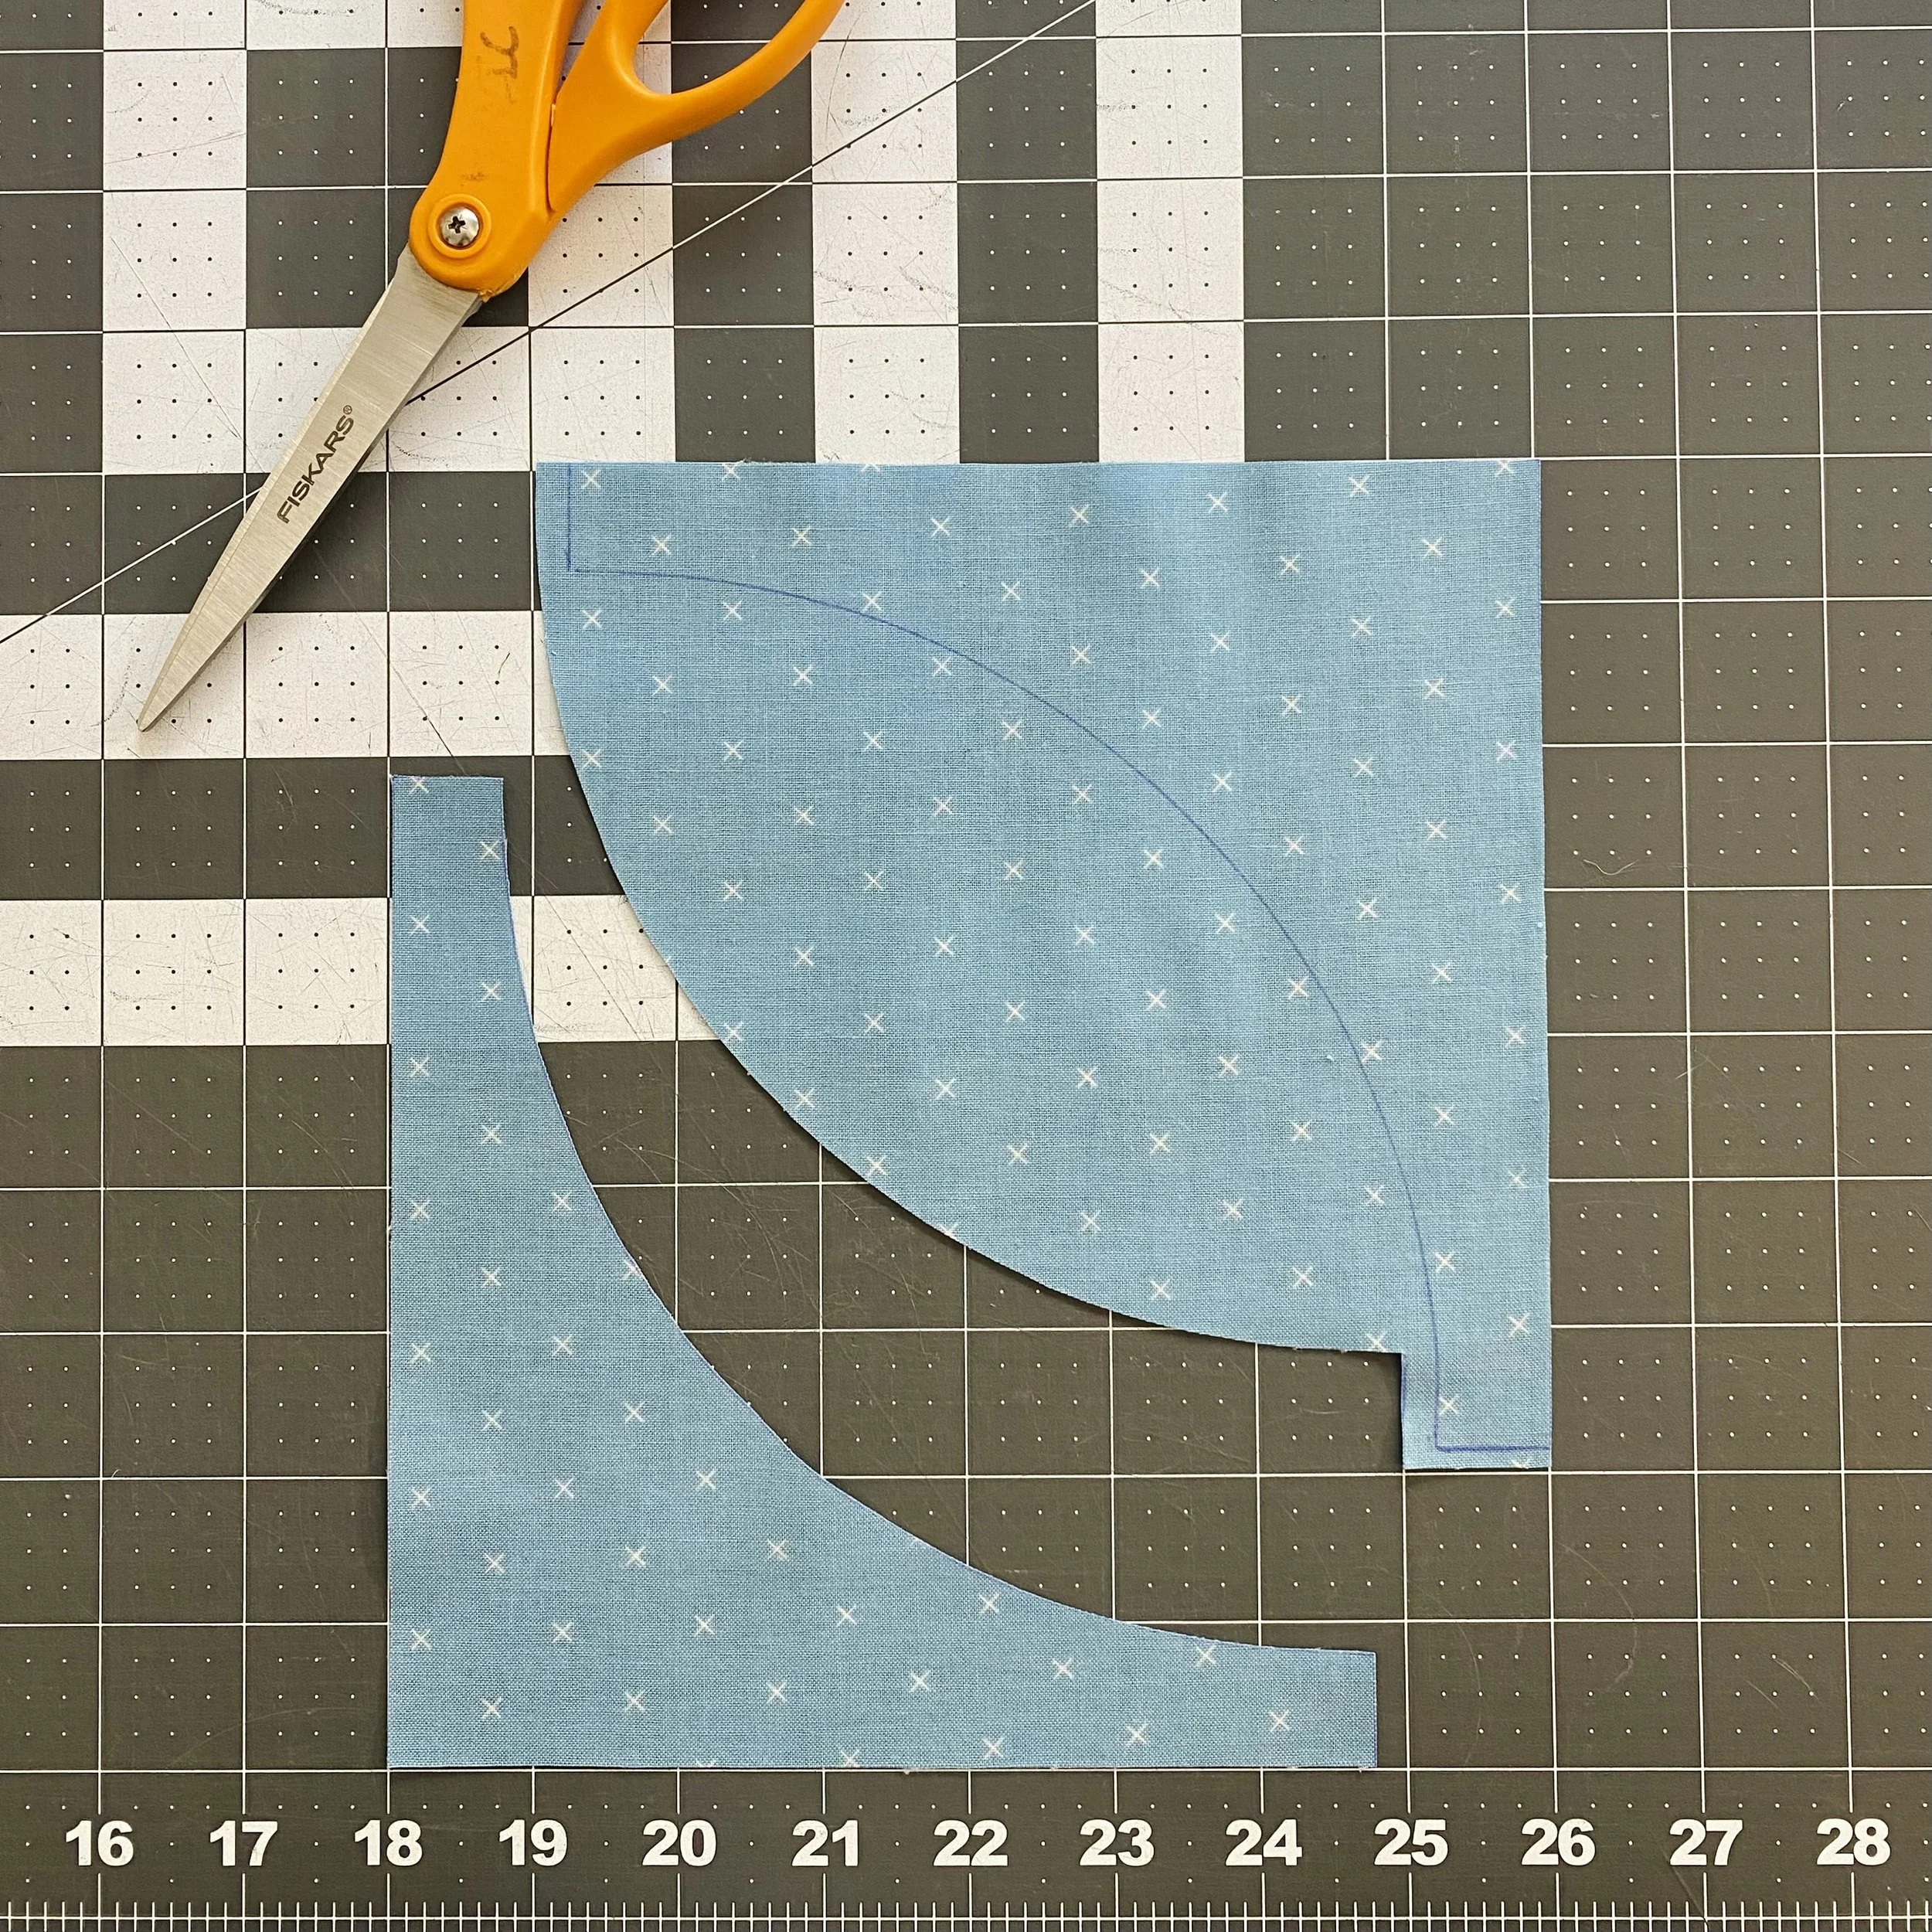
Cutting Out Concave Units
Once you have the convex unit cut, you can move on to the concave unit. I like to cut these differently. I prefer to trace the concave template onto the fabric using an air soluble pen. Then I use a rotary blade and ruler to cut the straight edges before using scissors to cut the curve. If the curve is large enough, I’ll use rotary blade. But I dislike cutting along the concave paper template with a rotary blade, as I feel the paper gets in the way of the blade.
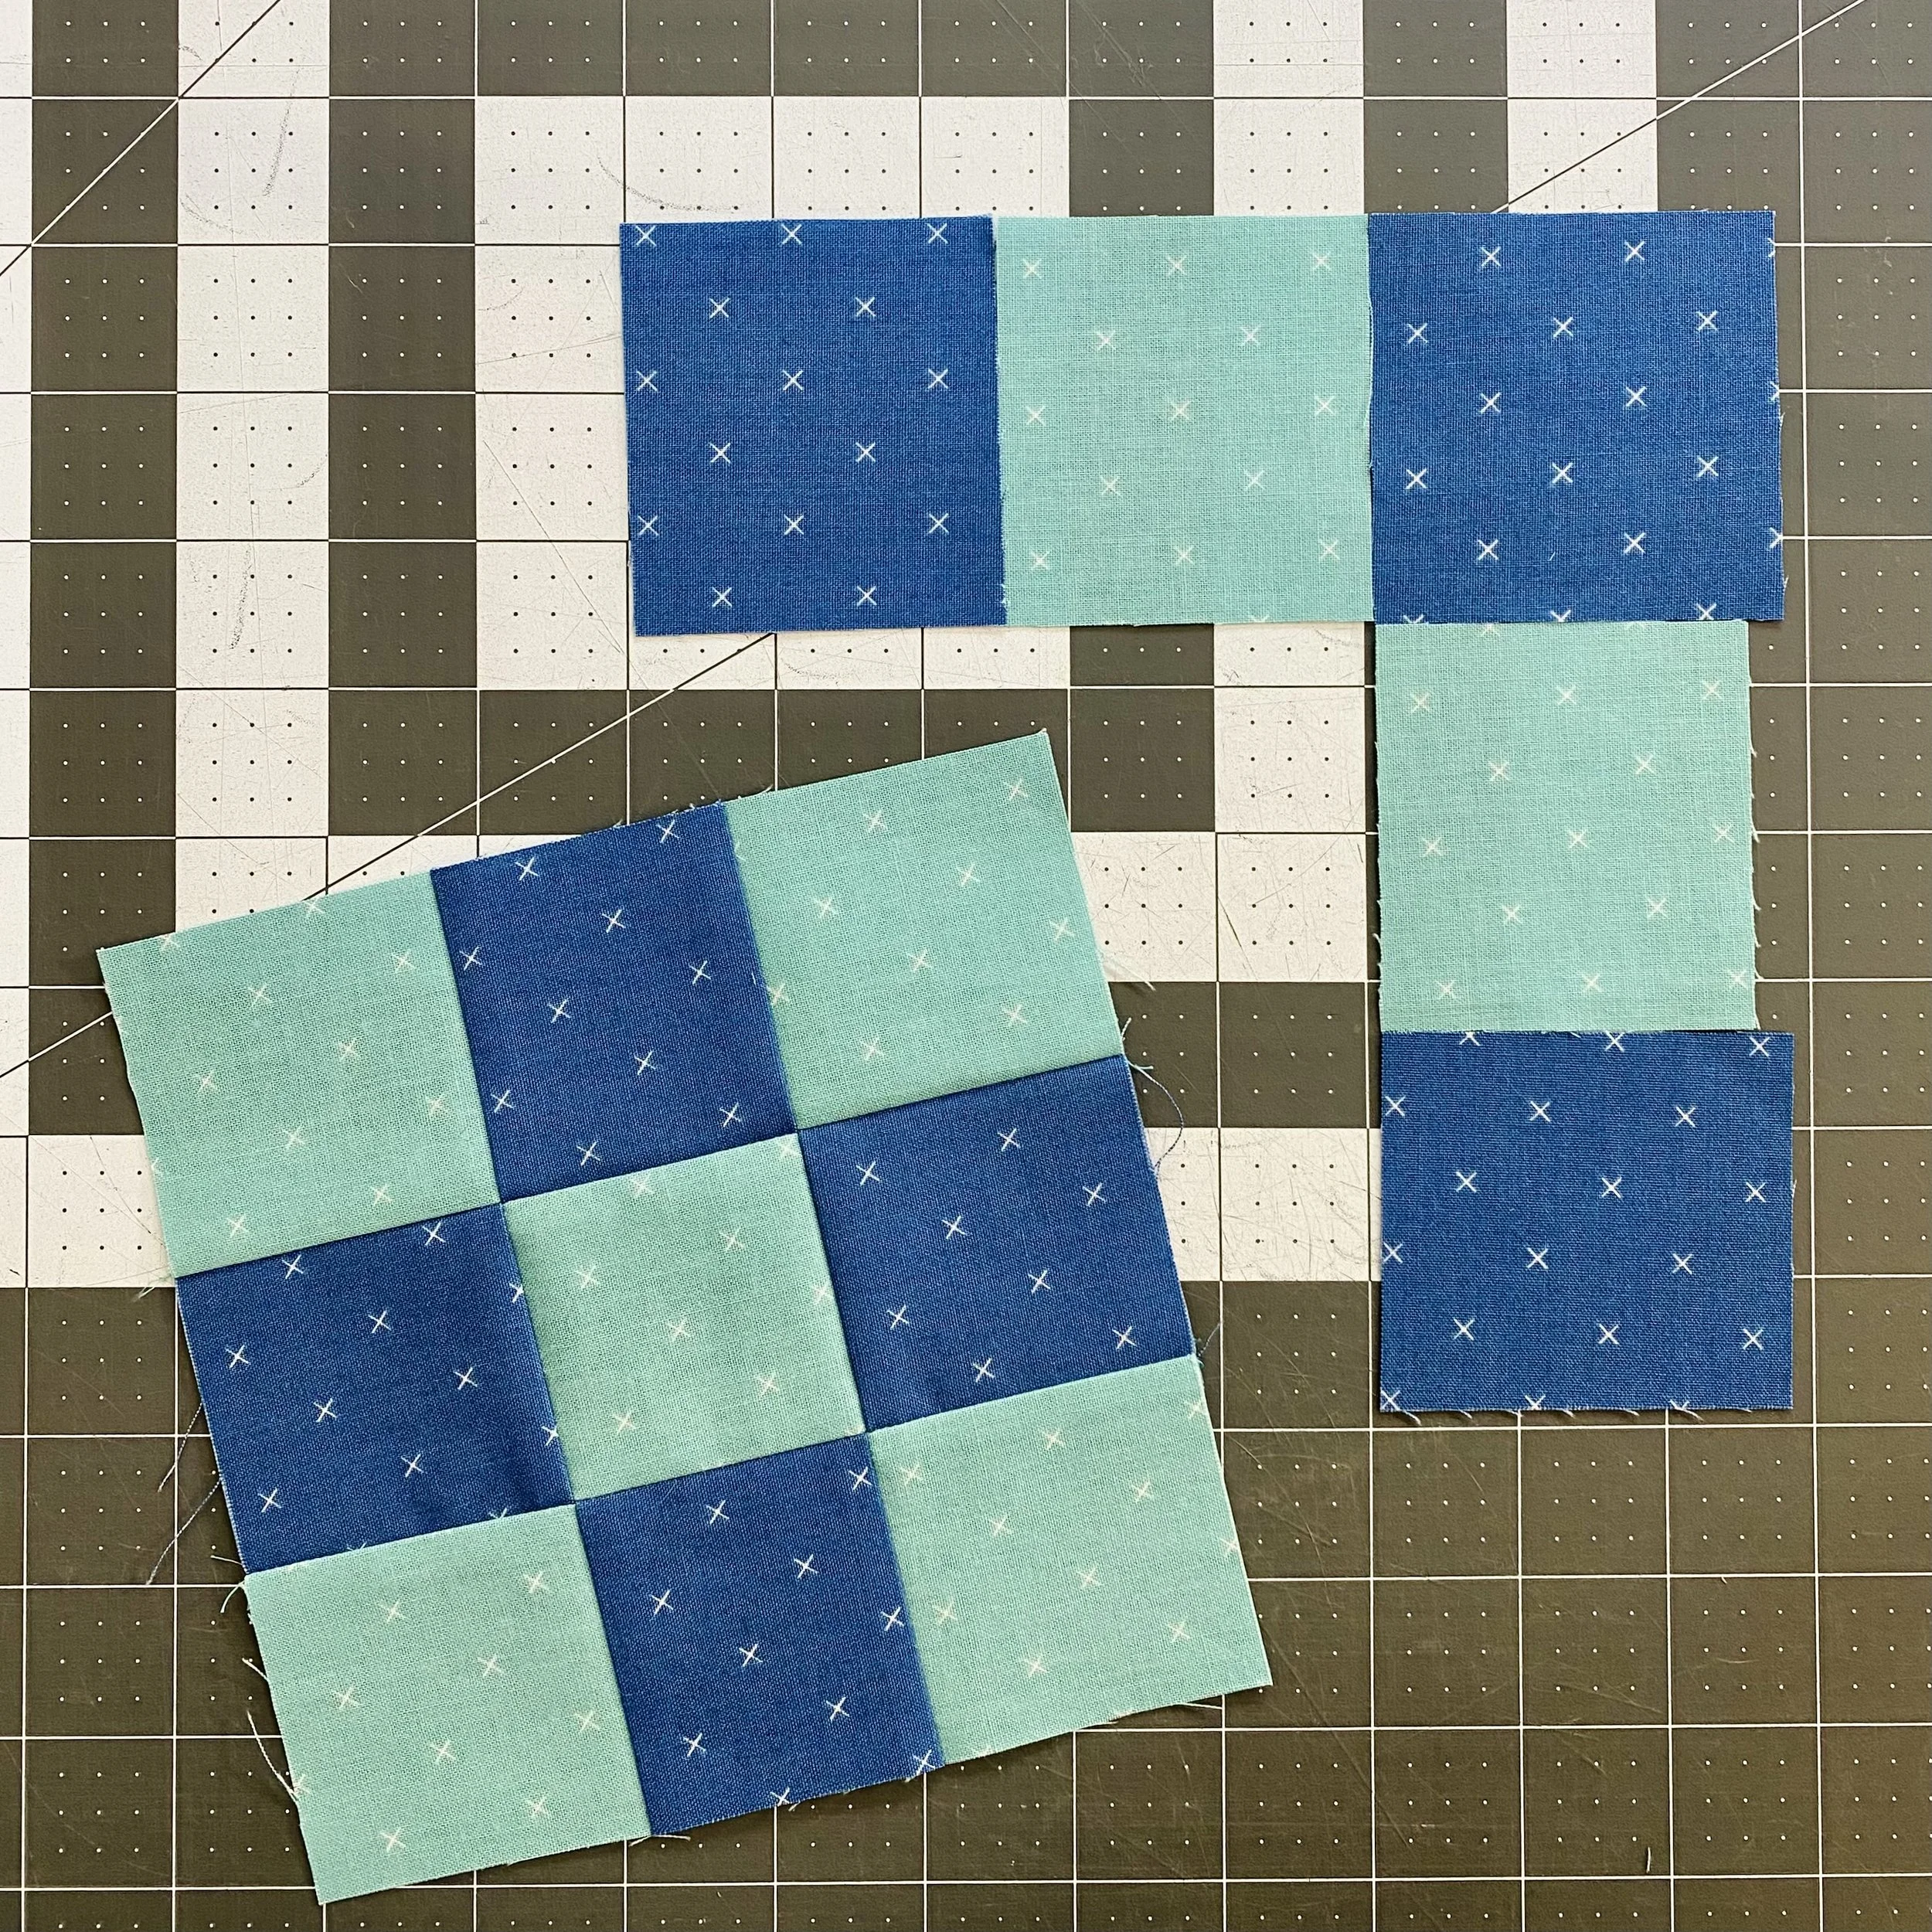
Assembling Nine Patch Units
Assembling the nine patch units is a pretty straightforward process. Follow the pressing directions if you like nesting seam; otherwise, you can press to your preference.
The incomplete 9 patch unit requires a little more attention. To make sure I’m sewing the units in the correct orientation, I like to lay out the units starting with the corner 2¾" square. This way, as you lay out the 2½" x 2¾" rectangles, you can be sure they are aligned along the 2¾" dimension. In this picture, one of the rectangles is incorrectly laid out. Can you tell which one?
The seam at the interior corner may feel a bit funny, but as long as you press towards fabric B, it won’t be an issue.
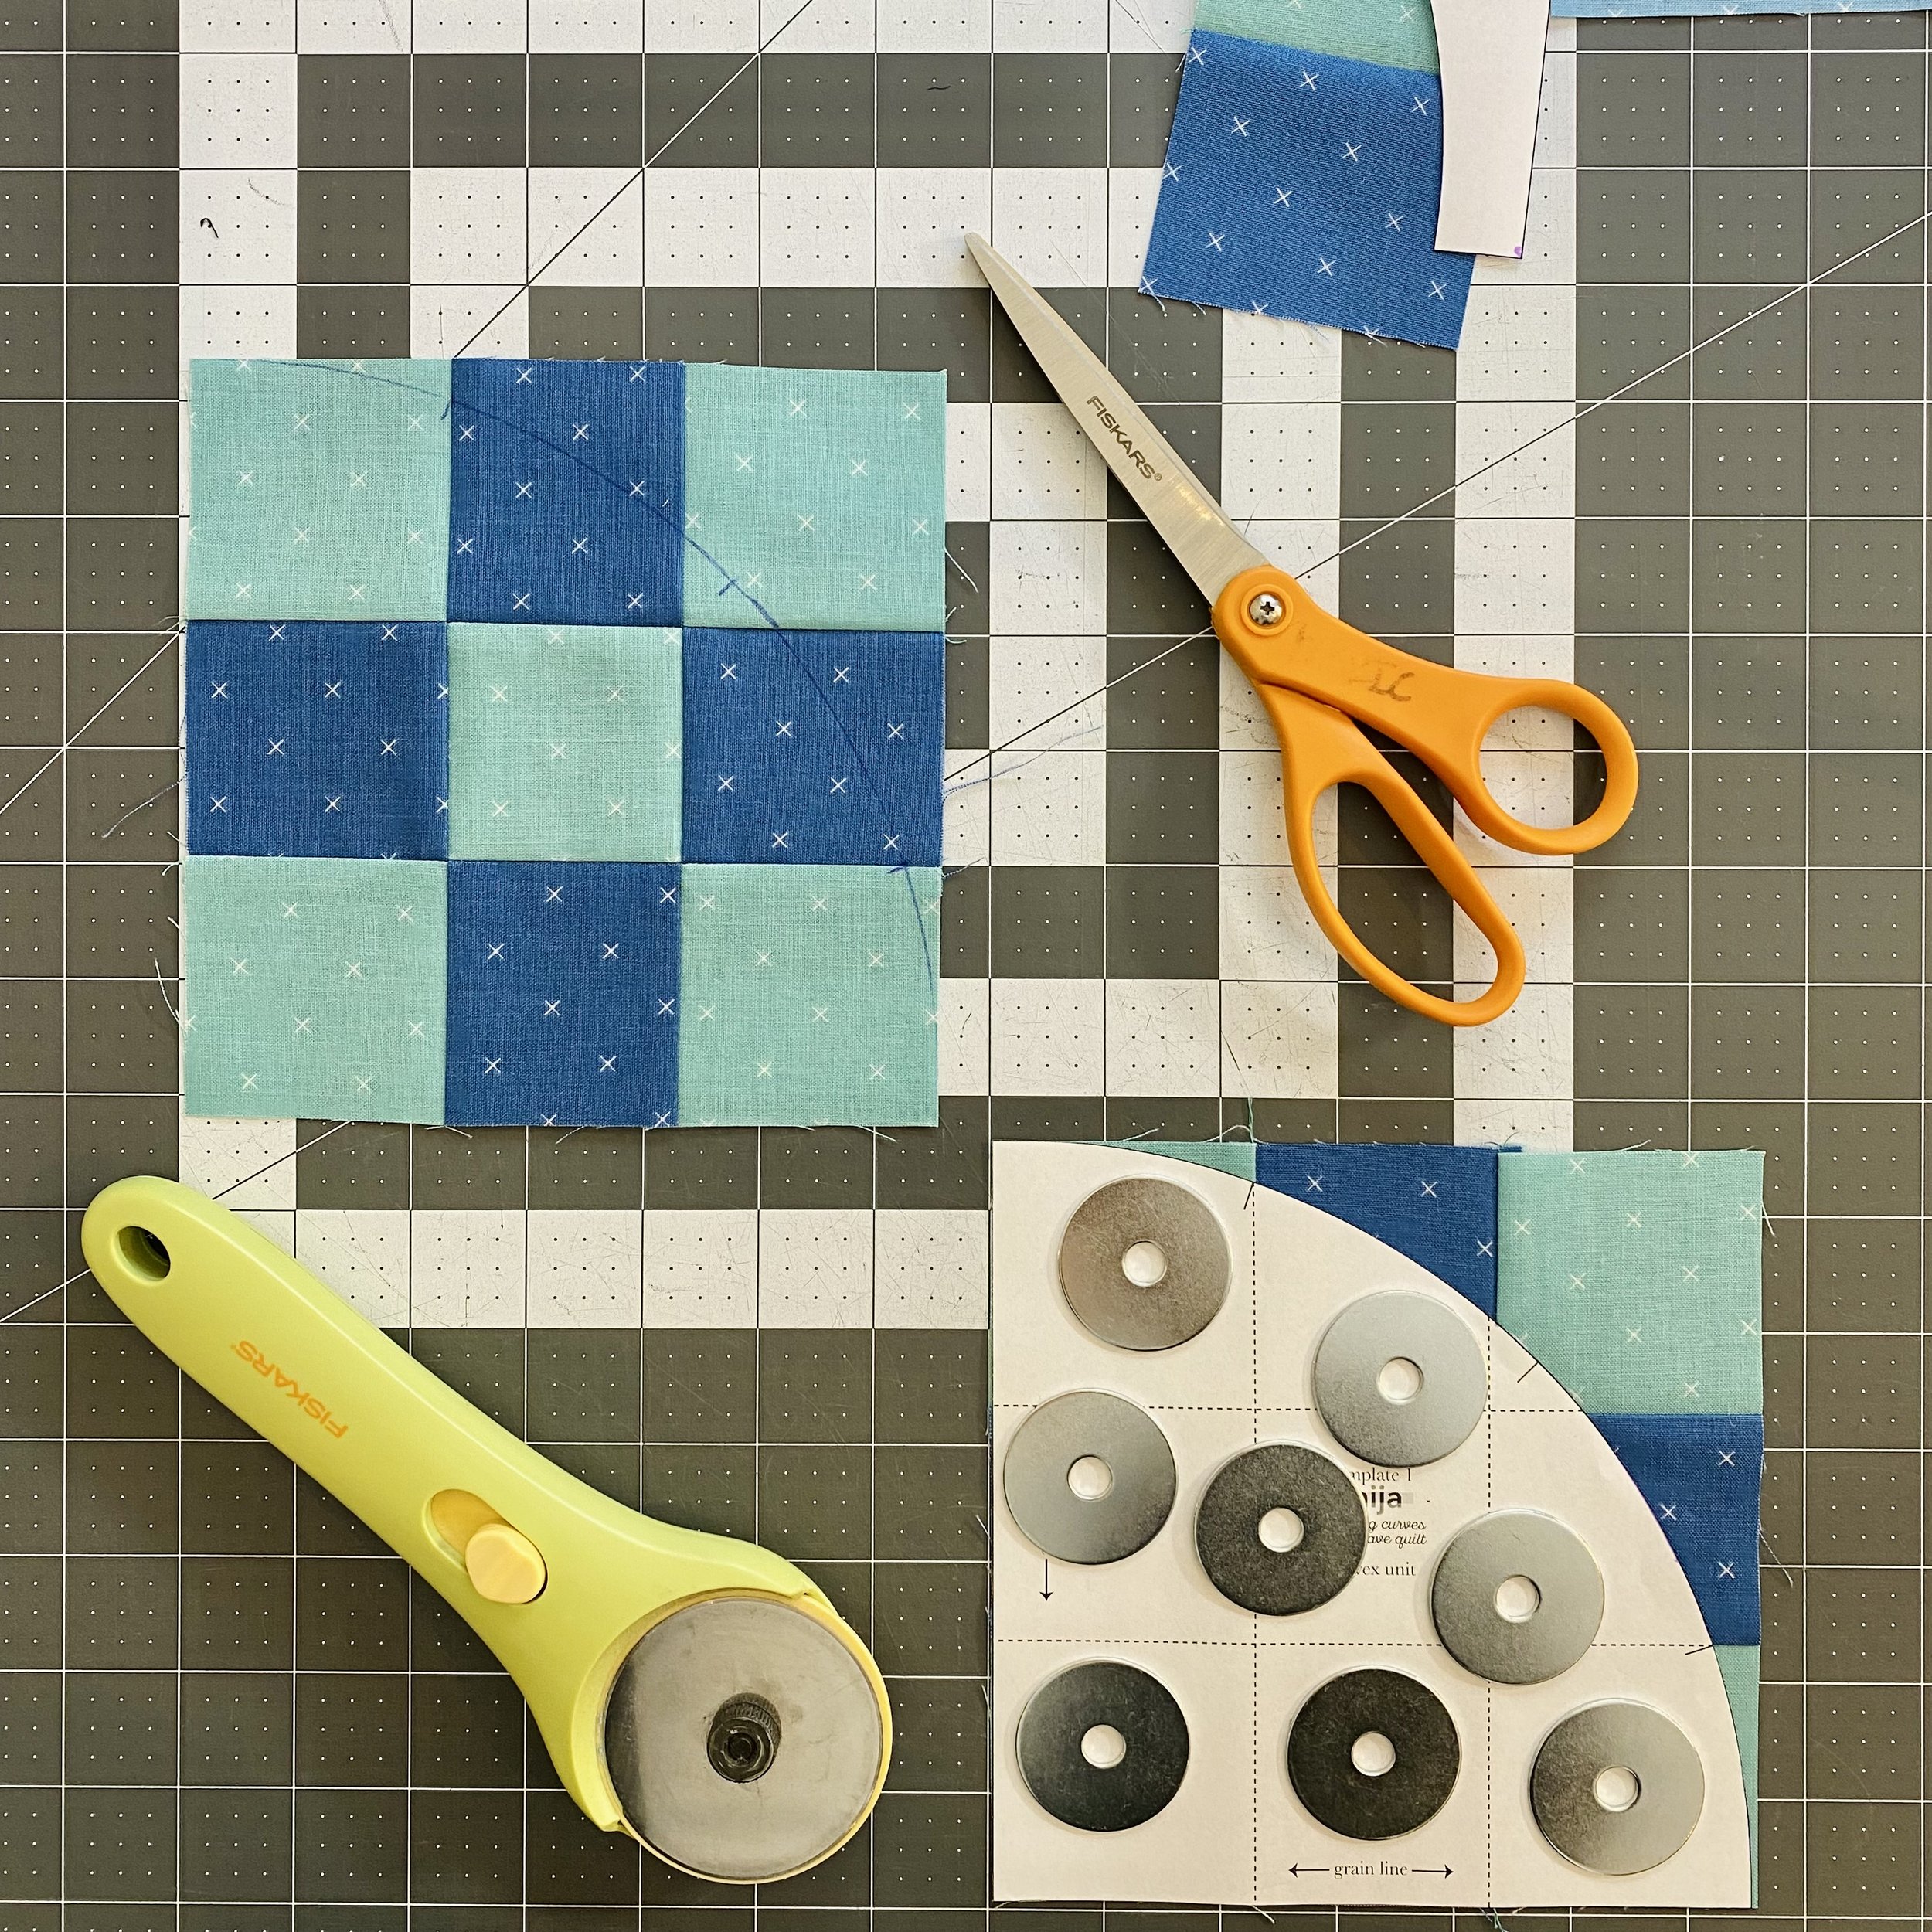
Nine Patch Units and Curve Templates
Next up, we’re cutting convex and concave curve units from the nine patch units. I encourage you to try two things. First, use both cutting methods described above to see which you prefer. This block will be a little bumpy along the seam allowances, so move slowly and carefully. Second, leave the nine patch units under something heavy for at least 20 minutes before trimming. This helps flatten the seams and makes sure the fabric is relaxed so it doesn’t shrink back the tiniest bit after cutting. I don’t know that this shrinking is an actual thing, but I feel like my blocks are just that much nicer if I let them flatten and relax under a clapper.
Make sure to transfer the registration marks to the cut units. The marks should go on the right side of the convex units, and the wrong side of the concave units. This is so you can see the marks on both units while sewing, assuming that you sew with the concave unit on top.
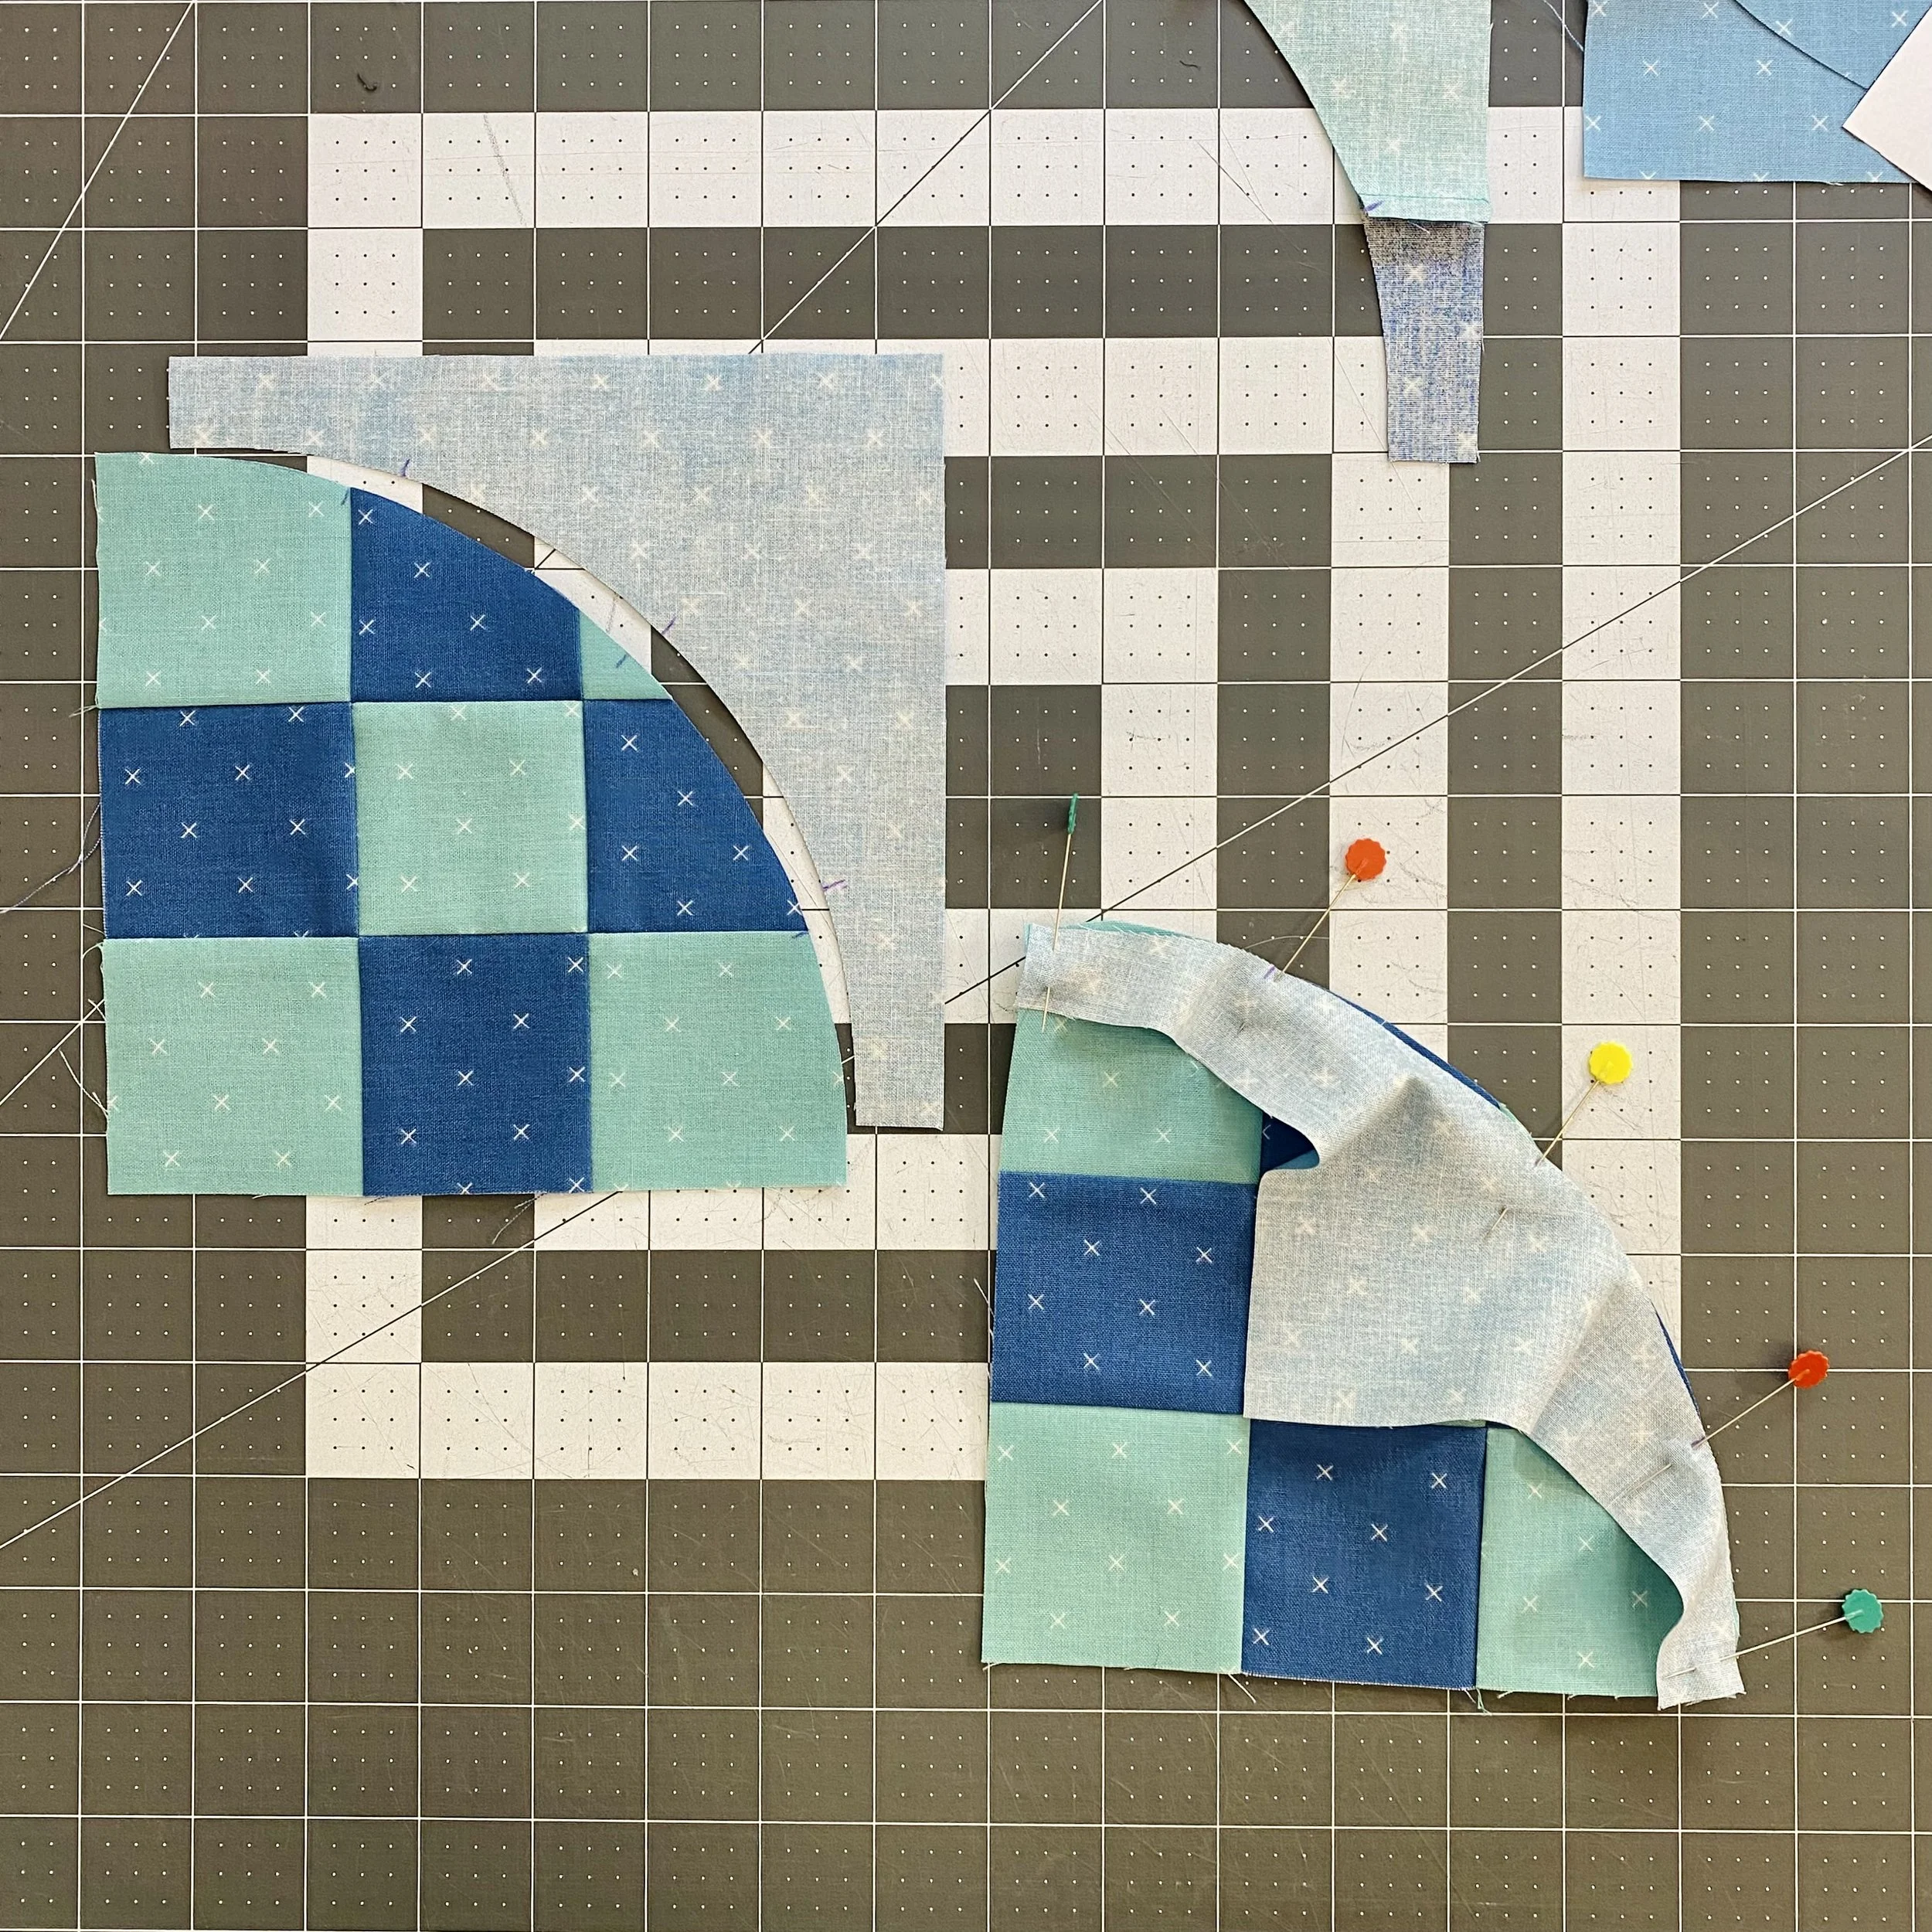
Pinning Convex and Concave Units
The Roxy Wave pattern assumes that you have some familiarity with sewing curves, but in case you’ve never seen a pinned quarter circle unit before, here’s what the Roxy Wave quarter circle unit looks like. It looks uncomfortable, it feels odd and you might think that the units don’t actually fit and what are we even doing here?
Well, I promise you those feelings are ok, and trust that the units to actually fit together. I suggest pinning the units at the middle, ends and both registration marks. If you’re brand new to curves, I encourage adding more pins. As you grow more comfortable, you can use fewer pins, but more pins means spending less time adjusting the fabric under the needle.
Sew with the concave unit on top, and mind the direction of the seam allowances. The process looks exactly the same for the unit with the nine patch in the concave unit.
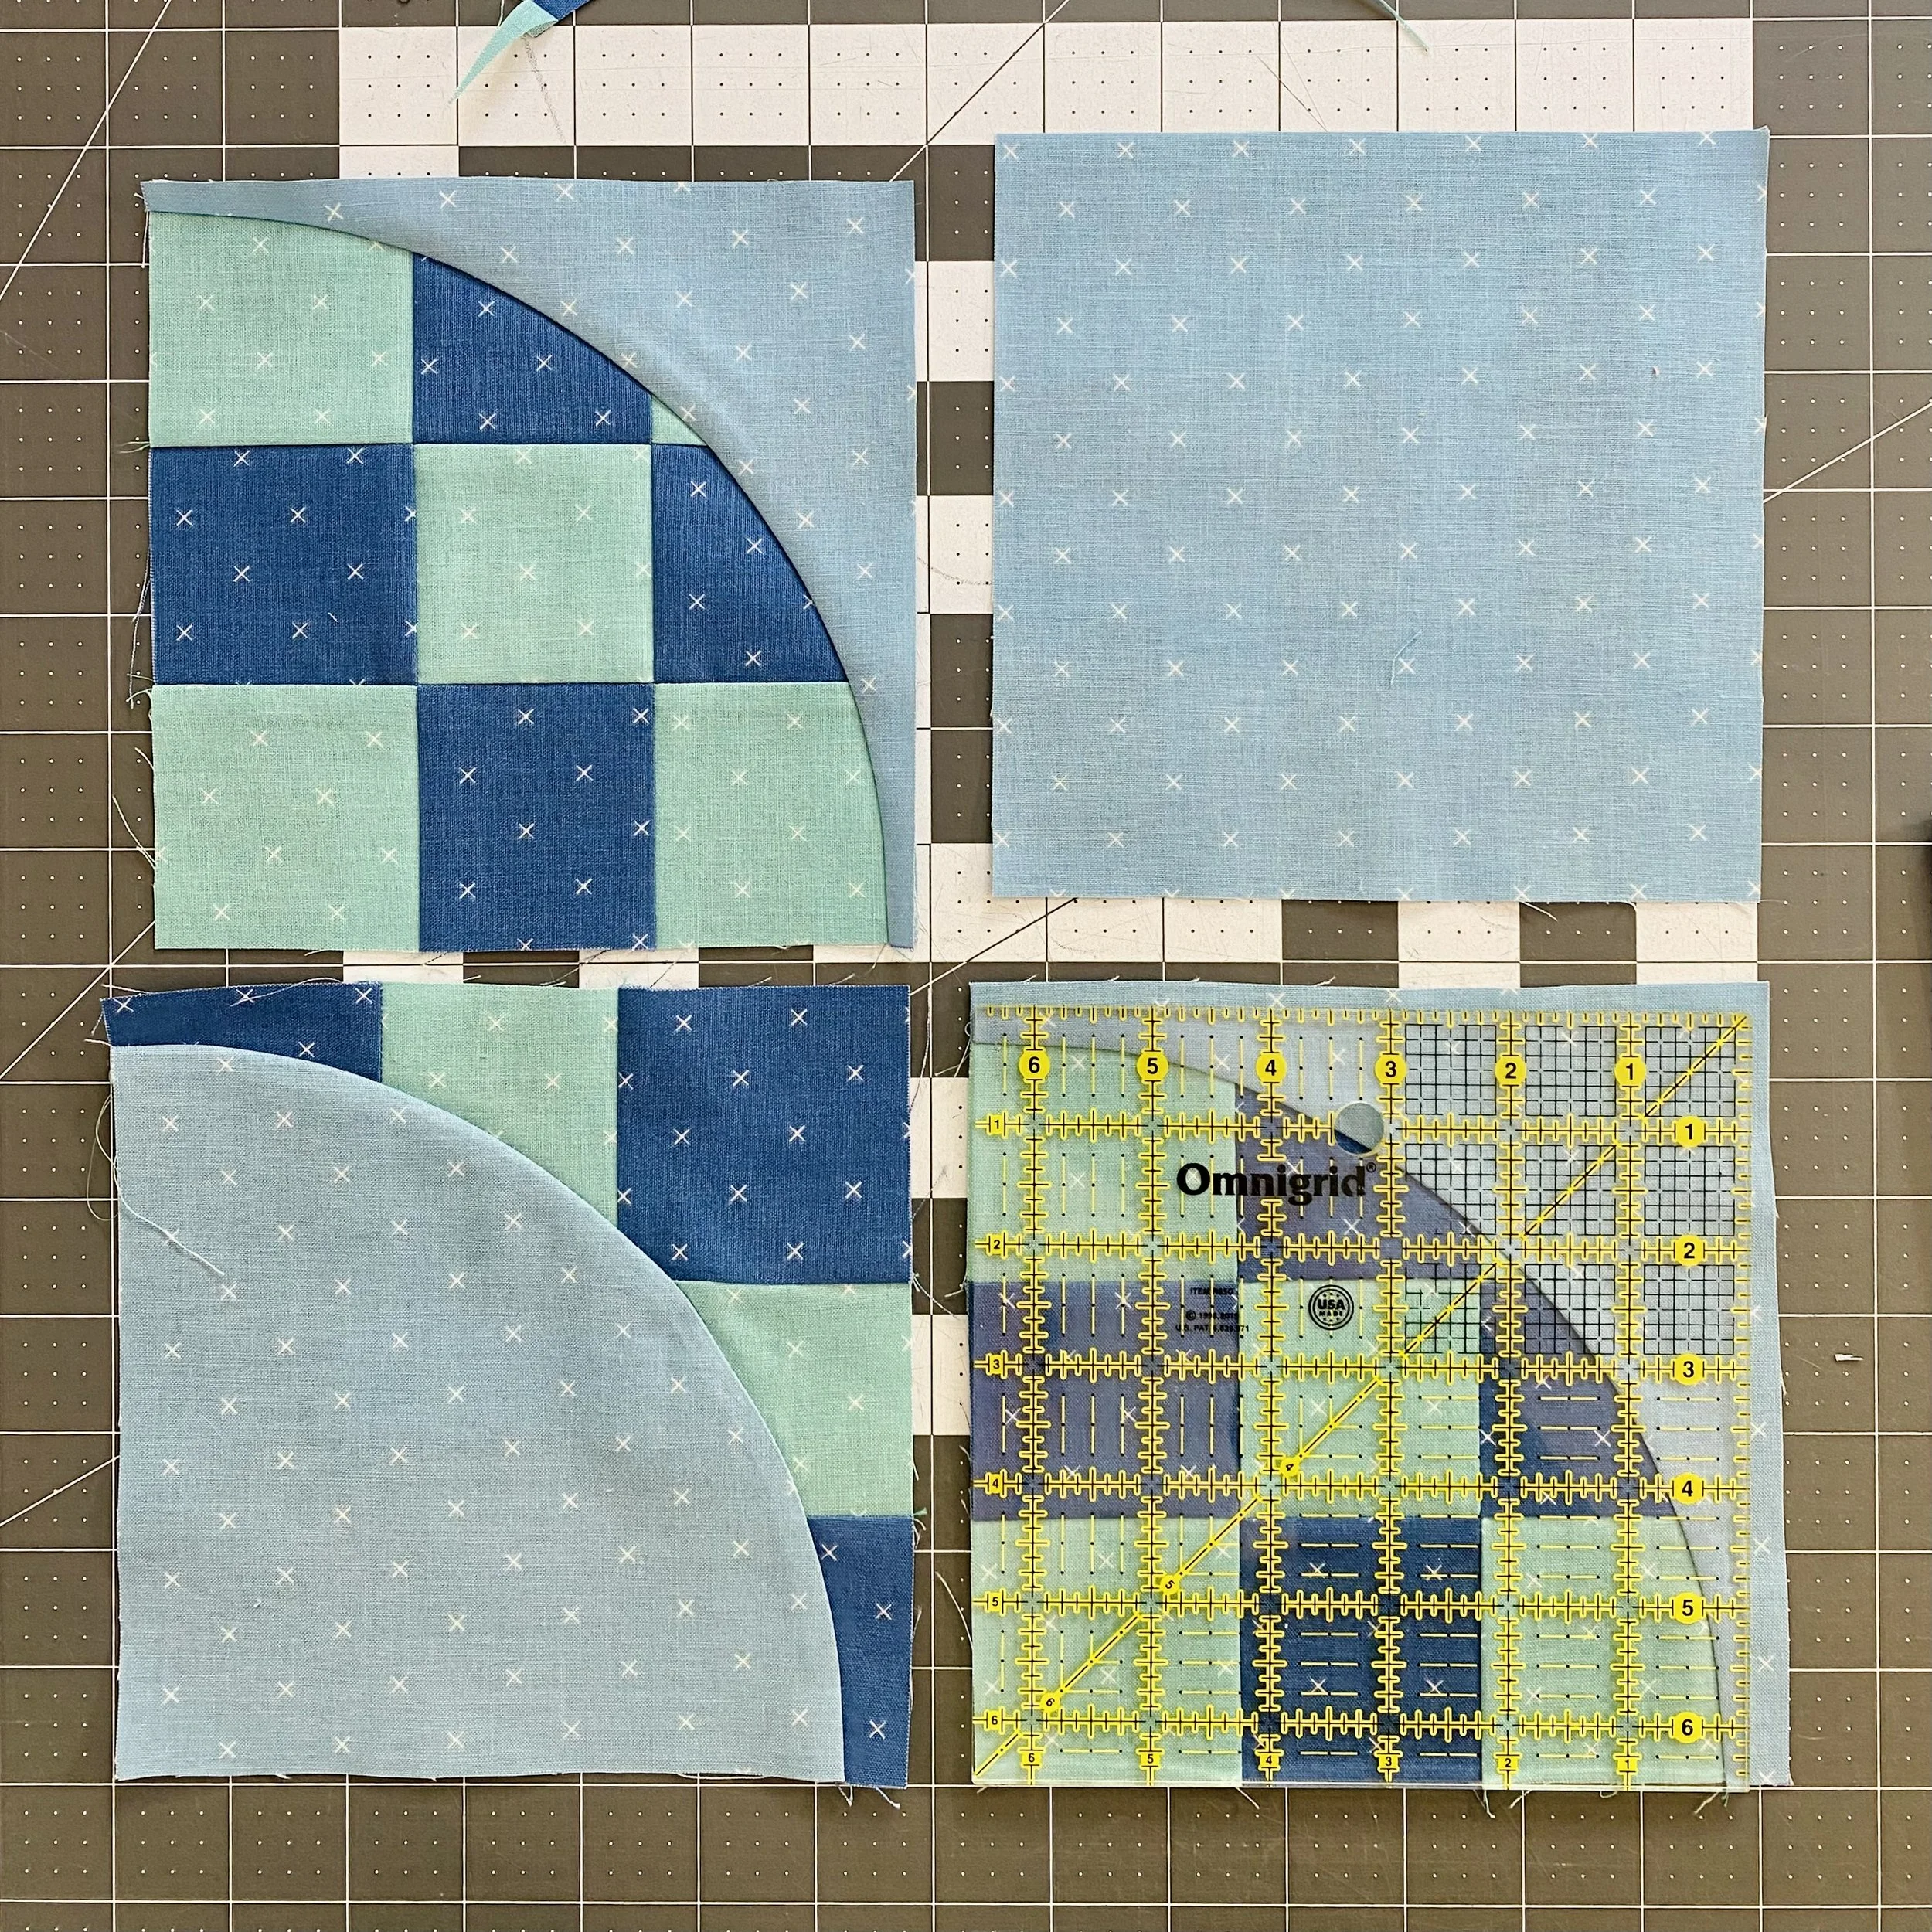
Trimming Quarter Circles and Final Assembly
Now it’s time to trim the quarter circle units. The templates are designed so that you only have to trim from the concave piece. The pattern also has guidance on how to align the seams of the nine patch units with the ruler - this will ensure that the seams meet and nest perfectly in the next step…
Which is final assembly! This part is so rewarding. All the blocks should be the same size and all the seams should nest! After you’ve sewn and pressed everything, leave the block under a heavy book for a while to really flatten those seams.
I think these generous curves are a perfect way to kick off the Learning Curves BOM! Let me know what you think of the pattern and share pictures of your progress on the Roxy Wave block over on Instagram with #learningcurvesBOM, #roxywavequiltblock and #mijapatterns.
Happy Quilting!