
How To DIY Your Own Decorative Webbing
I have gone deep into the world of bag making. I’m constantly thinking about zippers, binding finishes, construction methods…and webbing! If you don’t know what webbing is, it’s the material bag patterns often direct you to use to make bag handles. You can get webbing in plain cotton for $3 to $4 per yard. Or you can get decorative webbing for $7 to $9 per yard.
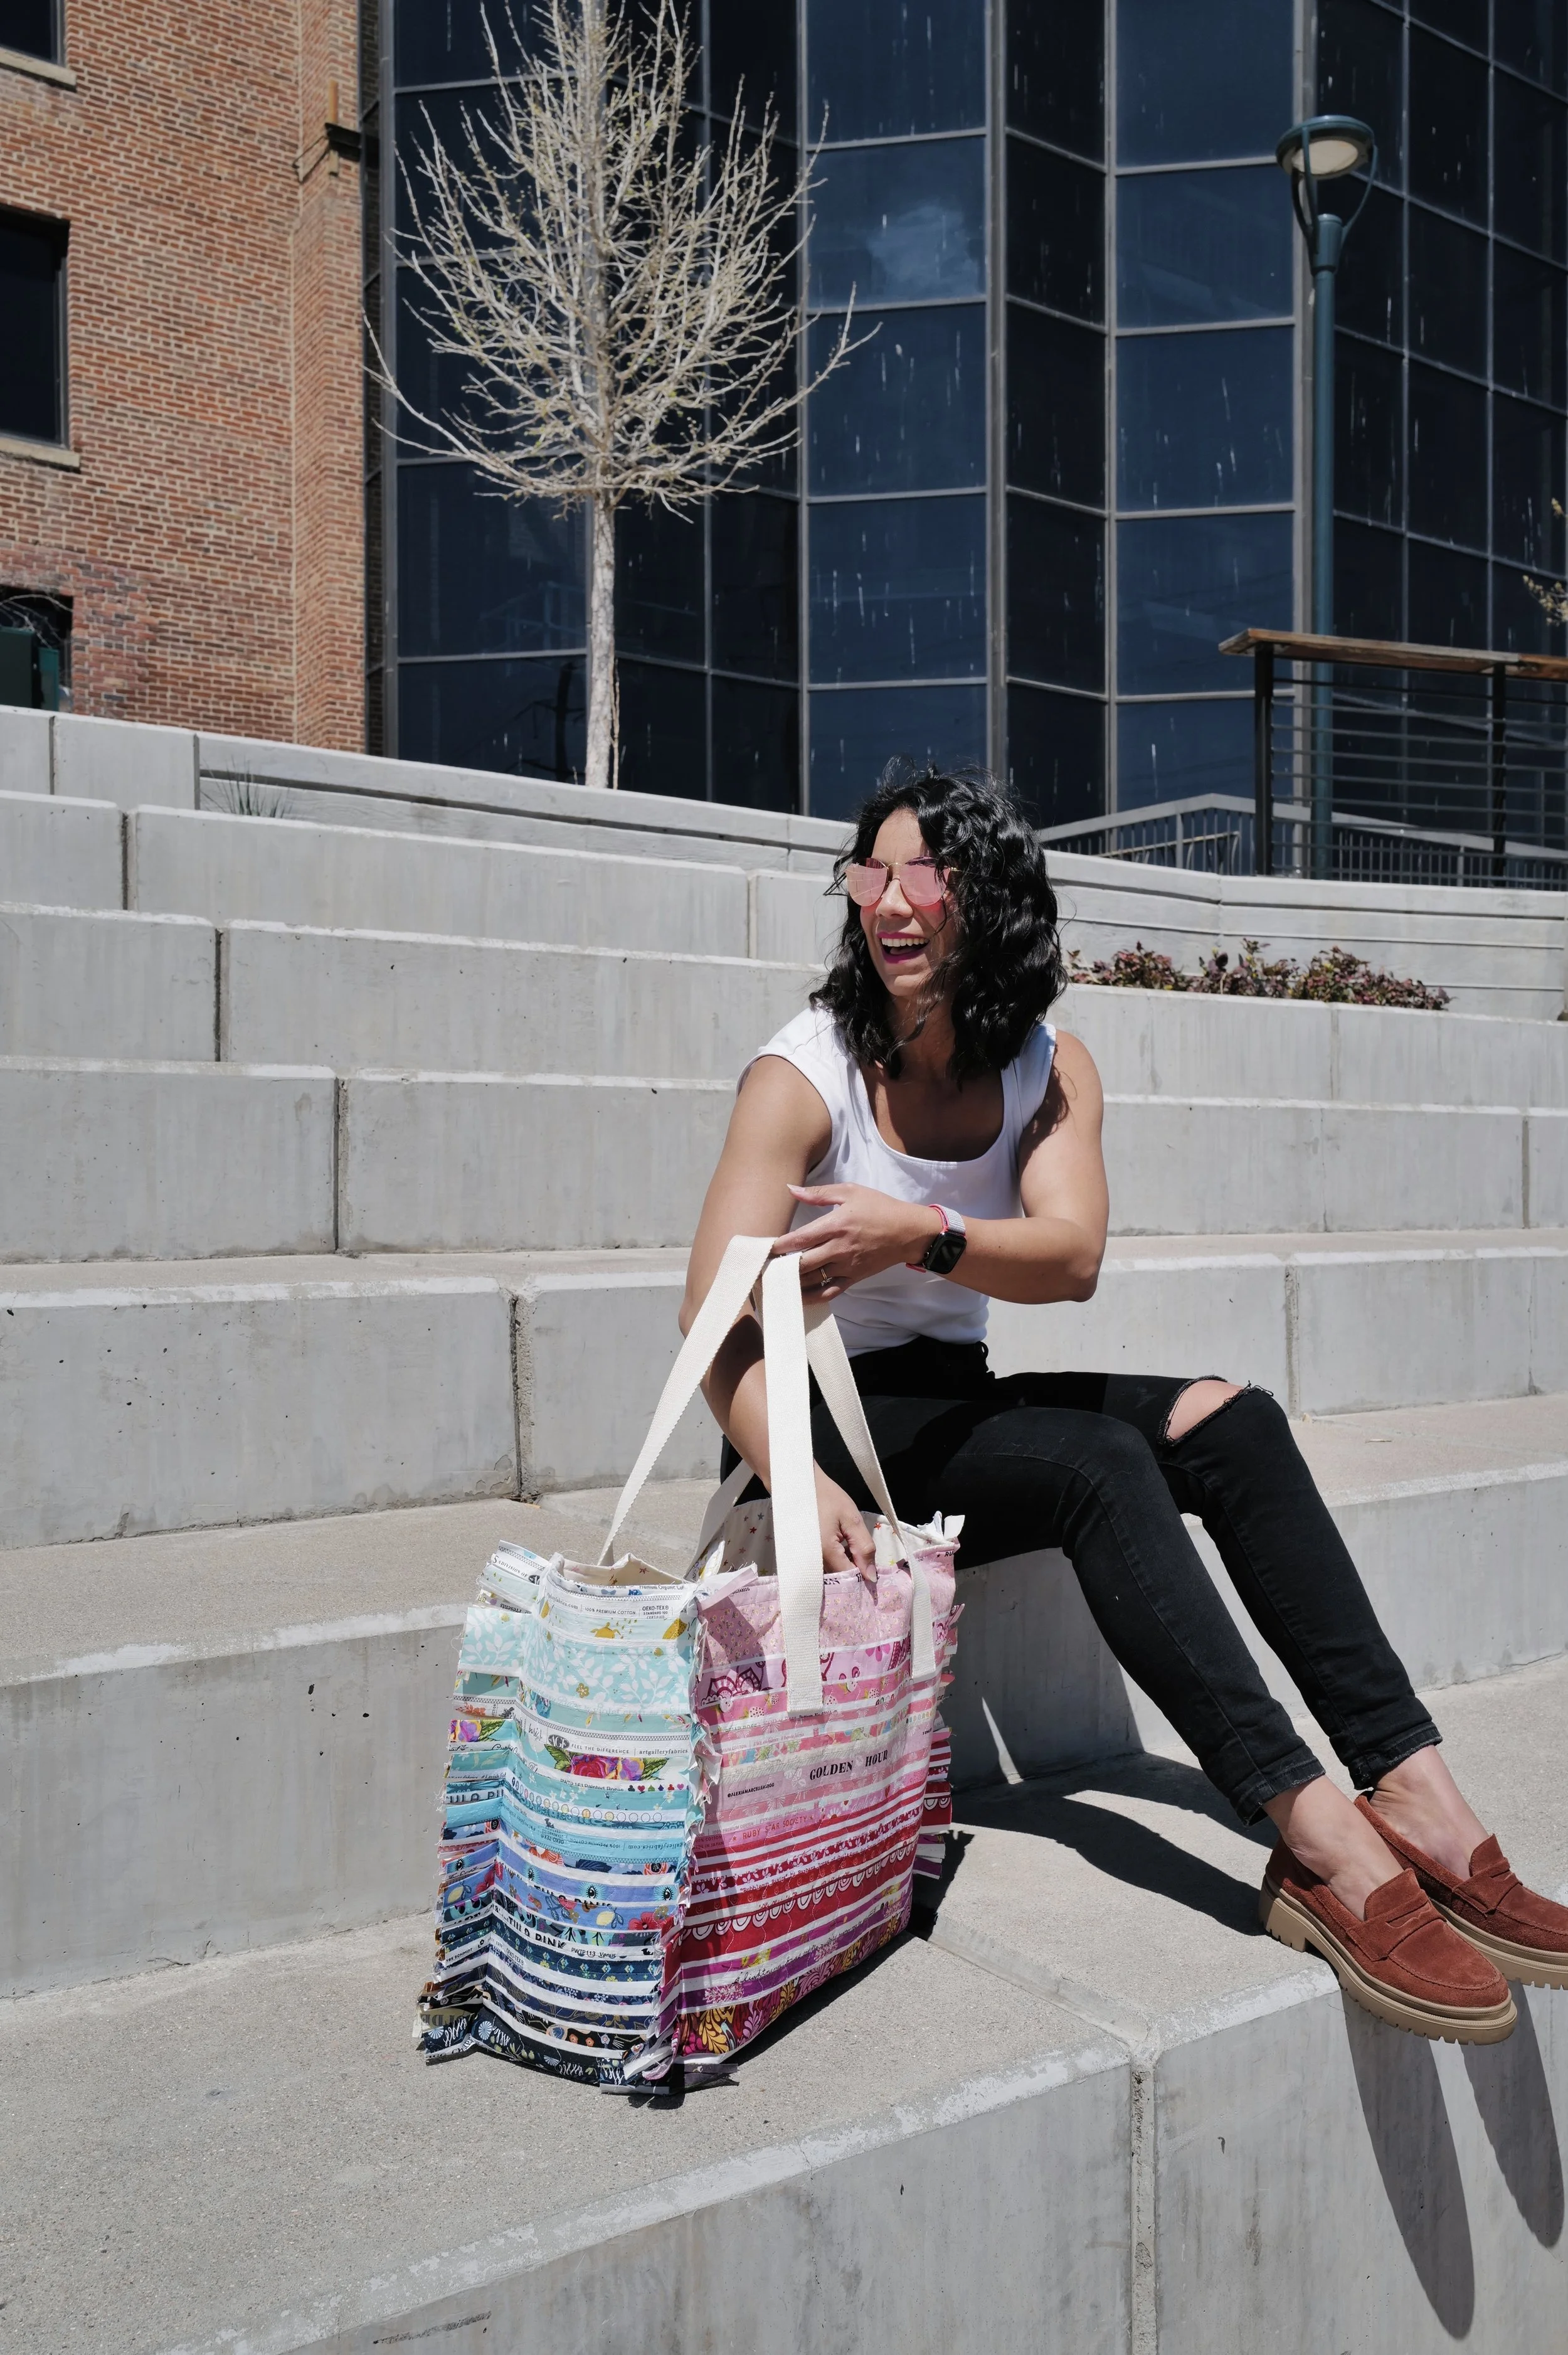
The project I’m working on required 5 yards of webbing, and while the idea of decorative webbing sings to my heart, I couldn’t justify spending another $30 or $40 on this project. So I decided to make my own!

To make this project, I picked a webbing color that would look good with my project, and shopped my stash for a fabric that coordinates with the rest of it. You could achieve the same look with decorative ribbon, but again, I wanted to keep costs low. I have plenty of fabric on hand but no ribbon on hand.
If you want to replicate this look on your next bag project, keep reading and I’ll tell you how to turn 5 yards of plain webbing into decorative webbing using just one FQ. Plus - I’ve got a little bonus decoration for you using scraps of double sided, fusible interfacing.
Supplies
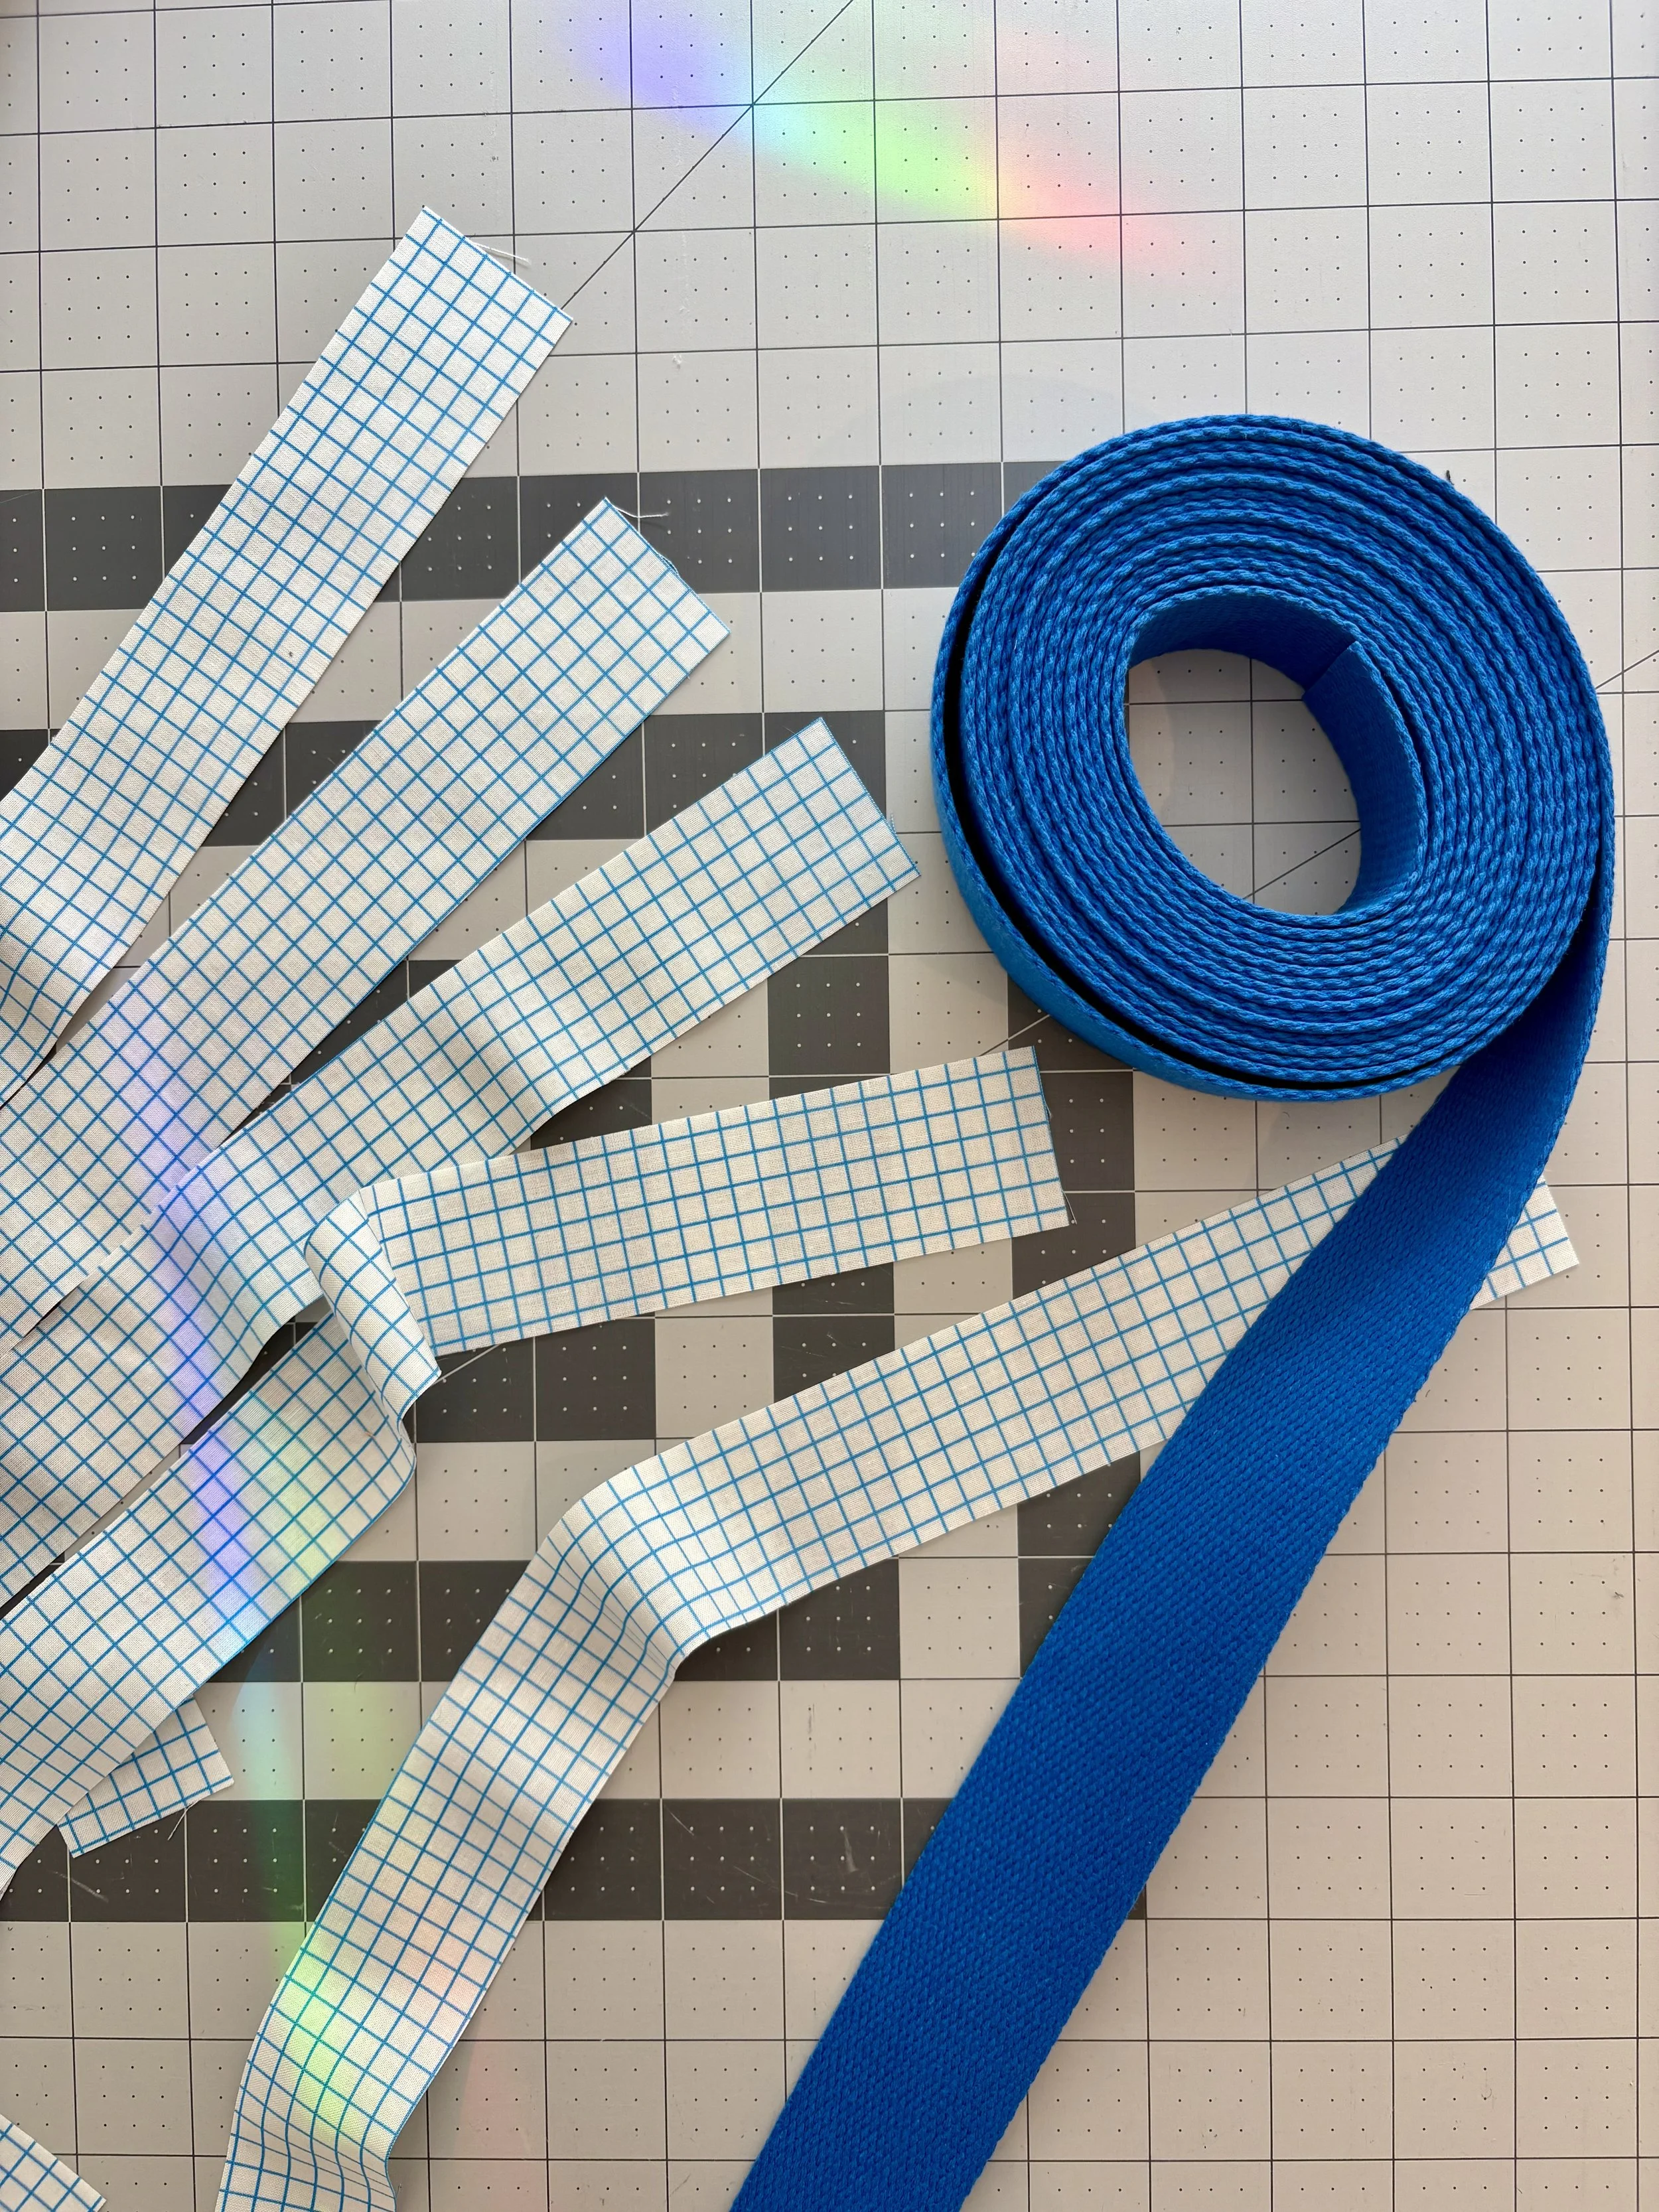
5 yards of 1½" cotton webbing
1 FQ (assumed to be 18" x 21")
Bobbin thread to match the webbing (optional)
Marking tool (optional)
Glue (optional but highly recommended)
Step One
I wanted my decorative strip to be half the width of my webbing, or ¾". If you are using a different width of webbing or want a different size fabric strip, your measurements will vary.
Cut 9 strips: 1½" X WOF of your FQ
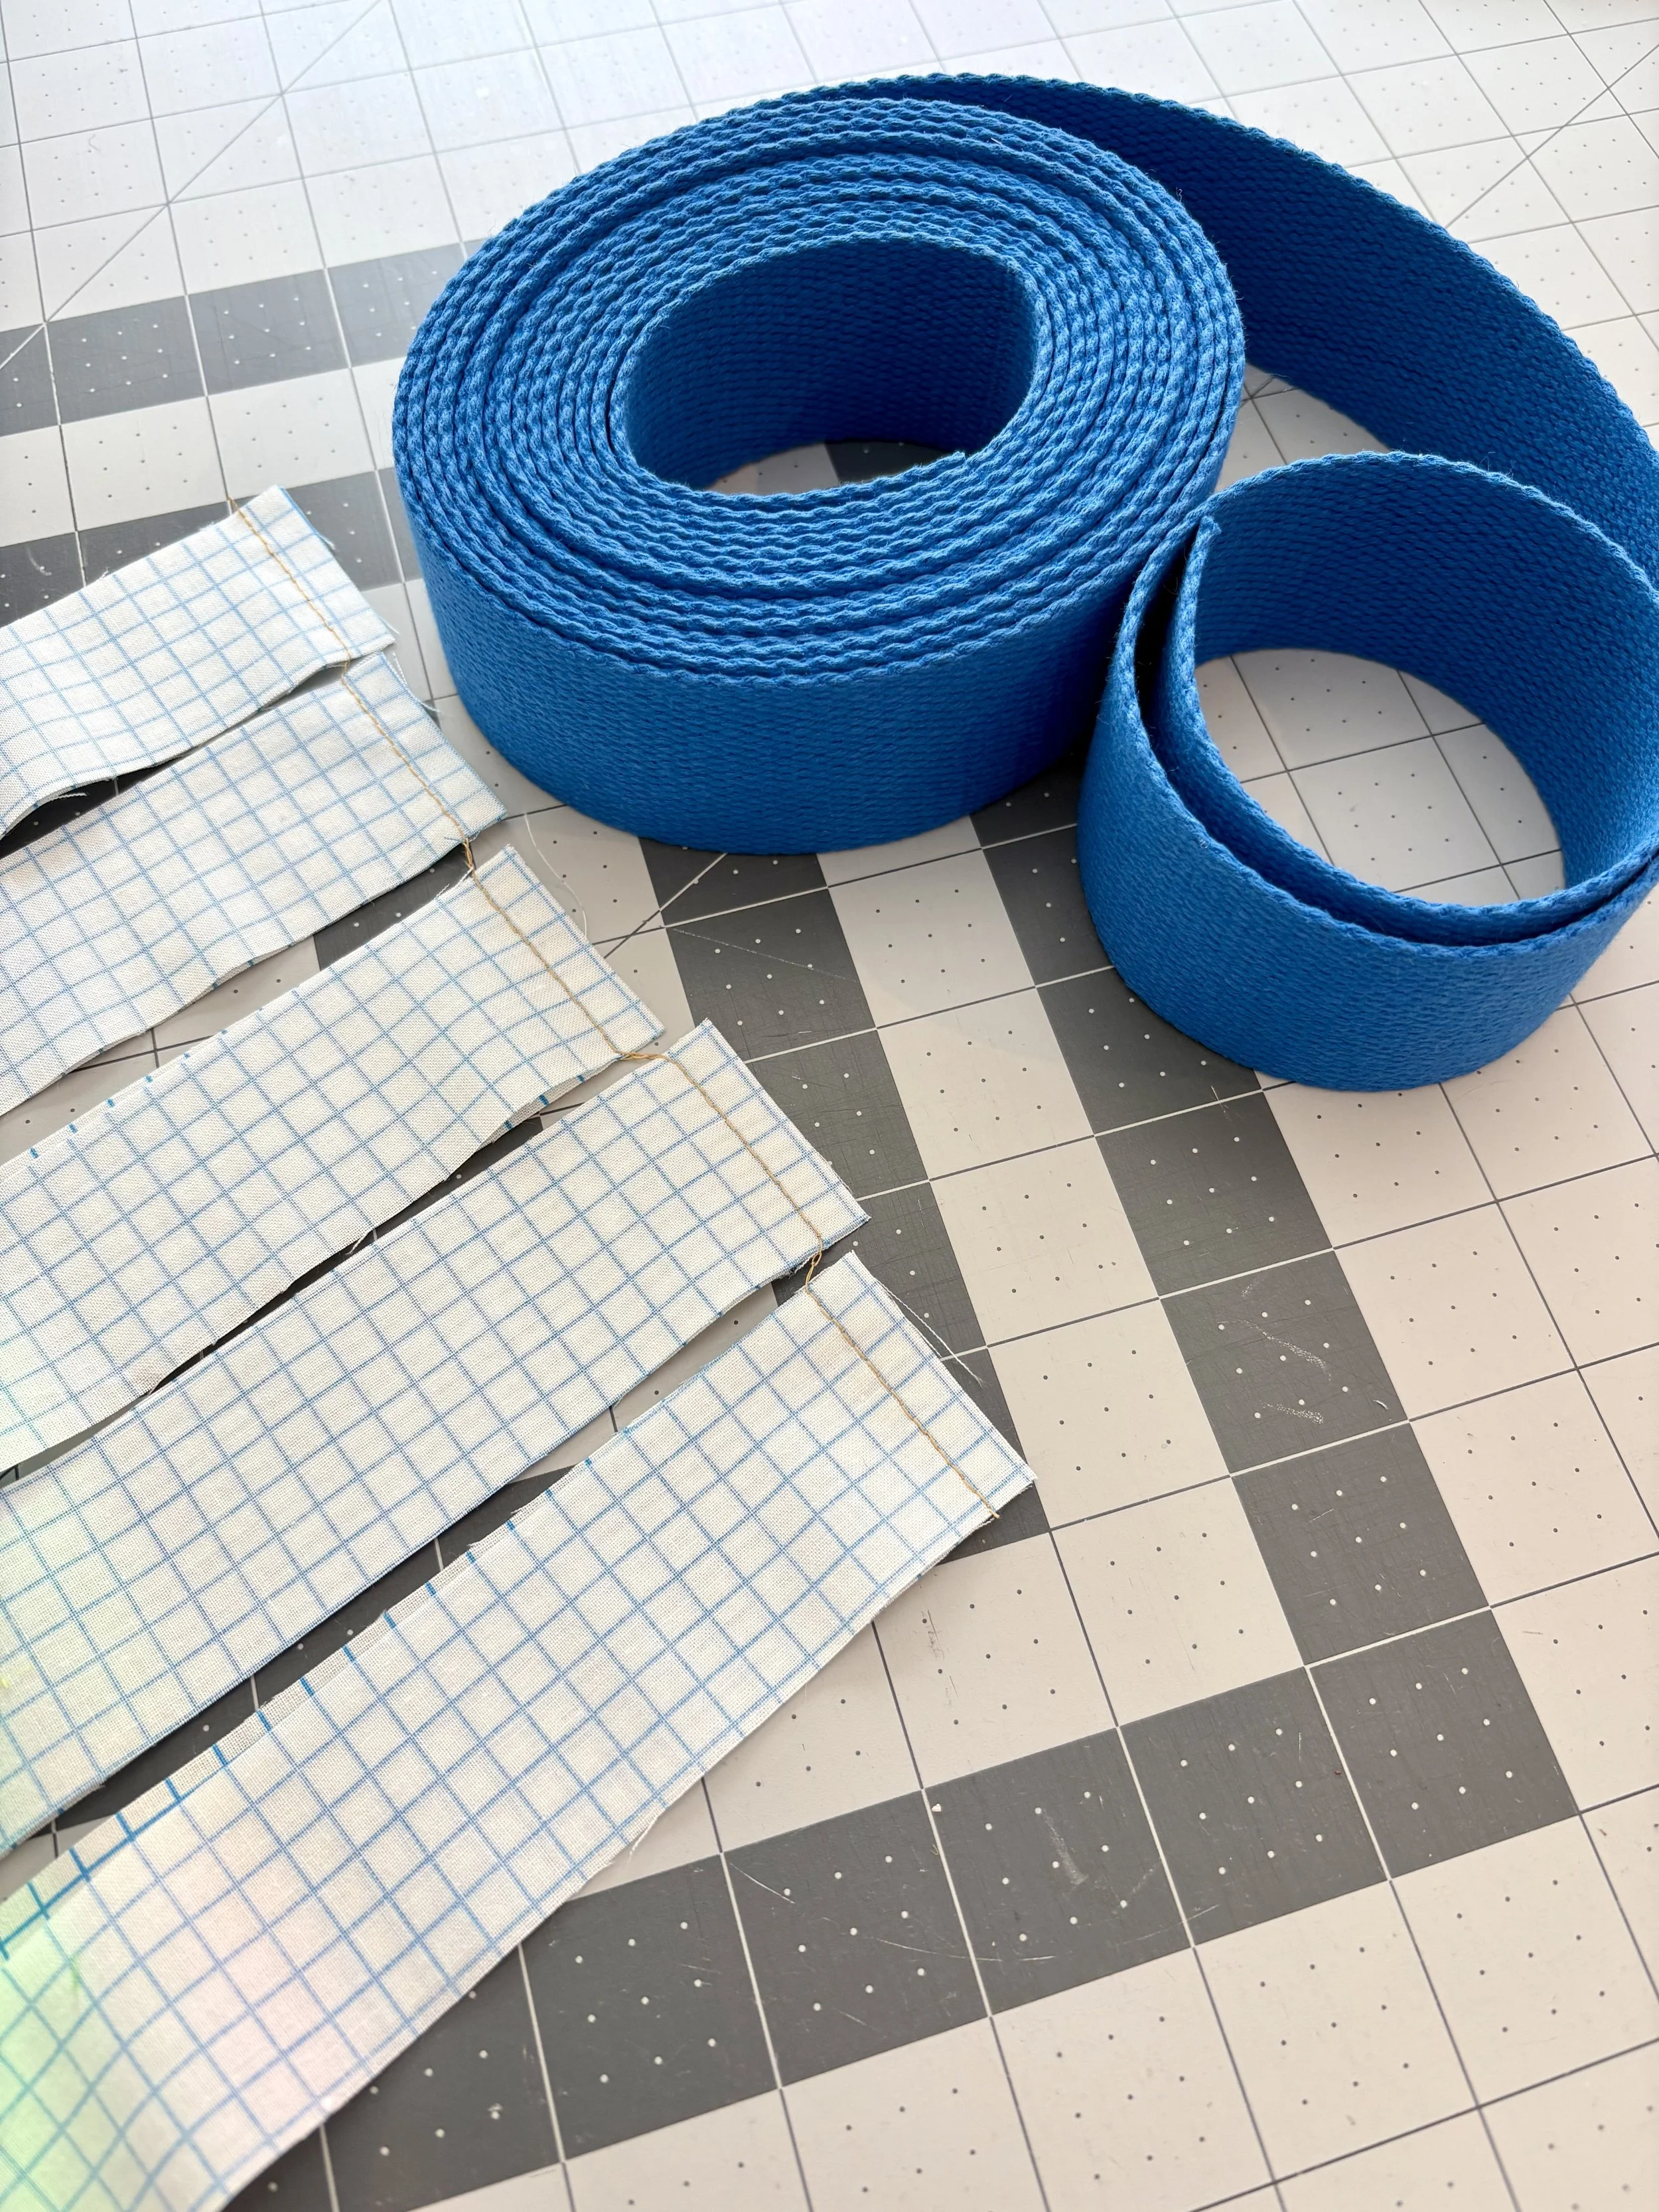
Step Two
Sew the short ends together to make one length of fabric. Press seams to your preference
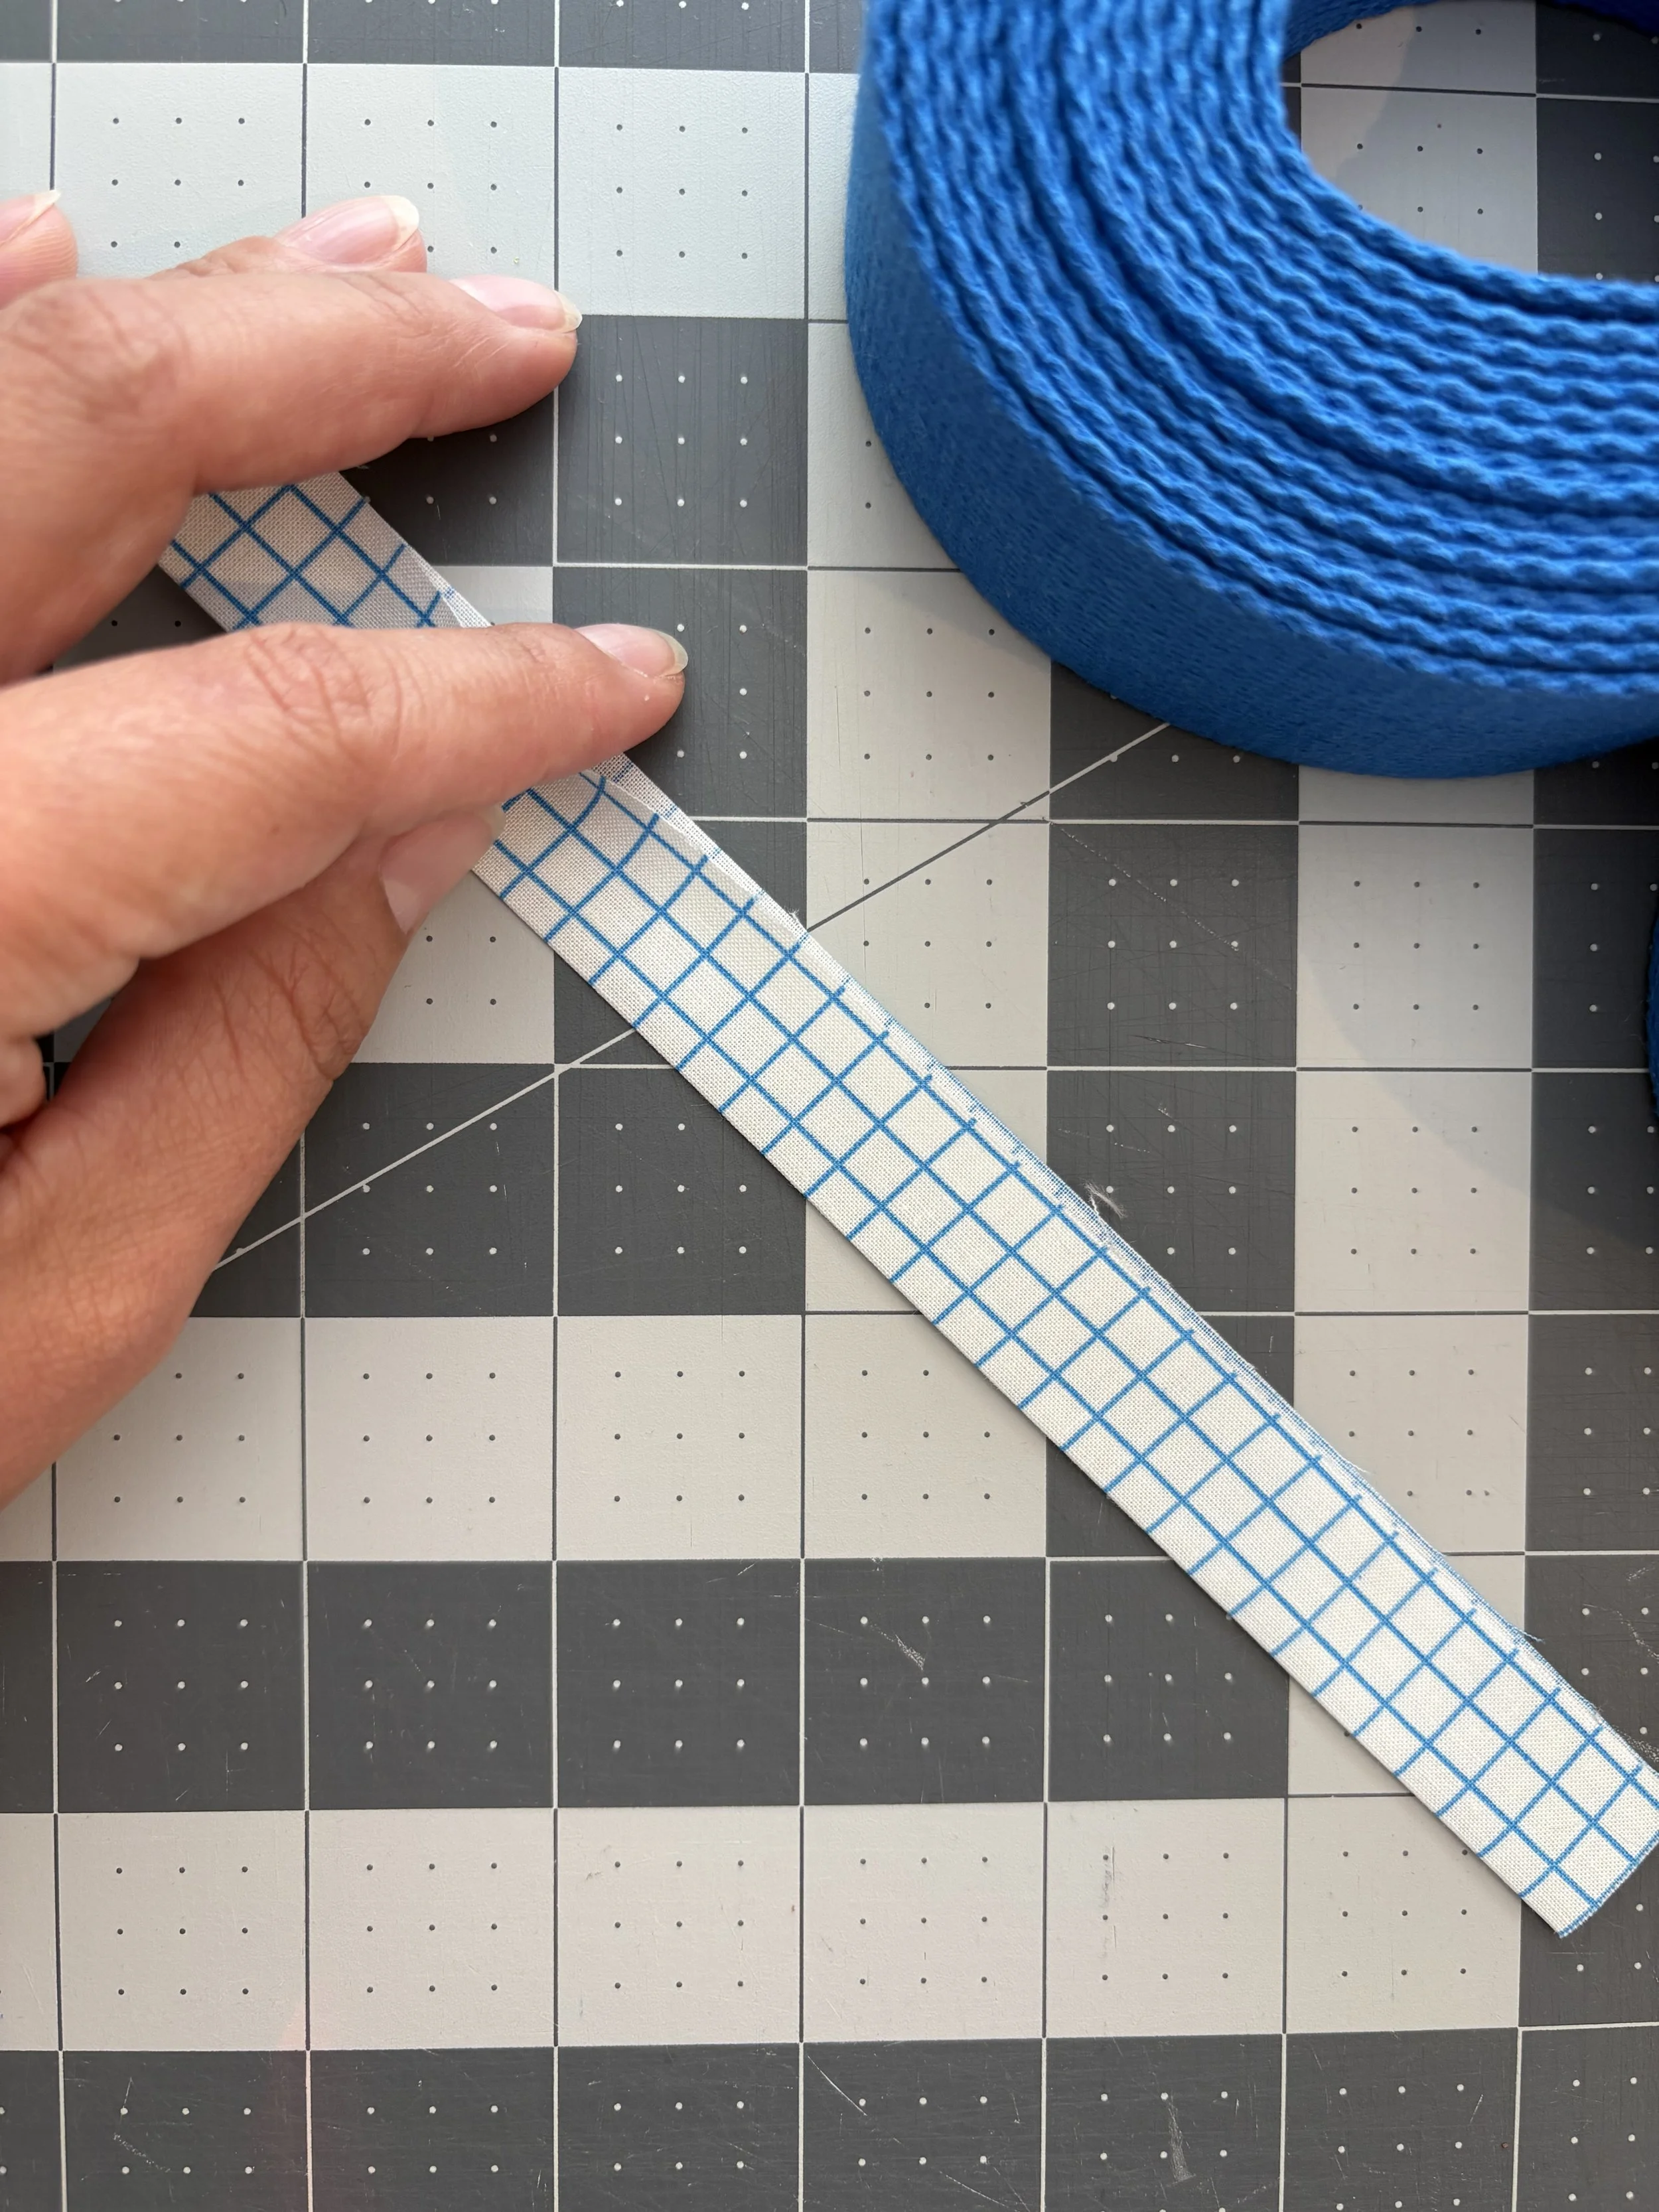
Step Three
With the right sides out, fold the strip in half lengthwise and press to mark the center.
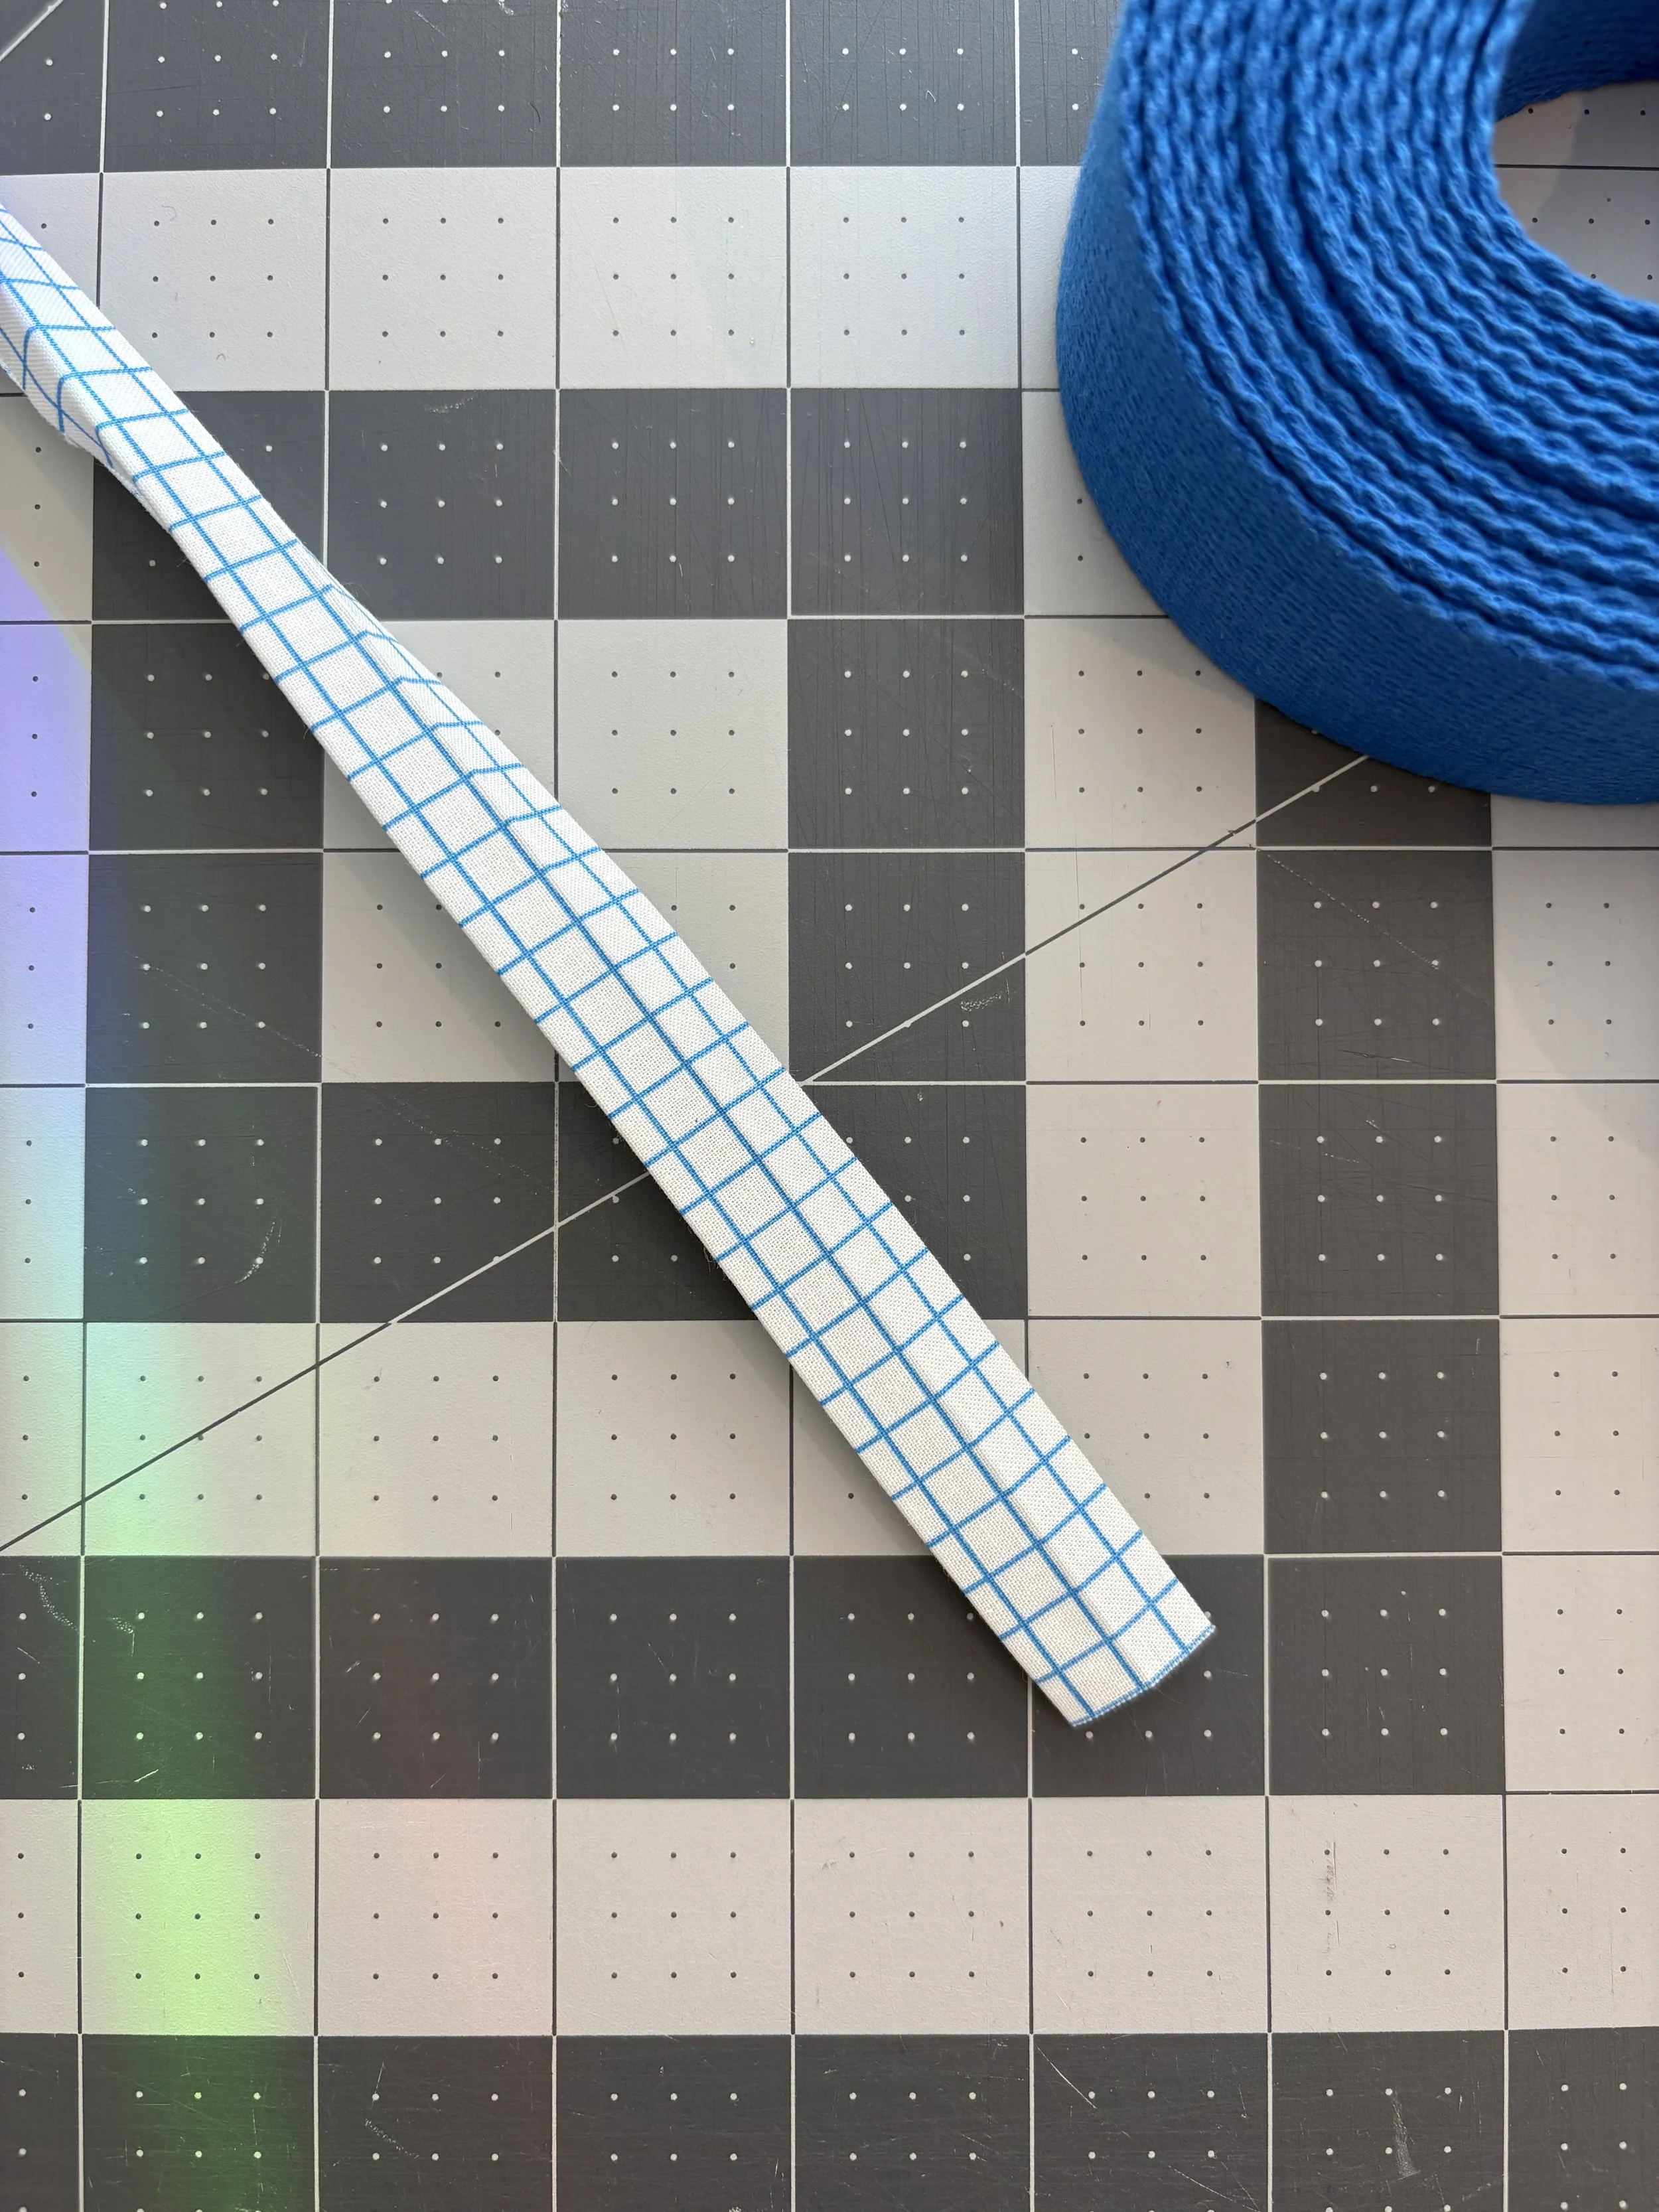
Step Four
Open the folded length, and bring the raw edges to meet at the center line. Press.
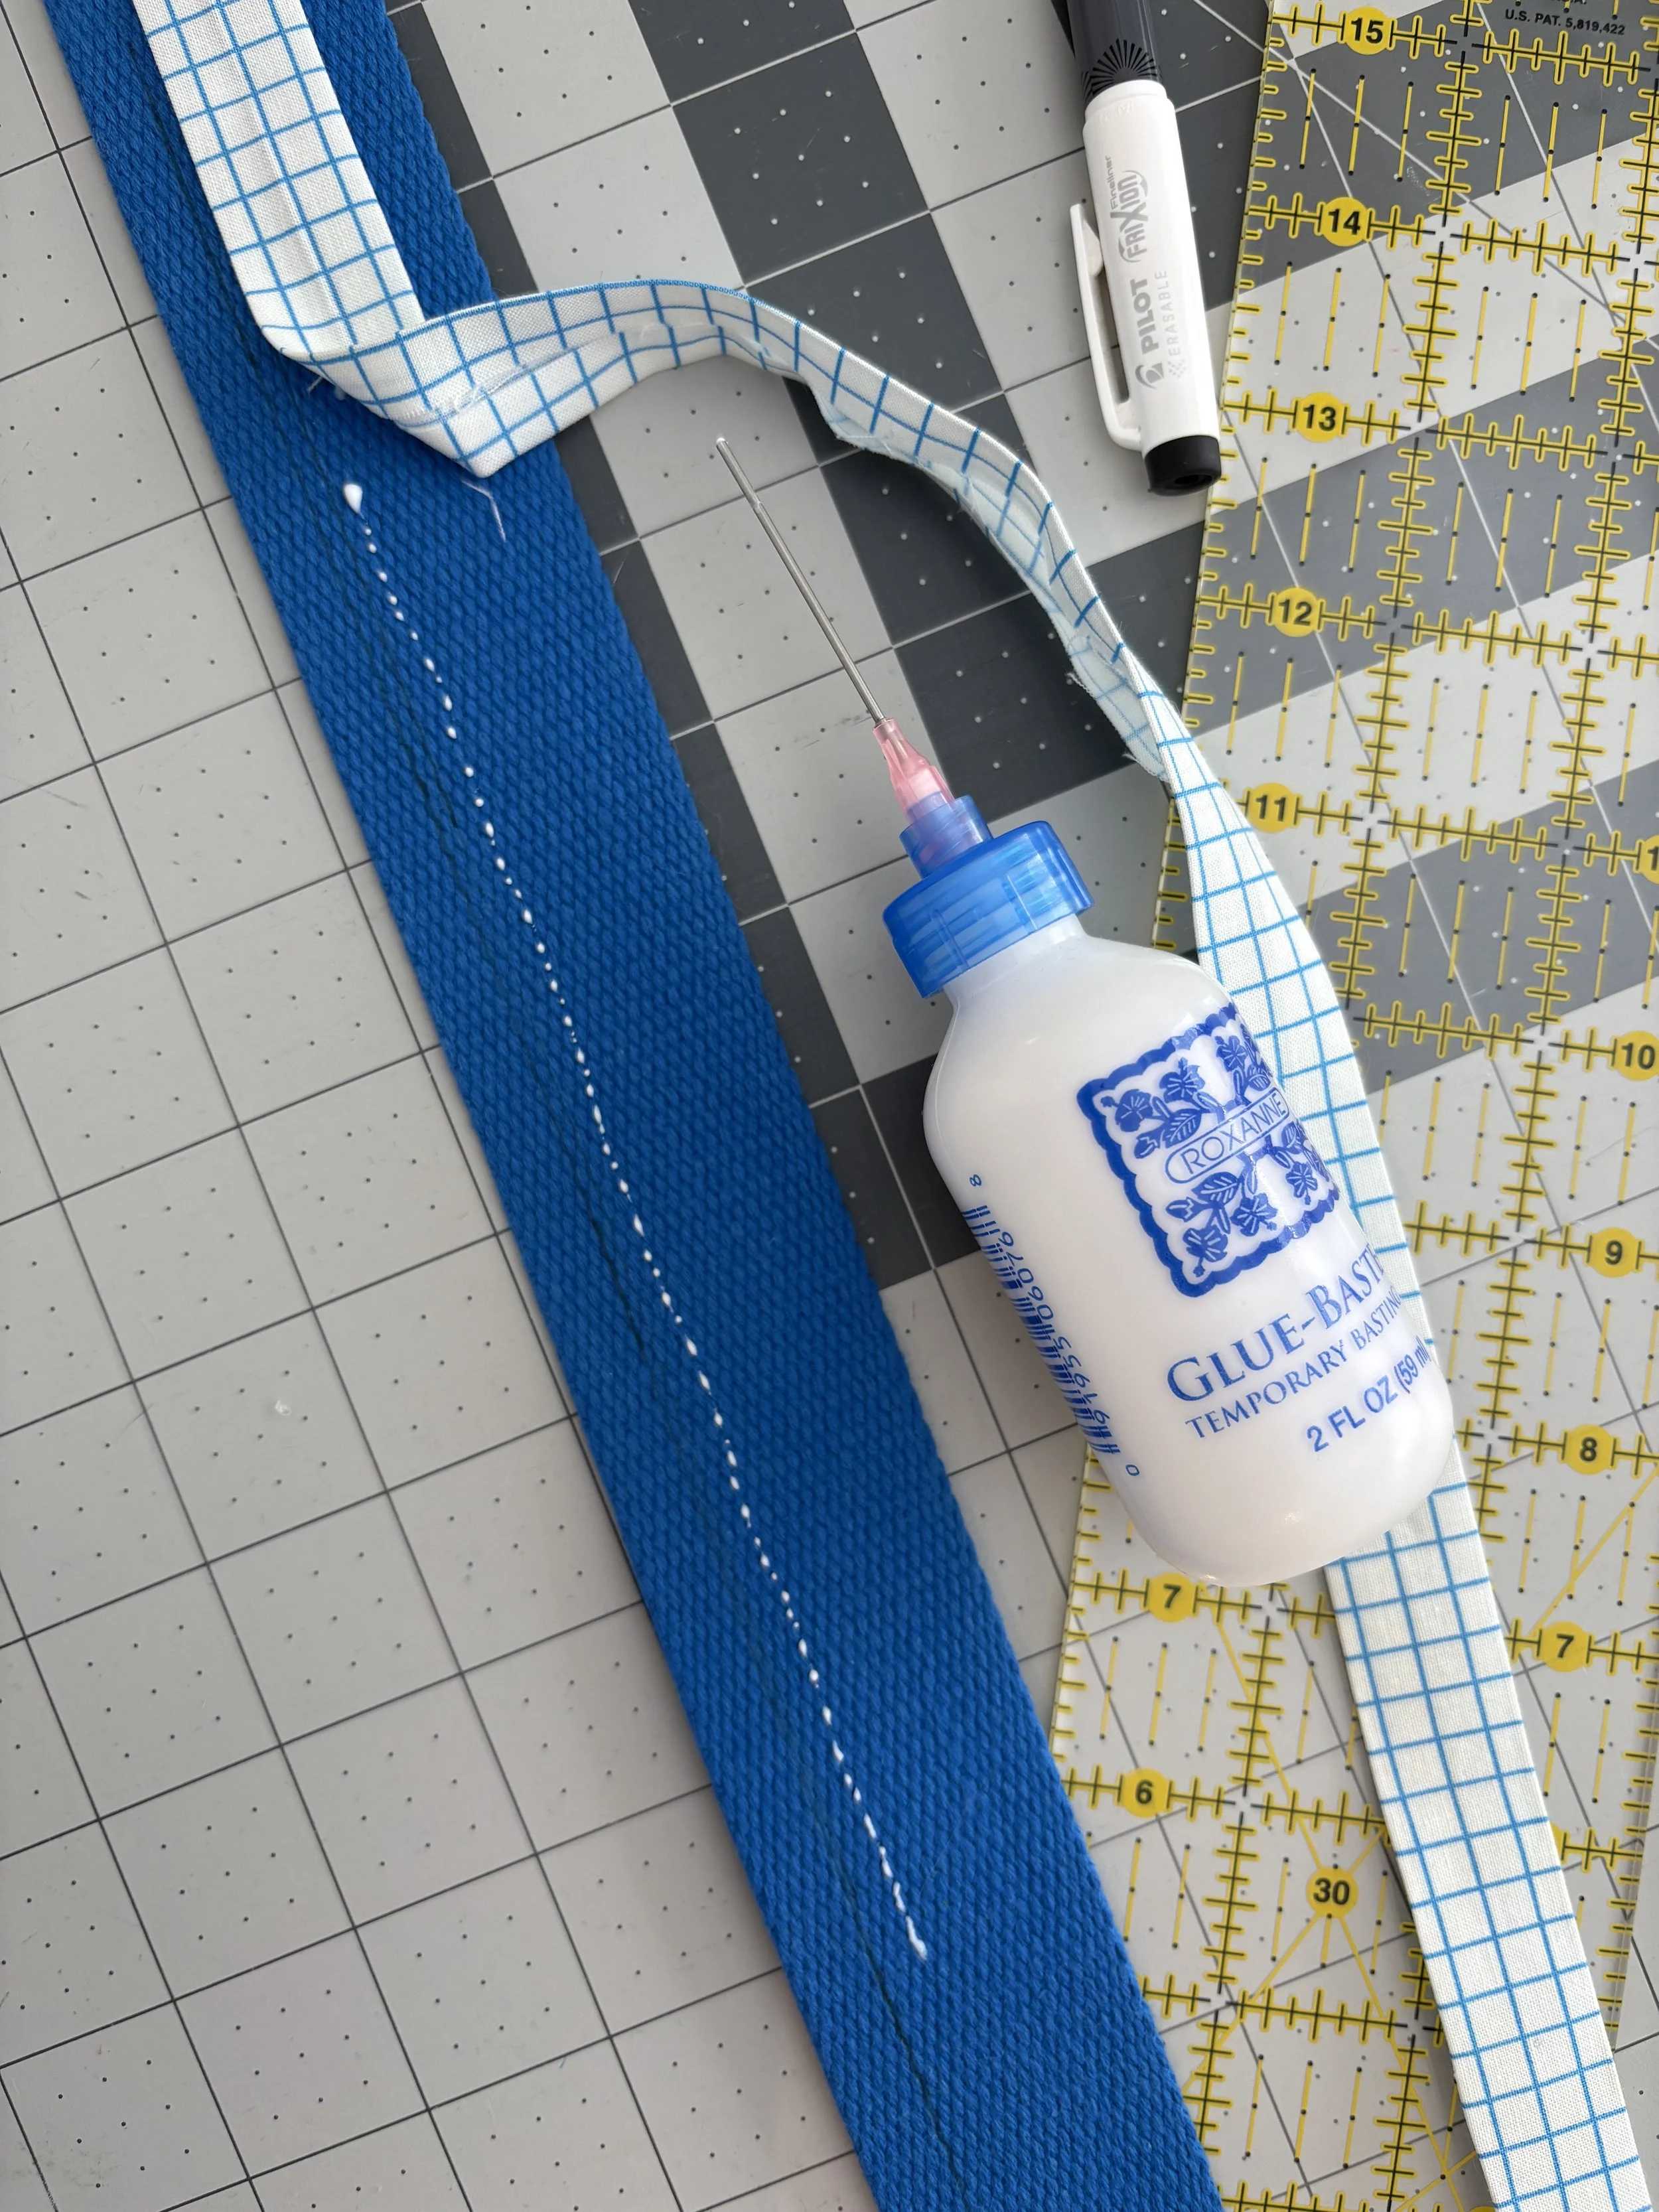
Step Five
Optional: Draw a line ¼" in from the long edge of the webbing. I tried this at first but found it to be unnecessary.
Align a folded edge of the fabric strip with the drawn line OR center the fabric strip on the webbing by eyeballing it. The raw edge side should be against the webbing. Secure the fabric strip to the webbing with a small amount of glue OR secure the fabric strip to the webbing with clips every several inches. I like to use glue at my ironing station so I can heat set it.
Step Six
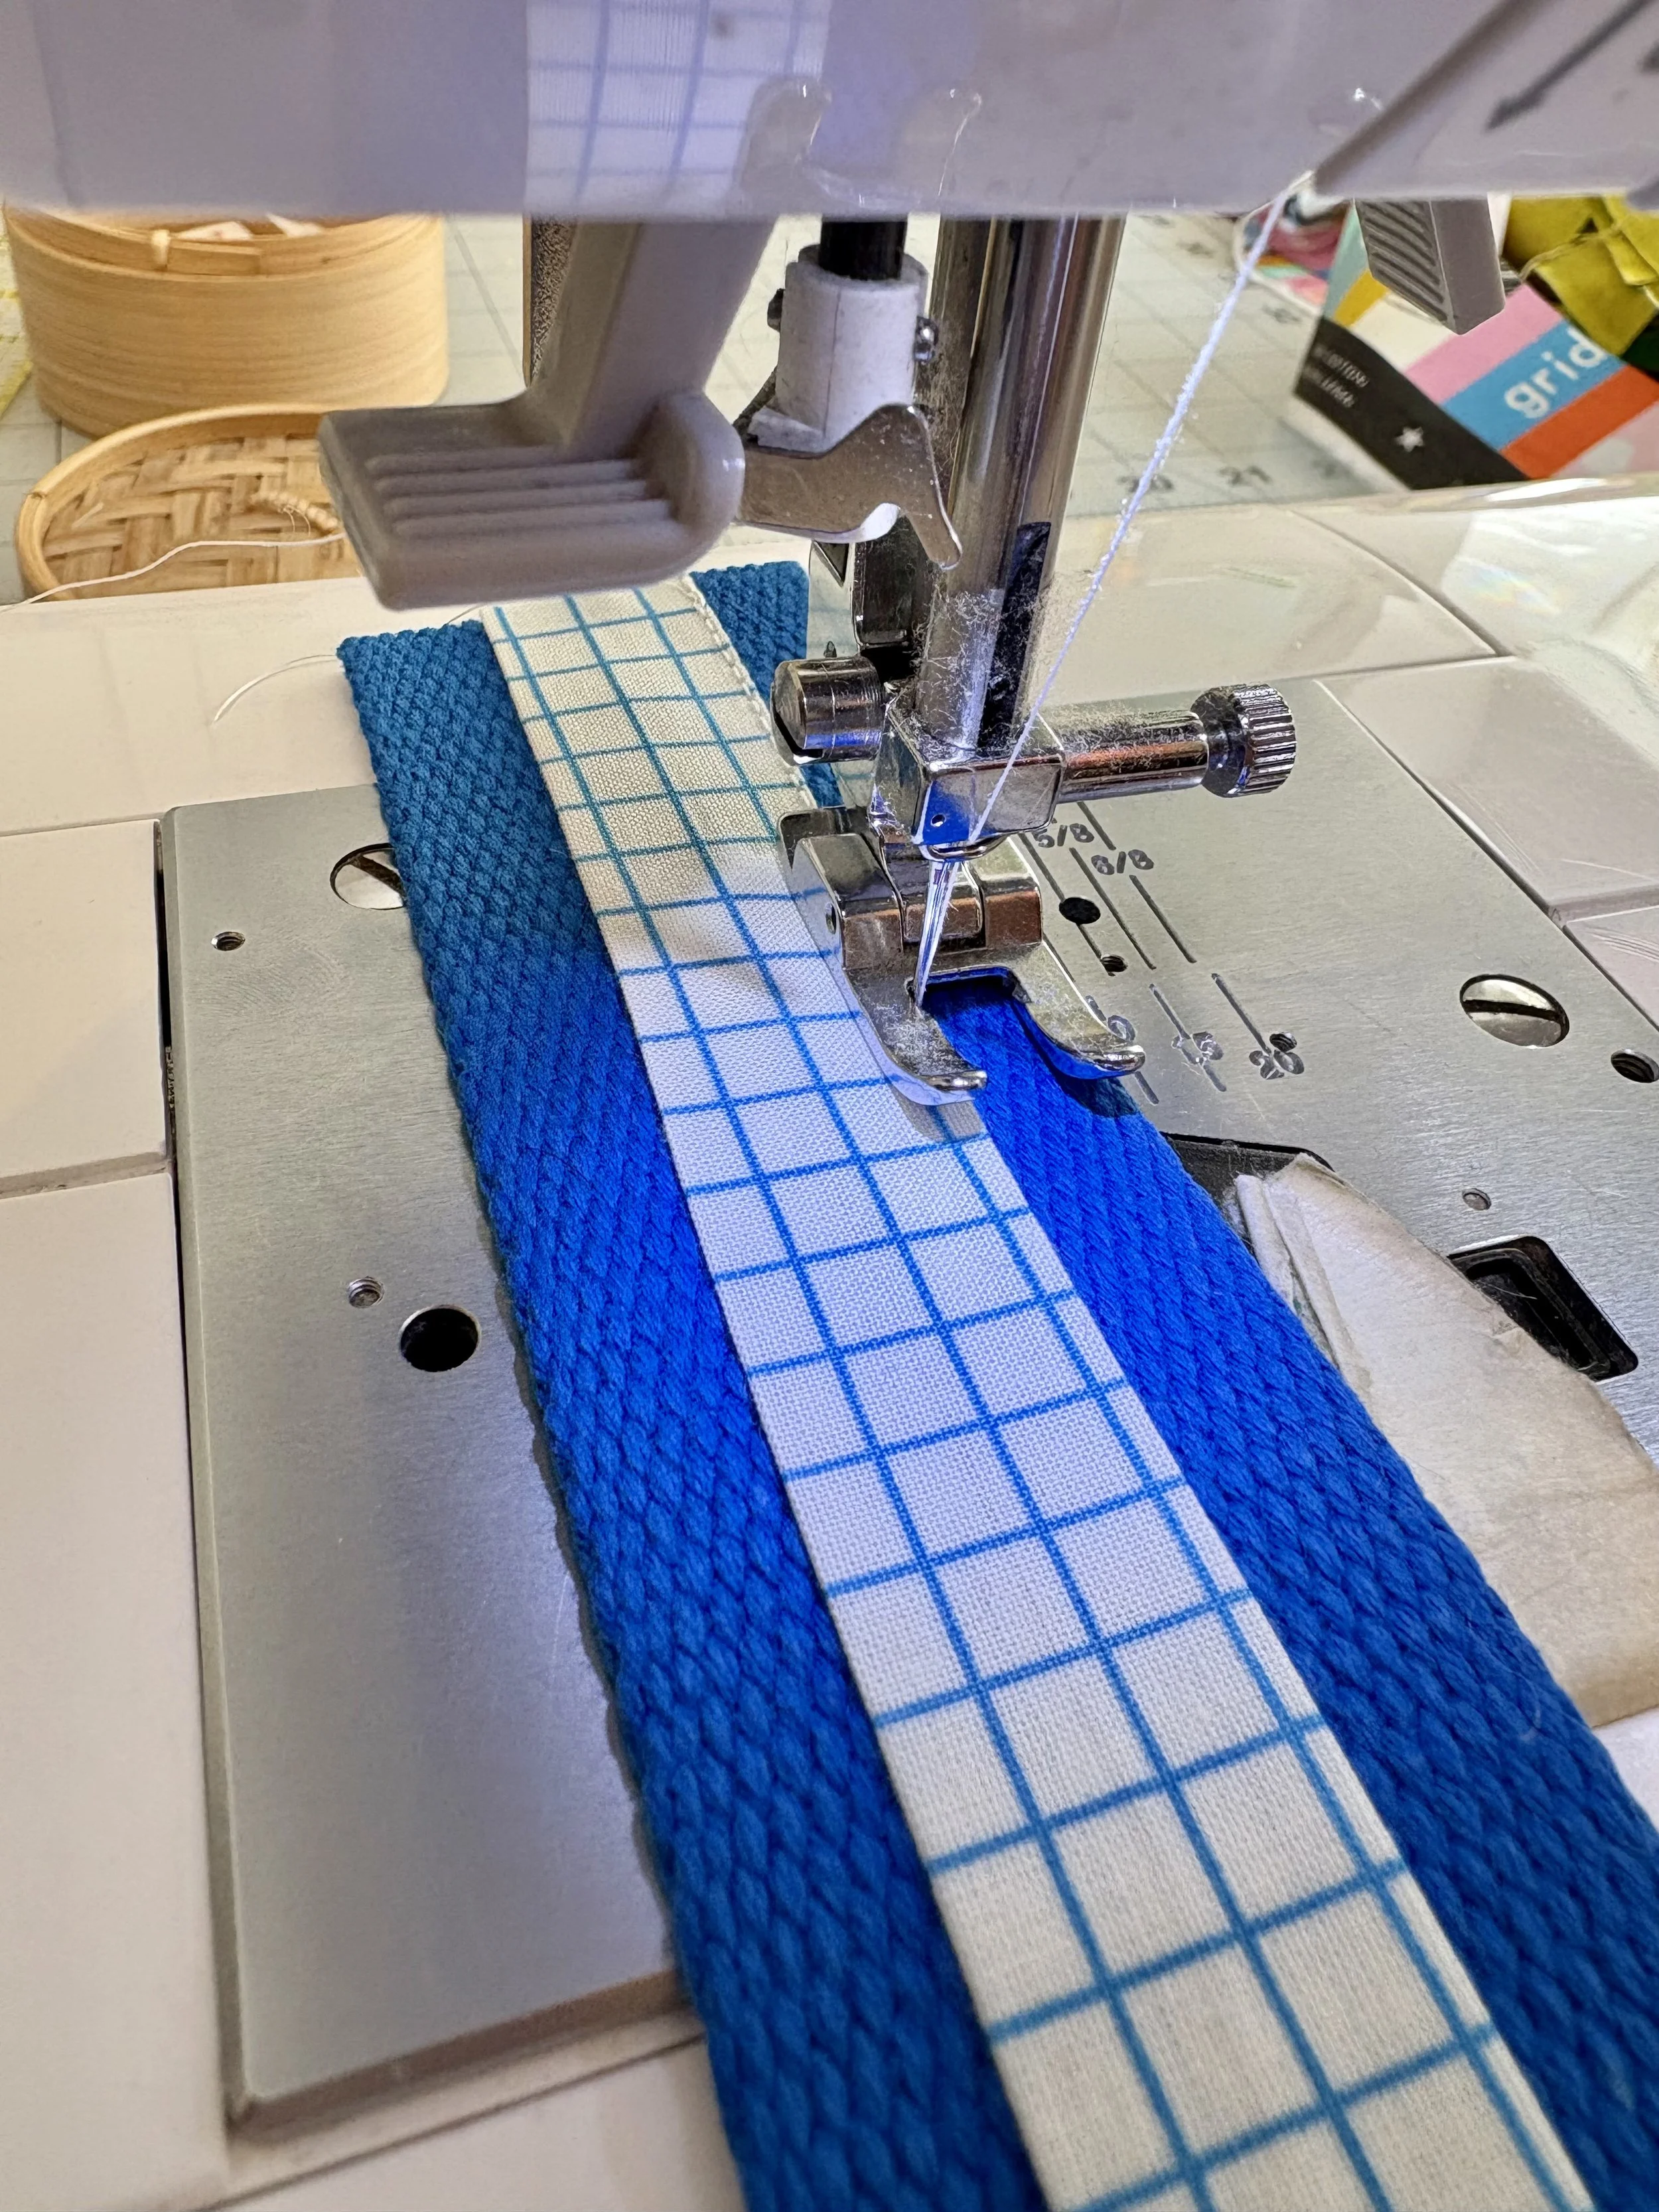
At your machine, sew down the length of the fabric strip on both sides. I sewed down the very edge of the fabric so I wouldn’t have a lip of fabric popping up. To do this, I moved my needle to the left most position. If you want to get very fancy, you could use a decorative stitch to secure the fabric strip.
I suggest using bobbin thread to match your webbing. I only realized this after I turned my project over and was disappointed to see the white thread showing through the bottom.
Trim off any excess fabric, and your webbing is ready to be trimmed to any length you need for your project!
Bonus Tip
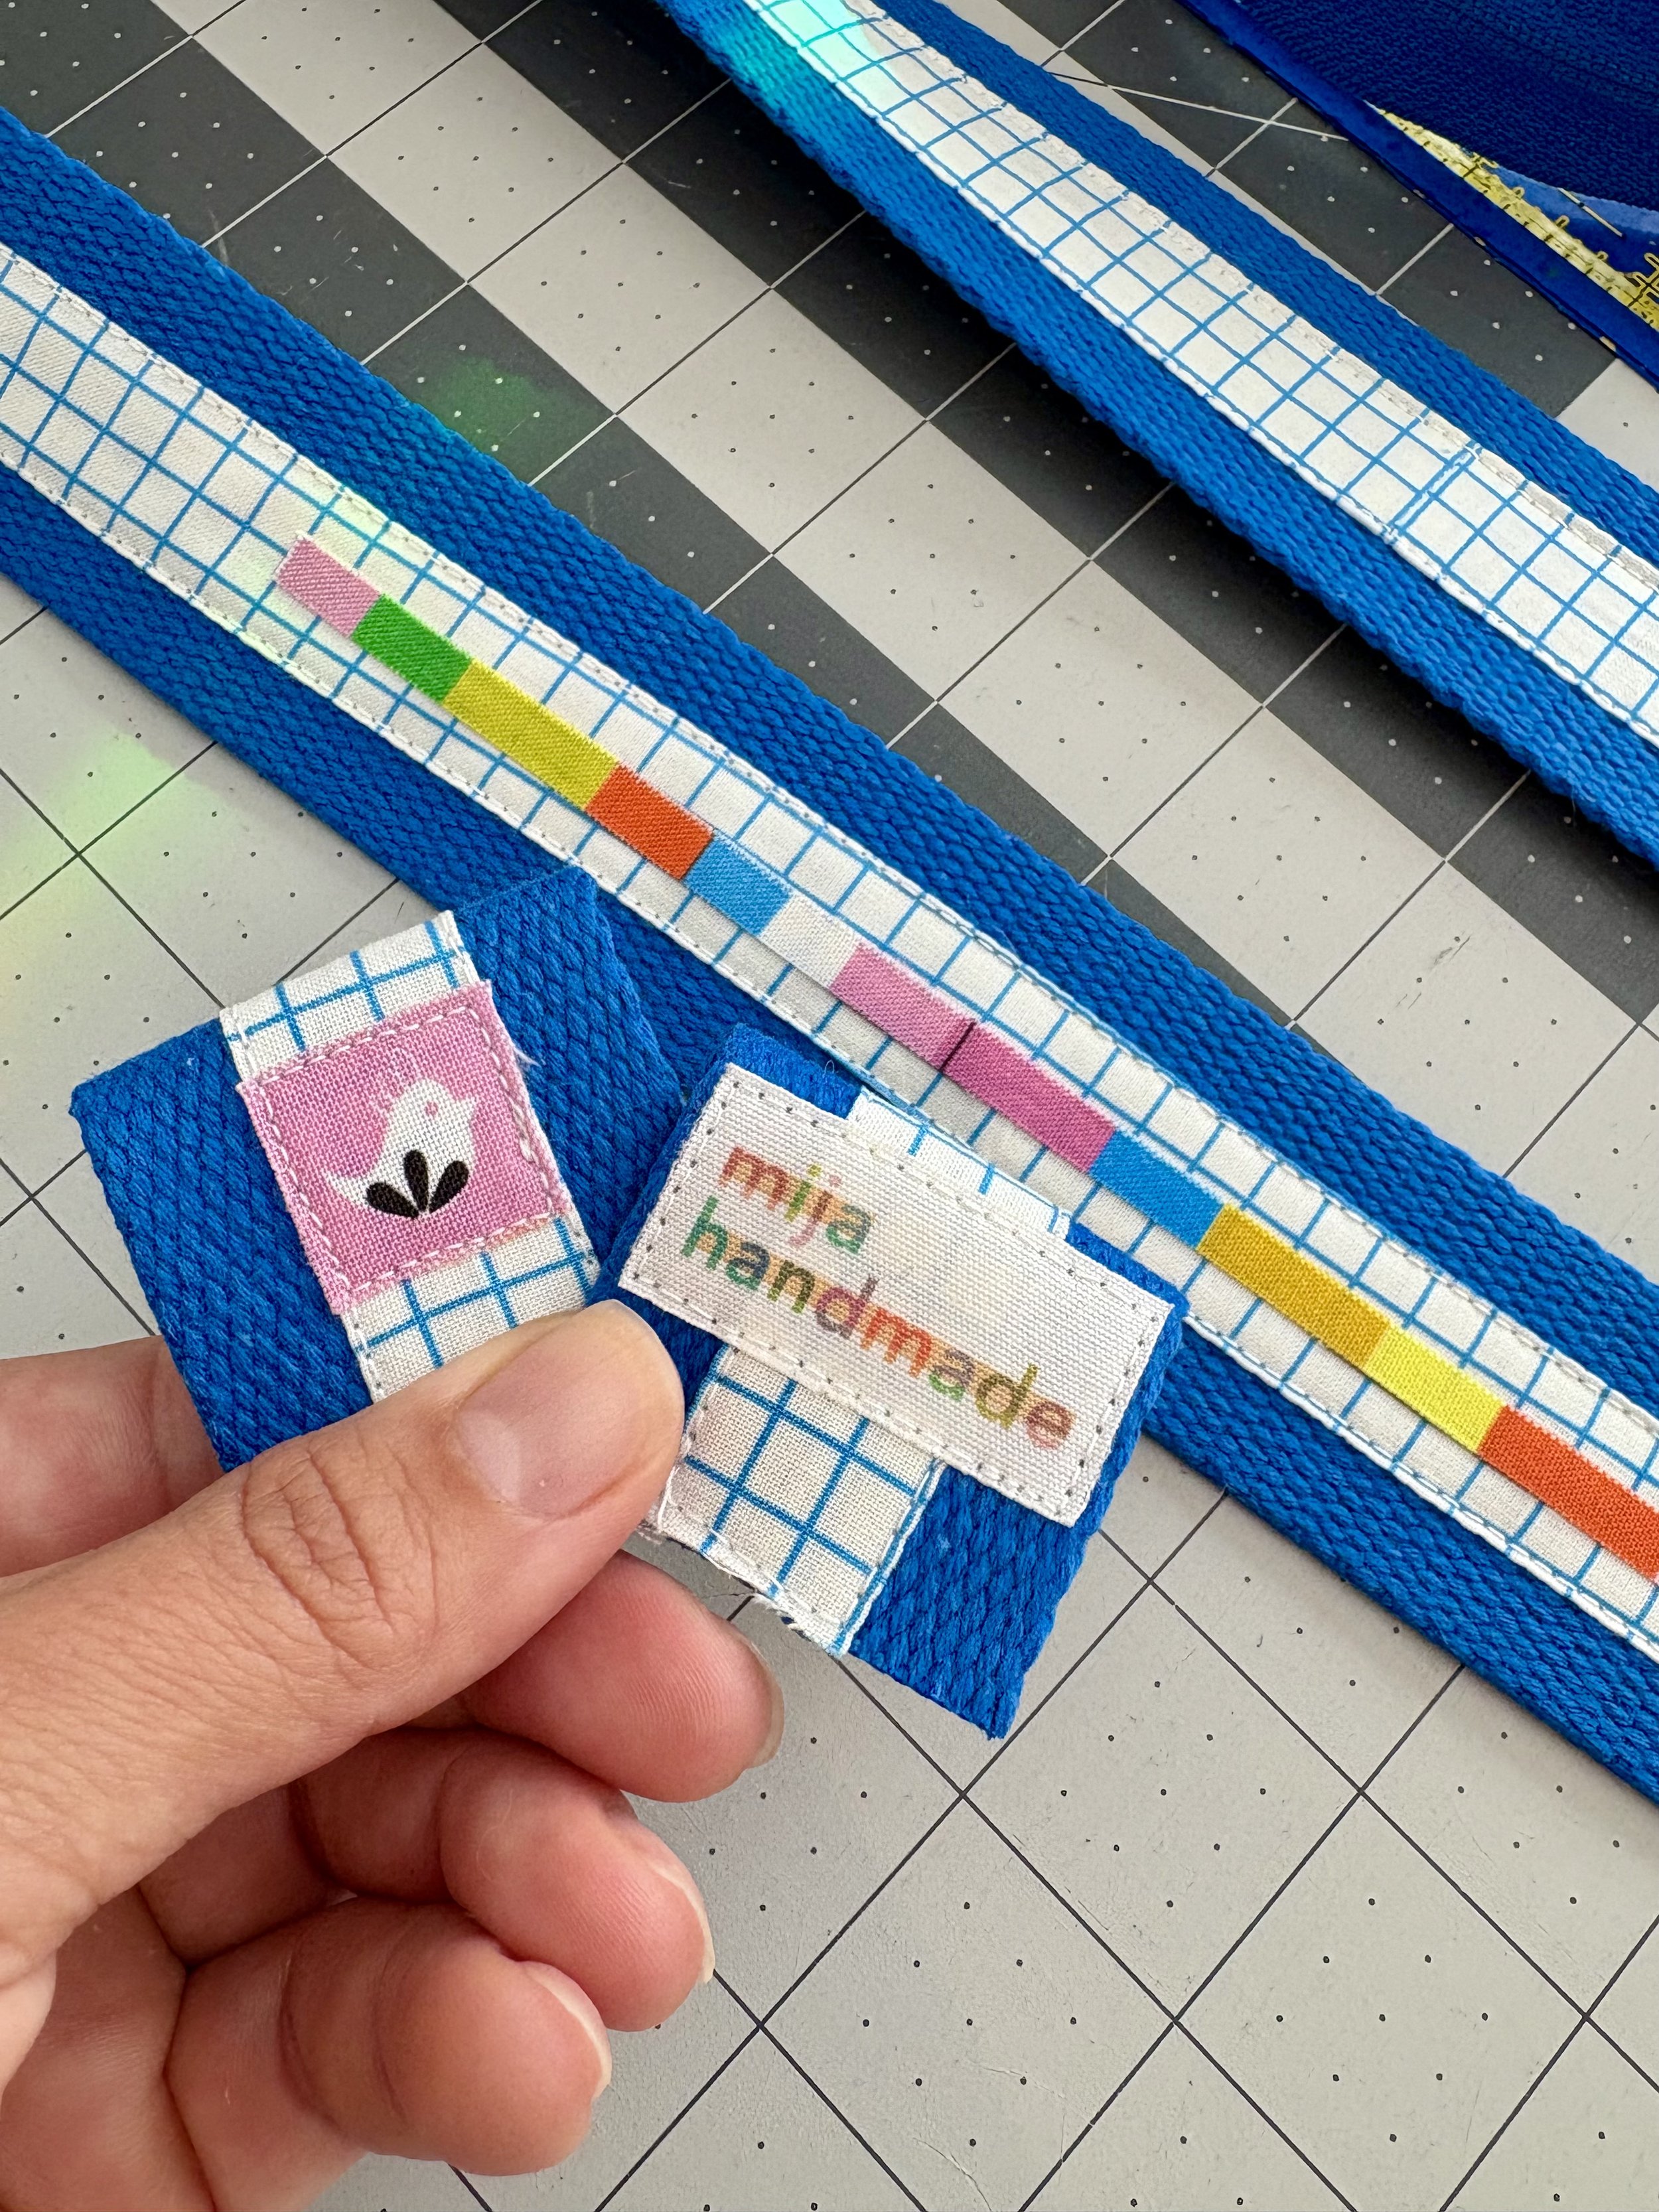
I’m using Ruby Star Society’s Selvedge Magic for this body of this bag project, and the fabric is full of adorable icons from various RSS fabric lines. I added double sided fusible interfacing to some of these scraps, cut them down to roughly ¾" x ¾" (to match the width of my fabric strip), and attached them to the lengths that will become strap attachments. This was also a cute spot to add my label. This was a fun way to add a personal touch to my personalized decorative webbing!