
Circus Ring SAL - Week 1
Welcome to the Circus Ring SAL!
I’m so glad you joined me in the ring! The double wedding ring quilt is a bucket list project for many quilters, but many never get around to it because it can be such a daunting project. That’s why I made the Circus Ring quilt pattern. It’s a modern, super-sized interpretation of a DWR - without the commitment to a large quilt top! The pattern (and this SAL) will walk you through using the templates, sewing curves, and accurate piecing. And at the end, you’ll have a 36” round quilt.
If you haven’t purchased your pattern yet, head over to the shop to grab yours. The SAL sign up discount code is in your inbox, delivered in the SAL sign up confirmation email.
There are many different DWR templates, patterns, and assembly methods. All the information here is specific to the templates I’ve made and the methods I prefer. Thanks for coming along on this SAL with me!
This week, we have three goals.
First, we’re learning the anatomy of a double wedding ring quilt. I’ve illustrated all the pieces and names you need to know on page 2 of the Circus Ring quilt pattern. These terms are pretty universal for DWR patterns - make sure you get familiar with them because I use these terms throughout the pattern and throughout the SAL.
Second, we’re going to plan our color layout. The Circus Ring quilt is designed to be scrappy and happy. I encourage you to dive into your scrap pile and pull out those scraps of your favorite fabrics you’ve been holding onto. Coordinated color layouts in a DWR can be pretty spectacular if you want something more structured. On page 3 of the pattern, I’ve highlighted a couple of the most popular ways to plan for fabric use. I’ve also provided a coloring page on page 8 for you to plan your own!
Scrappy Colors
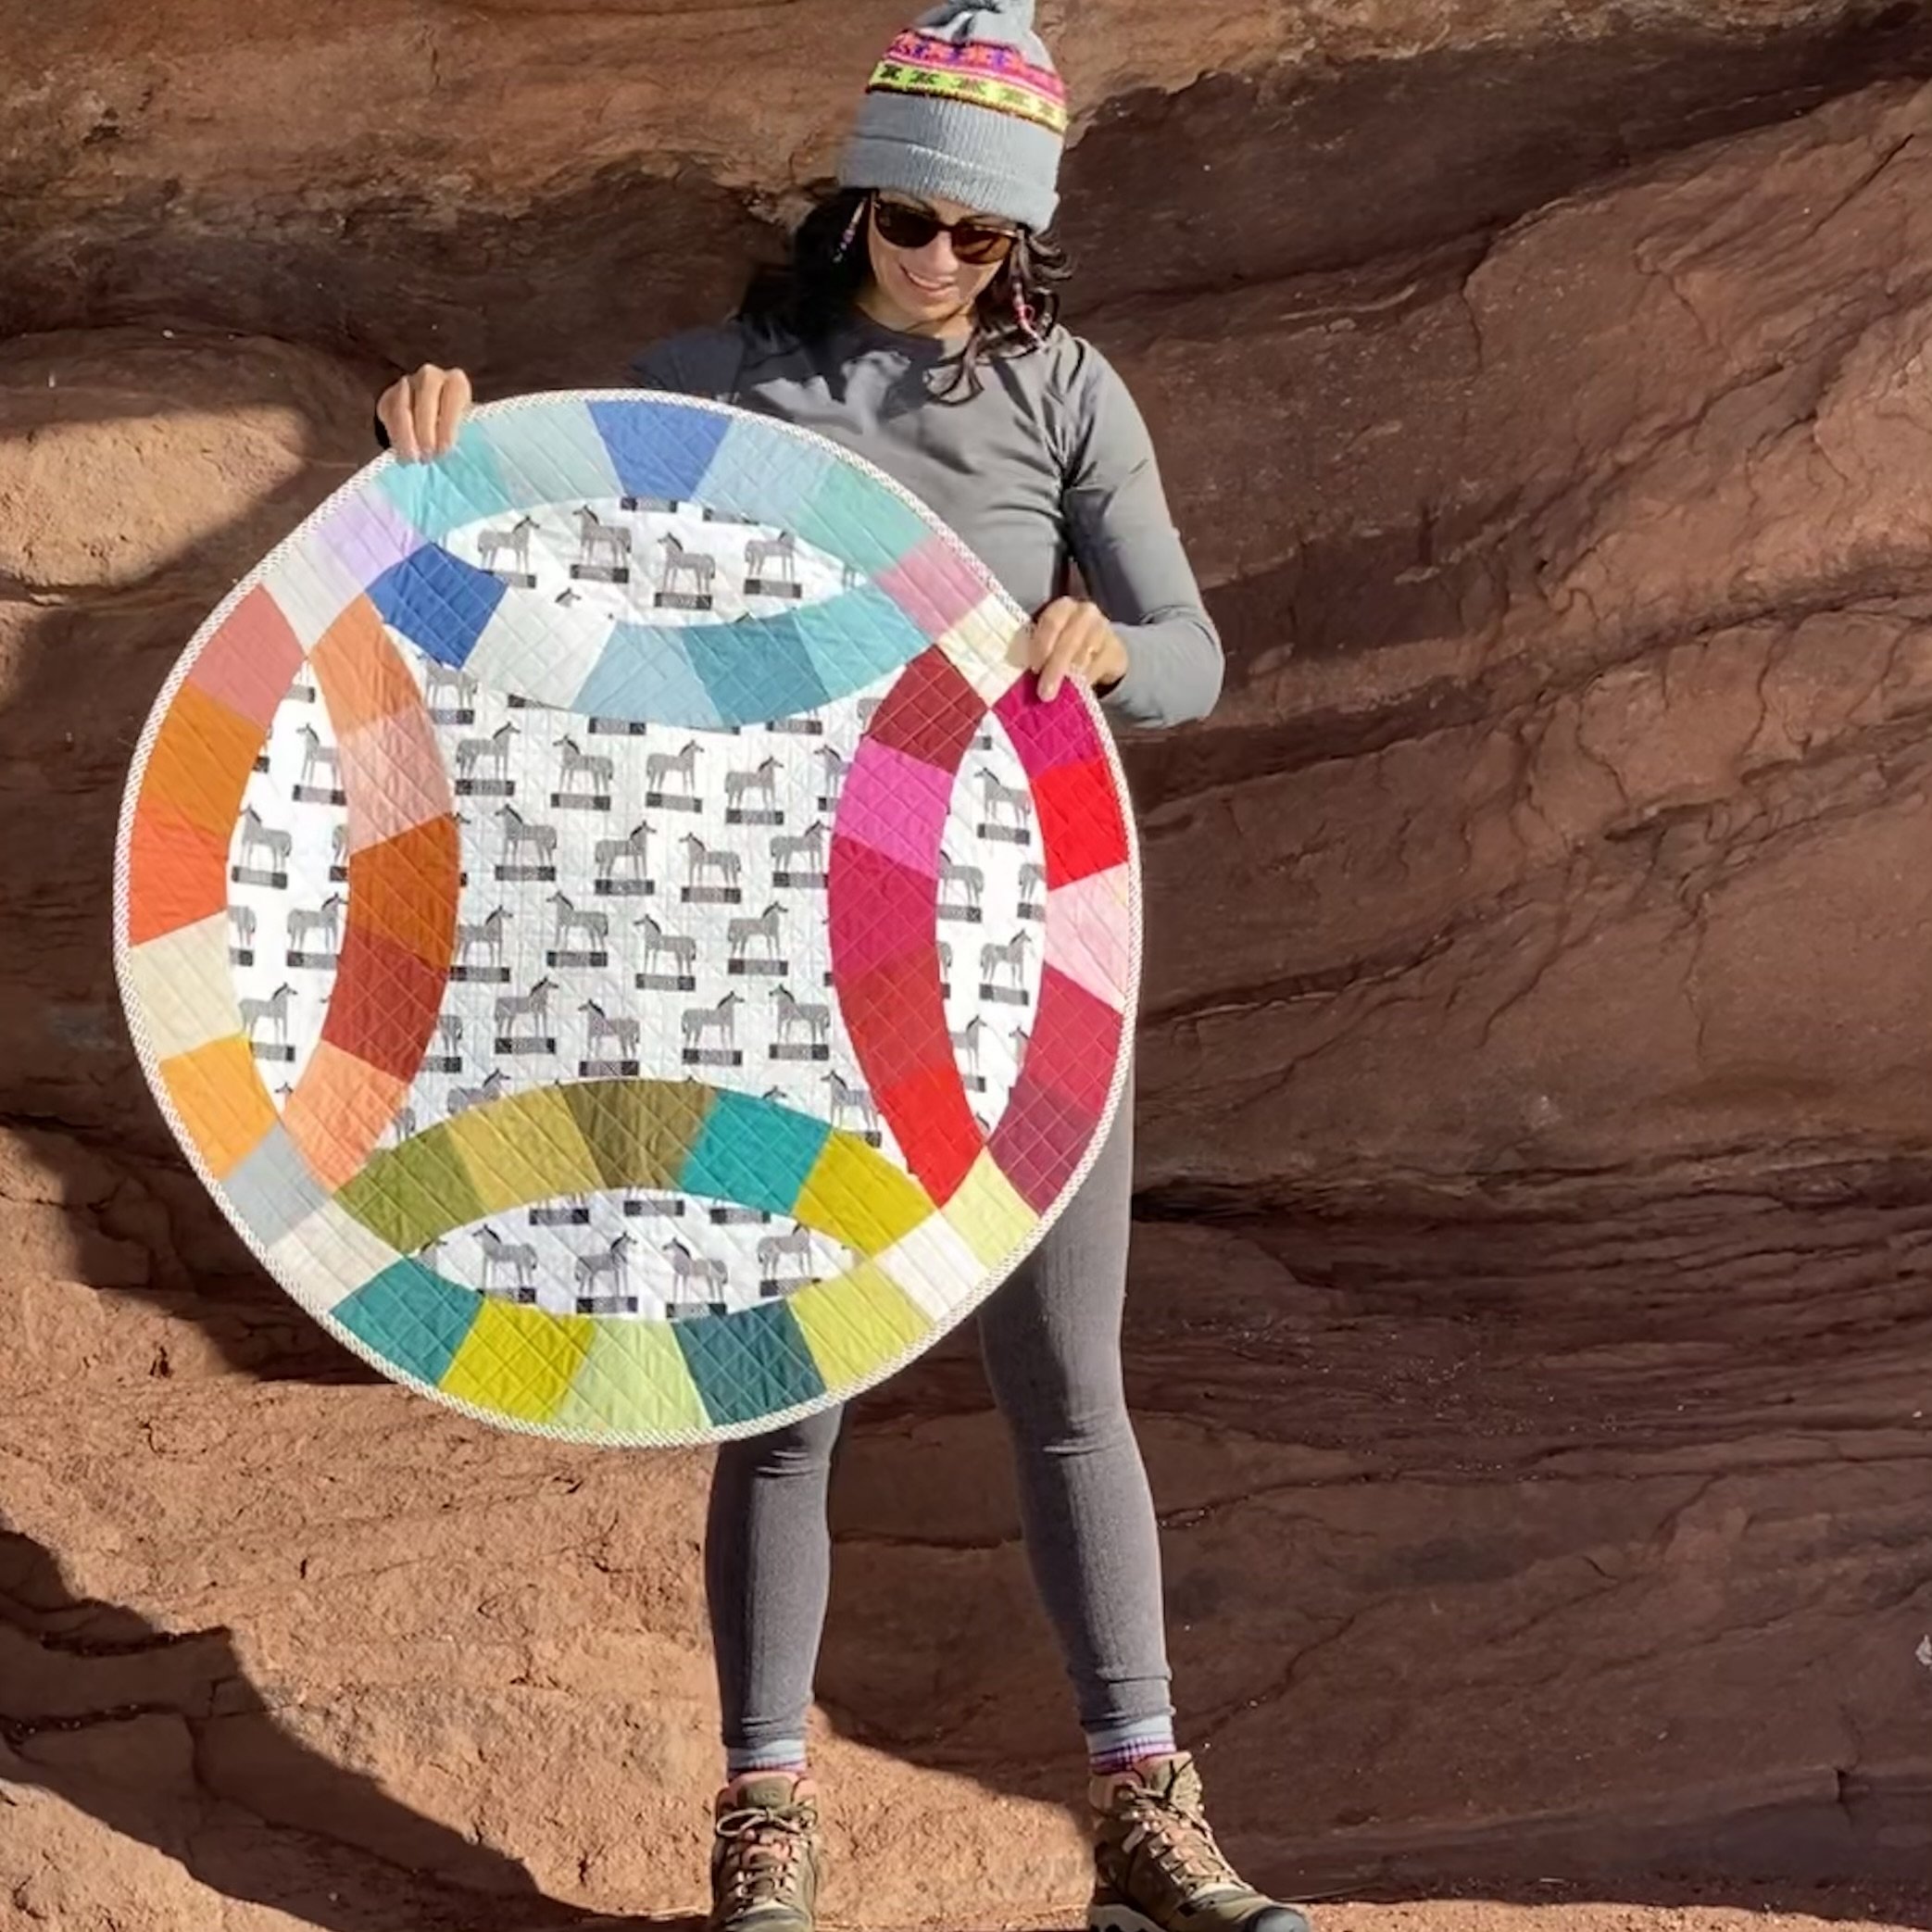
In this quilt, I planned to use one color family in each arc melon, but didn’t get too fussy about the order of the colors therein. I knew I wanted to use a directional background fabric, so I referenced the cutting diagram on page 3 of the pattern to make sure everything would run in the correct orientation.
Coordinated Color

In this quilt, I played with a coordinated color layout, and made all the arcs identical. Once they are sewn to the melon, they create this twisty, turny sense of movement. I used a solid background fabric to really let the pattern and colors shine.
SAL Exclusive Color Layout

To make the SAL bonus color layout, follow the cutting instructions on page 2 of the SAL bonus worksheet (you received a link to that in your SAL sign up confirmation email). The diagrams show how to cut arcs from both directional and non-directional fabric. This layout removes piecing the wedges, but you still get all the practice of sewing the curves and center pieces.
Third, once you’ve finalized your fabric plans, our next goal is to cut out the templates pages 9 through 20, assemble the templates, then cut the fabric. Make sure to align the grainline of your fabric to the grain lines indicated on the templates. I recommend using a rotating cutting mat when cutting the wedge pieces. And I found that I could comfortably cut two layers of fabric at a time. One-at-a-time felt too slow, but more than two felt unwieldy. Make sure to use the labels on page 8 to stay organized.
And that’s it! Just get those three things done and you’re done with Week 1 of the Circus Ring Quilt SAL. Share your fabric pulls and cutting progress on Instagram using #CircusRingQuilt and #mijapatterns.