

A Scrappy Broom Cupboard Quilt
I’m so excited to jump into making a scrappy version of the Broom Cupboard quilt! I want the critters and background fabric to be incredibly scrappy, so I don’t have total fabric requirements to share. Instead, the goal of this project is to work through my stash and to play with patchwork!
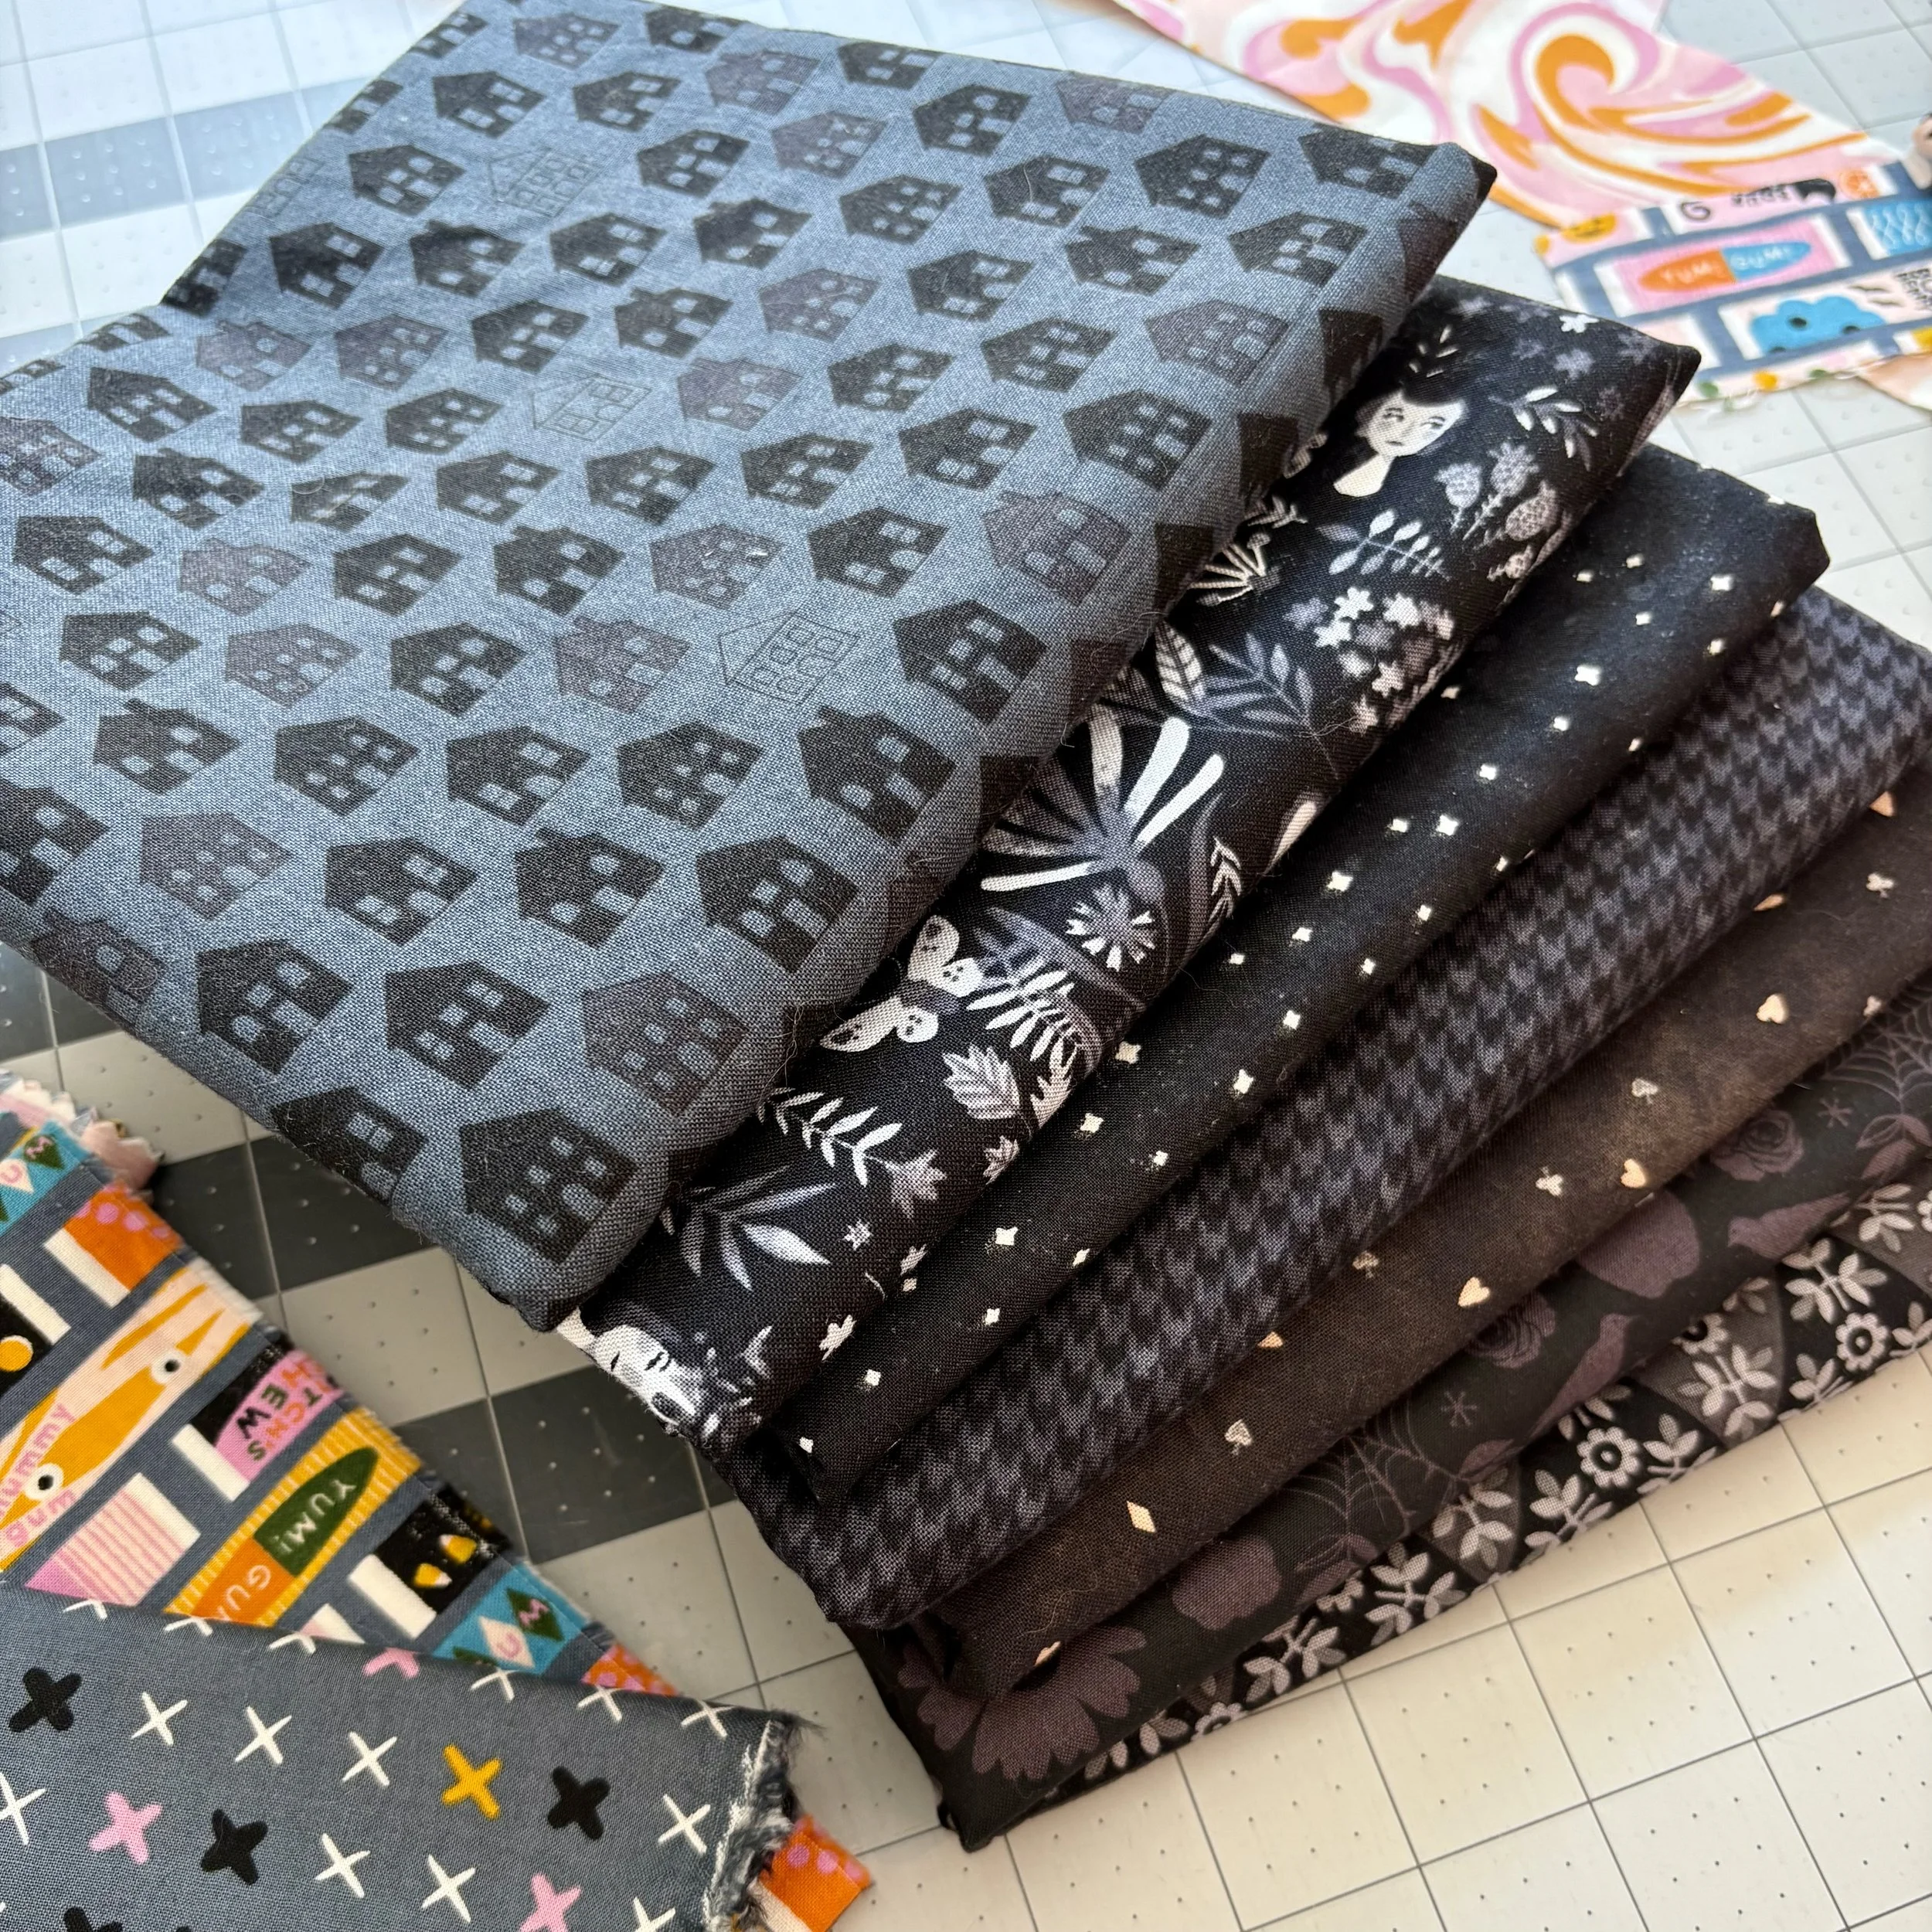
Background Fabrics
To start, I have seven ¾ yard cuts of background fabric, plus some odd scraps from my scrap bin. The yardage and scraps I’ve collected equals 5½ yards of fabric, which is more fabric than required to complete the original version of the quilt. I’m erring on the generous side as I’m not sure how the scrappy background will impact the fabric requirements. If you want to play along with me, you could also try ten ½ yard cuts of background fabric, or any combination of cuts that add up to at least 5 yards.
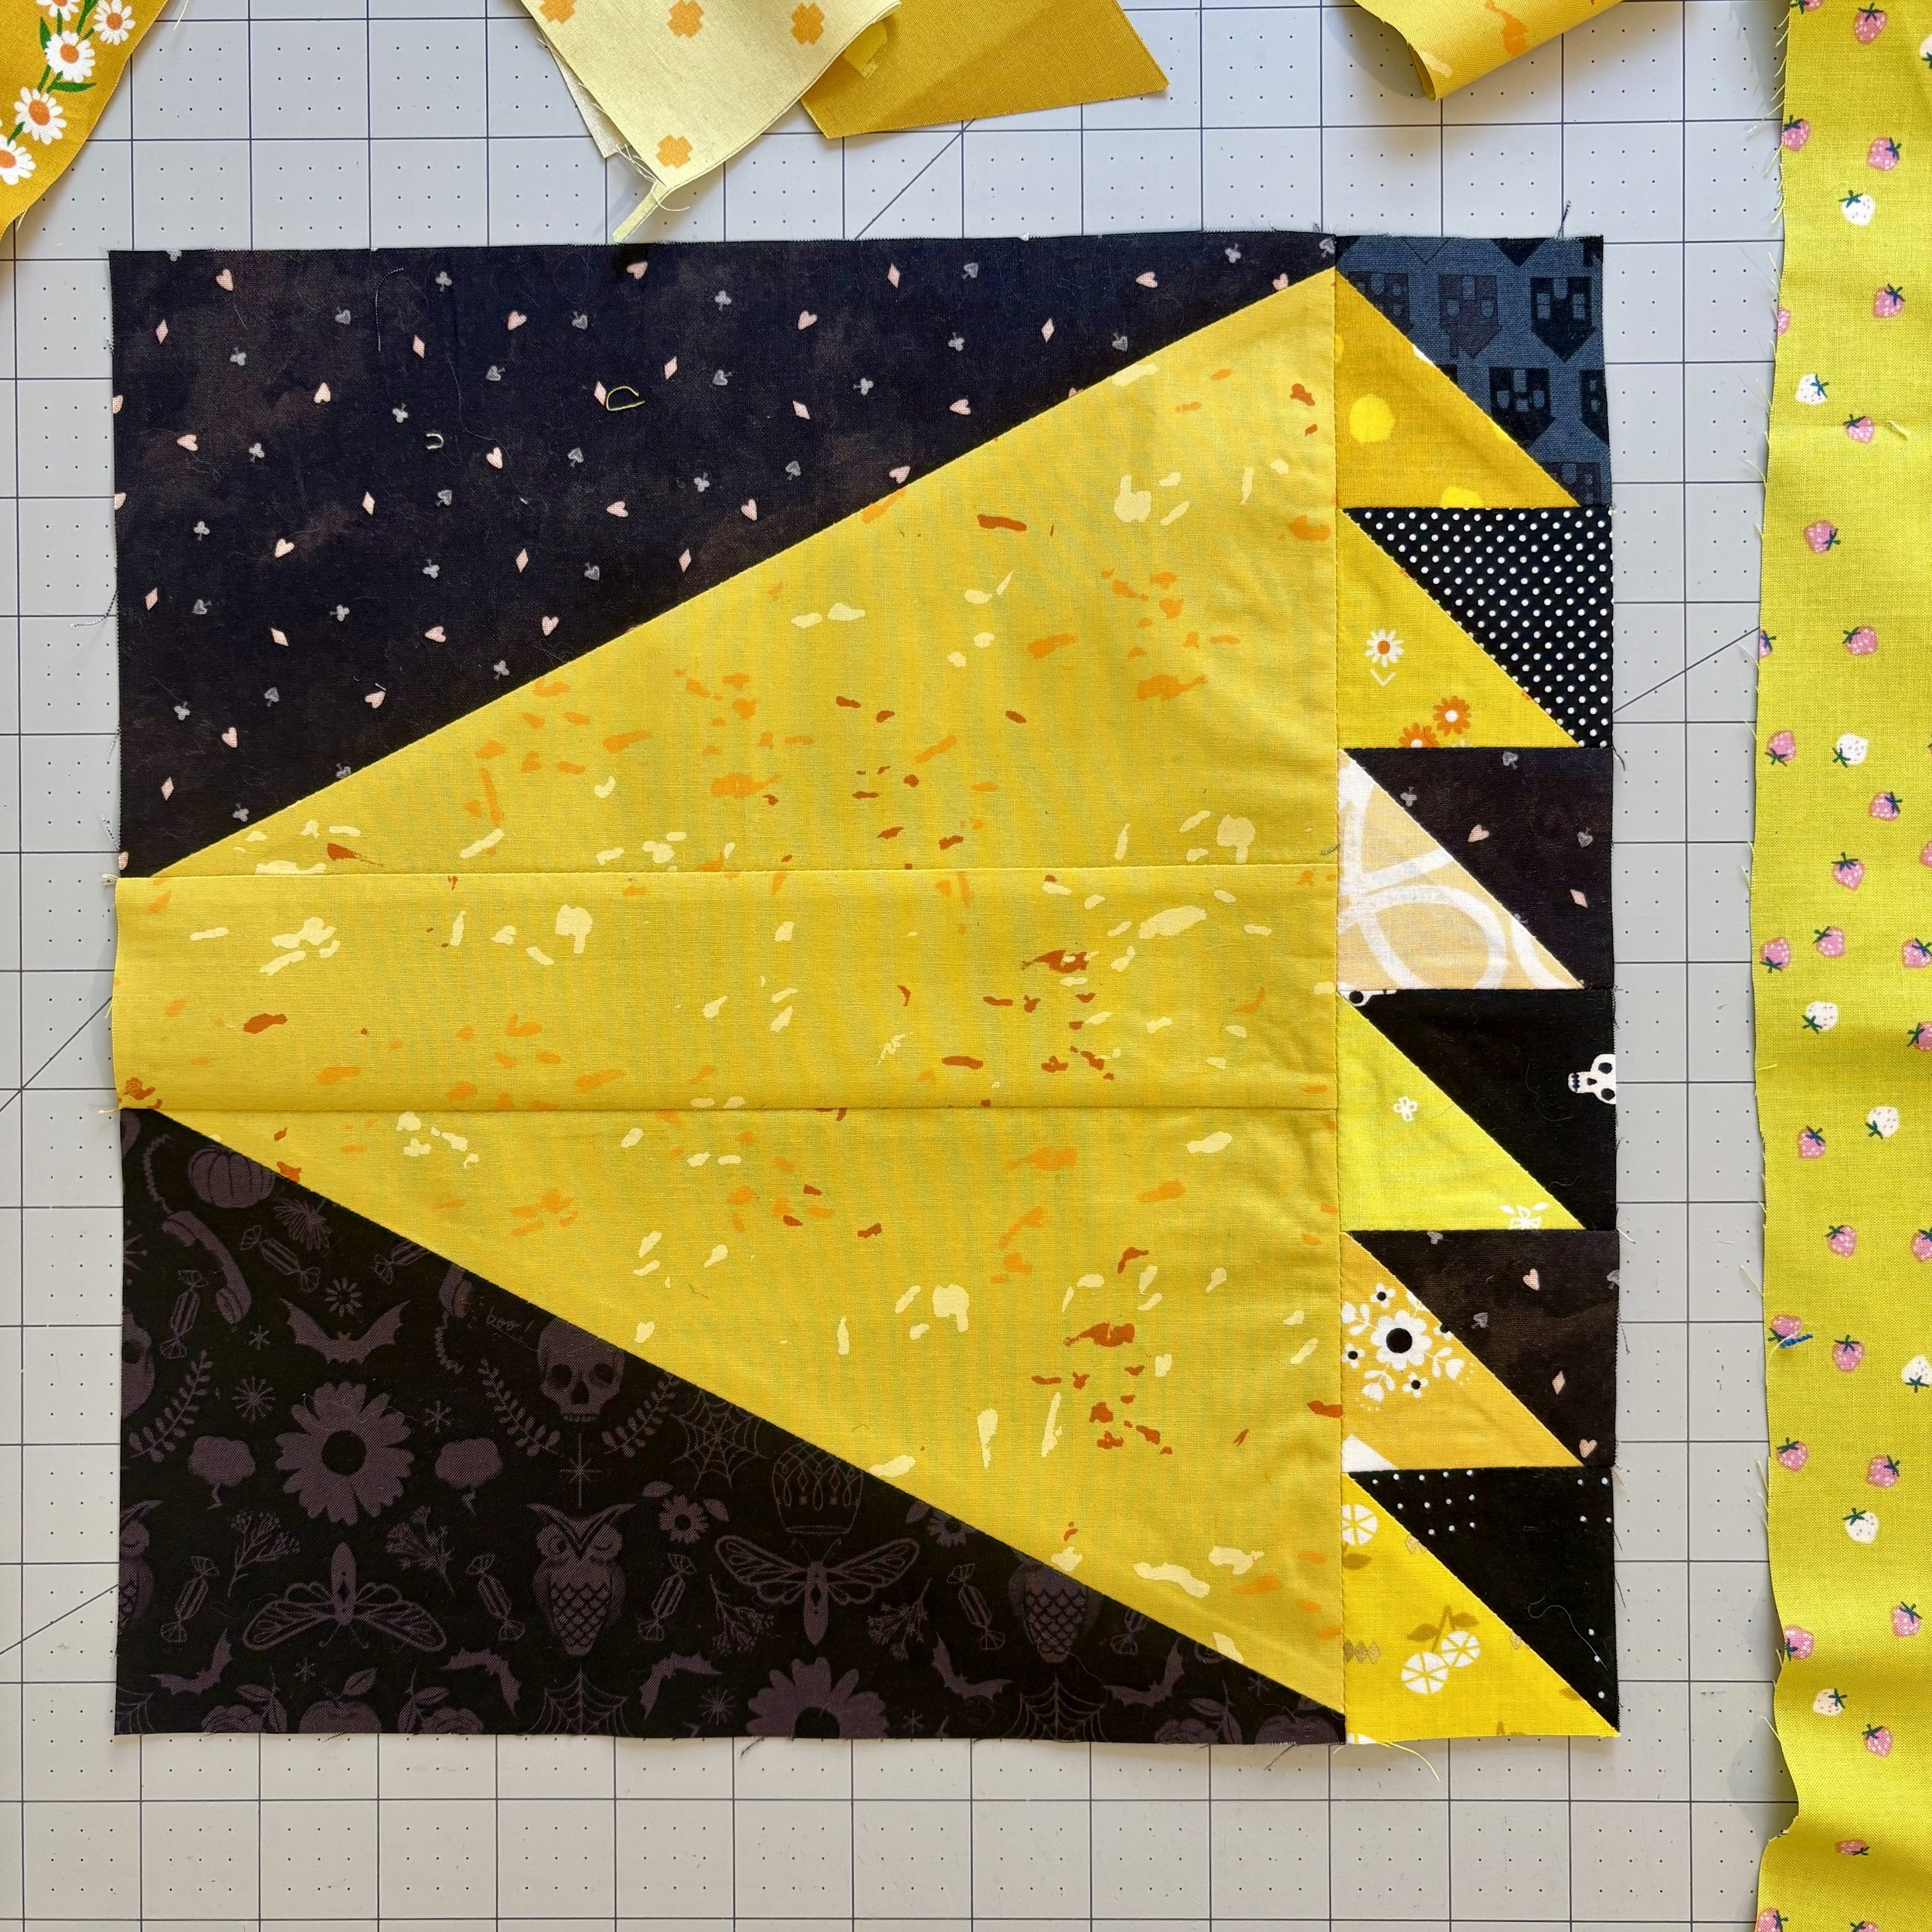
Accent Fabrics
I’ve been collecting layer cakes and scrap packs for a while, and I hope to use those fabrics to make all the critter blocks. My only criteria will be that the accent fabrics have enough contrast with the background fabric. But since I’m using black background fabrics, that shouldn’t be too hard to pull off.
Cutting for scrappy brooms is pretty straight forward. Each block uses one of the following units:
A1
A2
A3
B1
B2
Cutting Background Fabrics
For the background fabric, one B1 and B2 unit can be cut from one 12" x 9½" scrap. Collect a total of 4 scraps of the appropriate size, or cut units directly from yardage. Cut one B1 and B2 unit from each OR see my note on replacing B1 below for a super scrappy look.
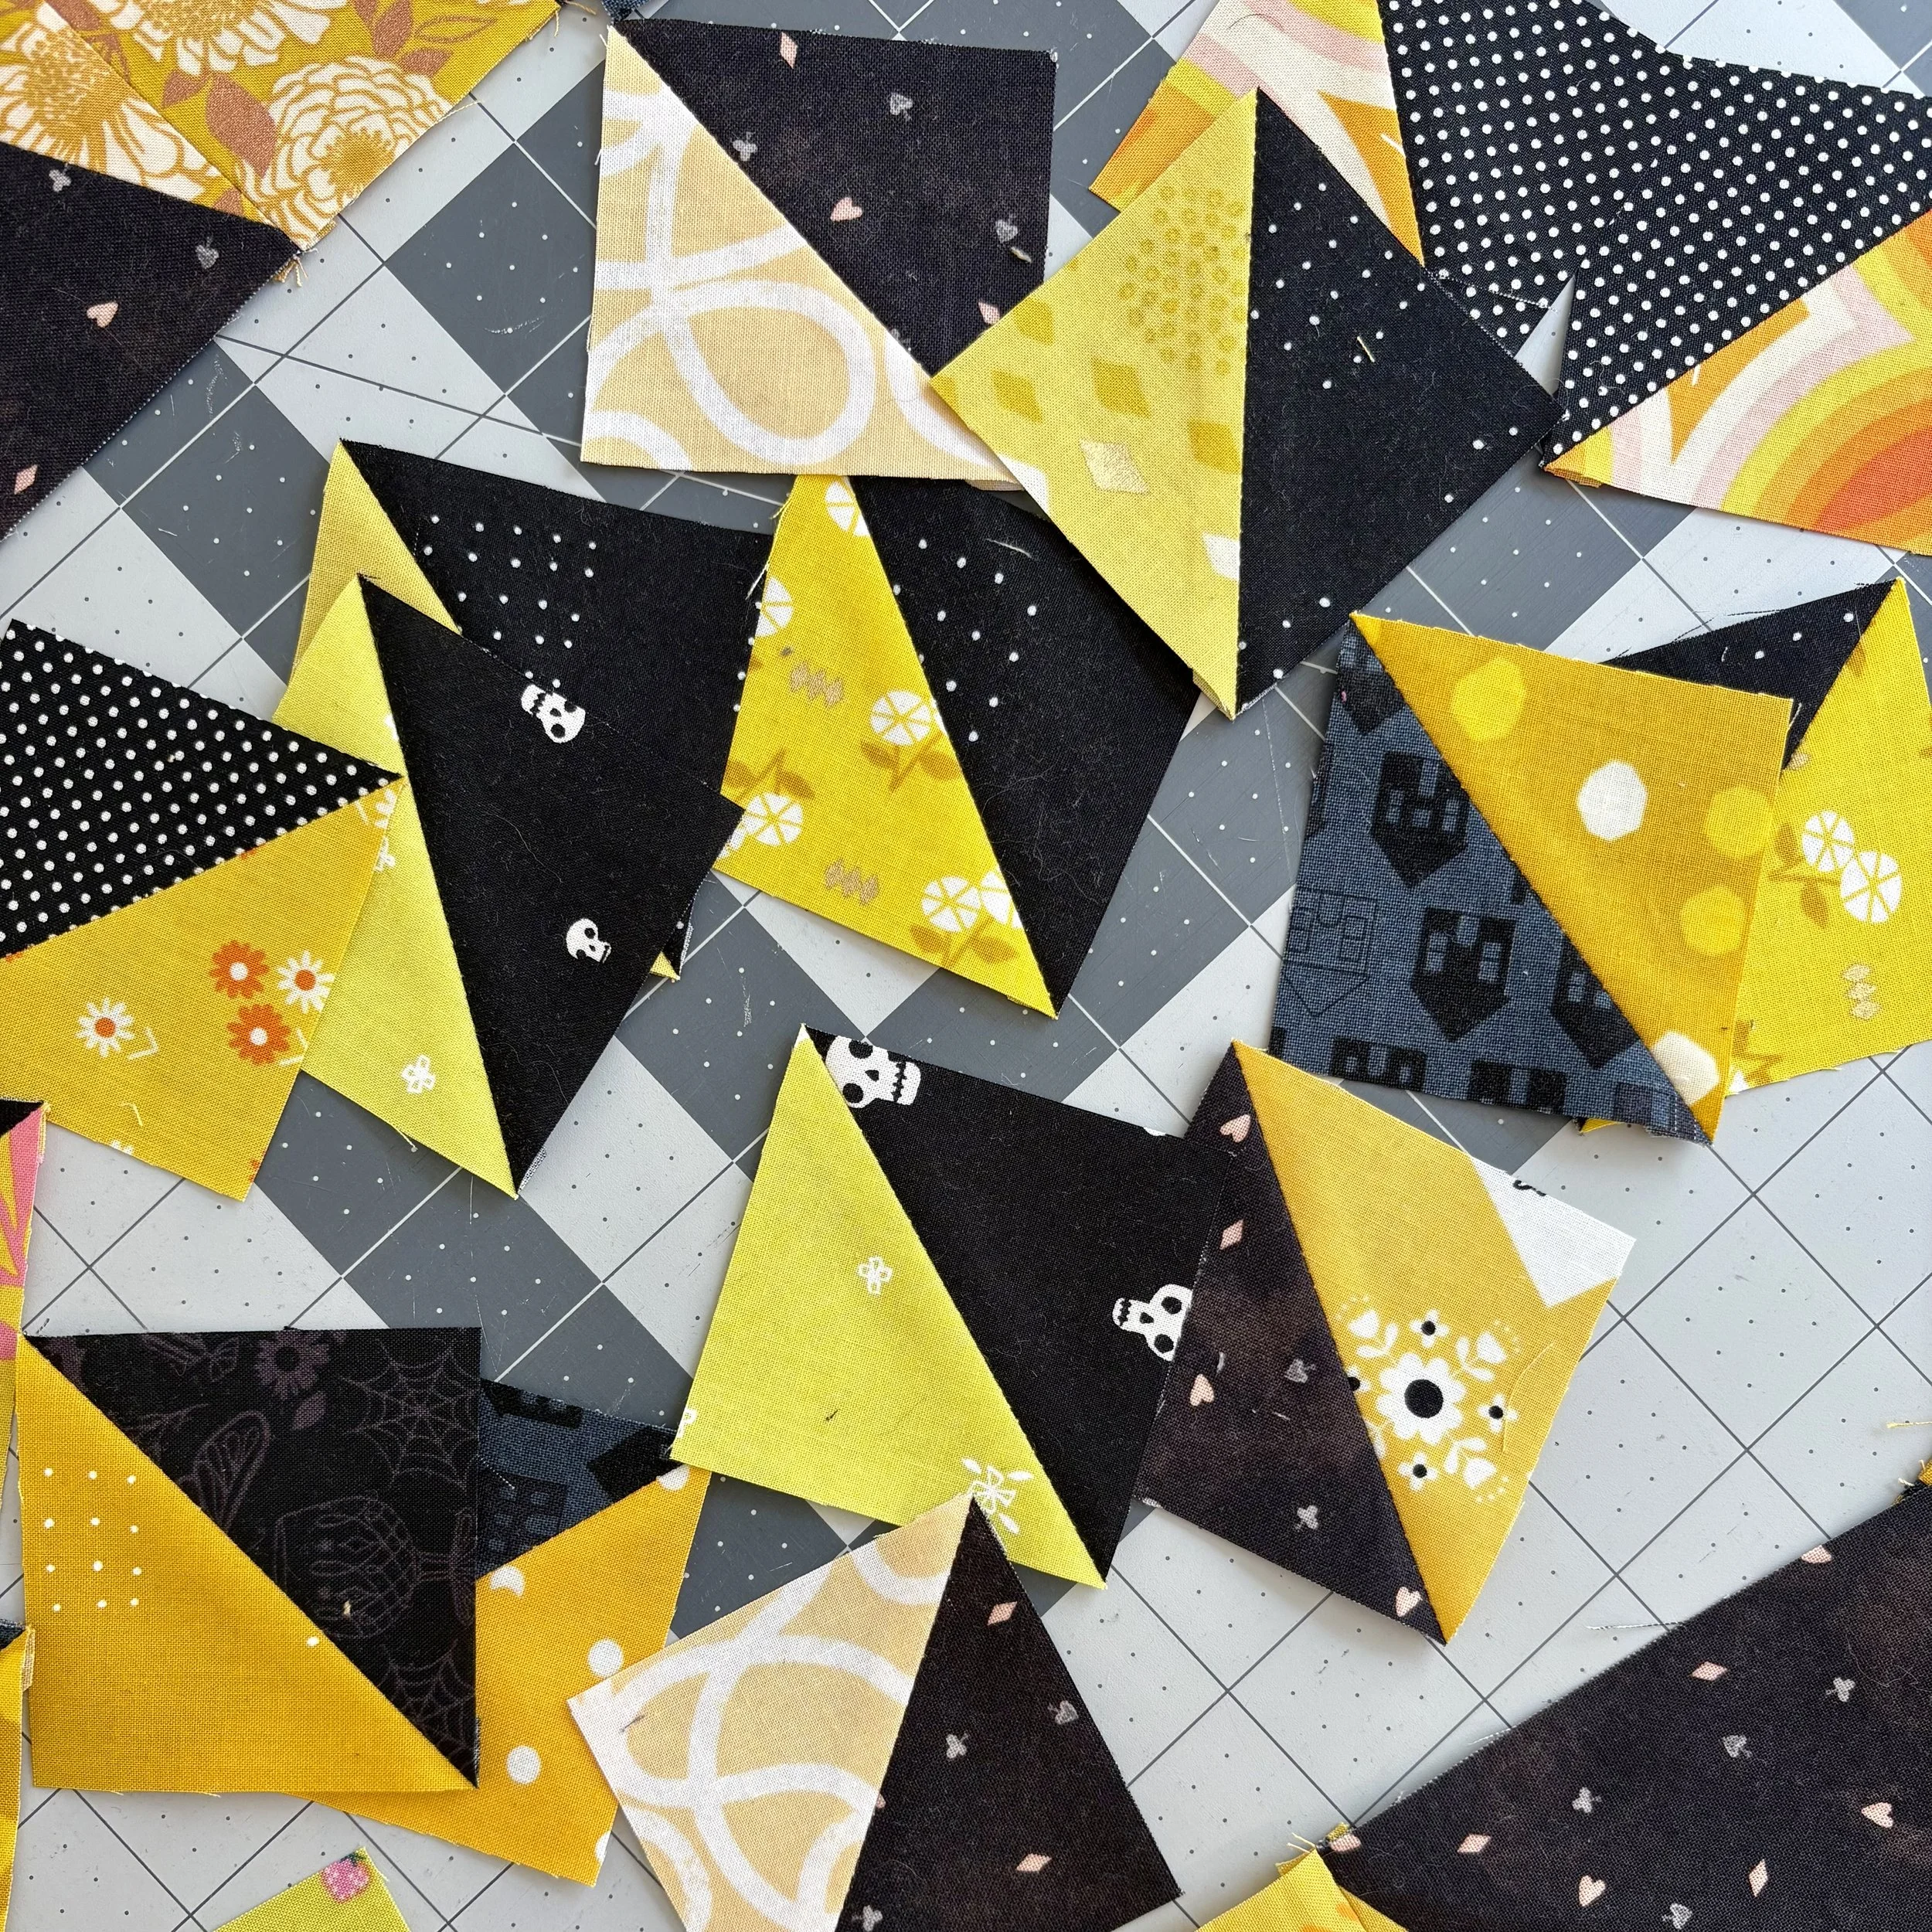
Cutting Accent Fabrics
The brooms require 24 HSTs, so I used the two-at-a-time HST method to incorporate a large variety of prints, instead of the method outlined in Part 1 of the pattern. I replaced all the A1 and B1 units with:
12: 3" squares of various background fabric
12: 3" squares of various accent fabric.
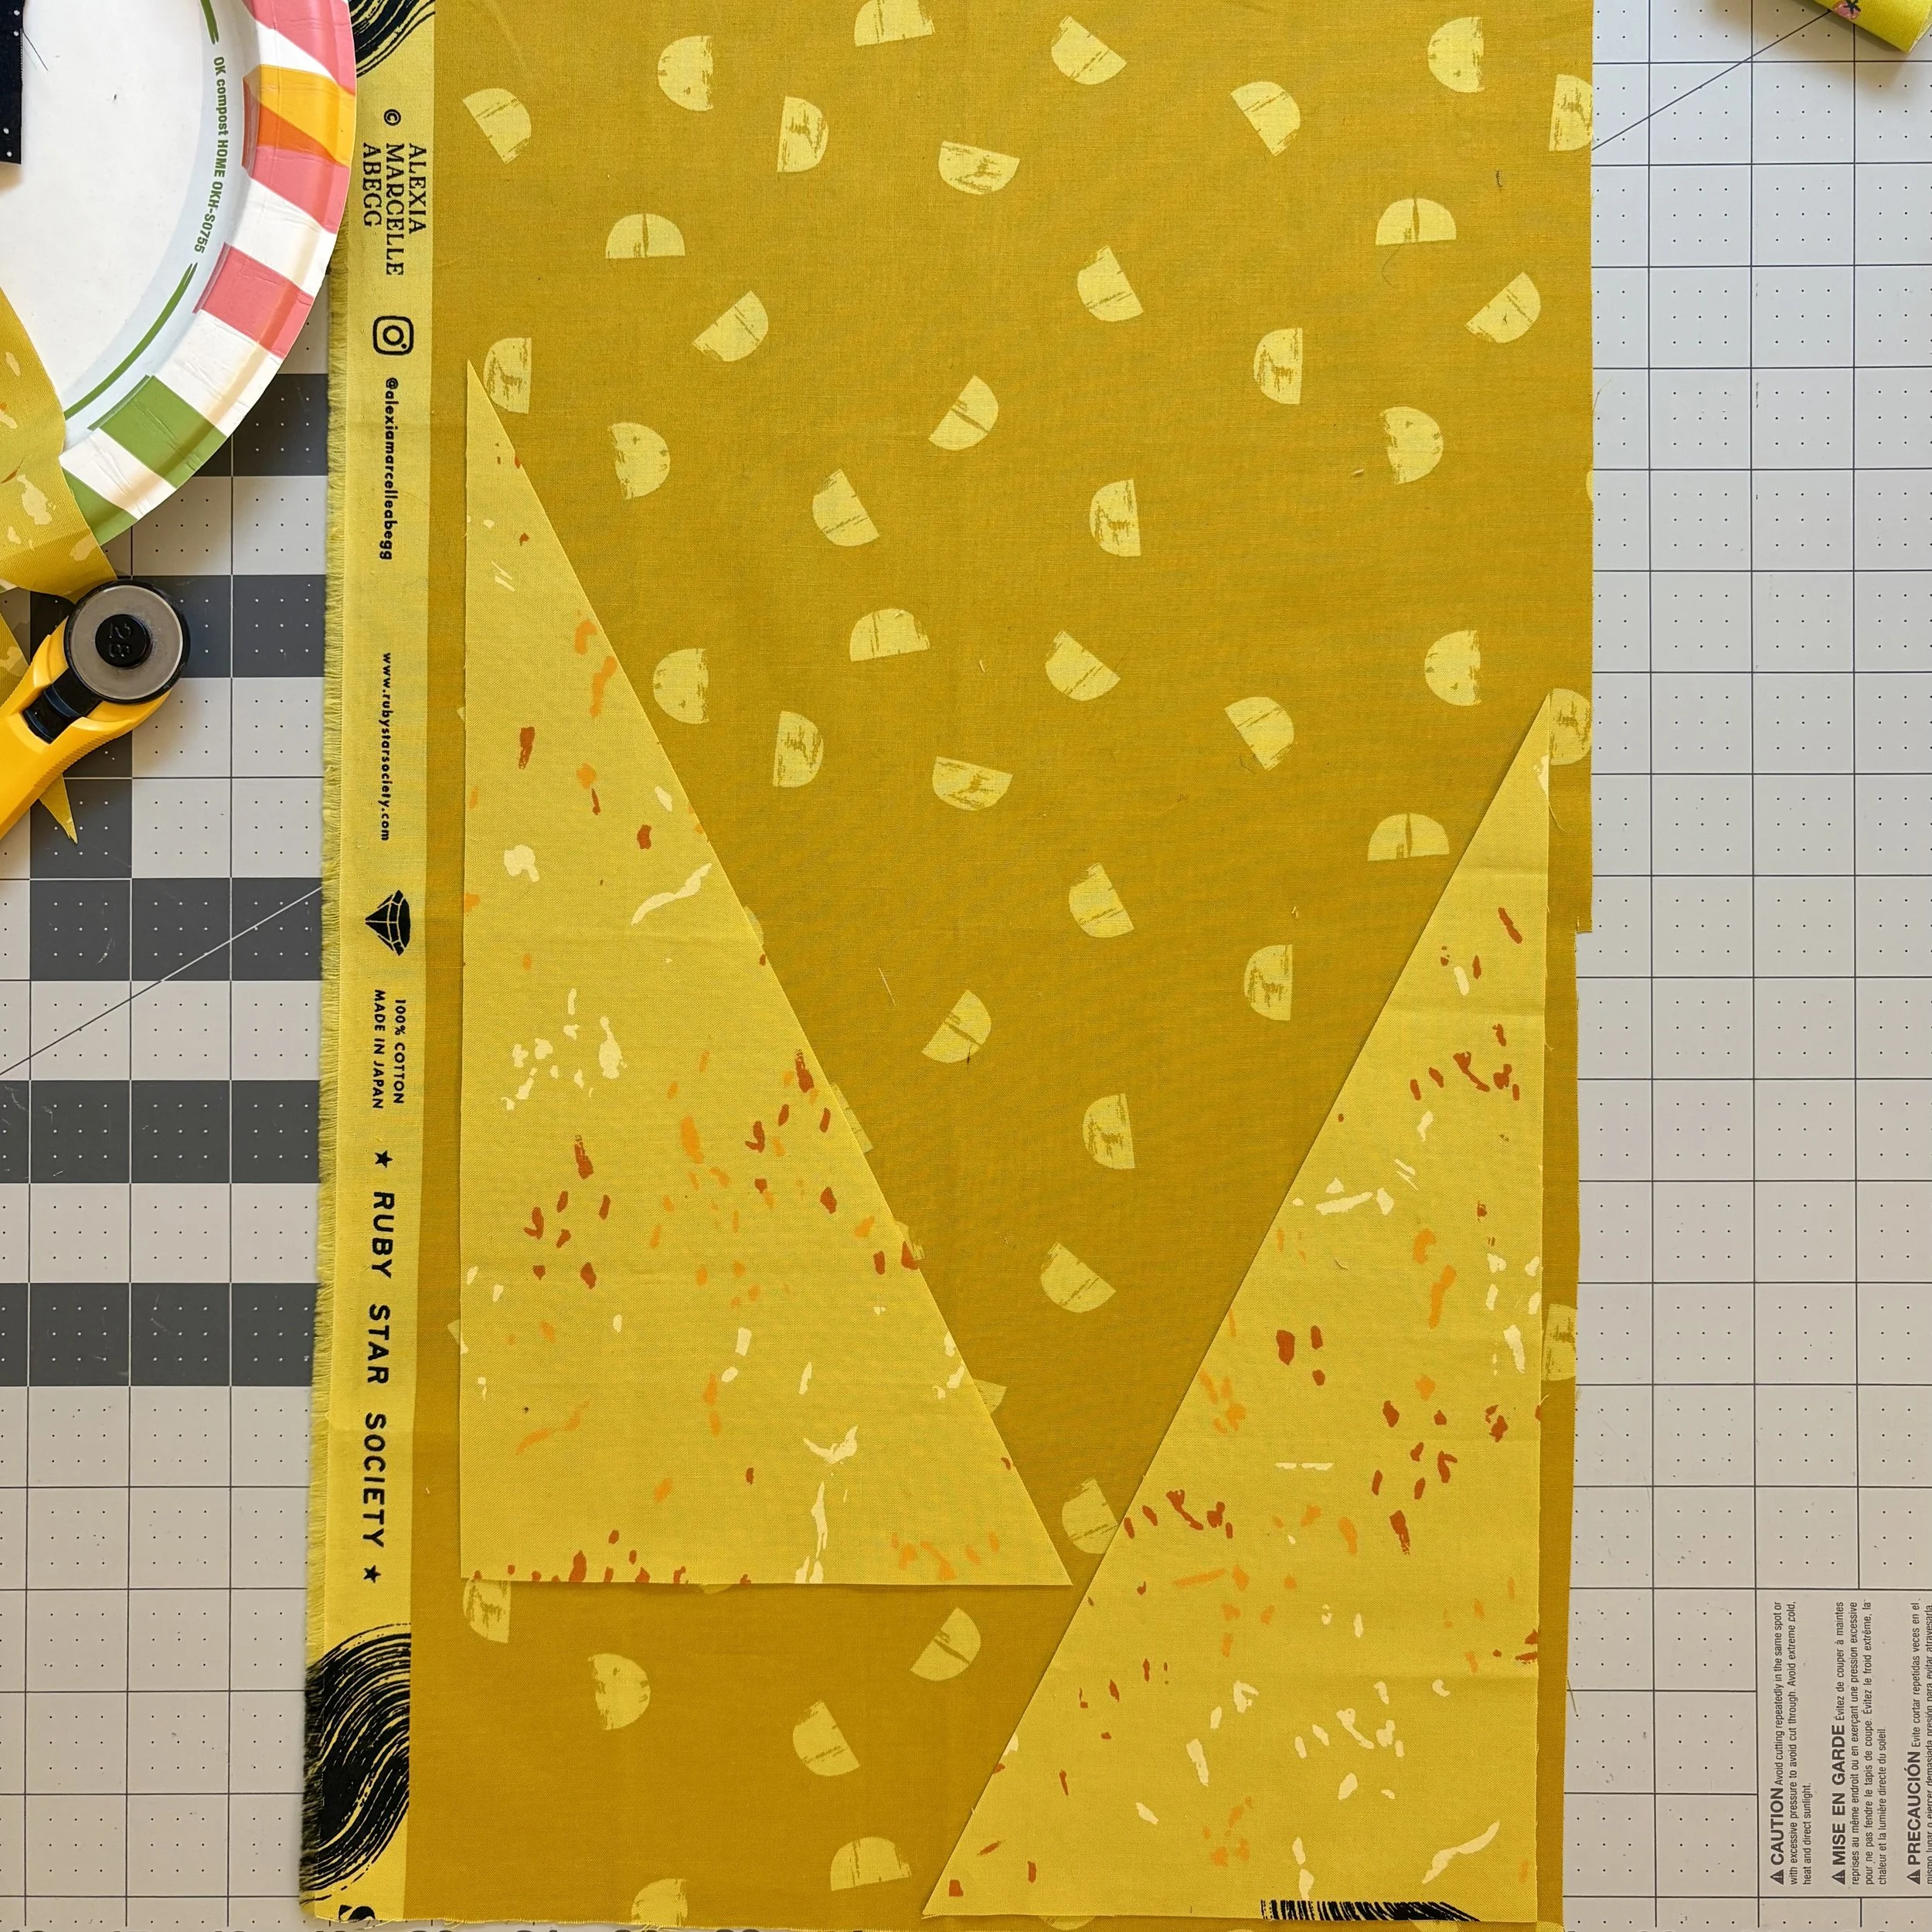
I thought the “body” of the broom would look a little off if it was scrappy, so I’ve kept them to be made of one fabric. Remember, these units use one left leaning HRT and one right leaning HRT - these are not interchangeable like HSTs. So I cut one left leaning and one right leaning HRT from each fabric. It’s not a very efficient use of fabric, but I’d rather use the fabric than keep it tucked away.
You can make a template OR:
Use a marking tool to draw a 12" x 6" rectangle on your fabric.
Draw a diagonal line from corner to corner.
Cut out one HRT shape.
Repeat the first two steps, this time, drawing the line in the opposite direction.
Cut out the second HRT shape.
Finish the block by following the assembly directions in the pattern!