
Easiest Pillow Tutorial Ever
This is the easiest flanged pillow tutorial ever.
Like seriously so easy. There’s no math involved. And all you need is a quilt block or a fabric panel for the front, a scrap piece of fabric slightly bigger than the block for the back, and some poly-fill.
I know lots of tutorials for envelope or zipper closure pillows exist, but sometimes I can’t be bothered with all those instructions. Sometimes I just want to slap some fabric together and call it done!
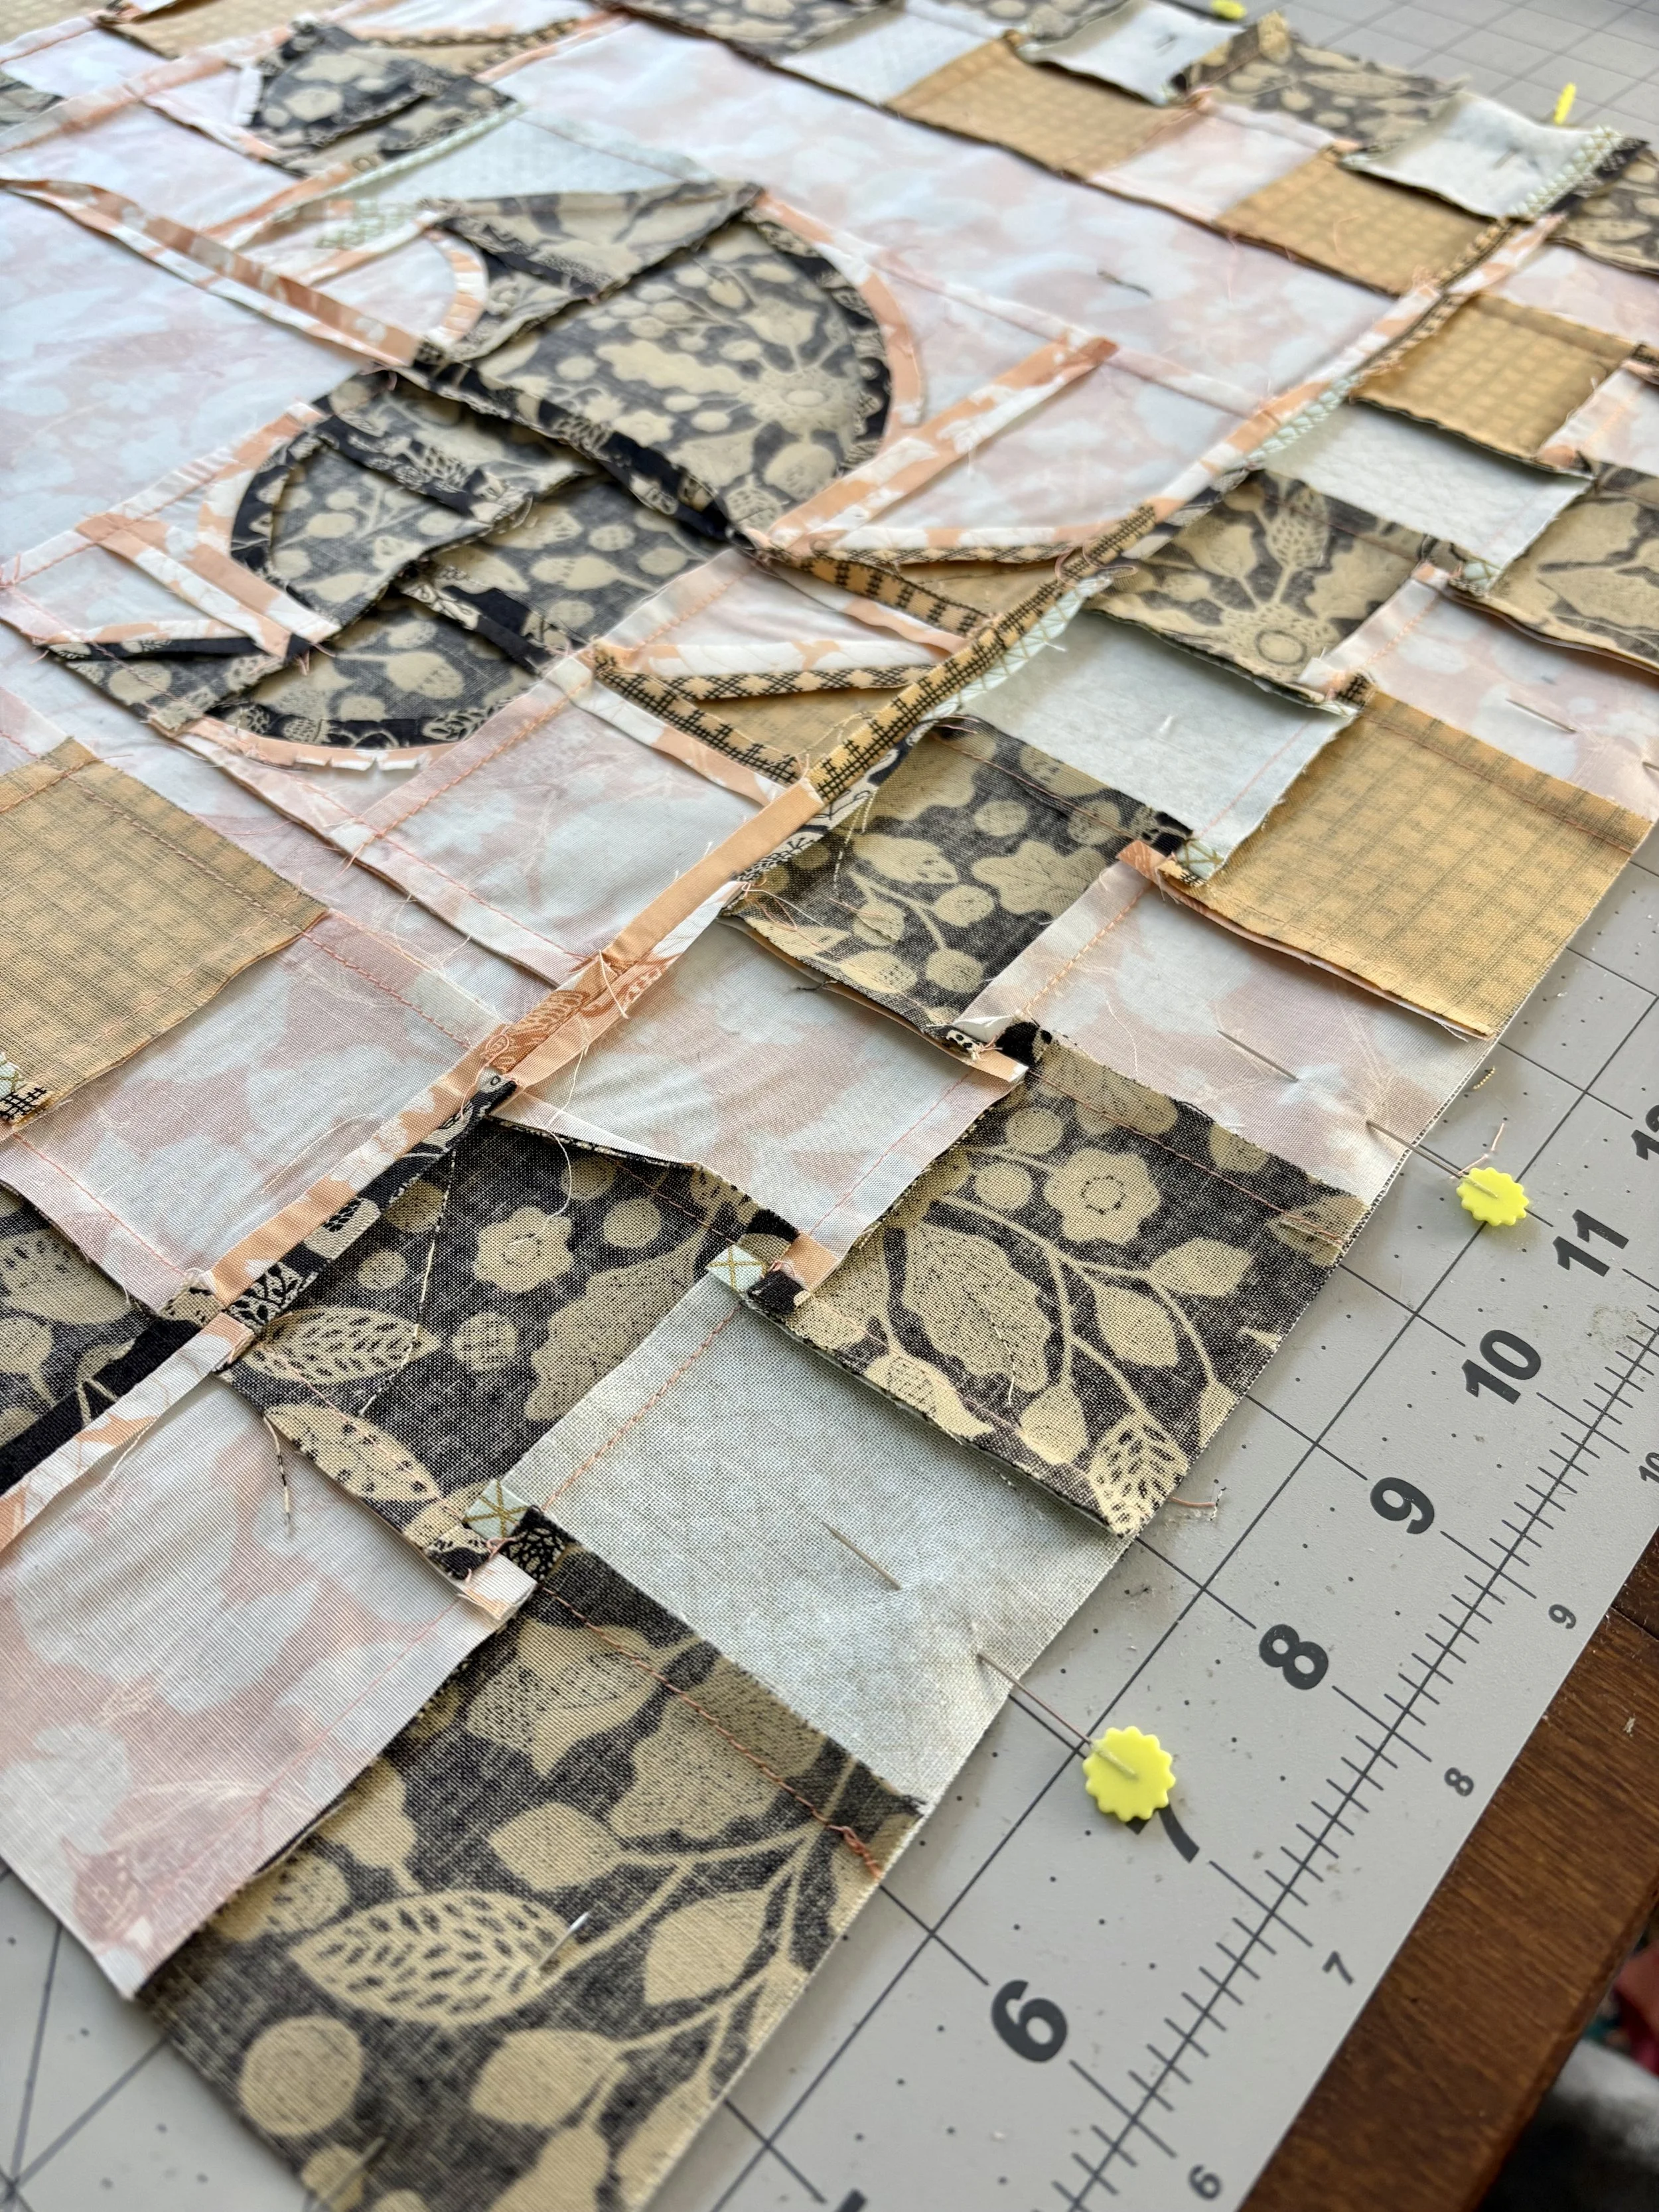
I used my Silly Goose quilt block pattern and added a checkerboard to the outside of the block. I made several strip sets from 2½" scrap strips and turned those into sixteen 4-patches. This turned a 12" x 12" block into 20" x 20" square.
Use a practice block from a quilt pattern, a panel that you really love, or even just a fat quarter with a really cute print. It doesn’t matter the size because this project doesn’t require math! Whatever size or shape you decide on, you can follow all the steps below to create a beautiful throw pillow in under 30 minutes.
Easy, No-Math Flange Pillow
First things first. I have to admit that I can be incredibly lazy when it comes to a quick project. I really wanted this pillow project to be a fast project. So I decided to not quilt my patchwork block. If you really prefer a quilted pillow, you could quilt your block before you get started. The steps will be exactly the same, you’ll just have bulkier seams.
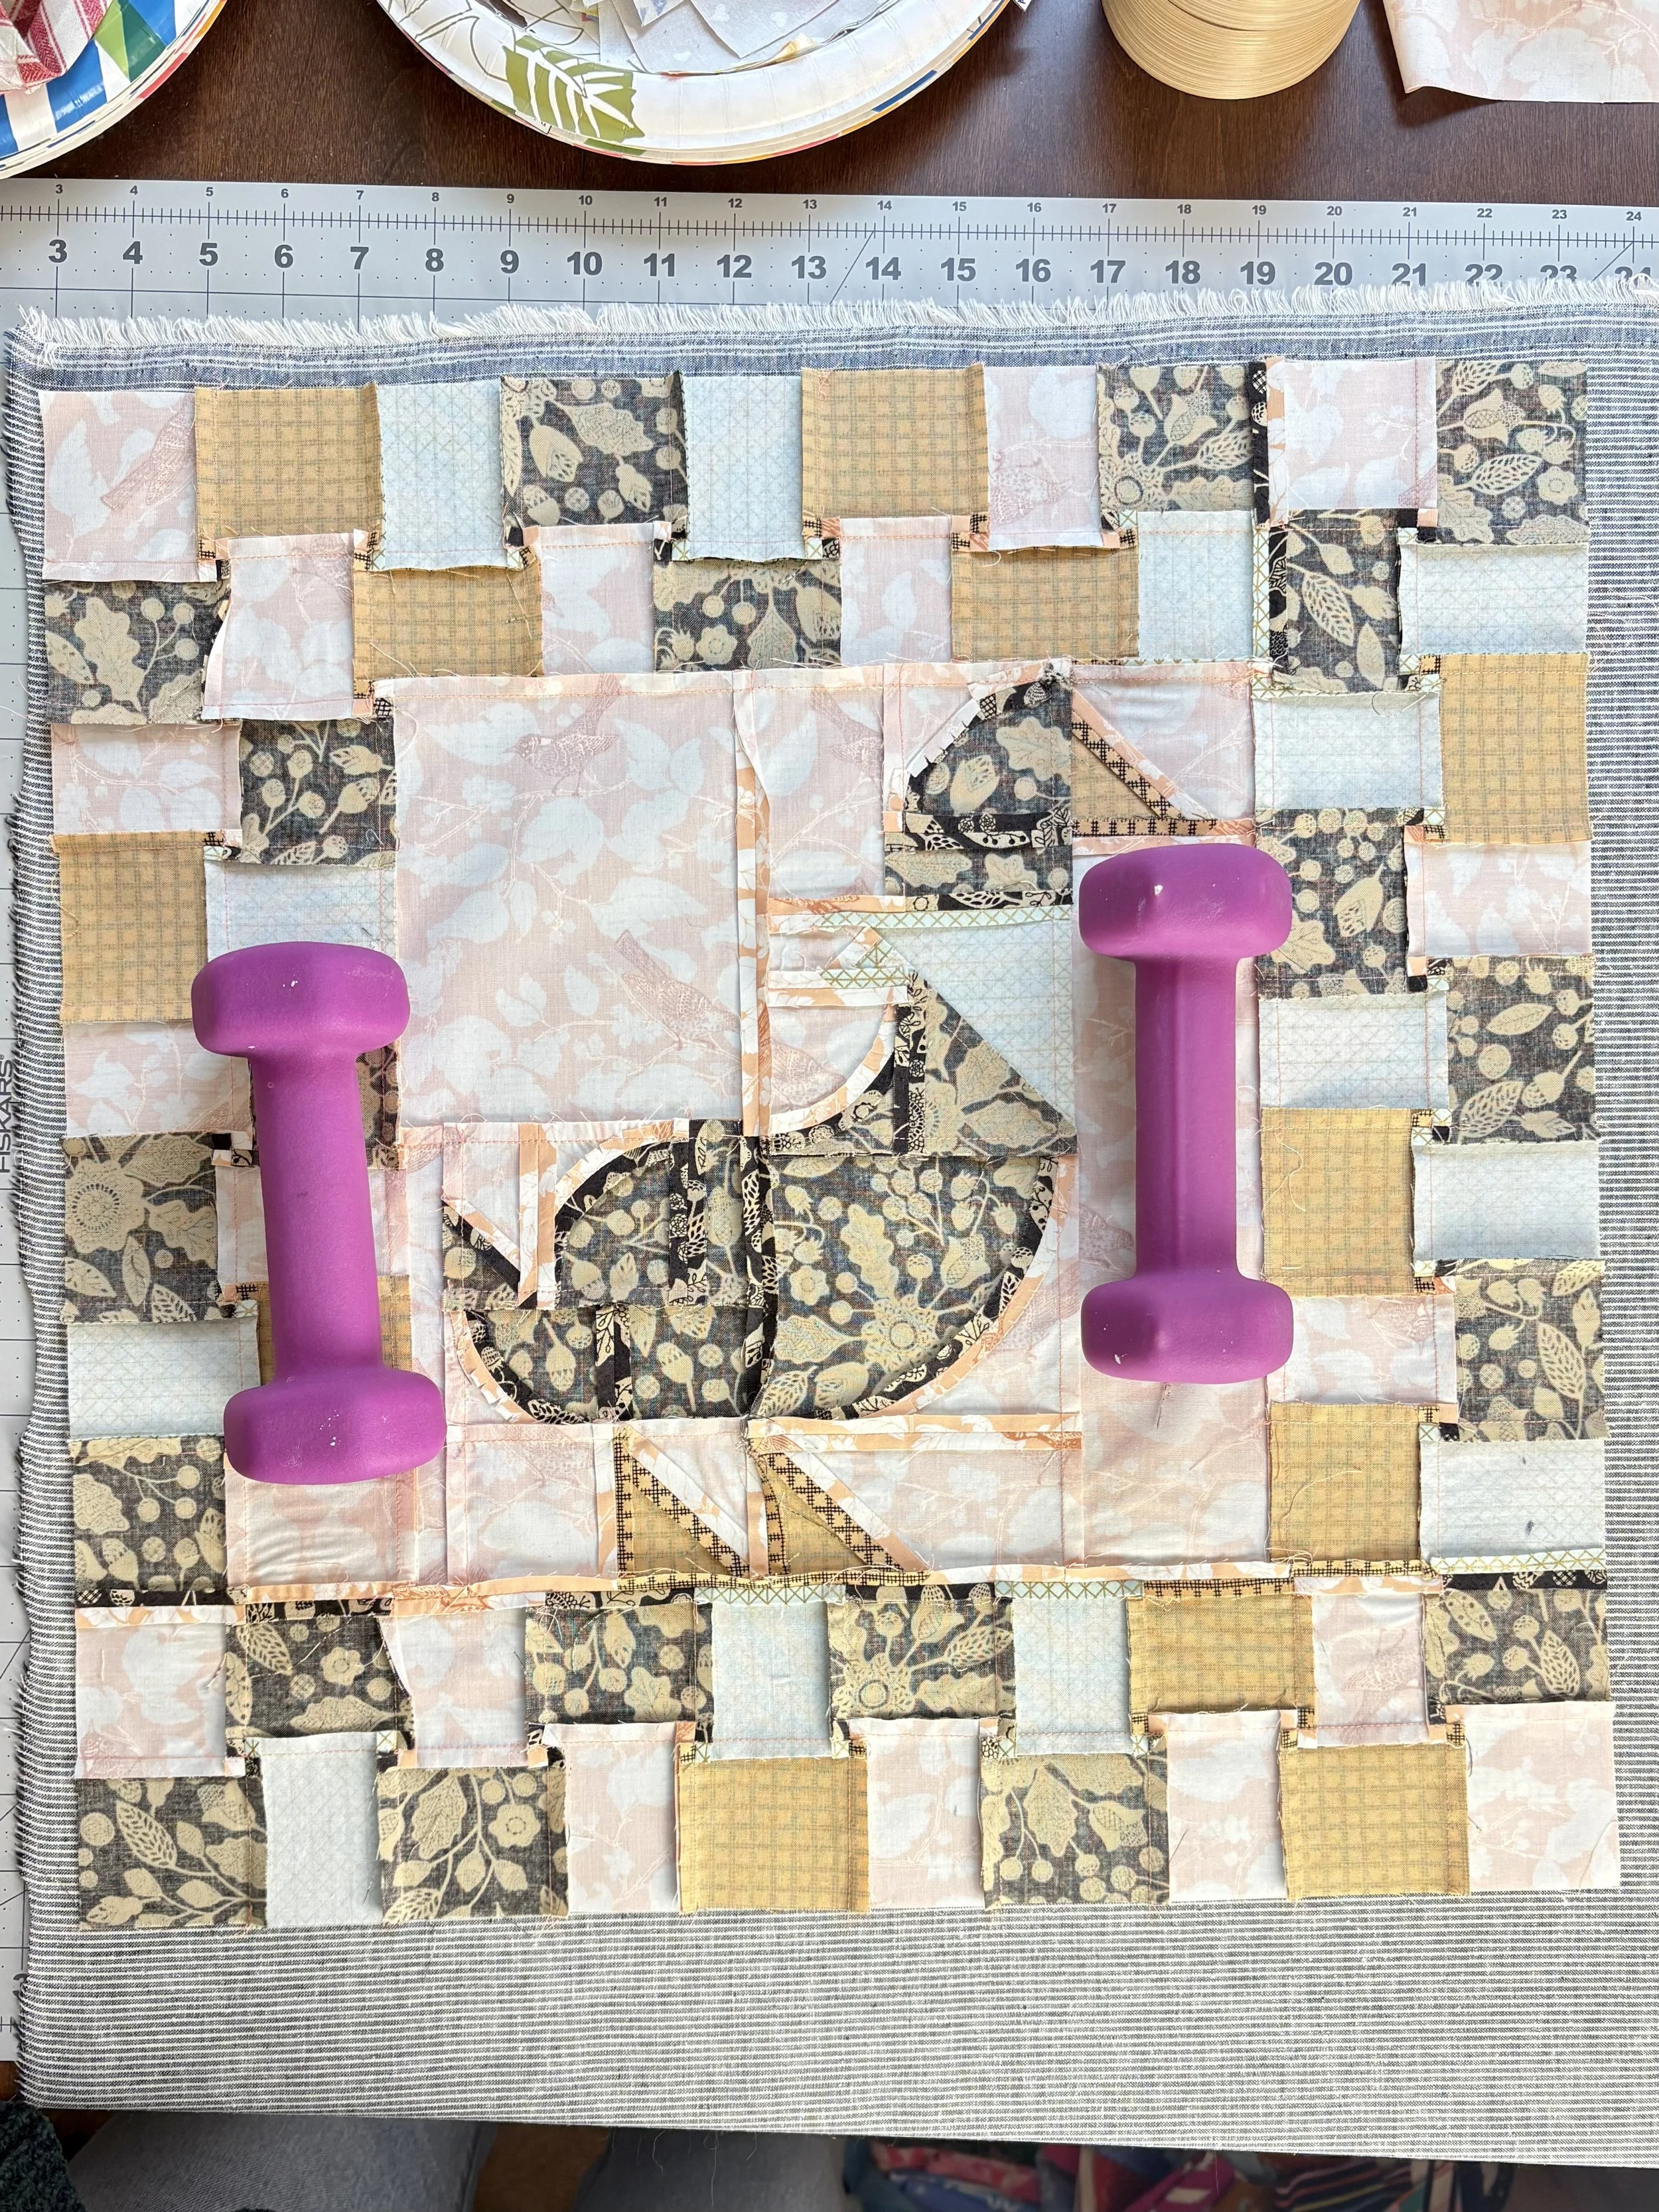
Once you have a quilt block or square of fabric you want to use for the front of the pillow, lay it right sides together on the backing fabric. I kept mine in place with my trusty dumbbells.
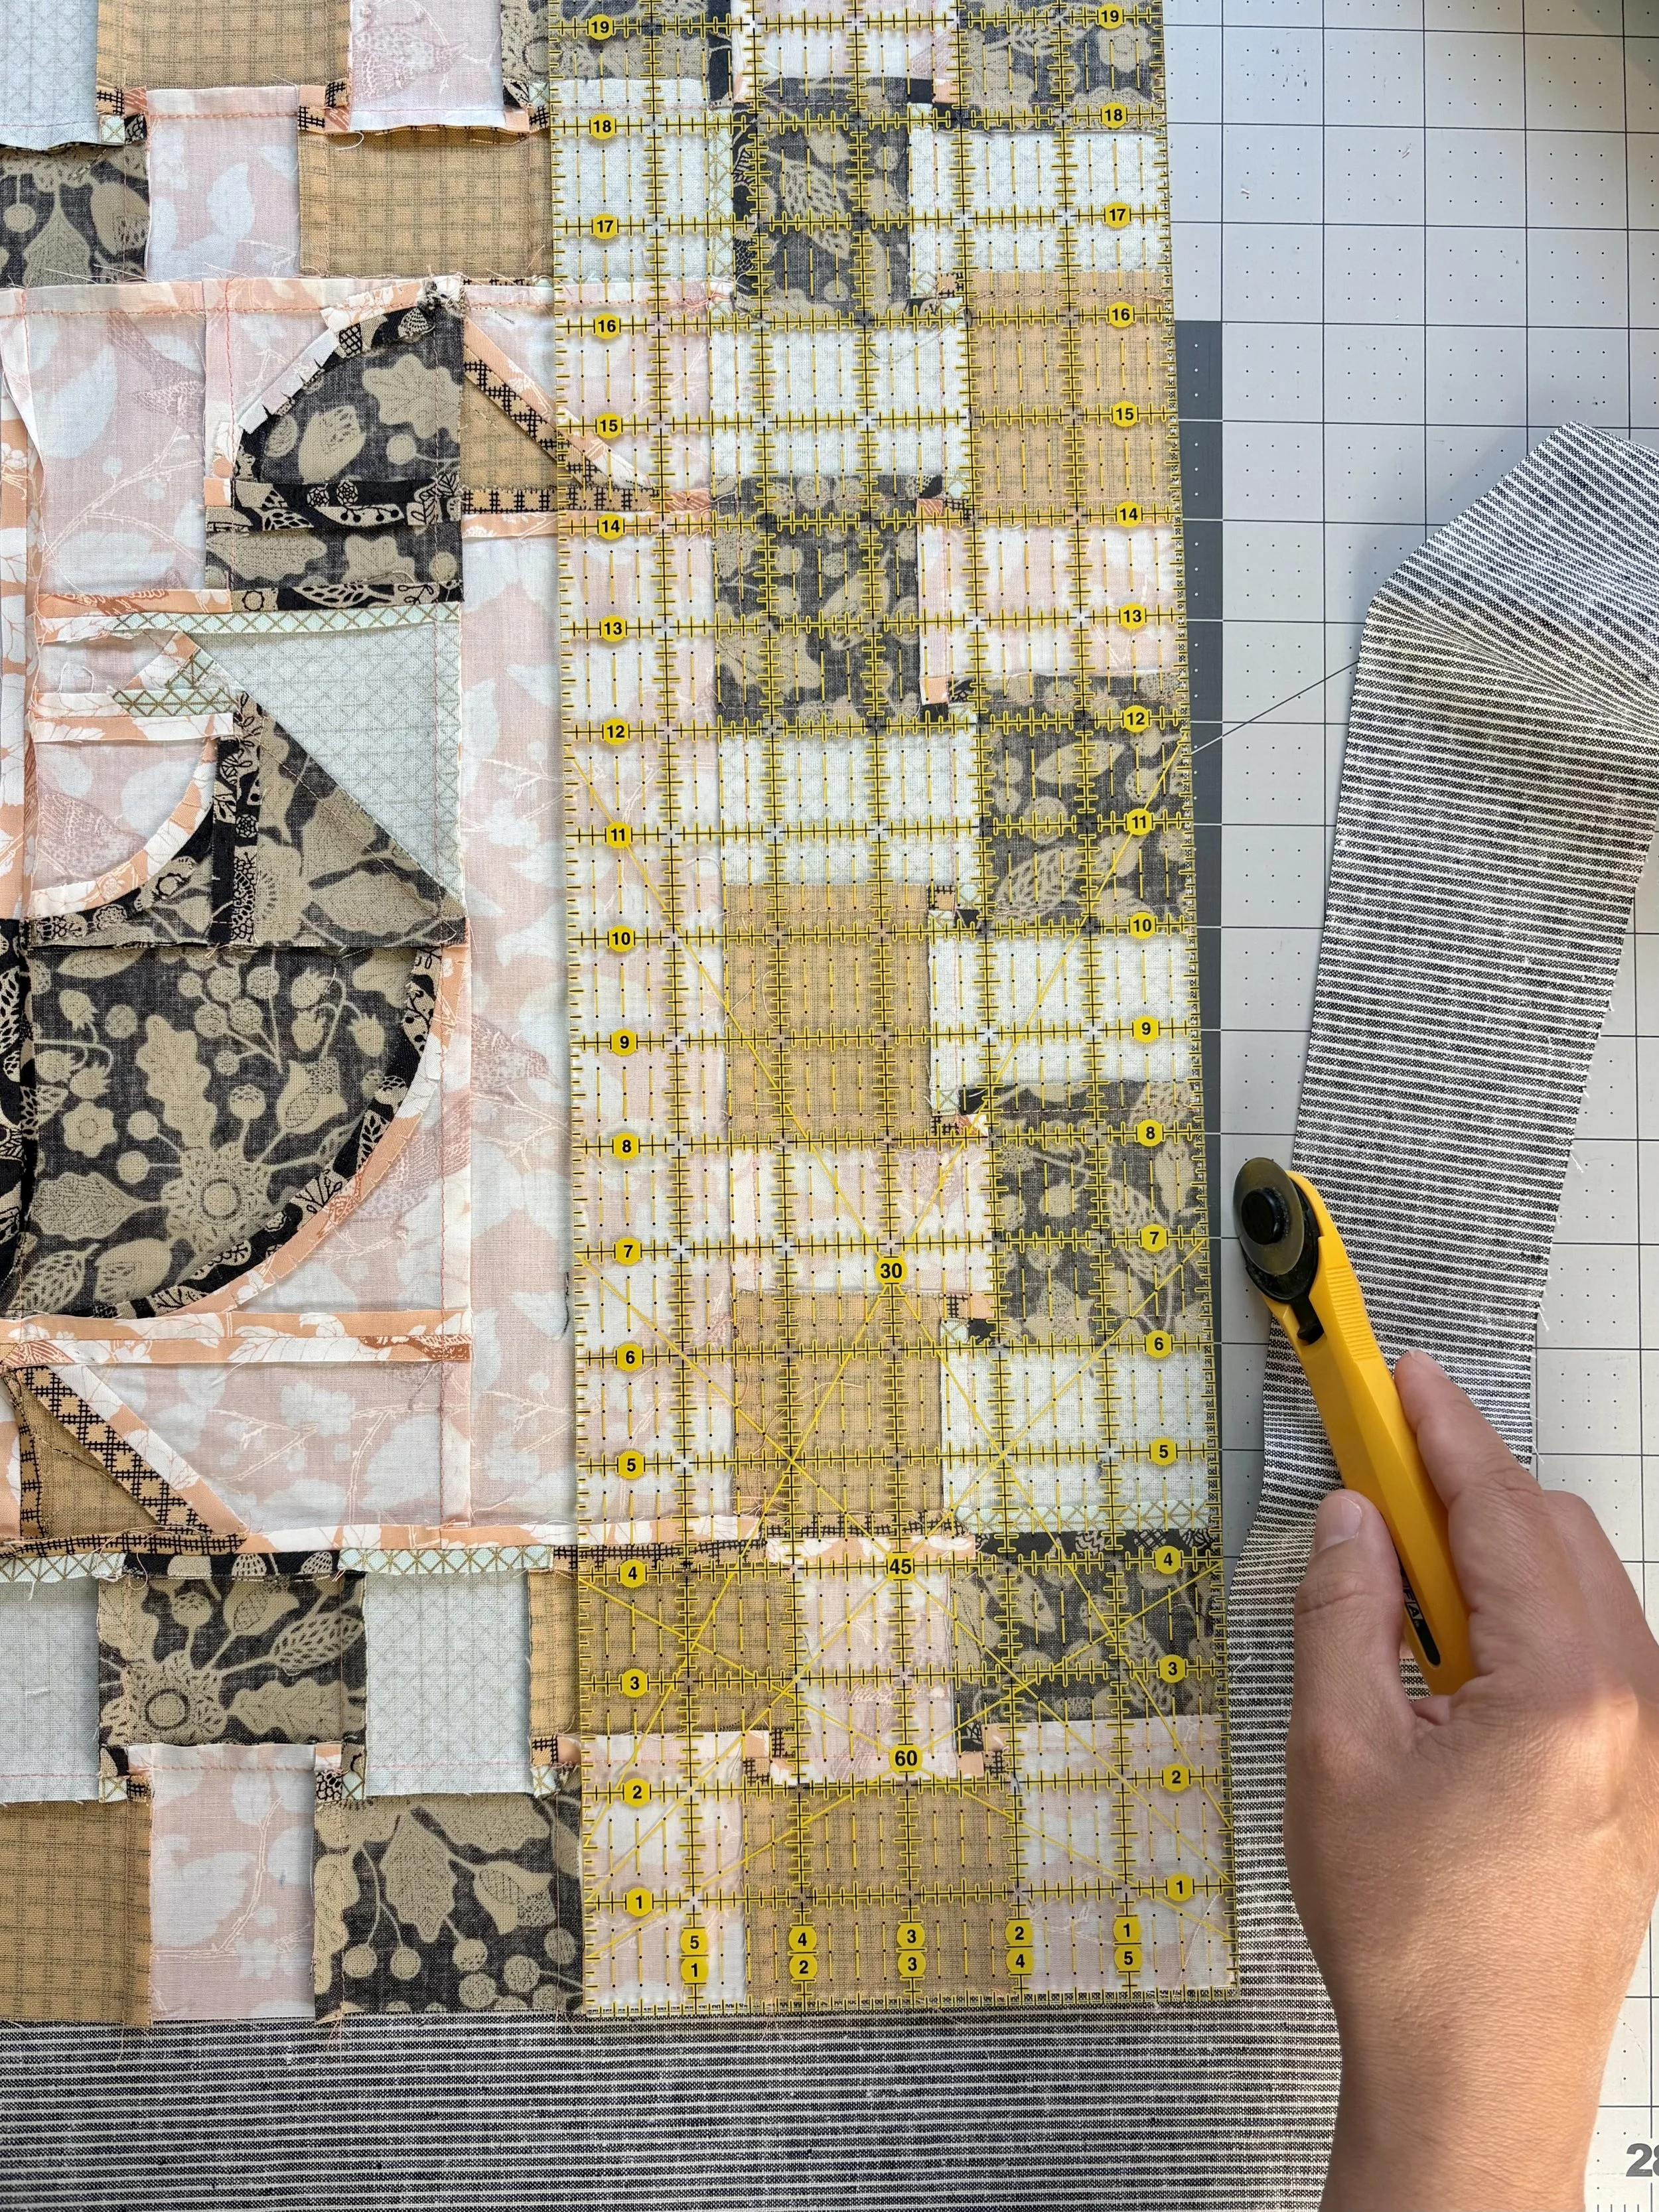
Align a ruler with the raw edges of the pillow front, and simply cut the backing fabric to match. Repeat this on all four sides of the pillow front.
The resulting units should be two squares that are the same size and are right sides together. See? I promised no math!
Without moving or rearranging the units, pin the edges together. Sew around the edges with a ¼" seam allowance. Make sure to leave a 4" to 5" gap - it looks nice if you leave this gap at the bottom of the pillow (if there is a bottom to your fabric or block). Turn the block right side out and make the corners look sharp.
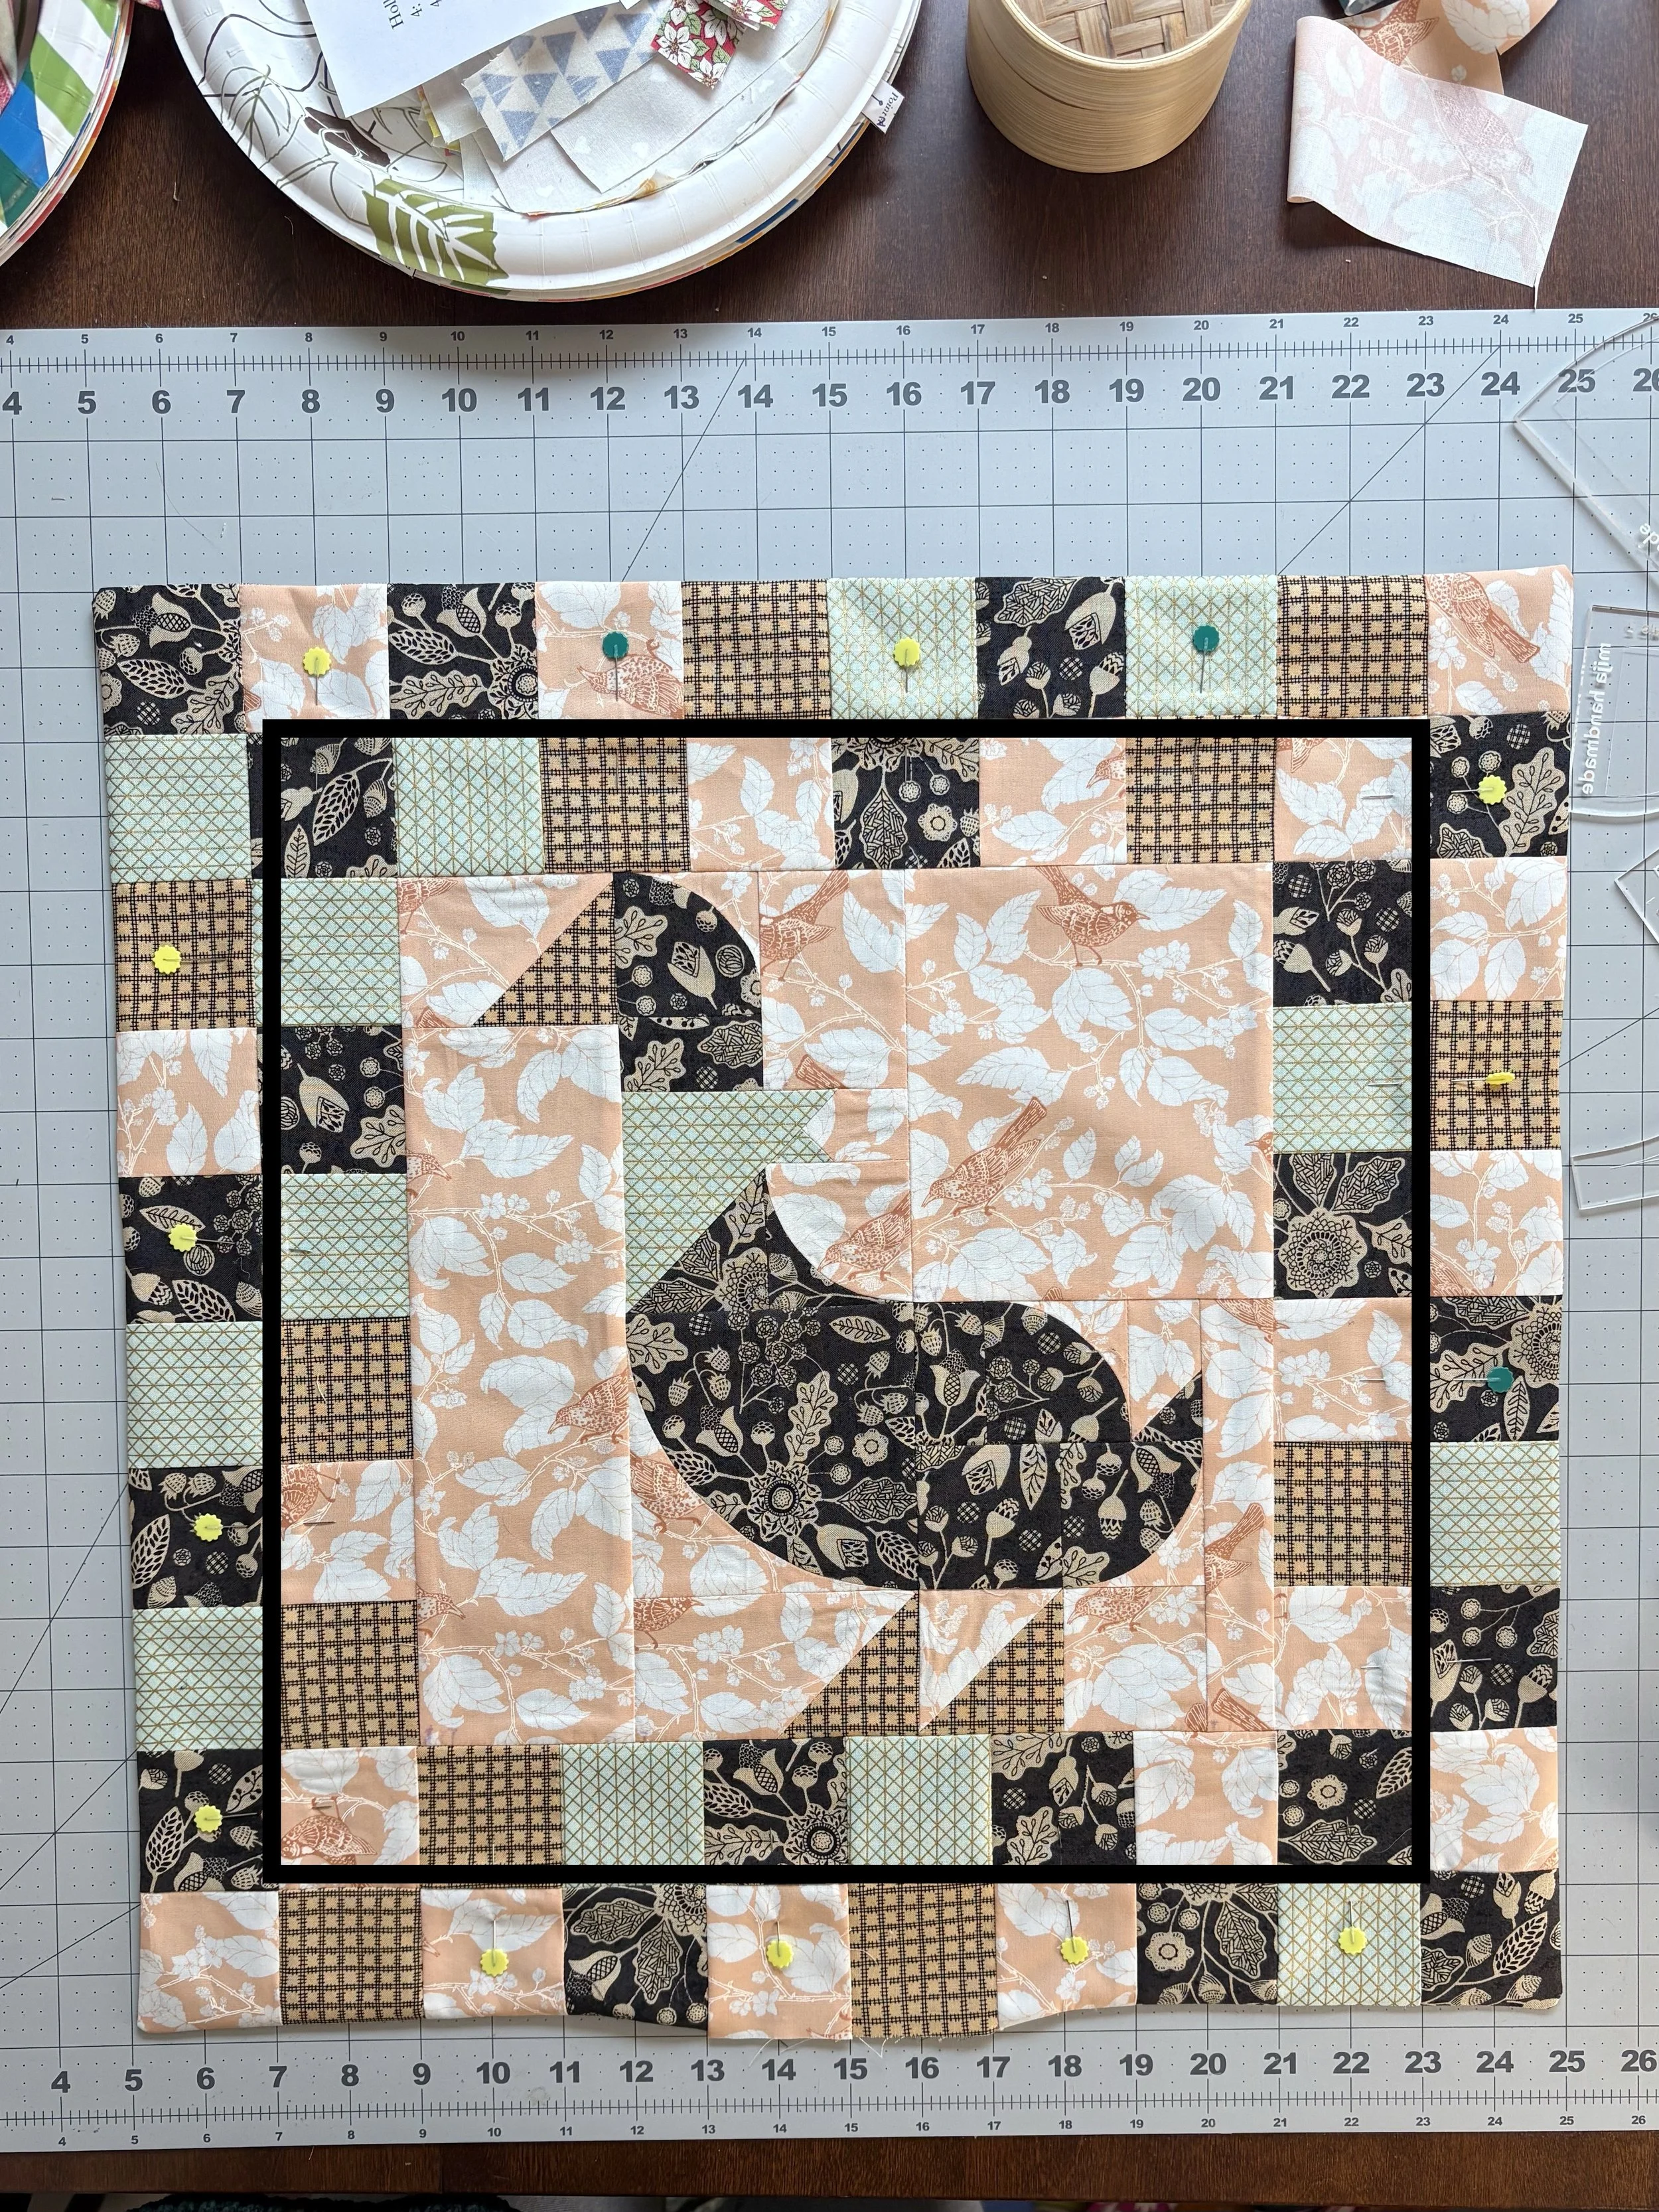
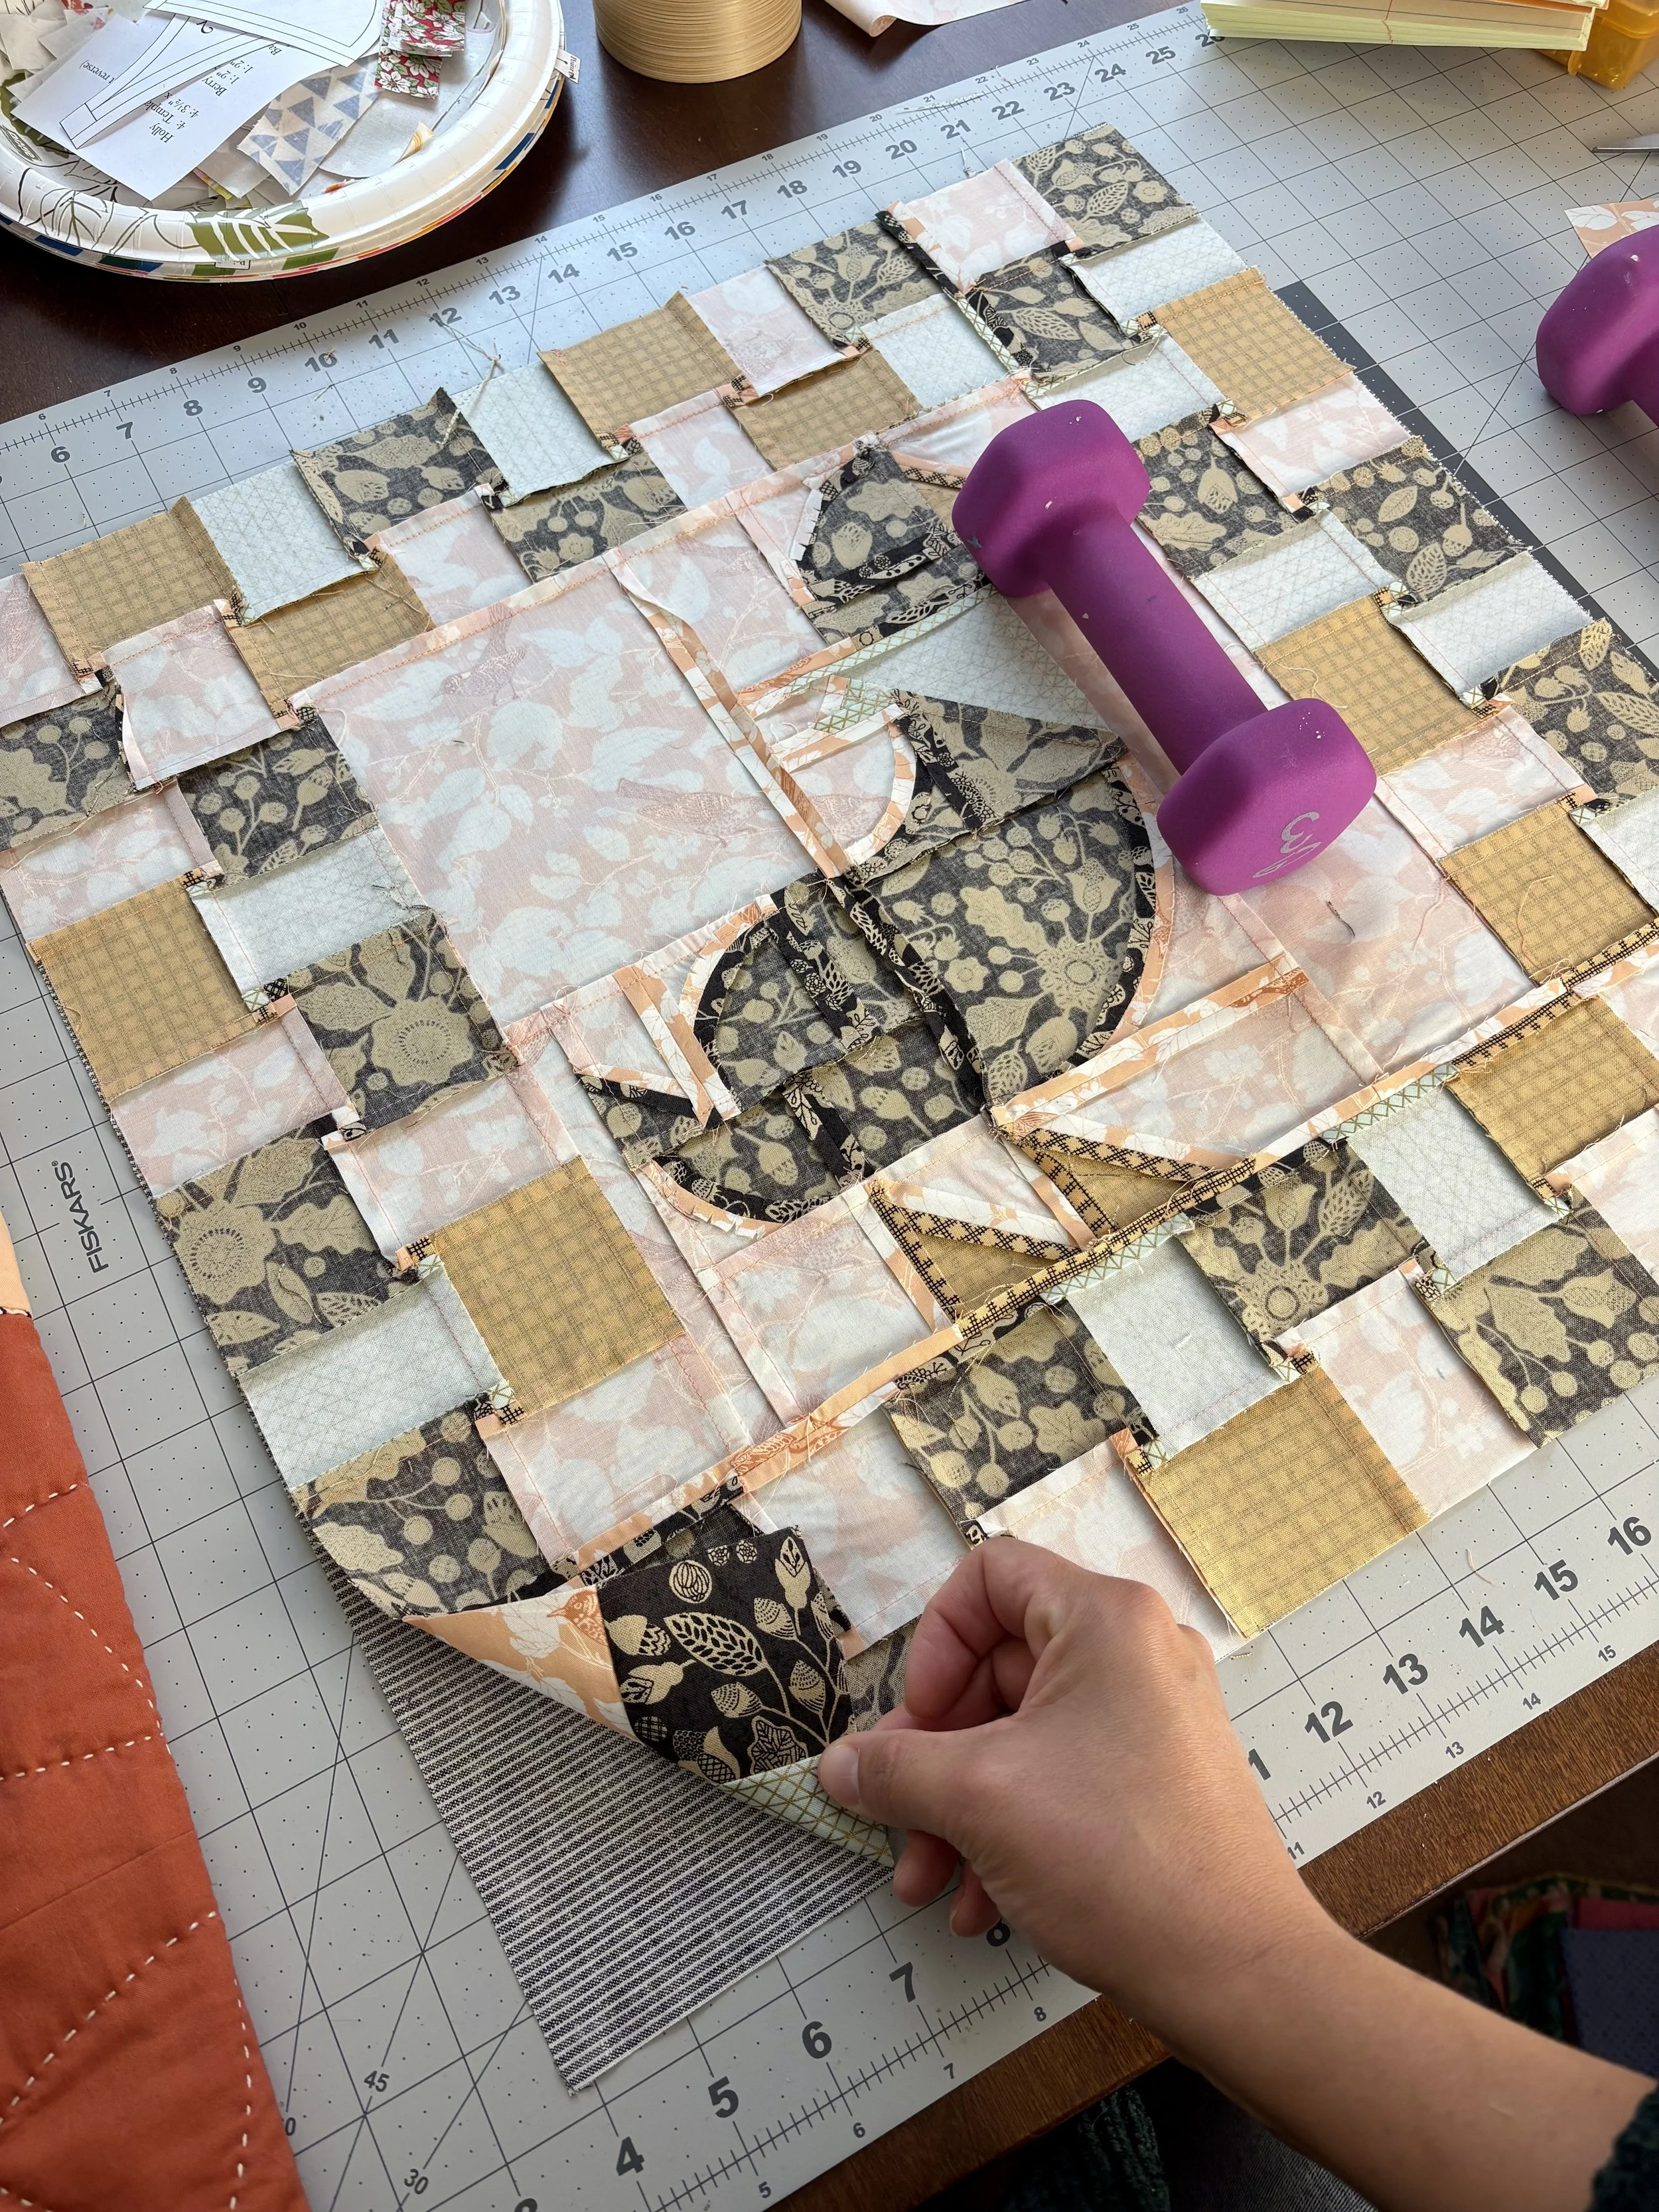
This step is where we create the flange of the pillow. Since I have checkerboard piecing at the exterior of my square, I decided the seam of the flange would fall right on the middle seam of the patchwork (see the black line in this photo).
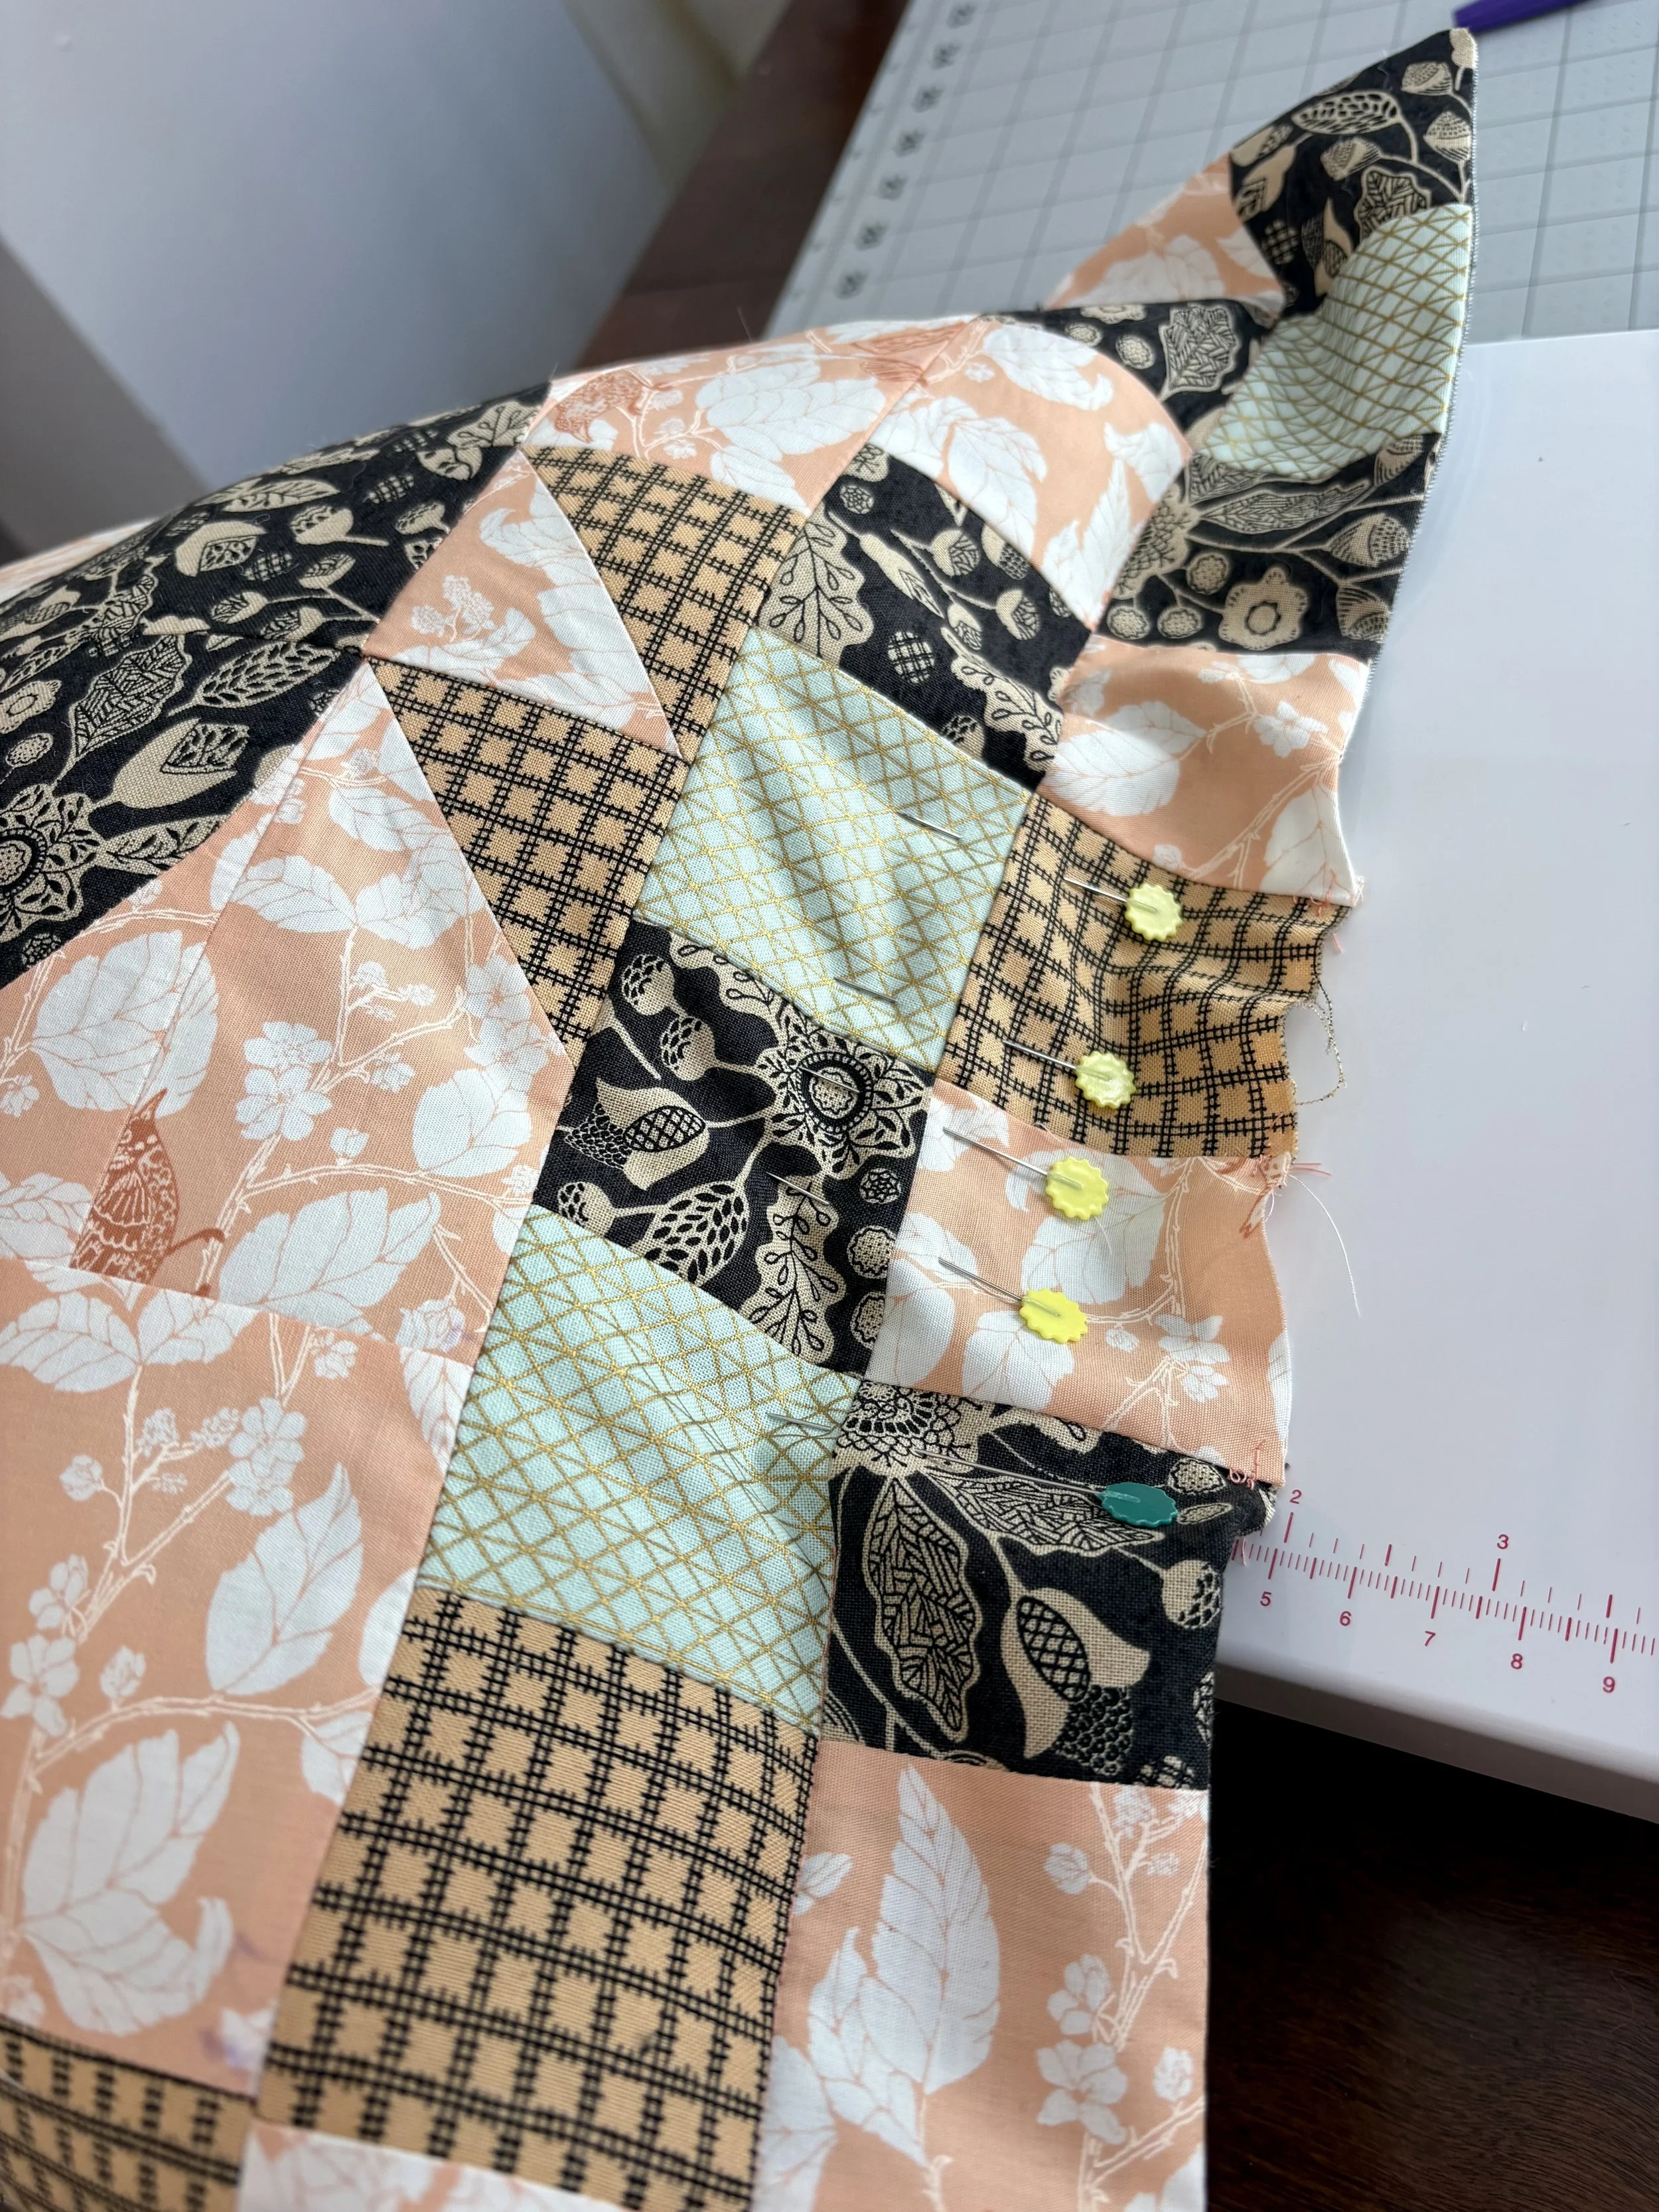
I made sure everything was pressed and laid flat, then secured everything with pins. If you’re using a solid piece of fabric or a panel, you could use a marking tool to draw straight lines 1" or 2" in from the edges, and pin along your marked lines.
Sew along the marked lines, leaving another gap exactly where the first gap is.
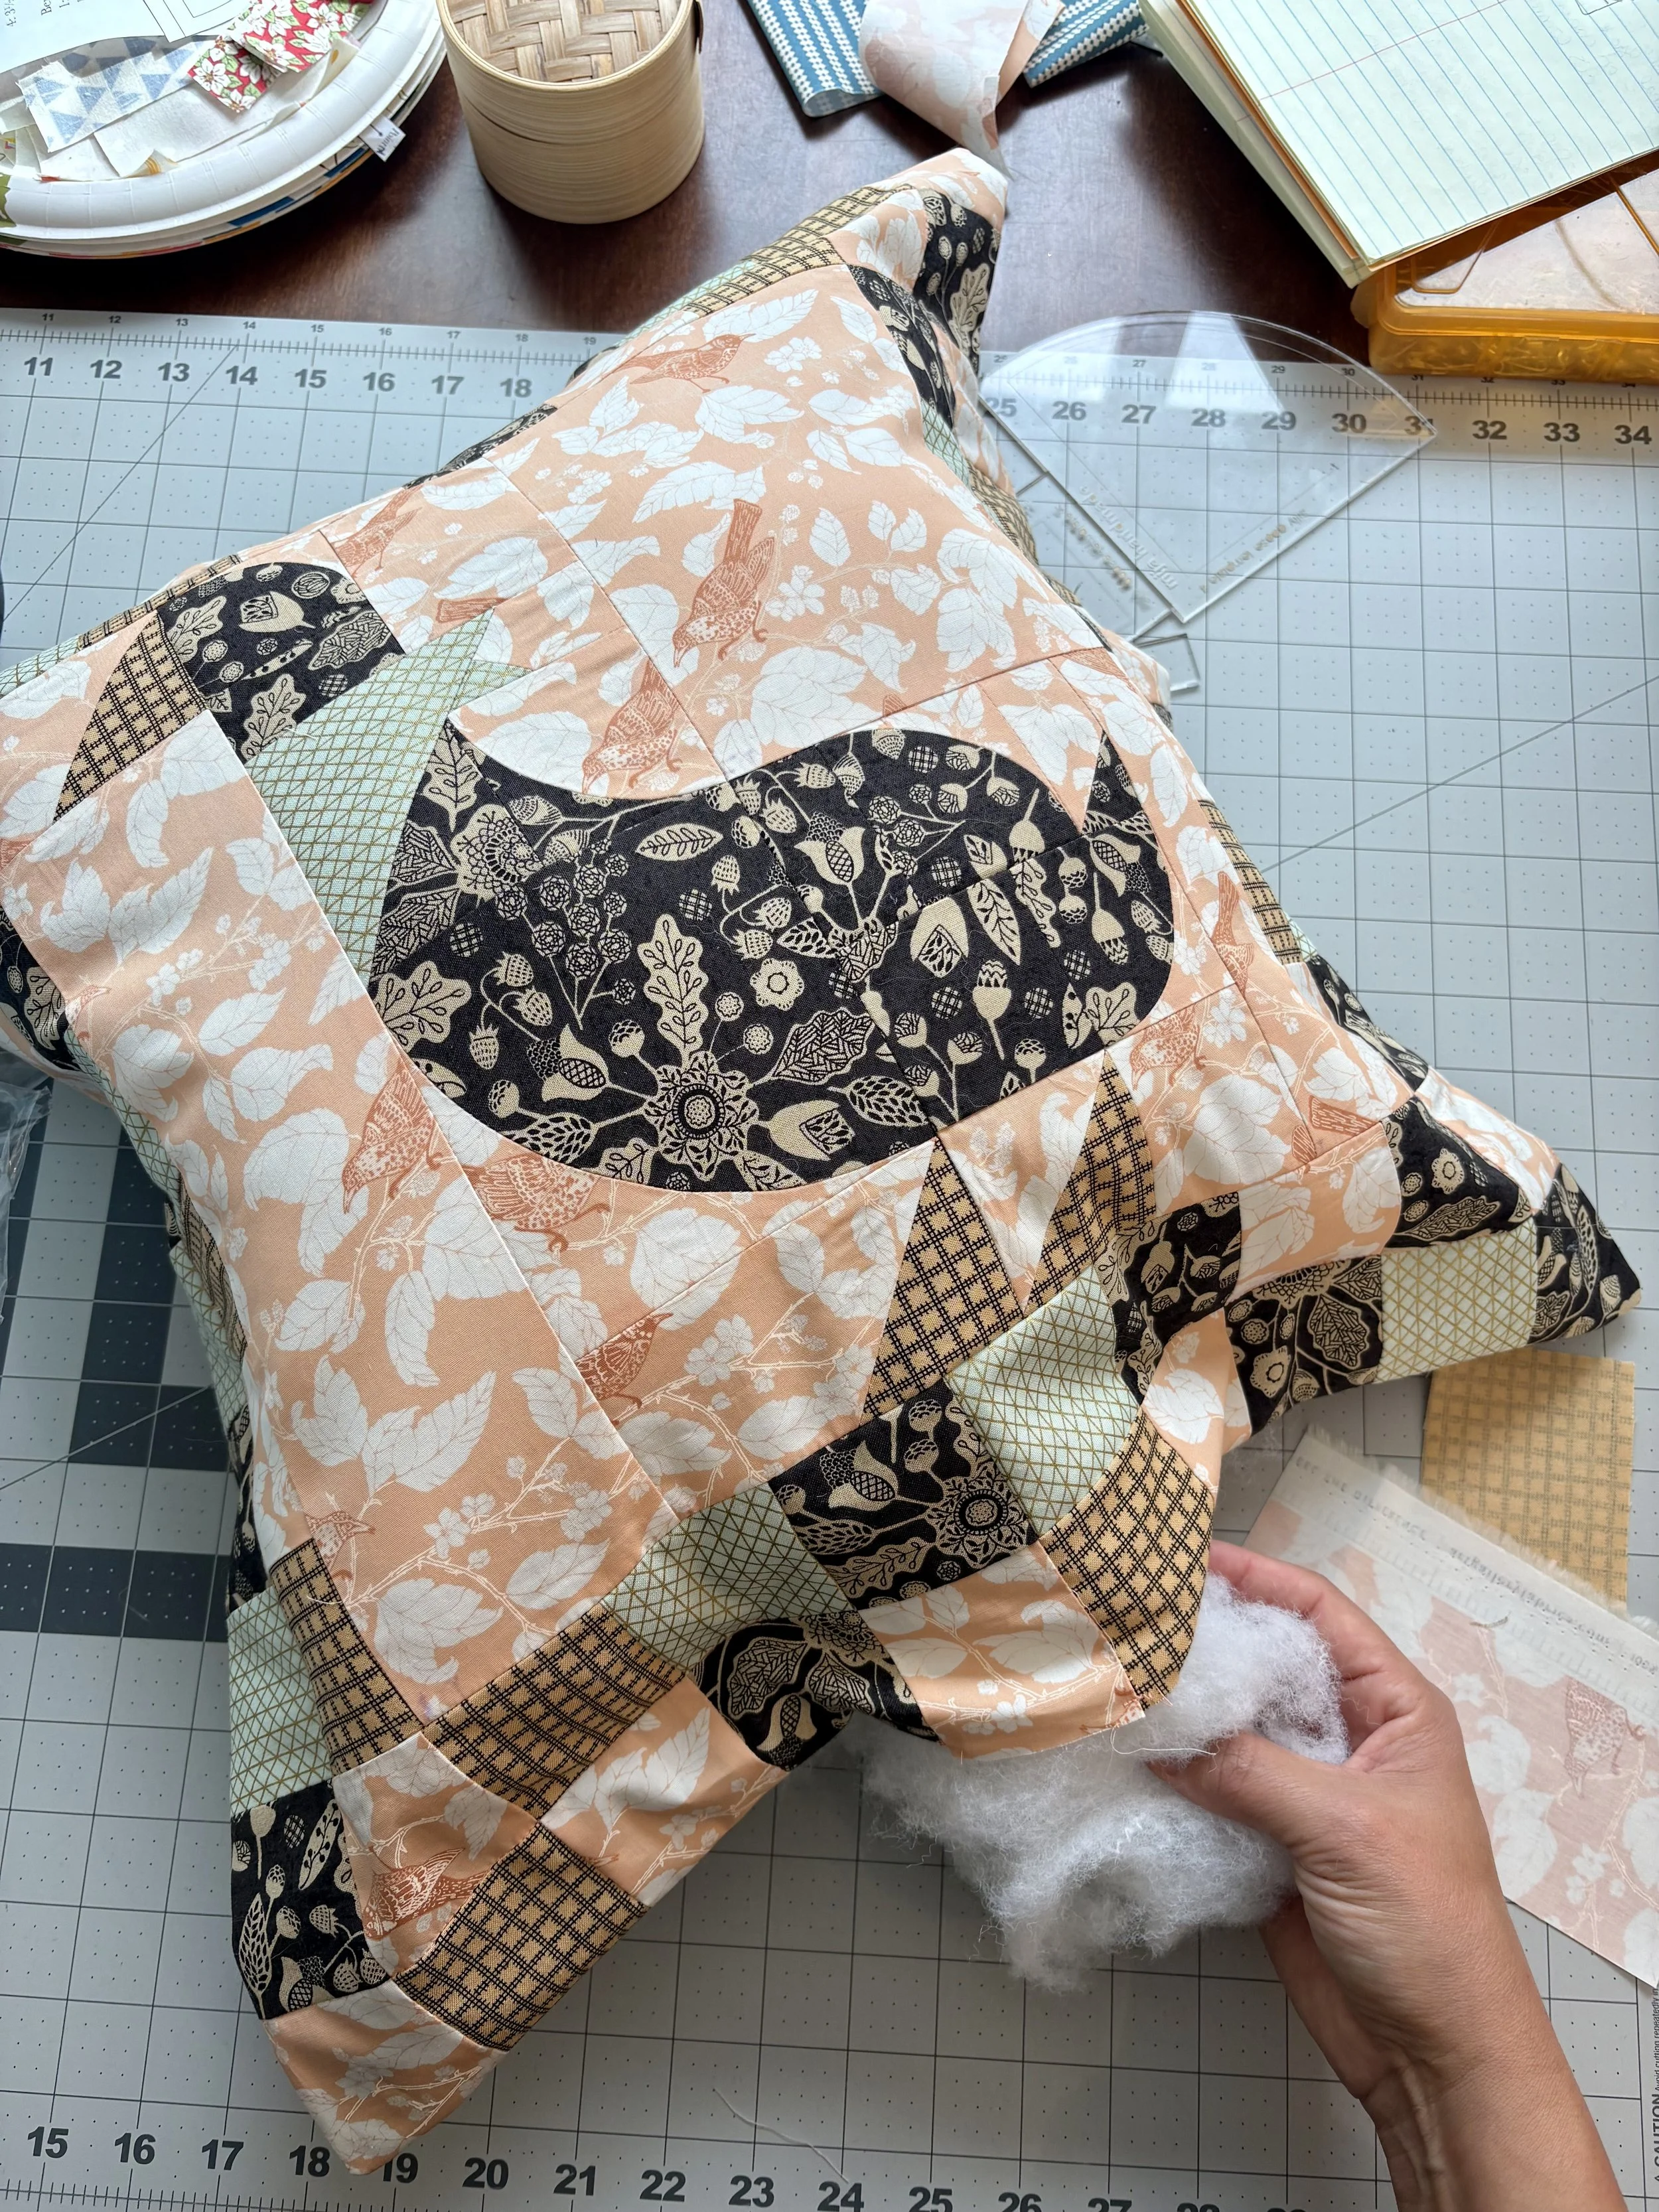
Fill the inner pocket with your poly-fill. Do not add poly-fill to the exterior flange.
Once the pillow is filled to your desired fullness, close the interior gap by pinning the front and back together and sewing shut.

Finally, close the exterior gap by folding the seam allowance in and finishing with a top stitch around the entire edge.
Let’s face it, we’ve all forgotten about a housewarming or baby shower gift until the last minute. I love a fast and simple project like this for just those instances! Decorative pillows are such a thoughtful gift, and this pattern stitches up in less than a half hour. A perfect solution for us forgetful quilters!
If you like how this exact block turned out, make sure to check out the Silly Goose block in my shop.